Learn to Make a Dressed Up Gift Box

By Tracy Fear

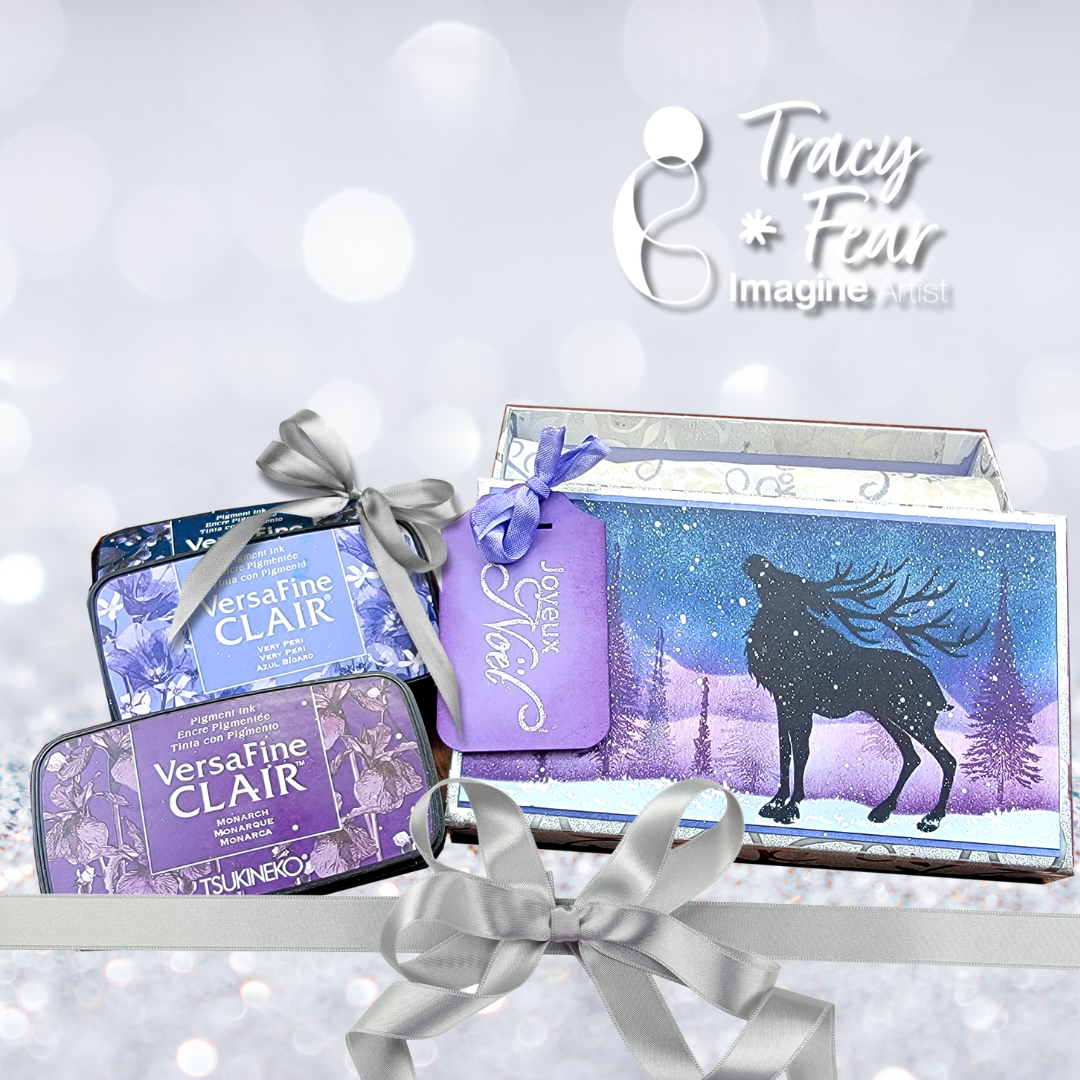
Hello Friends! Tracy here and today I am delighted to share this tutorial that helps you make gift giving even more spectacular by creating a custom gift box using your stamps and inks!

In today’s video tutorial I am sharing how I used some plain tissue paper and a Dollar Store box along with stamps and inks and a little paint to dress up a gift box!

Tracy

Skill: Intermediate
Time: 30 Minutes to 90 Minutes

Art Supplies

Stamping Platform
Glue
Fan brush
Your choice of stamps
Ephemera of your choice
Tissue paper
Empty gift box
Stencil
Stencil Brush

Imagine Products

• VersaFine Clair in Twilight
• VersaFine Clair in Periwinkle
• VersaFine Clair in Monarch
• VersaFine Clair in Nocturne
• Brilliance in Starlight Silver

Other Products Used

• Assorted Stamps from Lavinia Stamps
• Stencil from Lavinia Stamps
• 120lb paper in white
• Generic White Tissue Paper
• Misti tool
• PVA Adhesive

ALTERNATIVE PRODUCTS THAT CAN BE USED TO RECREATE SOMETHING SIMILAR

Any Inks

To learn how to create your own dressed up box click here!
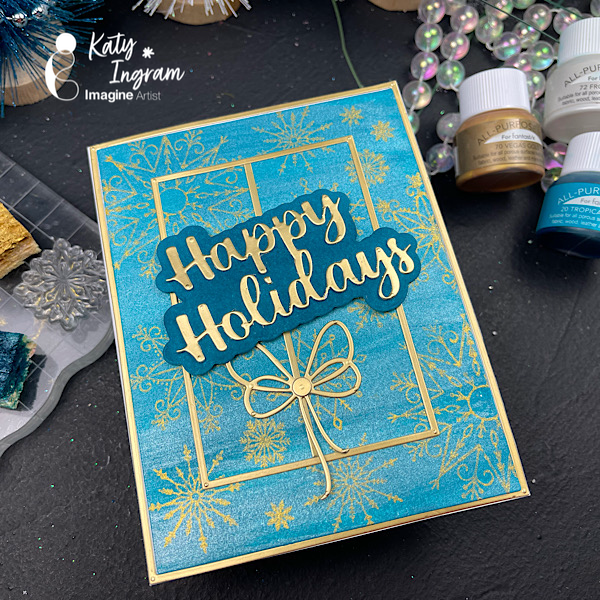
Shimmering Snowflakes Card with All-Purpose Inks

By Katy Ingram

Hello Friends! Katy here with another quick project using All-Purpose Inks. I used my simple swiping technique for the background and then used Vegas Gold All-Purpose Ink to stamp my snowflakes.I kept things even simpler by using a kitchen sponge to ink up my stamps.

Video has all the details. Thanks for watching.

Skill: Beginner
Time: 15 minutes

Art Supplies

Imagine Products
• All-Purpose Ink Tropical Lagoon https://www.imaginecrafts.com/all-purpose-ink
• All-Purpose Ink Frost White https://www.imaginecrafts.com/all-purpose-ink
• All-Purpose Ink Vegas Gold https://www.imaginecrafts.com/all-purpose-ink

Other Products Used
• Affiiate links used at no additional cost to you. Thank you for your support
• Simon Says Stamp Snowflake Stamp Options https://ldli.co/e/1pldn15
• Thin Rectangle Frames https://ldli.co/e/6l92ryl
• Kitchen Sponge https://amzn.to/4f72Ka4
• Double Sided Adhesive 5 inch wide https://amzn.to/455H6OS
• Double Sided Adhesive 1/2 inch https://amzn.to/4m9cKlc
• Matte Gold Cardstock https://amzn.to/4f3H5zn
• Altenew Hot Press Watercolor Paper https://ldli.co/e/nqgeq6m

Make a Funky and Fun Arch Card!

By Tracy Fear

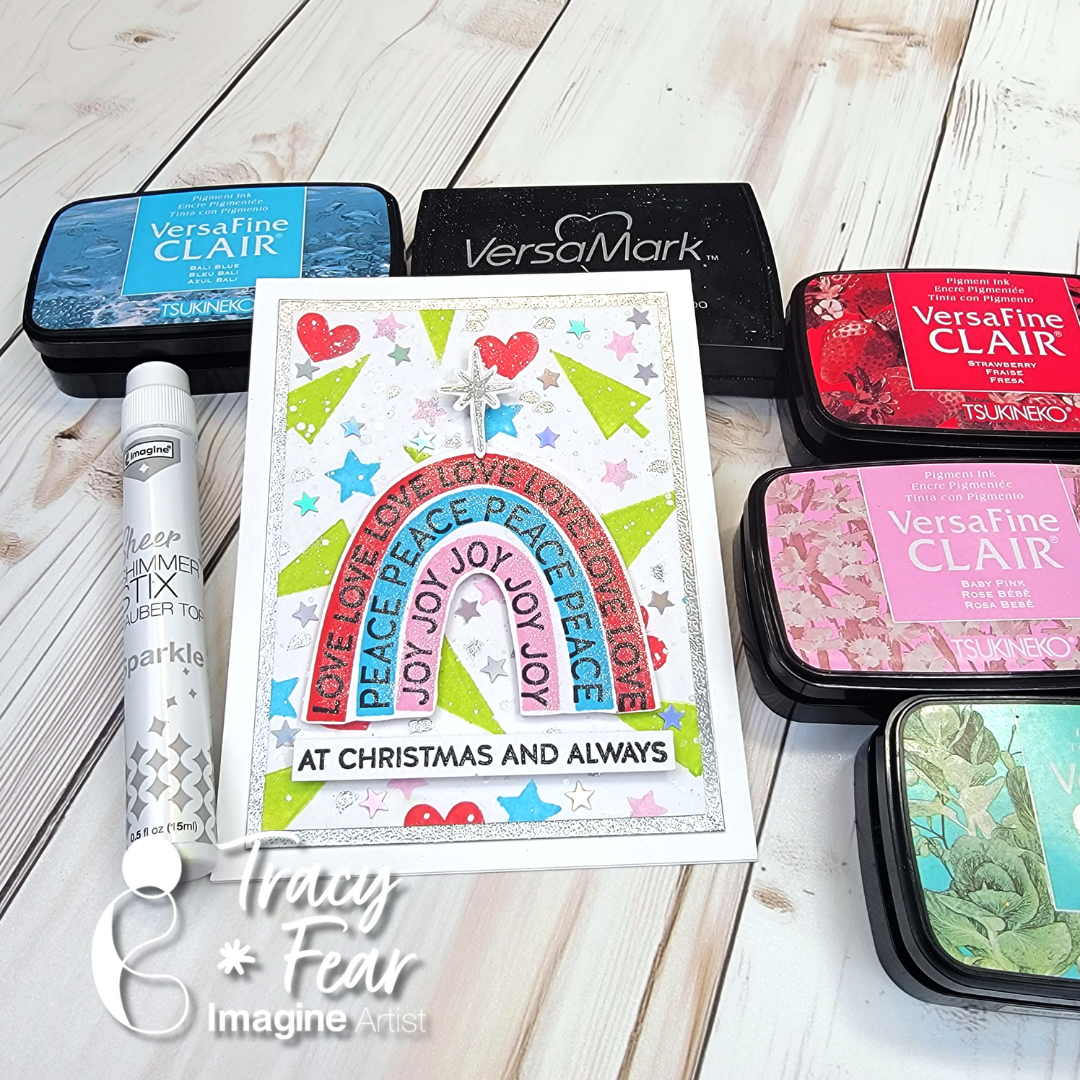
– Hello Friends! Tracy here and today I am delighted to share this tutorial for a fun and whimsical Christmas Card starring some non-traditional colors!

In today’s video tutorial I am sharing how I created my own pattern paper background using traditional and non traditional colors for Christmas!

Skill: Intermediate
Time: 30 Minutes to 90 Minutes

Art Supplies

• Stamping Platform
• Glue
• Embellishments
• Your choice of stamps
• Acrylic Block
• Embossing Powder
• Heat Tool

Imagine Products
• VersaFine Clair in Baby Pink
• VersaFine Clair in Bali
• VersaFine Clair in Strawberry
• VersaFine Clair in Verdant
• VersaFine Clair in Nocturn
• Versamark Ink
• Sheer Shimmer Stix Dauber Top in Sparkle

Other Products Used
• Rainbow Christmas Stamps from Simon Says Stamp
• WOW Silver Embossing Powder
• 120lb paper in white
• Misti Stamping Platform tool
• PVA Adhesive
• Holographic Stars from Trinity Stamps

ALTERNATIVE PRODUCTS THAT CAN BE USED TO RECREATE SOMETHING SIMILAR

Any inks or stamps in your stash!
To learn how to create your own modern, funky Christmas Card  click here!

Sweet Birdie Holiday Card

By Ceal Pritchett

– Hello Crafty friends!
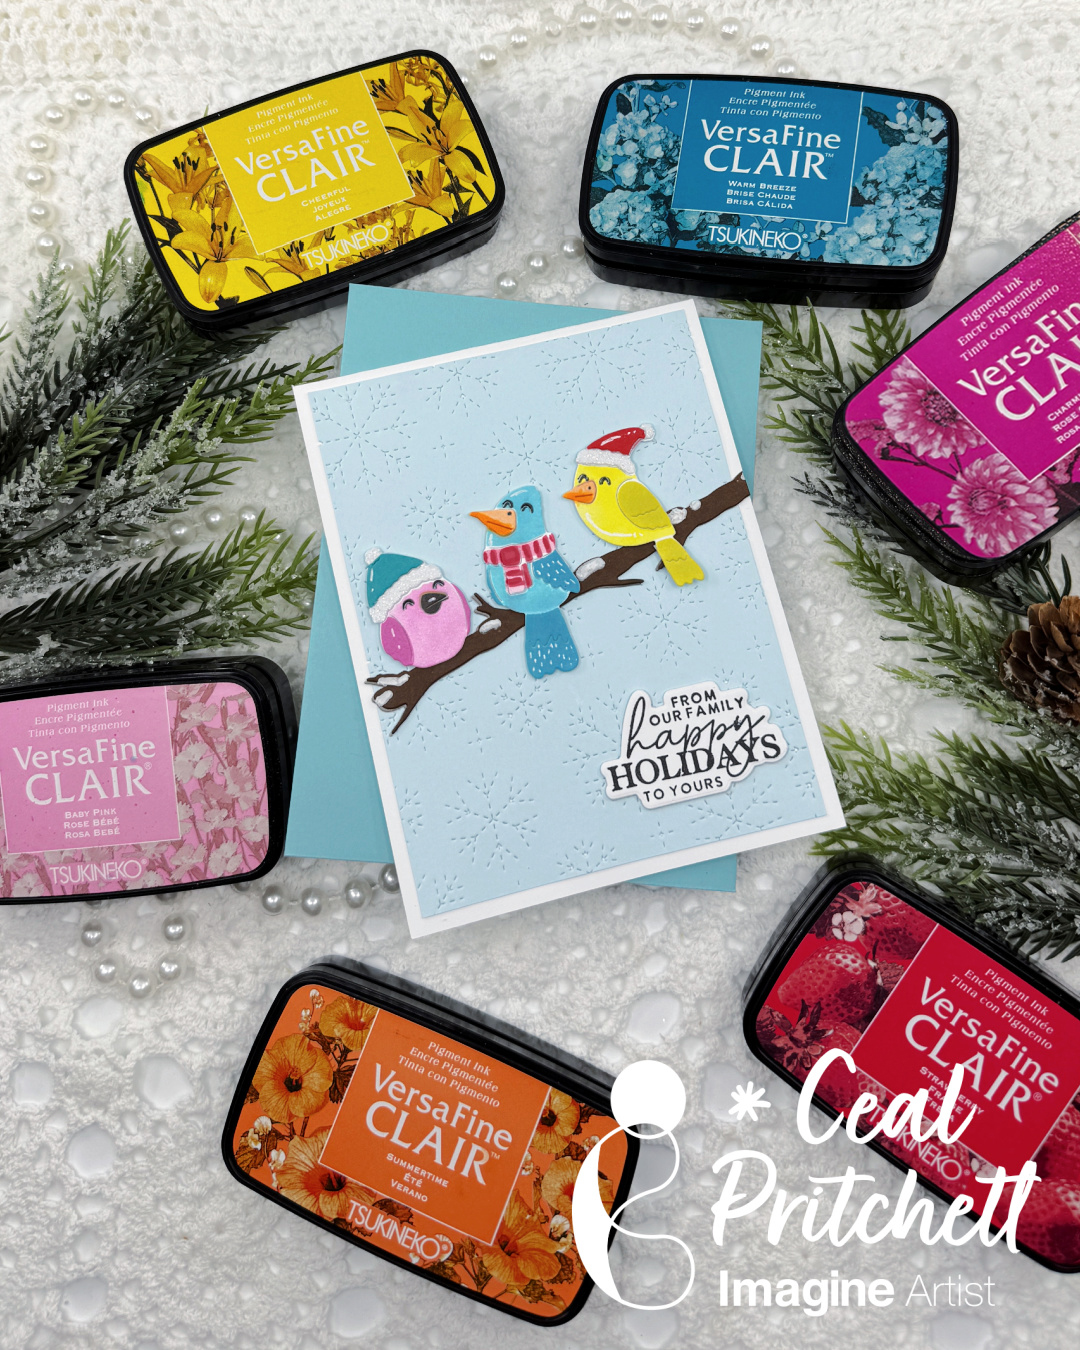
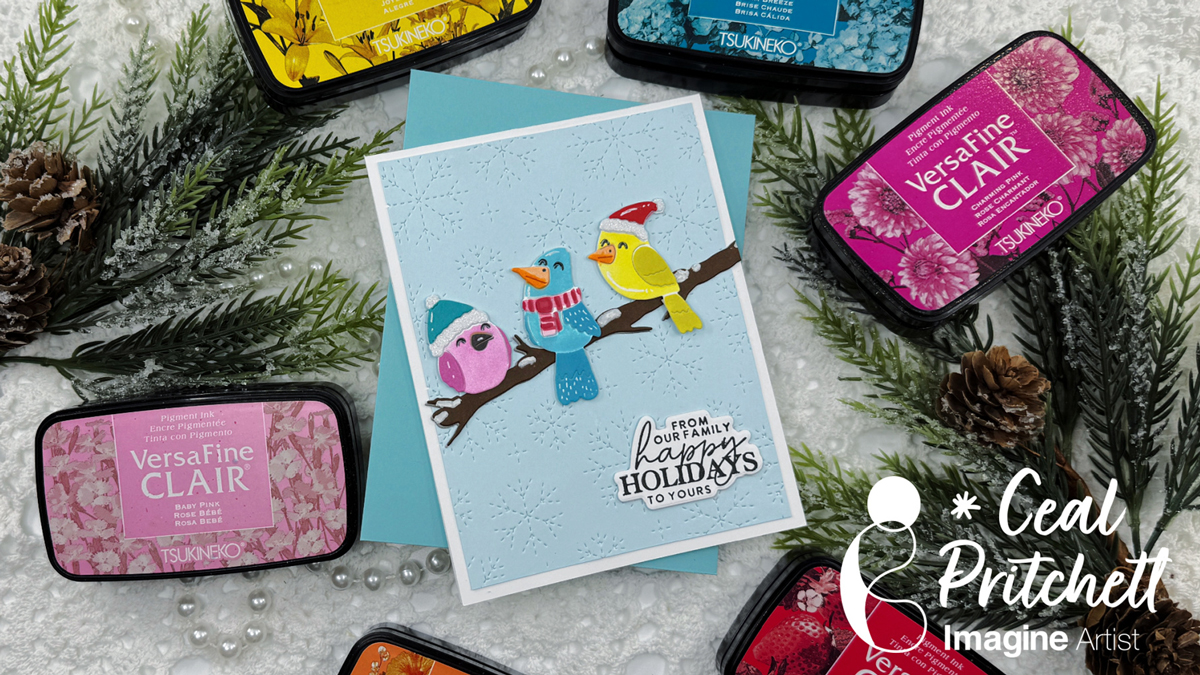
It’s Ceal, here. Today I am sharing how to make this sweet birdie holiday card using some VersaFine Clair inks.

Skill: Beginner to Intermediate
Time: 45 minutes

Directions:

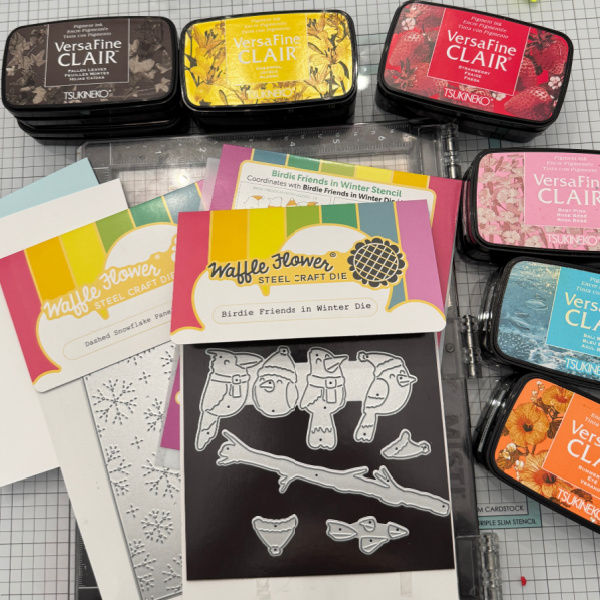
Gather your supplies. You will need several colors of ink, the Birdie Friends in Winter die and stencil or any other die/stencil combo you’d like to use. A holiday sentiment set, a snowflake

cover die or any other background you’d like to use. You will also need either a Sticky Mat or Grip Mat and some paste.

Step1:
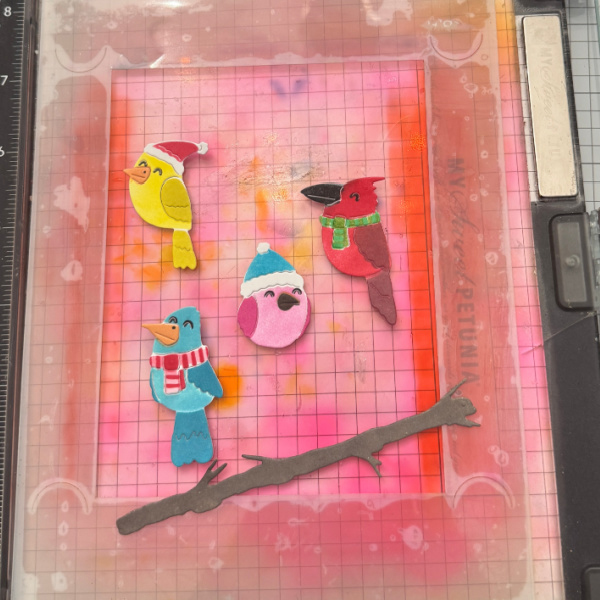
I didn’t show all of them in the picture, but the first step is to cut all the birds out of white cardstock.

Step 2:
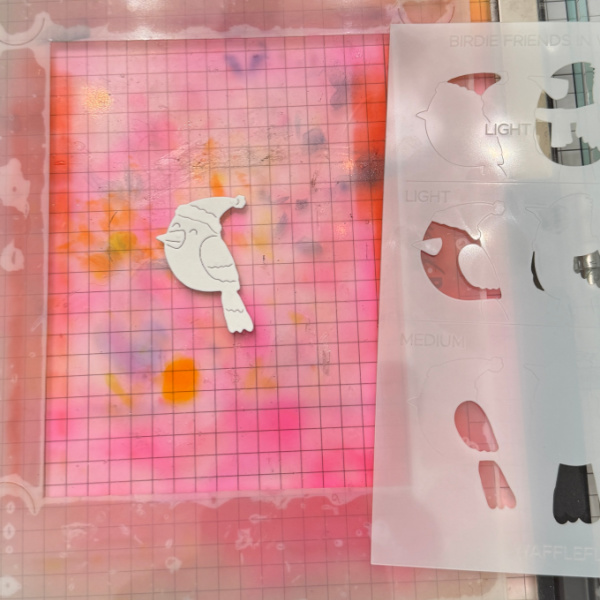
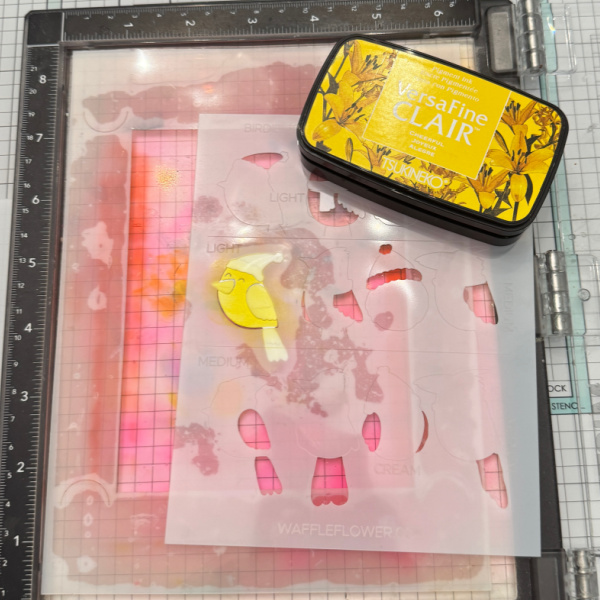
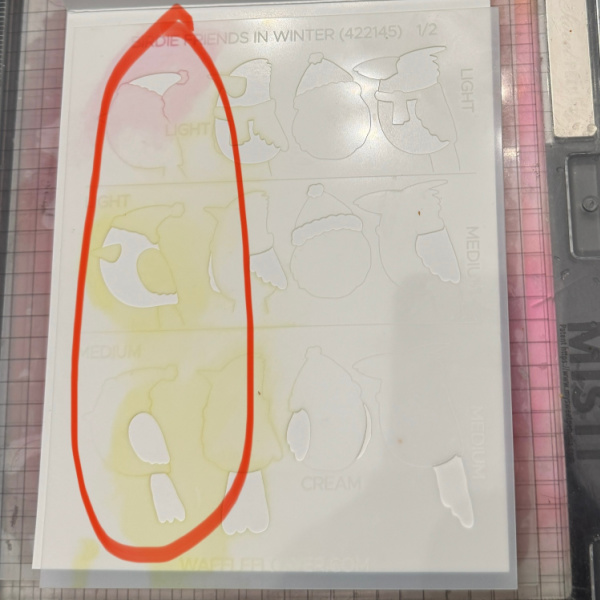
Using the coordinating stencil add color to each bird as you please. For the pink bird I used Baby Pink and Charming Pink. The blue bird uses Warm Breeze, Bali Blue and Strawberry. The yellow bird uses Cheerful and Golden Meadow. I have a picture with the steps circled so you can see the need for different shades of color.

No Step just showing stencil steps

Step 3:
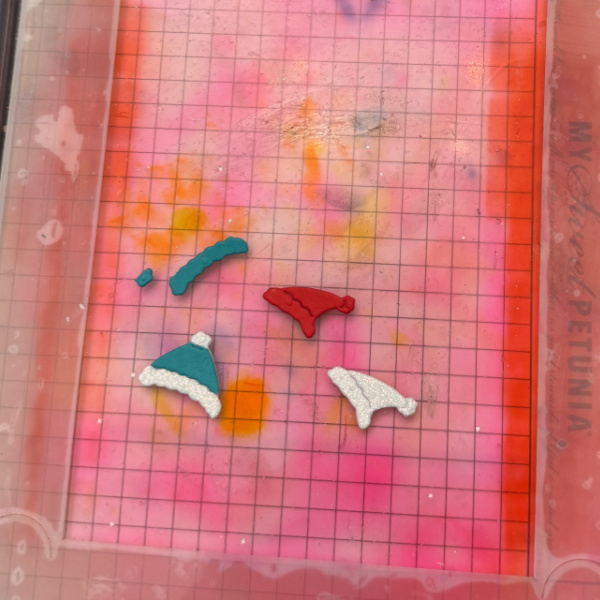
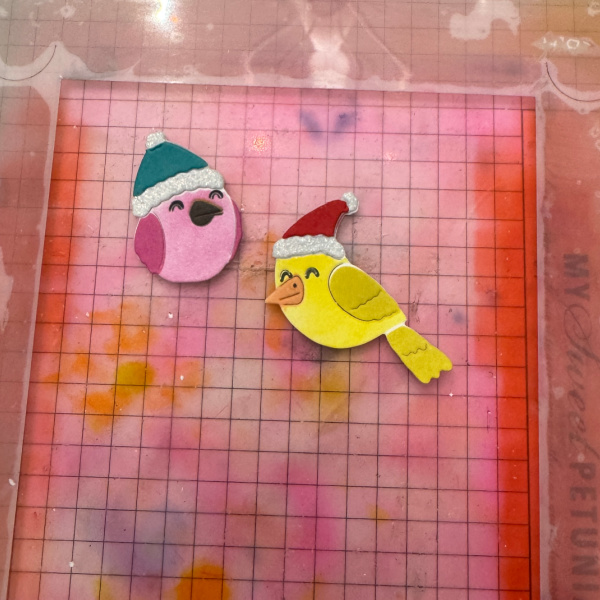
Cut hats out of glitter cardstock and colored cardstock. Cut apart and add to glitter cardstock as shown in picture. Glue onto the birdie.

No step just showing completed birds

Step 4:
Cut the branch out of a dark brown cardstock.

Step 5:
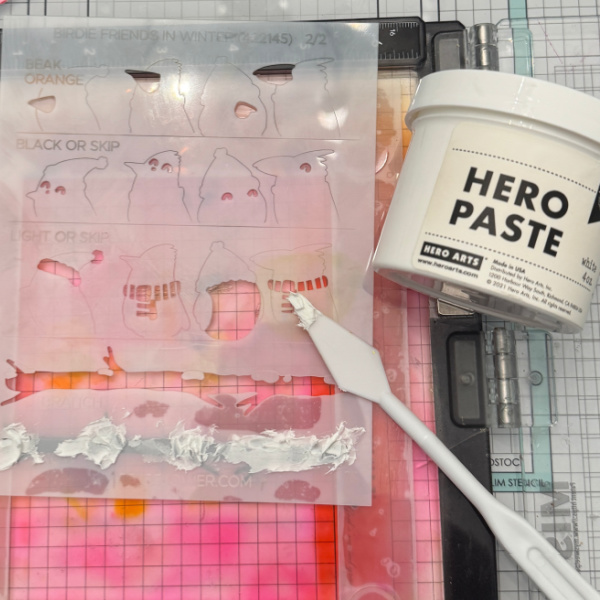
Place branch under stencil, lining it up with the etched portion. Add a white paste using a palette knife.

Step 6:
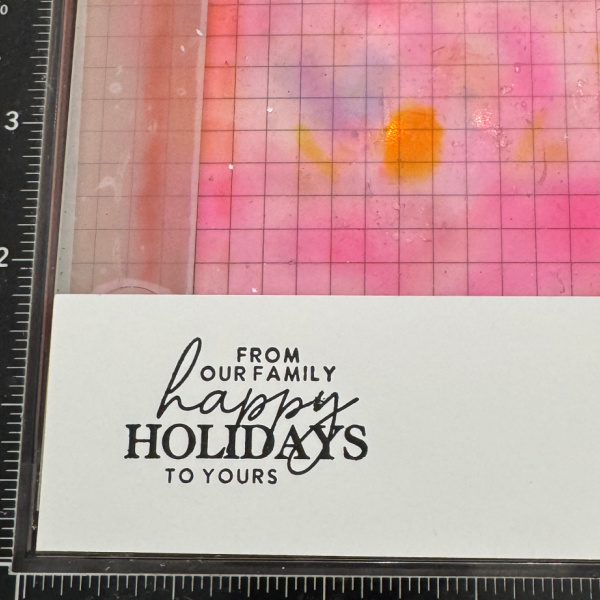
To finish the card, stamp and cut out the sentiment to add to the front.

Supplies:

Imagine Products:
• VersaFine Clair Inks:
Charming Pink, Baby Pink, Warm Breeze, Bali Blue, Strawberry, Cheerful, Golden Meadow, Summertime and Nocturne

• On Point Glue

Other Products:
• Little Birdie stencil/de set – Waffle Flower Crafts
• Family Sentiments Stamp set – Waffle Flower Crafts
• Dashed Snowflake Panel die – Waffle Flower Crafts
• Misti Stamp tool – My Sweet Petunia
• Grip Mat – Waffle Flower Crafts

Let’s Make a Holiday Card!

By Anna Escalada York

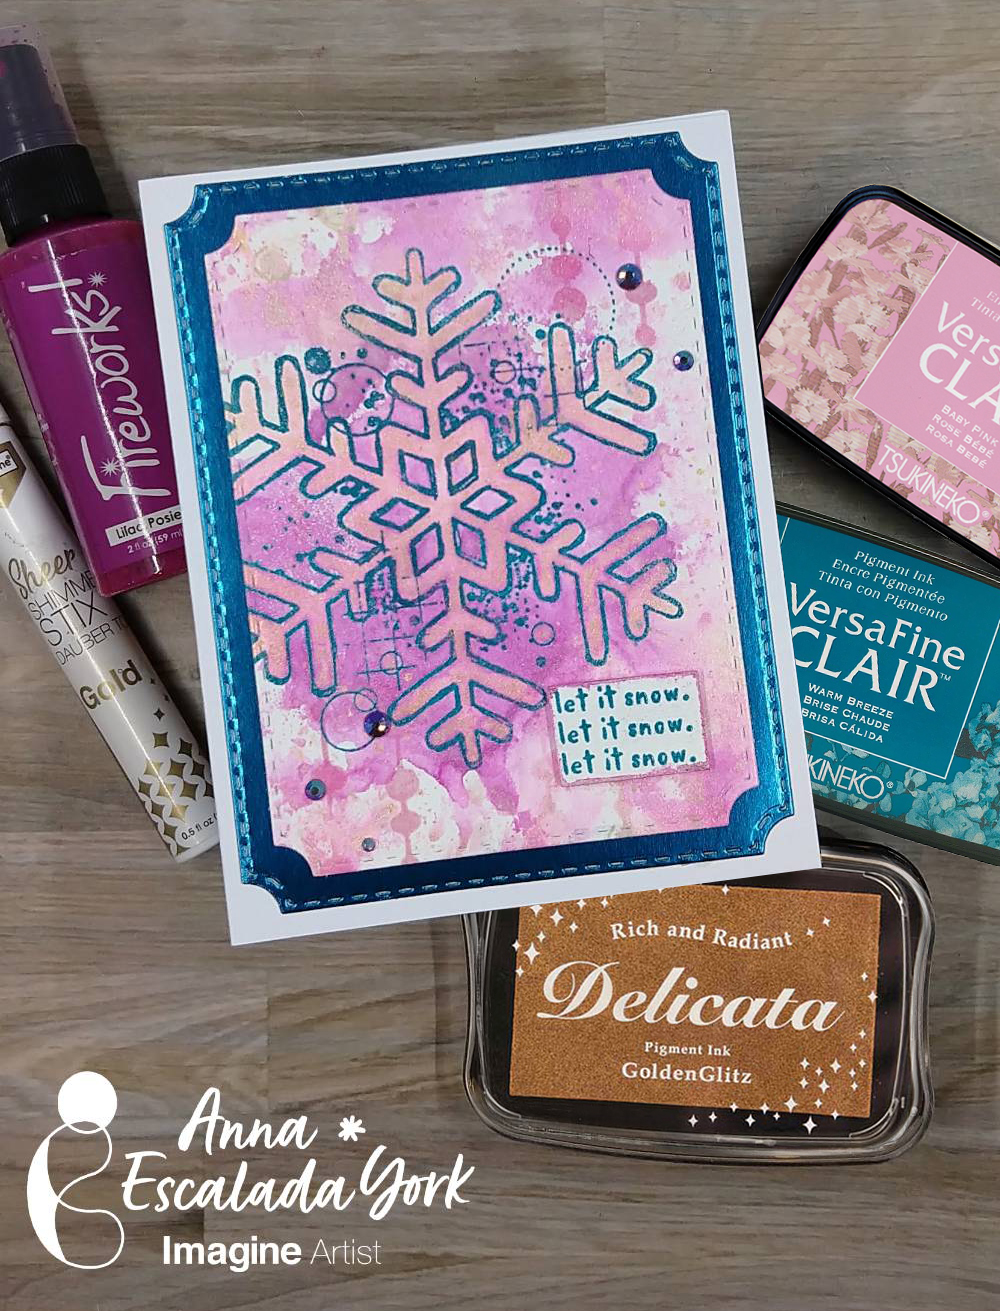
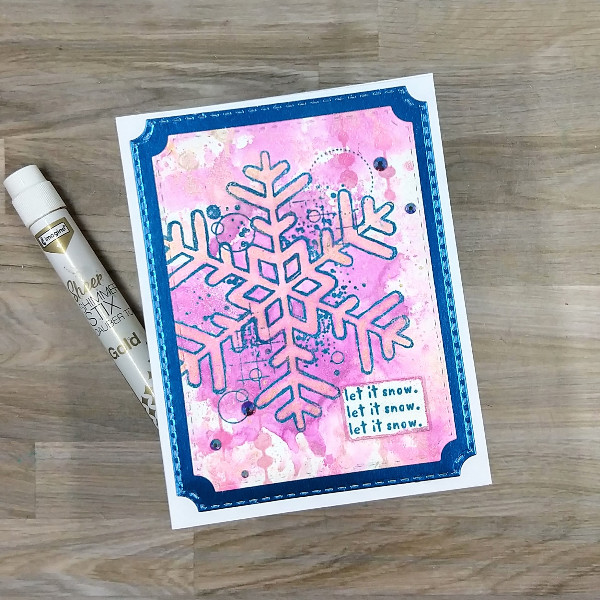
It’s July, so bring on the holiday cards! I personally love non-traditional colored holiday cards and so created one in pink, blue and purple.

Skill: Intermediate
Time: 1.0 hour

Directions:

Step 1:
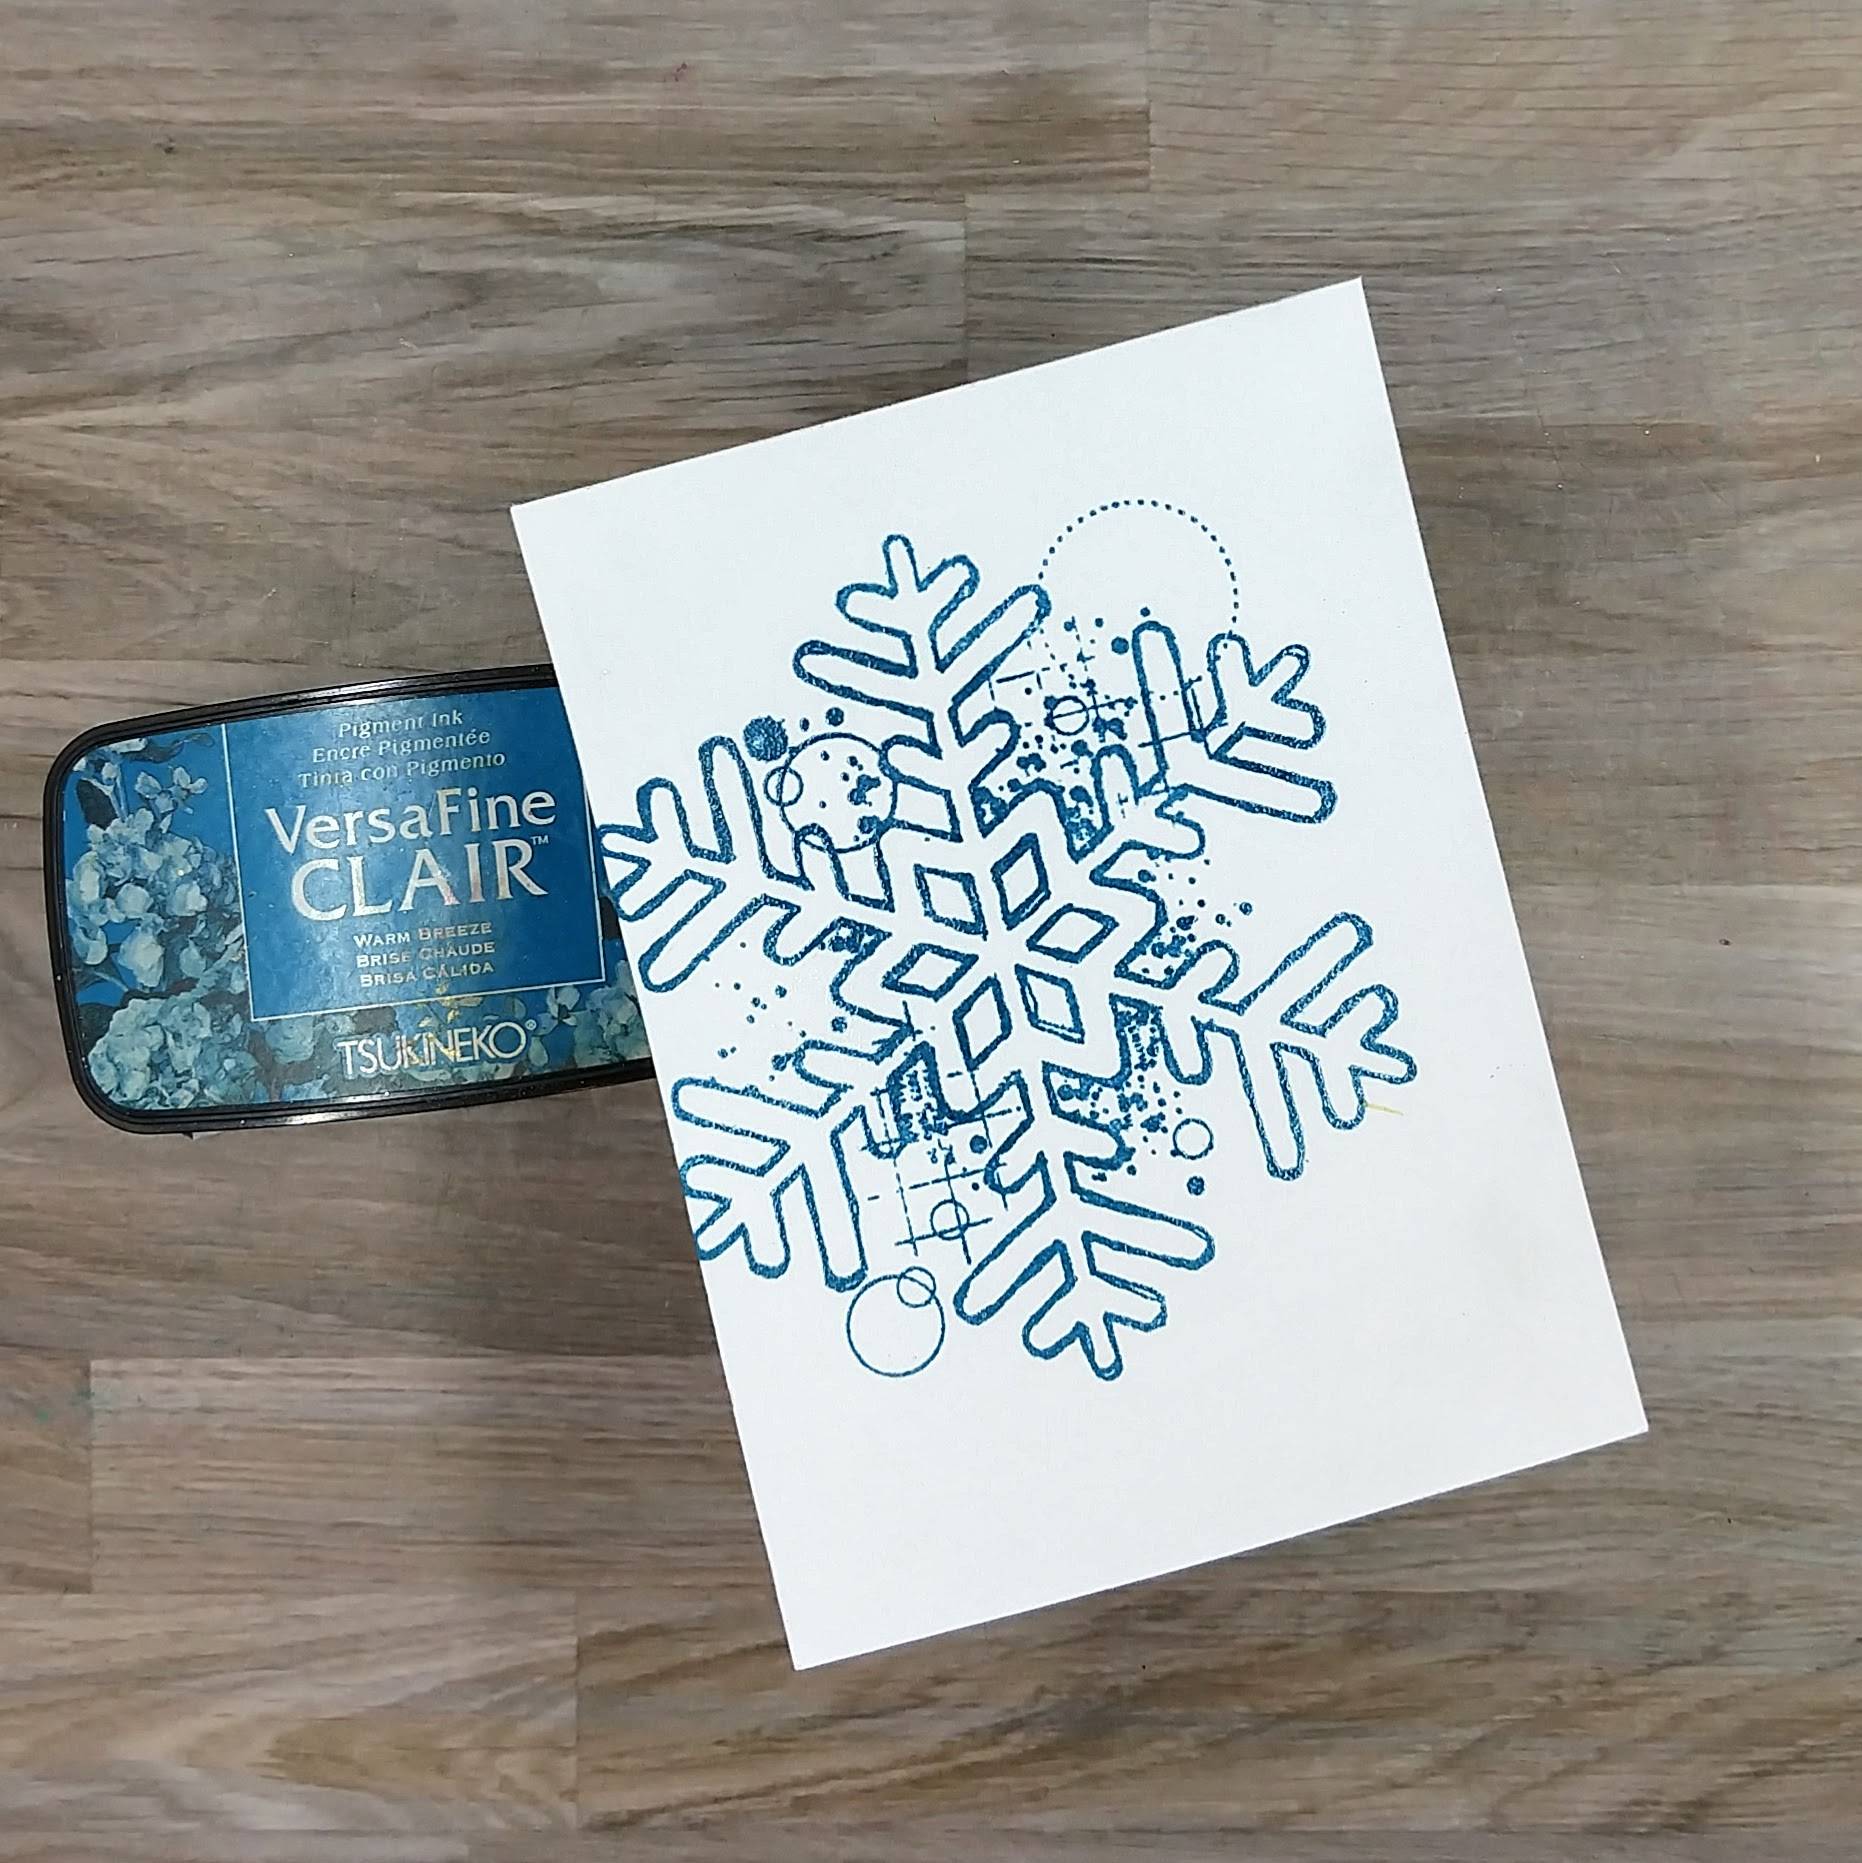
Stamp a large snowflake stamp on watercolor paper with Warm Breeze VersaFine Clair ink and heat emboss with clear embossing powder.

Step 2:
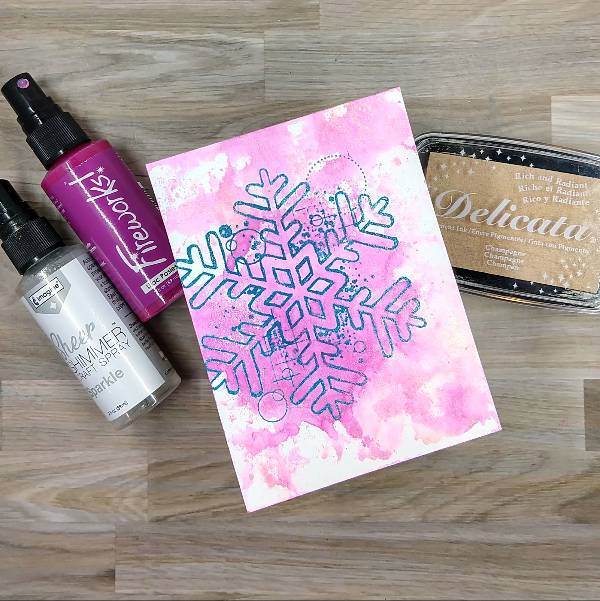
Watercolor smoosh the watercolor panel with alternating layers of Lilac Pansies Fireworks! Craft Spray and Champagne Delicata Ink mixed with Sparkle Sheer Shimmer Craft Spray on scrap acetate.

Step 3:
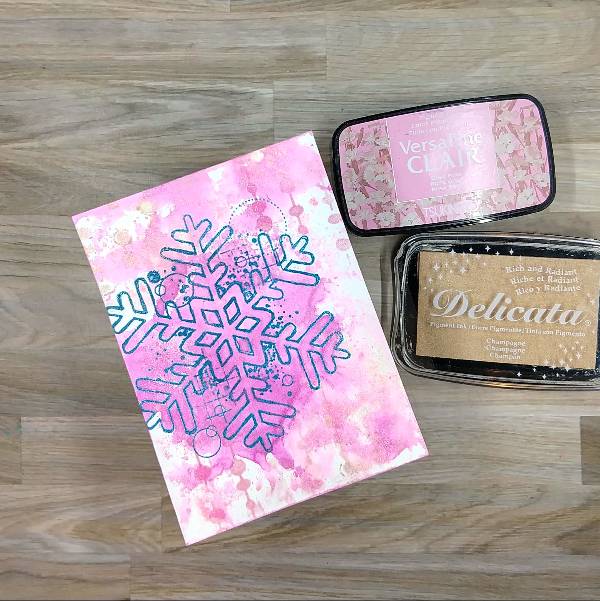
Ink blend a combination of Champagne Delicata Ink and

Step 4:
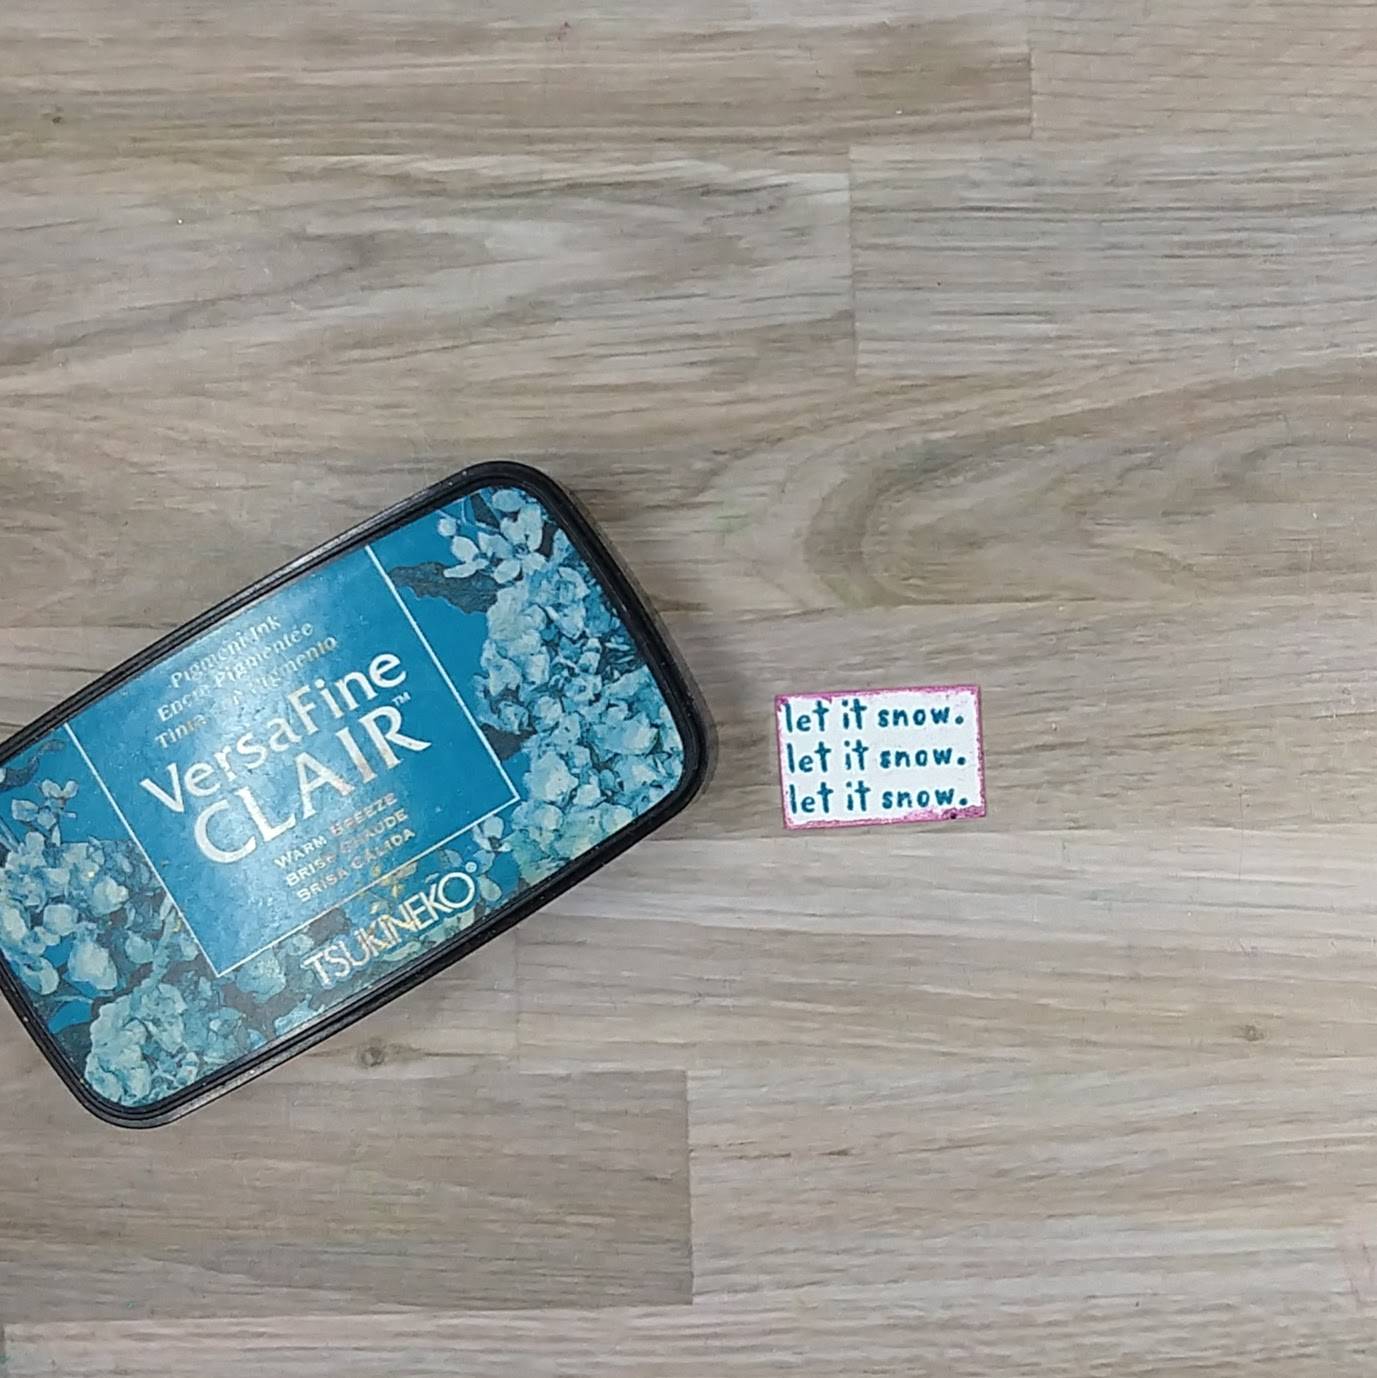
Stamp the sentiment on a small scrap of watercolor paper with more of the Warm Breeze VersaFine Clair ink. Heat emboss with more clear embossing powder. Trim the sentiment down to the desired size with scissors. Then press the edges of the sentiment strip into the remaining mix of colors from step 2’s watercolor smooshing to color the edges.

Steps 5 and 6:

Press the Gold Sheer Shimmer Stix Dauber Top onto another piece of scrap acetate to create a liquid gold medium. Watercolor the gold liquid inside the snowflake to make it shiny. Watercolor smoosh the remaining gold watercolor onto the card panel.

After everything dried, die cut the watercolor panel with the second-largest die from an A2-sized nesting die set and a piece of blue metallic cardstock with the largest die from the same

A2-sized die set. Glue both die cut layers together. Attach the sentiment with foam tape. Glue sequins around the snowflake. Finally, glue the whole thing onto an A2-sized white cardbase.

Art Supplies

Imagine
• Delicata ink – Champagne
• Fireworks! – Lilac Posies
• Sheer Shimmer Craft Spray – Sparkle
• Sheer Shimmer Stix Dauber Top – Gold
• VersaFine Clair ink – Baby Pink
• VersaFine Clair ink – Warm Breeze
• Sponge dauber

Other
• Altenew – foam tape
• Crafty Meraki – embellishments – Meraki Sparkle Prismatic Blue
• Idea-ology and Tim Holtz – 6 x 9 cardstock – blue (from the Metallic Colors collection)
• Pink and Main – die set – Notched Corners
Scrapbook.com – stencil – String Lights
• A2-sized white card base
• Clear Embossing Powder
• Watercolor paper
• Thin paint brush
• Die cutting machine
• Scissors
• Glue

 Create a Dog Pun Valentine’s Card 

By Jessica Lin

Skill: Beginner
Time: 30 minutes

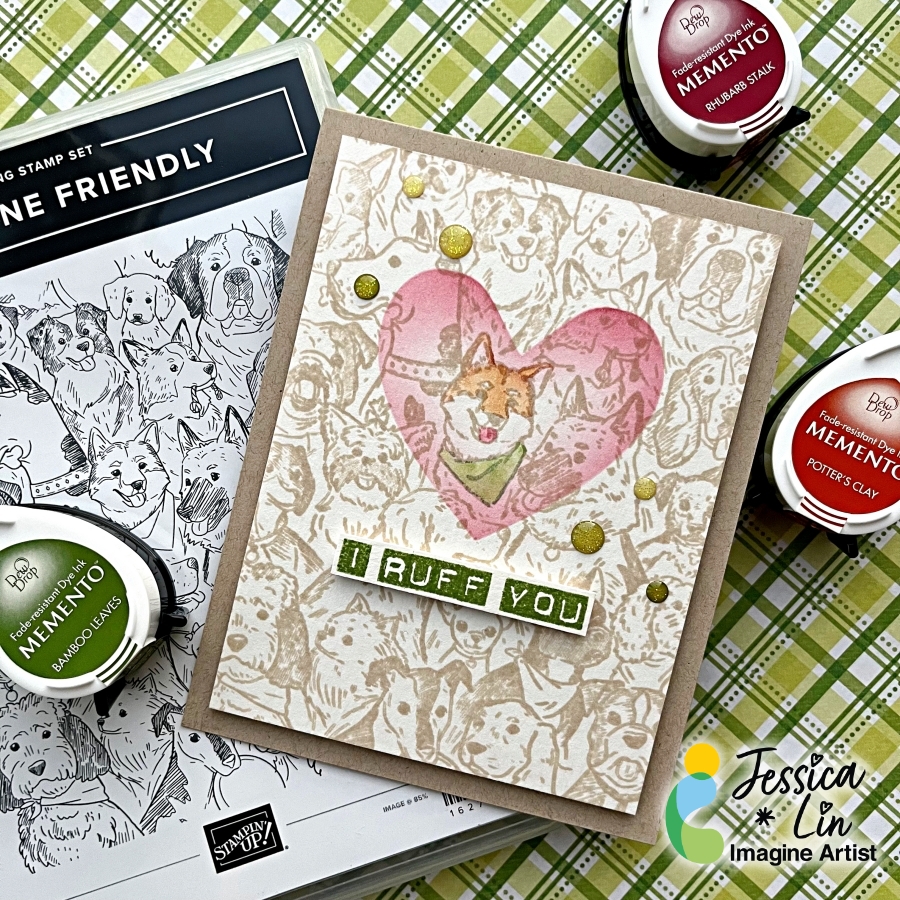
Hi everyone, it’s Jessica here. Today I have a special Valentine’s card to share with you. If you are a dog person, the background stamp we are using today is for you. It’s really unique and you could highlight any of the dogs to create personalized cards for the recipient.

Step 1:
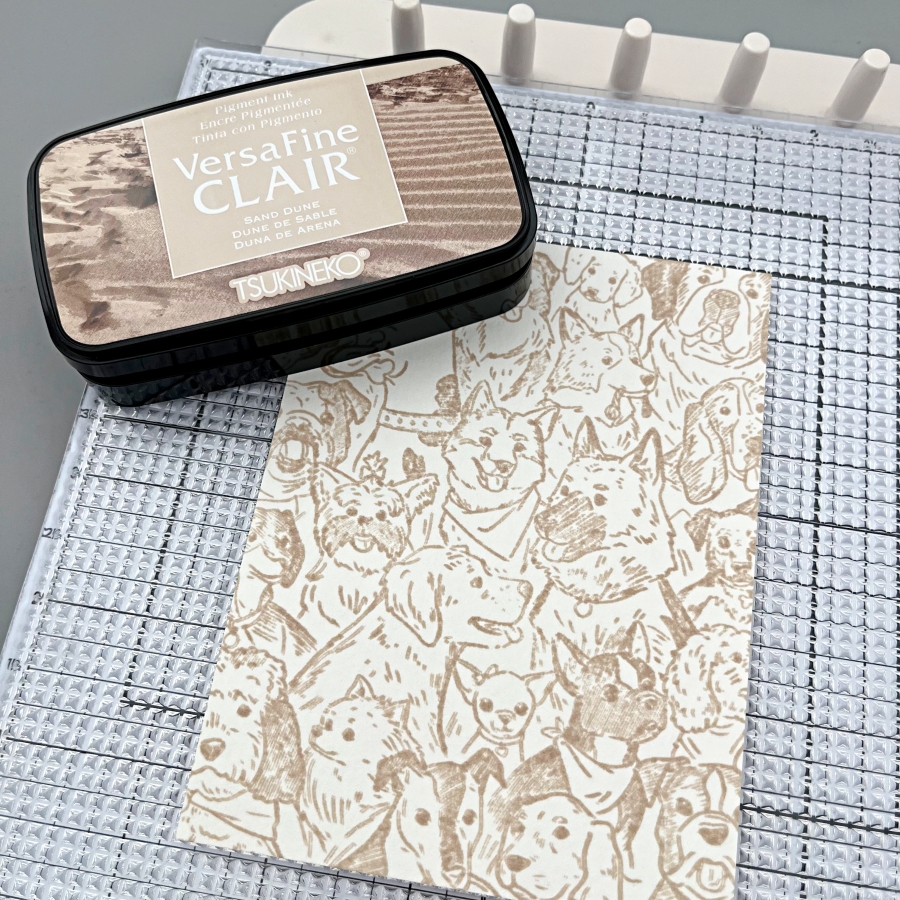
Ink up Stampin’ Up!’s Doggone Friendly background stamp with Sand Dune VersaFine Clair ink, then stamp on a piece of watercolor cardstock. I recently got a photopolymer sticky mat from Altenew and have enjoyed using it so far. It ensures the cardstock stays in place when you are stamping, which is a handy feature when you are stamping large images like background stamps.

Step 2:
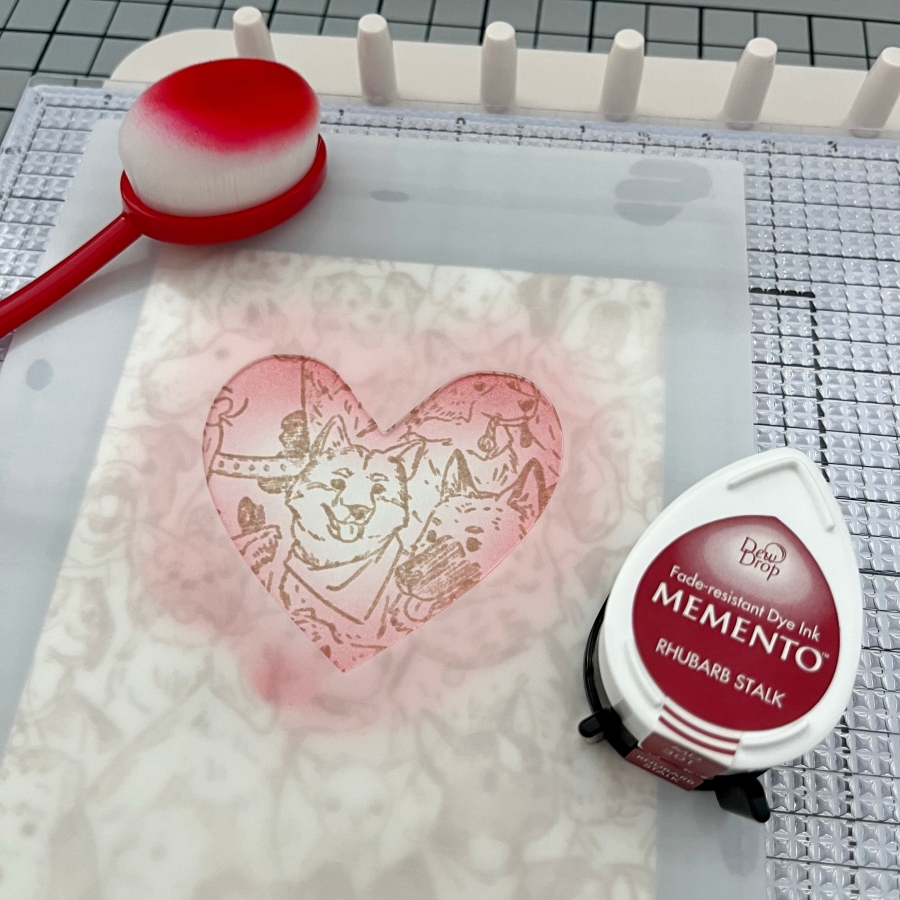
I wanted to highlight the Shiba Inu in the middle by creating a spotlight effect around him. I laid down the Spotlight Heart stencil in the center and ink blended the edges lightly with Rhubarb Stalk Memento ink. Memento inks are perfect for ink blending and since they are dye inks, the blended areas will not cover up the background stamp details.

Step 3:
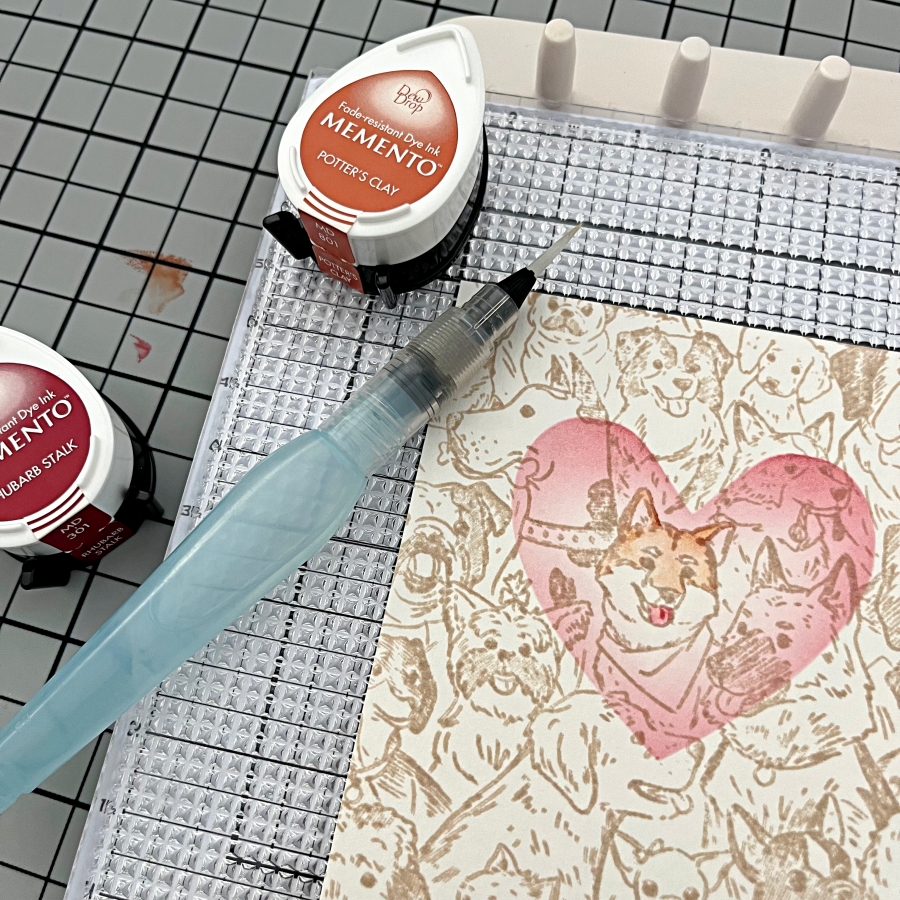
This step is completely optional, but I decided to add some simple watercoloring. I chose Potter’s Clay for his face and used Rhubarb Stalk to color his tongue. For his scarf, I used Bamboo Leaves (not pictured here).

Step 4:
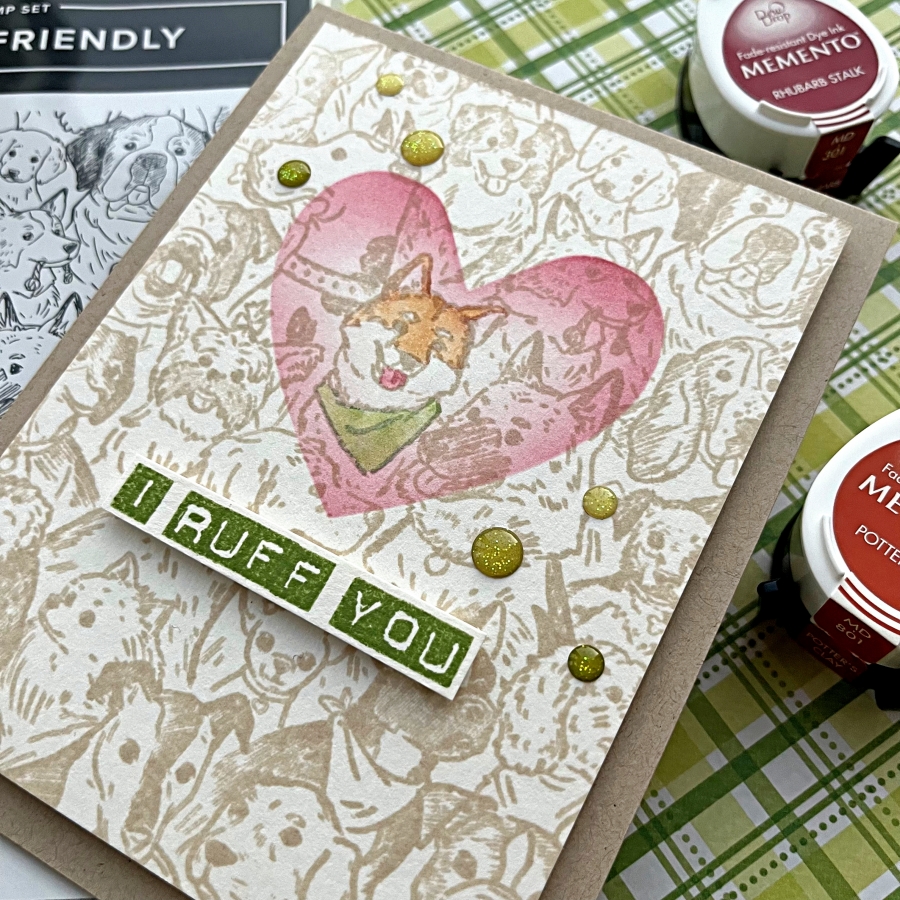
Lastly, I stamped a “punny” sentiment using Bamboo Leaves Memento ink. I have used the Labeler Alphabet stamp set many times before to create custom sentiments. I thought this phrase compliments the blended heart shape nicely. Finally, I added some green enamel dots to decorate and the card is completed!

Imagine Supplies:

Other Supplies:

  • Stampin’ Up! – Stamp – Doggone Friendly
  • Waffle Flower – Stencil – Spotlight Heart
  • Stampin’ Up! – Stamp – Labeler Alphabet
  • Waterbrush
  • Blending brushes
  • Neenah – Cardstock – Desert Storm
  • Watercolor cardstock