Red, White, and Blue Birthday Wishes Card

By Monica Edwards

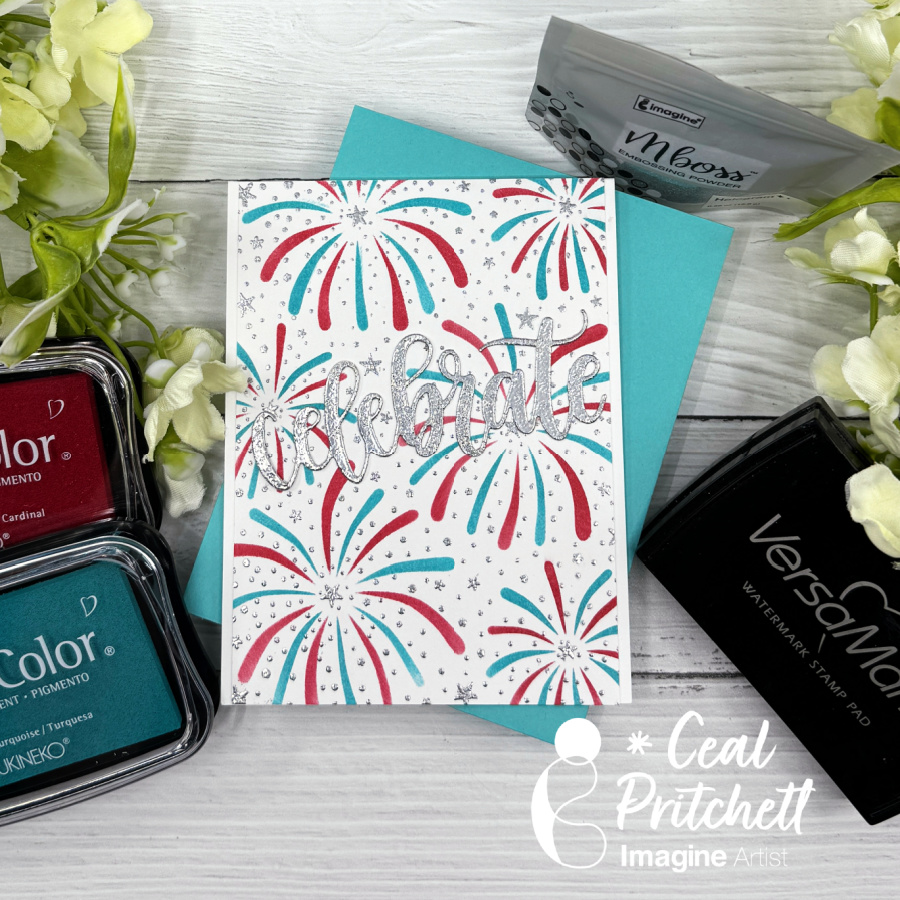
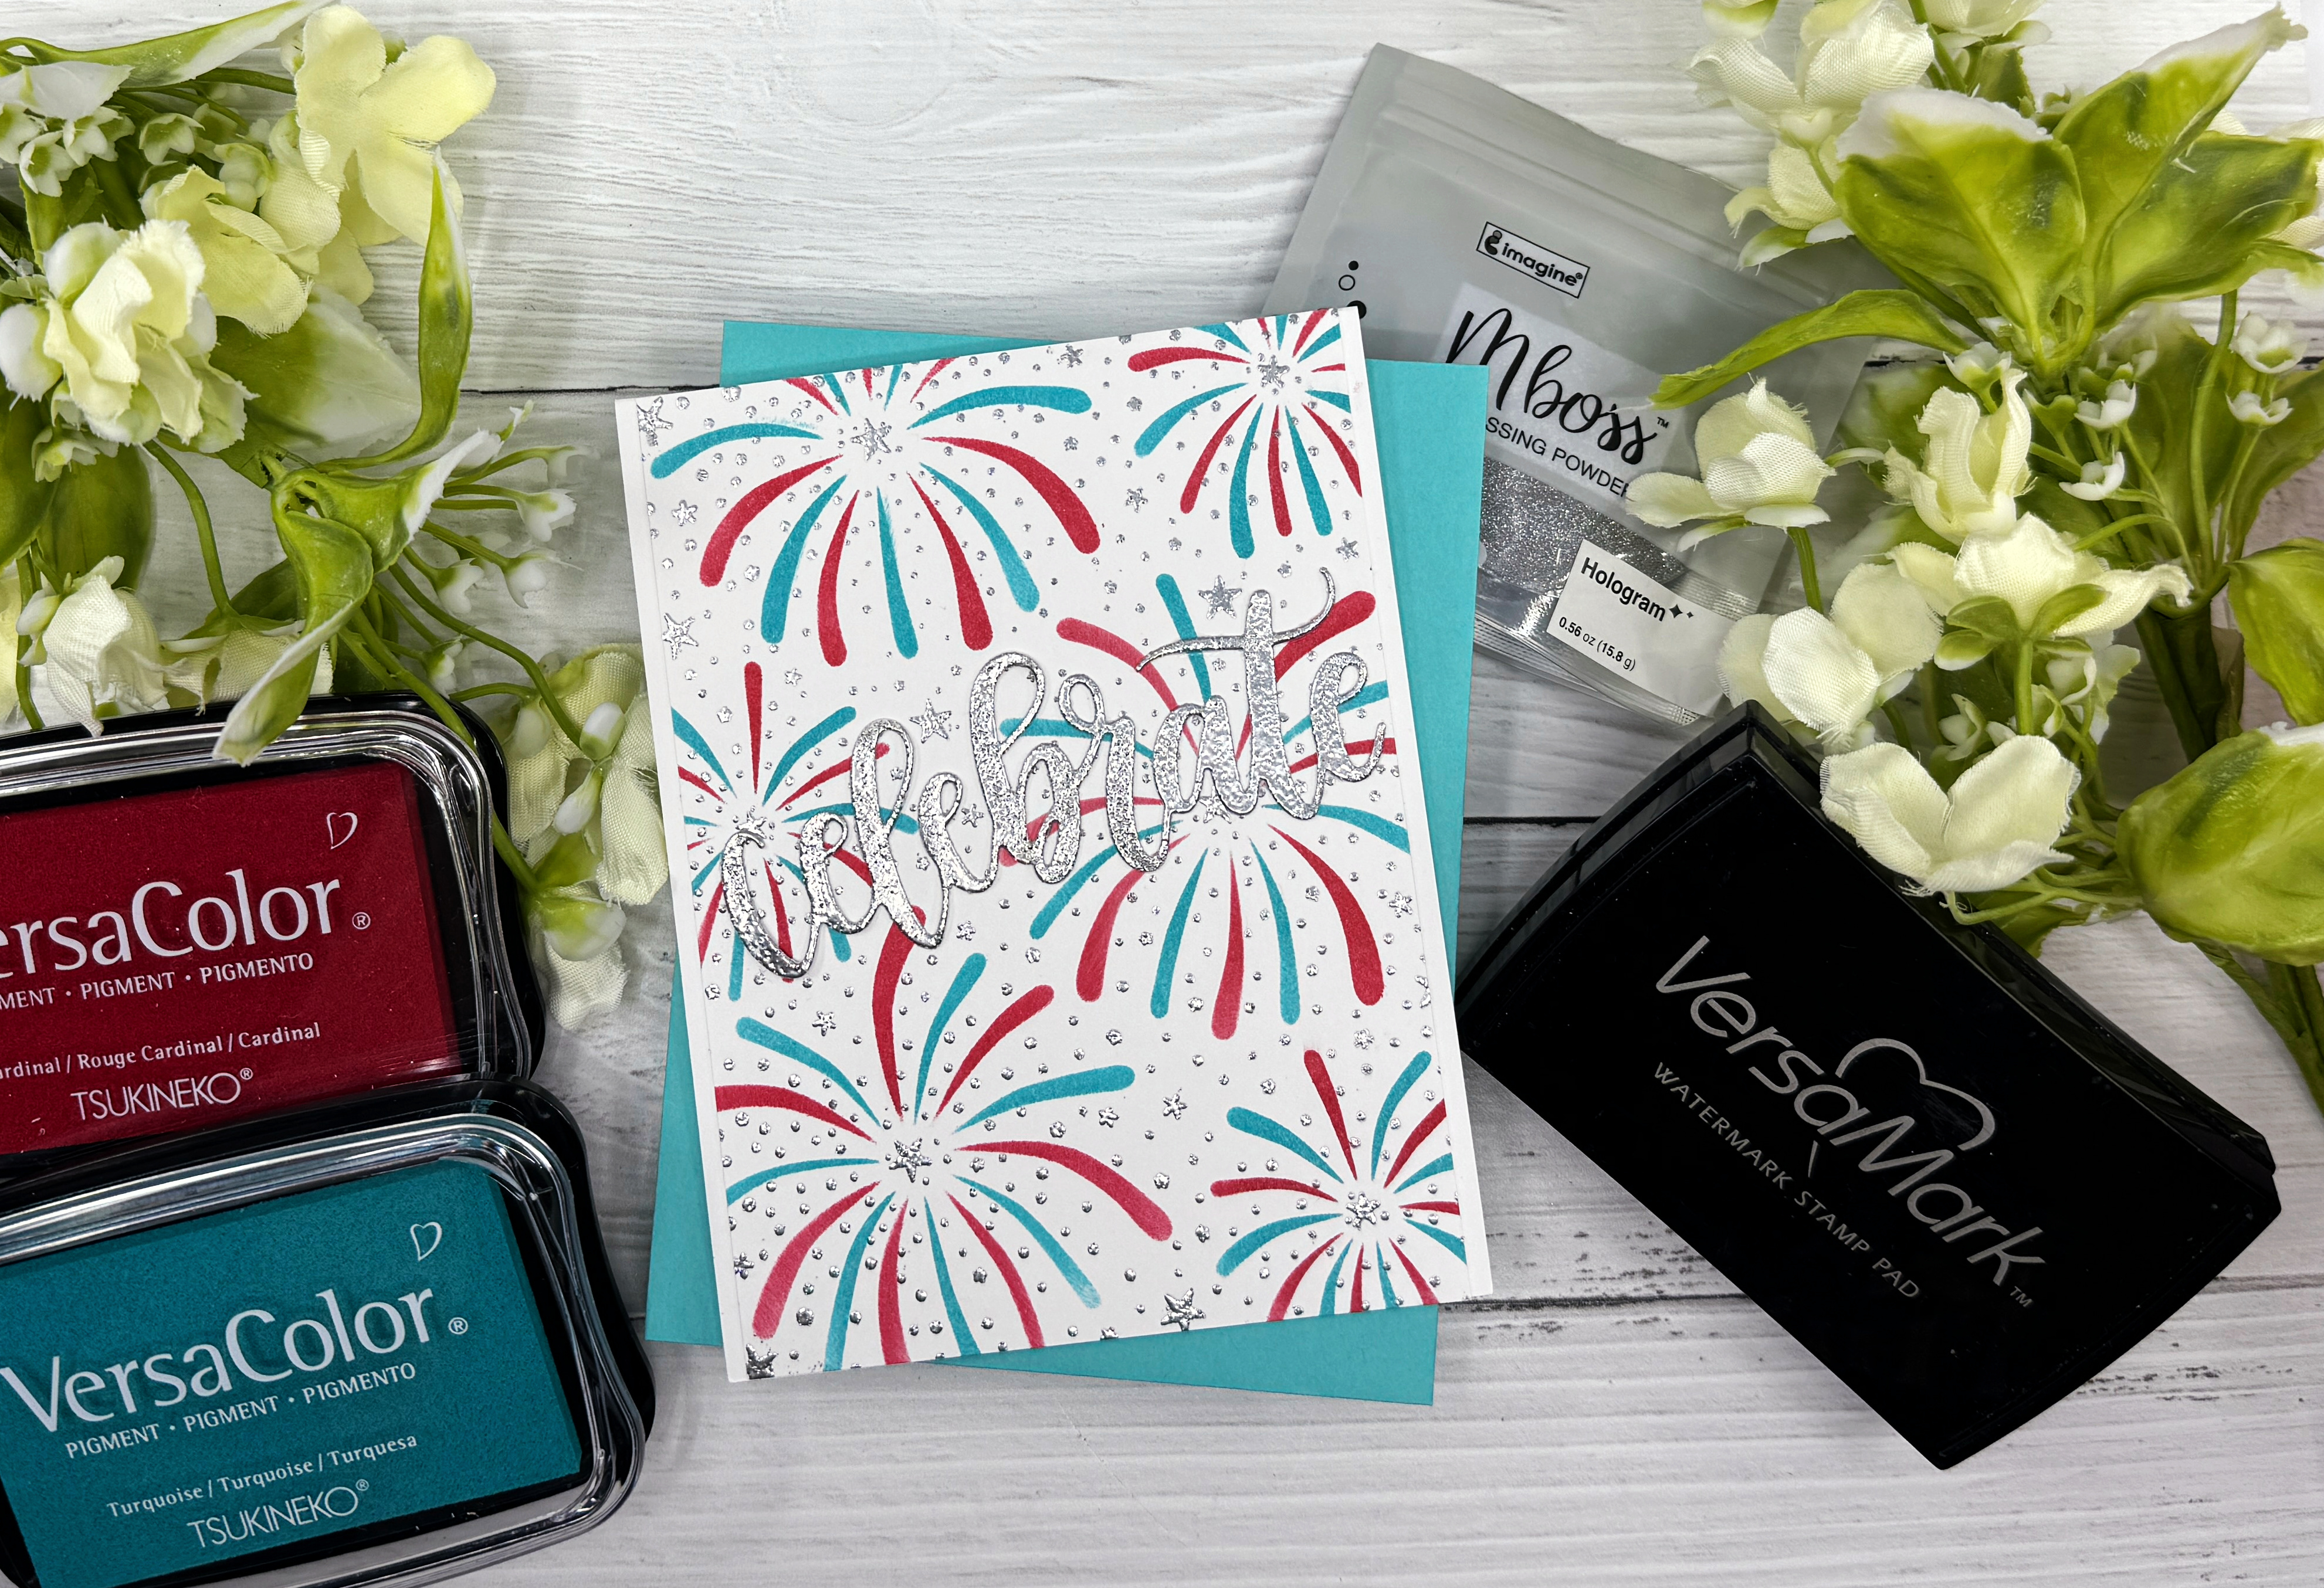
Welcome back to the Imagine blog. Today, I will show you how to use your VersaColor ink cubes to make a fun and creative background to celebrate America’s birthday.

Skill Level: Beginner
Time: 30 Minutes Approx.

Directions:

Step 1
Take a sheet of white cardstock cut it to 4×5 (set aside)

Step 2a
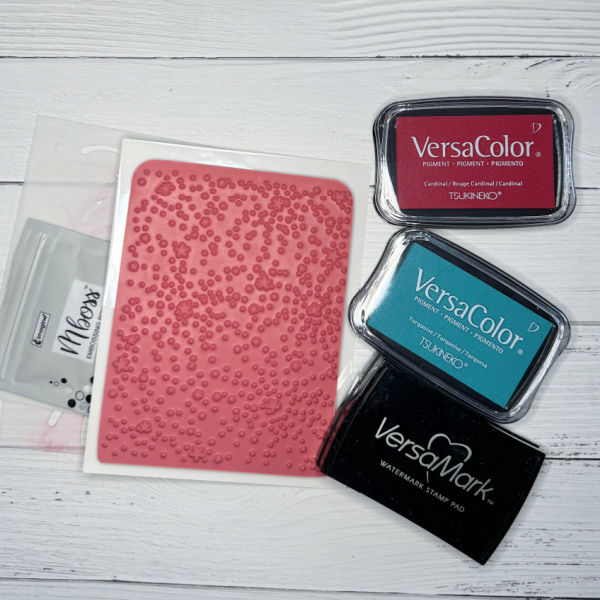
Take your VersaColor ink cube in Neptune and blot the color onto the stamp. 
I applied the blue to the kids, grass border and bit of the flag. 

Step 2b
Next, I blotted on some Memento Luxe in Love Letter on the flag. 
This will give you the two-tone color stamping.
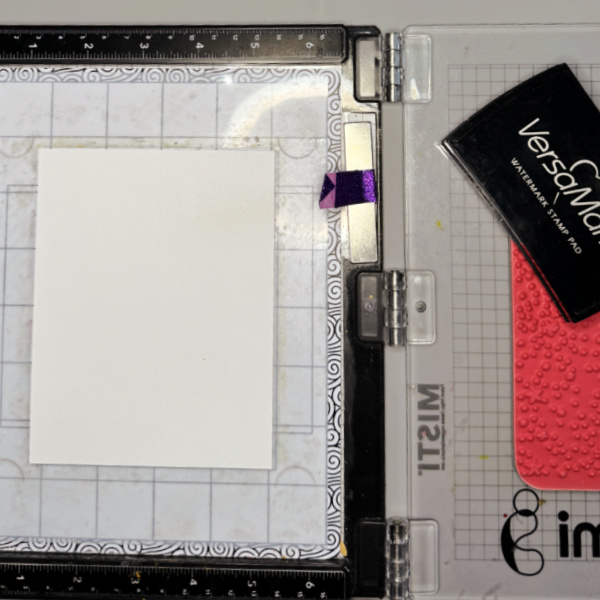
Step 3
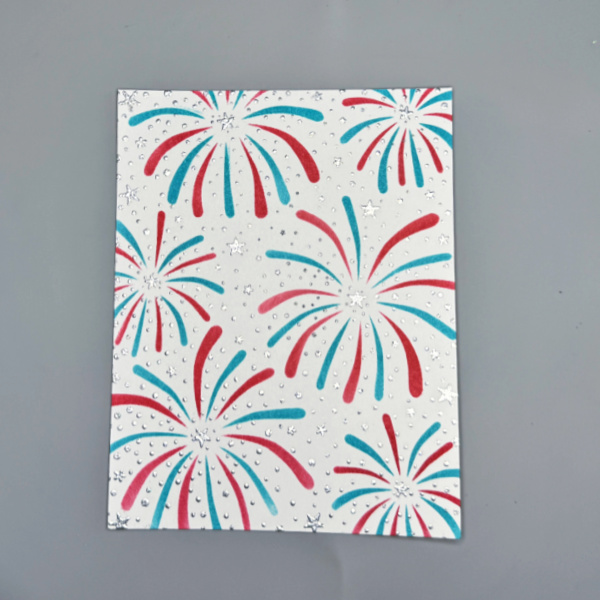
Stamp your image on the white cardstock

Step 4
Next, create a mat for the piece of white cardstock by taking a piece of navy cardstock and cutting it to 4.25 x 5.25 inches. This will leave a 0.25-inch navy border around the white cardstock.

Finish your card with a sentiment.
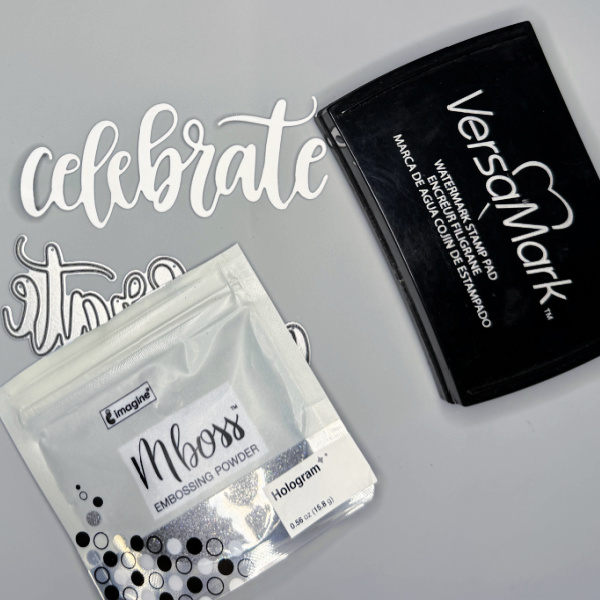
Products Used:

Imagine:
• Memento Luxe – Love Letter
• VersaColor – Nautical Blue

Other:
Hammermill:  White Cardstock
My Colors : Navy
Crackerbox Stamps: Happy Fourth, Happy Birthday Sentiment

.

Celebrate Our Nation Invitation Card

By Ceil Pritchett

Hello crafty friends!
It’s Ceal here. Each year I have my family over to celebrate July 4th and I send out invitations, this is the invitation for this year, and I am sharing how I made it.

Skill: Intermediate
Time: 30 to 45 minutes

Directions:

You will need to gather the following supplies. Red and blue ink, stamp/stencil set, celebrate word die cut, VersaMark ink Hologram MBoss embossing powder.

Step 1:
Prepare the paper by using a anti-static tool, then ink up the background stamp (fireworks background used here)with VersaMark ink and stamp on panel.

Step 2:
Cover the panel with Hologram Mboss embossing powder and melt with heat tool.

Step 3:
Using a large dauber along with the stencil color the layers in red and blue,
I used red for layer 1 and blue for layer 2.

Step 4:
Cut out the word celebrate, cover with VersaMark ink using the pad directly to the word, or a sponge dauber.

Step 5:
Cover the celebrate die with Mboss Hologram embossing powder and melt with heat gun.

Supply List:

Imagine crafts:
VersaColor – Turquoise
VersaColor – Cardinal
VersaMark Ink
Mboss – Hologram
On Point Glue

Other supplies:
Neenah Solar White 80lb and 120lb
Fireworks background Stamp/Stencil Combo – Taylored Expressions
Celebrate Word Die –My Favorite Things

Make a Fourth of July Card with Colorful Heat Embossing 

By Jessica Lin

Hi everyone! Are you ready to celebrate the Fourth of July? I made a sparkly, light-up card to celebrate the occasion. It’s been a while since I heat embossed with colorful embossing powders and I truly miss this simple and fun technique. Be sure to check out the supply list at the end to see the colors I used!

Skill Level: Advanced
Time: 1 hour

Step 1:
Stamp one image from MFT’s Festive Fireworks set with VersaMark ink pad. Then pour on embossing powder with the color of your choice. Repeat the steps if you would like to use different colors of embossing powders, making sure to heat set the powder before moving on to the next color. The colors I used today are Mboss – Valentine, Lucky Stars, Princess Party, and Shimmering Night Sky (not pictured here).

Step 2:
Use Brilliance – Galaxy Gold ink pad to stamp the layering images. I used a stamp positioning tool so that I could restamp a couple of times and get good ink coverage. The gold stamped images look so well against the black background, don’t you think?

Step 3:
I decided to add interactive elements to make this card even more festive! I used Chibitronics LED light stickers to create the light up circuit. If you are interested in making a light up card, feel free to check out the step-by-step video tutorial on my YouTube channel “Craft with Jessica V. Lin” and search for “How to Make a Fireworks Light Up Card with BLACK Cardstock”.

Step 4:
For some finishing touches, I splattered some Sheer Shimmer Craft Spray to the background. I used the brush-over-acrylic-block flicking method, but you could use the spray nozzle to add a fine mist of shimmer as well. Then I adhered some sequins with On-Point Glue, and that completes the card!

Imagine Supplies:

Other Supplies:

  • MFT – Stamps – Festive Fireworks
  • We R – Tool – Precision Press
  • Antistatic Powder Tool
  • Heat Tool
  • Hero Arts – Dies – Infinity Circle (to die cut the small center circles for light to shine through the fireworks images)
  • Chibitronics – Tool – LED sticker and Circuit Tape
  • Foam Tape
  • Black cardstock