By Kathi Rerek
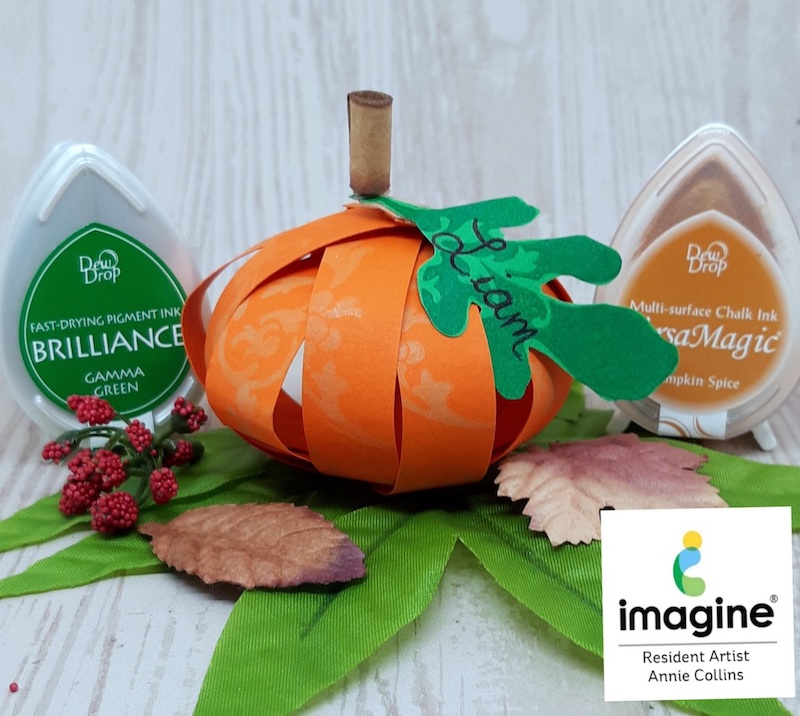
Here’s a quick and easy Thanksgiving card using a beautiful pumpkin stencil, Memento Dew Drop Inks, and a sticker!
Skill Level: Beginner
Time: 45 minutes
Instructions:
Step 1:
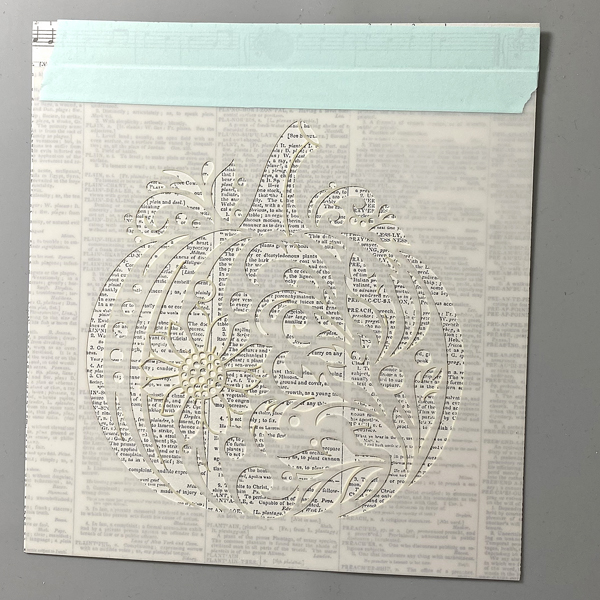
Use low-tack tape to adhere the Pumpkin Flourish stencil to the top of a piece of text cardstock and the craft mat. Run a stylus tool along the tape seam between the stencil and the cardstock to create a hinge so that you can pick up the stencil to check out ink coverage.
Step 2:
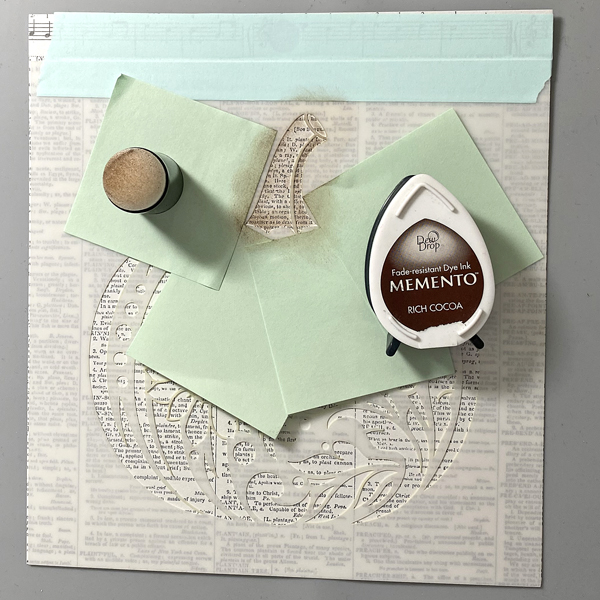
Use Post-It Notes to cover the leaves and the pumpkin on the Pumpkin Flourish stencil. Use a Sponge Dauber to apply Rich Cocoa Memento Ink along the edges of the pumpkin’s stem onto the text paper. Use another Sponge Dauber to apply Toffee Crunch Memento Ink over the Rich Cocoa Ink and onto the rest of the stem.
Step 3:
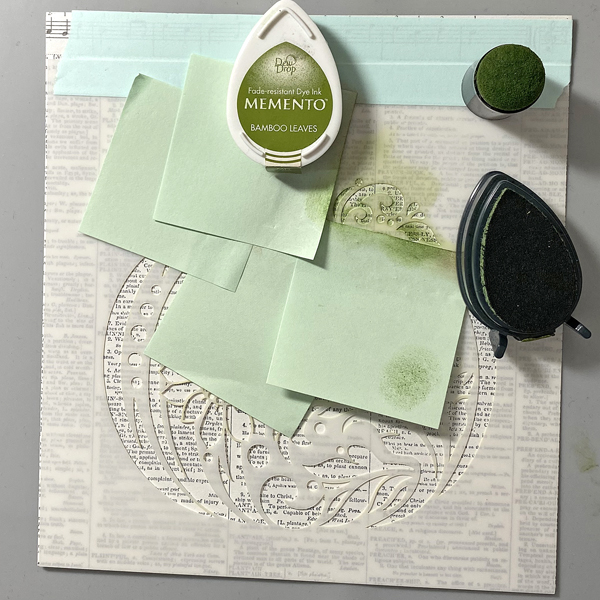
Use Post-It Notes to cover the stem and the pumpkin on the Pumpkin Flourish stencil. Use a Sponge Dauber to apply Bamboo Leaves Memento Ink around the outside of the leaf flourishes on the stencil onto the text paper. Use another Sponge Dauber to apply New Sprout Memento Ink fill in the open areas of the leaf flourishes on the stencil.
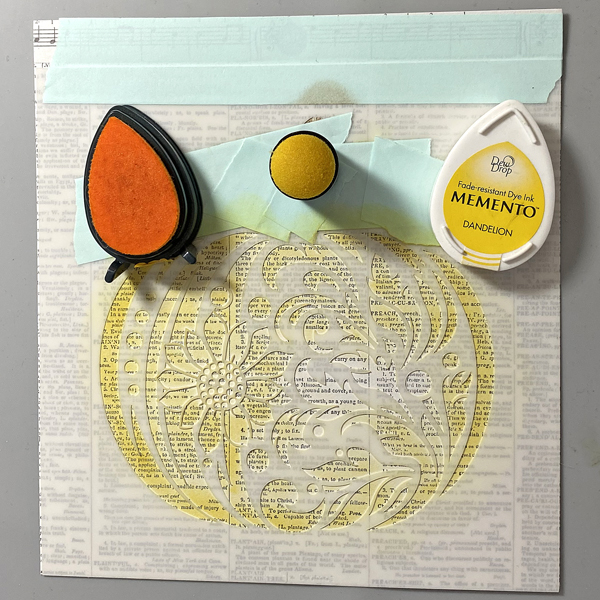
Step 4:
Use Post-It Notes to cover the stem and the stem on the Pumpkin Flourish stencil. Use a Sponge Dauber to apply Dandelion Memento Ink over the pumpkin area of the stencil onto the text paper.
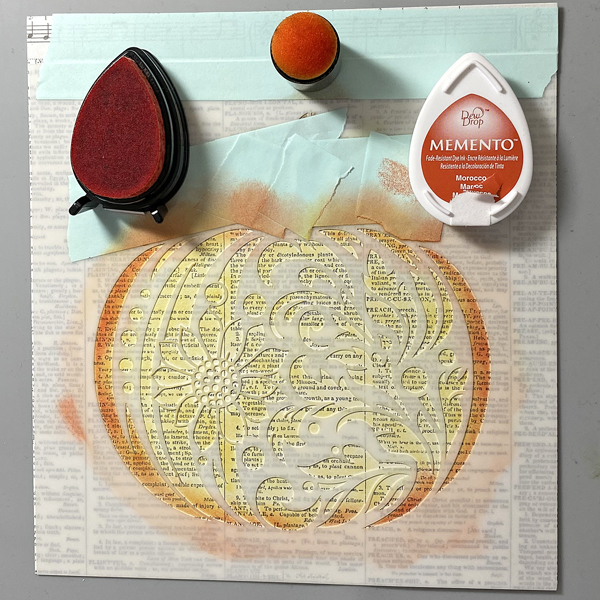
Step 5:
Use a Sponge Dauber to apply Morocco Memento Ink over the outside edges of the pumpkin stencil onto the text paper. Working from the outside of the pumpkin stencil towards the center of the pumpkin stencil, use separate Sponge Daubers to apply Tangelo Memento Ink, then Canteloupe Memento Ink over the stencil onto the text paper.

Step 6:
Use a Fantastix to apply Rhubarb Stalk Memento Ink over the flower on the stencil onto the text paper. Apply the ink more heavily on the outer and inner edges of the flower stencil. Apply the Rhubarb Stalk Memento Ink very heavily on the center of the flower. Use a second Fantastix to apply Elderberry Memento Ink to the outer dot circle in the center of the flower stencil.
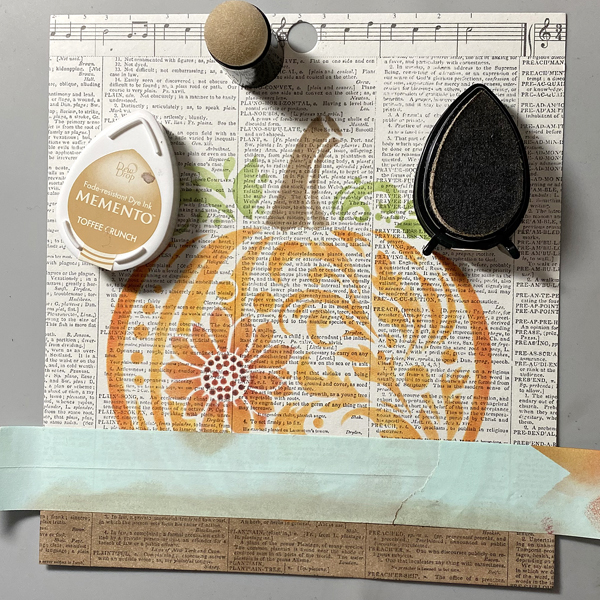
Step 7:
Remove the low-tack tape and the stencil from the panel. Position a piece of low-tack tape horizontally across the bottom of the image panel right below the stenciled pumpkin. Use Sponge Daubers to apply Rich Cocoa and Toffee Crunch Memento Inks over the tape and onto the text paper.
Use the Rich Cocoa Memento Ink and its Sponge Dauber to tint a “Happy Thanksgiving” Idea-ology Small Talk-Occasion sticker. Trim the image panel to 4.75” square, edge with the Rich Cocoa Memento Ink, and adhere the sentiment sticker to the upper right of the image panel.
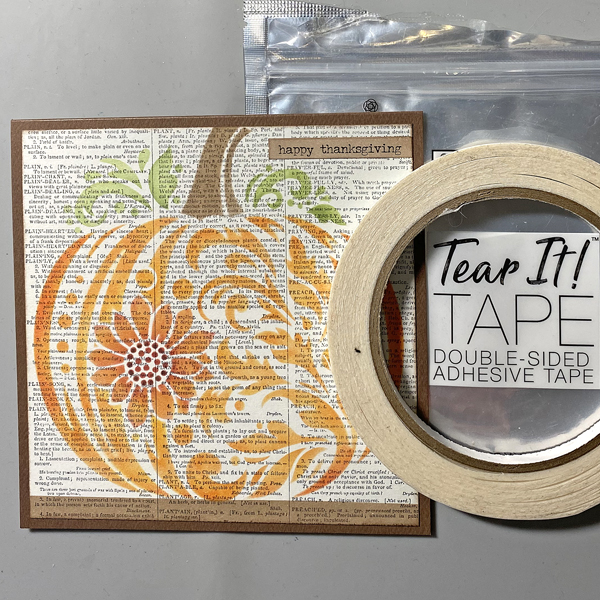
Step 8:
Use Tear It! Tape to adhere the layers of the card.
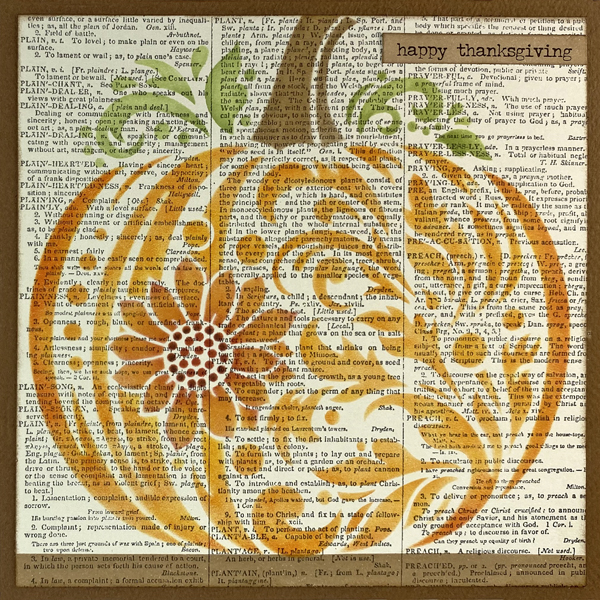
Finished Card
Imagine Supplies:
- Memento Dew Drop Ink – Rich Cocoa, Toffee Crunch, Bamboo Leaves, New Sprout, Dandelion, Morocco, Tangelo, Cantaloupe, Rhubarb Stalk and Elderberry
- Sponge Daubers
- Fantastix
- Tear It! Tape
- Craft Mat
Other Supplies:
- Brown Cardstock by Bazzill Basics
- Pumpkin Flourish Stencil by Miss Ink Stamps
- DIY Shop Patterned Paper Pad by American Crafts
- Small Talk: Occasions Idea-ology Stickers by Tim Holtz for Advents
- Low-Tack Tape
- Post-It Notes