By Tracy Fear
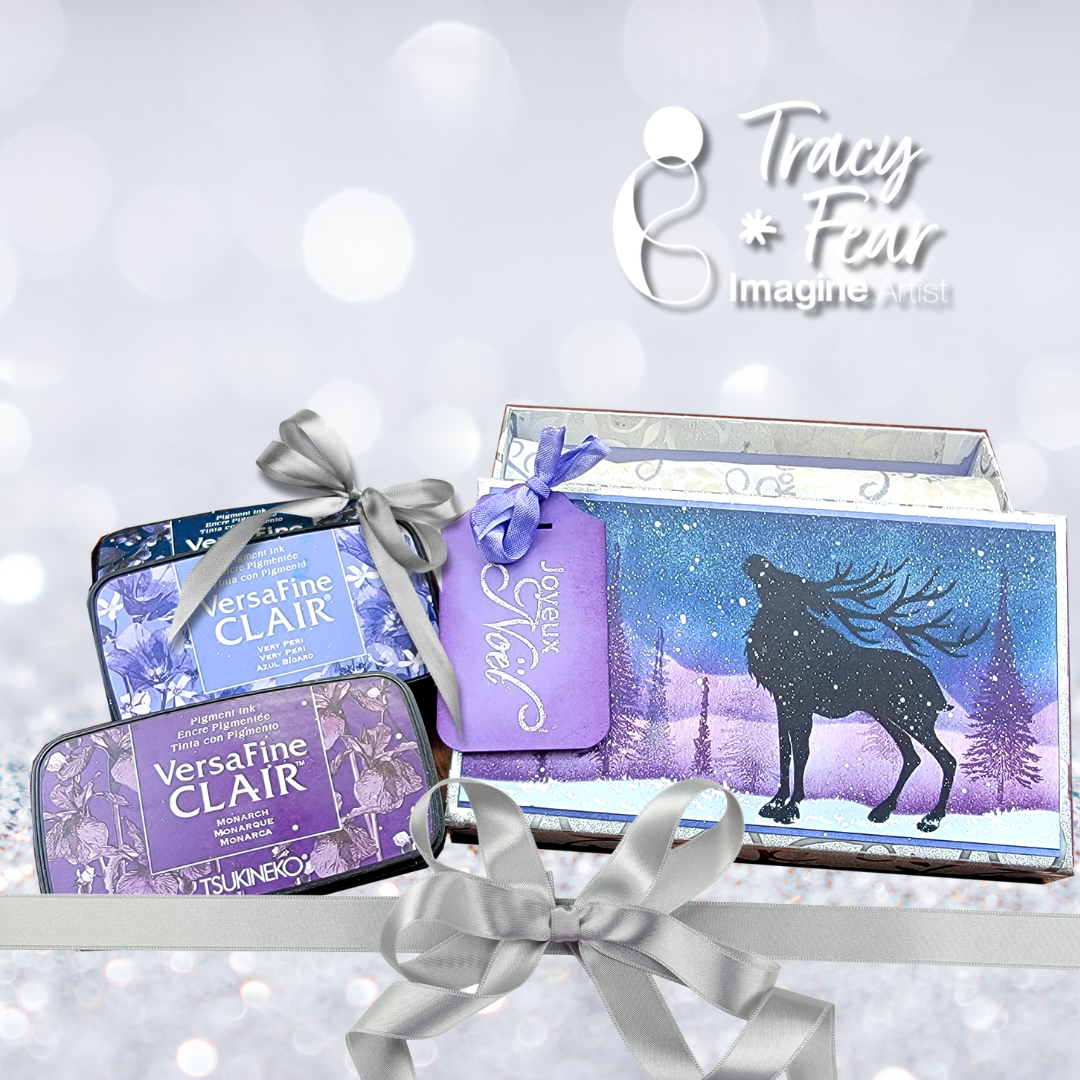
Hello Friends! Tracy here and today I am delighted to share this tutorial that helps you make gift giving even more spectacular by creating a custom gift box using your stamps and inks!
In today’s video tutorial I am sharing how I used some plain tissue paper and a Dollar Store box along with stamps and inks and a little paint to dress up a gift box!
Tracy
Skill: Intermediate
Time: 30 Minutes to 90 Minutes
Art Supplies
Stamping Platform
Glue
Fan brush
Your choice of stamps
Ephemera of your choice
Tissue paper
Empty gift box
Stencil
Stencil Brush
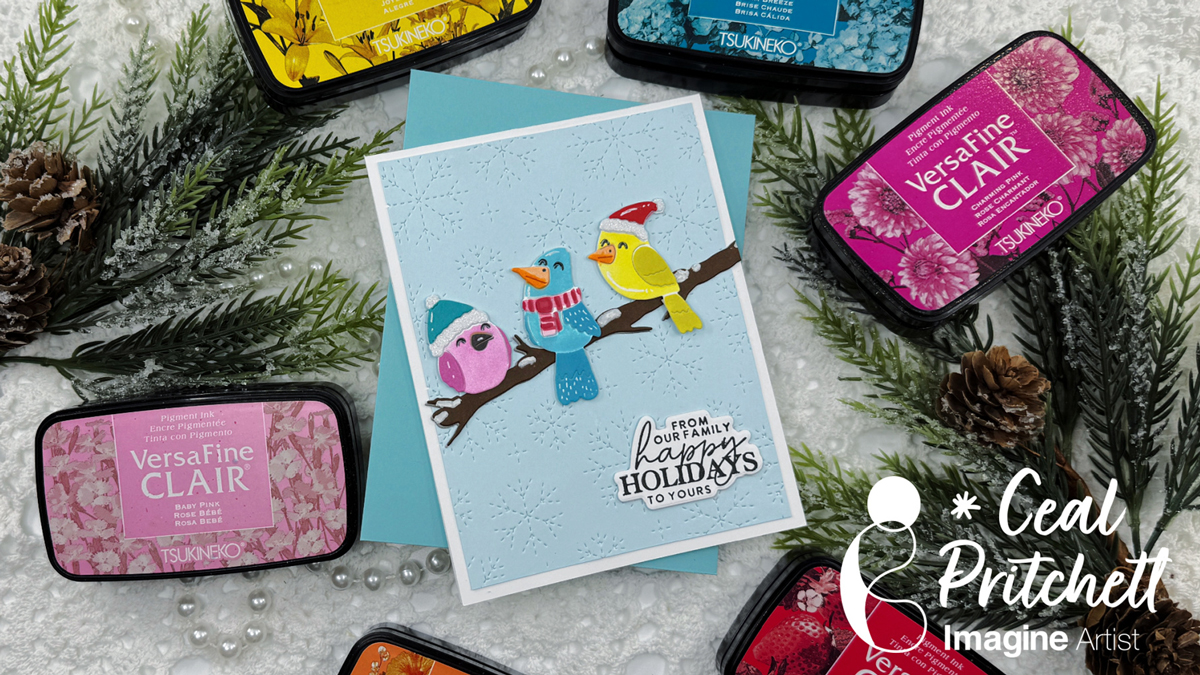
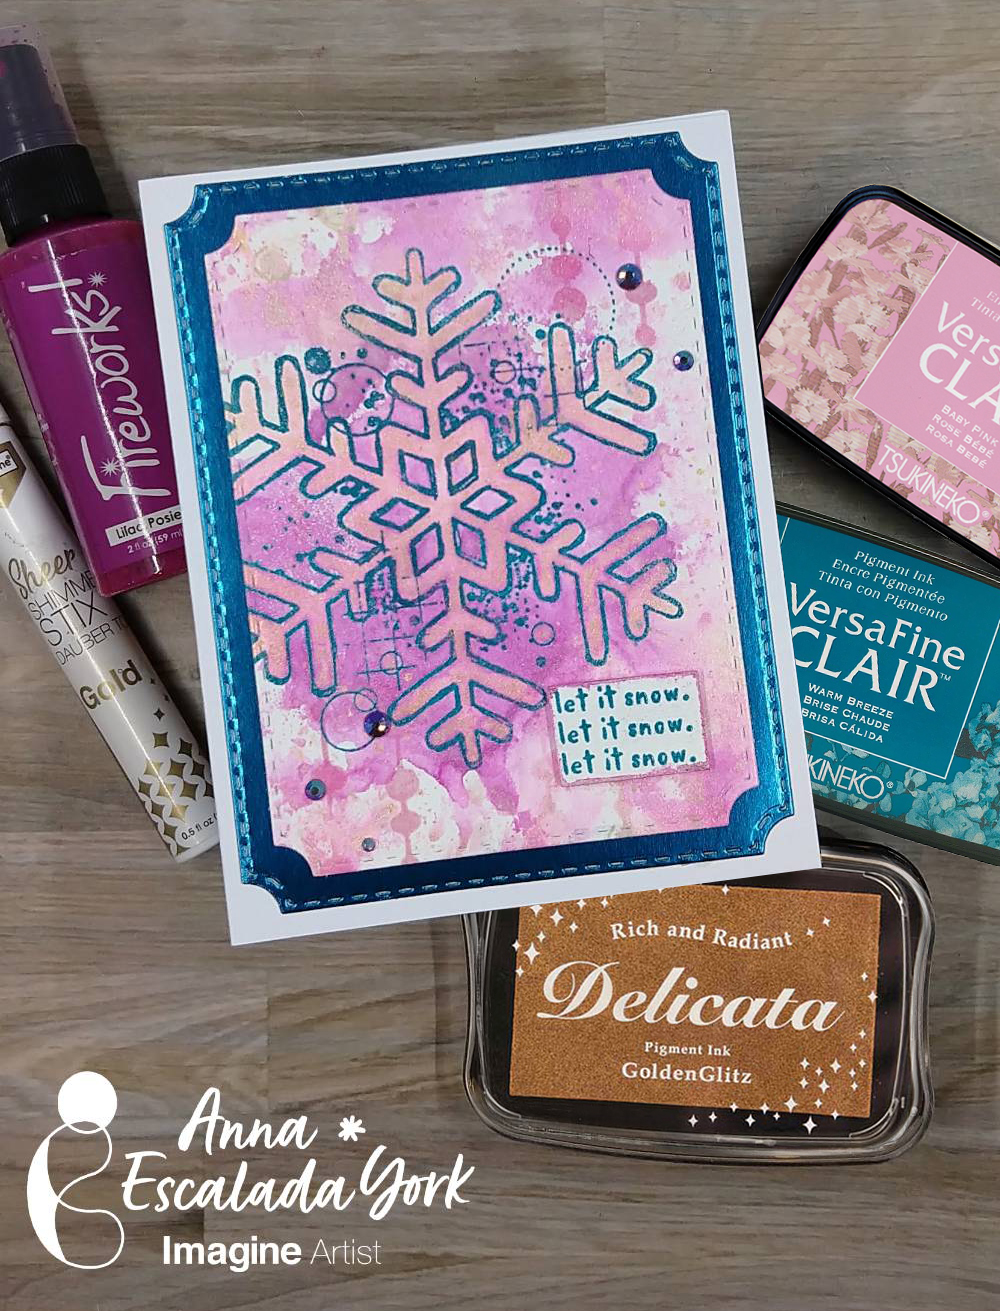
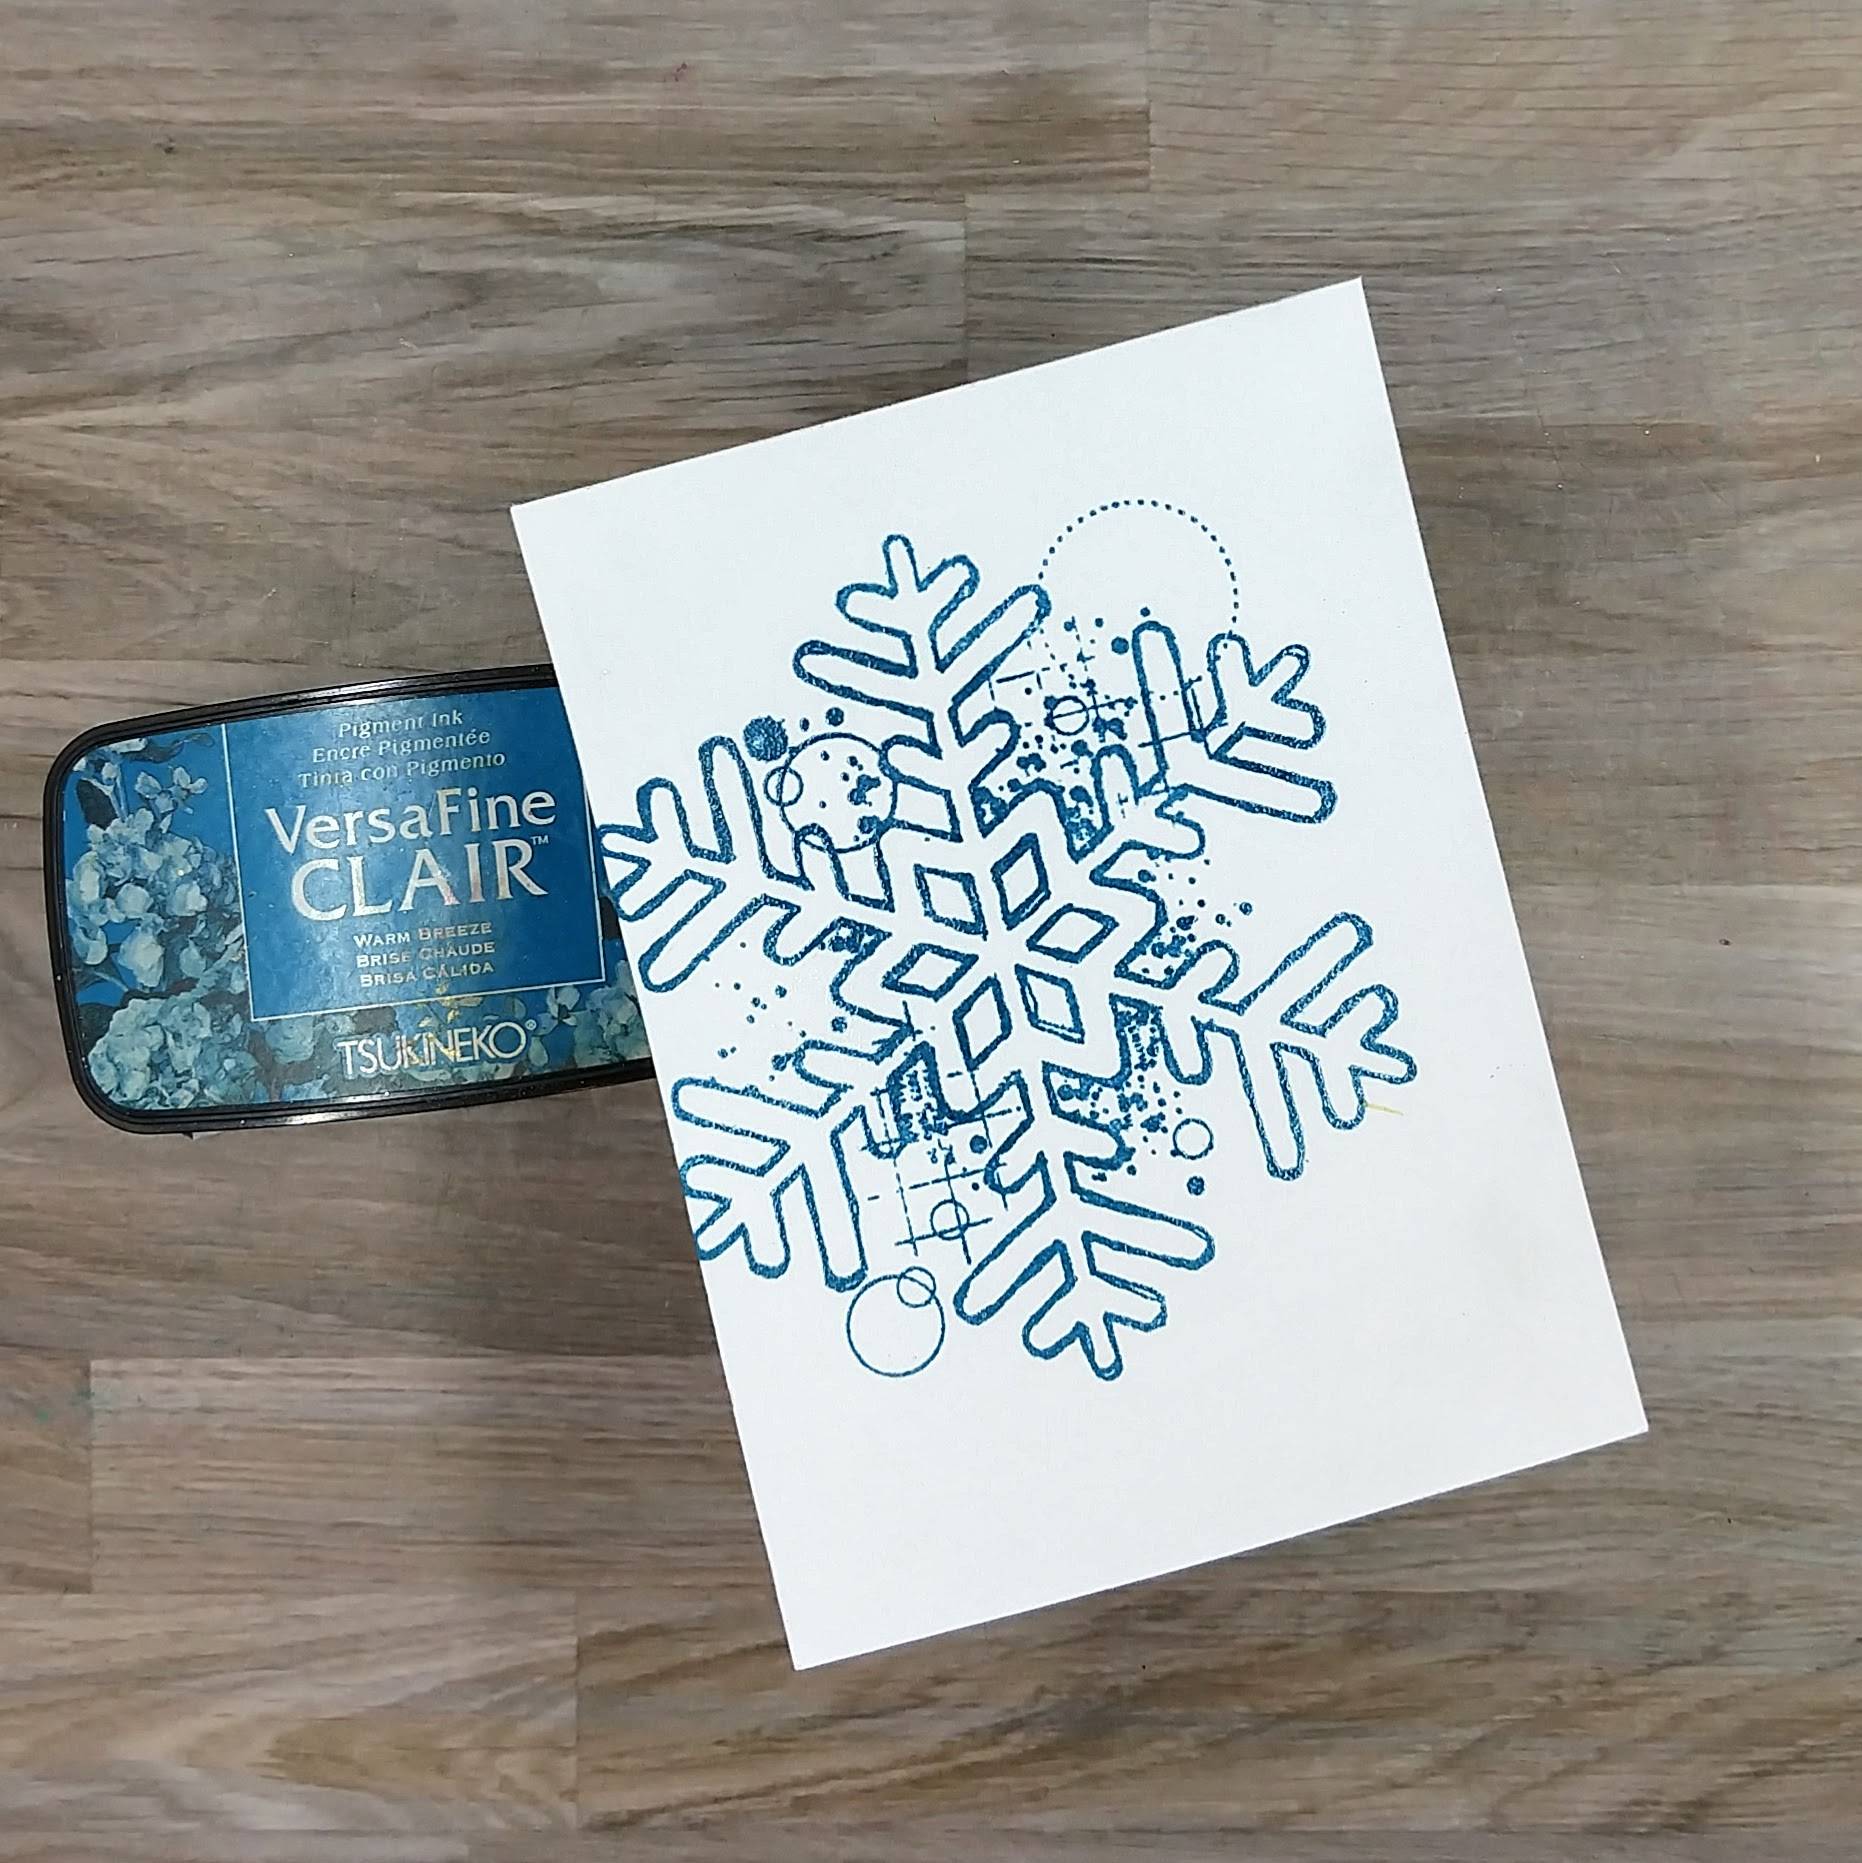
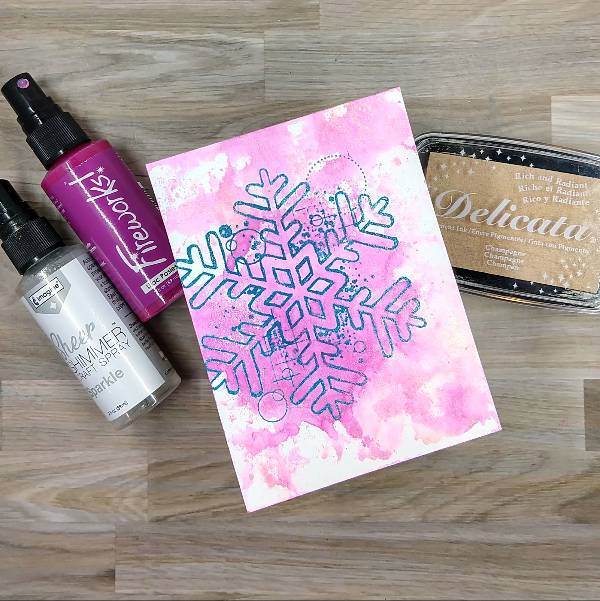
Imagine Products
• VersaFine Clair in Twilight
• VersaFine Clair in Periwinkle
• VersaFine Clair in Monarch
• VersaFine Clair in Nocturne
• Brilliance in Starlight Silver
Other Products Used
• Assorted Stamps from Lavinia Stamps
• Stencil from Lavinia Stamps
• 120lb paper in white
• Generic White Tissue Paper
• Misti tool
• PVA Adhesive
ALTERNATIVE PRODUCTS THAT CAN BE USED TO RECREATE SOMETHING SIMILAR
Any Inks
To learn how to create your own dressed up box click here!