by Roni Johnson
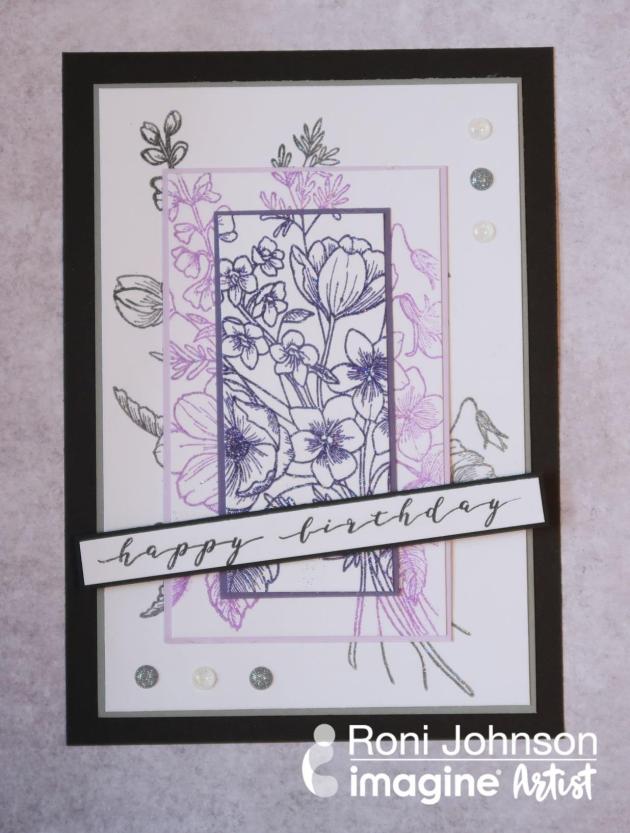
Amethyst is a lovely stone found in nature that’s color ranges from a deep rich purple to a smokey gray with all the sparkle and shimmer of diamonds. That is our color of the month and it is also the color scheme I used to create this triple layer card using Waffle Flower’s lovely Bouquet Builder 3 and a MISTI stamp positioner.
Skill: Intermediate
Time: 30 minutes
Directions

Step 1
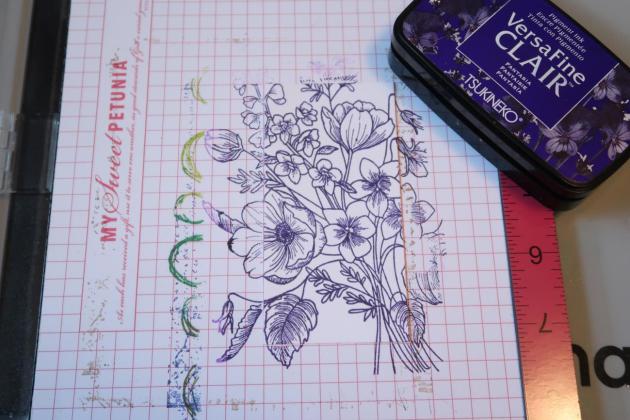
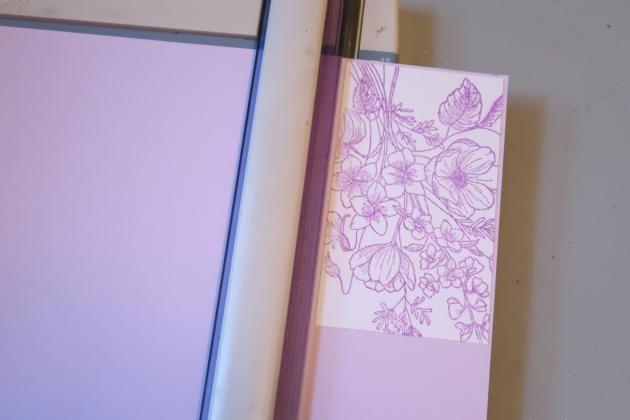
Cut 3 cardstock panels from white cardstock using the following dimensions: 4 ¾” X 6.25”, 2.5” x 4.5”, 1.5” x 3.5”. Place the largest panel in the stamp positioner and center the large flower bouquet stamp in the center of the paper. Close the lid to pick up the stamp. Ink the stamp with Morning Mist VersaFine Clair ink; press the image onto the cardstock. Remove this panel from the stamping tool, leaving the stamp in place.
Step 2
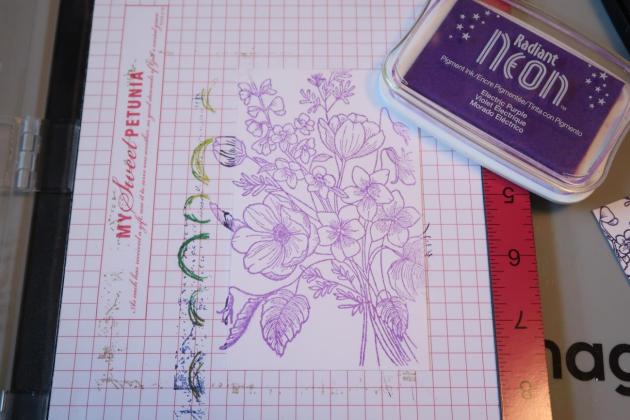
Insert the 2nd panel into the positioning tool using the grid as a guide for proper placement. Ink the stamp with Electric Purple Radiant Neon ink and close the lid to stamp the image onto the second panel. Remove this panel from the positioning tool.
Step 3
Position the smallest panel into the positioning tool again using the grid as a guide for placement. Ink the stamp with Fantasia VersaFine Clair ink and stamp the image onto the third and last panel.

Step 4
Sprinkle Sparkle Mboss embossing powder over all three images; shake off excess and return the excess to the pouch. Heat each panel to melt the embossing powder.
Step 5
Mat each panel on a piece of coordinating cardstock with an 1/8” margin on each side.
Step 6
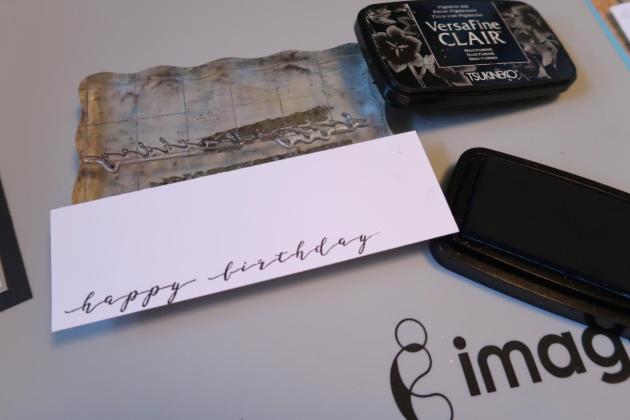
Stamp the sentiment onto a piece of scrap cardstock using VersaFine Clair Nocturne ink. Trim the excess cardstock and mat on a piece of black cardstock.

Step 7
Mount the largest panel onto a black card base. Adhere the other two panels over the first panel, aligning the image properly each time. Add a few Waffle Flower Stardust Enamel Dots to the card.

Step 8
Affix the sentiment to the card using double stick foam tape.

Just look at that sparkle and shine created by the Sparkle Mboss embossing powder. Simply lovely and it captures the essence of a real amethyst.
We hope you enjoyed our kick-off project in our collaboration with Waffle Flower. The most exciting part? You can WIN prizes! To enter all you need to do is subscribe to both Imagine and Waffle Flower’s YouTube channels and comment on the videos published this month using both of our products! (One comment per video per person.) Two lucky winners will win $50 gift certificates – one from each sponsor.
Supplies
Imagine
Other
- Waffle Flower – Bouquet Builder 3, Stardust Enamel Dots
- Cardstock – white, 2 shades of purple, black
- My Sweet Petunia – MISTI Stamp Positioning Tool
- Double Stick Foam Tape