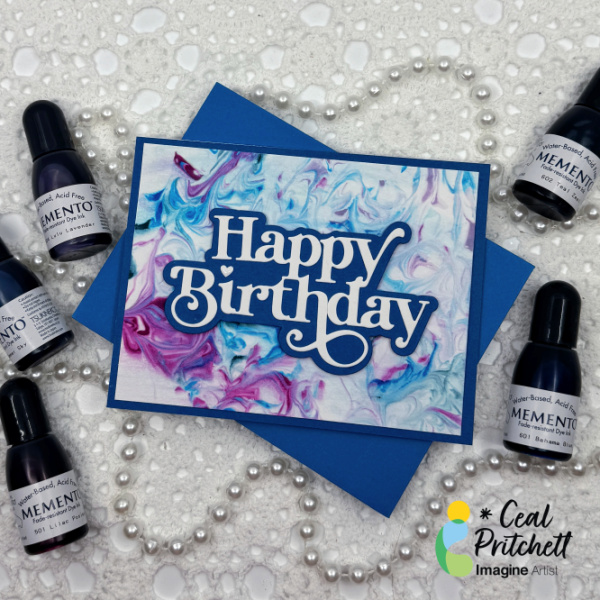
By Ceal Pritchett
Hello everyone!
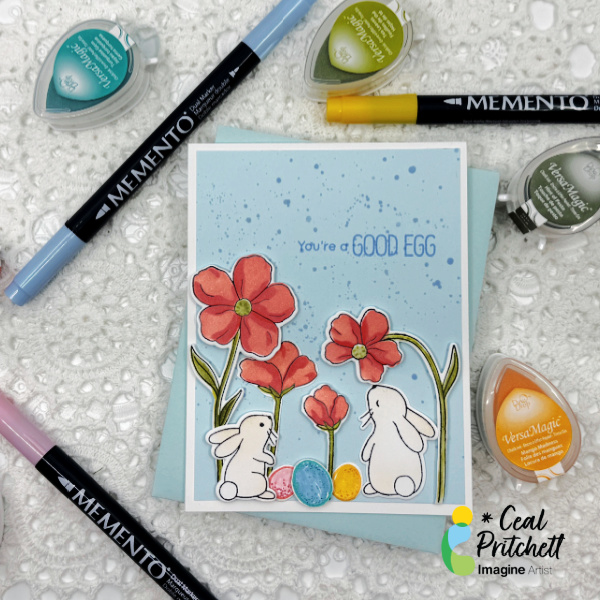
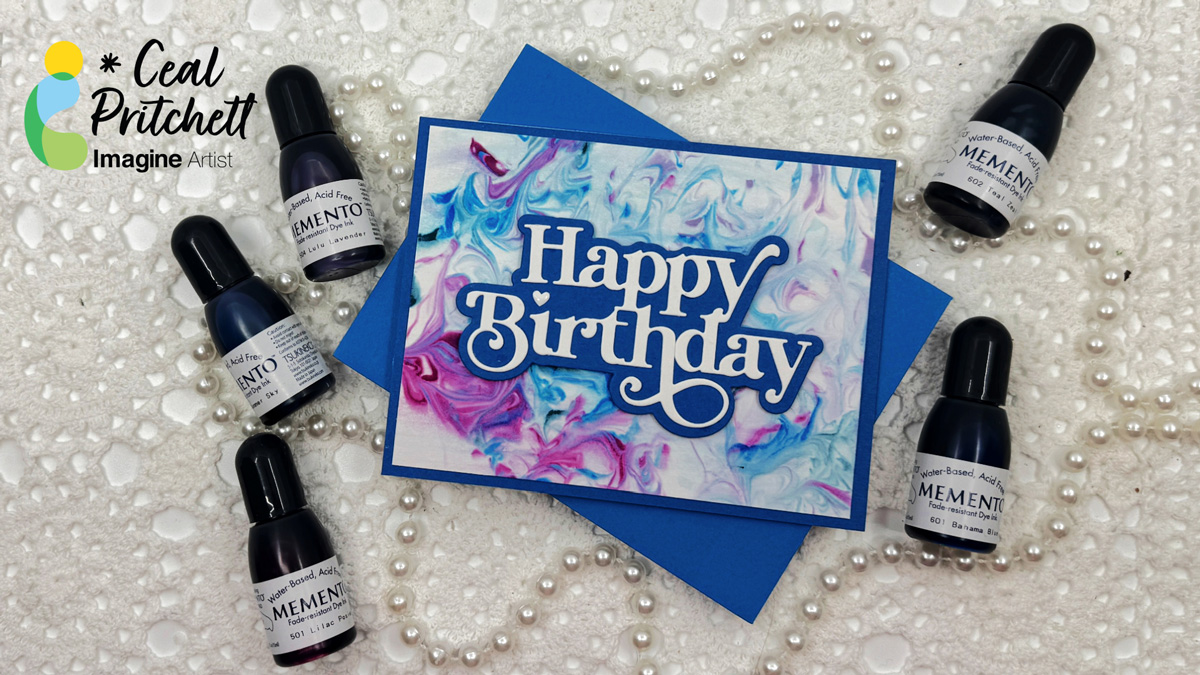
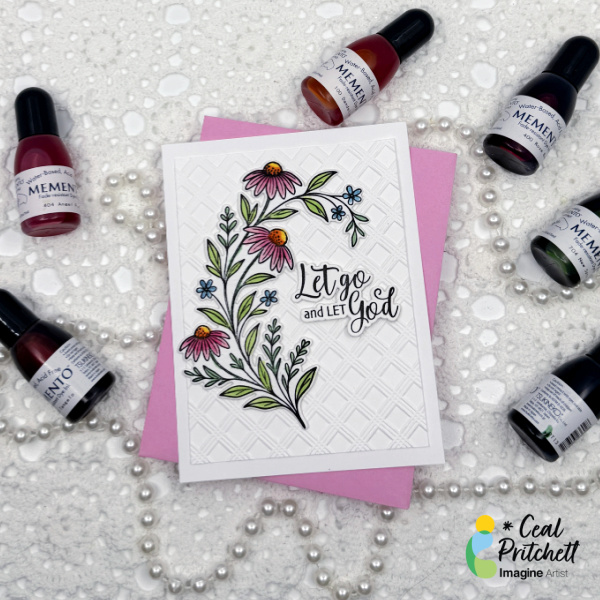
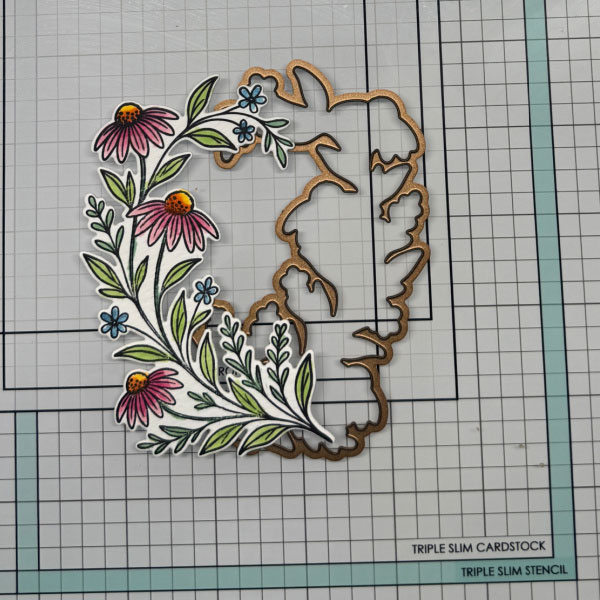
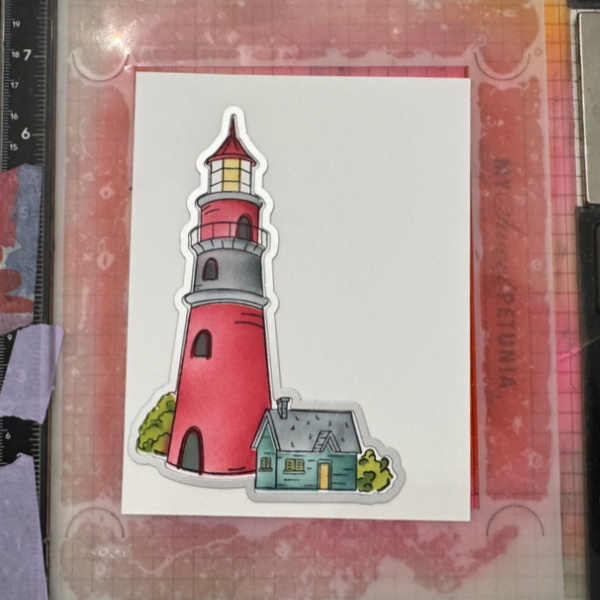
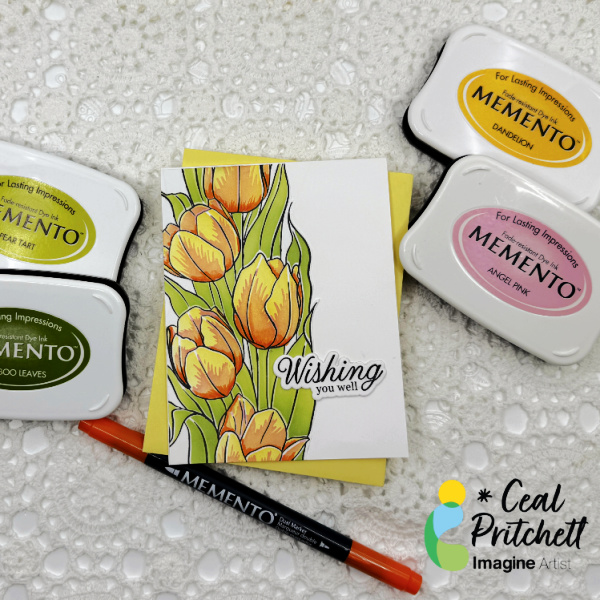
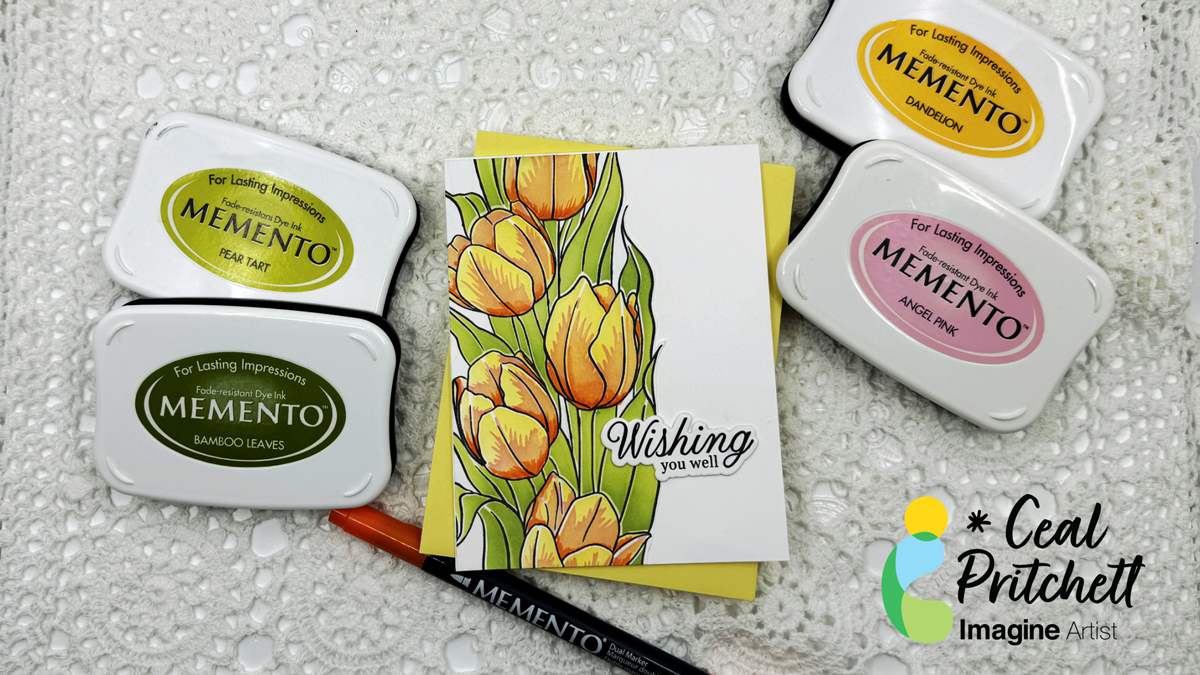
It’s Ceal, here. Today I am sharing a spring get well card (you could make yours for any occasion) using a stamp and stencil combo. Stencils make it so easy to color.
Skill: Beginner to Intermediate
Time: 30 Mins
Directions:
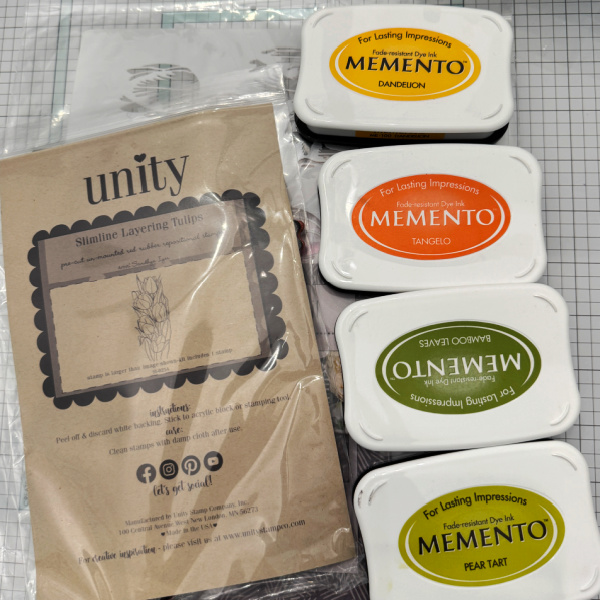
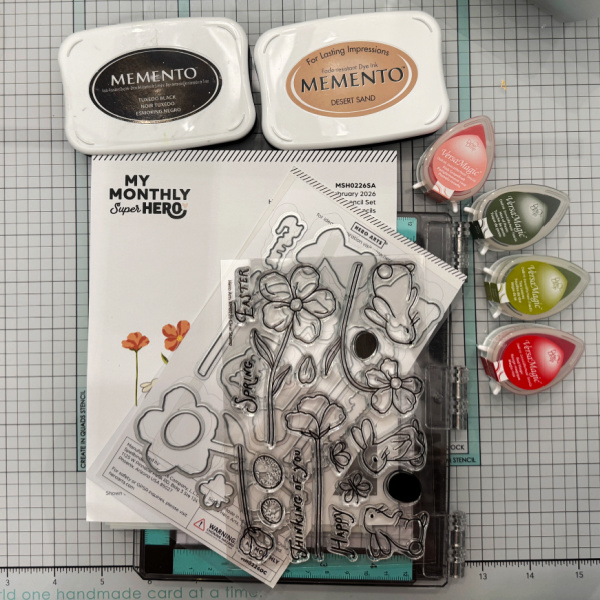
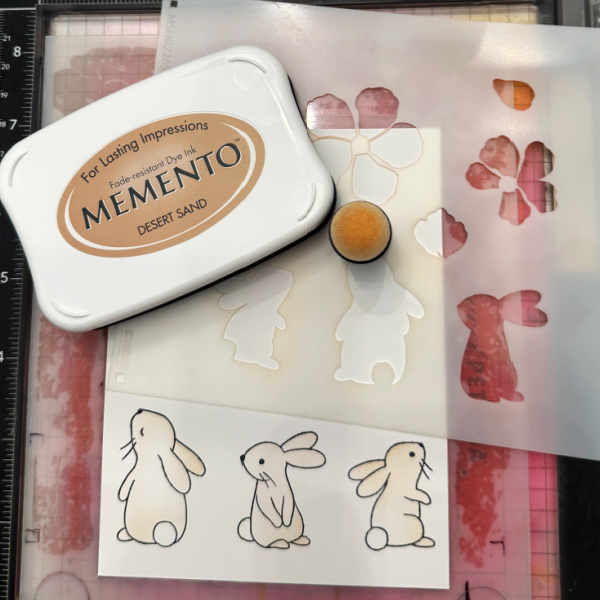
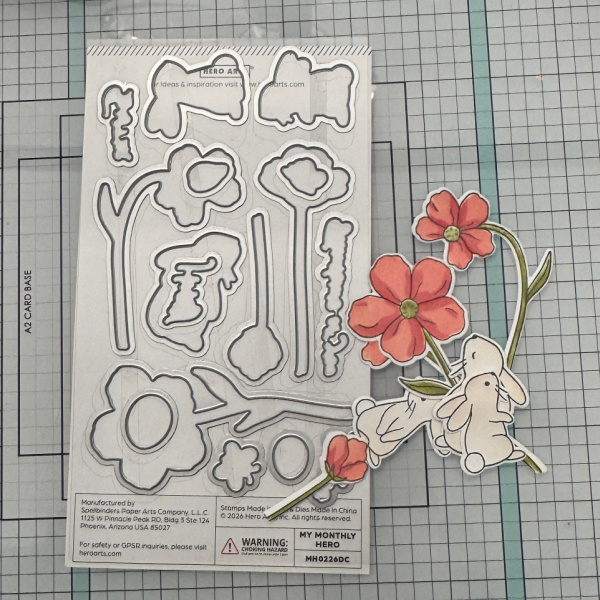
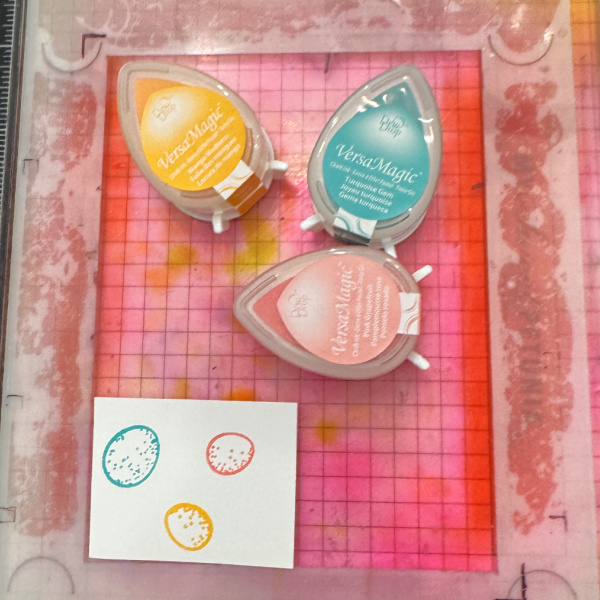
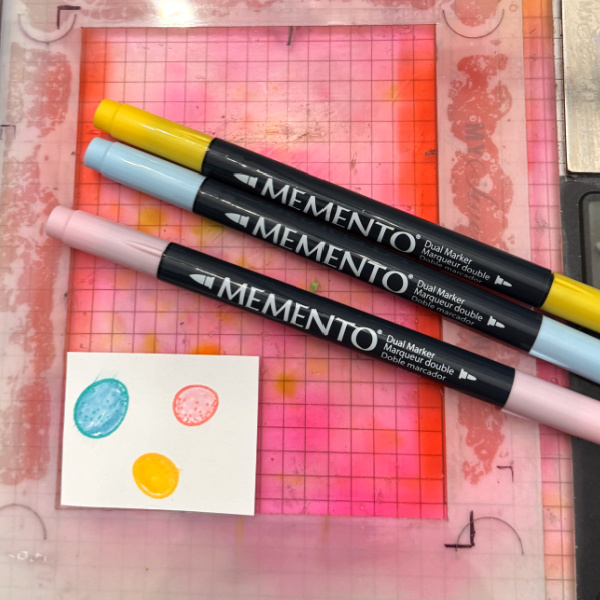
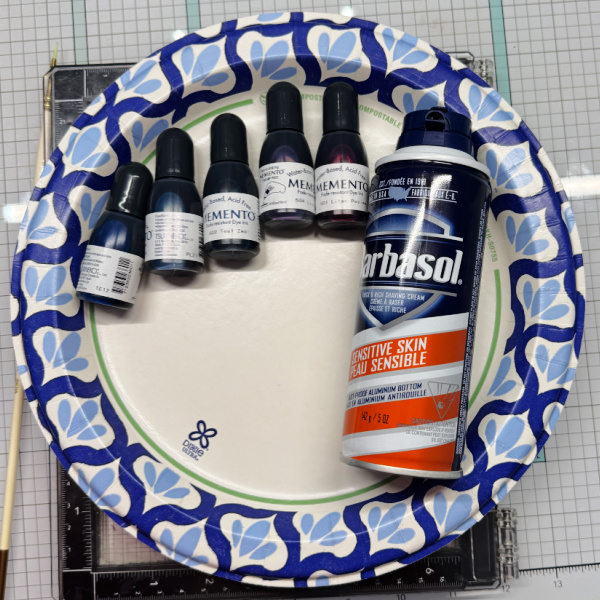
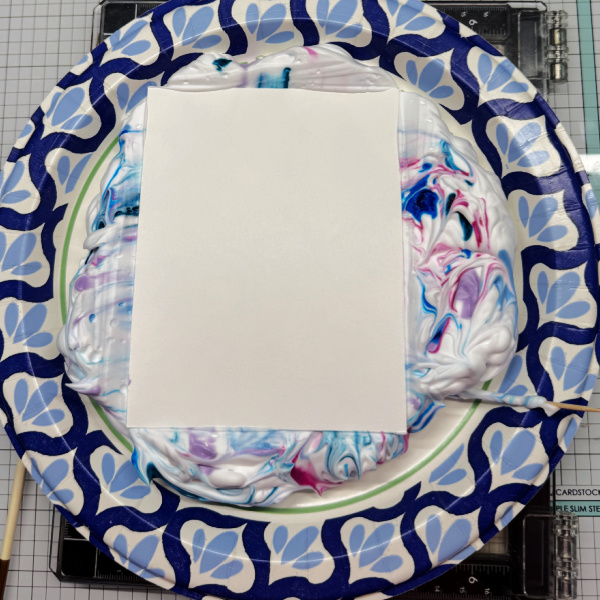
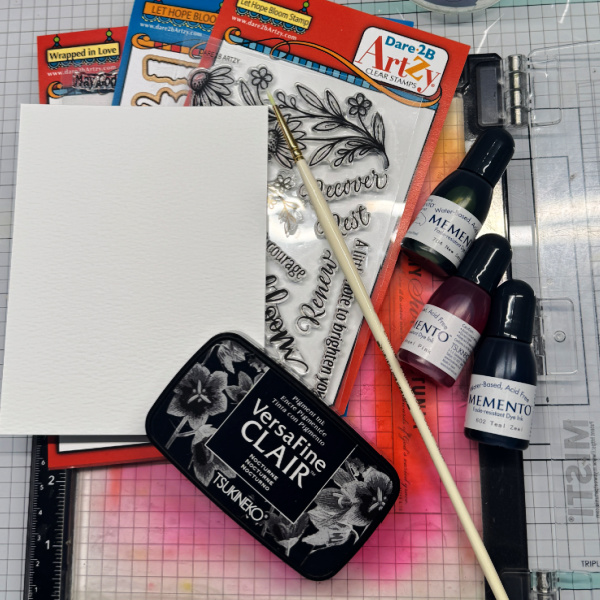
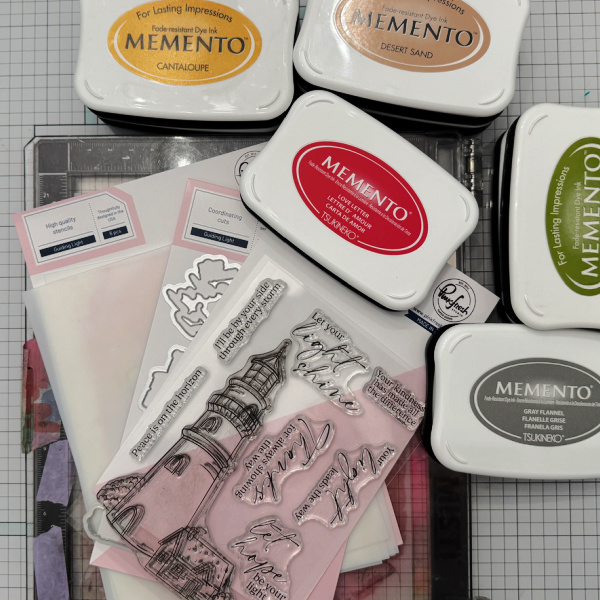
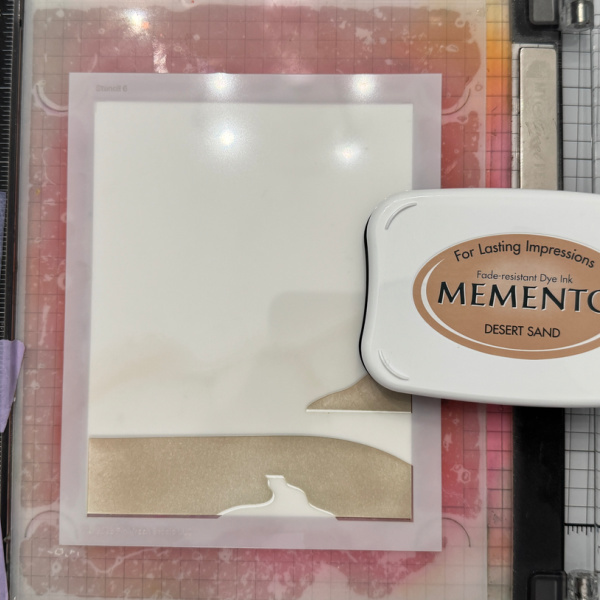
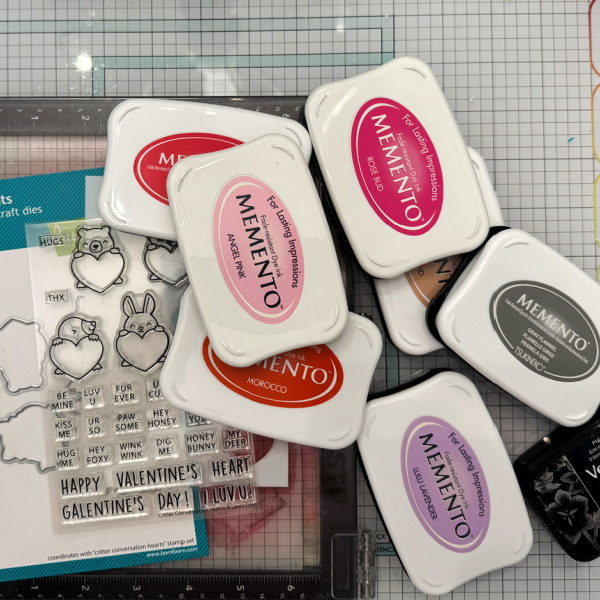
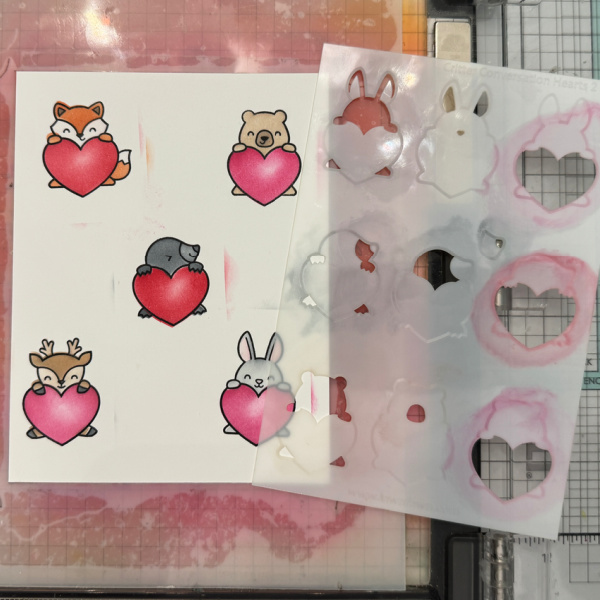
Gather your supplies. You will need a stamp/stencil combo, several colors of ink and a marker for details. In the photo I have an orange ink but I actually used a pink.

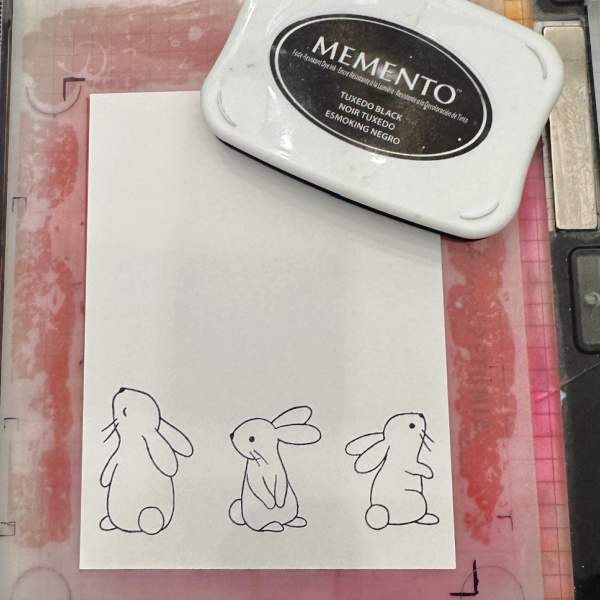
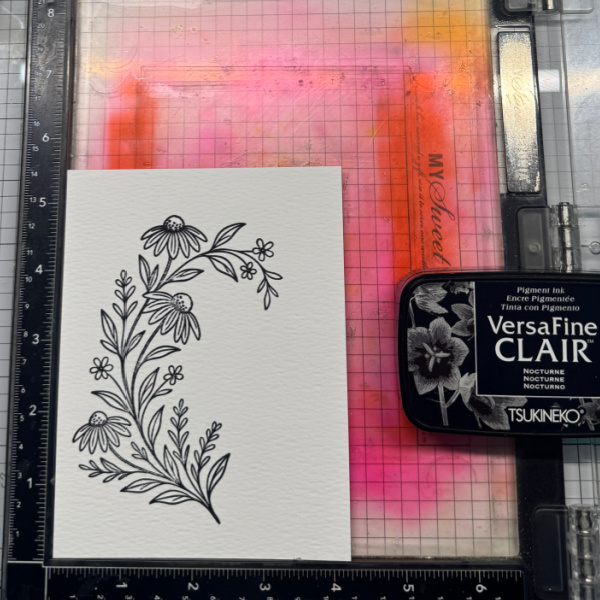
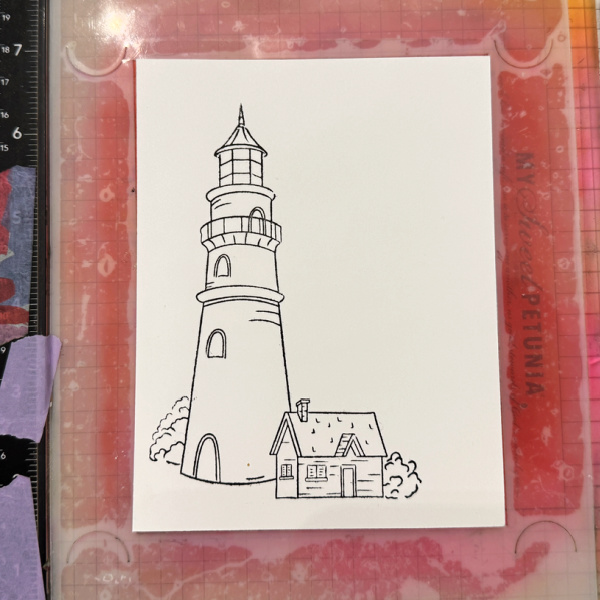
Step 1:
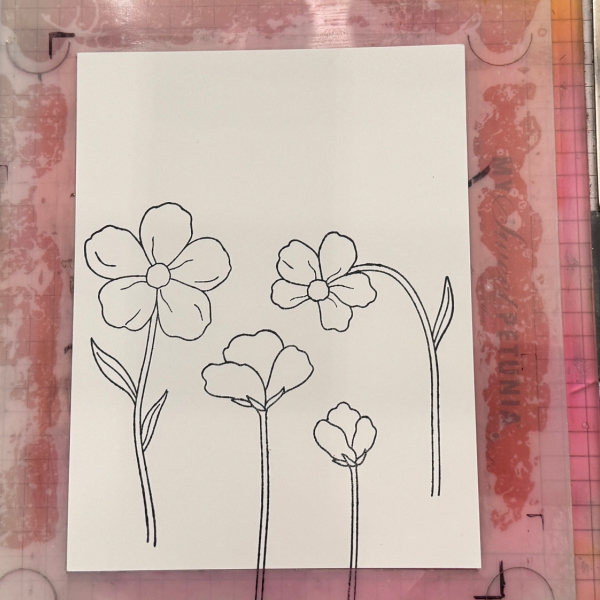
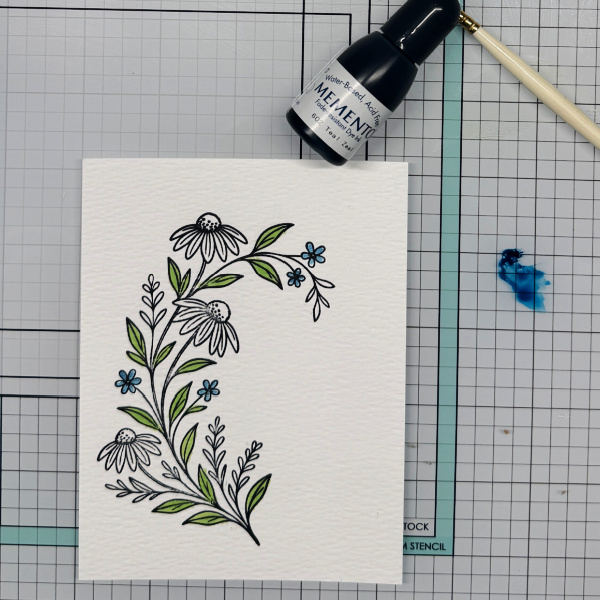
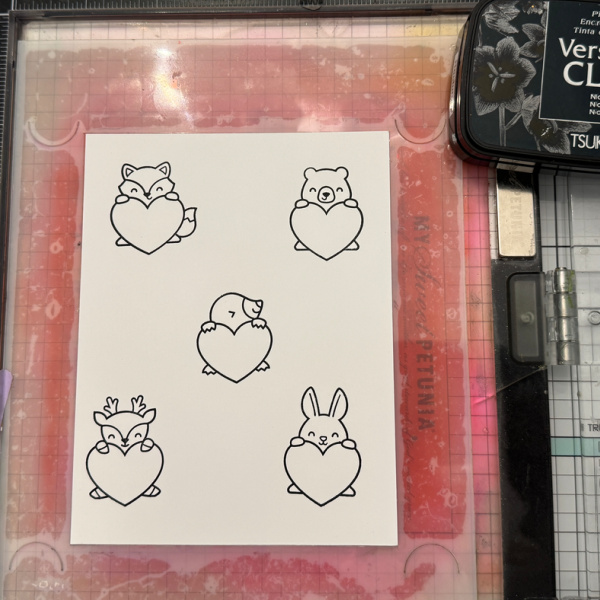
Using a black ink stamp the floral image. I used Memento Tuxedo Black.
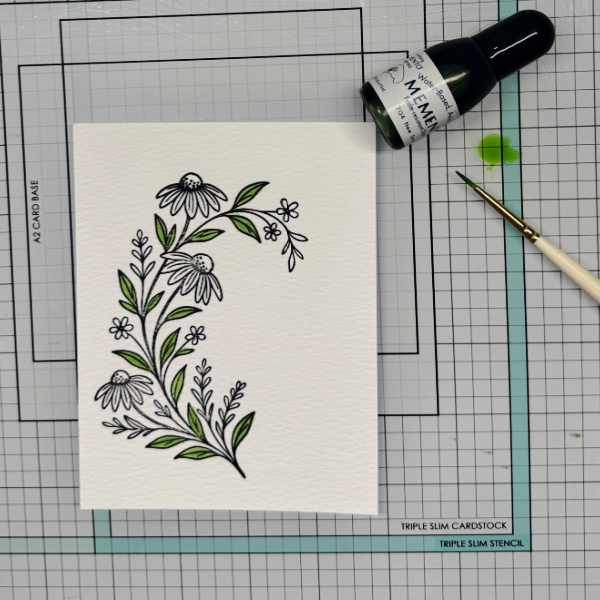
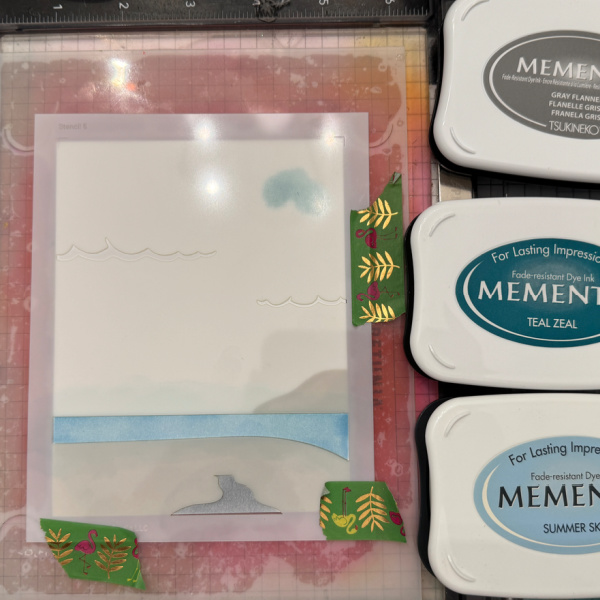
Step 2:
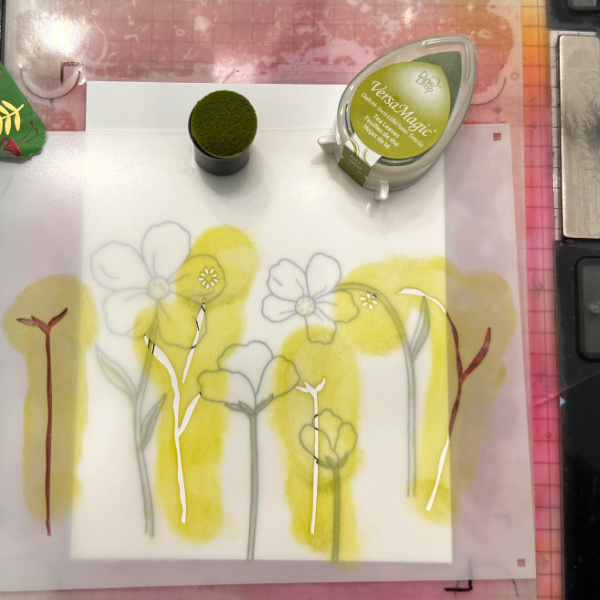
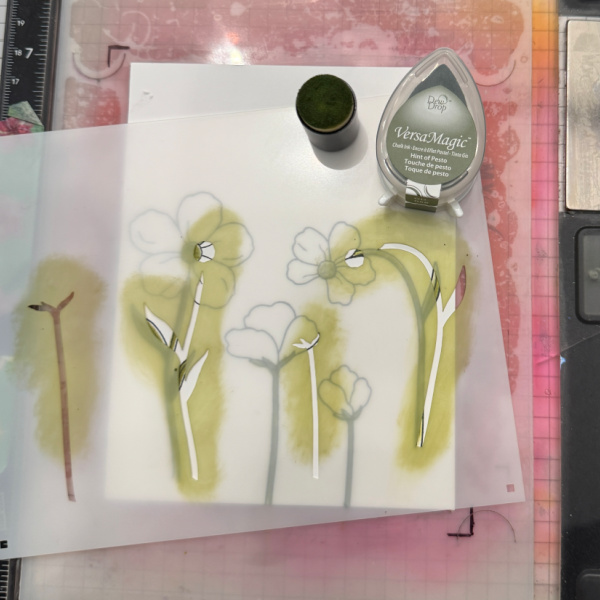
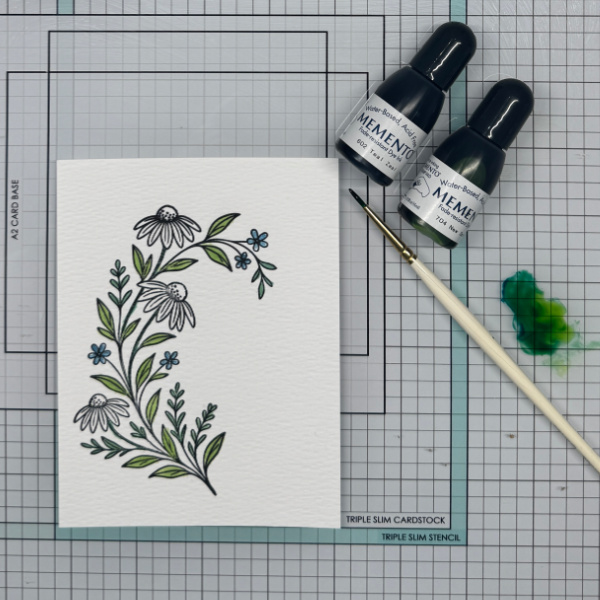
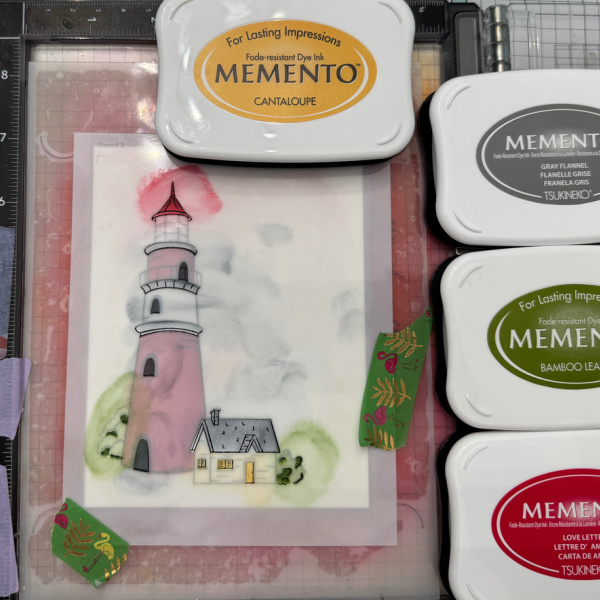
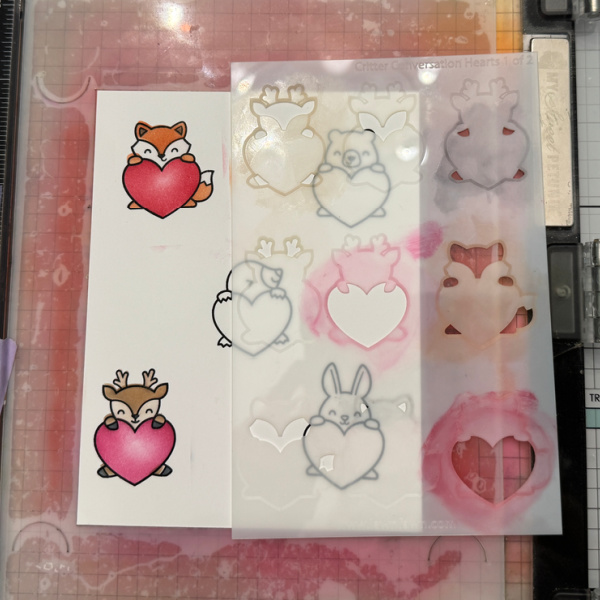
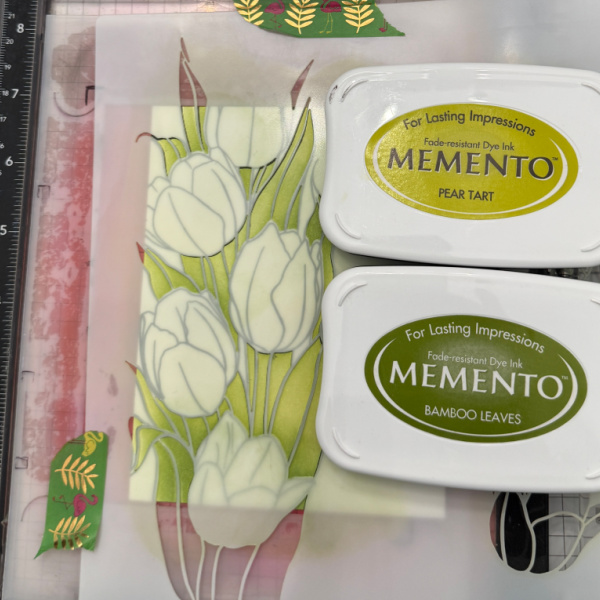
Using the leaves portion of the stencil and two colors of green, color the leaves. I used Memento Pear Tart and Bamboo Leaves
Step 3:
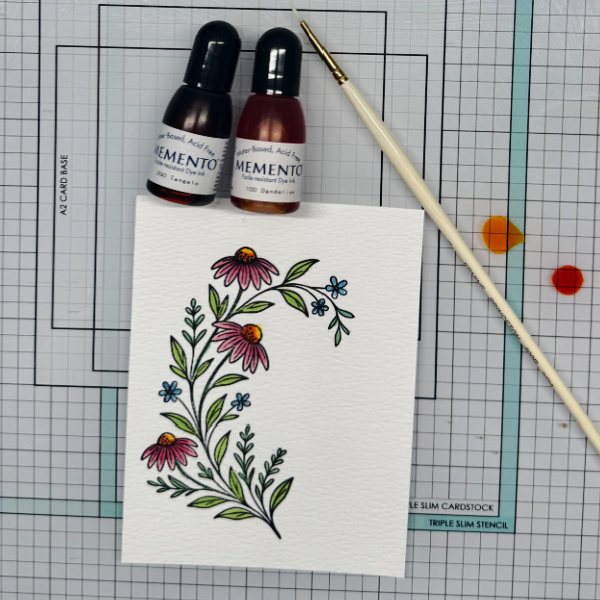
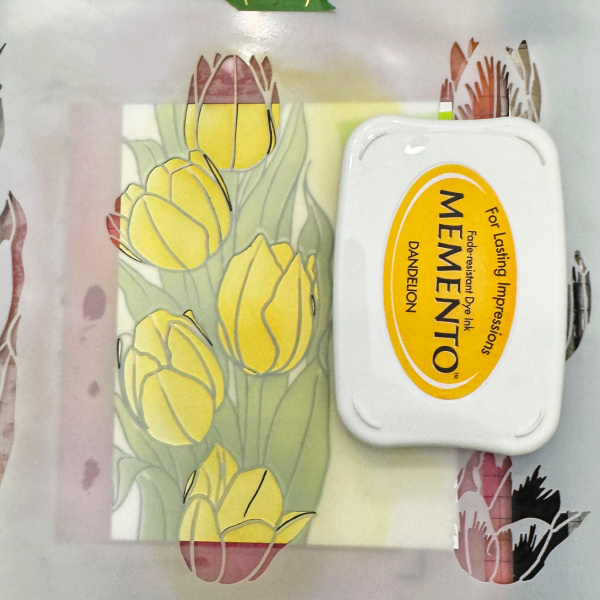
Using the floral portion of the stencil, color the flowers yellow. I used Memento Dandelion.
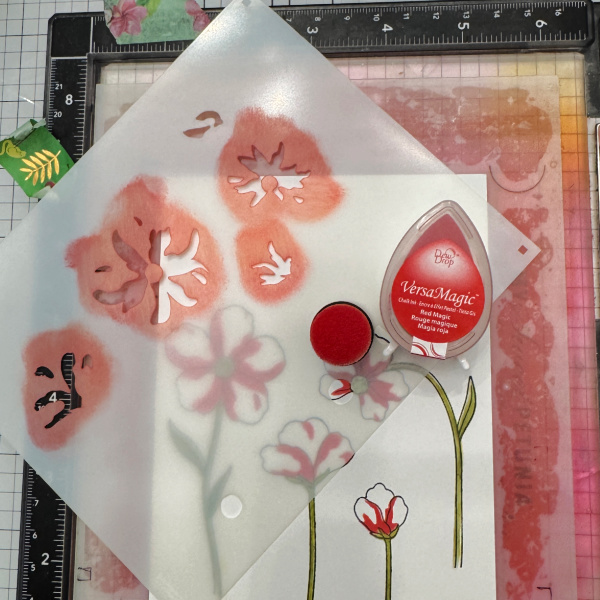
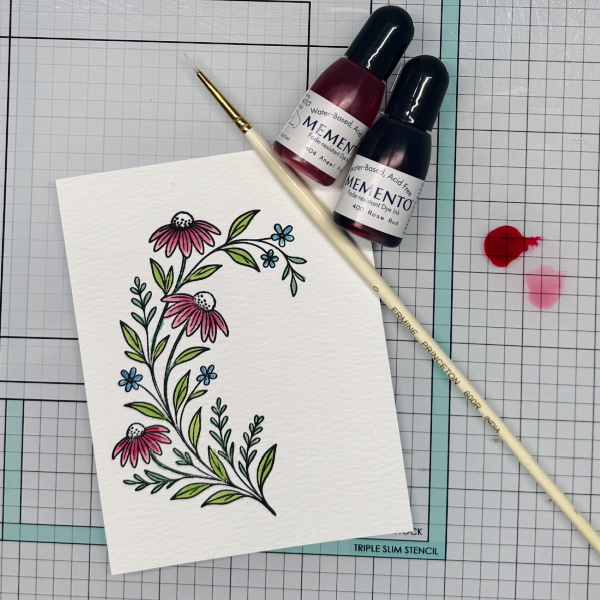
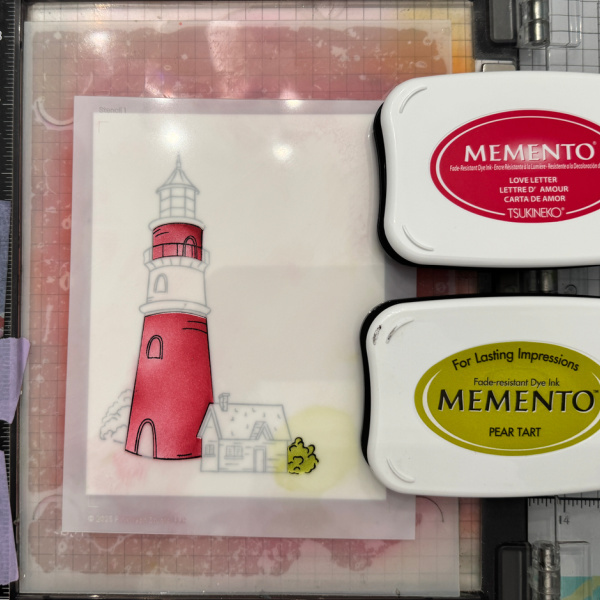
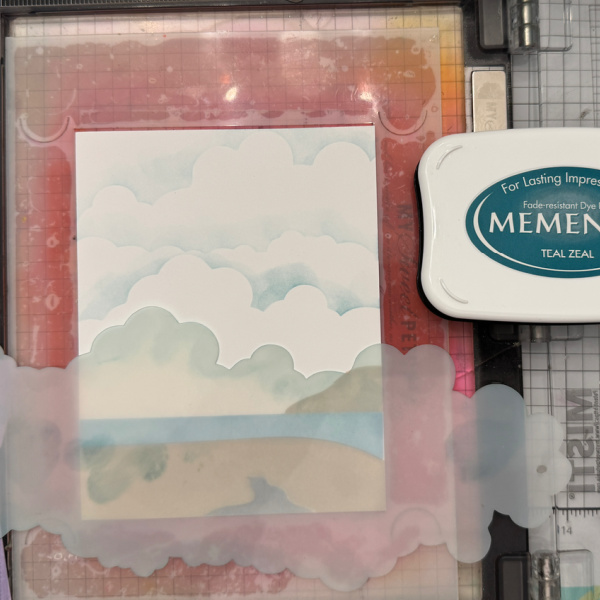
Step 4:
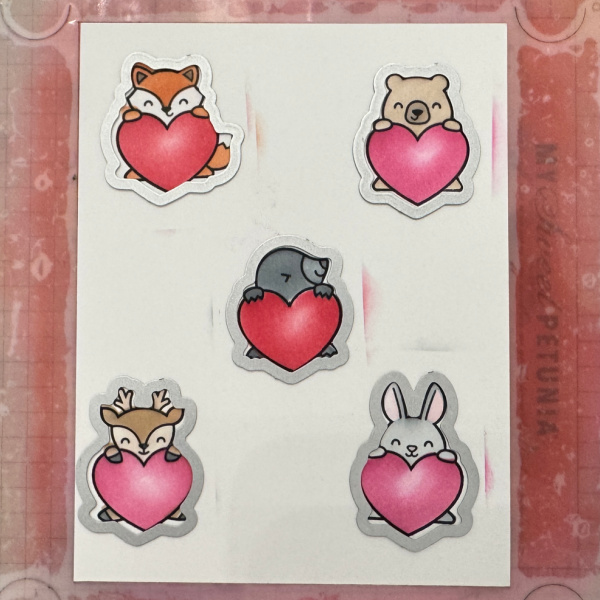
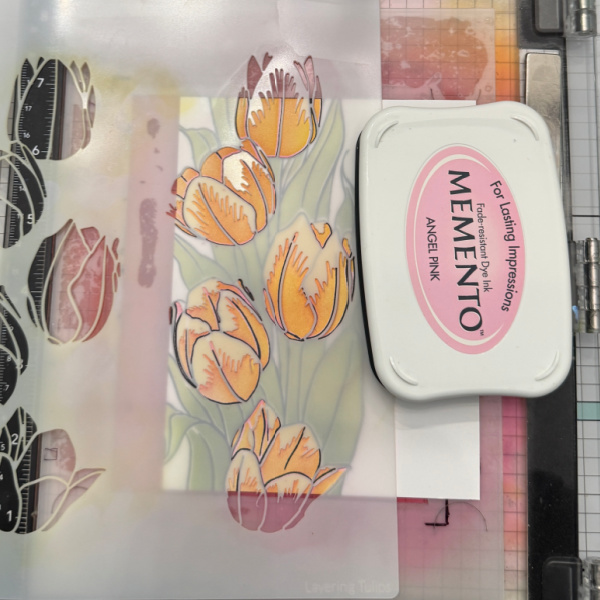
Using the detailed portion of the stencil color the area pink (which turns into a pretty peach) I used Memento Angel Pink.
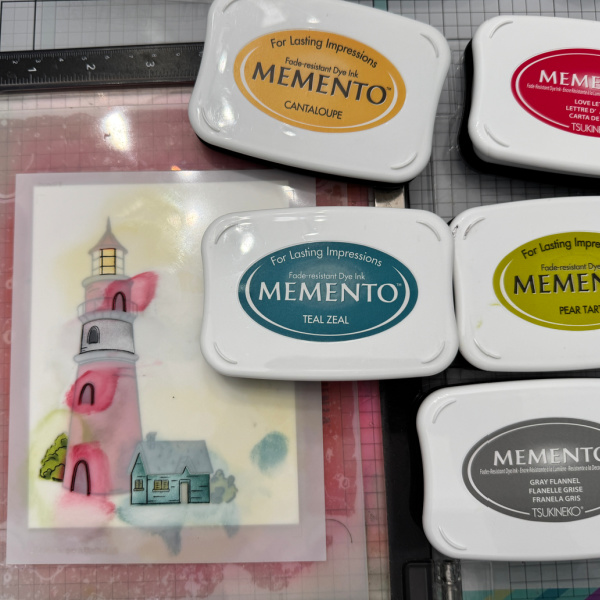
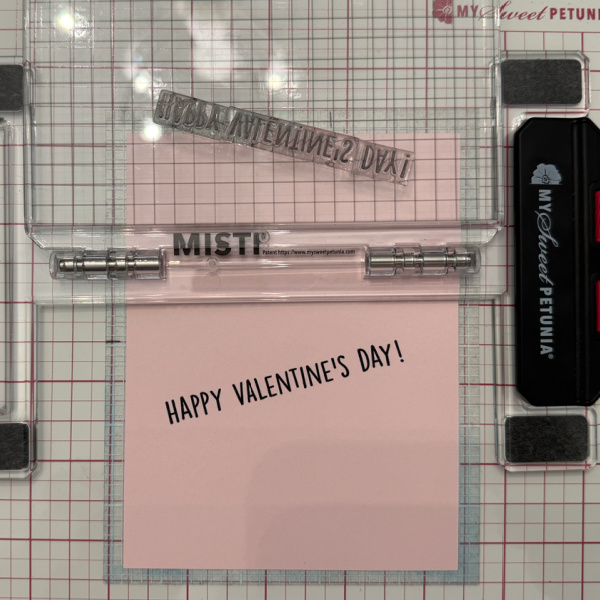
Step 5:
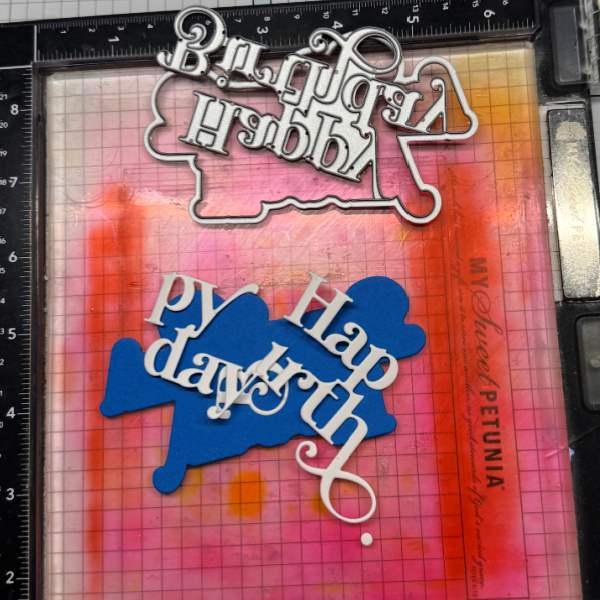
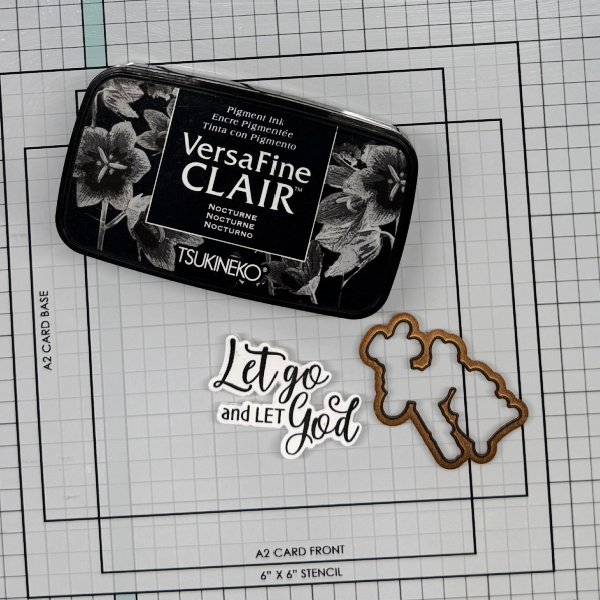
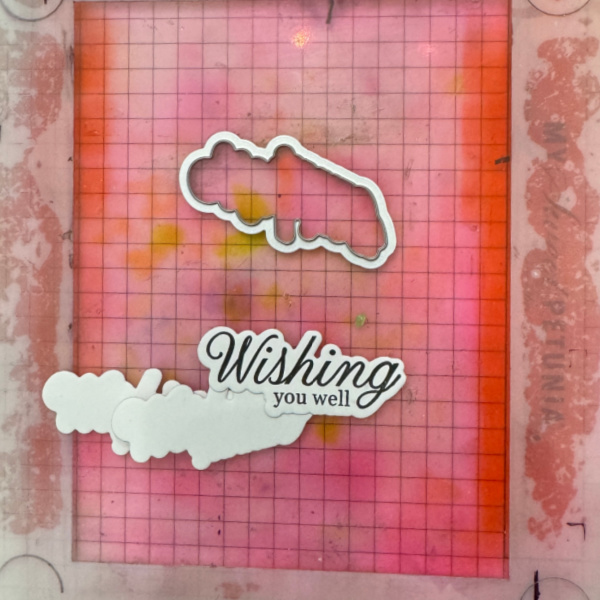
Stamp and cut out the greeting and cut a couple extra pieces for dimension. Adhere the panel with the flowers to the card base and then adhere the greeting anywhere you’d like on the card front.
Craft Supplies:
Imagine Products
Memento ink pad- Tuxedo Black, Angel Pink, Dandelion, Pear Tart and Bamboo Leaves
Memento Marker – Tangelo
On Point Glue
Other Products
Spring Tulips Stamp/Stencil – Unity Stamp Co
Misti Stamping Platform