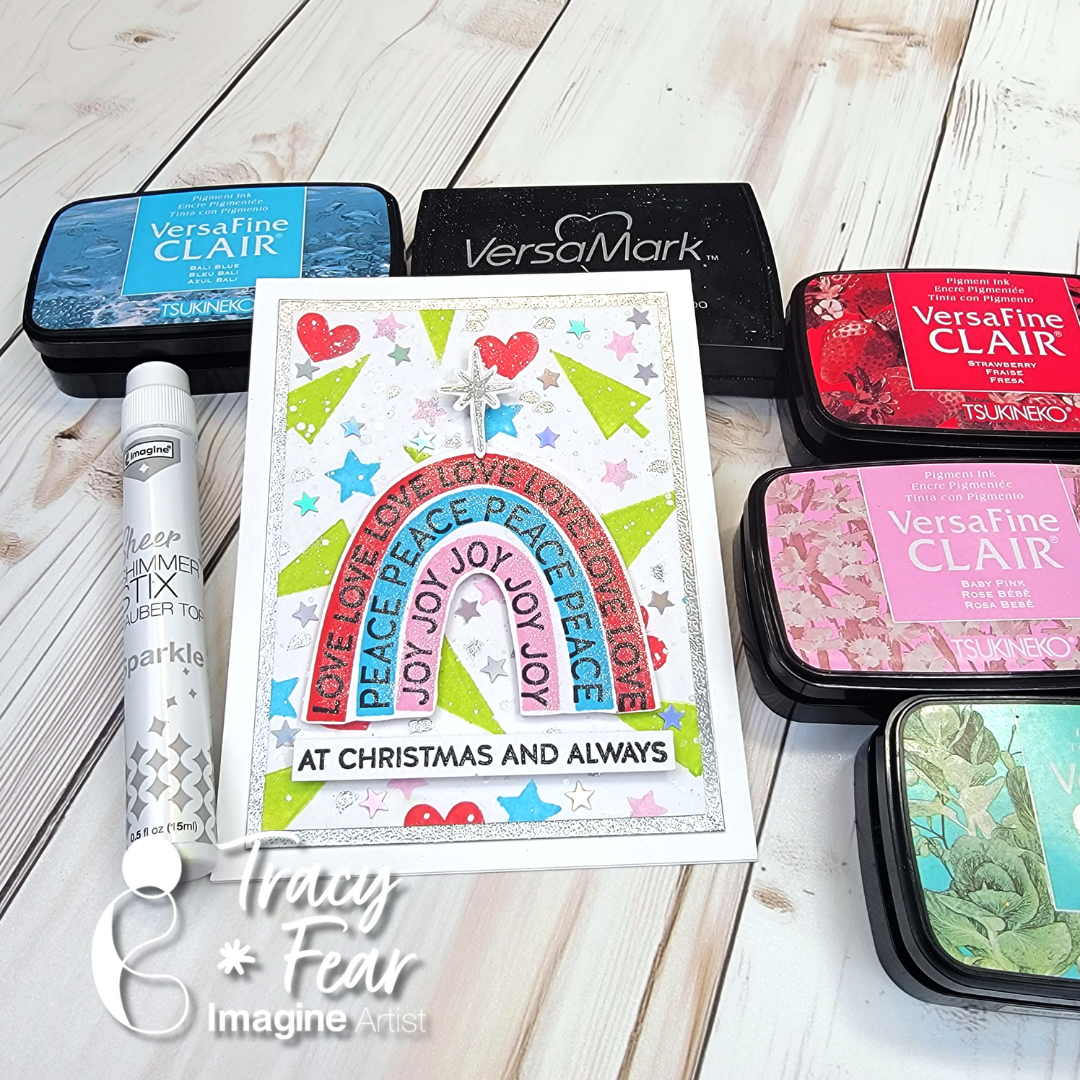
– Hello Friends! Tracy here and today I am delighted to share this tutorial for a fun and whimsical Christmas Card starring some non-traditional colors!
In today’s video tutorial I am sharing how I created my own pattern paper background using traditional and non traditional colors for Christmas!
Skill: Intermediate Time: 30 Minutes to 90 Minutes
Other Products Used • Rainbow Christmas Stamps from Simon Says Stamp • WOW Silver Embossing Powder • 120lb paper in white • Misti Stamping Platform tool • PVA Adhesive • Holographic Stars from Trinity Stamps
ALTERNATIVE PRODUCTS THAT CAN BE USED TO RECREATE SOMETHING SIMILAR
Any inks or stamps in your stash! To learn how to create your own modern, funky Christmas Card click here!
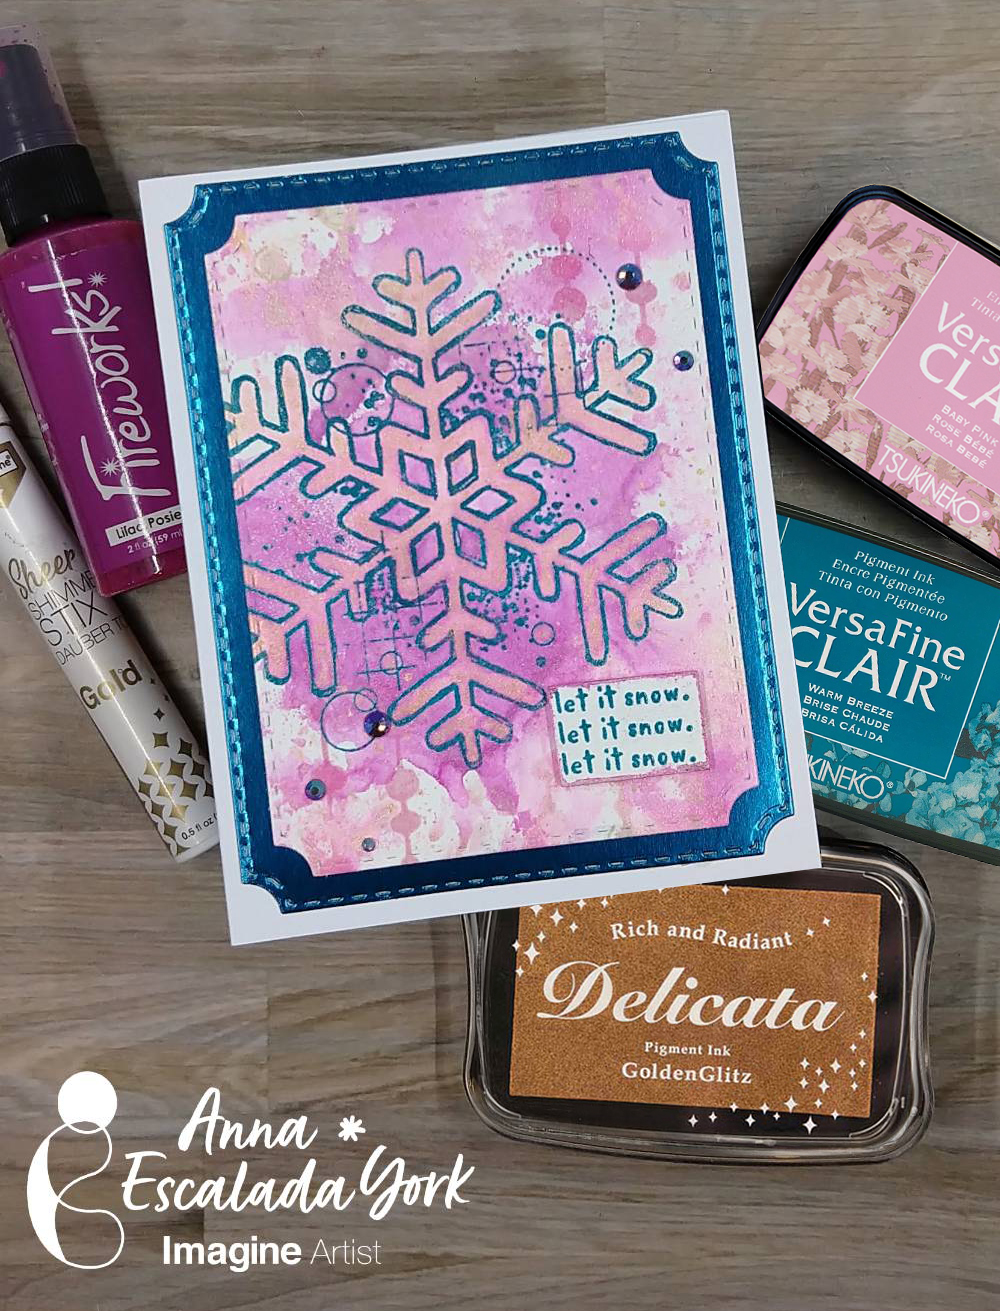
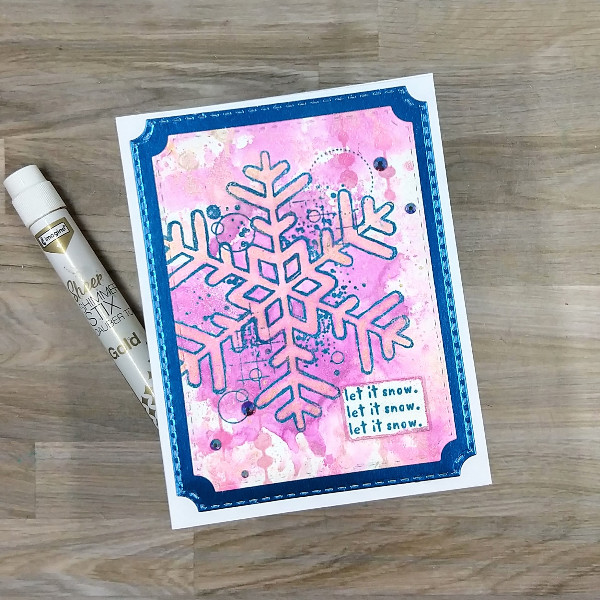
It’s July, so bring on the holiday cards! I personally love non-traditional colored holiday cards and so created one in pink, blue and purple.
Skill: Intermediate Time: 1.0 hour
Directions:
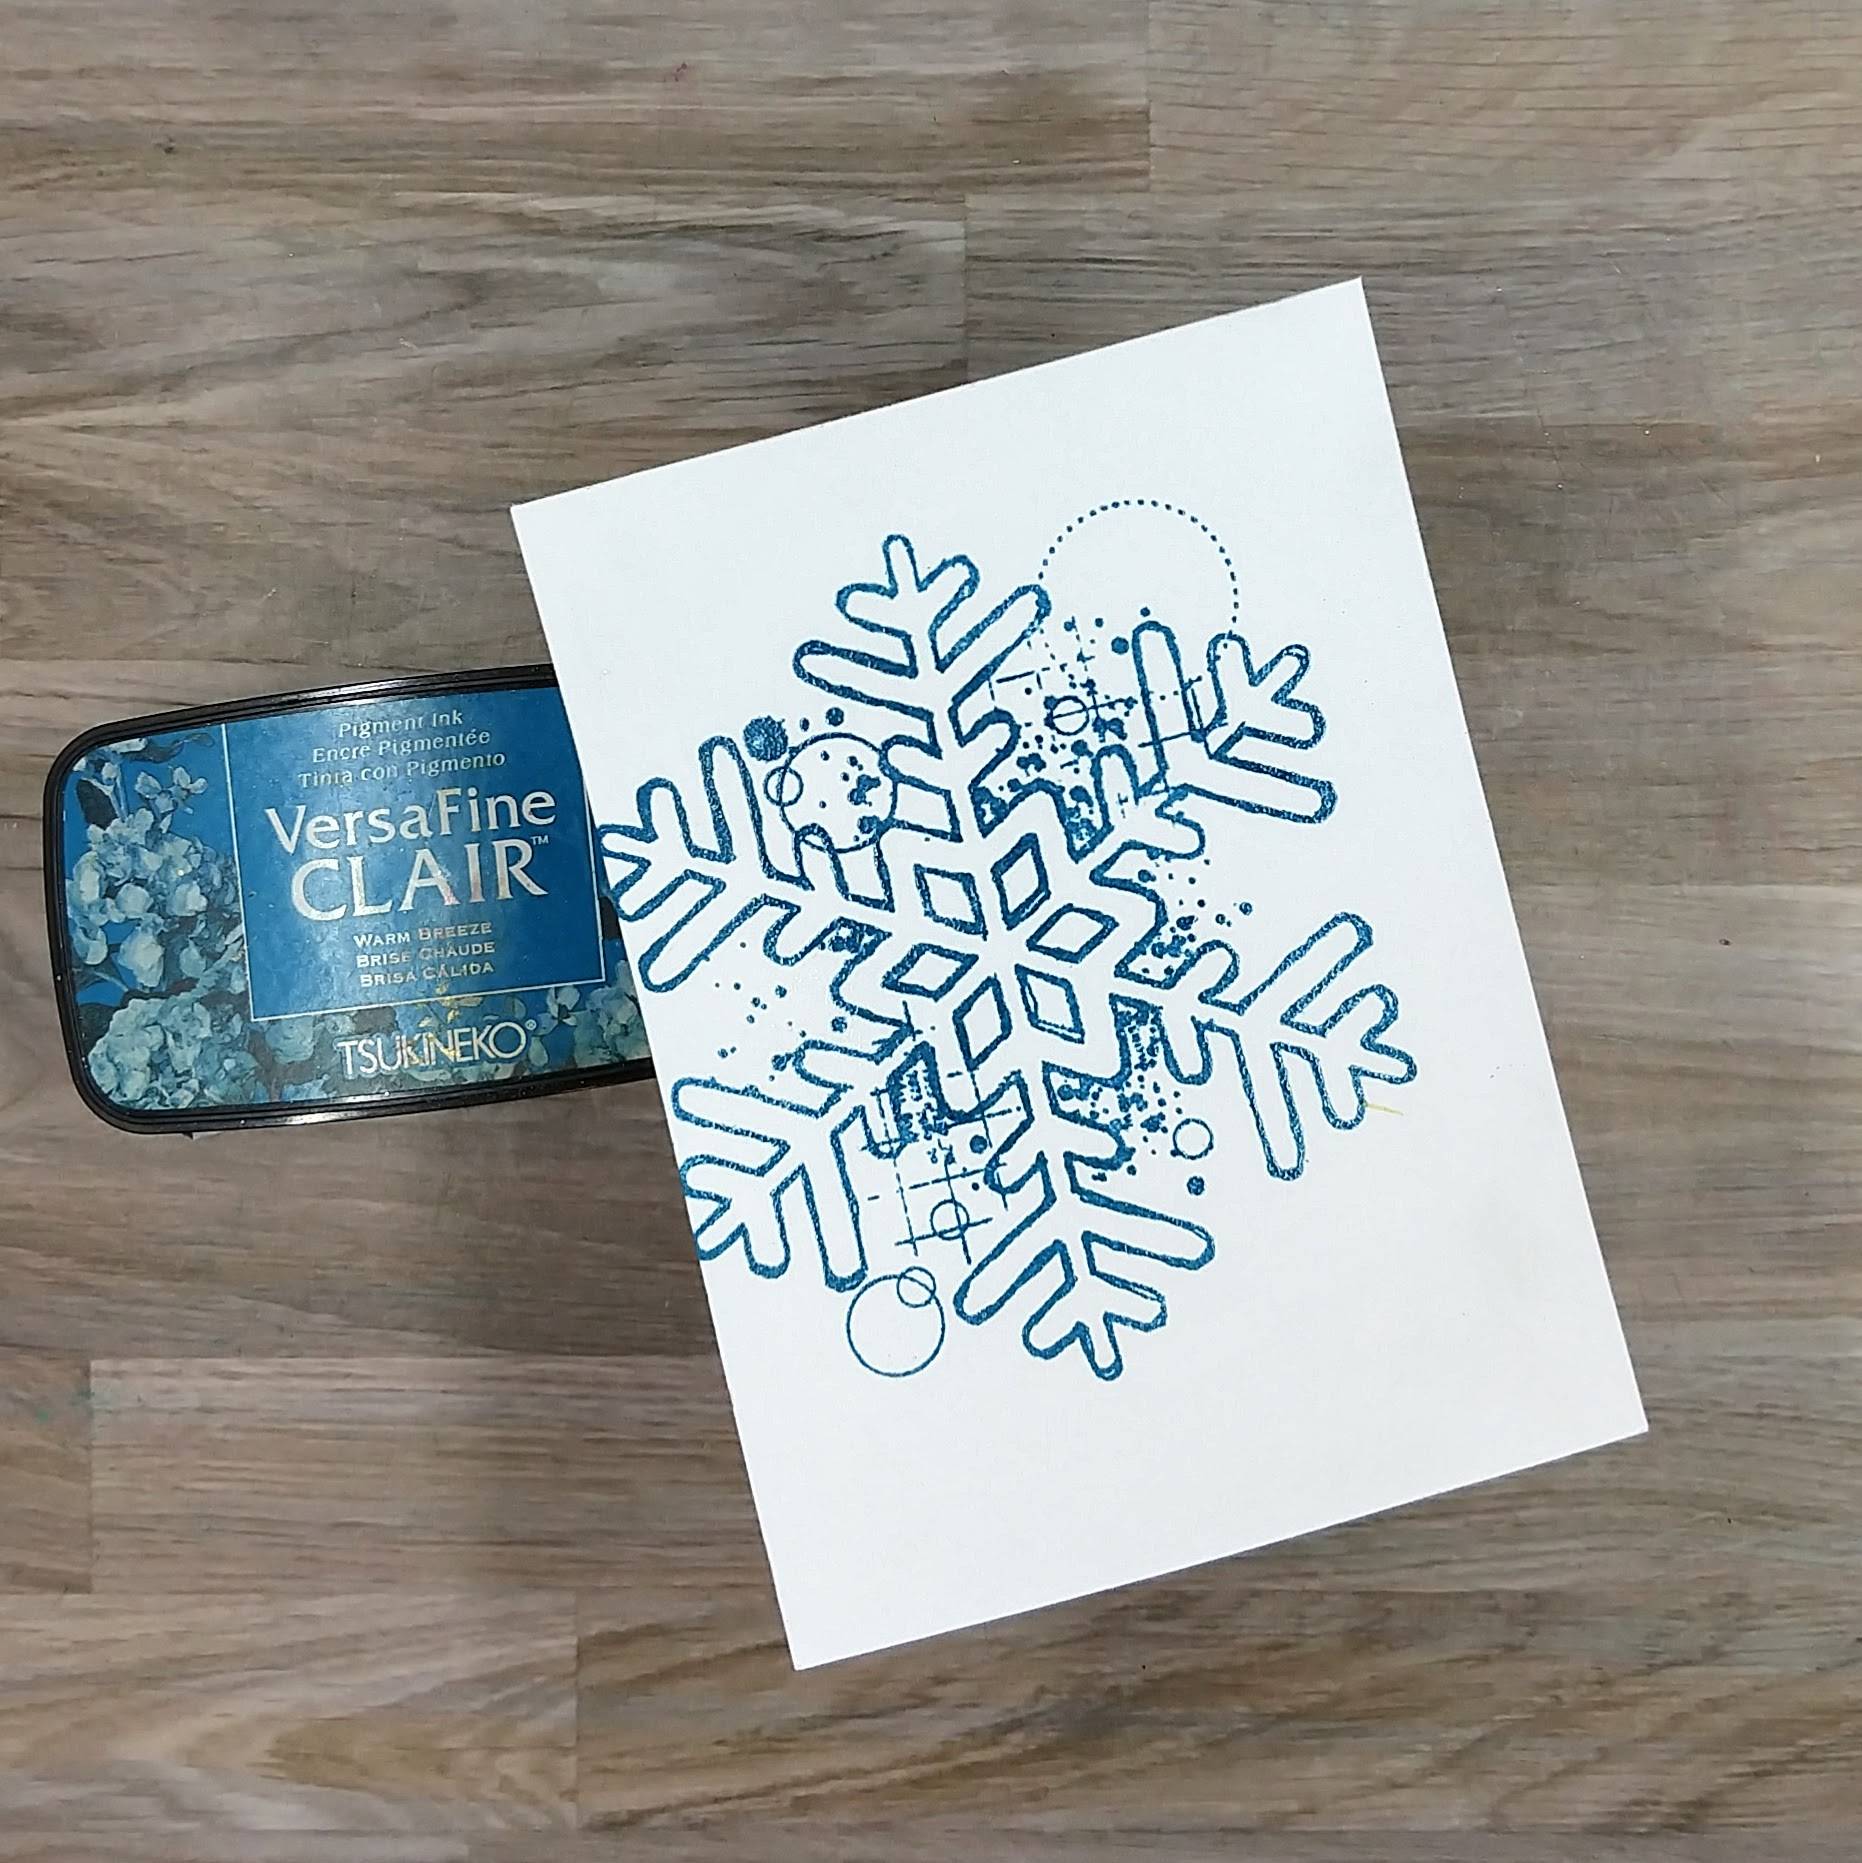
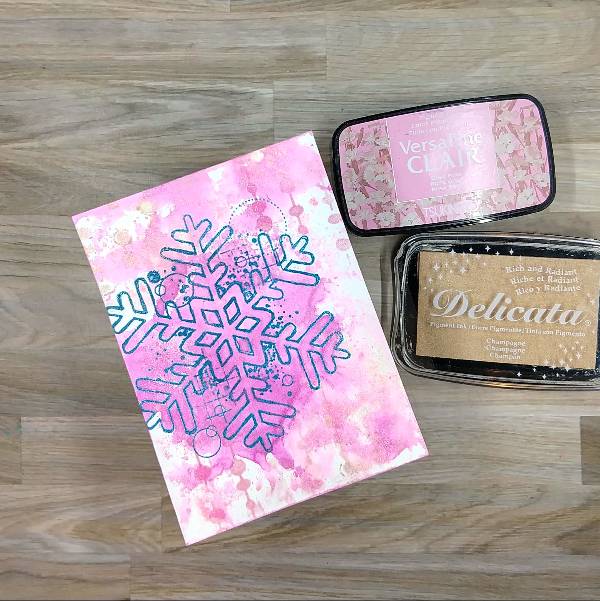
Step 1: Stamp a large snowflake stamp on watercolor paper with Warm Breeze VersaFine Clair ink and heat emboss with clear embossing powder.
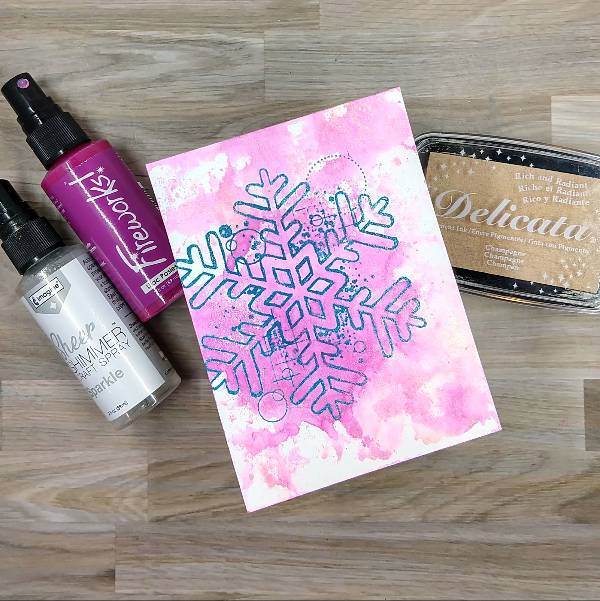
Step 2: Watercolor smoosh the watercolor panel with alternating layers of Lilac Pansies Fireworks! Craft Spray and Champagne Delicata Ink mixed with Sparkle Sheer Shimmer Craft Spray on scrap acetate.
Step 3: Ink blend a combination of Champagne Delicata Ink and
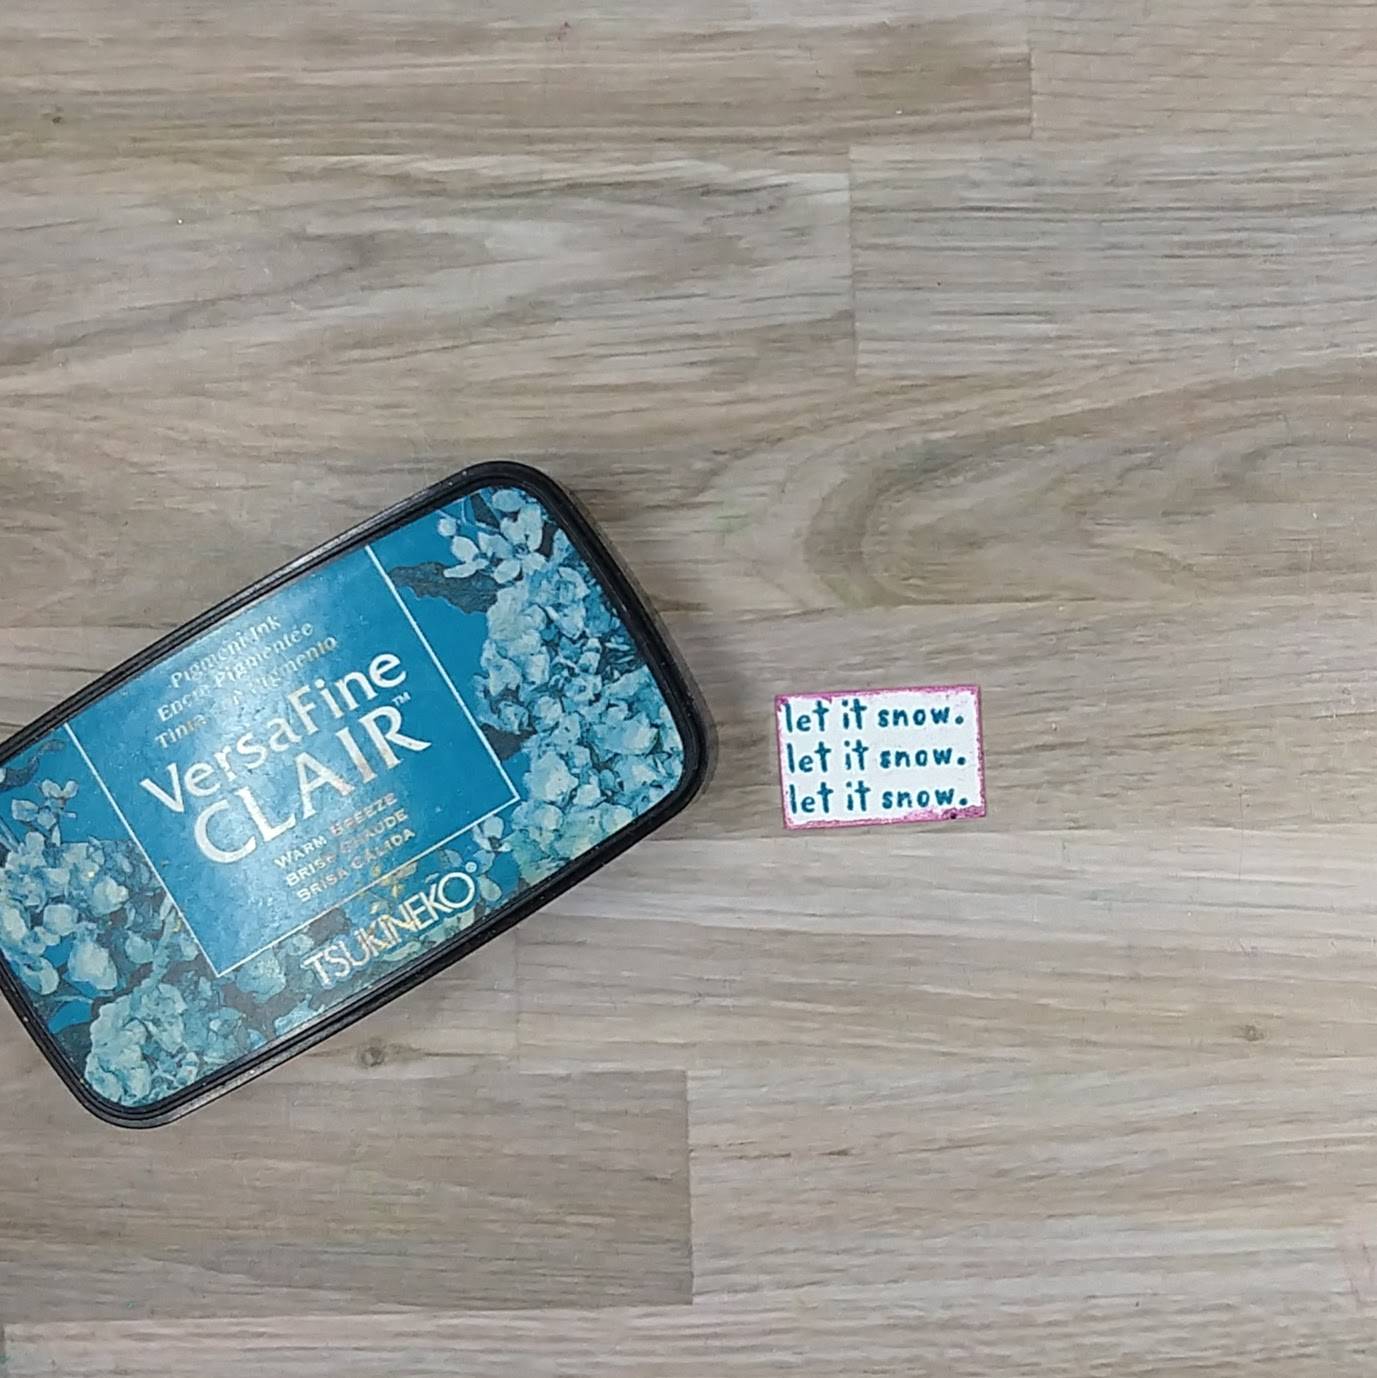
Step 4: Stamp the sentiment on a small scrap of watercolor paper with more of the Warm Breeze VersaFine Clair ink. Heat emboss with more clear embossing powder. Trim the sentiment down to the desired size with scissors. Then press the edges of the sentiment strip into the remaining mix of colors from step 2’s watercolor smooshing to color the edges.
Steps 5 and 6:
Press the Gold Sheer Shimmer Stix Dauber Top onto another piece of scrap acetate to create a liquid gold medium. Watercolor the gold liquid inside the snowflake to make it shiny. Watercolor smoosh the remaining gold watercolor onto the card panel.
After everything dried, die cut the watercolor panel with the second-largest die from an A2-sized nesting die set and a piece of blue metallic cardstock with the largest die from the same
A2-sized die set. Glue both die cut layers together. Attach the sentiment with foam tape. Glue sequins around the snowflake. Finally, glue the whole thing onto an A2-sized white cardbase.
Other • Altenew – foam tape • Crafty Meraki – embellishments – Meraki Sparkle Prismatic Blue • Idea-ology and Tim Holtz – 6 x 9 cardstock – blue (from the Metallic Colors collection) • Pink and Main – die set – Notched Corners • Scrapbook.com – stencil – String Lights • A2-sized white card base • Clear Embossing Powder • Watercolor paper • Thin paint brush • Die cutting machine • Scissors • Glue
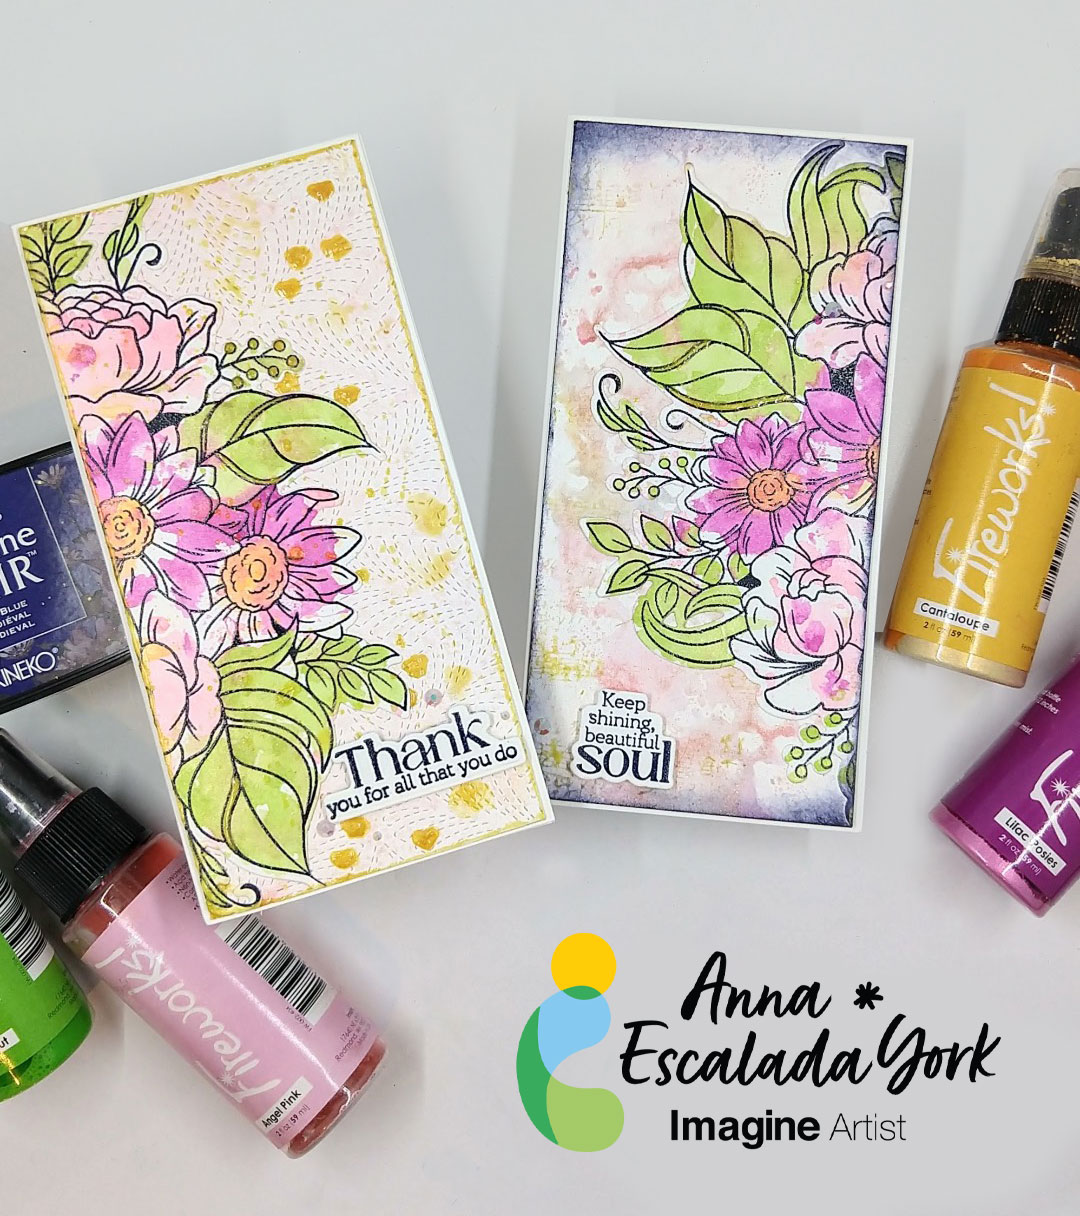
As I was making one card focusing on summer colors, I realized that I could easily make a second (bonus) card and wanted to share both with you.
Skill: Intermediate Time: 2 hours
Directions:
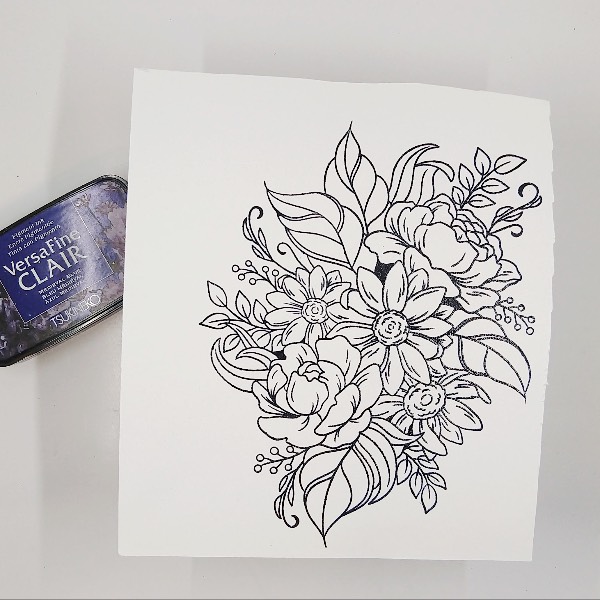
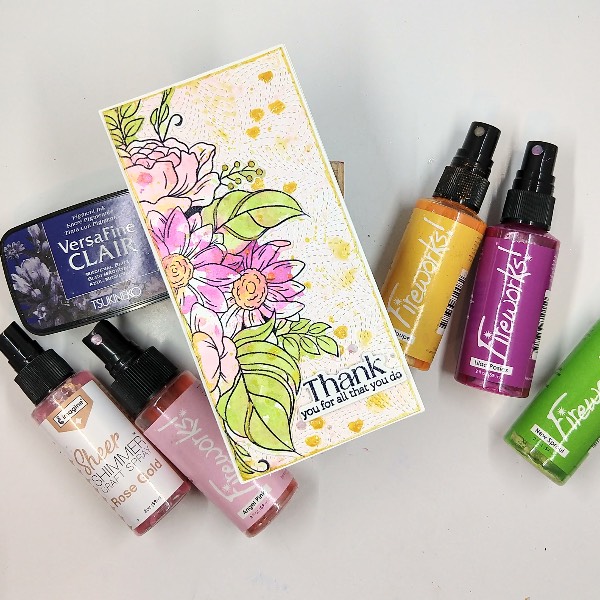
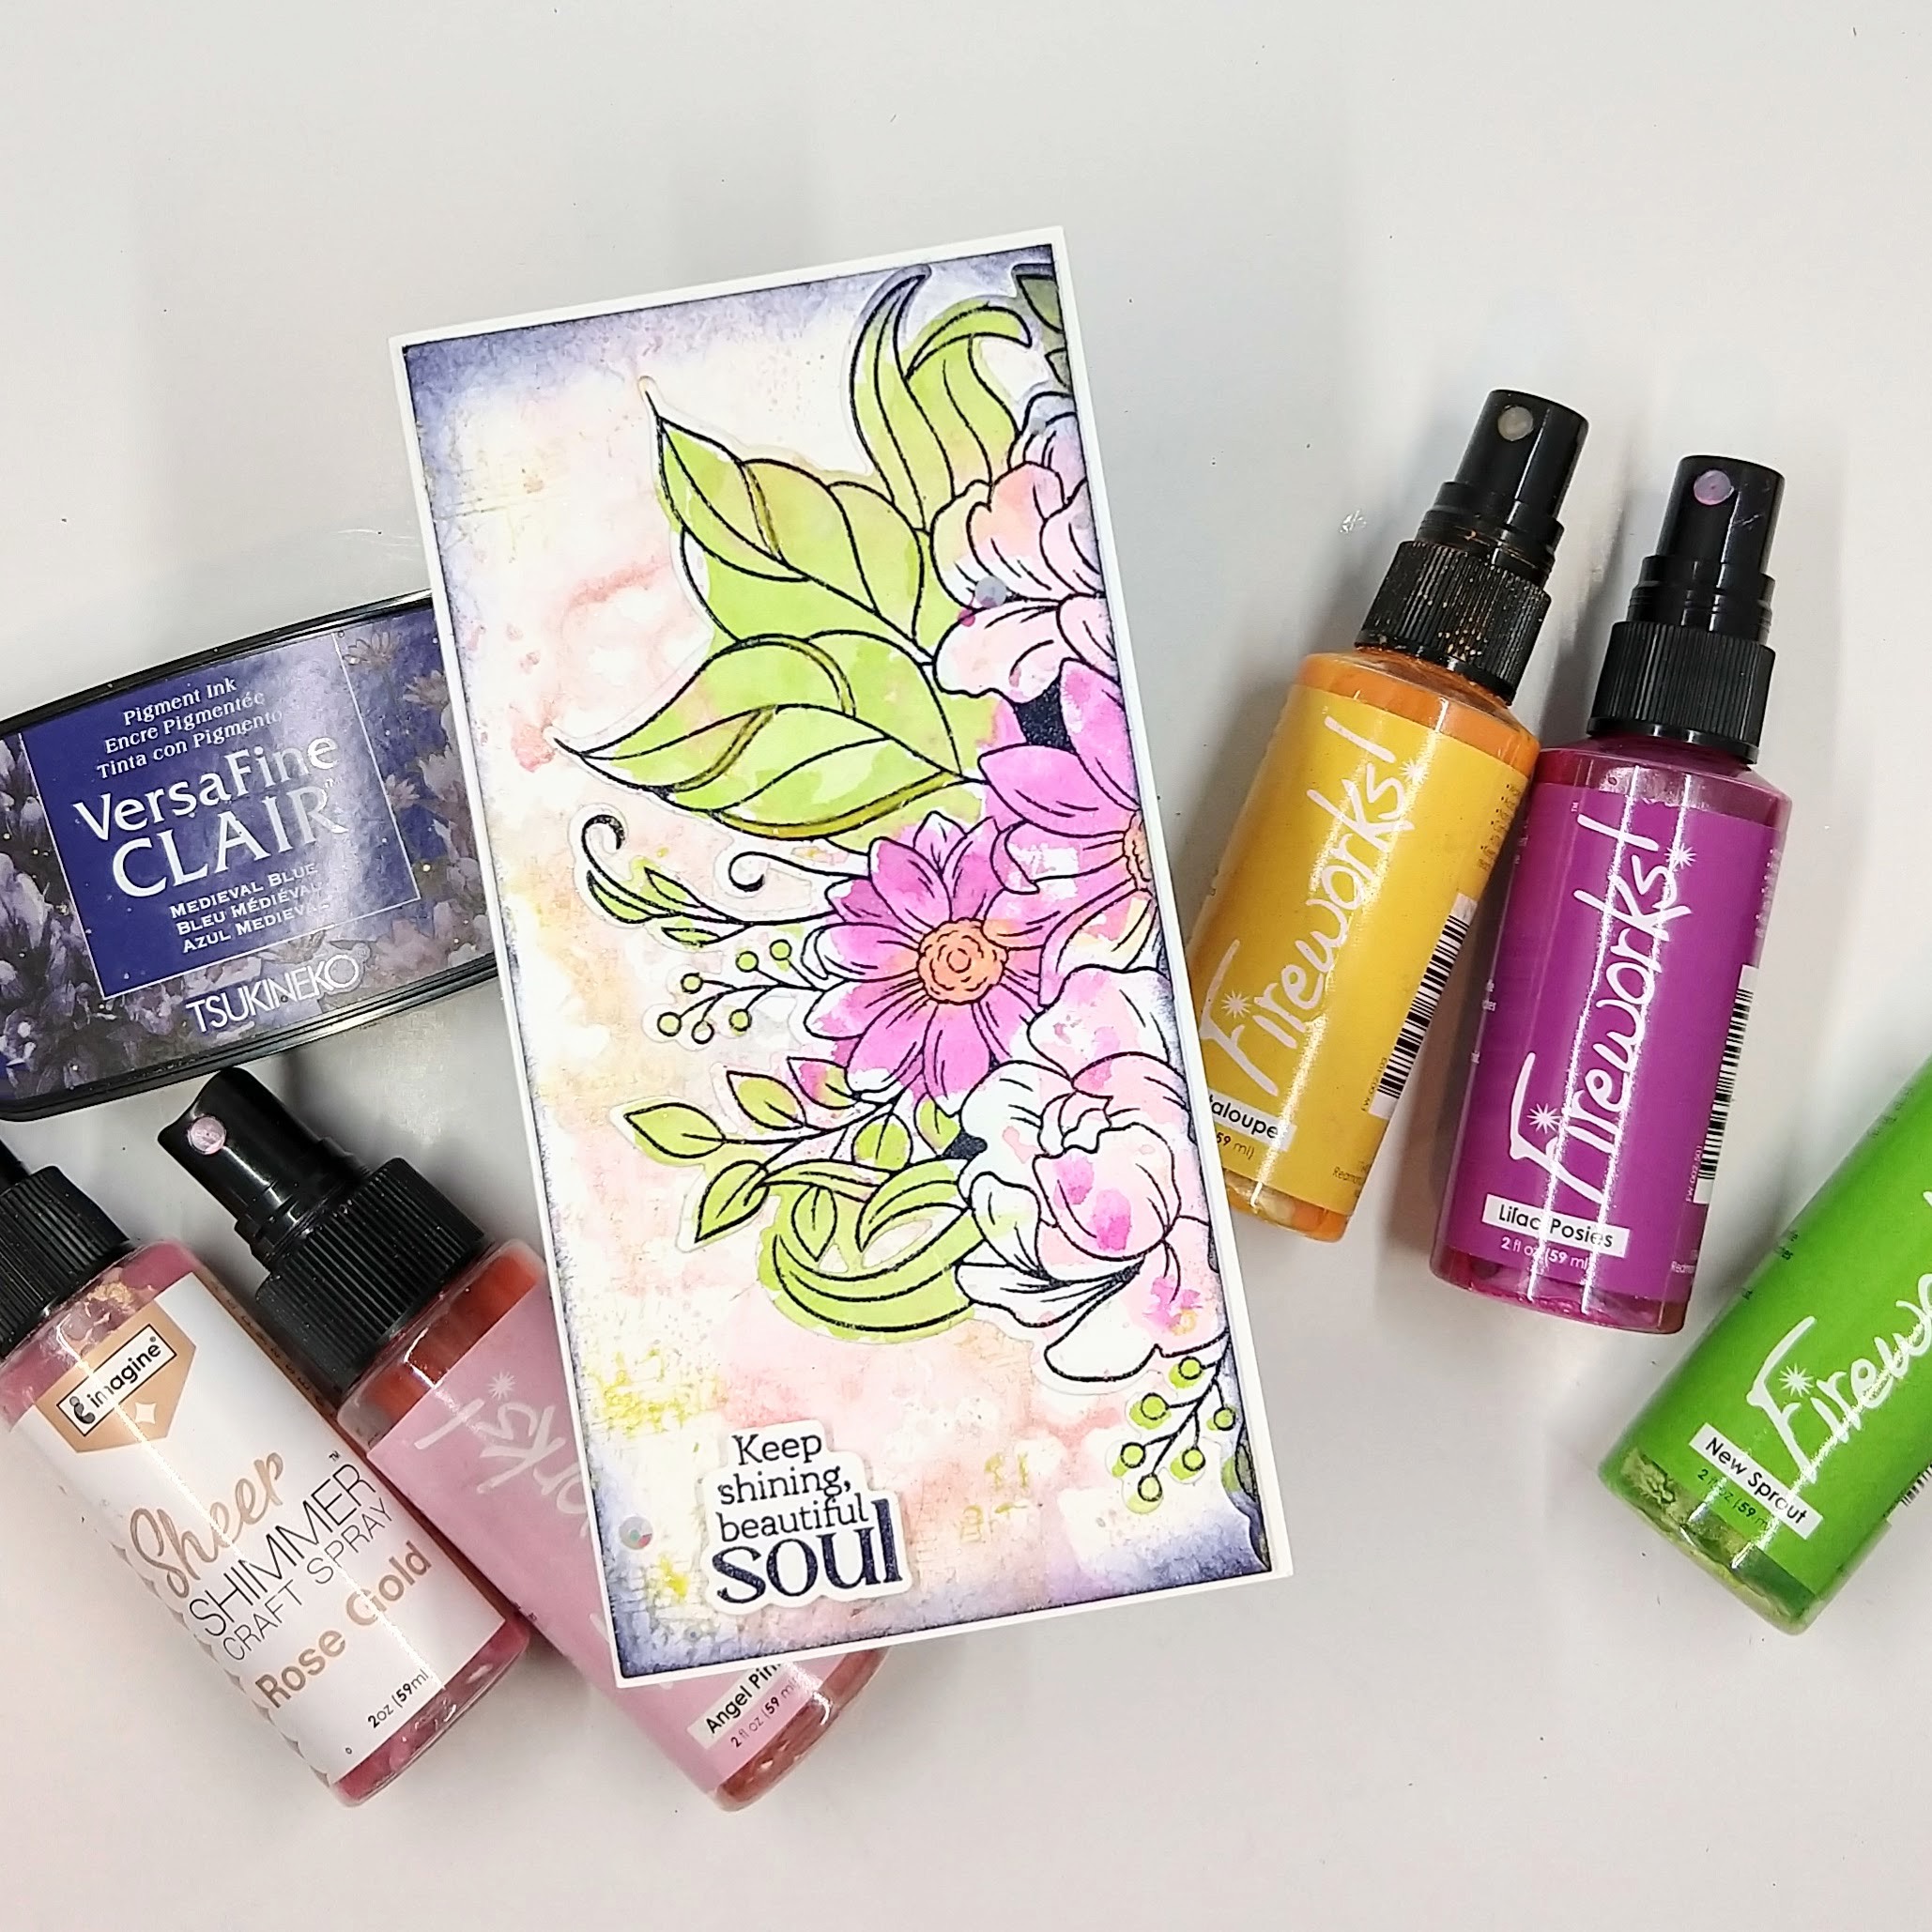
Step 1: Stamp a large floral image on watercolor paper with Medieval Blue VersaFine Clair Ink and heat emboss with clear embossing powder.
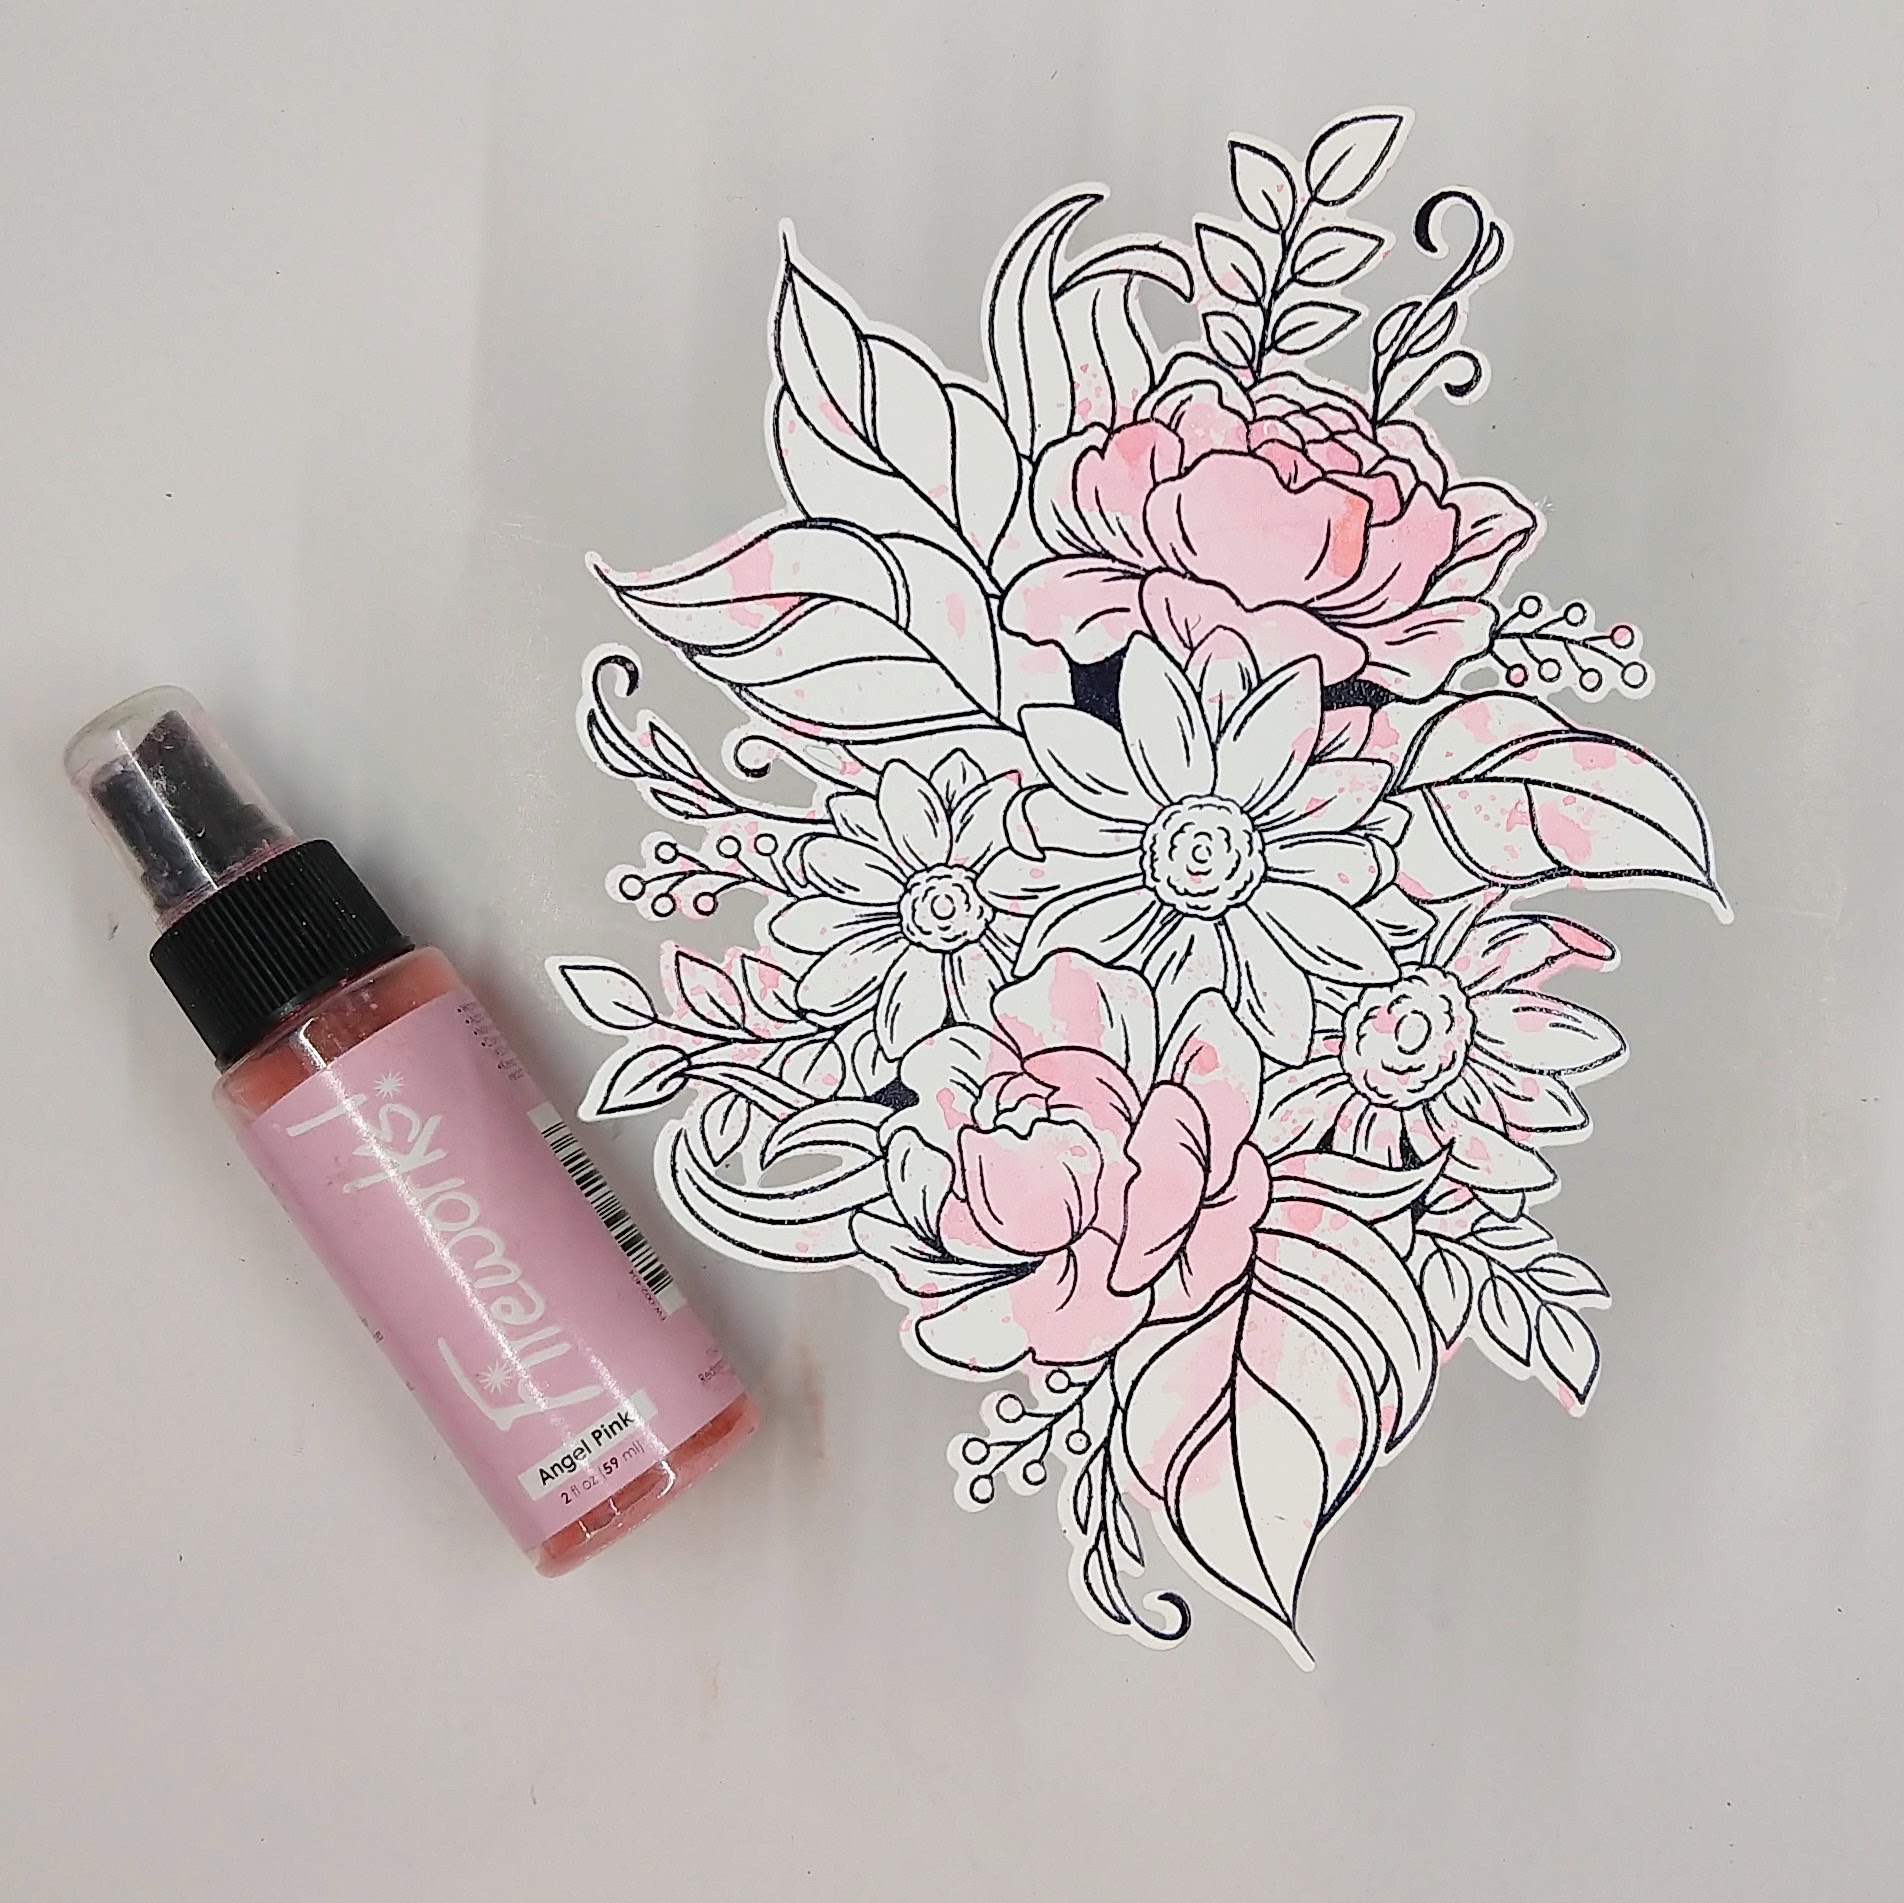
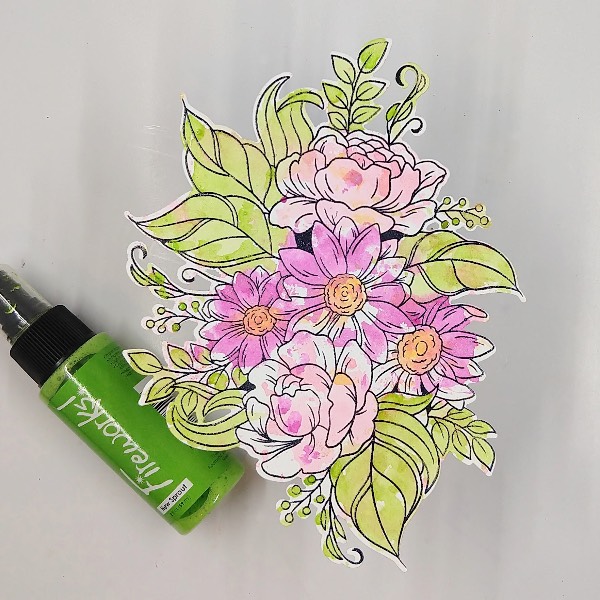
Step 2: After die cutting the floral image with the corresponding die, watercolor smoosh Angel Pink Fireworks! Shimmery Craft Spray, focusing on coloring the roses. Use a heat tool to dry the spray or set aside to dry.
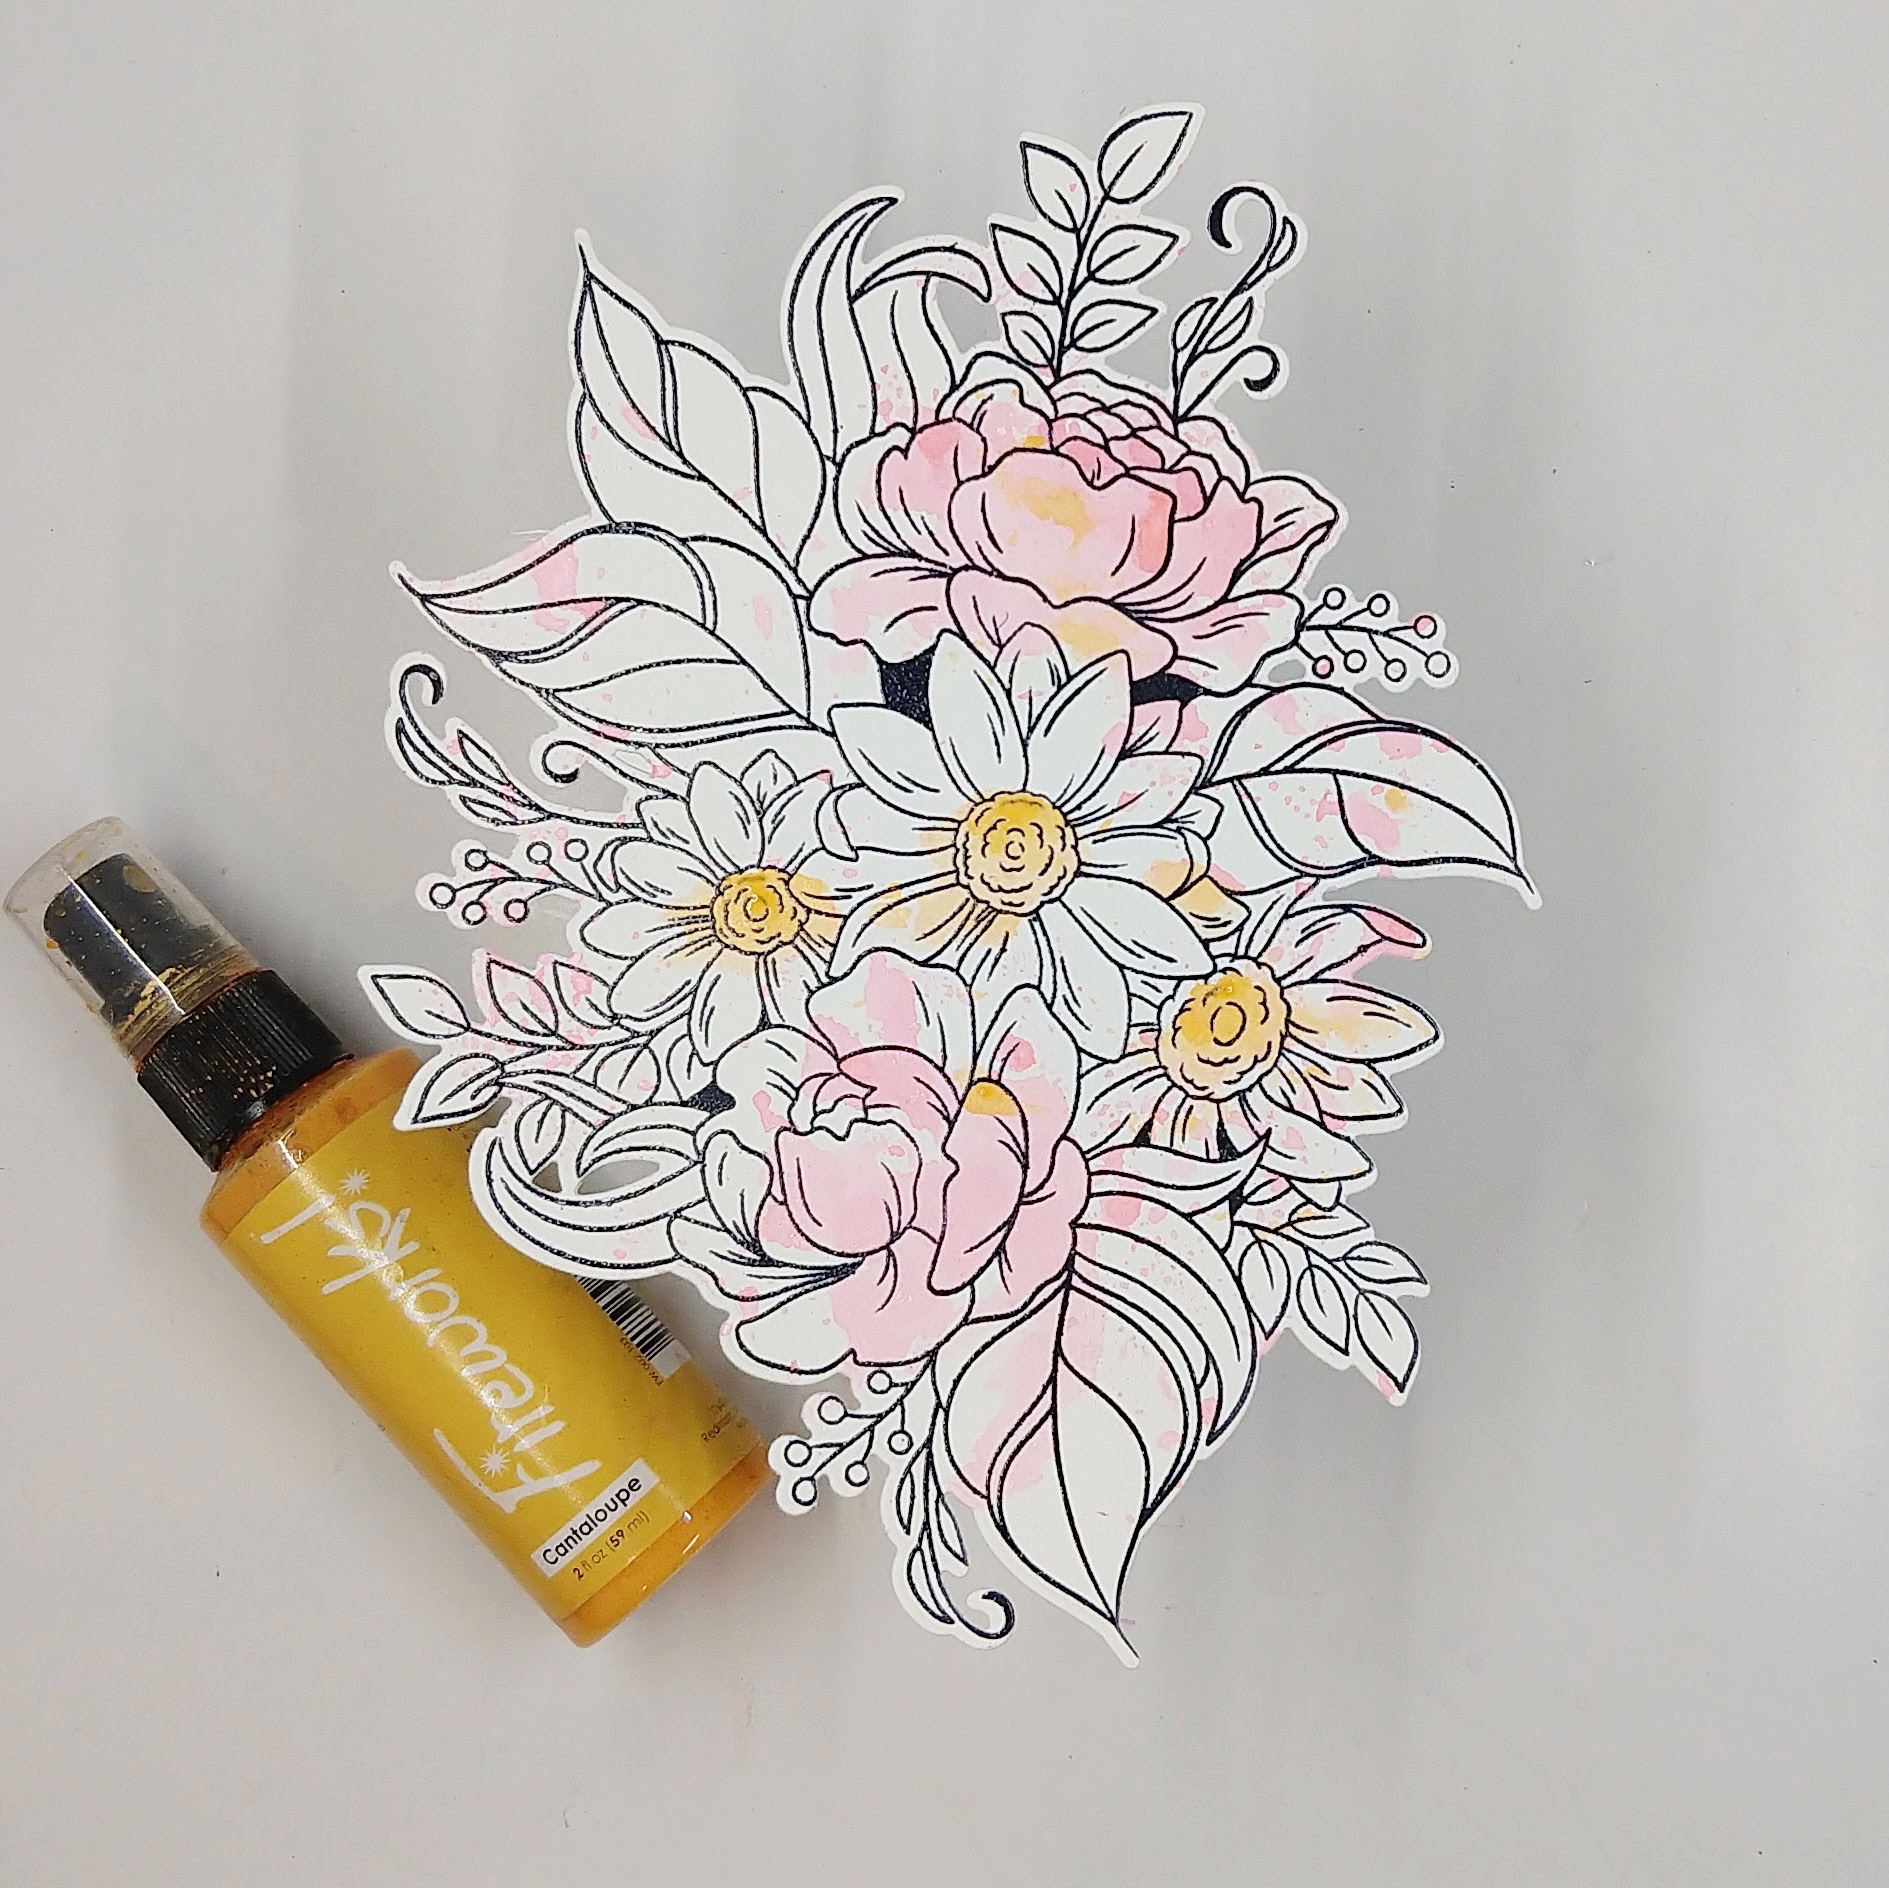
Step 3: Watercolor smoosh the floral image with Cantaloupe Fireworks! Shimmery Craft Spray, this time focusing on getting most of the color into the centers of the daisies. Use a heat tool to dry the spray or set aside to dry.
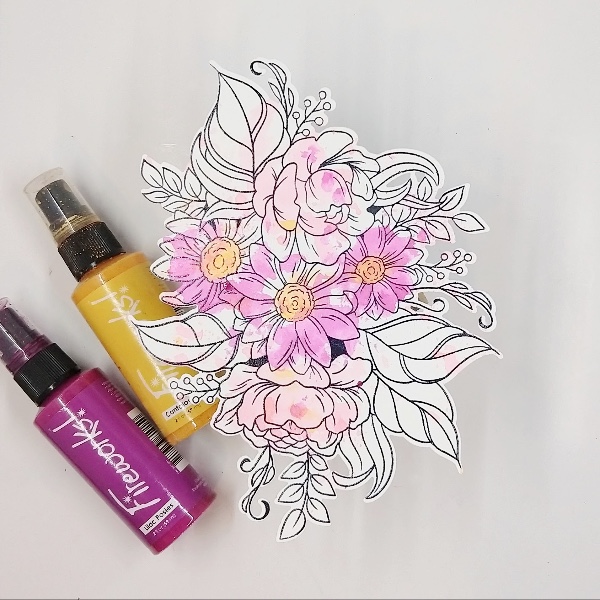
Step 4: Use Lilac Posies Fireworks! Shimmery Craft Spray to add another layer of watercolor smooshing to the image, this time focusing the color onto the daisies’ petals. Then paint in more of the Cantaloupe Fireworks! Shimmery Craft Spray into the centers of the daisies (to cover up some of the Lilac Posies spray in daisies’ centers).
Step 5: Watercolor smoosh the floral arrangement again–this time with New Sprout Fireworks! Shimmery Craft Spray, focusing on adding color to the leaves and other greenery.
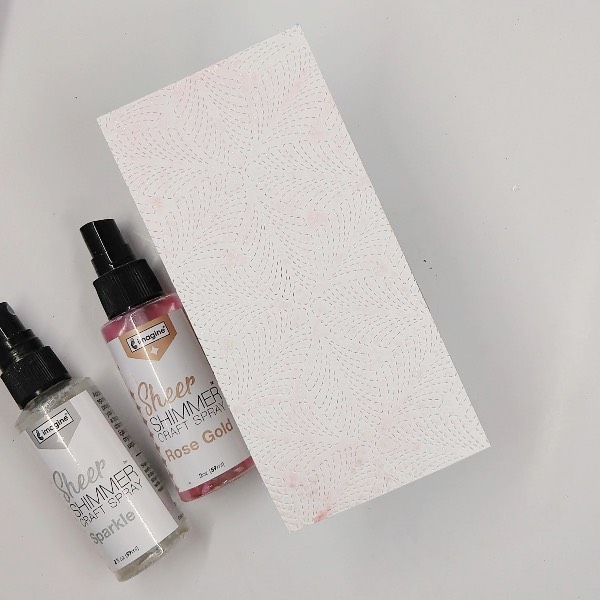
Step 6: Cut a piece of watercolor paper about 3 inches by 5.5 inches. Add texture to the panel by die cutting the panel. (Since the panel was smaller than the die, it didn’t actually cut anything out it just pierced the panel.) Then spray the panel with Rose Gold and Sparkle Sheer Shimmer Craft Spray. Allow to dry.
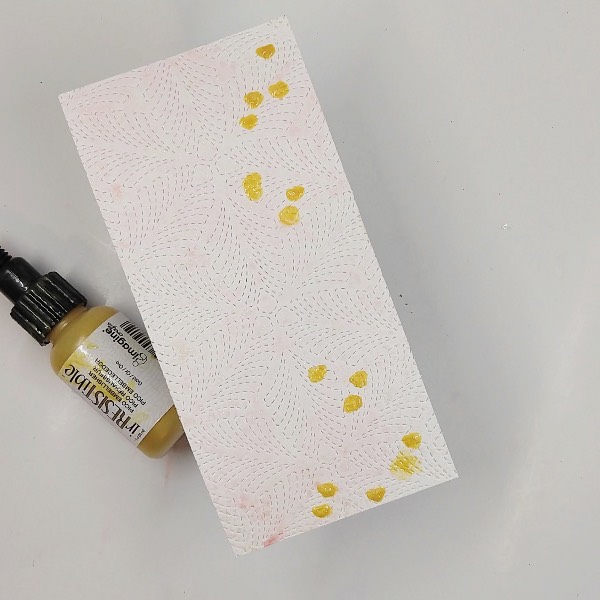
Step 7: Add irRESISTible Gold medium through a heart stencil onto the right side of the watercolor panel.
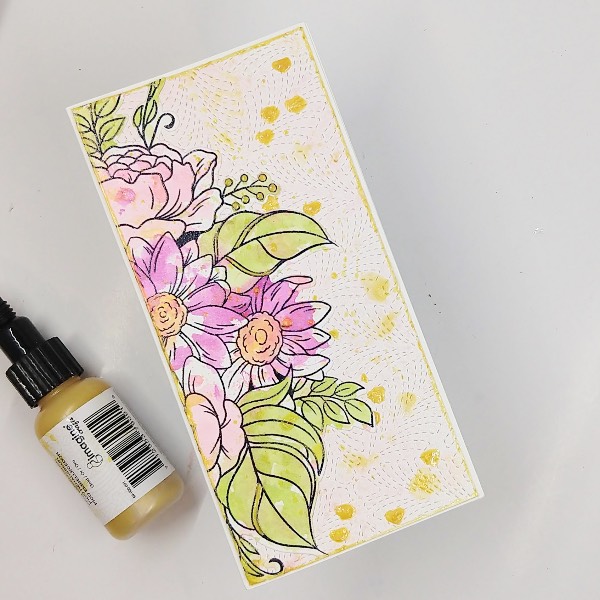
Step 8: Add irRESISTible Gold onto some of the thinner ribs on the larger stamped leaves and onto some of the berries. After it dried, cut the floral cluster in half with a paper trimmer. Then glue half of the floral cluster onto the lefts side of the panel.
Add more of the irRESISTible Gold medium onto the piece of acetate and spray with water to dilute it. Watercolor smoosh it onto the floral cluster and the background panel. Then glue half of the floral cluster onto the left side of the panel. Then paint the edges of the panel with more of the irRESISTible Gold medium.
Finally glue everything onto a minislimline card base.
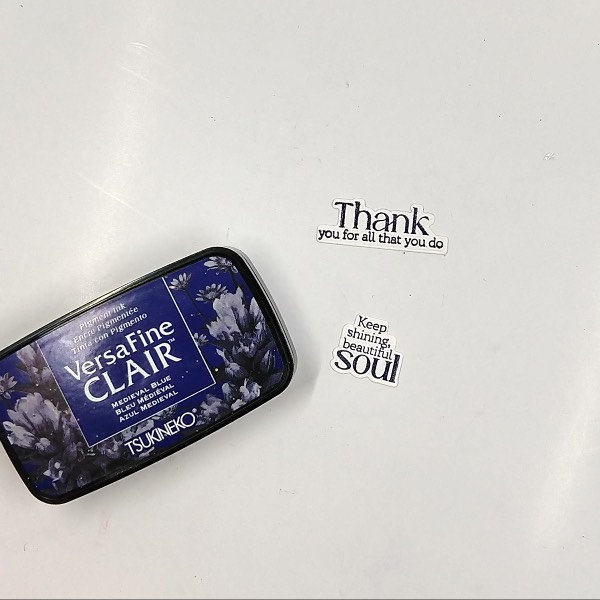
Step 9: Stamp two sentiments on a scrap of watercolor paper with Medieval Blue VersaFine Clair ink and emboss them with clear embossing powder. They were die cut with corresponding dies.
Step 10: Attach one of the sentiments onto the card with foam tape. To finish the card, glue white gem embellishments around the sentiment.
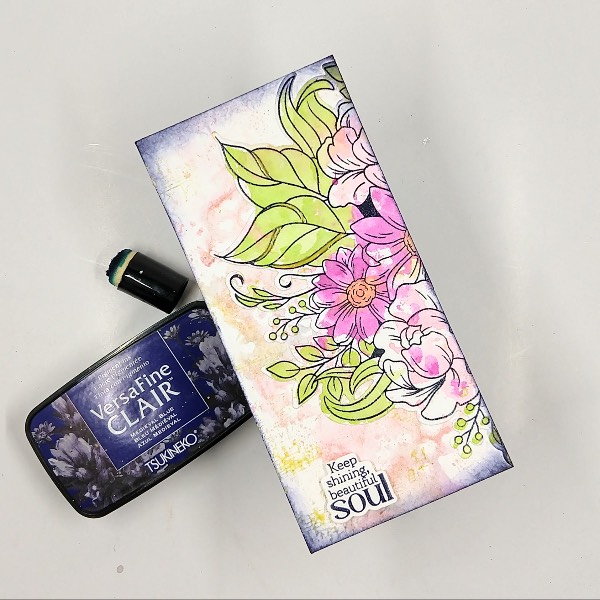
Step 11: Then it was onto the bonus card made with the leftover part of the floral image. The same heart stencil was sprayed with Rose Gold Sheer Shimmer Spray and then was pressed onto another panel of watercolor paper trimmed to 3 inches by 5.5 inches. After the spray dried, more of the gold IrRESISTABLE medium was painted onto a small music stamp, which was then stamped multiple times onto the panel.
Step 12: The remaining half of the floral cluster stamp was glued onto this pahel. The sentiment was attached with more foam tape. The edges were ink blended with Medieval Blue VersaFine Clair ink using a sponge dauber.
Step 13: Finish the second card by gluing the panel onto another mini slimline cardbase and gluing more white gem embellishments around the sentiment.
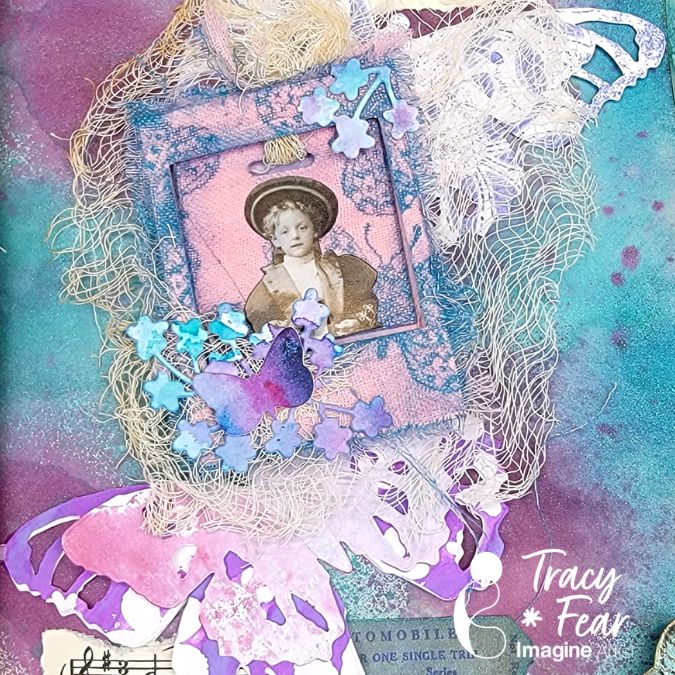
Hello Friends! Tracy here and today I am delighted to share this little frame tutorial perfect to fit into your junk journals or any other type of journal!
In today’s video tutorial I am sharing how I used stamps on muslin fabric to create a fun frame project! We will make one together, I will make 2 off camera, and at the end I will show you how I incorporated all three into my junk journal. Be careful, my friends, making these is addictive!
Skill: Intermediate Time: 30 Minutes to 90 Minutes
Art Supplies Stamping Platform Glue Brush (I use silicone) Your choice of stamps Ephemera of your choice Muslin Fabric-pressed
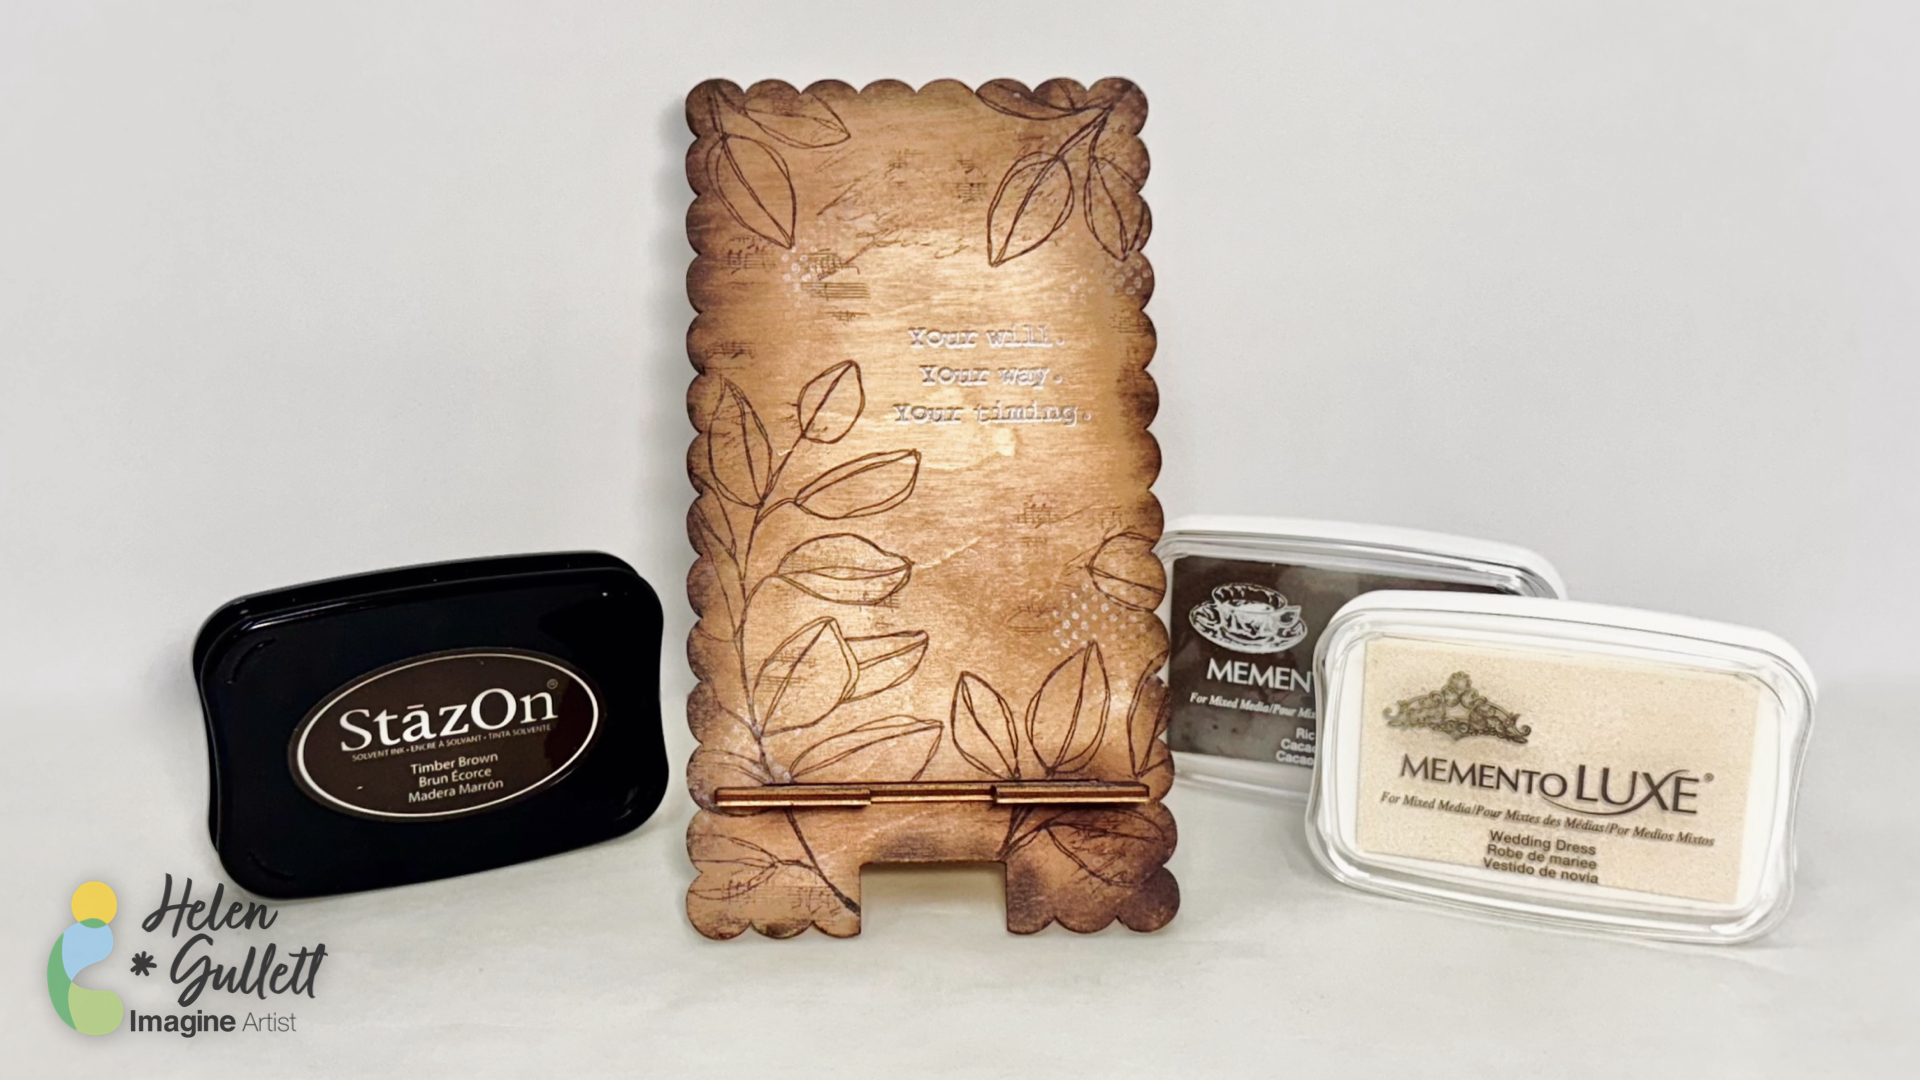
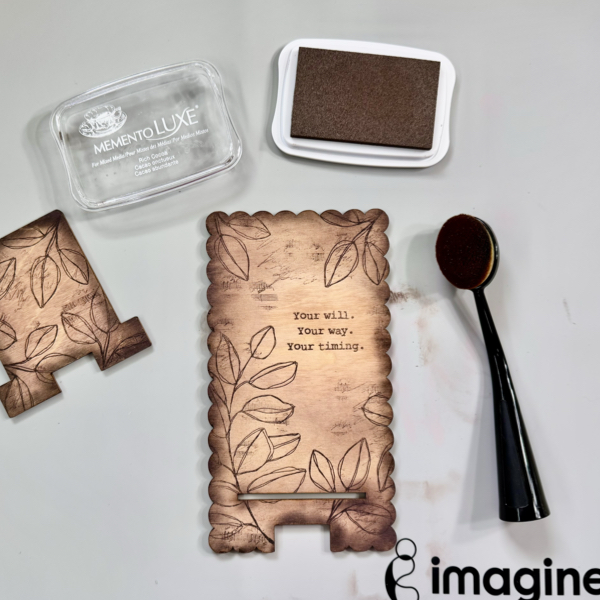
Hello crafty friends! Today, I want to share this personalized wood phone stand project. I got this wood phone stand in my stash for a while and waited to be decorated. This fun DIY idea to personalize home decor you can do using stamps and ink pads only. So… Let’s get some stamping on wood done!
Skill: Beginner Time: 15-20 minutes
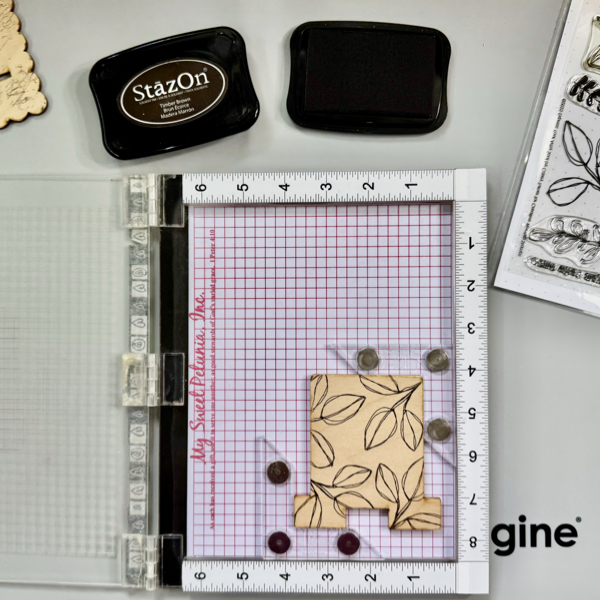
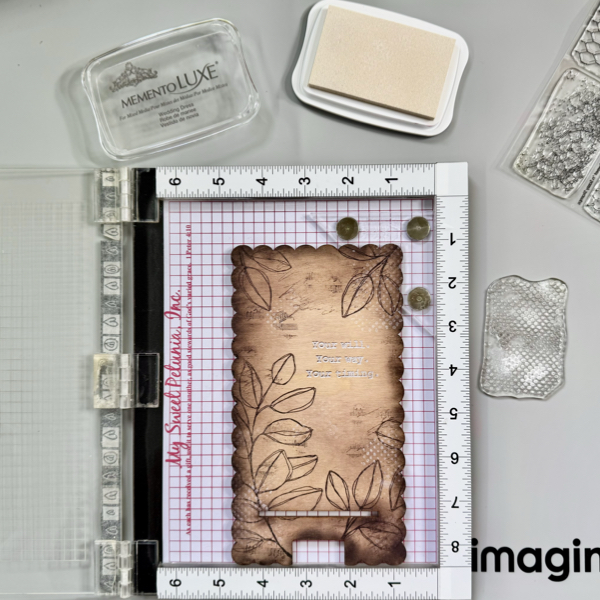
Step 1 Put the large piece of the wood phone stand on the stamping tool and secure it with the corner magnet (or couple magnets) around it so it won’t move when stamping on it. This piece of wood has a smooth surface that is ready to be stamped. If your wood is not smooth enough, make sure to prep your wood surface with sandpaper and wipe it clean with a paper towel or wipes. Stamp the leaf branch image on the wood with the StazOn Timber Brown ink pad on one of the corners, and then turn the wood piece around to stamp the other corner. Stamp the phrases on the wood with the StazOn Timber Brown ink pad.
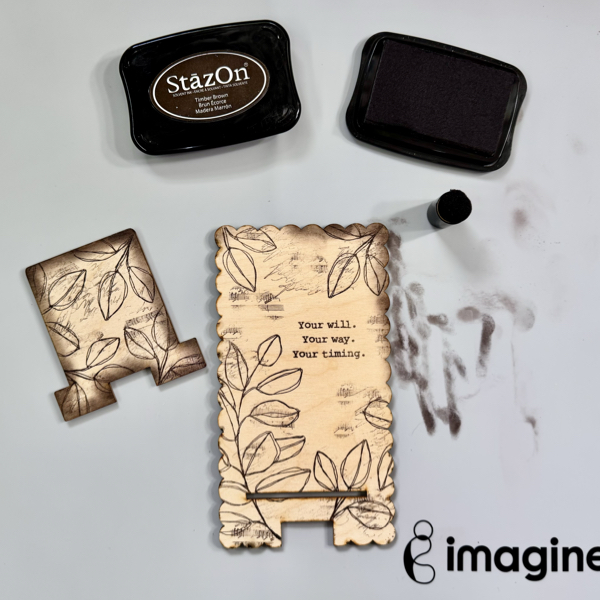
Step 2 Repeat step 1 to stamp on the smaller part of the wood phone stand. I used the smaller branch leaf image for this one and used the same StazOn Timber Brown ink pad.
Step 3 After stamping all the wood pieces with the leaf branches, the next step is adding more textures on the background. Use the scribble image and vintage music sheet image to stamp on the wood phone stand piece randomly with the StazOn Timber Brown ink pad. And then, using a sponge dauber and the StazOn Timber Brown ink pad to add more shadow around the edges.
Step 4 Use the big oval blending brush and the Memento Luxe Rich Cocoa ink to some vintage color to the wood phone stand pieces. If it is too much ink, use baby wipes or a damped paper towel to remove some of the ink.
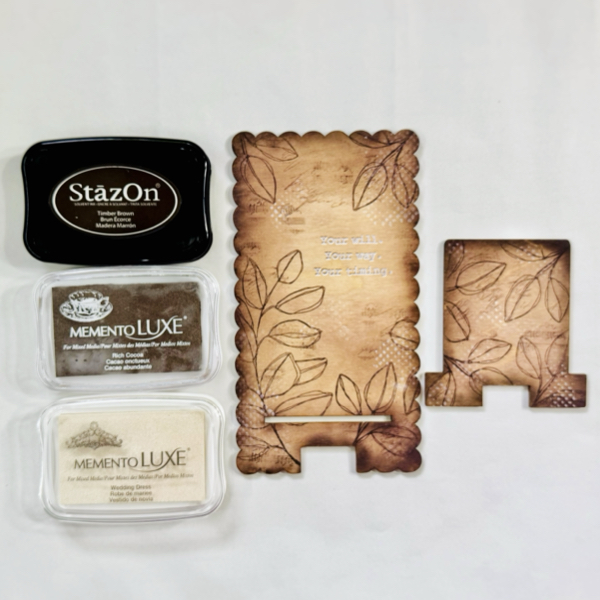
Step 5 Add some shadow to the word phrases by stamping them a little bit overlapping with the Memento Luxe Wedding Dress. Then, randomly stamp the dots image on the large wood phone stand piece with the Memento Luxe Wedding Dress for extra texture on the background.
Step 6 Repeat step 5 for the smaller wood phone stand piece to match with the large wood phone stand piece. Slide in the small wood phone stand piece through the slot to put them together. Simple as that. This is how the wood phone stand looks when it is done. The StazOn ink pads are perfect for stamping on wood and it dries fast, too. They are great for DIY projects.
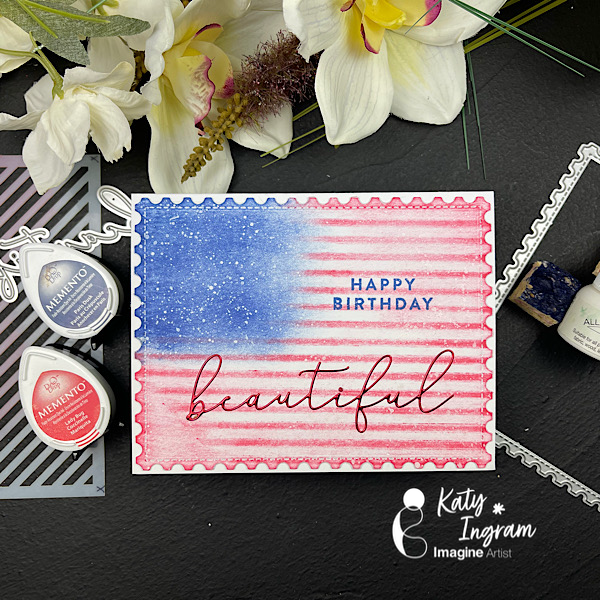
Hello Friends! Katy here with another quick project for you. Today’s card is for Independence Day here in America, coming up on July 4th and I thought I would use my supplies to create an American Flag. I used a diagonal stencil to create my stripes and some sponge swiping to create my blue section and some splatter for my stars. Some simple techniques with minimal supplies to add to your card making arsenal.
Video below has all the details. I hope you enjoy.




 Imagine Blog