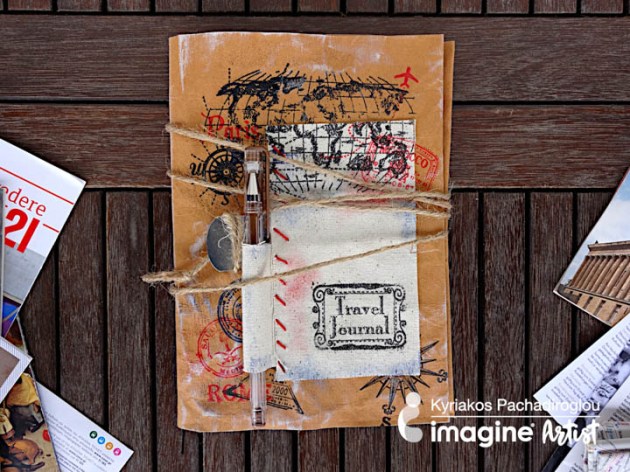
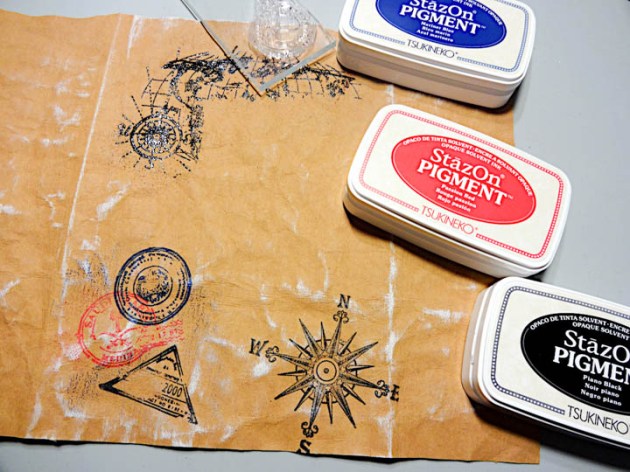
Keeping travel memories in real time while they are taking place and having them all gathered in a journal is the best way to have to keep every moment of your trip. Include blank pages, make pockets and keep tickets, notes, and photos in this handmade travel journal. To make the cover, I used Kraft-tex paper, which a fabric-like paper, which I sprayed with Ink Potion No.9 instead of water to keep it soft and allow better performance of inks. Stamping with the StazOn Pigment inkpads gave great coverage and sharp design on the wrinkled surface, while the ink dried fast to allow moving to the next step. Make this journal before your trip and have it handy during your travels.
Time: 2 hours
Skill: Advanced
Directions
Step 1
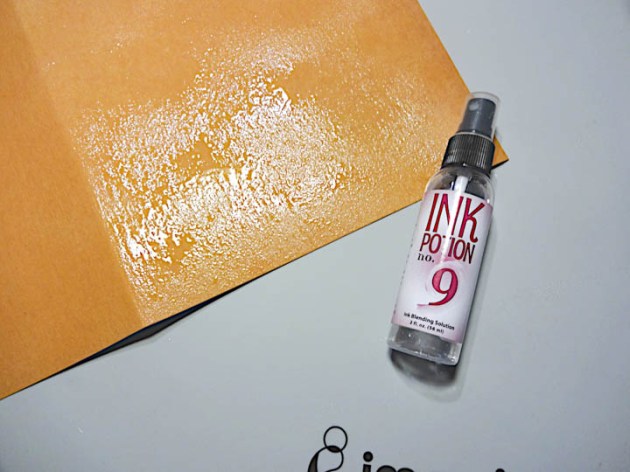
Cut a 16 ½ x 8 ½ inch piece of the Kraft-tex paper and spray it with the Ink Potion No.9
Step 2
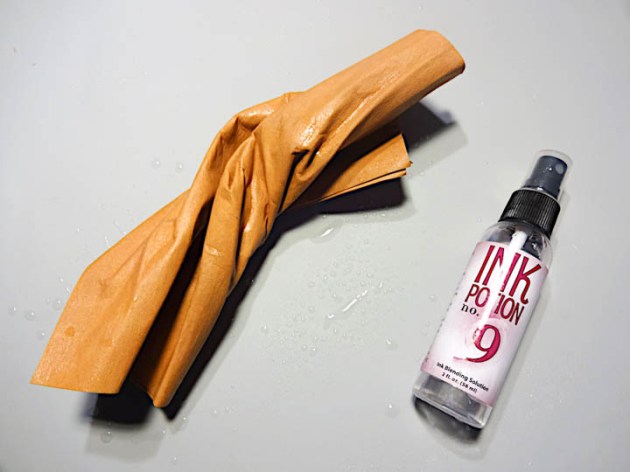
Twist and crinkle the paper and while spraying a bit more of the Ink Potion No.9. Let it dry or use a heat tool.

Step 3
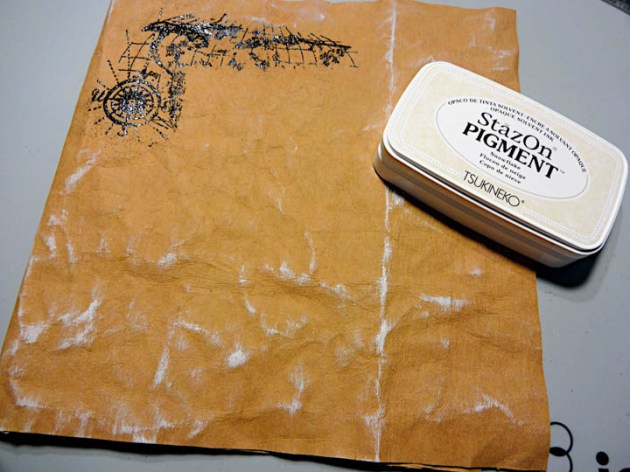
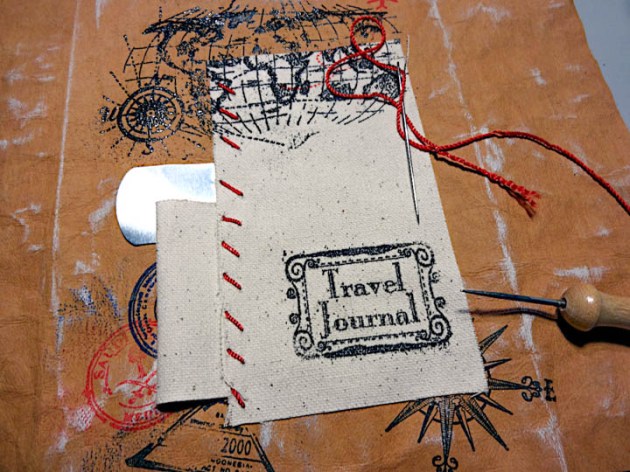
Cut a 5 ½ x 3-inch canvas piece and place it on the cover, leaving 2 ½ inch from the long side on the right, as it will be used an inner flap making a side pocket. Stamp with the map and the travel journal stamp with the VersaMark, cover with Mboss Embossing Powder in Black and heat set.
Step 4
Remove the canvas piece, press lightly on the surface with the StazOn Pigment Snowflake inkpad and distress the surface.
Step 5
Continue stamping with the StazOn Pigment in Passion Red, Mariner Blue, Piano Black ink pads with travel stamps on the surface. Distress around the compass image and maps with the same colors ink pads.
Step 6
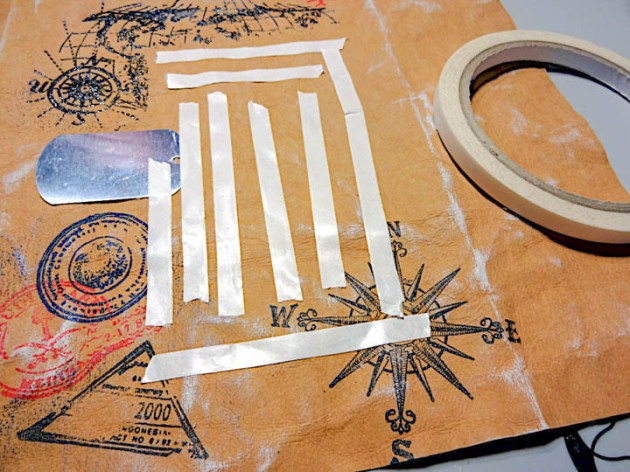
Add Tear It Tape to the top side of the canvas piece and a Sheet Metal dog tag, gluing only half of it. Allow space as it will be used a hook to secure the burlap cord wrapped around the journal.

Step 7
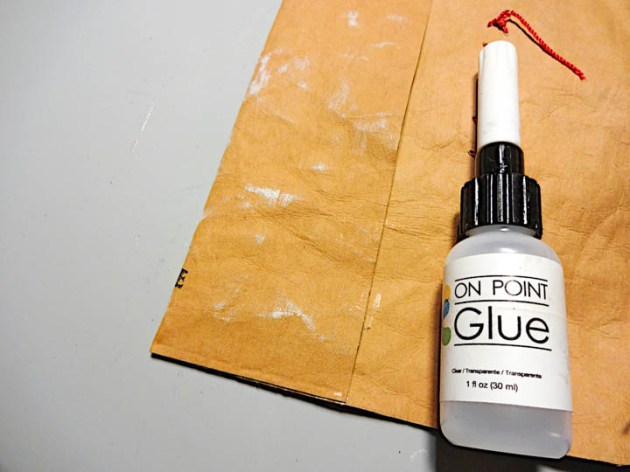
Cut a 2 ½ x 2-inch piece of canvas fabric, fold in half and glue just the edge of the long side with the On Point Glue, creating a pen pocket.
Step 8
Place the canvas pieces on the Kraft-tex cover and using a piercing tool open holes to allow hand sewing of the red twine. Apart from decorative purpose, this also helps to secure it further the pen pocket to the cover.

Step 9
Continue decoration with stamps and the StazOn Pigment in Passion Red, Mariner Blue, Piano Black inkpads.
Step 10
Turn at the back and glue the previously left sides on top and bottom only making side pockets.

Step 11
Open two holes at the middle (spine-like) leaving about 1 ½ inches from top and bottom and pass three times the elastic black cord.
Step 11
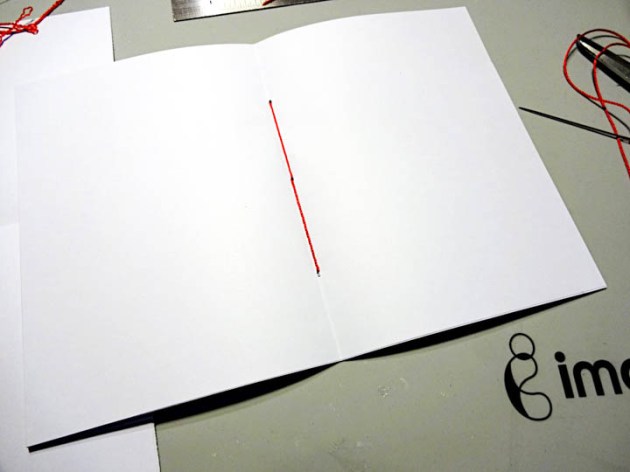
Cut blank pages in stacks of 5 creating signatures in 10 x 7 inch (5×7 when folded) and secure with the red twine by opening 3 holes and passing the twine through them. Repeat the process and just pass between the elastic cord to secure them.
Supplies
Imagine
Other
- Kraft-tex paper fabric – natural
- Canvas
- Viva decor – Travel and Paris, Rome, Berlin stamps
- Black elastic cord
- Red twine
- Burlap cord
- Blank pages
- Heat tool
- Piercing tool


