By Helen Gullett
Hello crafty friends! The Month of May is the month for graduation. It is time to celebrate those who made it through their education journey. Today, I would like to share a way to celebrate and congratulate them with this handmade graduation gift card holder.
Skill: Intermediate
Time: 30-45 minutes
Direction:

Step 1
Cut all the pieces from the gift card holder die set using the pattern cardstock and plain cardstock of your choice. I chose the school colors for my project.
Step 2
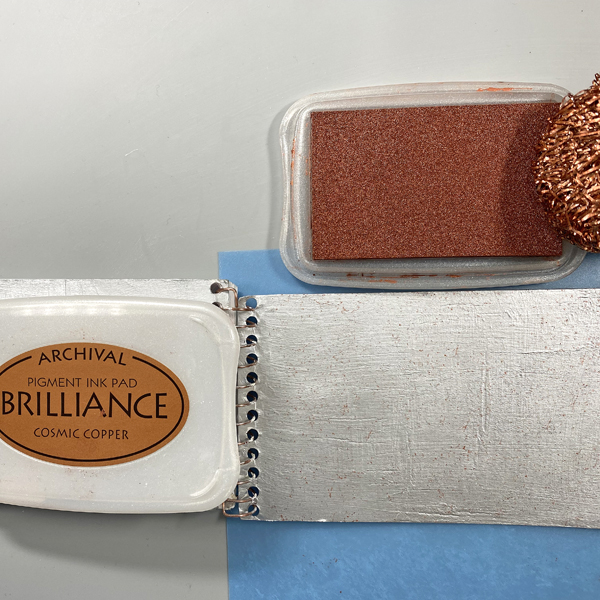
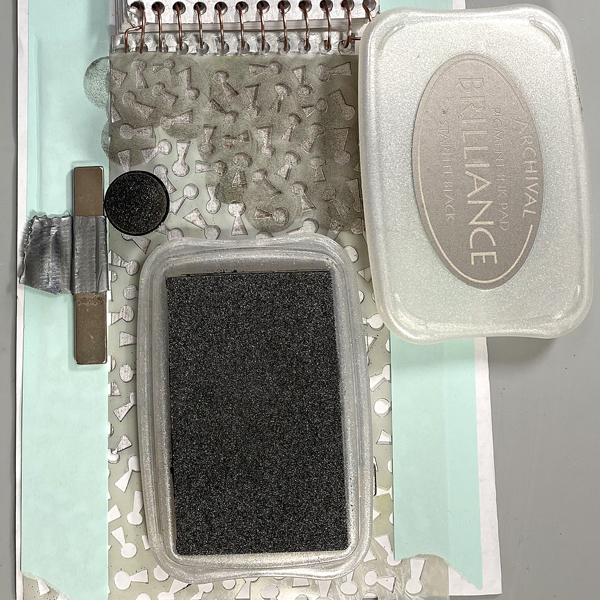
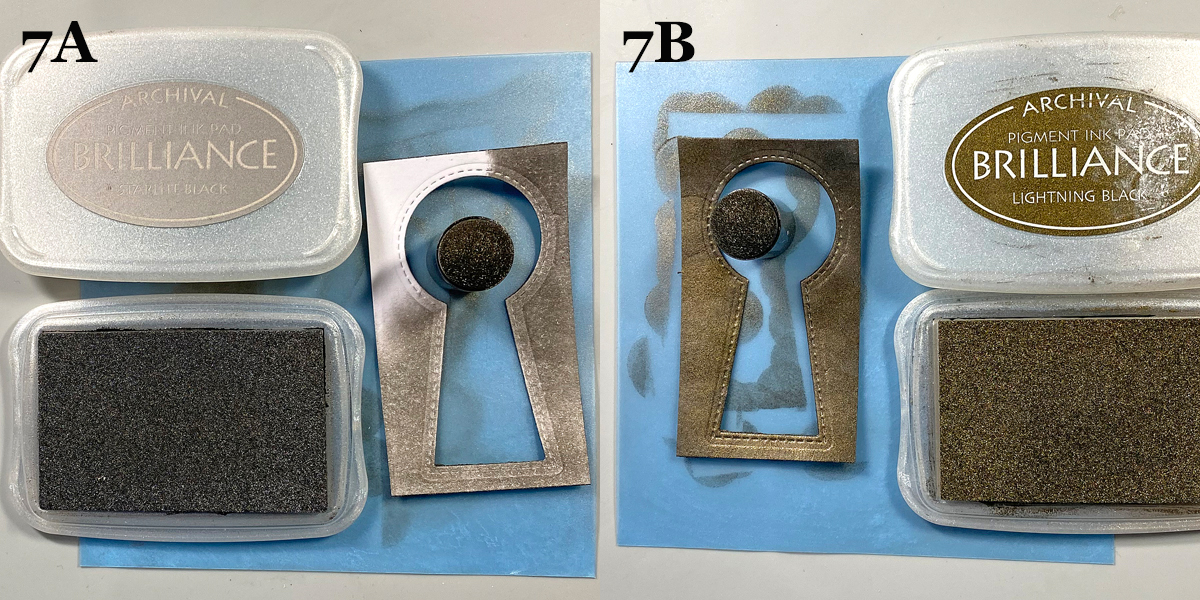
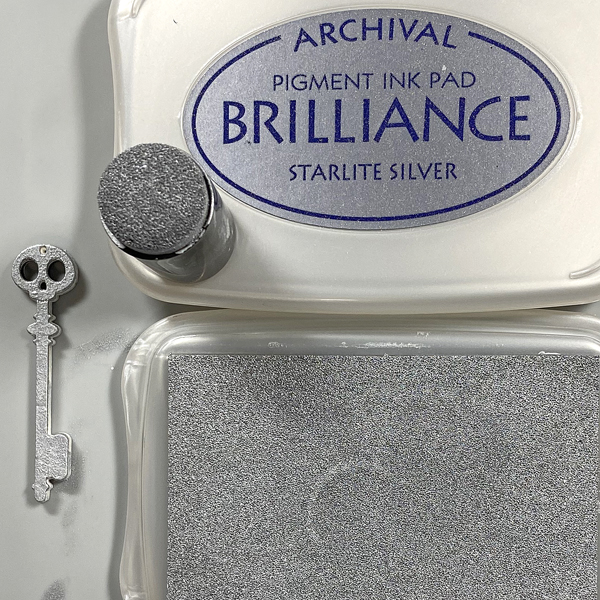
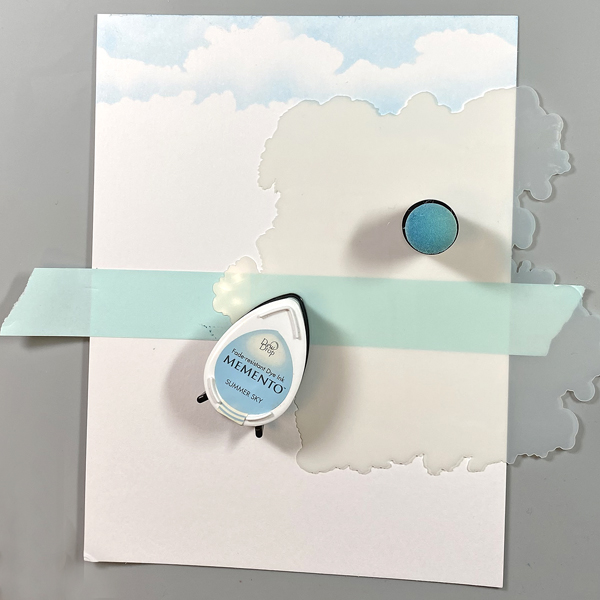
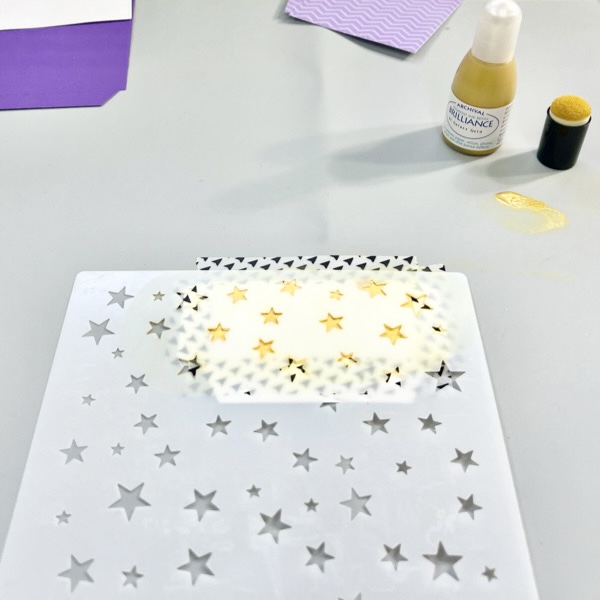
Add a small amount of the Brilliance Inker Galaxy Gold on the Imagine Craft Mat.
Use the sponge dauber to add the ink on the cardstock cut out.
Let it dry for a few minutes, then add more ink to it for more color, if needed.
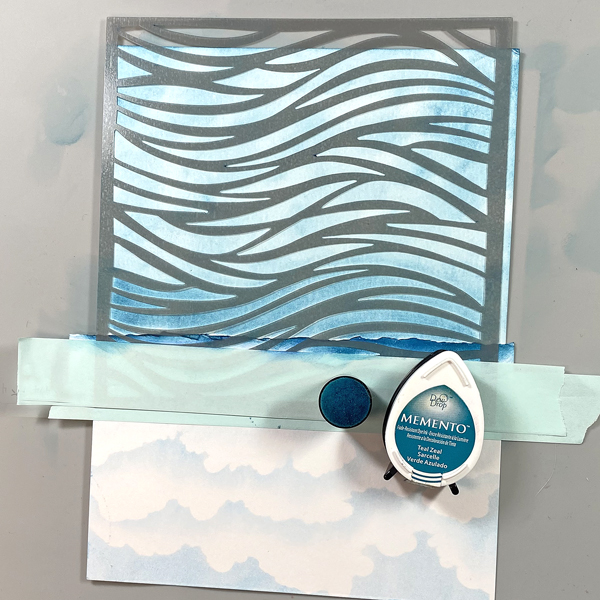
Remove the stencil carefully and let it sit to dry completely or use a craft heat gun to speed up the drying time.

Step 3
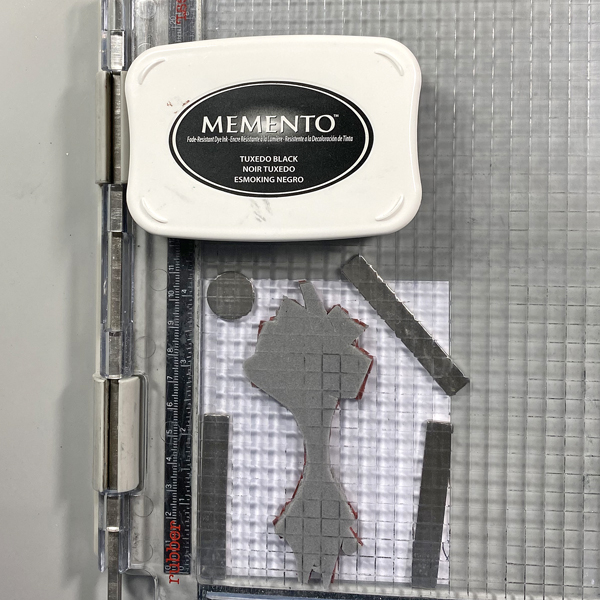
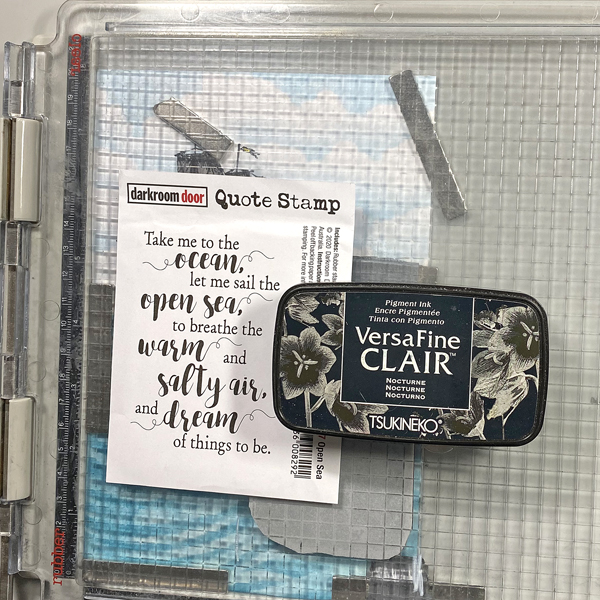
On the front piece cut out, stamp the graduation hat and diploma images randomly using VersaFine Clair Nocturne ink pad.
Set aside to dry or use a craft heat gun to speed up the drying time.

Step 4
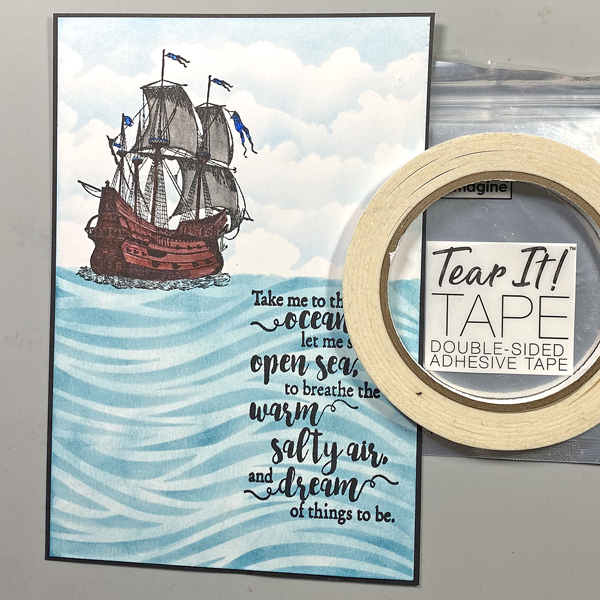
When all the pieces that need stamping or/and stenciling done, you can put together the cut out pieces following the instruction.
Use a bone folder to fold the pieces.
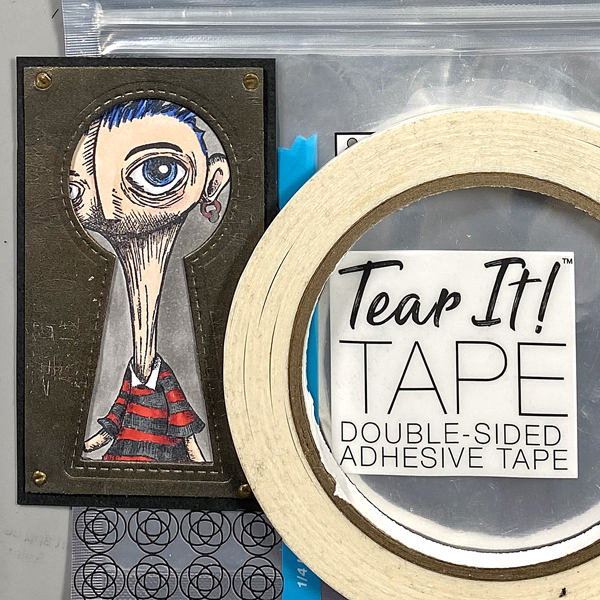
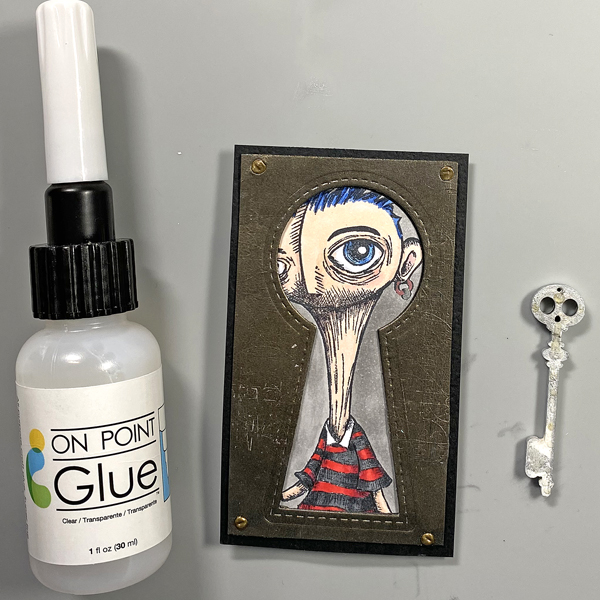
Use On Point Glue and Tear It! Double-Sided Adhesive Tape to put each piece together.

Step 5
On a white piece of white cardstock, stamp the sentiment using VersaFine Clair Nocturne ink pad and stamping acrylic block.
Cut it with the tag die.
Add the tag to the gift card holder handle with a piece of twine.

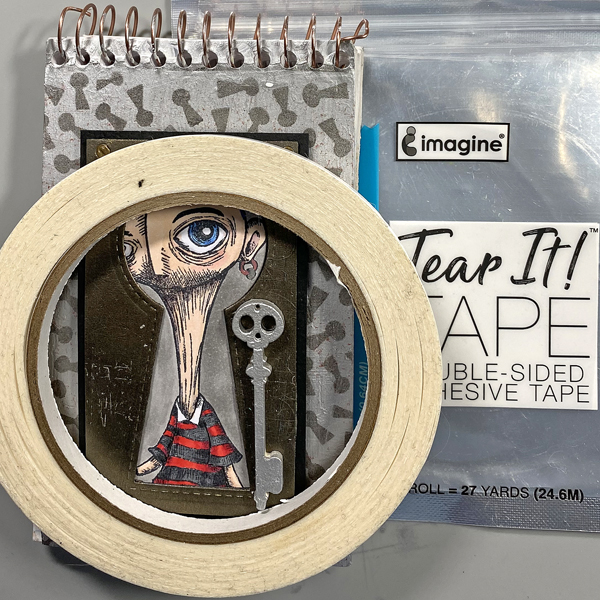
Here’s how it looks when it is close. Isn’t that cute little gift card holder?

Hopefully this project will give you an idea for a handmade gift project and you give it a try.
Thanks so much for stopping by our blog today. Have a wonderful day!
Craft Supplies
Imagine Crafts:
- VersaFine Clair Nocturne Ink Pad
- Brilliance Inker Galaxy Gold
- On Point Glue
- Tear It! Double-Sided Adhesive Tape
- Sponge Dauber
- Imagine Craft Mat
- Staz-On All Purpose Stamp Cleaner
Others:
- Dare 2B Artzy – Purse Gift Card Holder Die Set
- Dare 2B Artzy – Rectangle Framelits Die
- Close To My Heart – Diploma Day Stamp Set
- Close To My Heart – Smarty Pants Stamp Set
- Sweet ‘n Sassy Stamps – Starry Night Stencil
- Pattern Cardstock
- White Cardstock 100 lb
- Solid Color Cardstock
- Glitter Cardstock
- Twine
- Washi Tape
- Bone Folder
- Craft Tweezers
- Embossing/Diecutting machine
- MISTI stamping tool