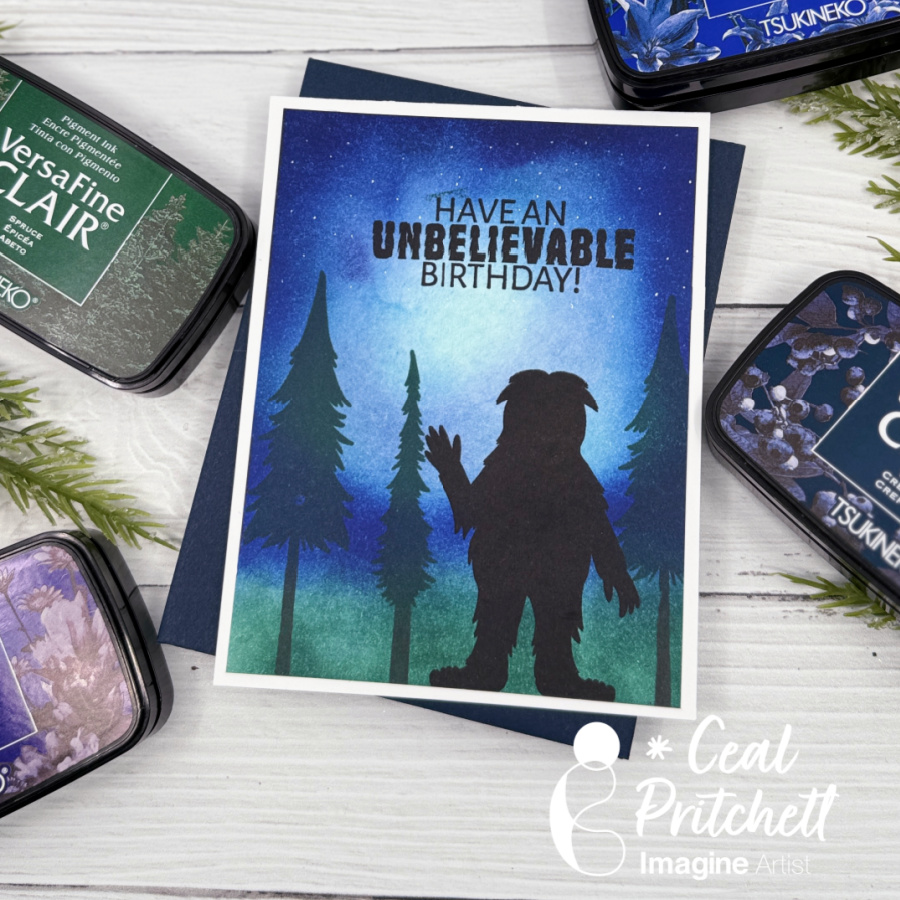
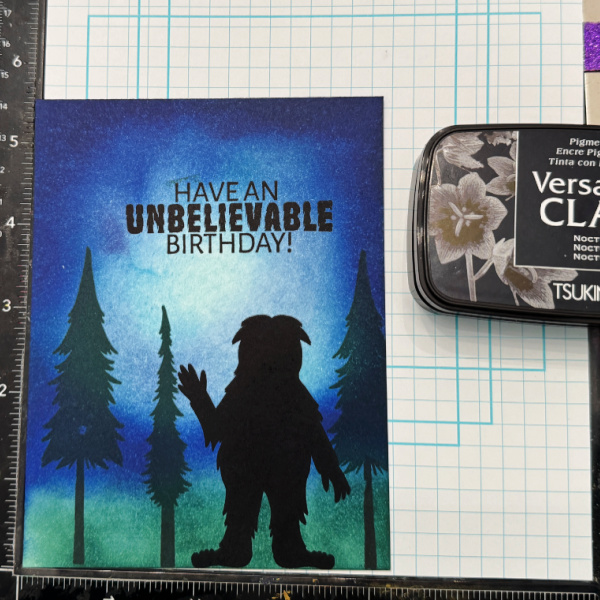
Hello crafty friends!, It’s Ceal, here. Today I am going to show you how to create this “Unbelievable” Big Foot birthday card using some VersaFine Clair inks.
Skill Level: Intermediate Time: 30 to 45 minutes
Directions:
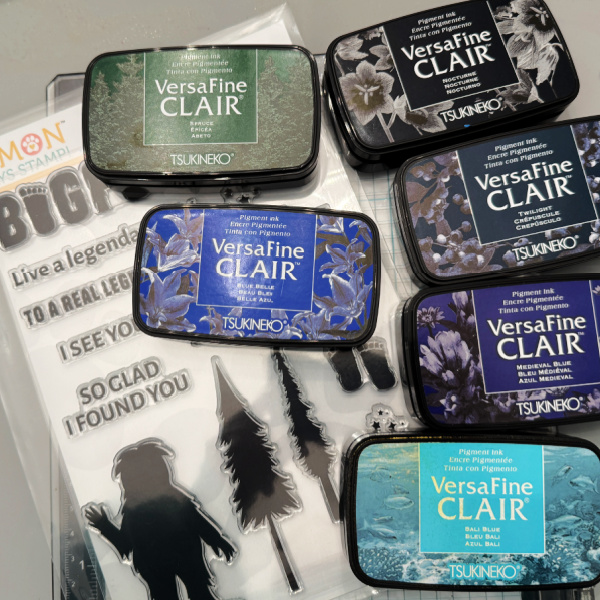
Gather your supplies, you will need a masculine stamp set and several colors of blue inks along with a green, brown and black. You will also need a white gel pen.
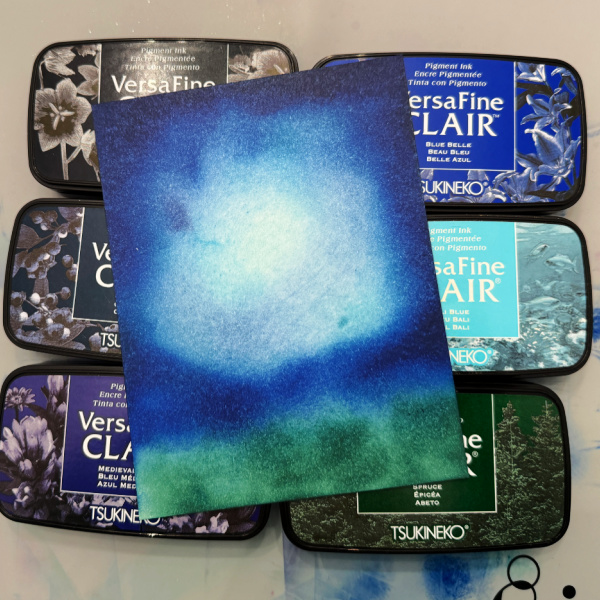
Step 1: Using a sponge dauber or ink blending tool, blend green ink across the bottom of a white panel cut 4 x 5.25. Next starting with the lightest blue blend a circle in the middle of the panel working your way out, then use the medium blue and the darkest blue last around the outside of the panel.
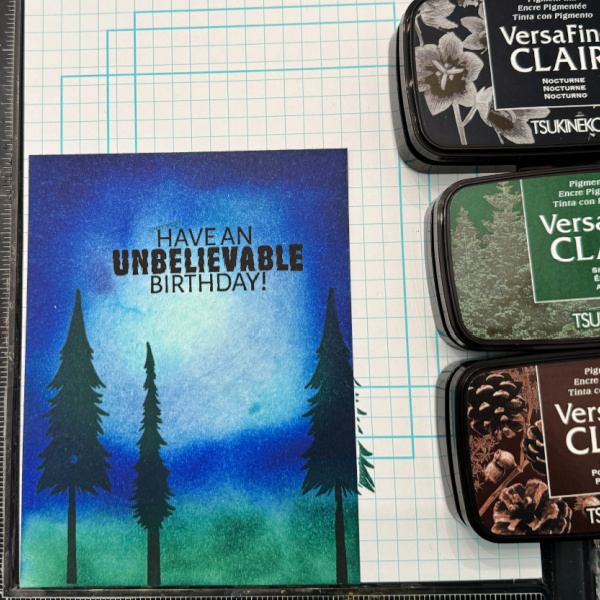
Step 2: Stamp the tree tops in green, the trunk in brown and the sentiment in black on the panel.
Step 3: Stamp the bigfoot (sasquatch) in black. I stamped the sentiment when I stamped the trees, but you could actually stamp both the sentiment and bigfoot here since they are both in black.
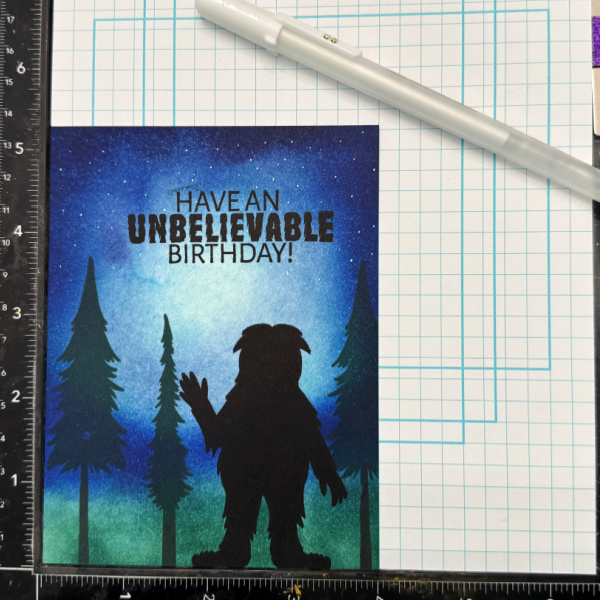
VersaFine Clair Nocturne is the absolute best back. The bigfoot was only stamped once, and he covers the background perfectly.
Step 5: Use a white gel pen to add some stars to the night sky and then adhere this panel on the card base.
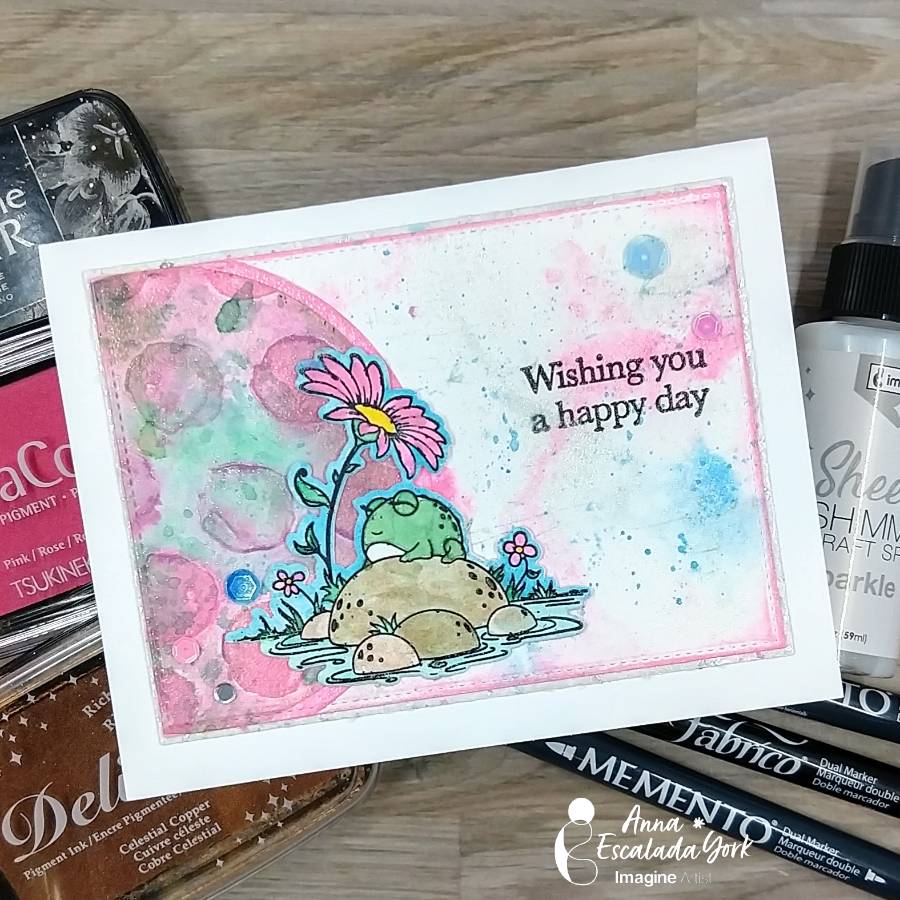
In today’s post, I am sharing a fun, summer card that features some bold colors!
Skill: Intermediate Time: 1 hour
Directions:
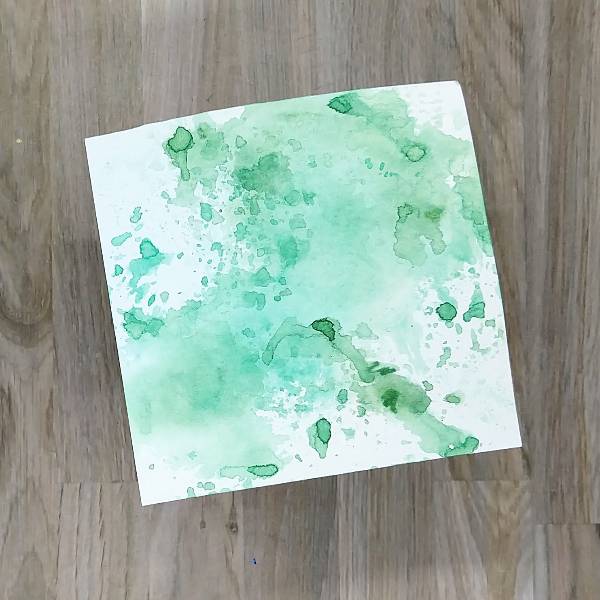
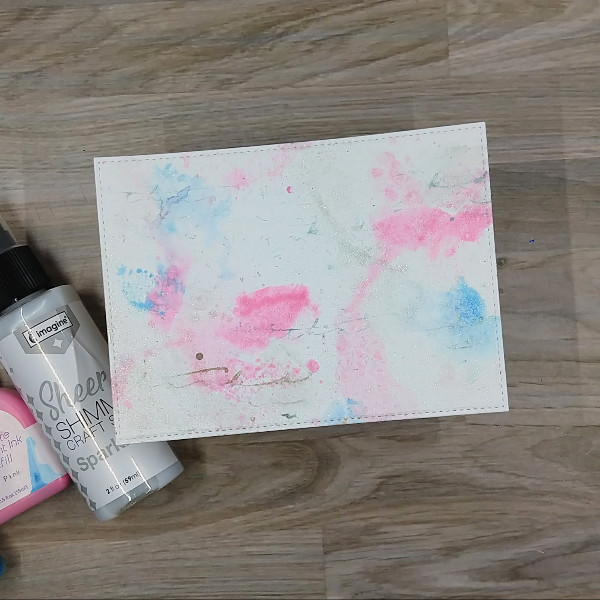
Step 1 Color a piece of acetate packaging with both Cottage Ivy Memento marker and Emerald Fabrico marker and then spraying the acetate with water. Press the acetate onto a piece of watercolor paper multiple times, moving the acetate around so add green color around the watercolor paper. Allow the water to dry.
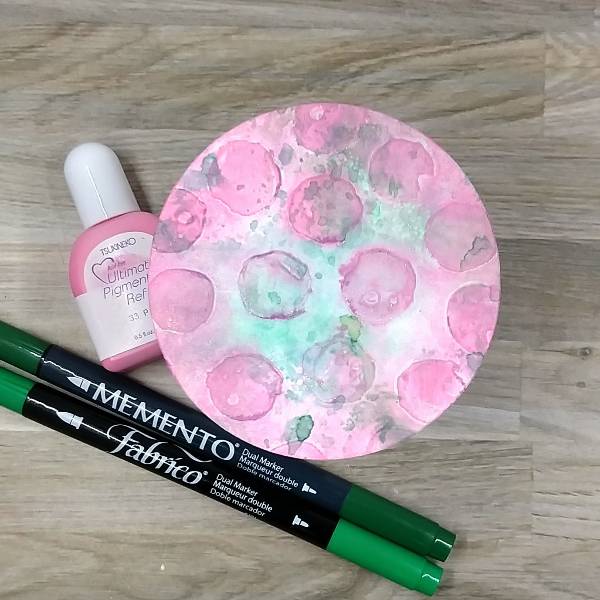
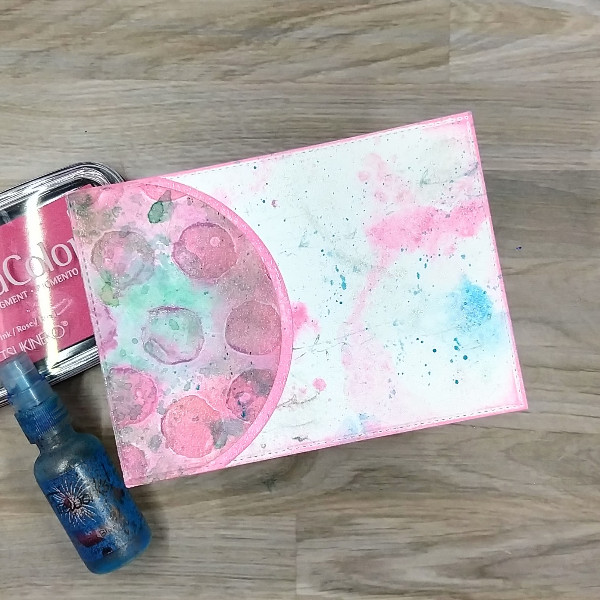
Step 2 Die cut the watercolor smooshed paper with a circular die cut. Add a small dot of Pink Ultimate Pigment Pigment Refill into the raised areas of an embossing powder, and then spray the embossing folder with Sparkle Sheer Shimmer Craft Spray to both help the watercolor paper stay moist (so it won’t tear) while embossing, and to help dilute the condensed pink refill ink. Then sandwich the watercolor paper into the embossing powder and run it through a die cutting machine. After the watercolor paper has dried, ink blend the edge of the circular die cut with Pink VersaColor pigment ink.
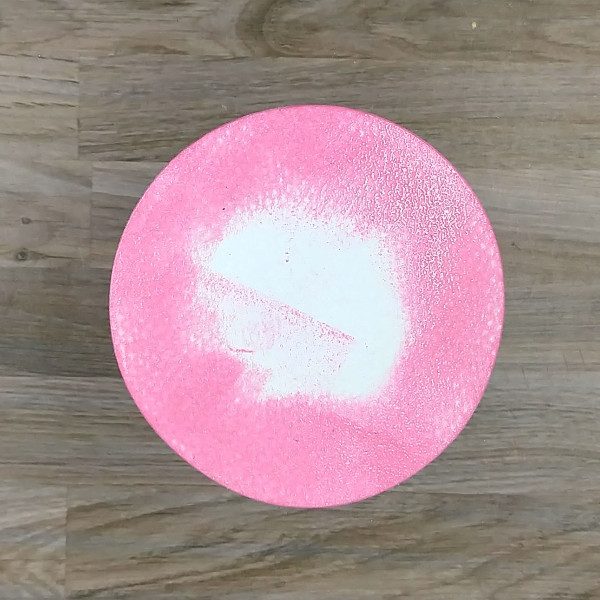
Step 3 Die cut another piece of watercolor paper with a slightly larger circular die. Directly press the Pink VersaColor Pigment ink pad onto the watercolor paper. Optional step: Heat emboss the ink with clear embossing powder.
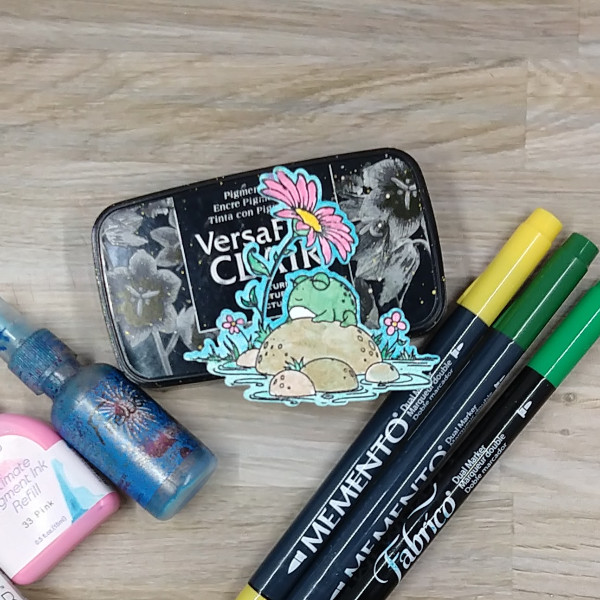
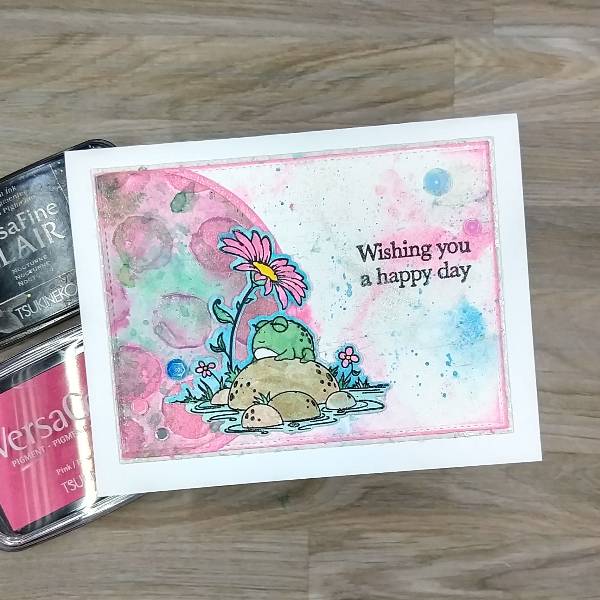
Step 4 (and 4.5) Stamp an image onto watercolor paper with a nature scene with Nocturne VersaFine Clair ink. Heat emboss with clear embossing powder. Using a variety of media to watercolor the image: Celestial Copper Delicata Ink pad mixed with water to color the rocks, Emerald Fabrico marker mixed with water to color the frog and leaves, Bahama Blue Fireworks! Spray to color the sky and water, and Pink Ultimate Pigment Ink Refill to color the flower petals. Finally, color the centers of the flowers with a Dandelion Memento marker.
Step 5 Watercolor smoosh some of the leftover inks from the last step to watercolor smoosh a piece of watercolor paper and then spray the whole thing with Sparkle Sheer Shimmer Craft Spray. Use some additional color to stamp a text stamp in my stash to add a little interest onto the panel by pressing the stamp into the acetate instead of an ink pad. Repeat the process a few times until you like the amount of extra interest that is added. After everything dried, die cut the watercolor panel.
Step 6 Glue the two circular die cuts (the embossed panel and the larger pink die cut circle) and then glue it onto the watercolor background panel. After the glue dried, the whole thing was die cut again to trim the circular die cuts. The edges were ink blended with more Pink VersaColor Pigment ink. Splatters of the remaining Bahama Blue Fireworks! Spray from the acetate packaging were added to the panel as well.
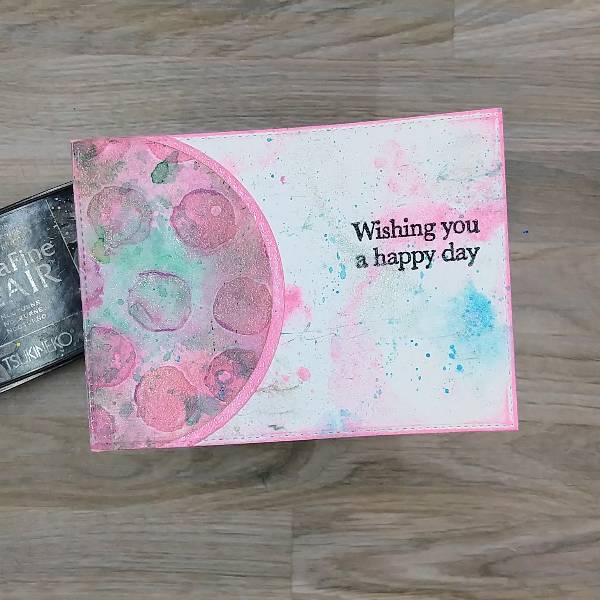
Step 7 Stamp a sentiment with Nocturne VersaFine Clair ink.
Optional step: Heat emboss with clear embossing powder.
Step 8: Die cut sparkly white paper with a slightly larger rectangular die. Glue the main (frog) stamped and die cut image onto the top panel, glue the matte (sparkly larger panel) behind the top panel and then glue everything onto an A2-sized white card base. Glue sequins to the card base.
Let’s make a summer wedding card with Memento and Golden Glitz Delicata Inks!
Skill Level: Intermediate Time: 1.5 hours
Instructions:
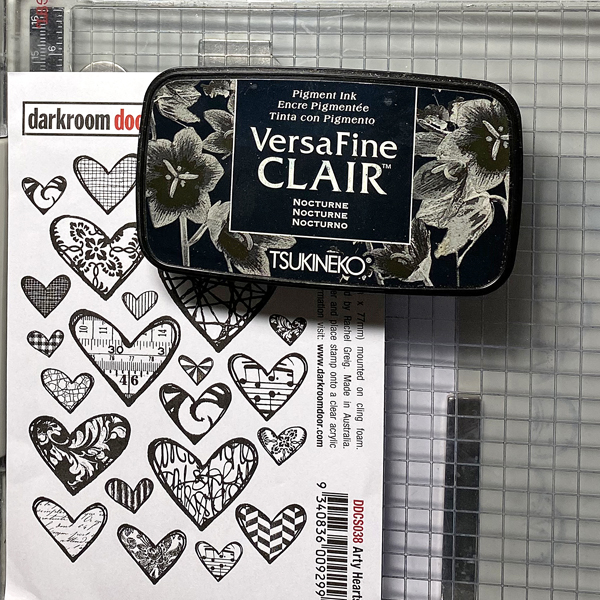
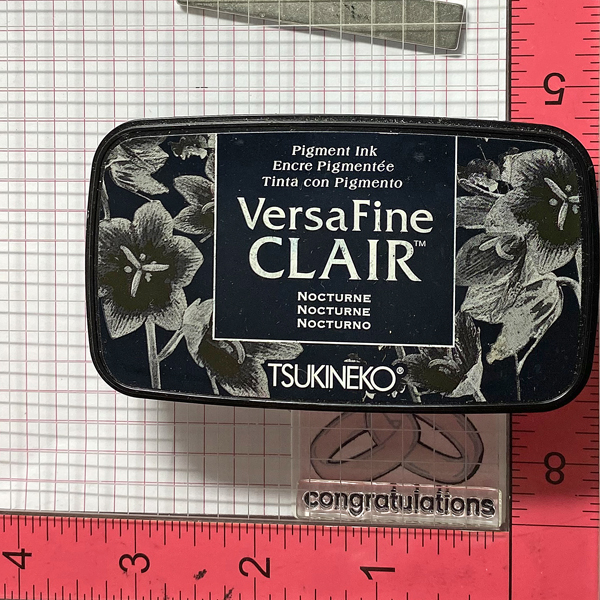
Step 1: Use a stamping platform and VersaFine Clair Nocturne Ink to stamp the Arty Hearts Collage Cling Stamp onto white cardstock.
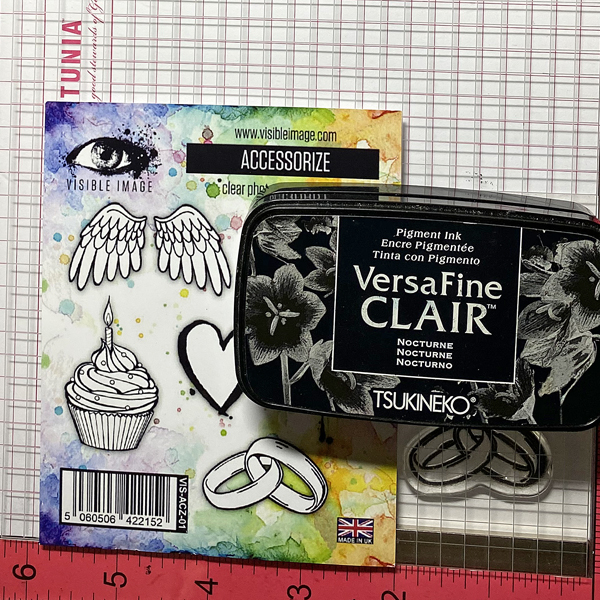
Step 2: Use a stamping platform and VersaFine Clair Nocturne Ink to stamp the wedding rings from the Accessorize Clear Stamp Set twice — once onto 140 lb. Mixed Media Cardstock and once onto repositionable label paper.
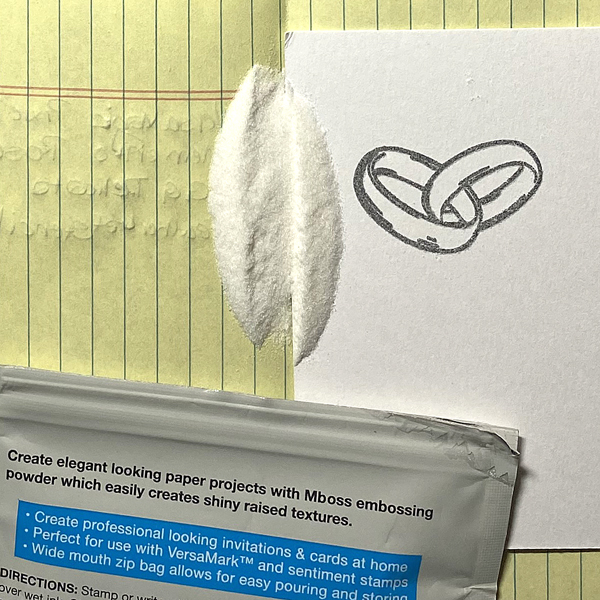
Step 3: Apply Clear MBoss Powder to the stamped image, dump the excess back into the packet, and heat set the image.
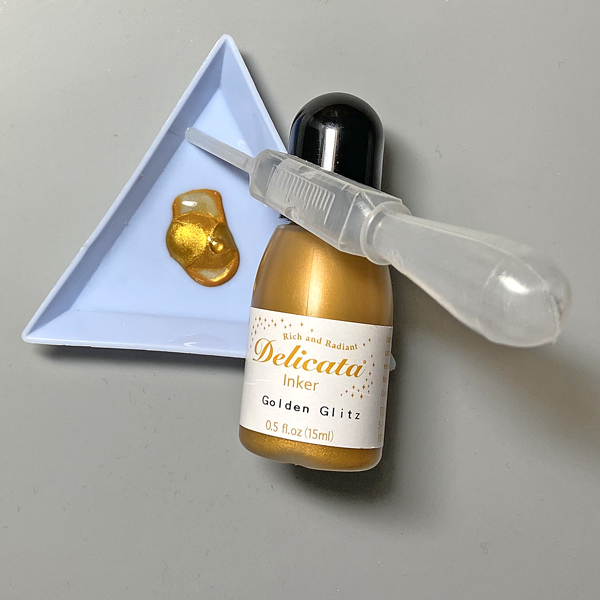
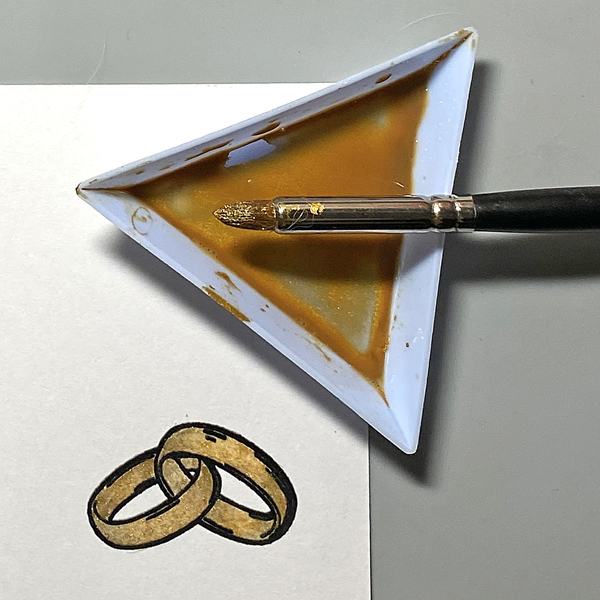
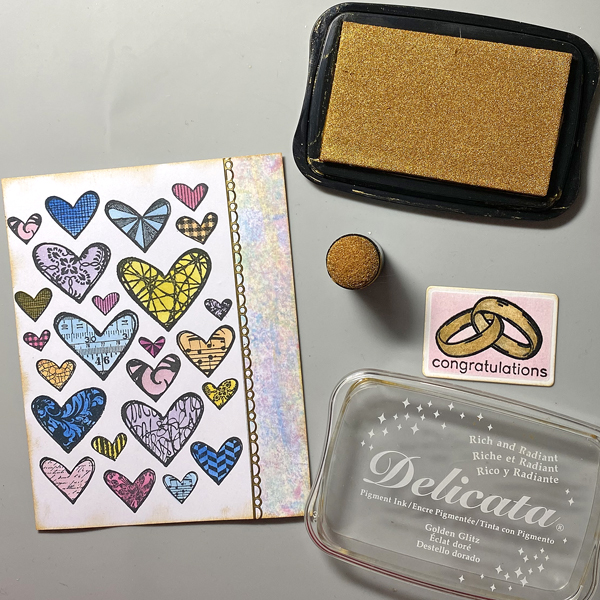
Step 4: Add a few drops of Golden Glitz Delicata Ink to a small container. Dilute with a few drops of water.
Step 5: Use a brush to paint the wedding rings with diluted Golden Glitz Delicata ink. Set aside.
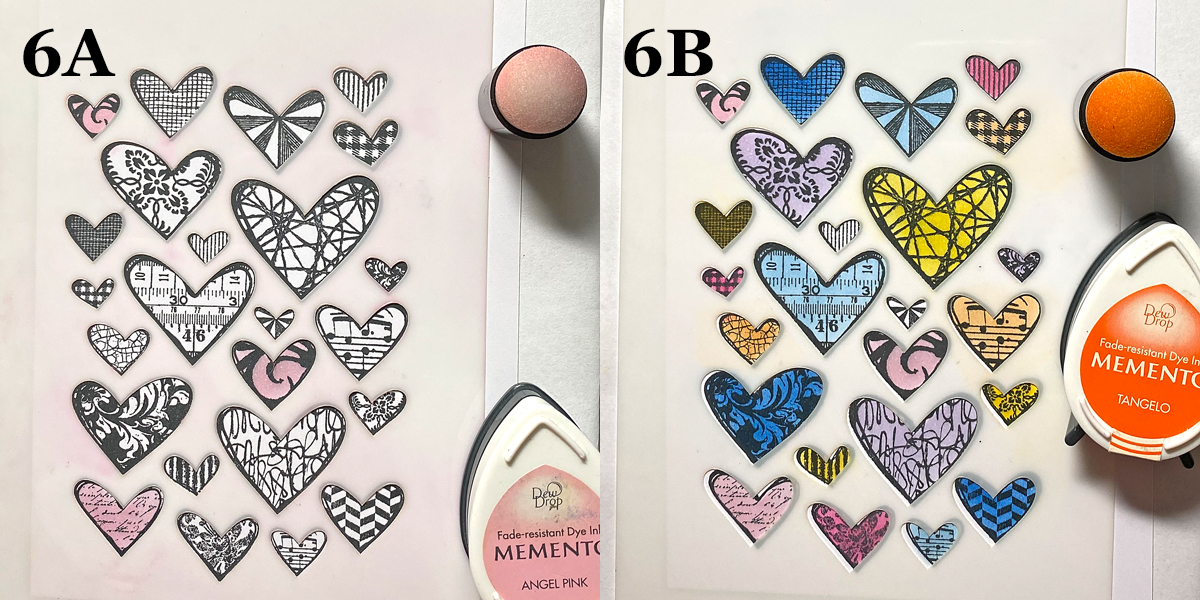
Step 6: Place the Arty Hearts Stencil over the image stamped in Step 1. Use Sponge Daubers to apply Angel Pink, Rose Bud, Summer Sky, Danube Blue, Lulu Lavender, Lilac Posies, Dandelion, and Tangelo Memento through the stencil onto the stamped hearts on the image panel. Set aside.
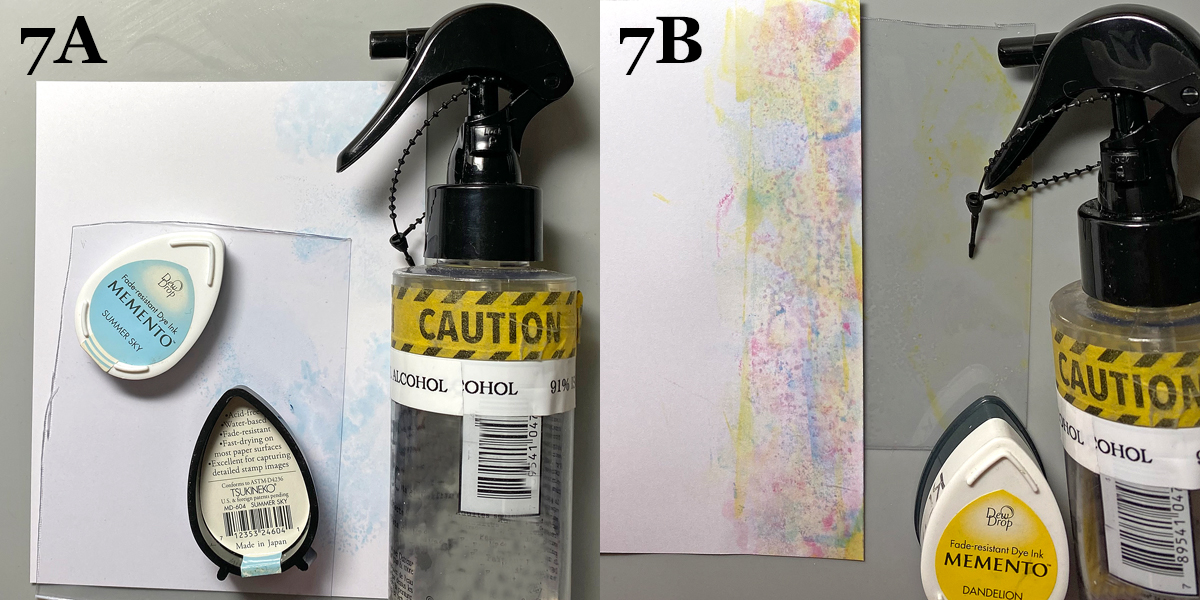
Steps 7A and 7B: Smoosh Summer Sky Memento Ink onto a piece of acetate packaging. Mist the acetate with 91% Isopropyl Alcohol, then smoosh onto the right side of a piece of white cardstock.
Clean the acetate, then repeat this process using Angel Pink, Rose Bud, Danube Blue, and Dandelion Memento Inks until you’re happy with the ink coverage on the panel.
Safety Note: Please be sure to have good ventilation via an open window to minimize your exposure to alcohol fumes.
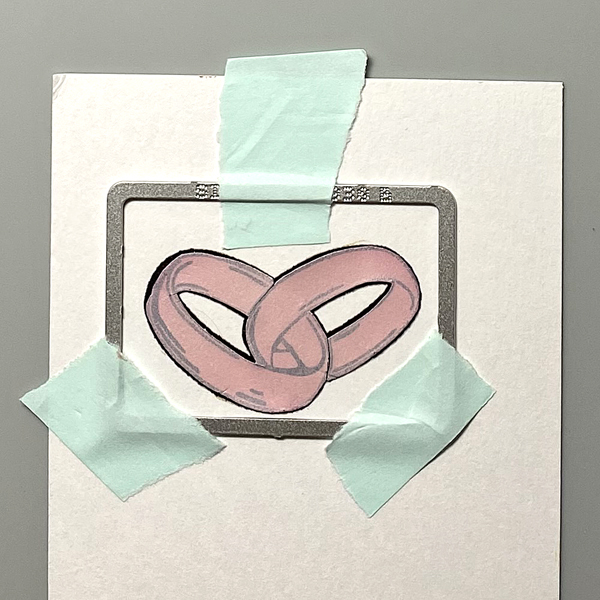
Step 8: Fussy-cut the sticker paper version of the Wedding Rings from Step 2. Place atop the image. Use low-tack tape to secure the small rectangle die from the Specimen Thinlits Die Set onto the image panel. Run the die through your cutting machine.
Step 9: Keeping the image panel in the die, use a Sponge Dauber to apply Angel Pink Memento Ink over the die onto the die-cut, which will leave a thin white border around the pink
Step 10: Place the die-cut onto the base of a stamping platform. Ink the “Congratulations” stamp from the More Classic Sentiments Clear Stamp Set with Nocturne VersaFine Clair and stamp. Re-ink and stamp again if necessary to attain a good impression.
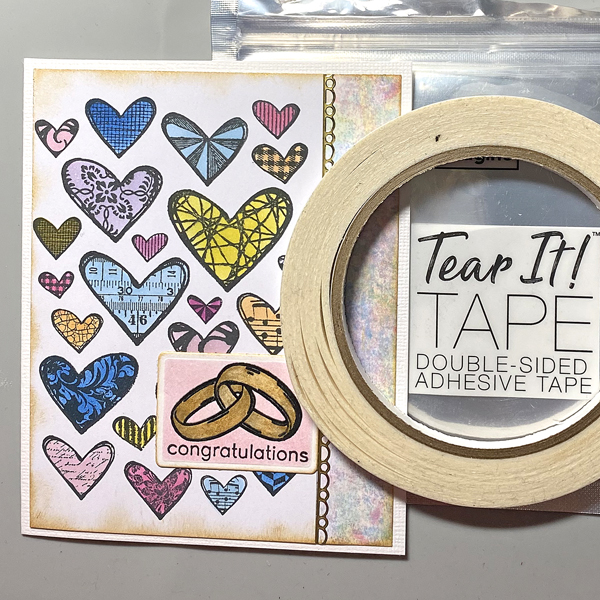
Step 11: Adhere the heart-stamped and stenciled panel (Steps 1 and 6) onto the left side of the smooshed ink panel (Step 7). Add a foil border sticker to cover the seam.
Use a Sponge Dauber to edge the heart image panel and the rings/sentiment die-cut with Golden Glitz Delicata Ink.
Step 12: Use Tear It! Tape to adhere the card front to a white A2 card.