
by Kassy Tousignant
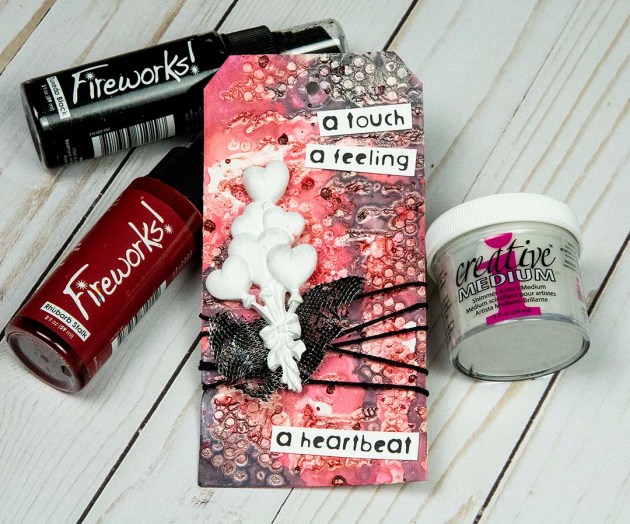
I’m always looking for different textures to include in my paper crafting projects. It’s a fun challenge for me and this tag really brought some interesting textures together in a great way! I can always count on Imagine to have just the right product to bring gorgeous color to these textures. Fireworks spray really shines when used over a stencil textured background. You will see in this video, I add a little water and the shimmer and pigment will settle in between the shapes, giving great depth to this tag. I also really love that I can layer different colors of Fireworks spray over the top of each other. I used irRESISTible Pico Embellisher on the wire mesh texture to give it a little bit of color. It’s just thick enough to fill the holes and looks fantastic! I wanted the resin hearts to be stark white and stand out so I used All-Purpose Ink in White, which provided great coverage and opacity. Watch my video today and like and share if you enjoy it!
Skill: Advanced
Time: 1 hour
Directions
Supplies
Imagine
- Fireworks Shimmery Craft Spray – Lady Bug, Rhubarb Stalk, Tuxedo Black
- IrRESISTibles Spray – Love Letter
- All-Purpose Ink – White
- Creative Medium – Shimmer
- IrRESISTibles Pico embellisher – Tuxedo Black
- VersaFine Clair – Nocturne
- Tear It! Tape
Other
- Gesso
- Heavy body gel
- Stamps
- Resin hearts
- Wire mesh
- Stencil
- Black string
- Manila tag


