By Kyriakos Pachadiroglou
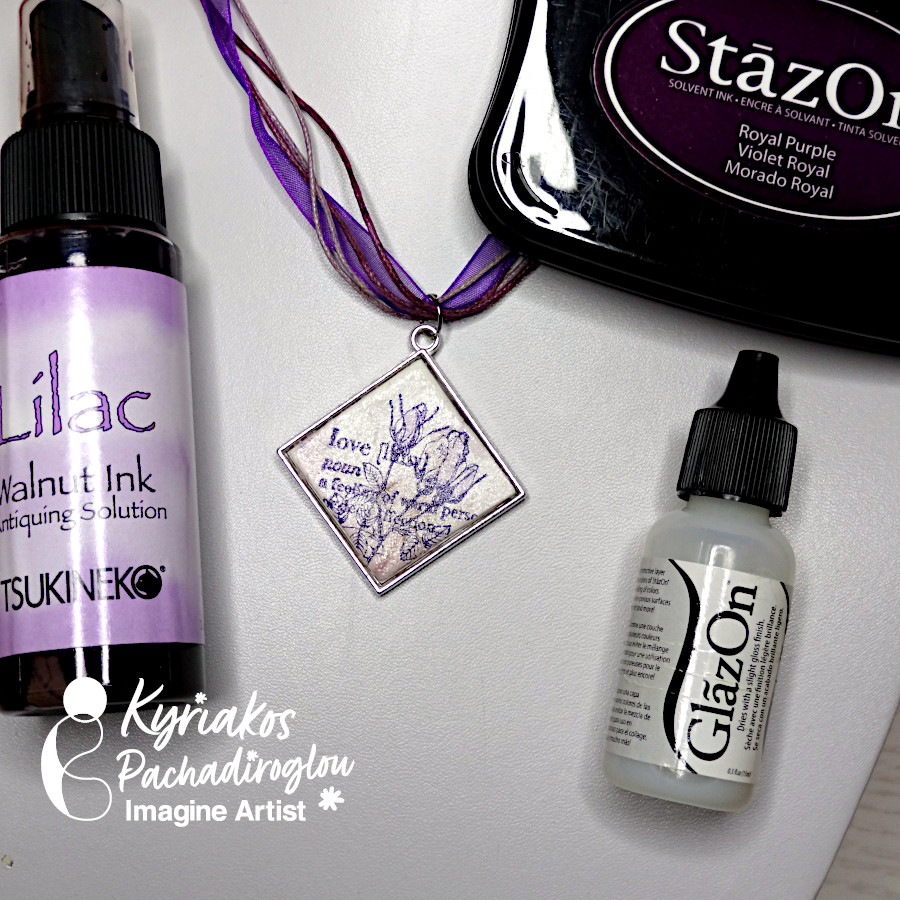
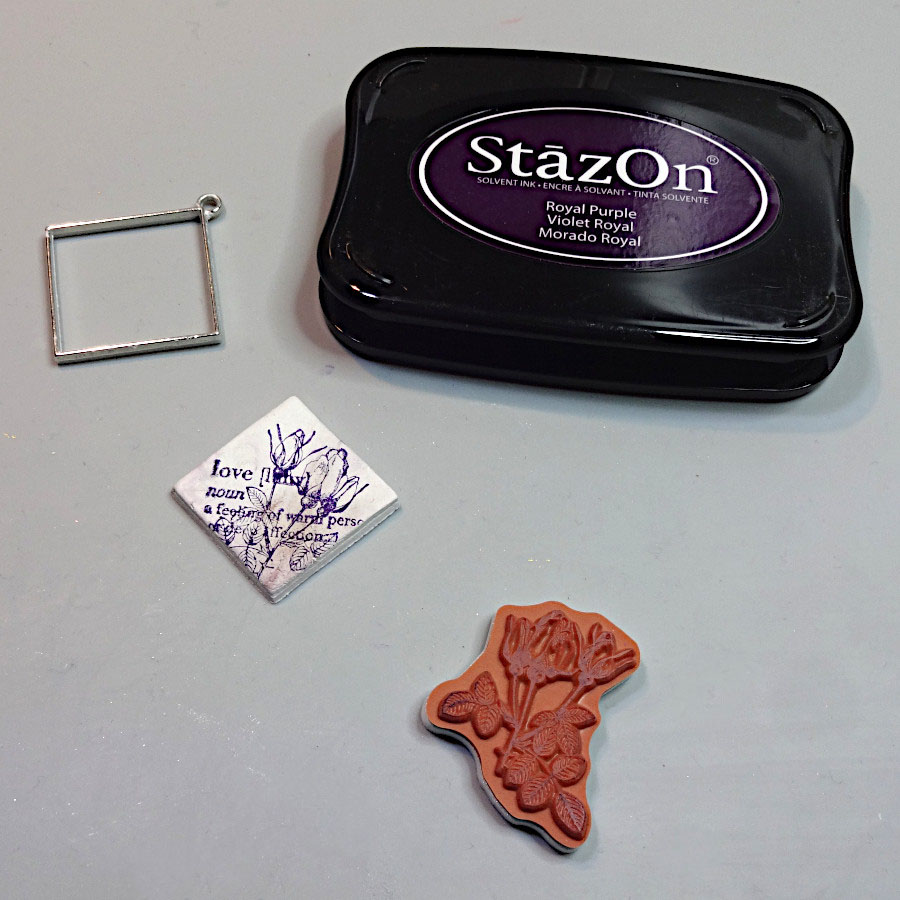
Metallic frames, usually used for epoxy, can work nicely to form clay and make jewelry pieces. Mix Walnut ink for a soft, pale shade to create a marble effect ink to the clay. Then stamp with any design using StazOn ink pads that will quickly dry, won’t bleed and give a sharp outcome. StazOn will also allow you to use markers and won’t mix with them. Add some sparkle with SHIMMER Spritz and secure the result with a coating of GlazOn. Use the charm as a jewelry piece or to decorate your cards and crafts.
Skill: Beginner
Time: 30 minutes plus drying time
Directions:
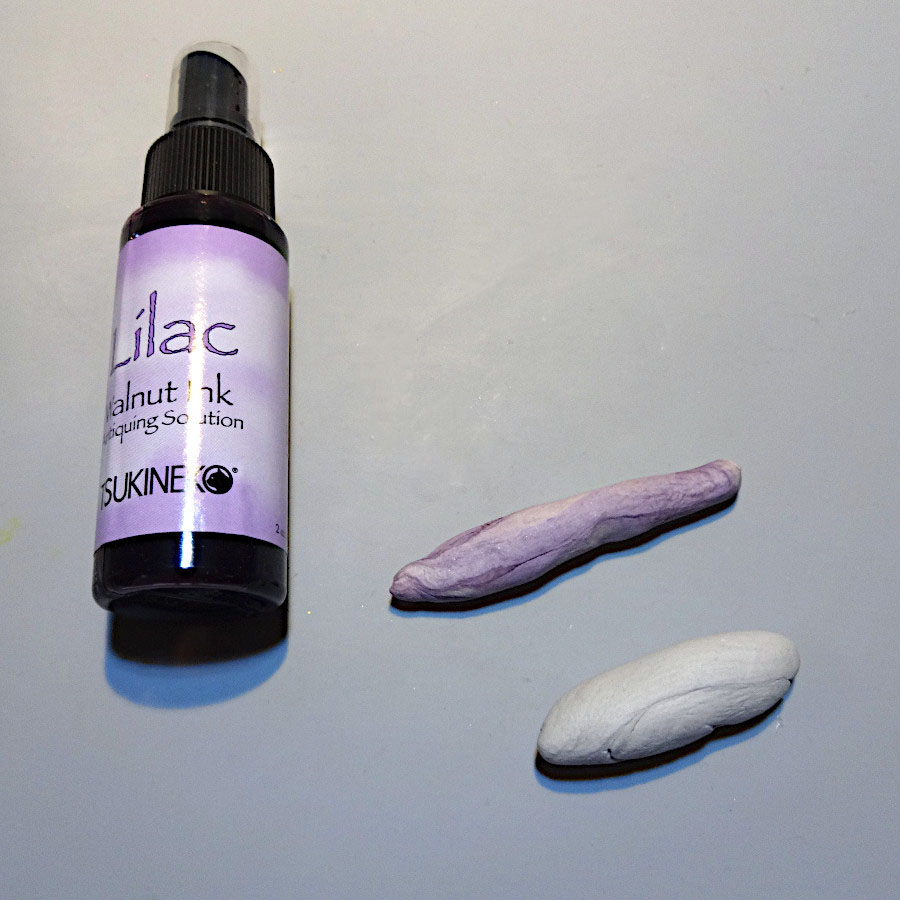
Step 1
Separate two pieces of clay and color the one with Walnut Ink. Mix together.
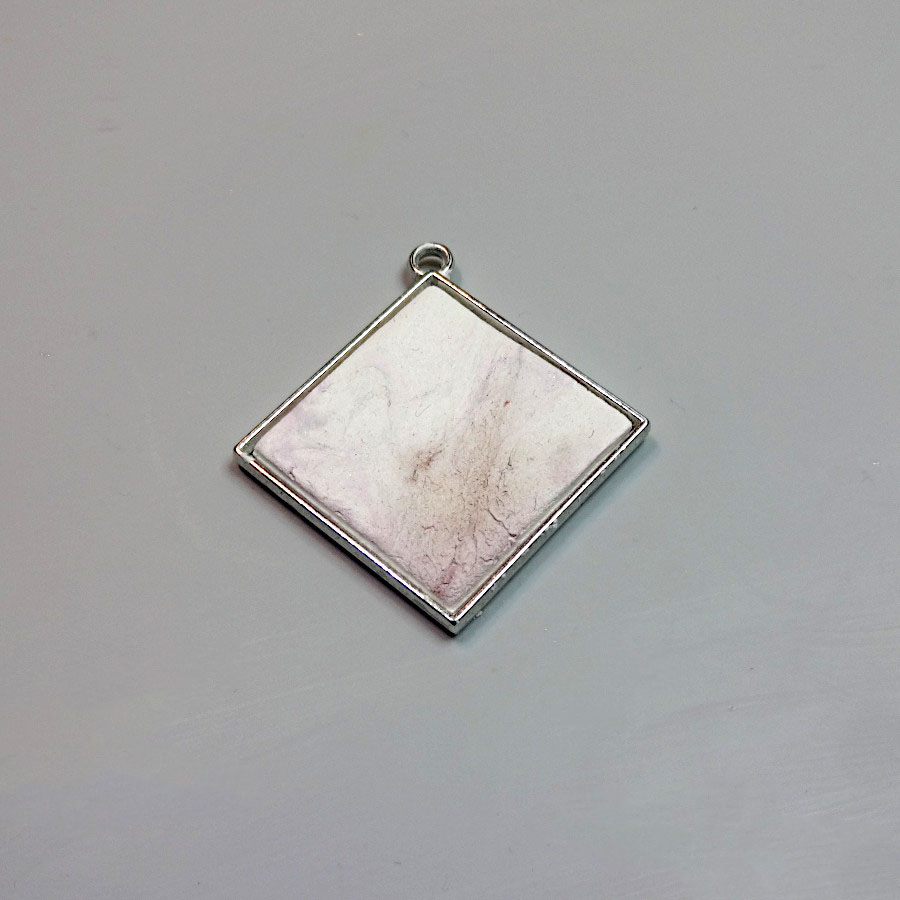
Step 2
Lay flat the clay and place the frame. Remove the excess and let it dry.
Step 3
Remove the clay from the frame and stamp with StazOn ink pad.
Step 4
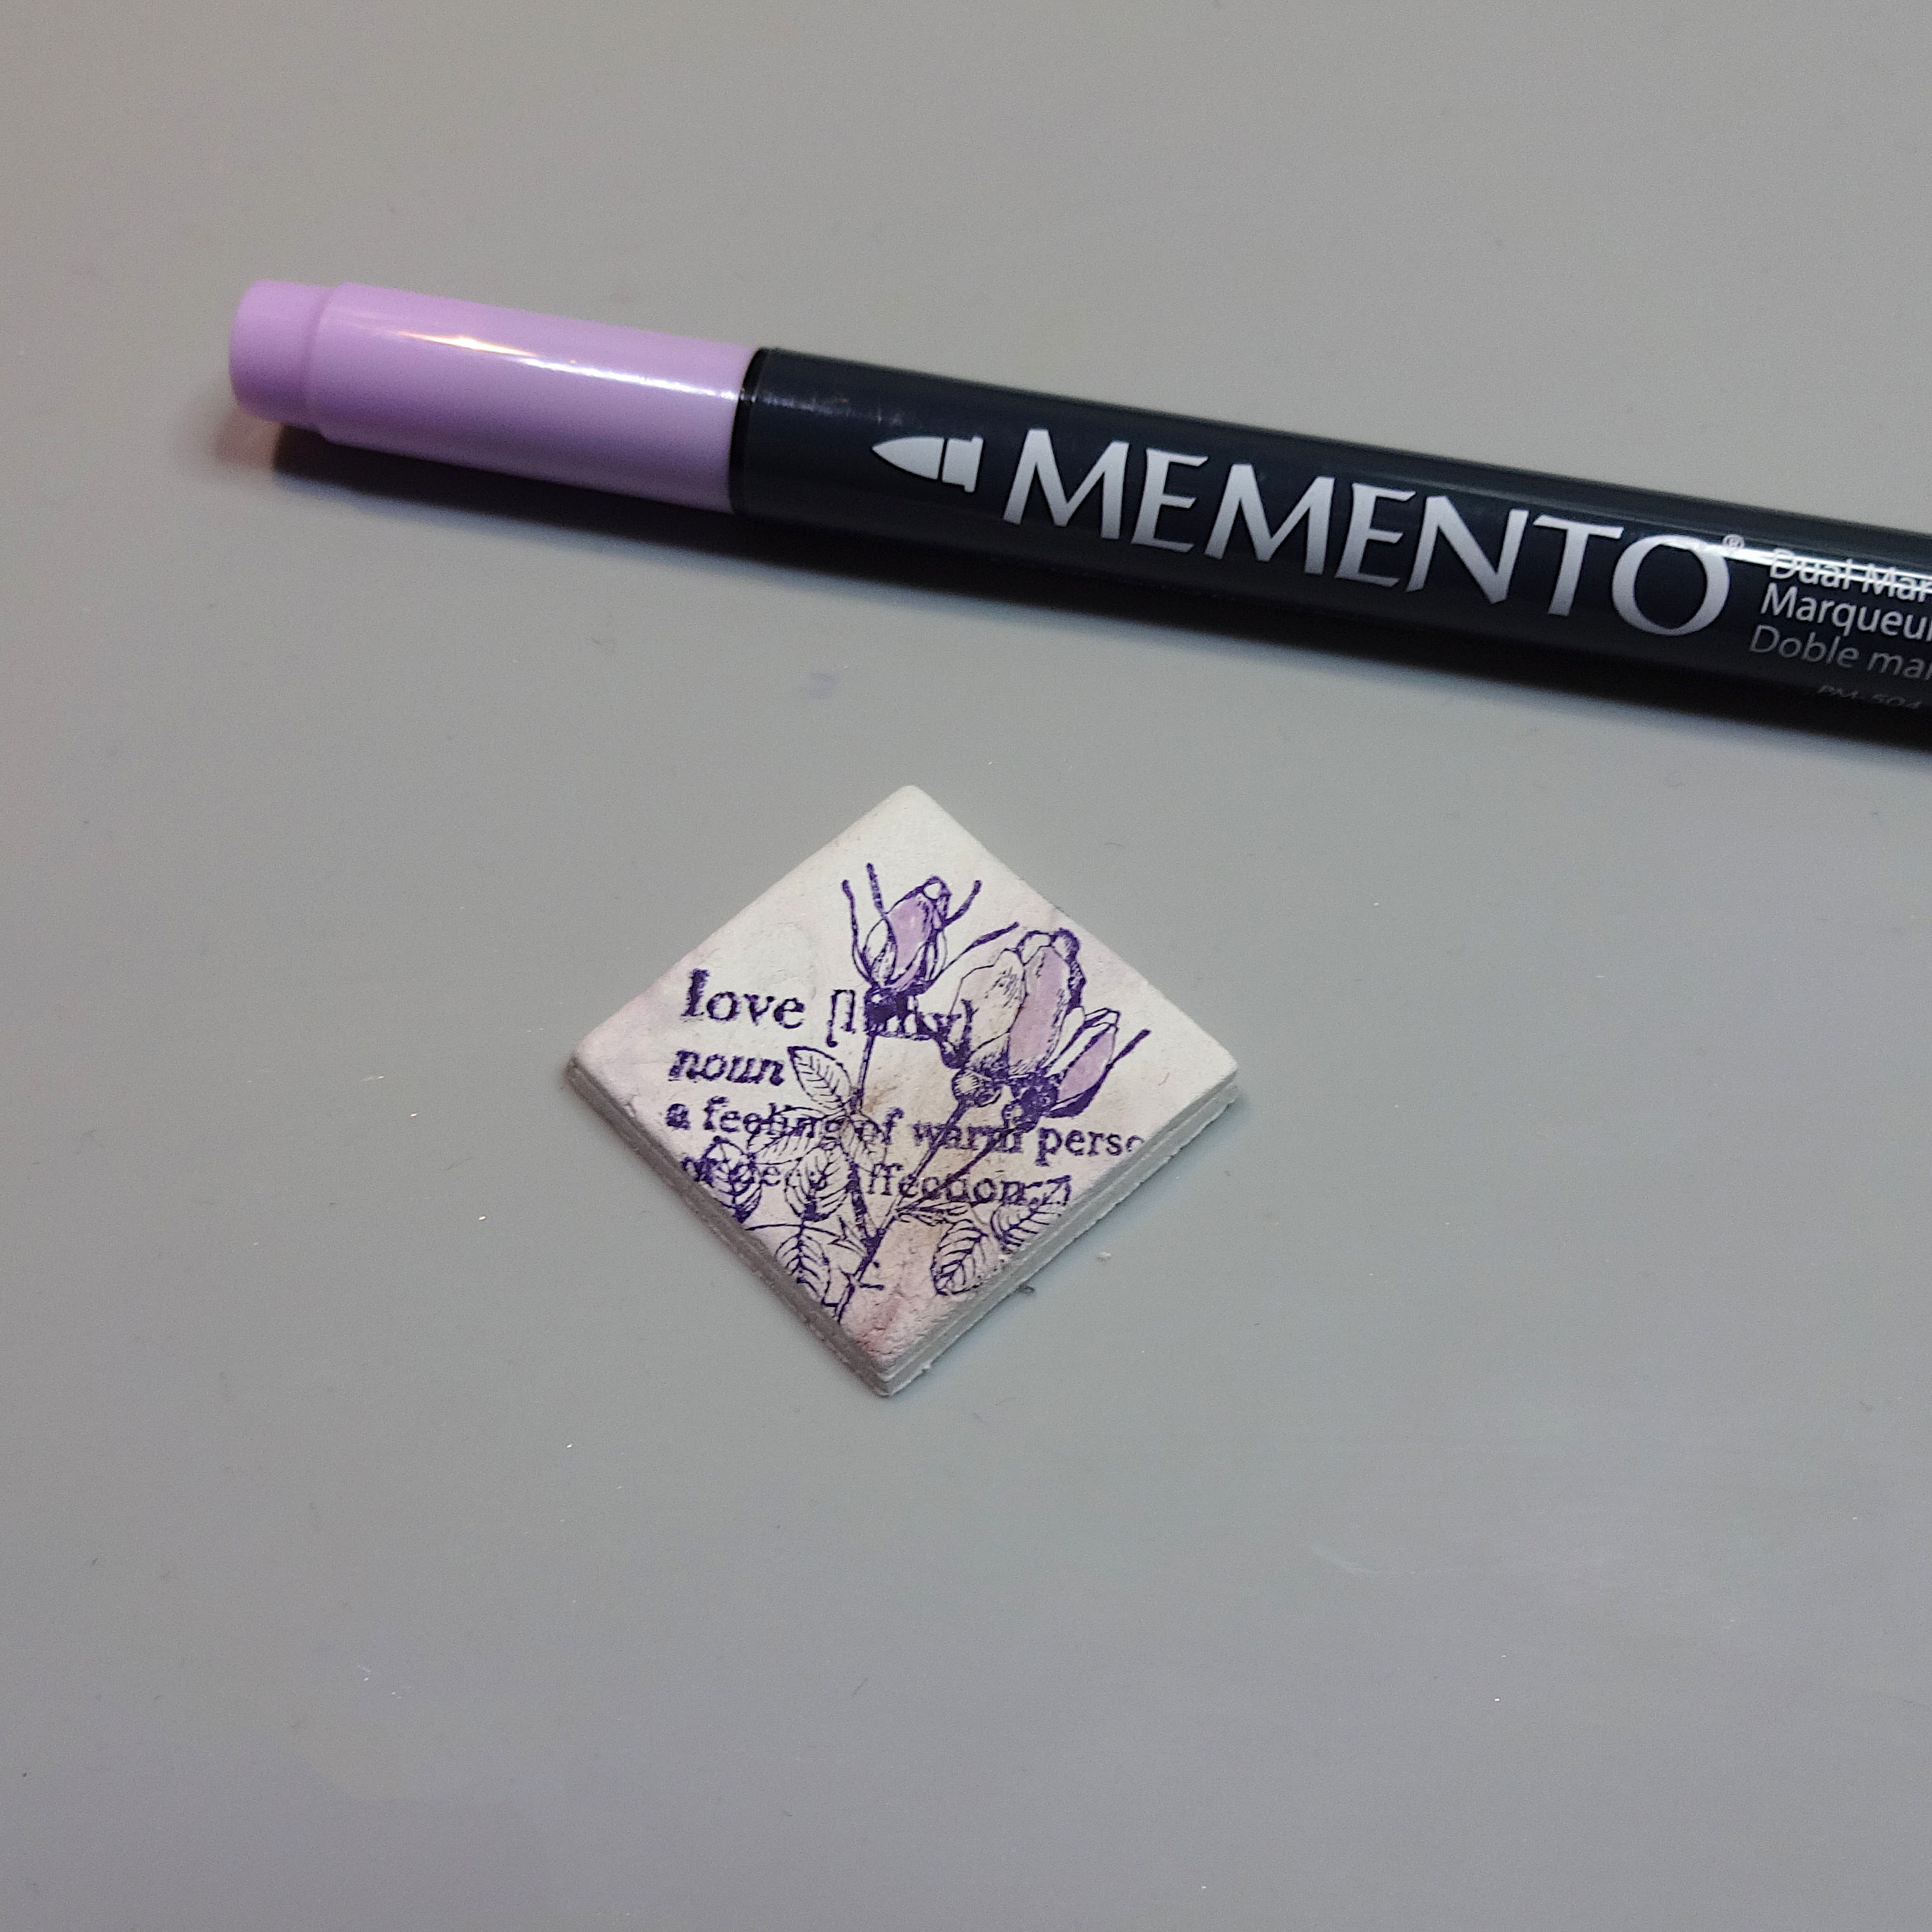
Add some color with a MEMENTO marker (or none, if you want to leave it just with the stamped image).
Step 5
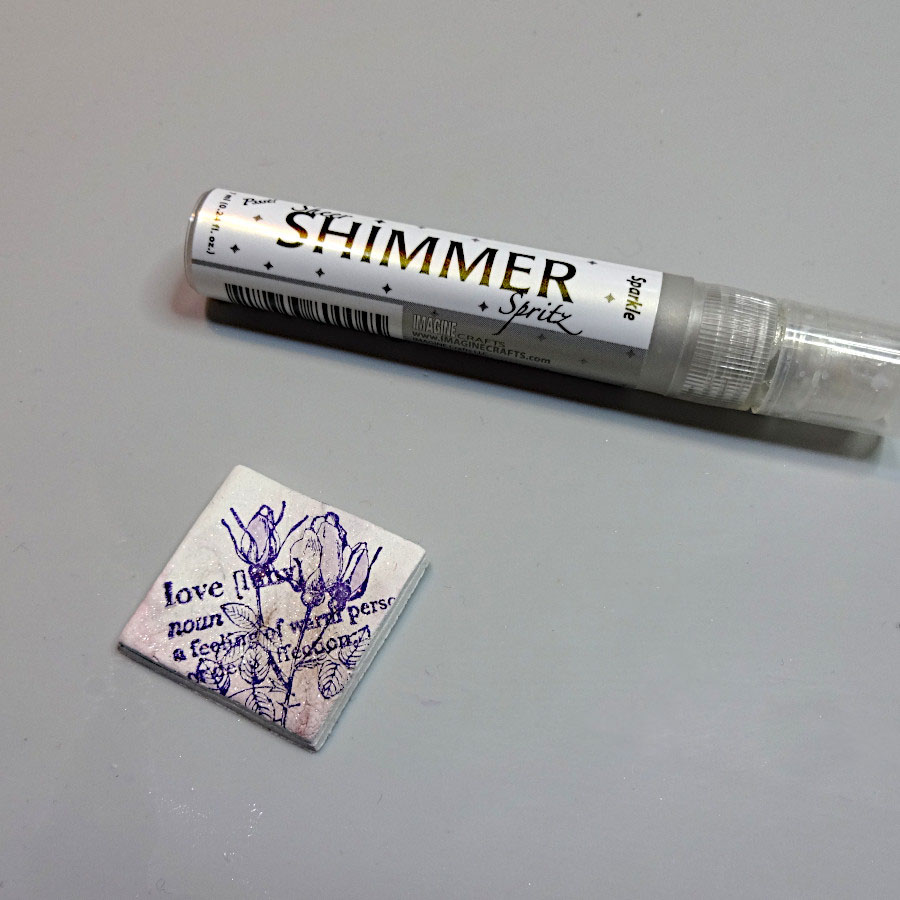
Spray with the SHIMMER Spritz Sparkle and let it dry.
Step 6
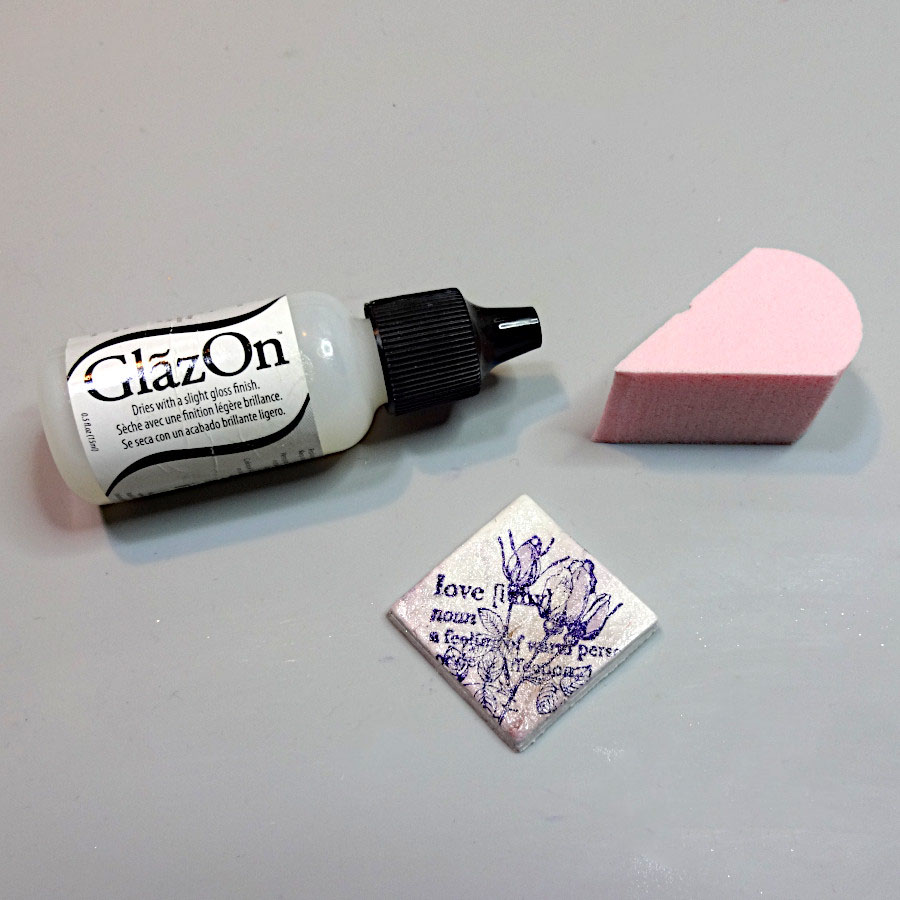
Secure the result and add some shine with GlazOn.
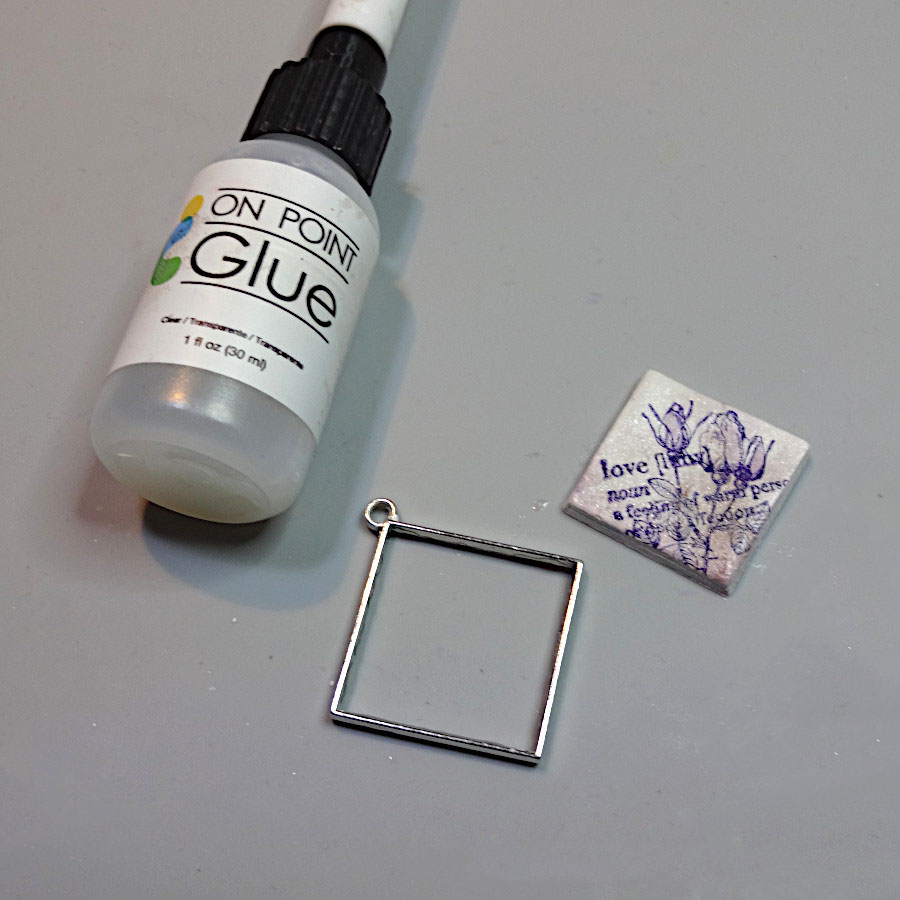
Step 7
Place On Point Glue to the inner sides of the metal frame. Let it sit for a few minutes and place the stamped clay. Add cord or chain according to your style.
Art Supplies:
Imagine
MEMENTO Marker – Lulu Lavender
Other
Jewelry Metal Frame
Air Dry Clay
Rubber Stamps of your Choice