Valentine’s Day Call for Art

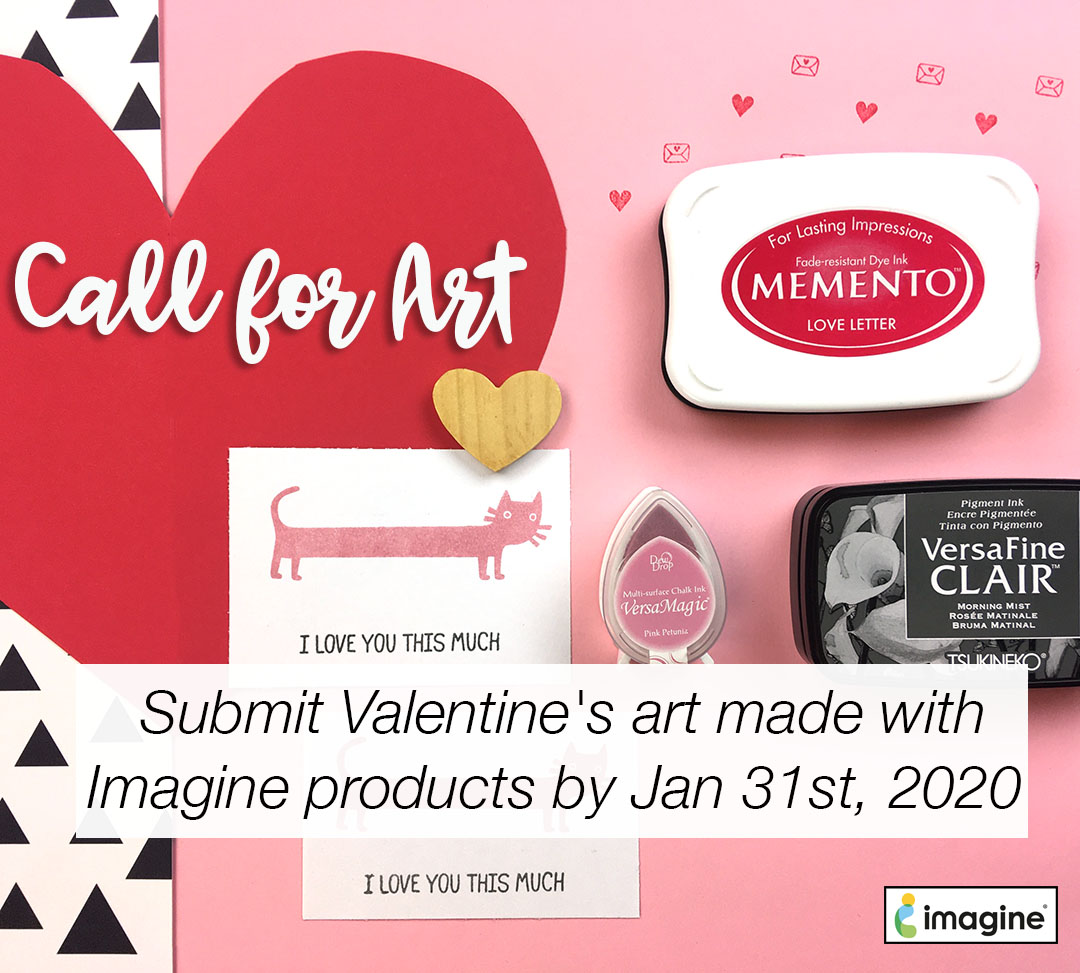
Call for Valentine’s Day Art

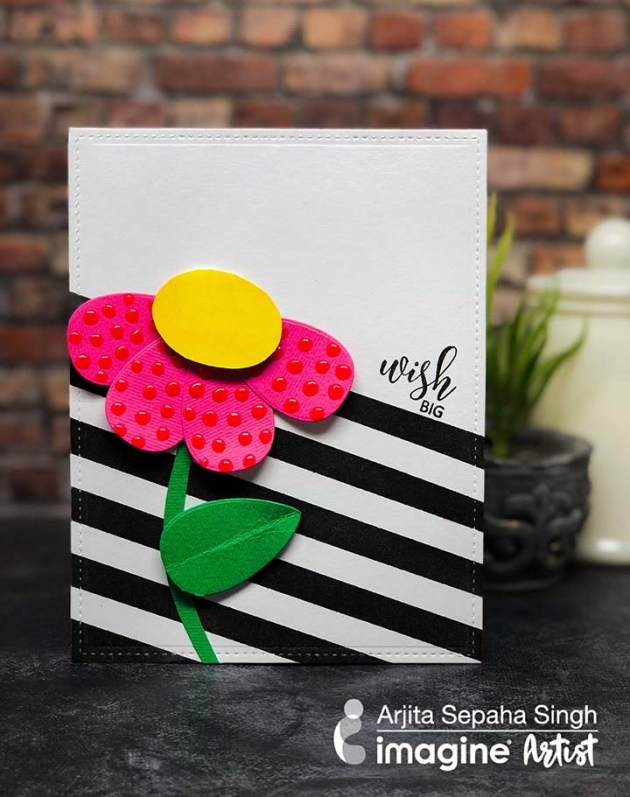
Be published on the Imagine Blog! Submit a photo of a Valentine’s Day project. Some of the themes can include: Valentine’s Day Cards, multiple cards for kids, Date Night gifts, paper flowers, I Love You Art, Galentine’s, Crafts and gifts for Singles, party décor for Valentine’s parties.

Submit an attractive 600 x 600 pixel square or 900 x 900 pixel square photo of your project, a short description and a link to your Instagram profile or blog to marketing@imaginecrafts.com.

We will review all submissions and post a collection in one blog post and will share it on our social media platforms. Potential reach = 10,000 followers.

Learn How to Transform Paper Flowers with Mboss, Ink, and Shimmer Sprays

by Jessica Lin

Hi everyone! Have you been enjoying the 3D projects for this month so far? I hope you are! Today I have a floral wreath project to share with you. Besides showing how you can assemble your own paper flowers, I’m also teaching you 3 ways to transform your die cuts! The before and after is as different as night and day and the extra steps definitely bring the flowers to life. Be sure to check out the video and see it for yourself!

Skill: Intermediate
Time: 1 hour (depending on the number of flowers)

Directions

Supplies

Imagine
Other
  • Wreath
  • Glue Gun
  • EK Success Anti-static Powder Tool
  • Stampin’ Up – Flower Frenzy Bigz L Die, Bouquet Bigz L Die
  • Cardstock – pink, teal, purple, green, yellow, white

Learn How to Create a Layered Valentine’s Card with Cute Frame

by Kassy Tousignant

I just love using Imagine products with different finishes and textures together in a mixed media card.  The background of this Valentine card has shimmer from the Fireworks spray, dimension from the irRESISTible Pico Embellisher, and shine like no other from the Goosebumps spray!  Also, All Purpose Ink is fantastic for use on resin or clay shapes.  You can paint or spray it on for really great coverage.  The sparkle and shine from the embossing powder really makes the paper frame stand out!

Skill: Intermediate

Time: 1 hour

Directions

Supplies

Imagine
Other
  • Gesso
  • Foam tape
  • Heavy body gel
  • Cardstock – kraft, pre-printed sentiments or white
  • Prima Marketing – flowers, paper, embellishments
  • Resin heart shape

Learn How to Create a Daisy Flower With Dewlets

by Arjita Sepaha Singh

For today’s card, I used the new Dewlets Die to create a beautiful paper daisy. I used the die to cut out a few petals and adhered it on the card panel with the On Point Glue. Then I created a striped pattern on the card base using washi tape and VersaFine ink. To jazz up the flower I added tiny dots using the Pico embellisher, which is super shiny and dimensional. I finished the card with a sentiment “Wish Big”. This is a perfect project to be done with kids.

Skill: Beginner
Time: 30 minutes

Supplies

Imagine
Other
  • Foam Tape
  • Washi Tape
  • Acrylic Blocks
  • Big Shot Die Cutting Machine
  • Cardstock
  • Cardbase

Learn How to Make Shiny 3D flowers using Rinea Foils

by Arjita Sepaha Singh

Learn How to Make Shiny 3D flowers using Rinea Foils

For today’s Wedding Day card, I used the Rinea Foil Papers which can be embossed, die cut and shaped. I used a floral die set to cut the flower petals and with the help of a metal brad fixed them together. Once the flowers were punched, I shaped the flowers and leaves with my hands which was so much fun. I added the 3D elements on a silver Foil paper and finished the card with a sentiment in black. I love the way these gorgeous flowers pop forward and create this beautiful effect.

Skill: Advanced
Time: 30 minutes

Directions

Supplies

Imagine

• StazOn – Jet Black
• Tear It! Tape

Other

• Rinea Foil – Mocha, Blue
• Metal brad
• Flower Die
• Glue Dots
• Acrylic Blocks
• Scoring tool

See How to Create a Metallic and Distress Autumnal Greeting Card

by Kassy Tousignant

See How to Create a Metallic and Distress Autumnal Greeting Card

I love making mixed media cards! It is a smaller canvas to work with and you can experiment with different products together. Imagine always has just the right tools for this beautiful copper metallic and golden-hued theme! For November, Imagine is working with Rinea papers and I am having so much fun experimenting with how they emboss and handle ink products! I used the Walnut spray and Creative Medium on the Rinea paper and made a beautiful fall card.

Skill: Advanced
Time: 1 hour + dry time

Supplies

Imagine

• Fireworks! Shimmery Craft Spray – Rich Cocoa, Potter’s Clay
• Walnut Ink Spray – Walnut
• Brilliance ink – Crimson Copper
• Creative Medium – Gold, Copper, Clear
• IrRESISTibles Texture Spray – Copper
IrRESISTibles Pico Embellisher – Lilac Posies
On Point Glue
Tear It! Tape
Palette Knife

Other

• Rinea Paper – brown
• Gold flakes
• Gold glitter
• Gina Marie – wood ring stencil
• Sandpaper
• Sweater stencil
• White gesso
• Chipboard pieces
• Prima – flowers
• Nuvo drops
• Gold string
• Fall pod stem
• White cardstock