By Ceal Pritchett
Hello crafty friends!
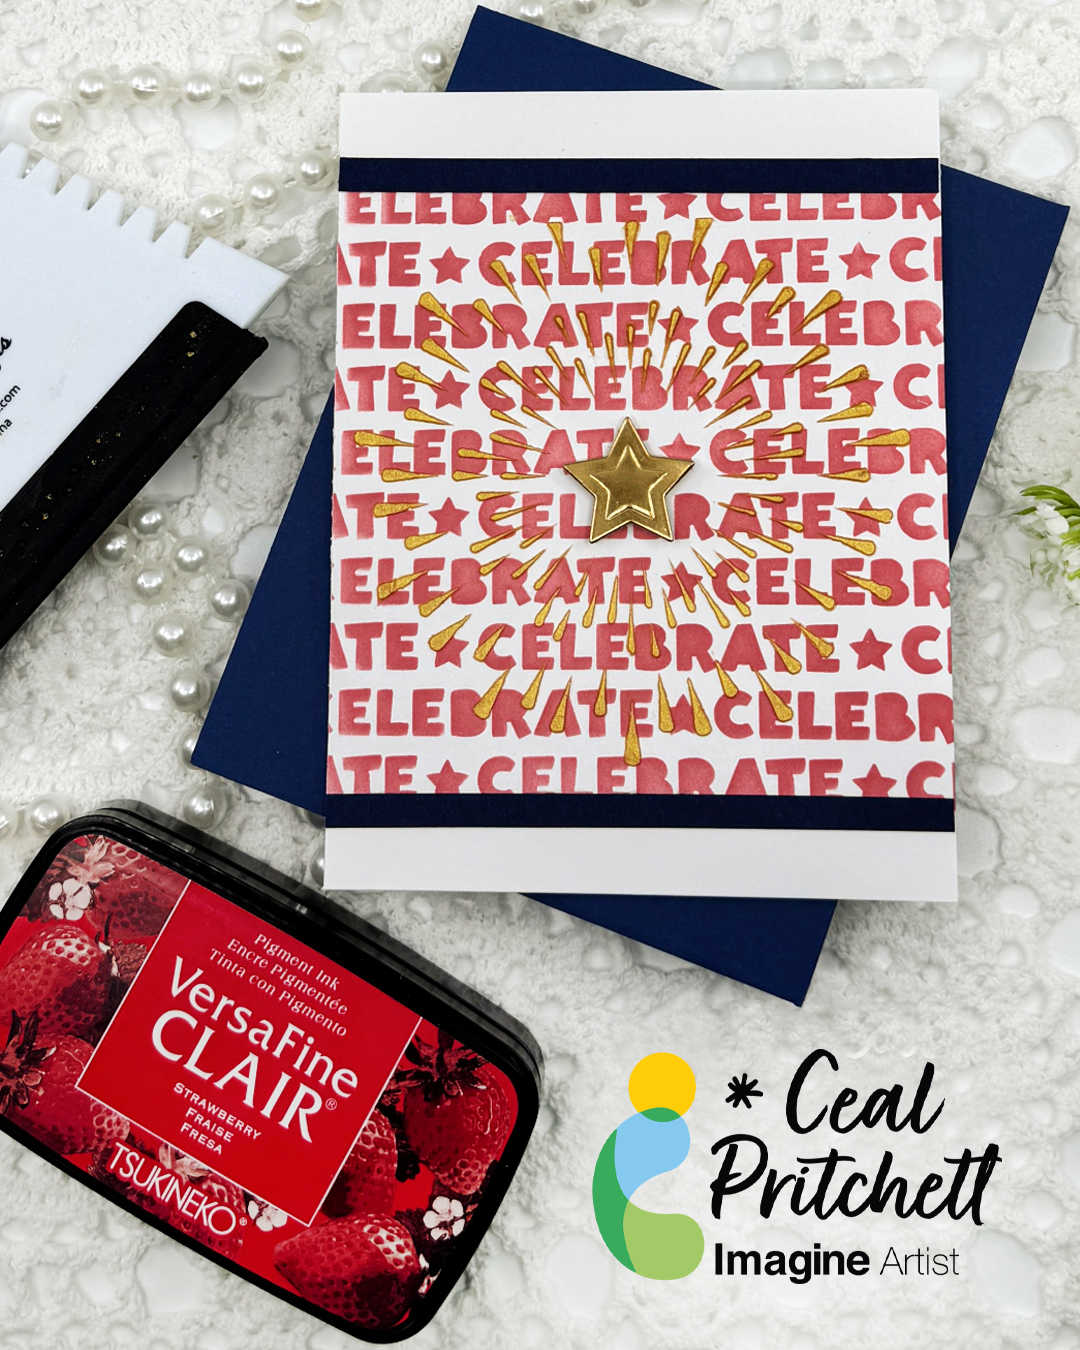
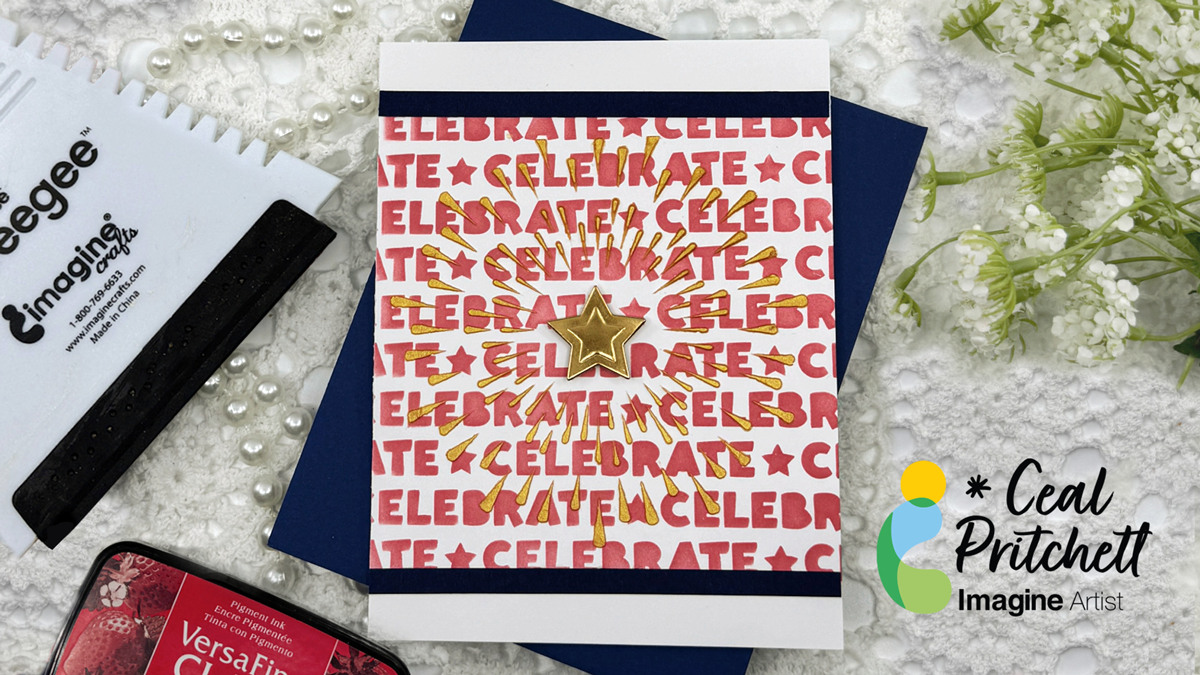
It’s Ceal, back to share another project with you. We always have a cookout on the 4th of July and invite our family. I always make invitations to send out for it and I am sharing the one I made for this year.
Skill Level: Beginner to Intermediate
Time: 45 minutes to an hour
Directions:
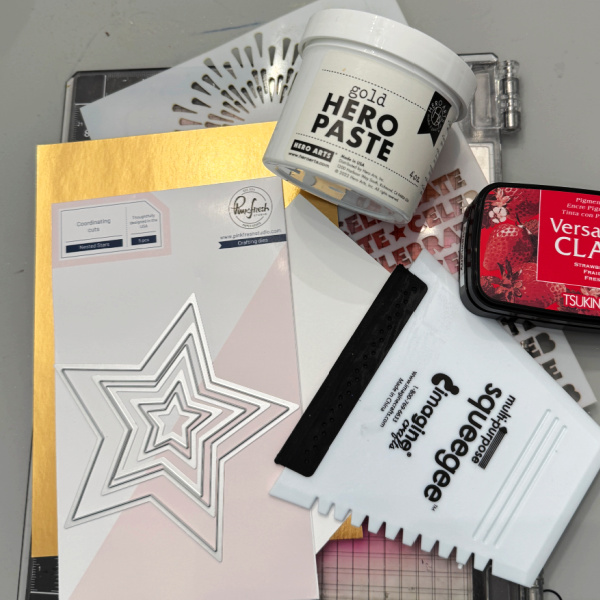
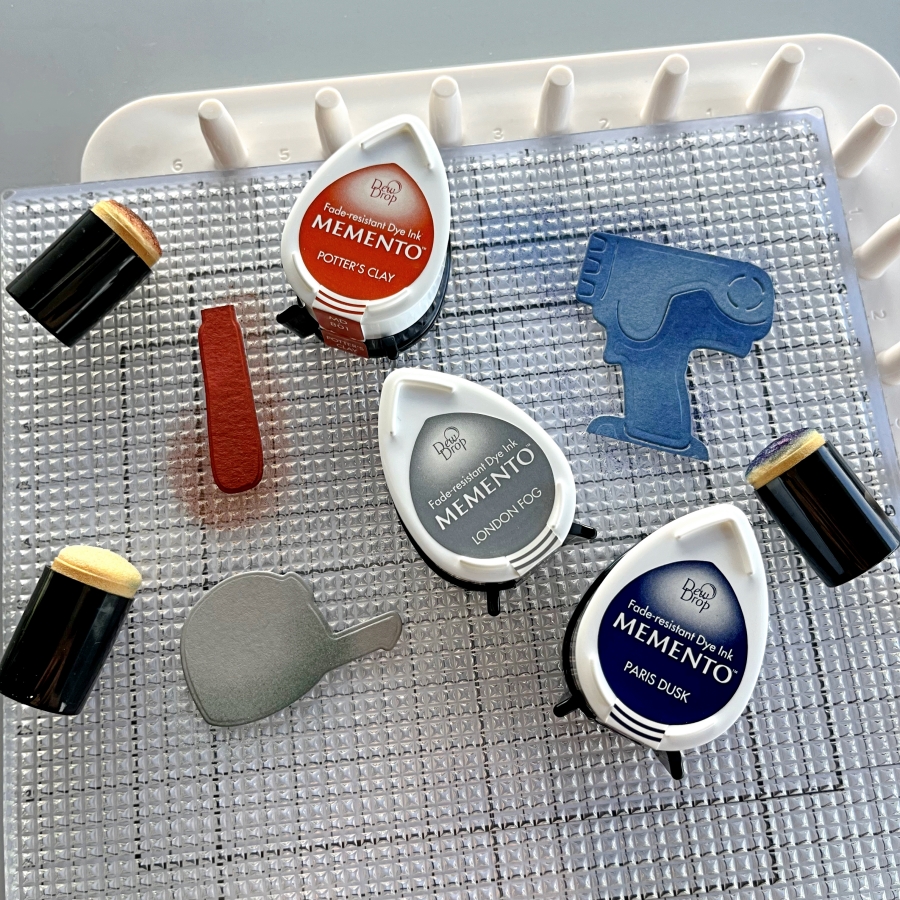
Gather your supplies. You will need an A2 card base, blue cardstock strips, a white panel, gold foil paper, star dies, a stencil that has July 4th elements on it, Ink, and paste of some sort.
Step 1:
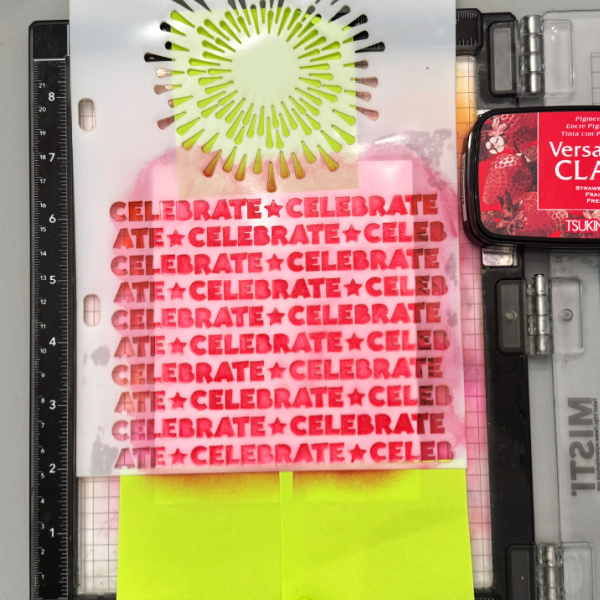
Place the white panel in the Misti or other stamp positioner on a grip or sticky mat. Mask off portions of the panel that you do not want ink on. Using Red (VersaFine Clair Strawberry used here ) ink and a blending tool cover the celebrate with ink. Remove stencil and clean for next step.
Step 2:
Lay the firework part of the stencil over the part that you just inked up and mask off the portion of the card so the paste will not get on it.
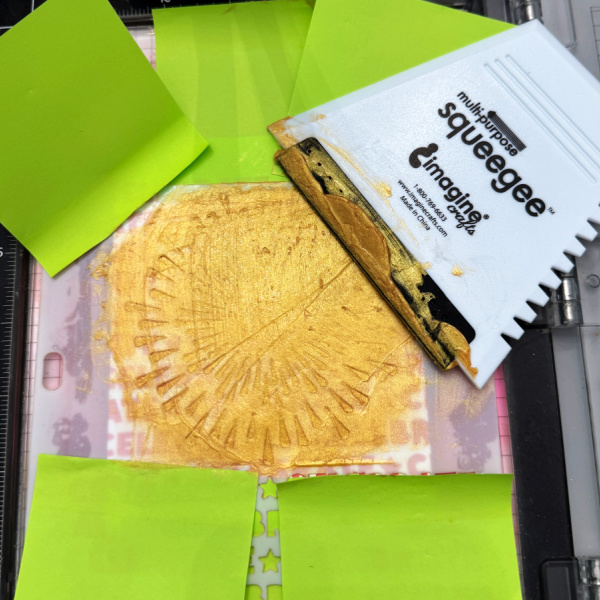
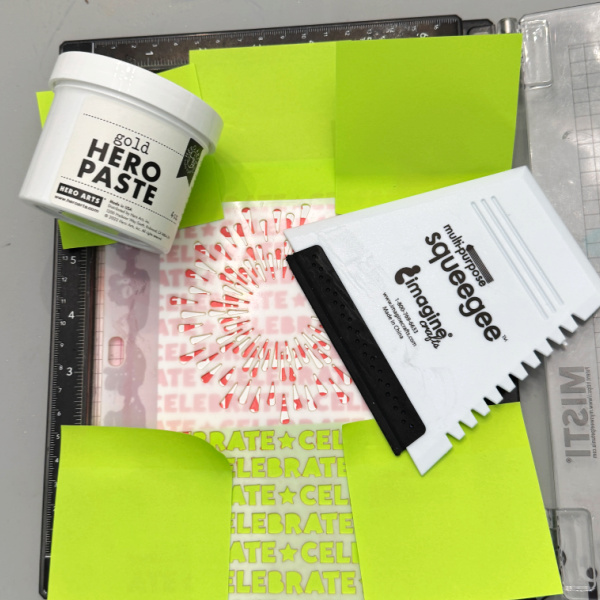
Step 3:
Using a squeegee spread the paste (I used gold) over the firework part of the stencil. Be sure to clean the squeegee and the stencil promptly because the paste will harden.
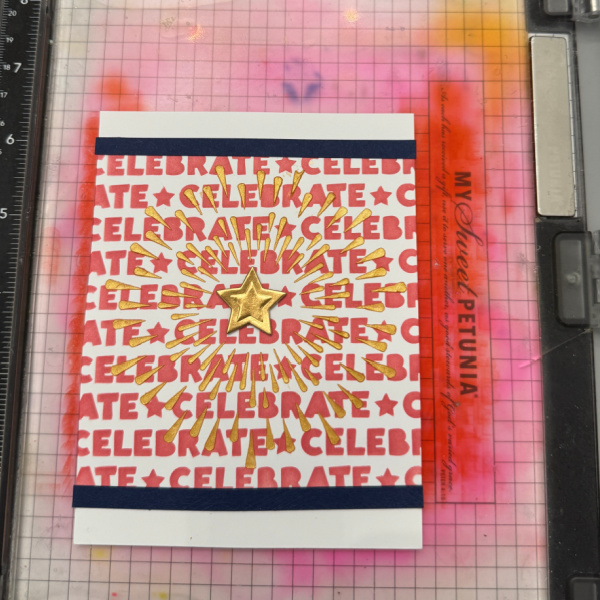
Step 4:
Add the star to the center of the firework and the blue strips of cardstock to each end of the panel. Add panel to the card base
Art Supplies:
Imagine Products:
• VersaFine Clair – Strawberry
• Squeegee
Other Supplies:
• Misti Stamping Tool – My Sweet Petunia
• Grip Mat – Waffle Flower Crafts
• Celebrate Stencil – Pink & Main
• Star Dies – Pinkfresh Studio
• Gold Paste – Hero Arts