By Kathi Rerek –
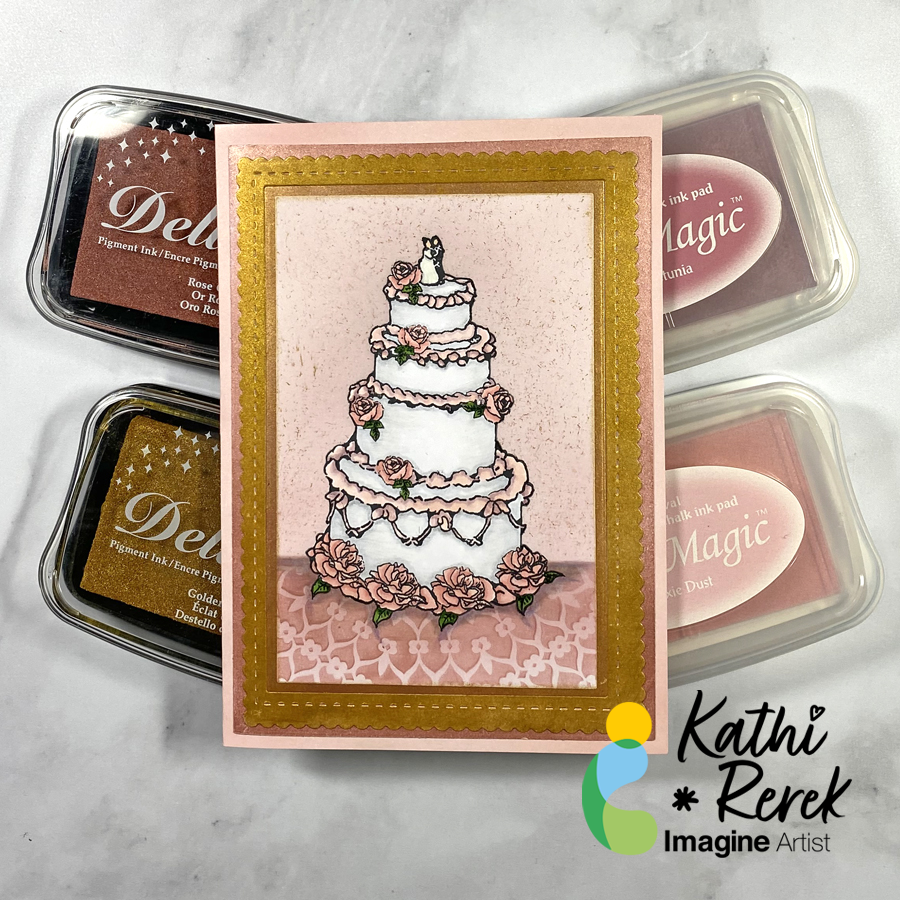
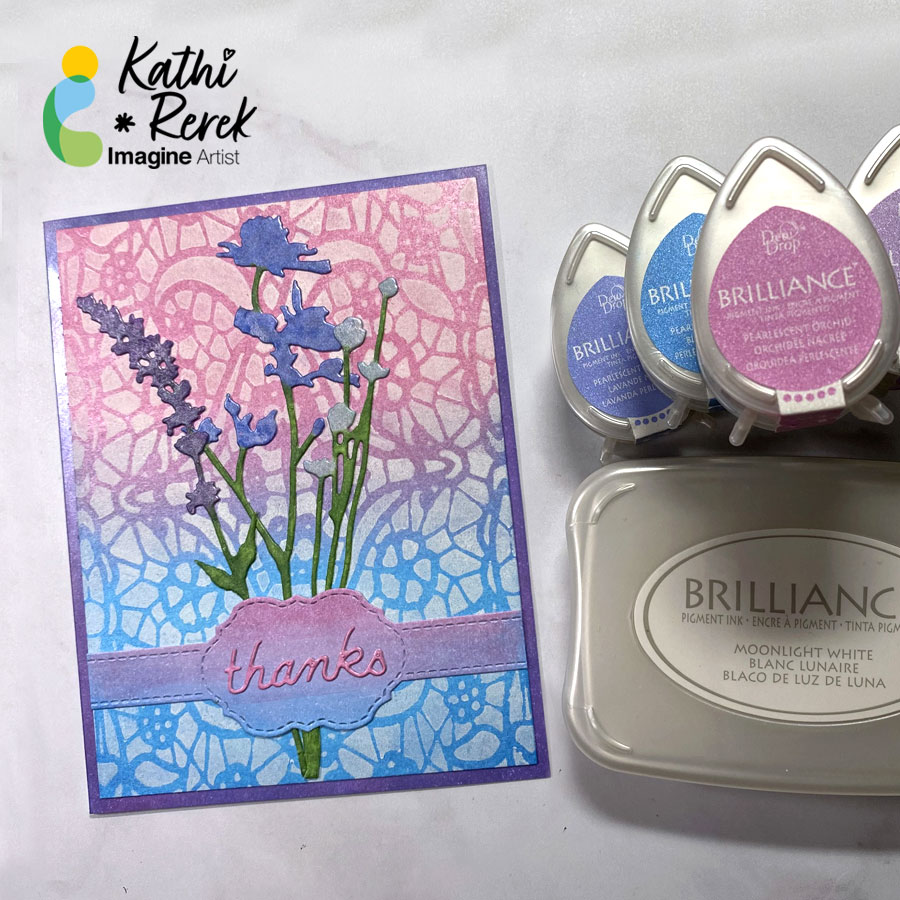
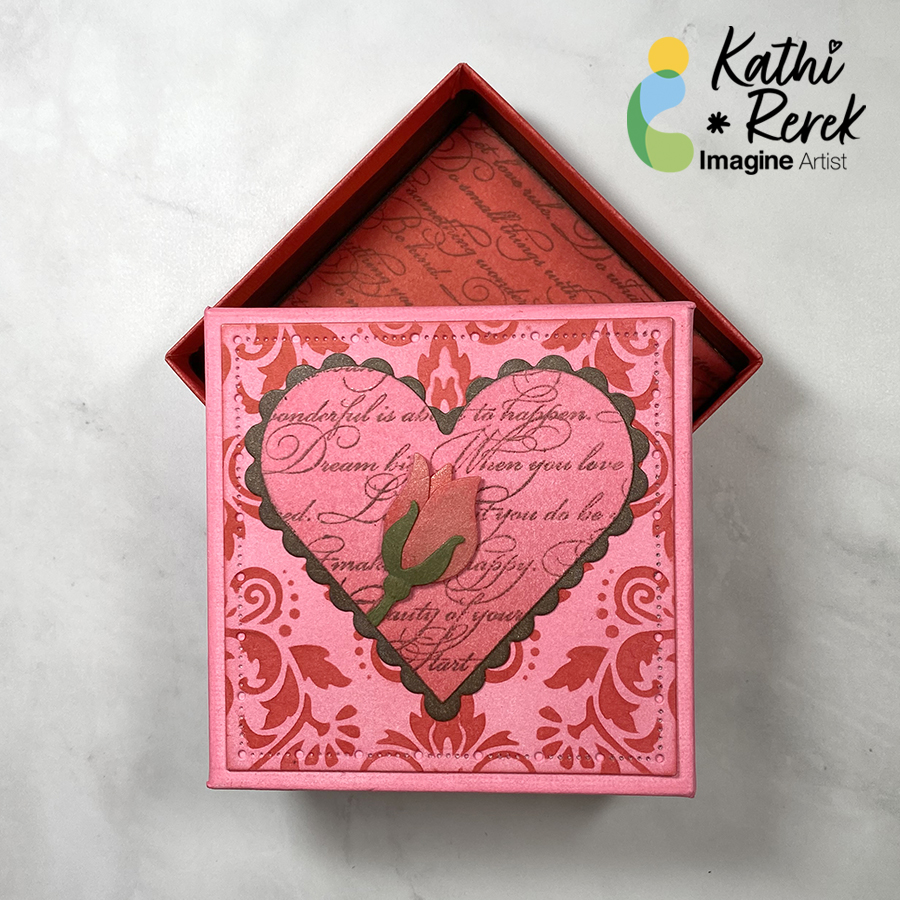
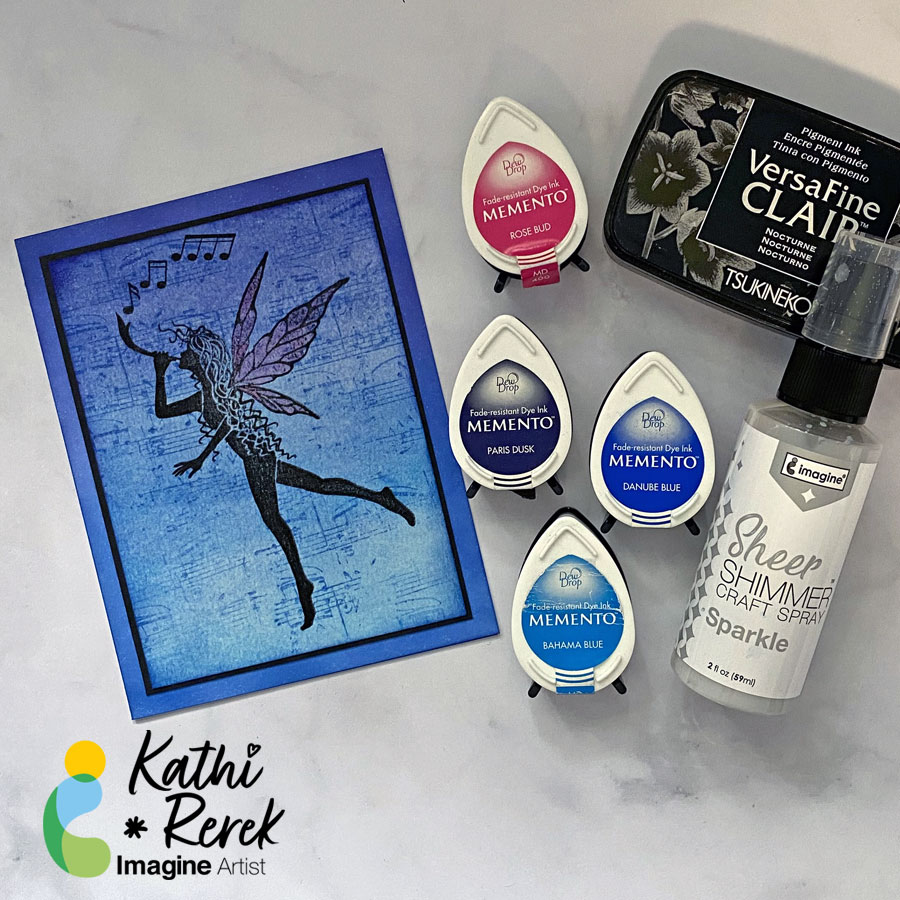
Greetings! It’s Kathi here to show you how to create fairy card with a magical shimmer using Memento Inks and Sheer Shimmer Sparkle Spray.
Skill Level: Beginner to Intermediate
Time: 1.5 hours
Instructions:
Step 1:
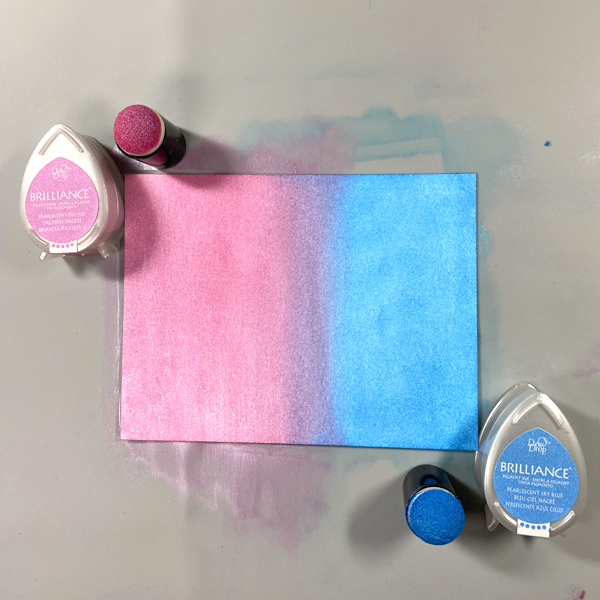
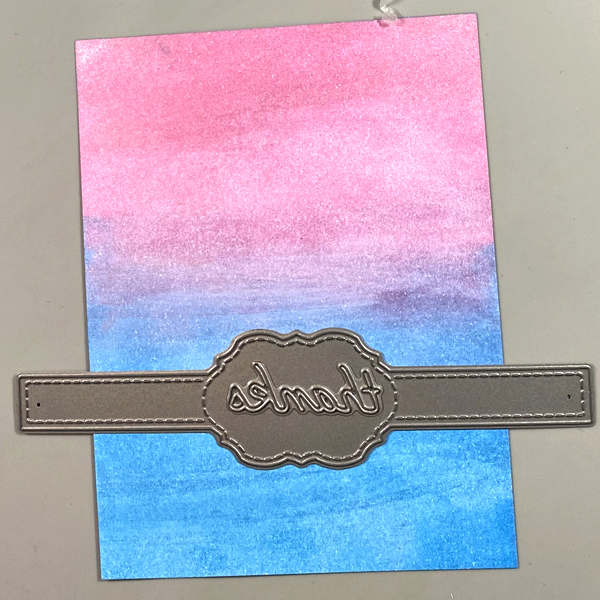
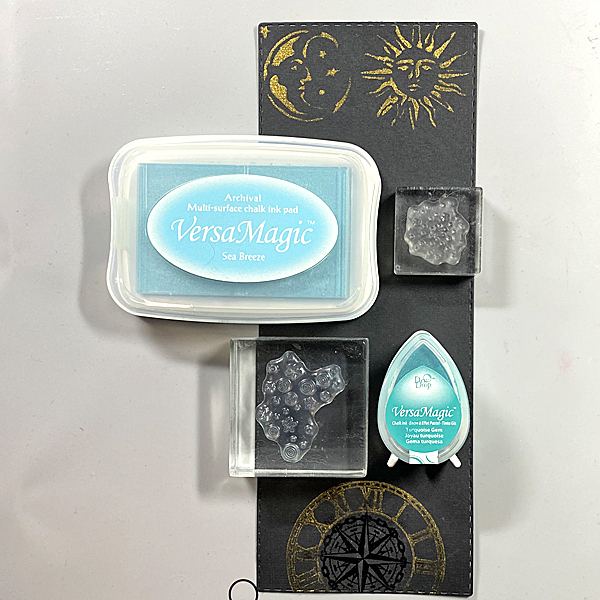
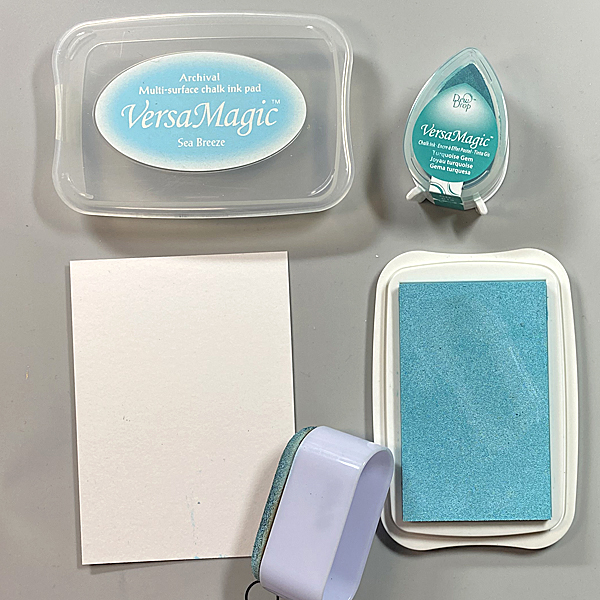
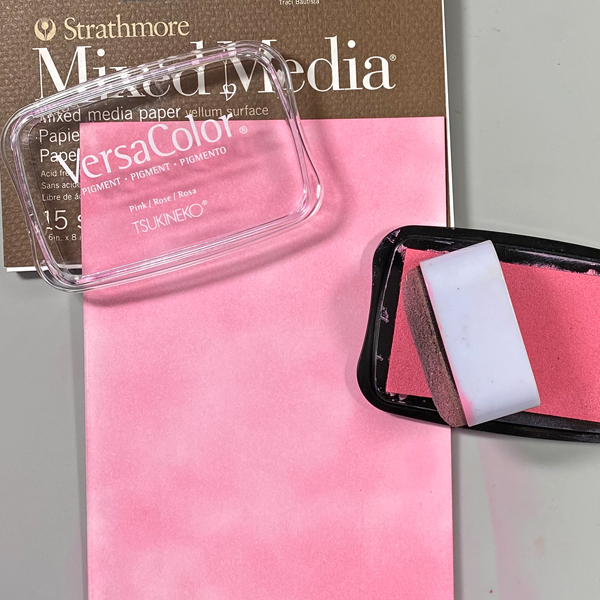
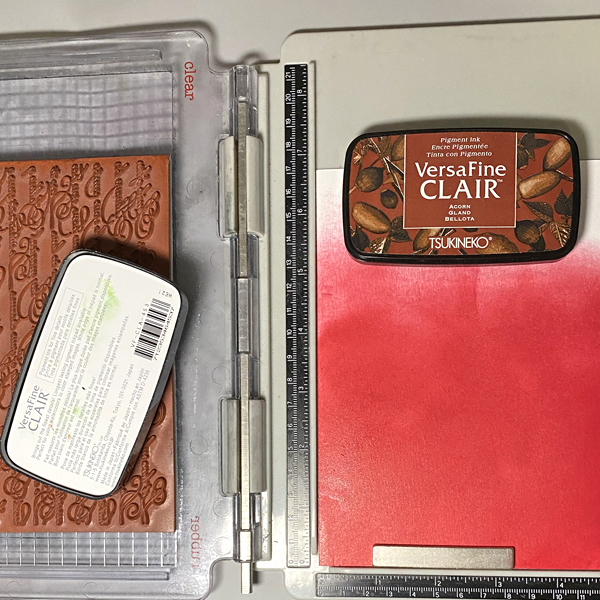
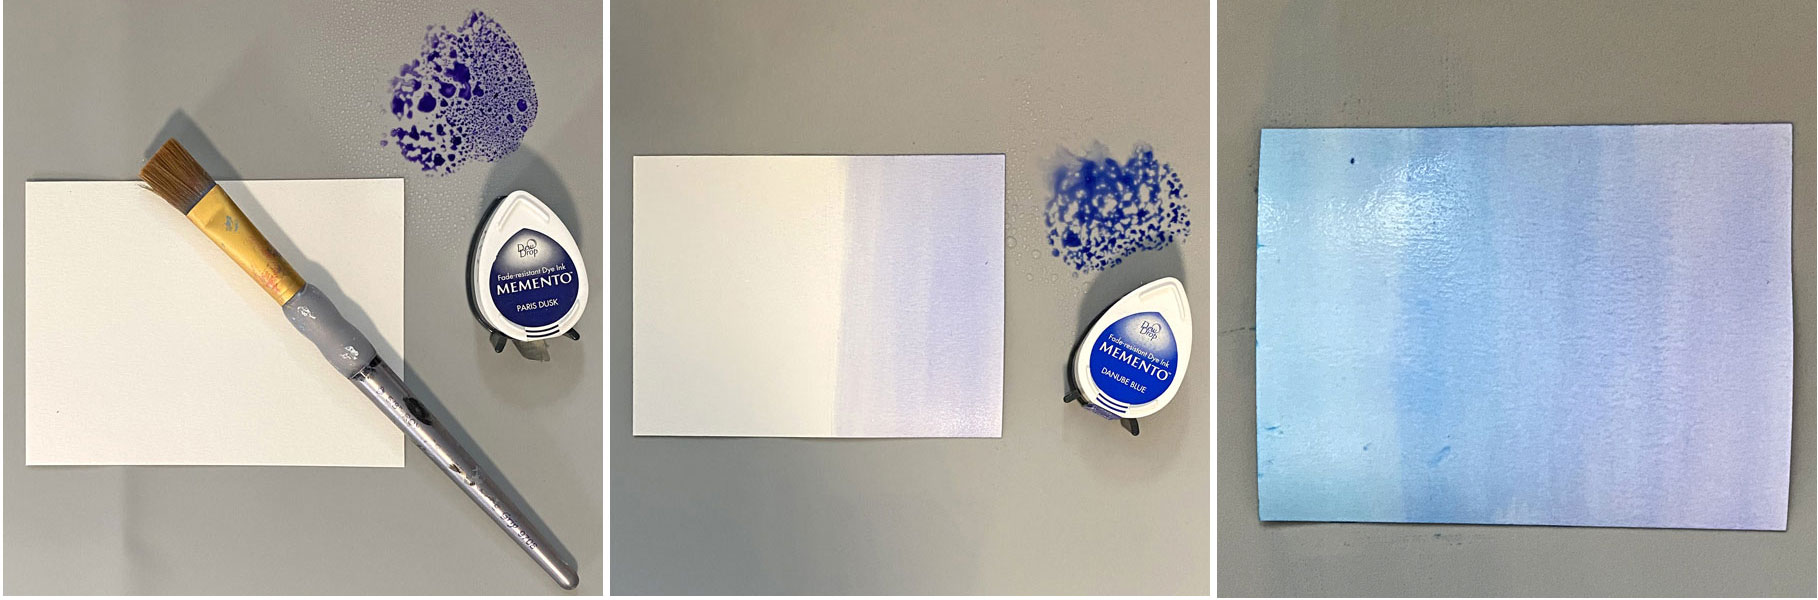
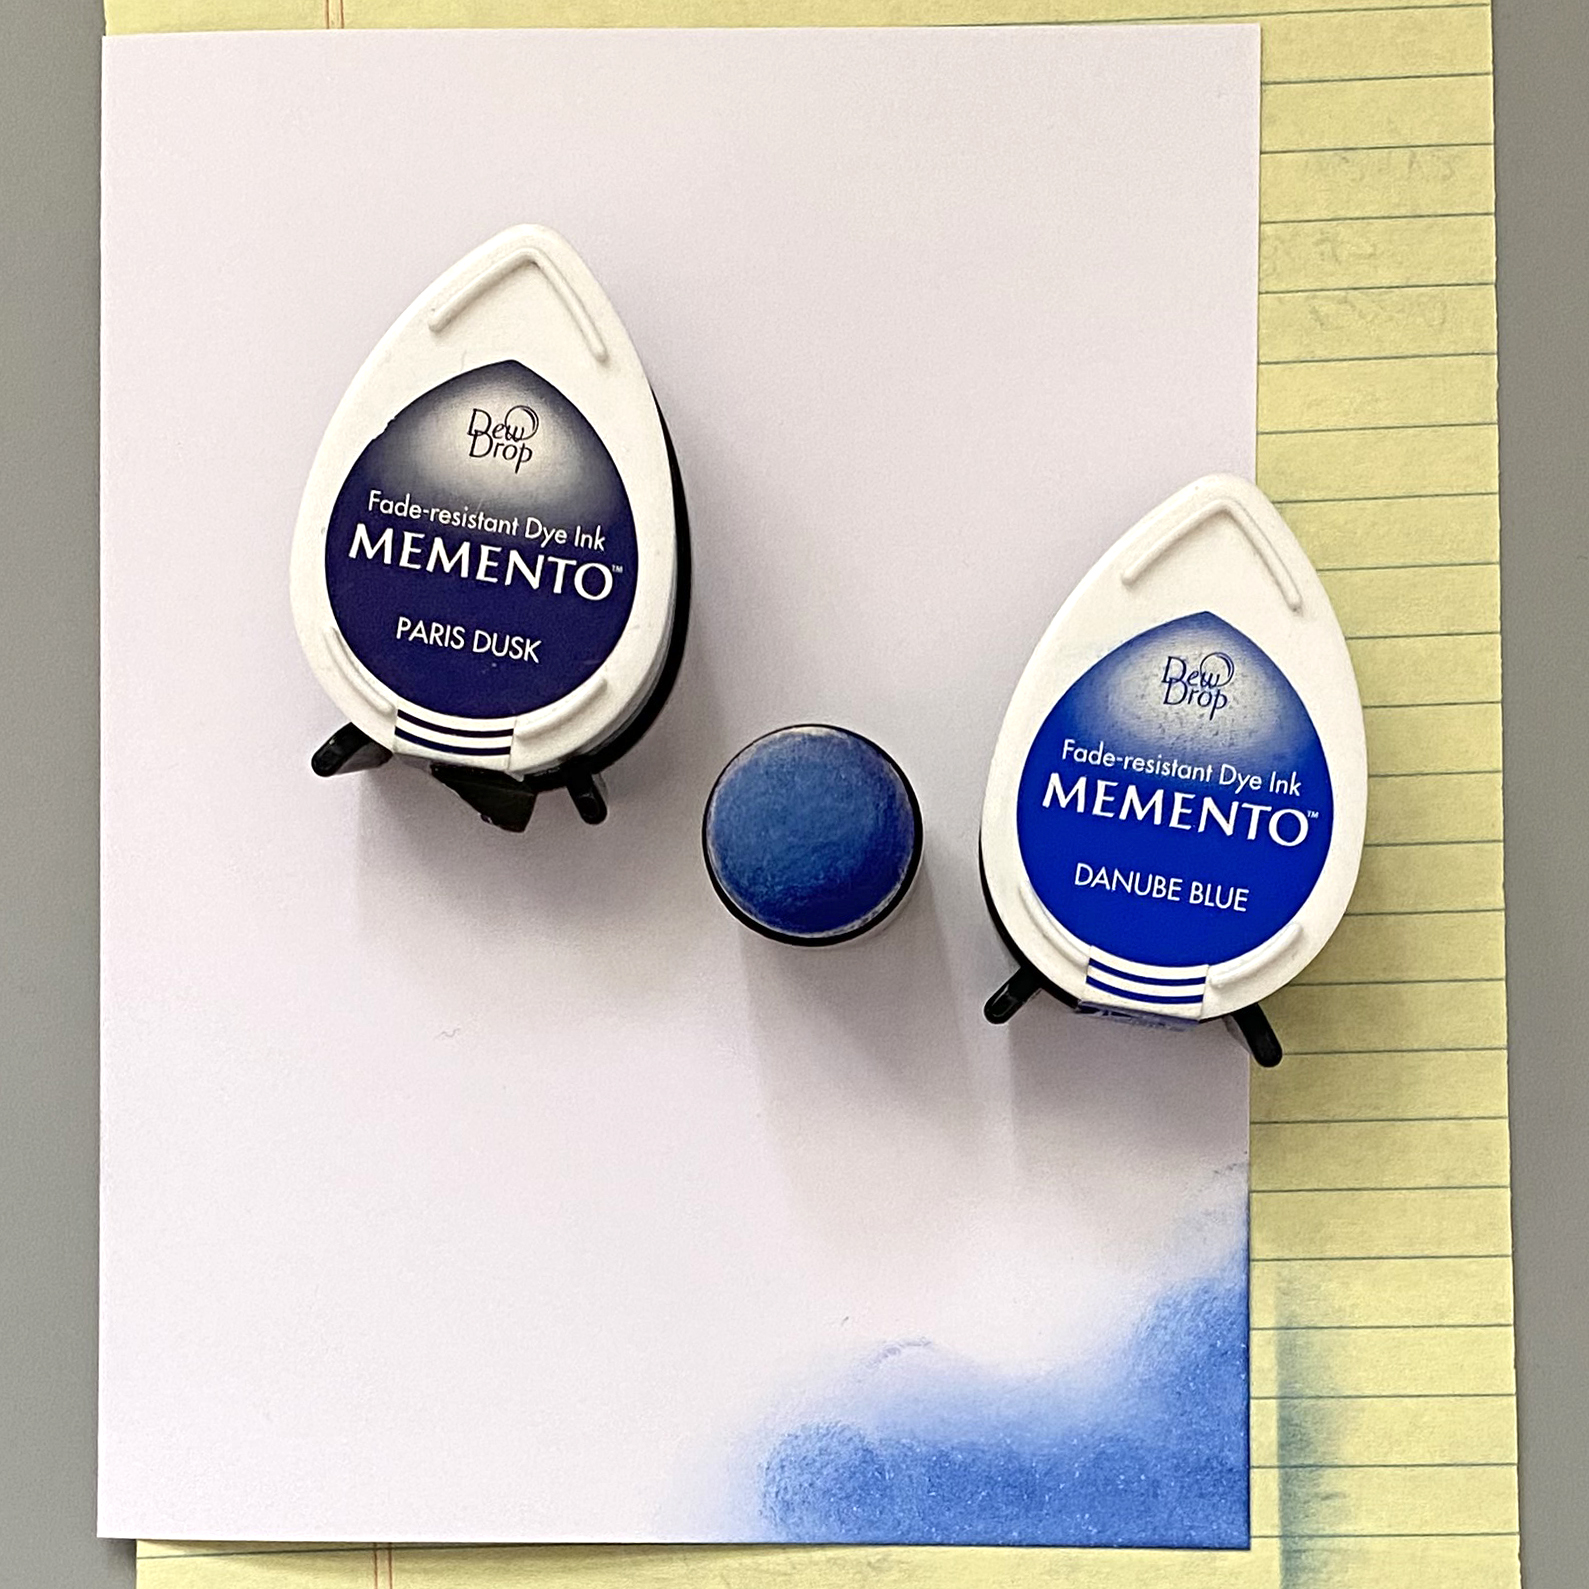
Smoosh Paris Dusk Memento Dew Drop Ink onto the craft mat. Mist with water and use a paint brush to apply diluted ink to the right edge of a 5.25” x 4” panel of watercolor paper.
Repeat with Blue Danube and then with Bahama Blue Memento Dew Drop Ink Pads until the entire panel is inked. Heat set the panel.

Step 2:
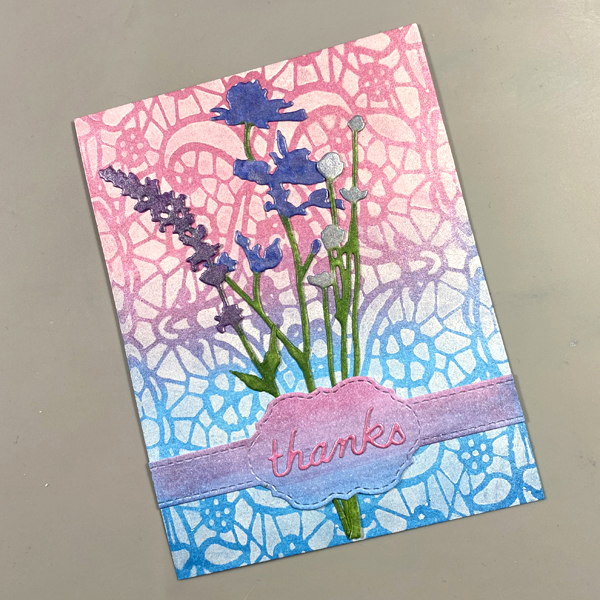
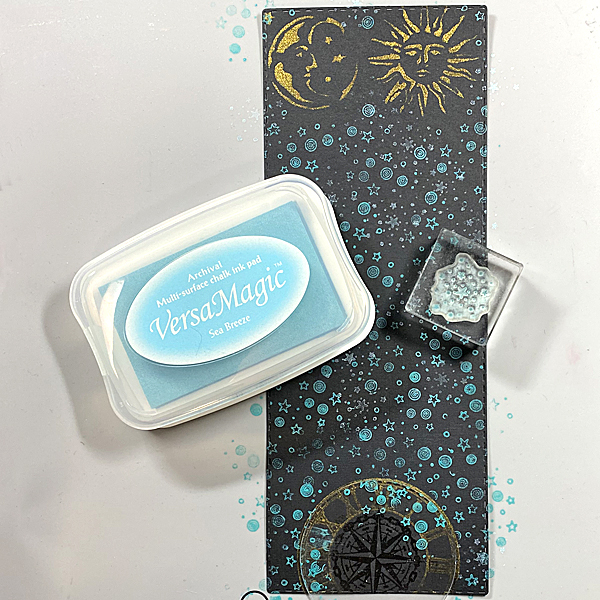
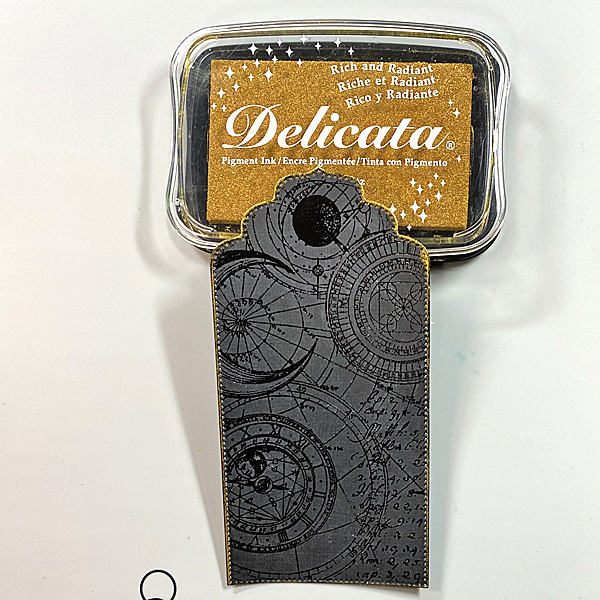
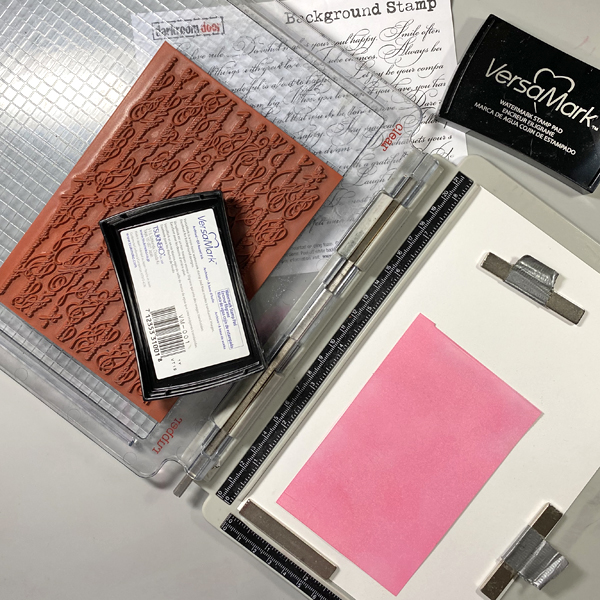
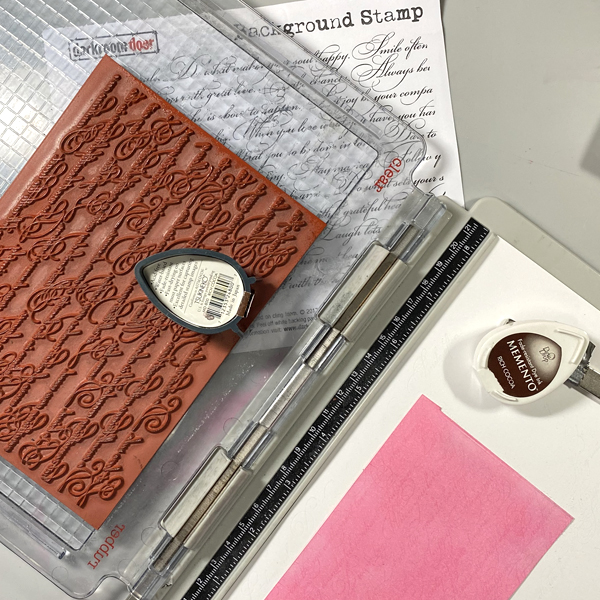
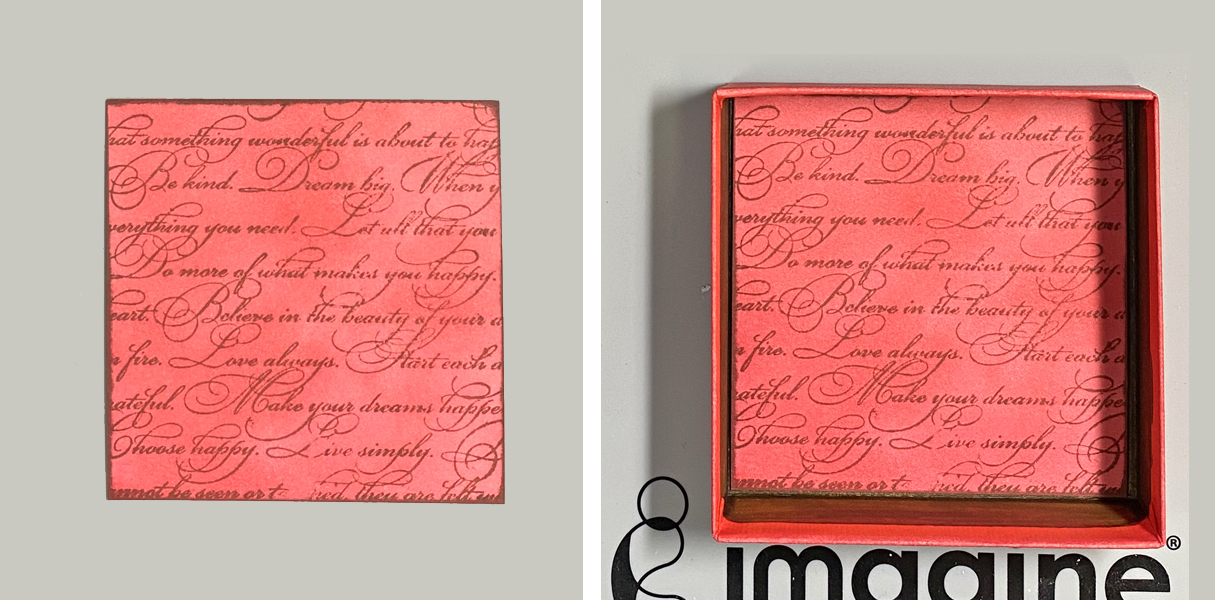
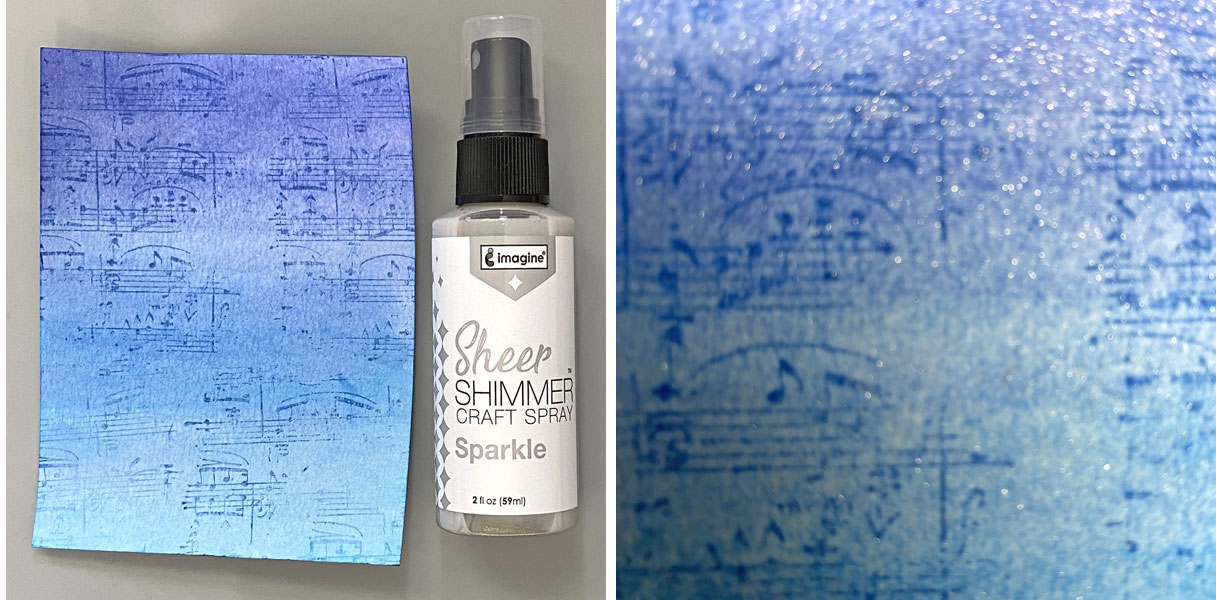
Ink the Sheet Music Texture Red Rubber Cling Stamp with Blue Danube Dew Drop Ink and randomly stamp onto the panel.
Step 3:
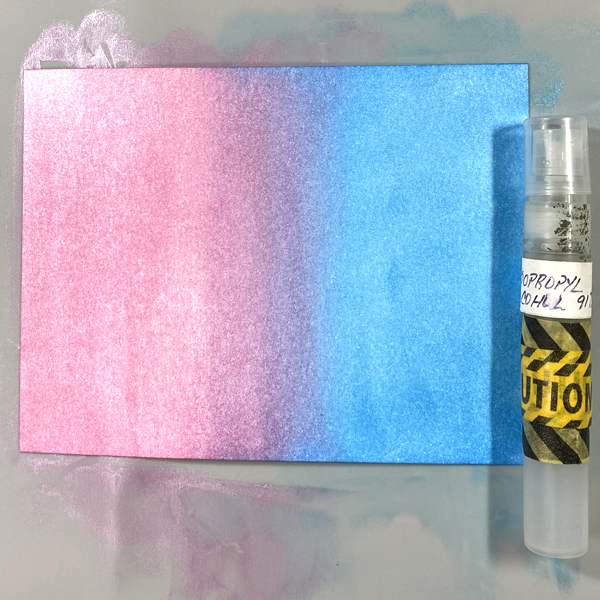
Spray the panel with Sheer Shimmer Sparkle Spray. Heat Set and admire the sparkle!
Step 4:
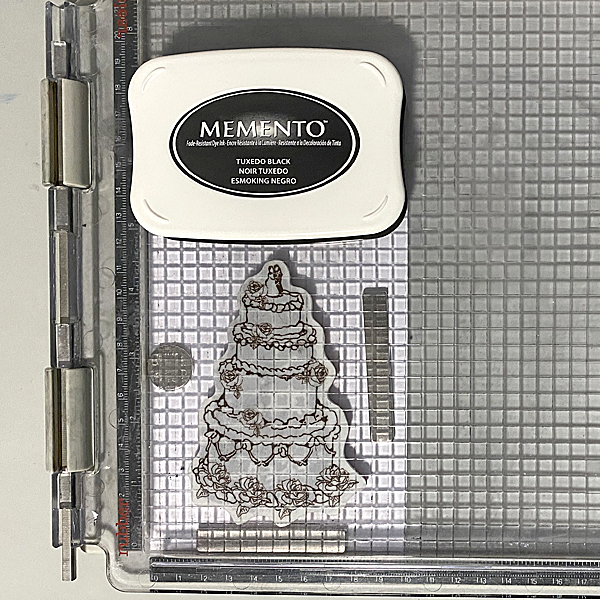
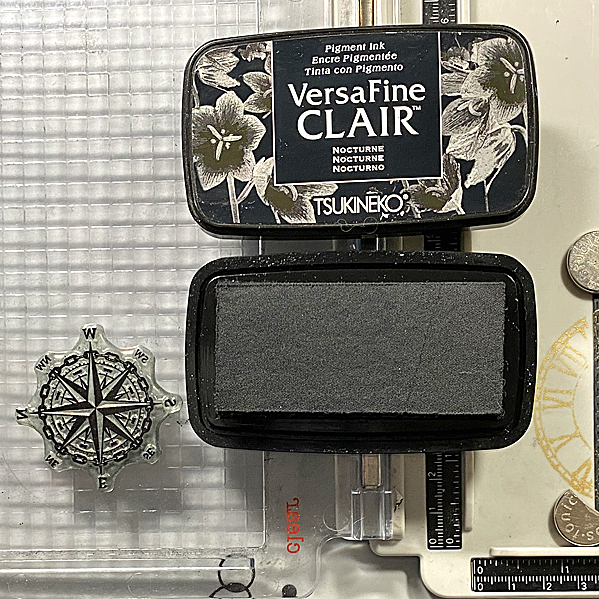
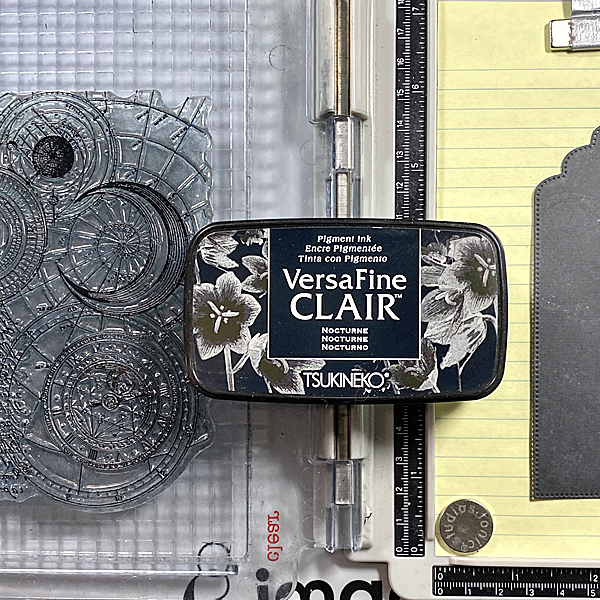
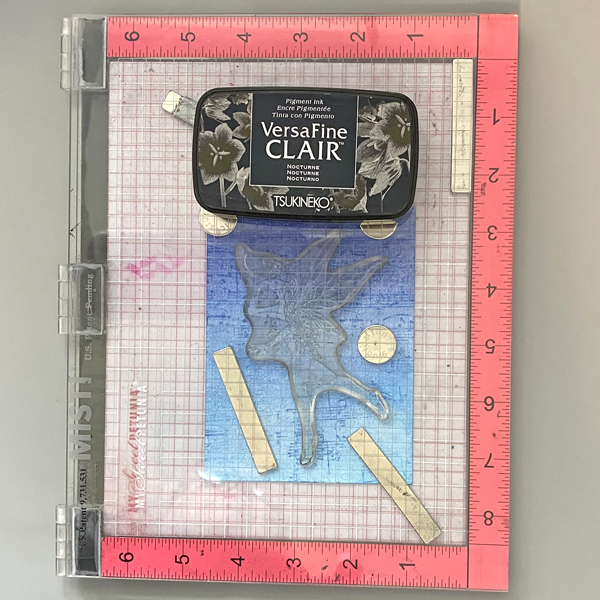
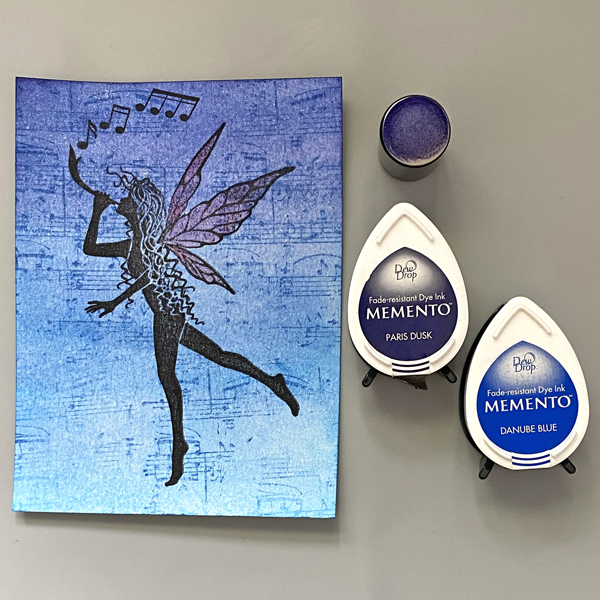
Using a stamping platform, position the Trinity Fairy Clear Stamp onto the image panel. Ink with Nocturne VersaFine Clair Ink and stamp. You might need to re-ink and stamp to achieve a clear impression.
Remove the panel from the stamping platform and heat set.
Step 5:
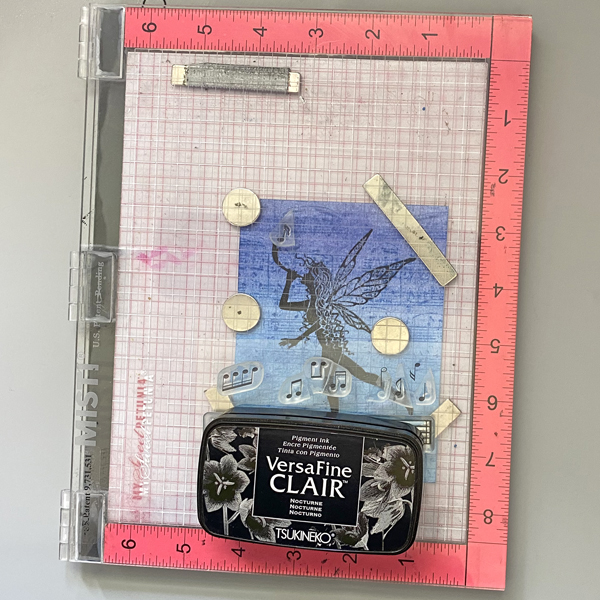
Place the image panel back onto the stamping platform. Position one of the notes from the Music Notes Small Clear Step Set facedown above the fairy’s horn. Ink the stamp with Nocturne VersaFine Clair Ink and stamp.
Remove the note stamp from the stamping platform. Place another note stamp from the same set, slightly to the right of the previously stamped note. Ink and stamp with Nocturne VersaFine Clair Ink and stamp.
Remove the second note stamp from the stamping platform. Place the four notes stamp to the right of the other notes. Ink the stamp with Nocturne VersaFine Clair Ink and stamp.
Heat Set the notes.
Step 6:
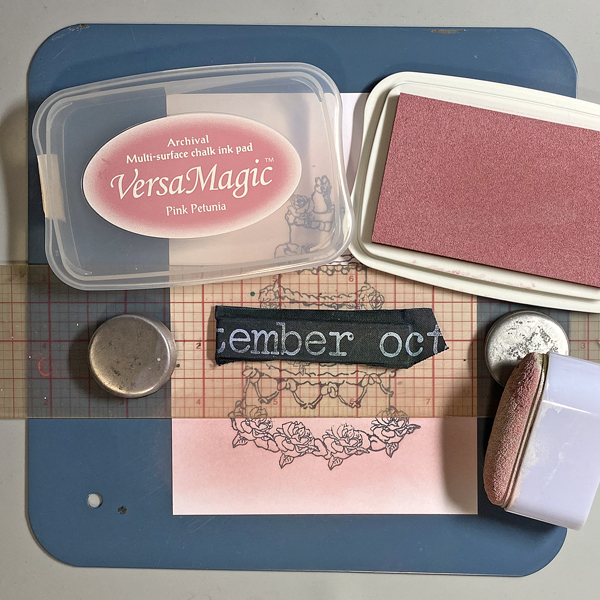
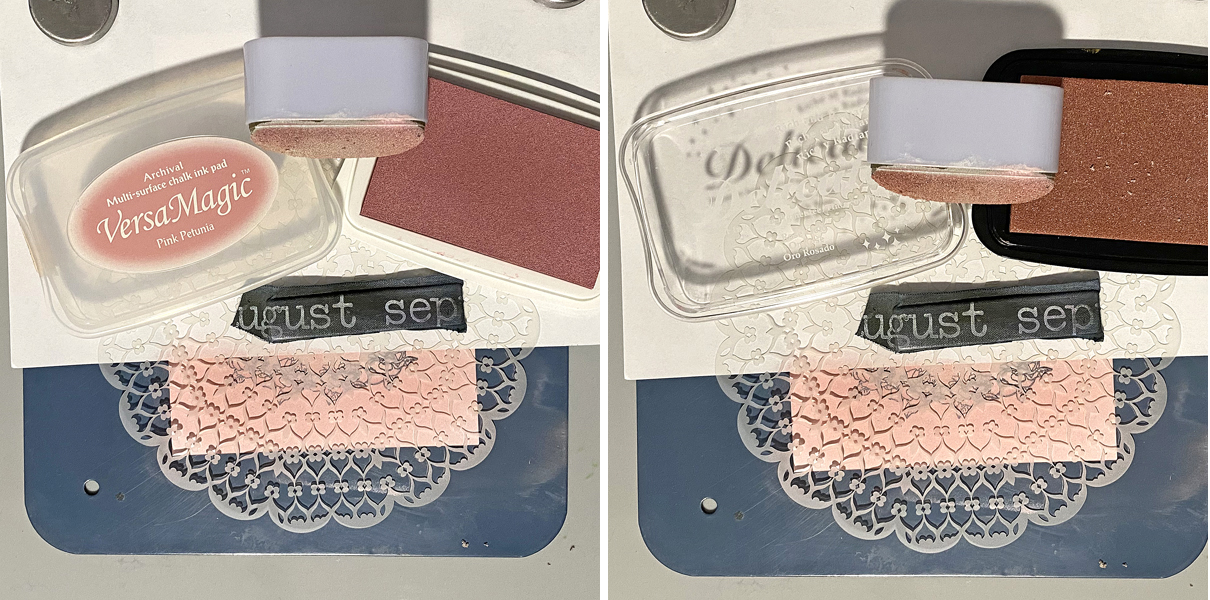
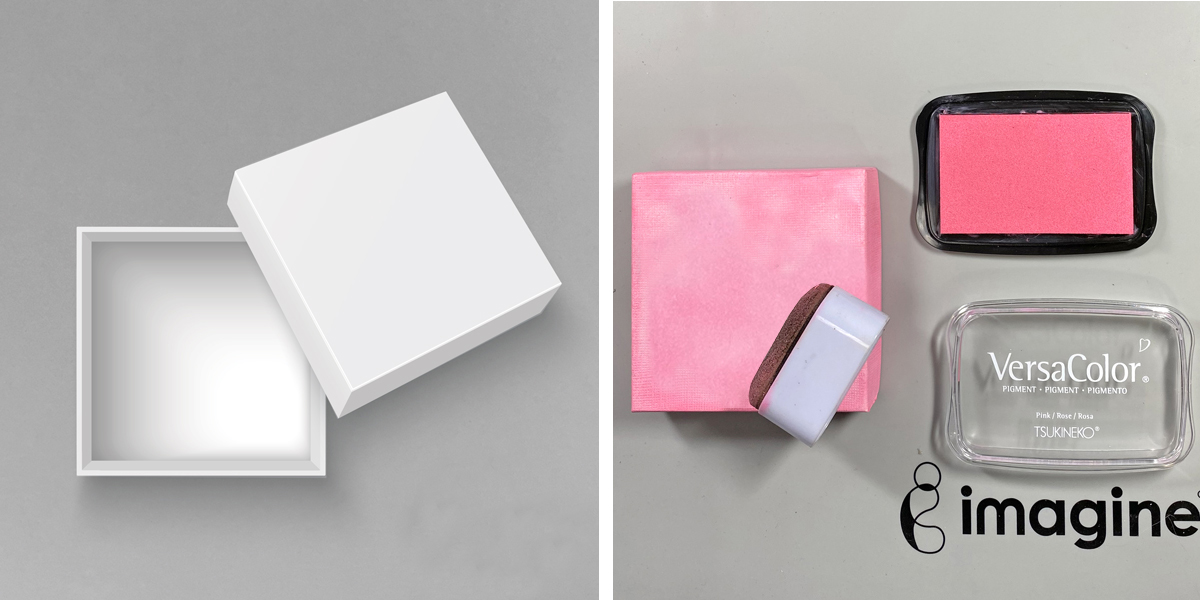
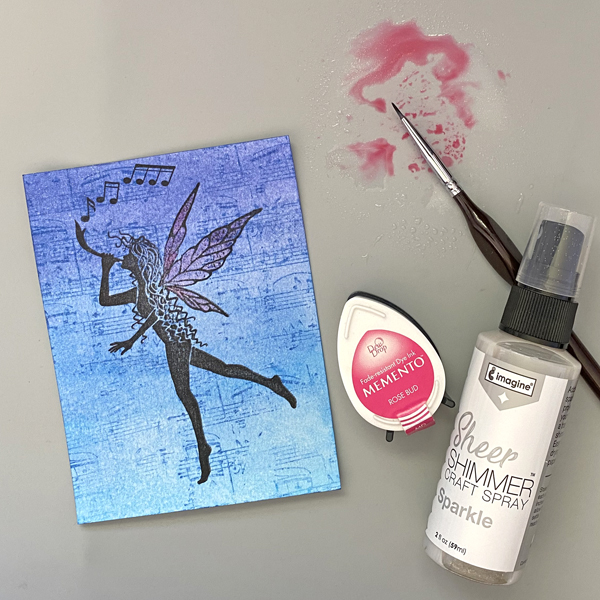
Smoosh the Rose Bud Memento Dewdrop Ink pad onto the craft mat. Mist with Sheer Shimmer Sparkle Spray.
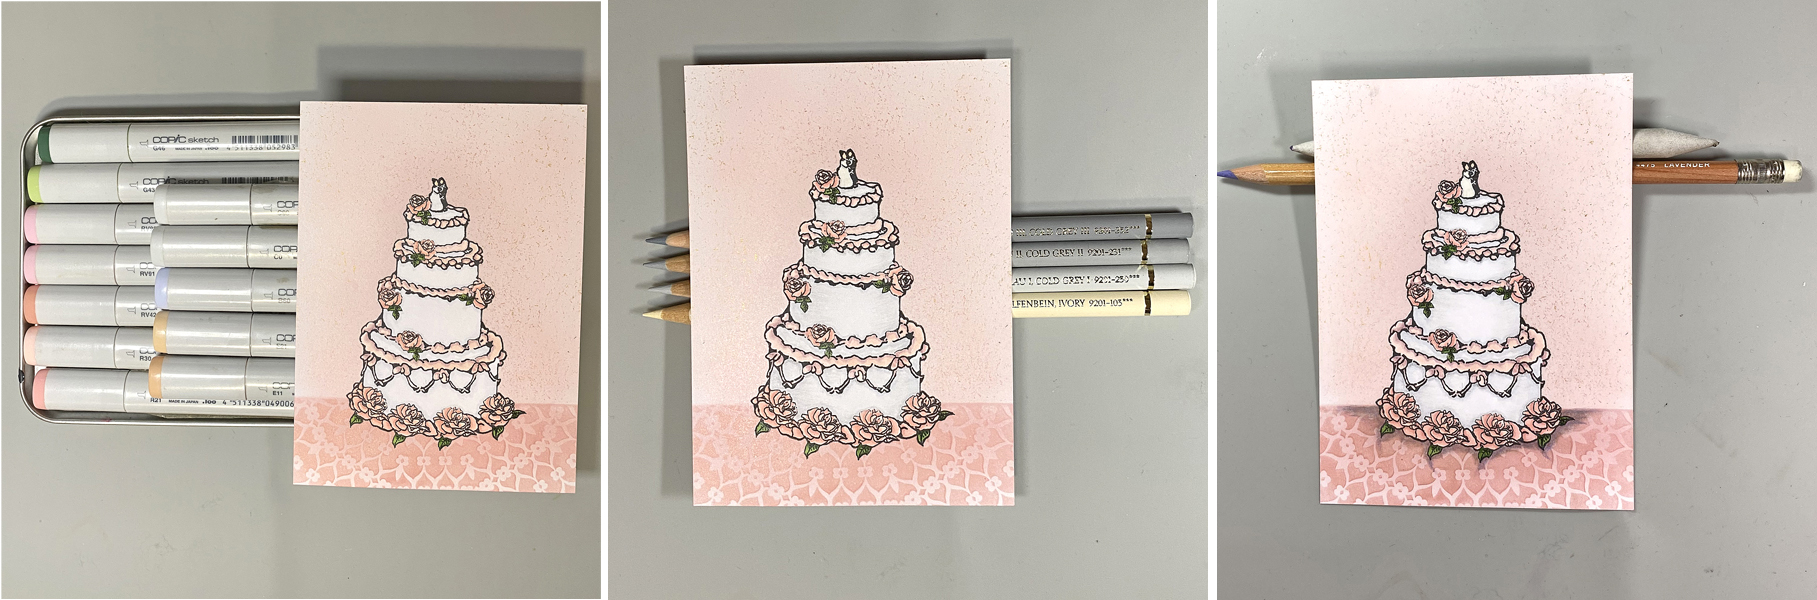
Use a paint brush to apply the shimmery pink ink to the fairy’s wings. Heat set.
Step 7:
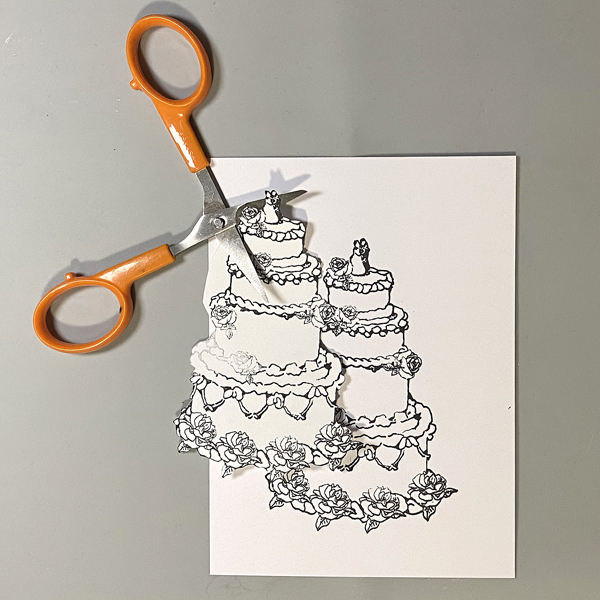
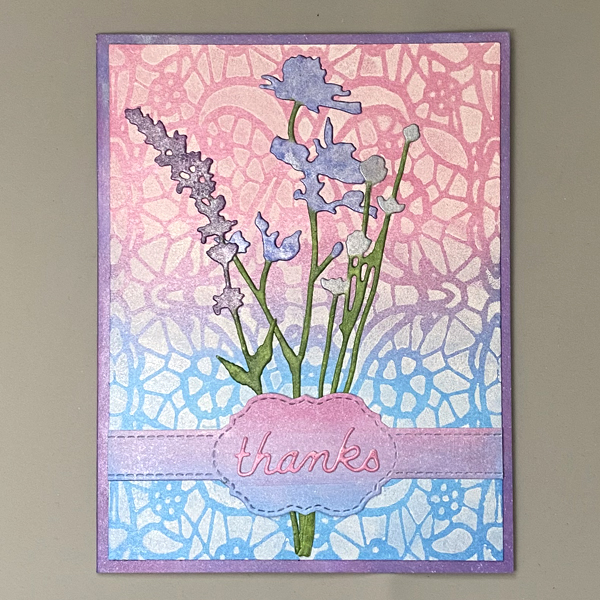
Trim the image panel to 3 5/8” x 4 7/8”.
Use a Sponge Dauber and Paris Dusk Memento Ink to edge the top part of the image panel. Use the Sponge Dauber and Blue Danube Memento Ink to edge the bottom part of the image panel.
Step 8:
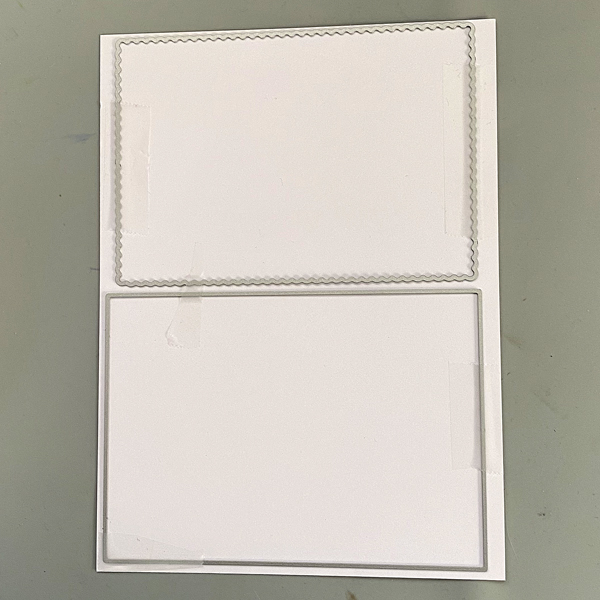
Create an A2 card from white cardstock. Insert a piece of scrap paper into the card.
Use Sponge Daubers to ink the periphery of the white card with Paris Dusk and Blue Danube Memento Inks.
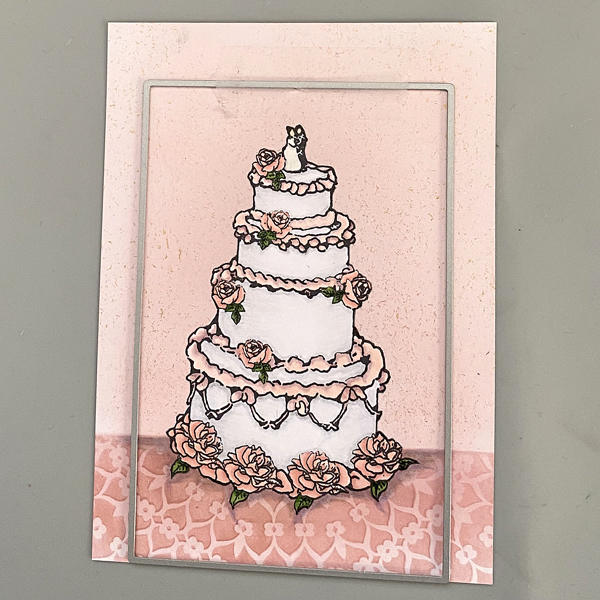
Step 9:
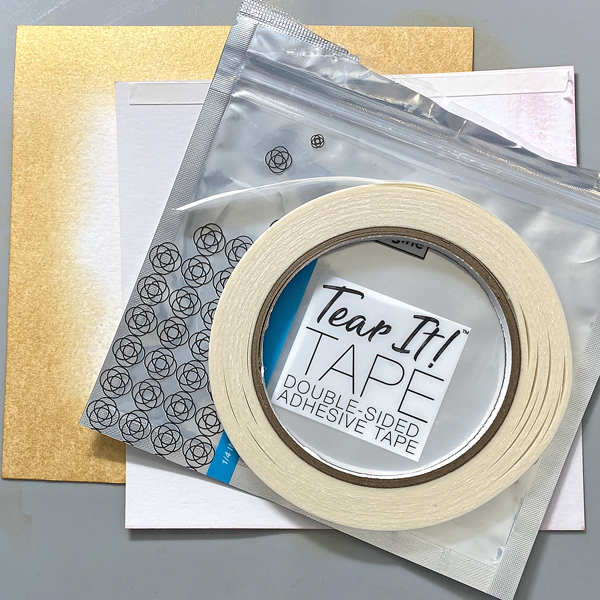
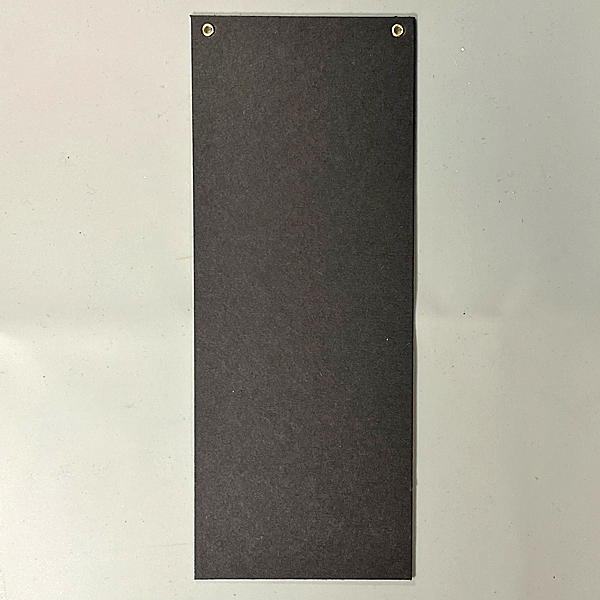
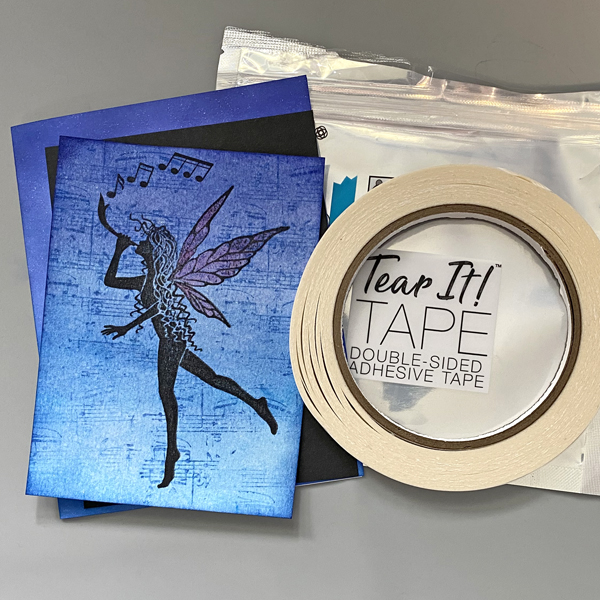
Cut a piece of black cardstock to 3 3/4” x 5”.
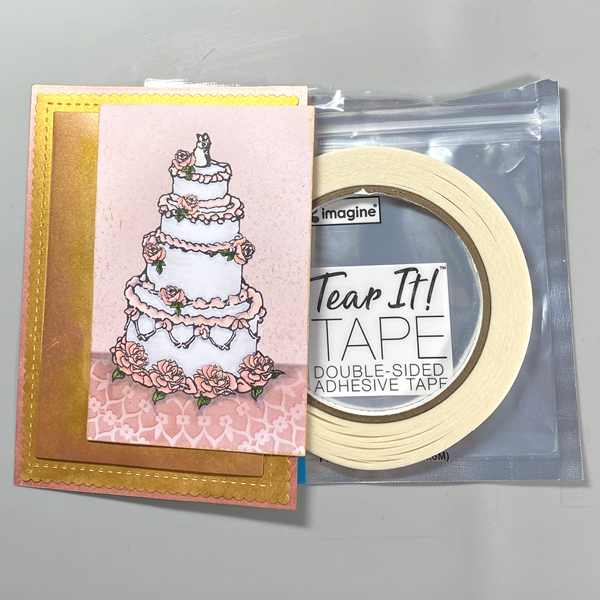
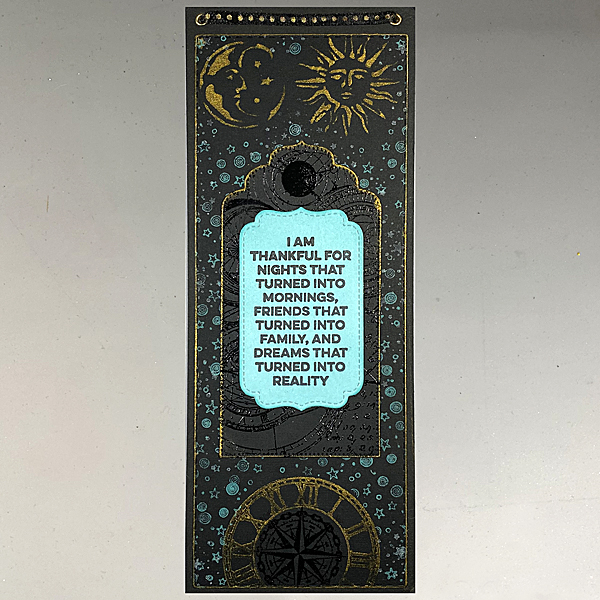
Use Tear It! Tape to mat the image panel with the black cardstock panel, then use the tape to adhere the matted panel to the inked card.
Art Supplies:
Imagine Crafts Supplies:
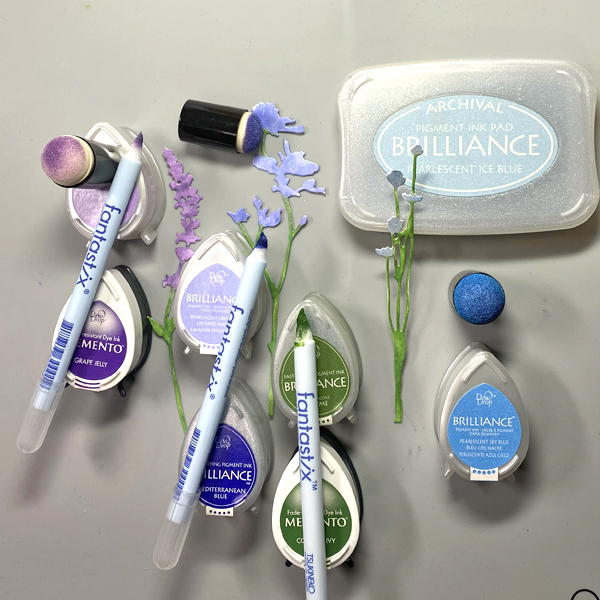
- Memento Dewdrop Ink
Paris Dusk, Danube Blue, Blue Bahama and Rosebud - Sheer Shimmer Sparkle Spray
- VersaFine Clair – Nocturne
- Ink Sweepers
- Sponge Daubers
- Tear It! Tape
Other Supplies:
- 140 lb. Watercolor Paper by Canson
- Solar White Classic Crest Cardstock by Neenah Papers
- Trinity Clear Polymer Stamp by Lavinia Stamps
- Music Notes Small Clear Polymer Stamp Set by Lavinia Stamps
- Sheet Music Texture Red Rubber Cling Stamp by Darkroom Door
- Misti Stamping Platform by Petunia
- Heat Gun by EK Success