Thank You to the Artists at Creativation 2020


creativation artist-demo-2020-thank you!

Thank you to all the artists who demonstrated with Imagine products at the Creativation 2020 show. Here is some of the magic that happened in the booth!

IMG_4800

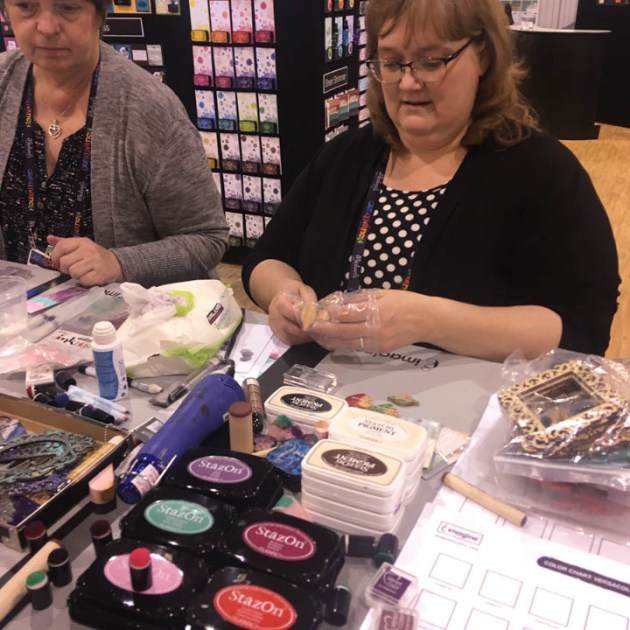
Lori Warren leads the charge at our large craft table using the StazOn On-Trend colors (announcement coming soon) with StazOn Pigment. She was fabulous at explaining how to layer StazOn to create unique effects.

IMG_4885

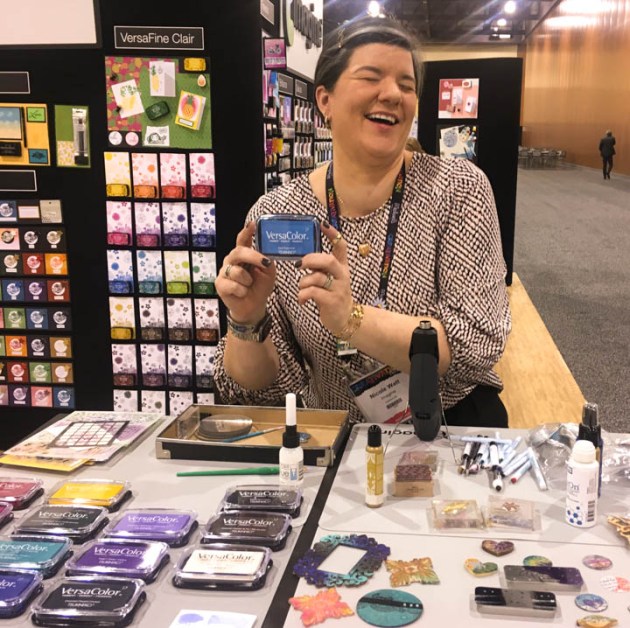
Nicole Watt helped us showcase VersaColor in a new case design (more information coming soon) and dazzled us with her awesome ink blending samples.

IMG_4779

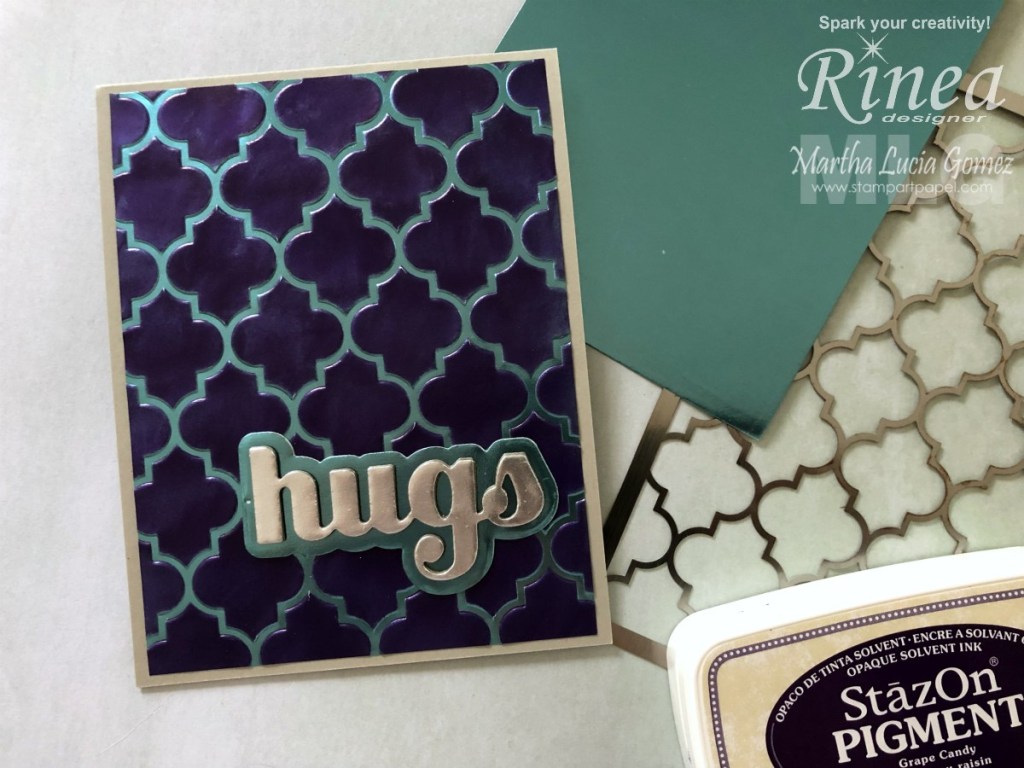
Nadine Carlier created metal pieces with our new StazOn On Trend color Plum (coming soon).

IMG_4893

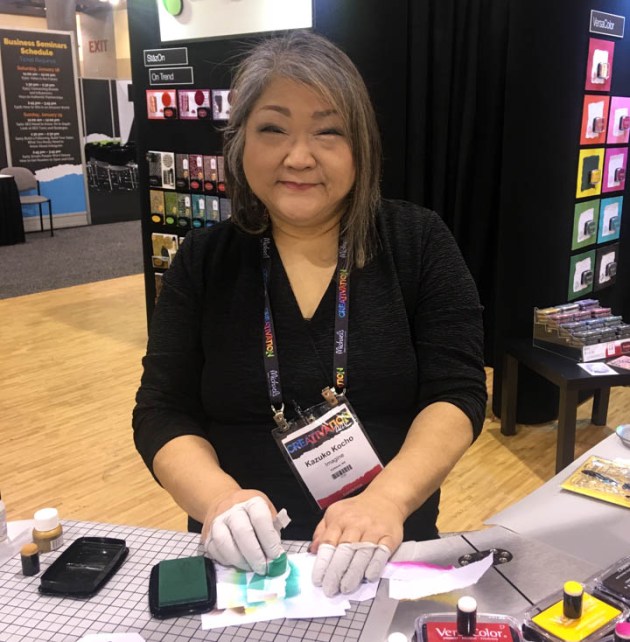
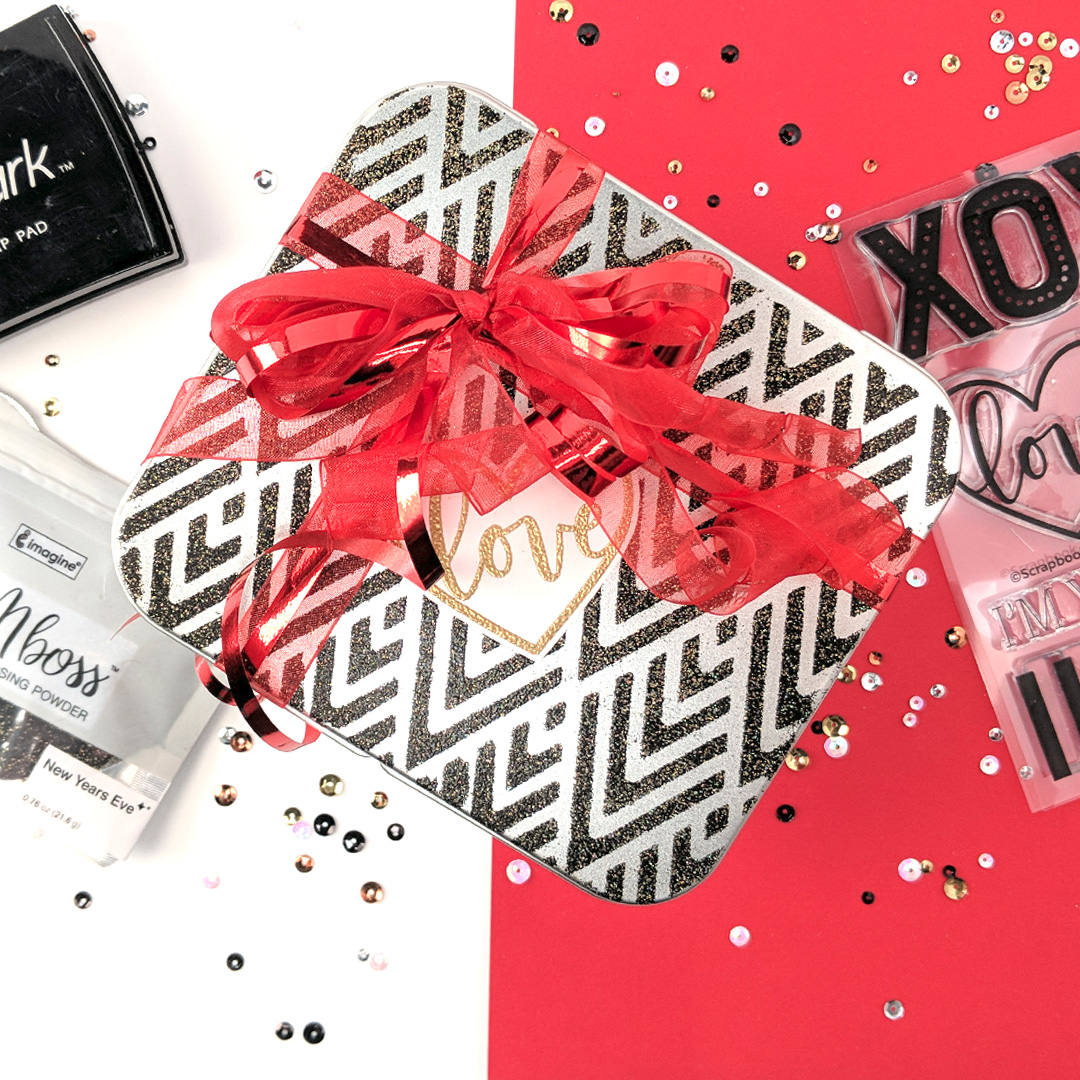
Kazuko Kocho worked hard all weekend on these beautiful butterfly tins. She was gracious enough to give them out as samples. They went fast! She is the master at using StazOn, GlazOn, and Brushstix to create awesome art pieces.

IMG_4776

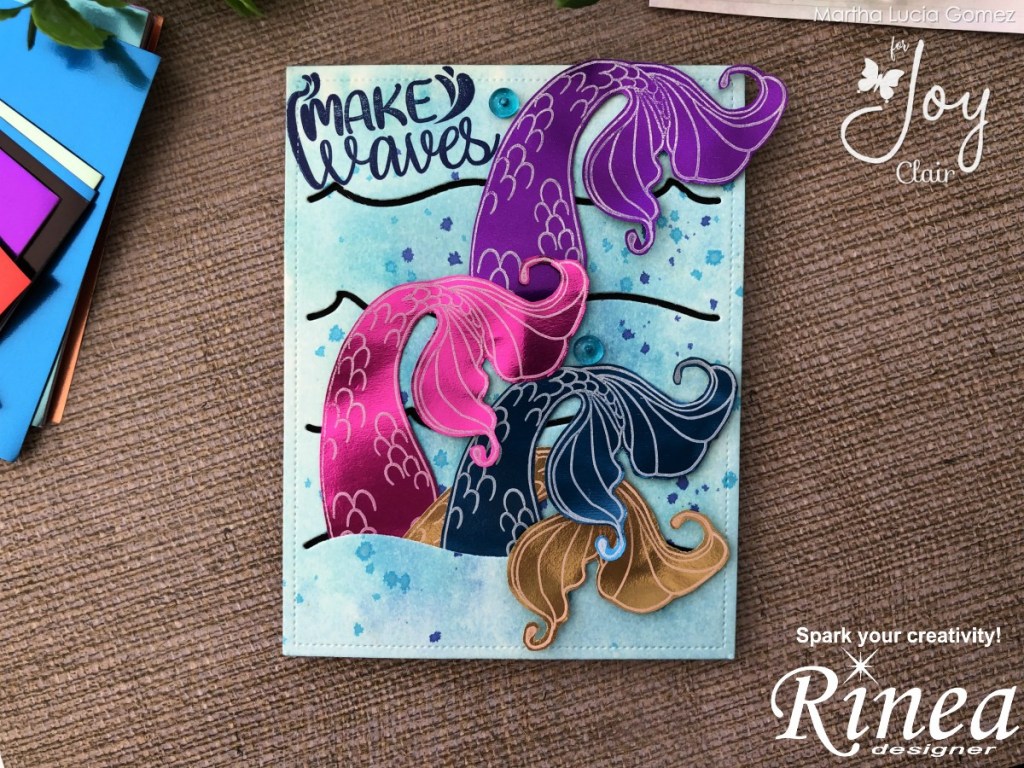
Martha Lucia Gomez joined us for an hour to help guide people through our color charts.

IMG_4797

Steph Ackerman helped us with VersaColor in the new case. Great ink for ink blending and shows up well on dark paper.

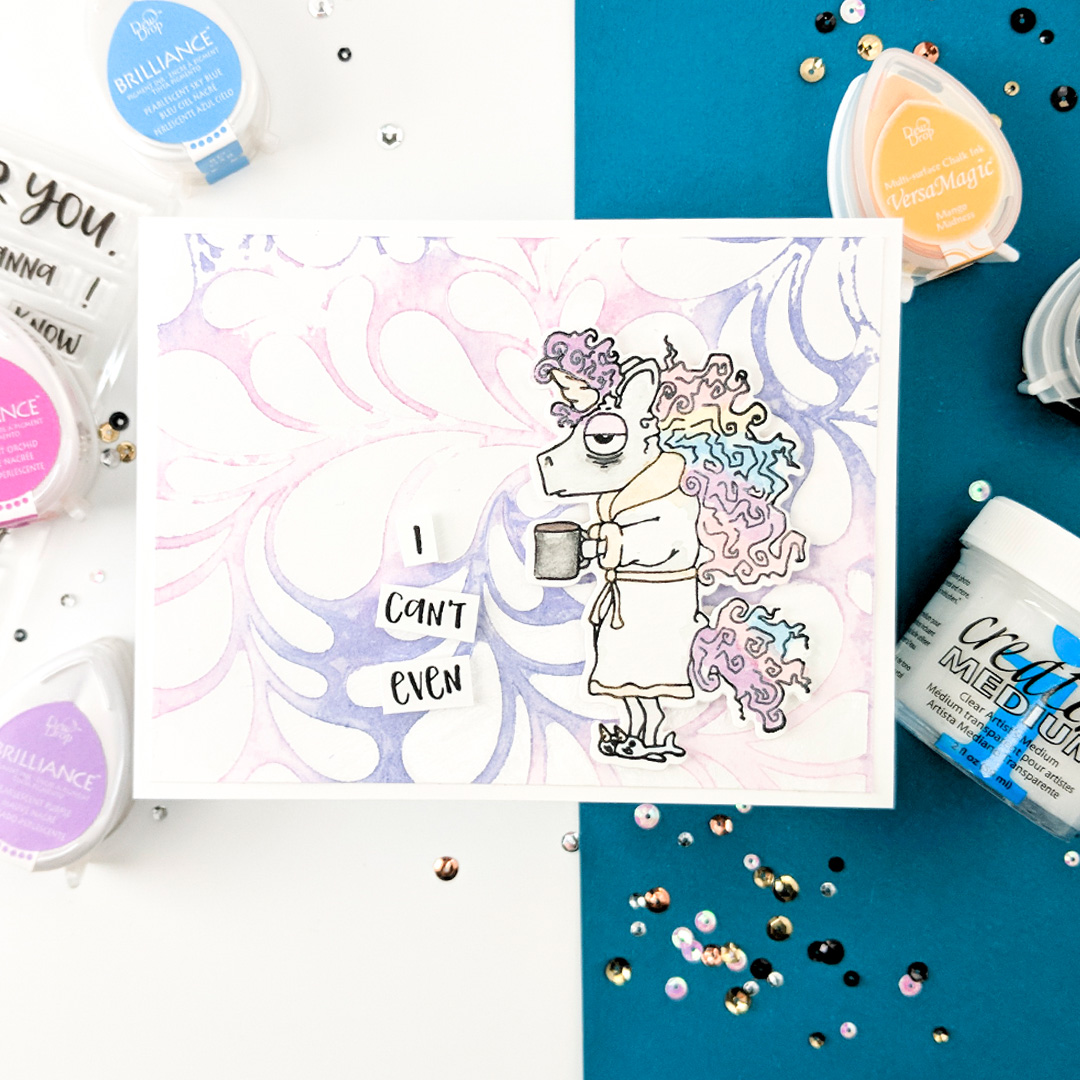
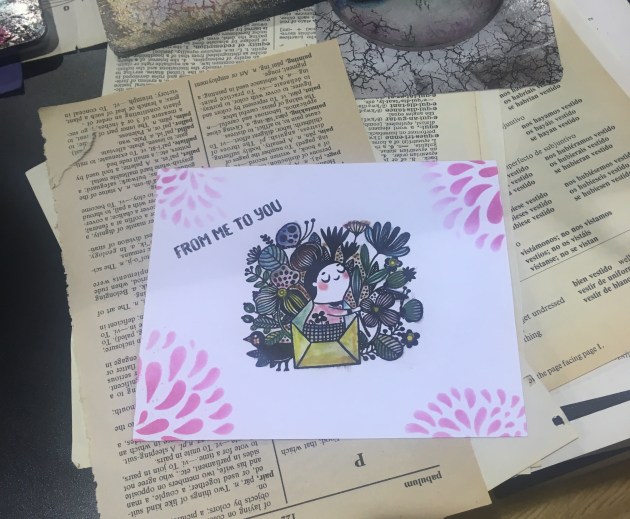
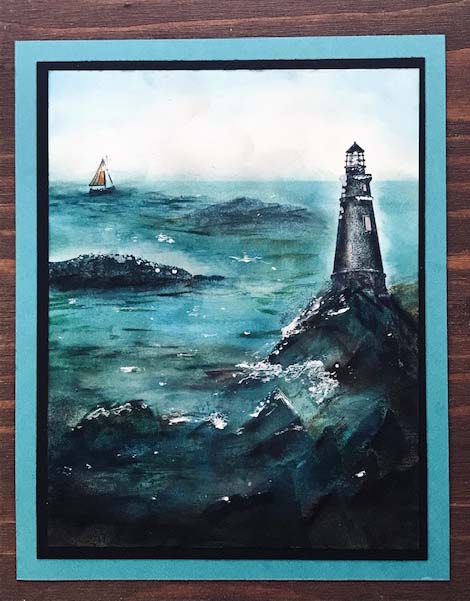
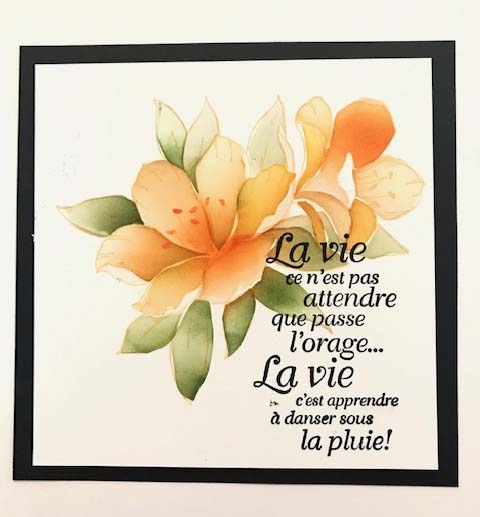
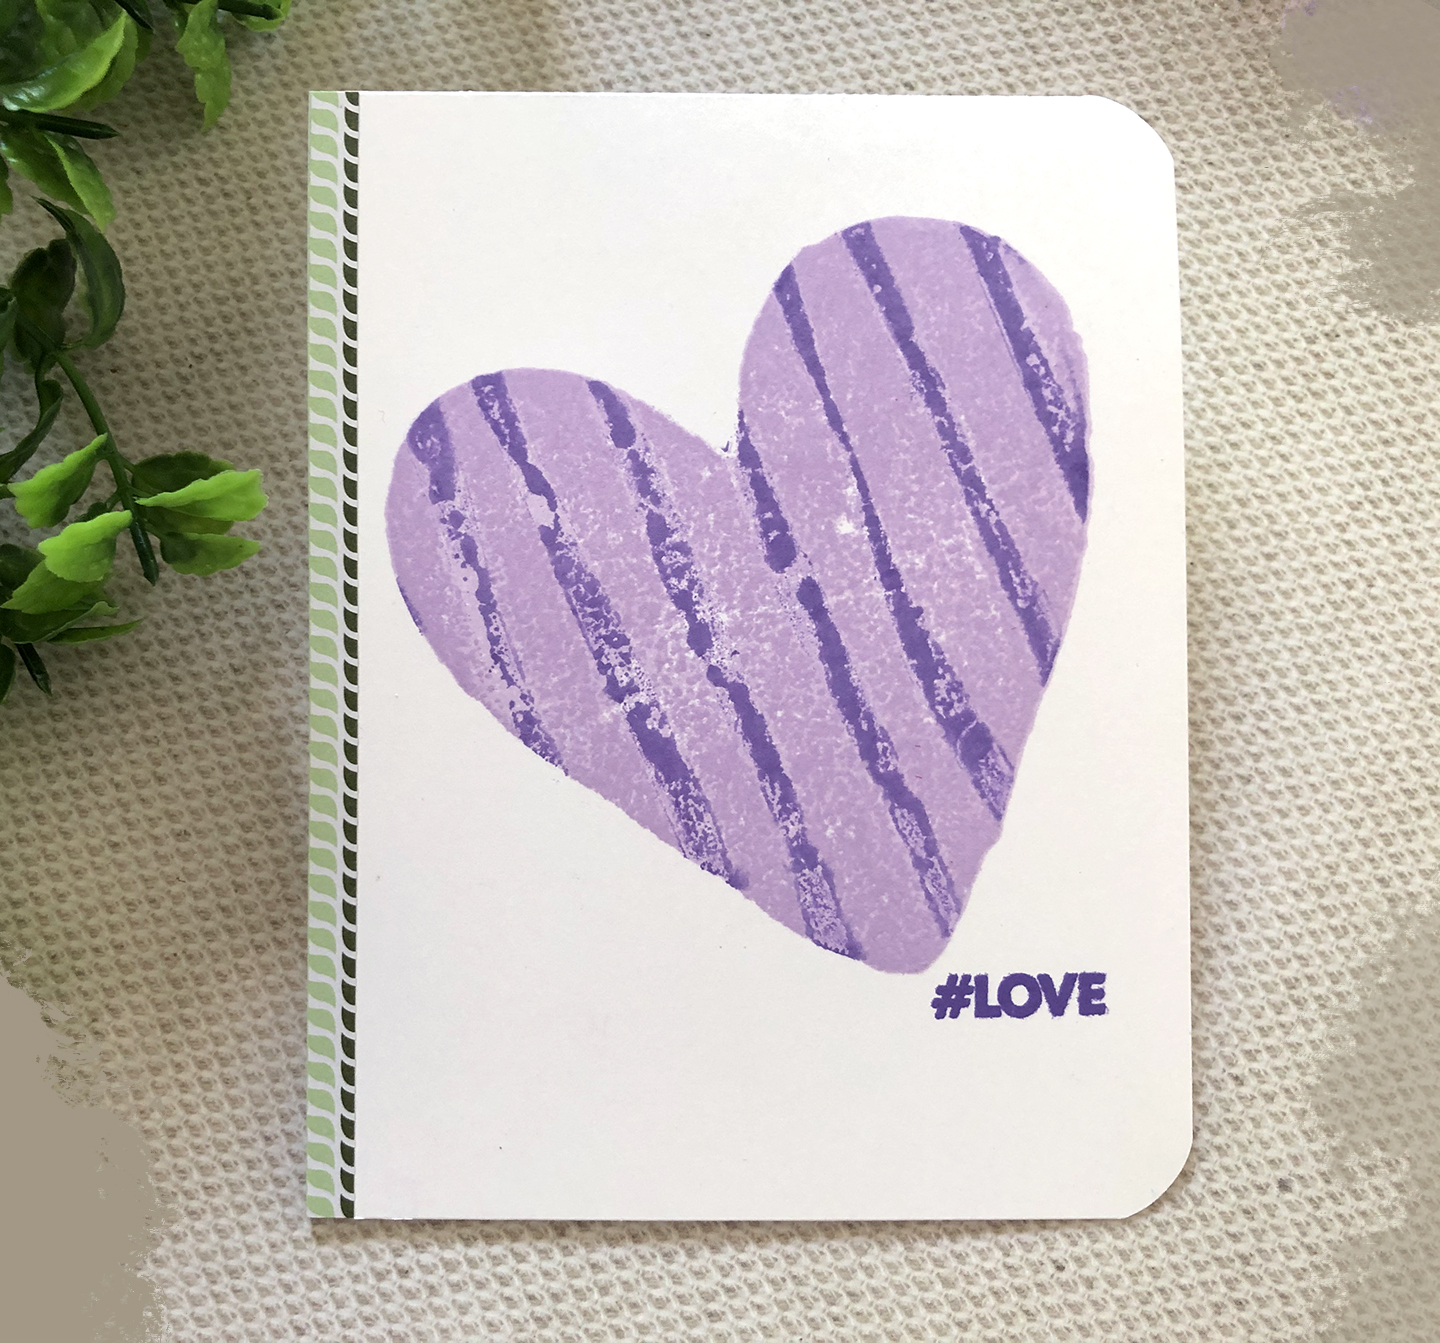
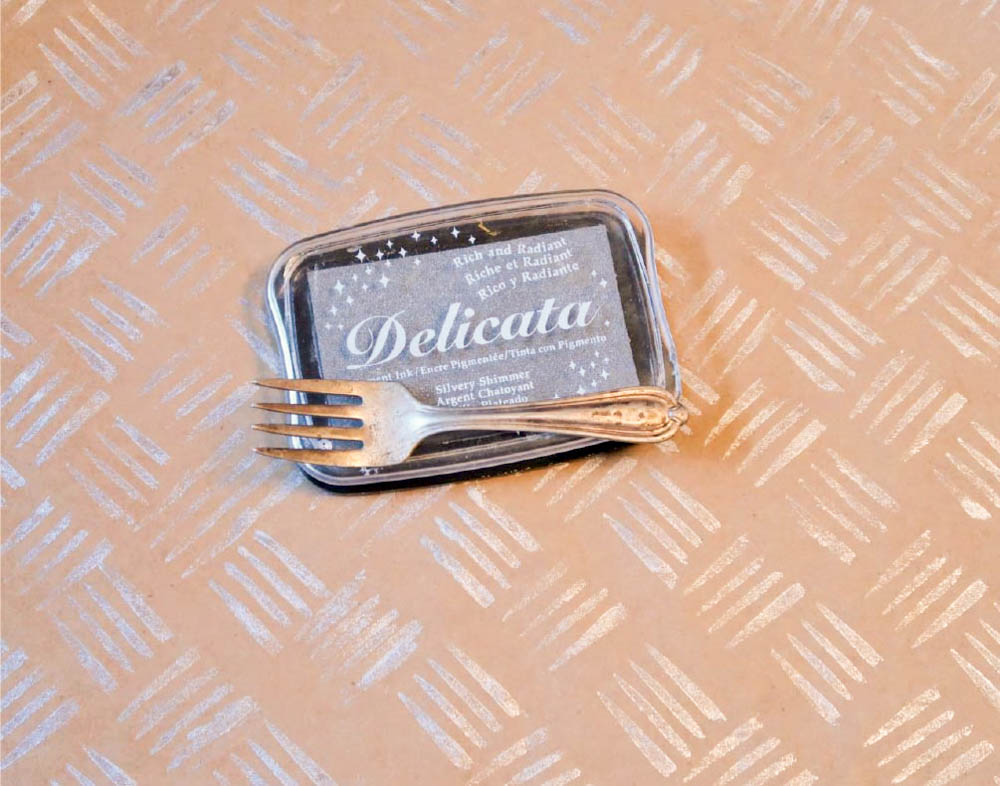
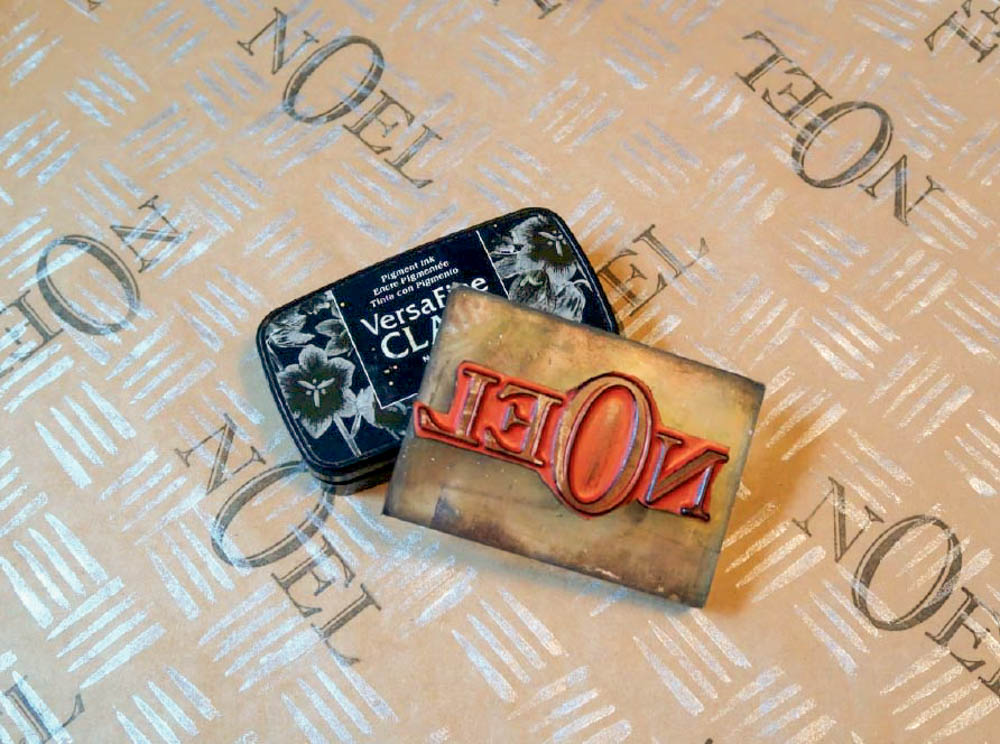
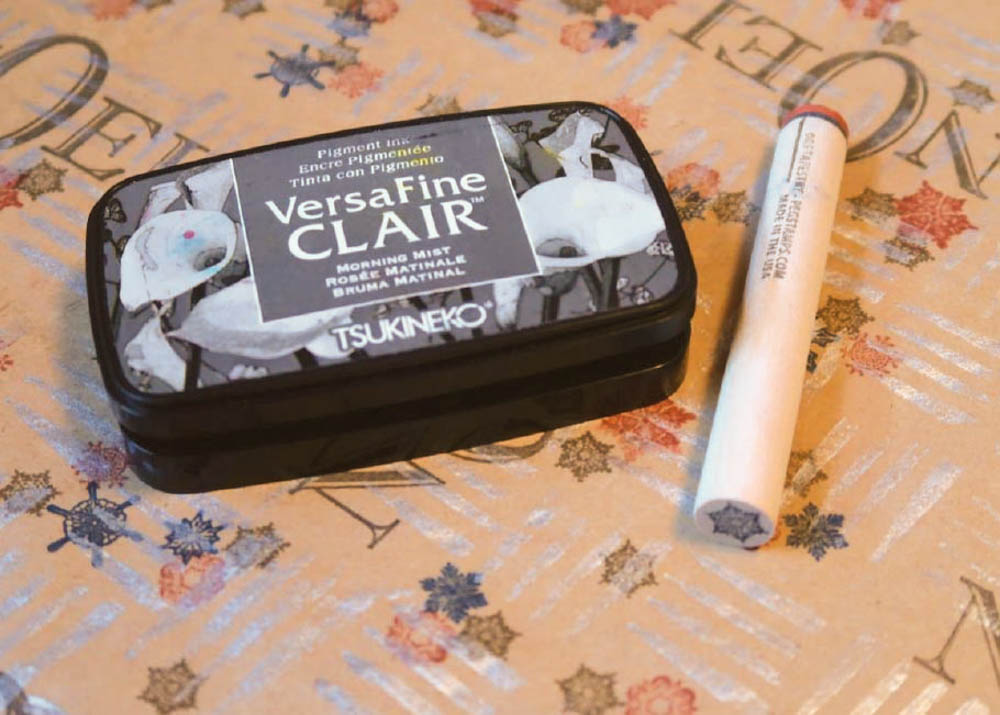
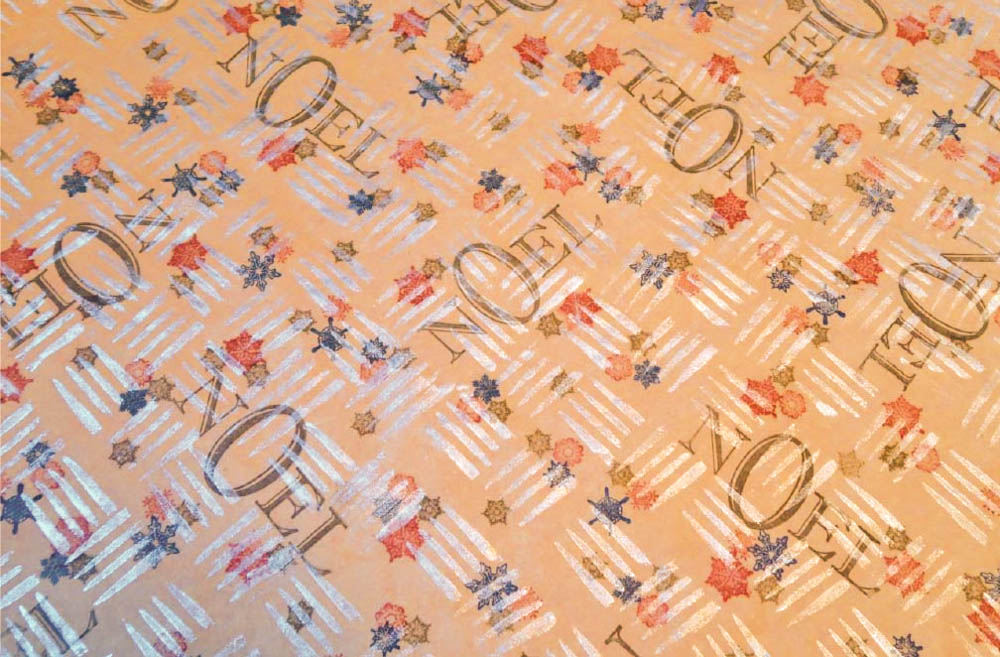
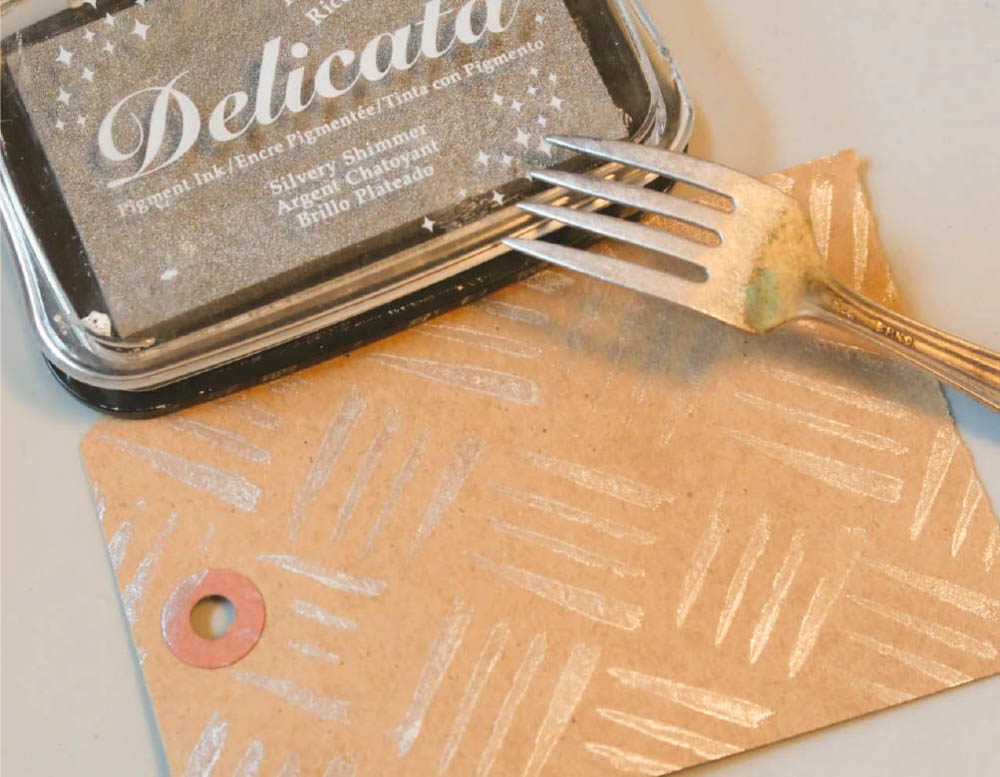
Here are some of the projects from the weekend


IMG_4807

IMG_4804

IMG_4869IMG_4825

IMG_4906

IMG_4907

IMG_5091

Artist Demo for Creativation 2020

We are so excited to attend Creativation 2020 in Phoenix, Az! We will be announcing new products, demonstrating new products, meeting some of you for the first time, seeing some of you again and most of all we will be making art!

This year we have an excellent group of artists who will be crafting and making with our new products. Here are some faces you can expect to see in booth #2516.


Lori Warren

Nicole Watt

Nadine Carlier

Kazuko Kocho

Martha Lucia Gomez

Steph Ackerman

Here are some of the projects that you might see from our artists


Quick and Easy Projects: Kissing Stamp Technique

by Martha Lucia Gomez

Kissing Technique is an easy way to combine your stamps and create unique designs for your stamping projects. Just select one solid design and combine it with another pattern and create different layouts.

Memento Lulu Lavender


Memento DewDrop – Grape Jelly

Craft Mat

Card and Envelope Set

Full Heart Stamp 

Stripepddle Stamp by RG Avenue.

Directions

Select the stamps that you want to use and the colors of the ink. Use a light color for the solid image and dark color for the textured or detailed image. Place the stamps over different acrylic blocks and ink well with the corresponding ink. Here I selected a heart stamp and inked it with Memento in Lulu Lavender. Then I choose a stripe stamp and inked it with Memento in Grape Jelly.

Place one stamp over the other, touching the inked sides. You will notice how the stripe image is transferred into the solid heart image. When you are using a waterbased ink like Memento this transfer will happen very smoothly.

If you decide to use a dark color for the solid image, don’t apply ink to the detailed image, just kiss them and you will see how it take off the color from the solid stamp. Stamp the image over your card stock layer and finalize your card stamping a coordinating sentiment.


See How to Make Snow Tags with Mboss

by Kyriakos Pachadiroglou

Choose Delicata Sapphire Blue for a deep, shiny color result on gift tags that can be attached to any winter gift. The Mboss white embossing powder, in contrast with the deep blue stamped snowflake, enhances the sentiment.

Skill: Beginner
Time: 30 minutes

Directions


Step 1

Cut 3 x 8 inch long card stock pieces, fold in half long size and cut along with the scissors.


Step 2

Use a sponge dauber to cover the surface with Delicata Sapphire Blue, adding more color to the bottom of the tags.


Step 3

Stamp with VersaFine CLAIR Paradise and a snowflake stamps the tags.


Step 4

Stamp with VersaMark the sentiment stamp, cover with Mboss white embossing powder and heat set.


Step 5

Color with the Delicata Sapphire Blue and clean the color from the embossed sentiment with a soft cloth and some Ink Potion No.9.


Step 6

Place two stripes of Tear It! Tape on the tags.


Step 7

Sprinkle with glitter, remove the excess and glue the ribbons and the sentiments.

Supplies

Imagine
Other
  • Ribbons
  • Snowflake stamp
  • Buddly Crafts – stamp sentiment
  • Pattern scissors
  • White glitter
  • Heat tool

Stamping Holiday Wrapping Paper with a .. Fork?

by Roni Johnson

Keeping with my Berry, Blue and Silver theme I decided I wanted to make wrapping paper and matching gift tags this year as well. The limited color palette is very aesthetically pleasing when grouped together under the tree. Since I was using all the same colors I thought it would be fun to vary the patterns so I went from very easy (Joy wrapping paper) to a more complicated layered pattern (Noel paper) which I will share with you today.

Skill: Beginner
Time: 15 minutes to 45 minutes depending on the design

Directions

Step 1

Tear off enough of the kraft paper to cover the gift you will be wrapping.


Step 2

To create the layered look use a fork (I am using a baby fork for the example) to make a cross hatch pattern with Silvery Shimmer Delicata ink.


Step 3

Heat set the Delicata ink to speed drying. As you can see it creates a stunning background which could be used as is.


Step 4

Stamp Noel using VersaFine Clair Nocturne ink over the entire sheet of kraft paper. Vary the direction of the image to add interest.


Step 5

Layer 3 consists of several snowflakes stamped using Blue Belle VersaFine Clair ink.

Step 6

Several more stamped snowflakes are added using Rhubarb Stalk Memento ink.


Step 7

And finally Morning Mist a lovely shade of grey to finish it off. You will have created a beautiful multi layered wrapping paper worthy of any gift you have for giving.


Step 8

Follow the same steps to create the matching gift tag.


Step 9

Use a sponge dauber to apply Blue Belle ink to the edge of the tag. Add a bit of ribbon to finish it off. And here is my gift all wrapped up ready for giving. Below you will find additional examples to inspire.

Supplies

Imagine
Other
  • Kraft Paper (On a Roll – Paint Section of a Hardware Store)
  • Rubber Stamp Tapestry – Oh So Fancy (Joy/Noel), Snow Much Fun, Snow Storm, Poinsettias in the Pines, Holiday Bell Trio, Deer Head, Christmas Greetings (gift tag sentiment)

Create a Watercolored Thanks Card with Memento Markers

by Lindsay Adreon

Create a Watercolored Thanks Card with Memento Markers

Sometimes you just need a quick card or even set of cards to give as a gift. This background is the perfect way to create those at this time of year! And all you need is cardstock, painter’s tape, and an ink pad!

Skill: Intermediate
Time: 30 minutes

Directions

Supplies

Imagine
Other
  • Painter’s Tape
  • Paper Trimmer
  • Waffle Flower Nesting Oval Die Set
  • Heffy Doodle Thanks Die