By Jessica Lin
Skill: Beginner
Time: 30 minutes
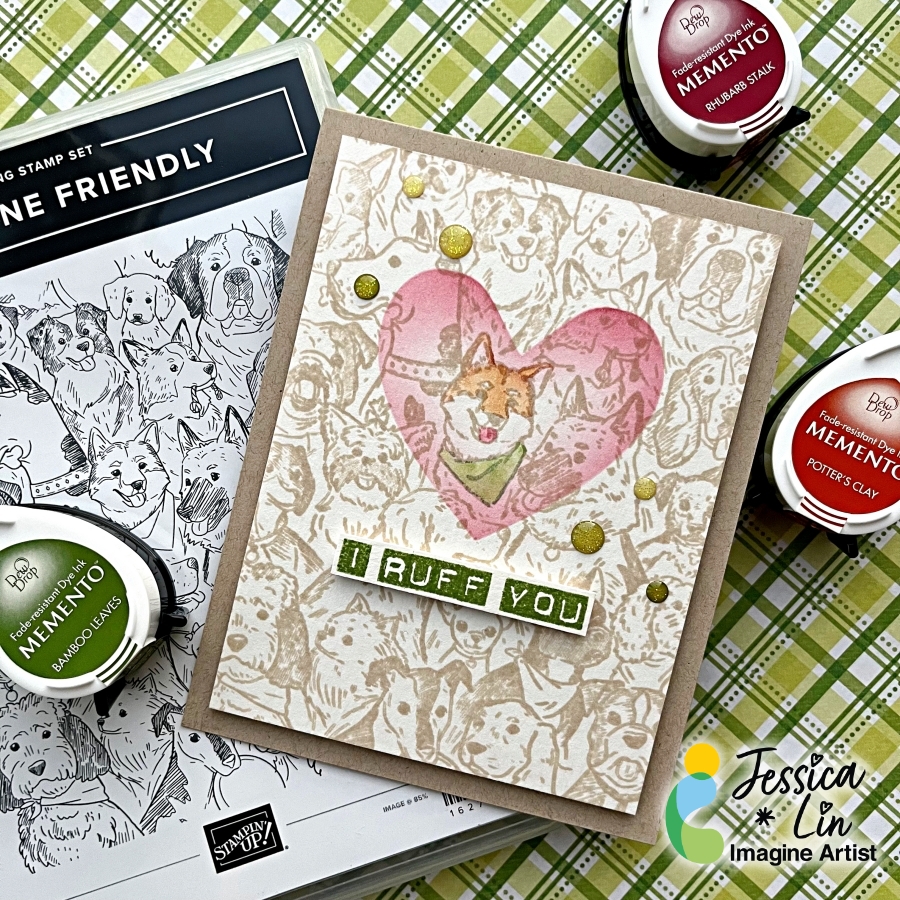
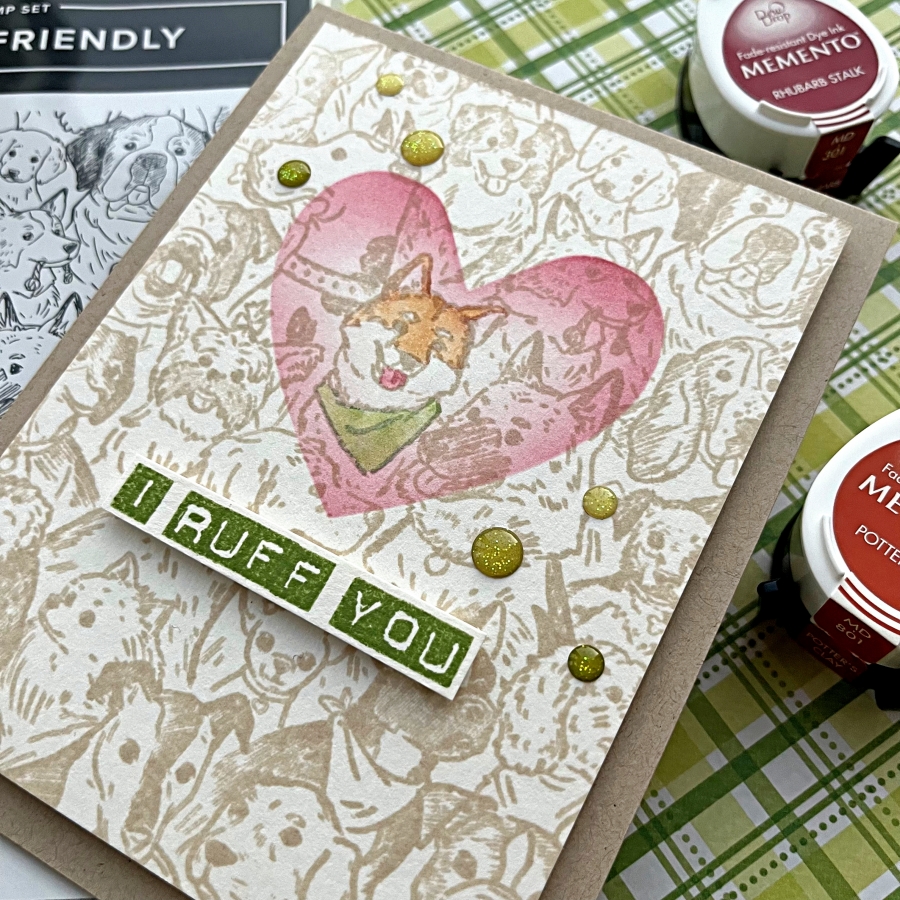
Hi everyone, it’s Jessica here. Have you tried using small stamps to create a card background? Today I am sharing this technique I discovered using the We R Precision Press stamping tool. It takes stamping these small images to the next level, and you can get really creative results!
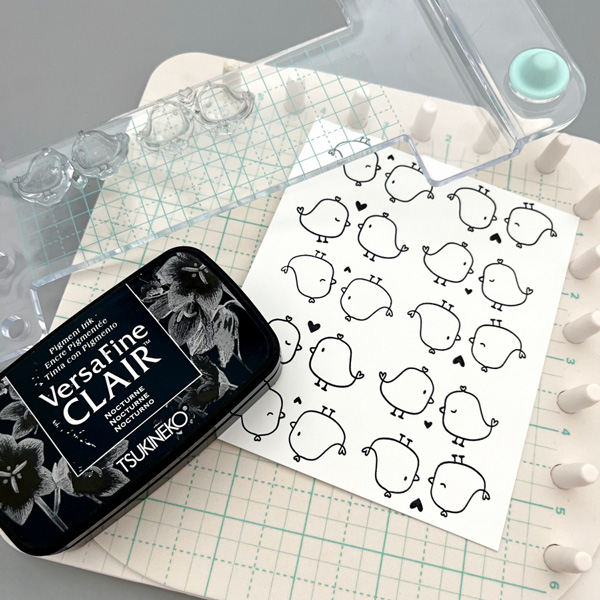
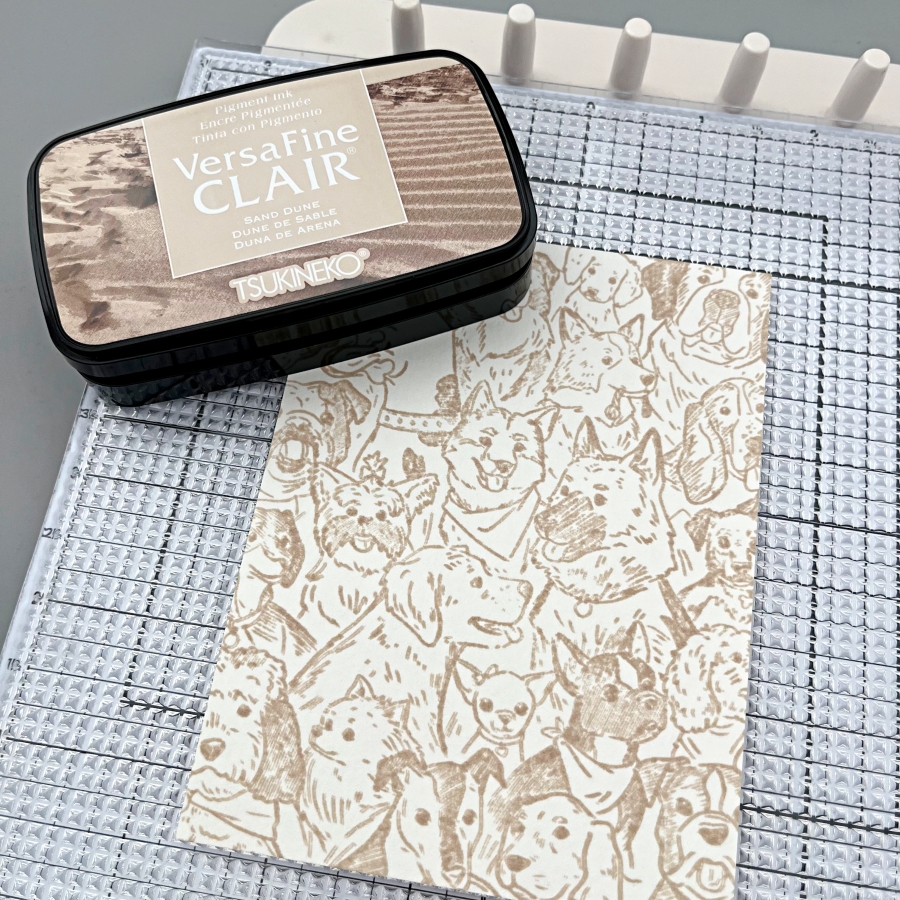
Step 1:
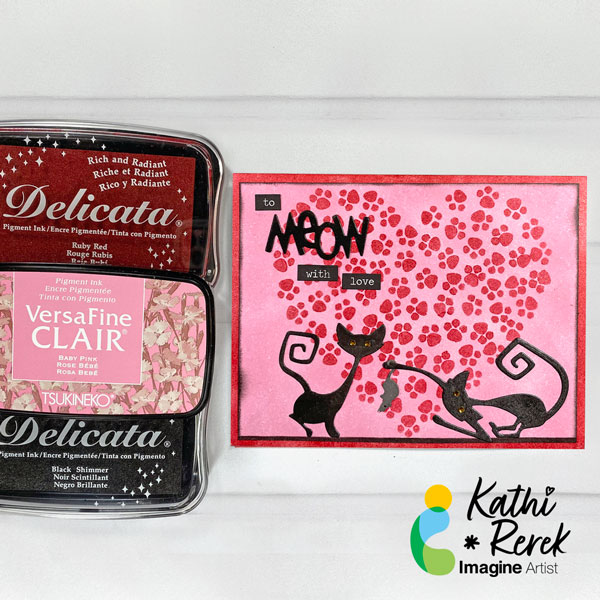
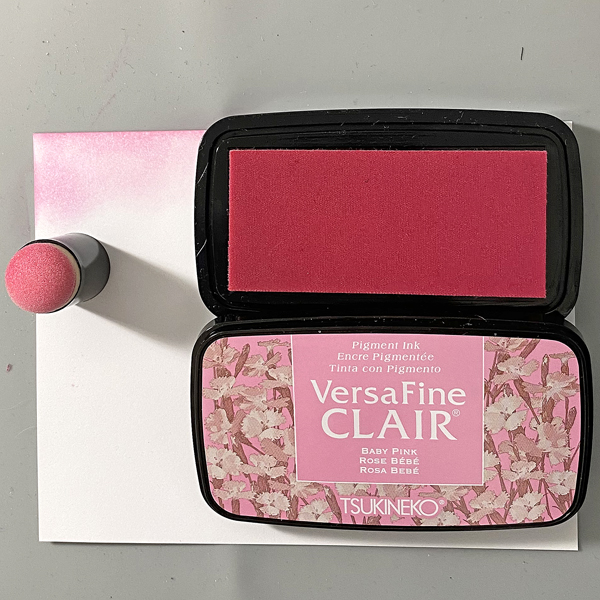
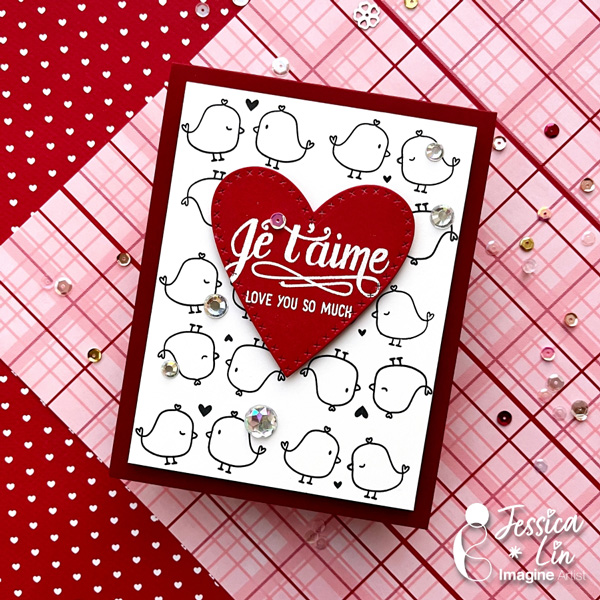
I decided to create a stamped background for this year’s Valentine’s card. These adorable love bird images are from Mama Elephant’s Oh Happy Birds set. I placed 4 little birds onto the We R Stamping Pattern Block plate and made sure the images are within the 1’’ grid lines. This made pattern stamping the background so easy; simply use the pegs on the We R Precision Press to stamp on the 1’’, 3’’, 5’’ marks. Then rotate your 5’’ cardstock and stamped on the 2’’ and 4’’ marks using the opposite orientation of the stamps. The VersaFine Clair inks are my go-to for stamping fine line images like these. The lines are so clear and crisp, I’m totally in love with the result!
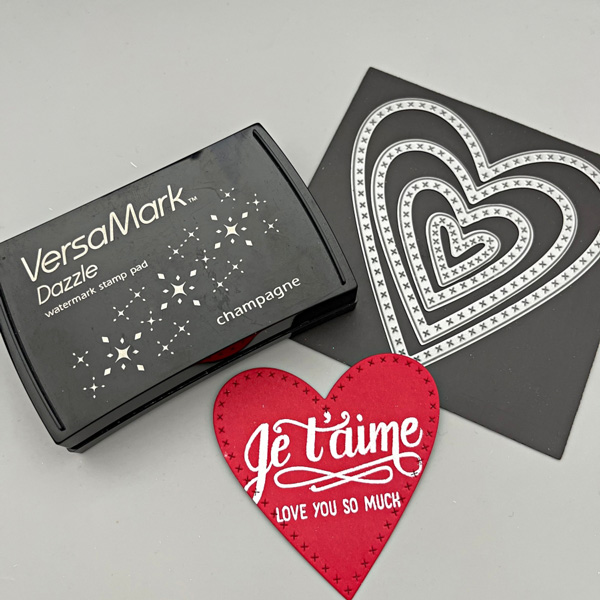
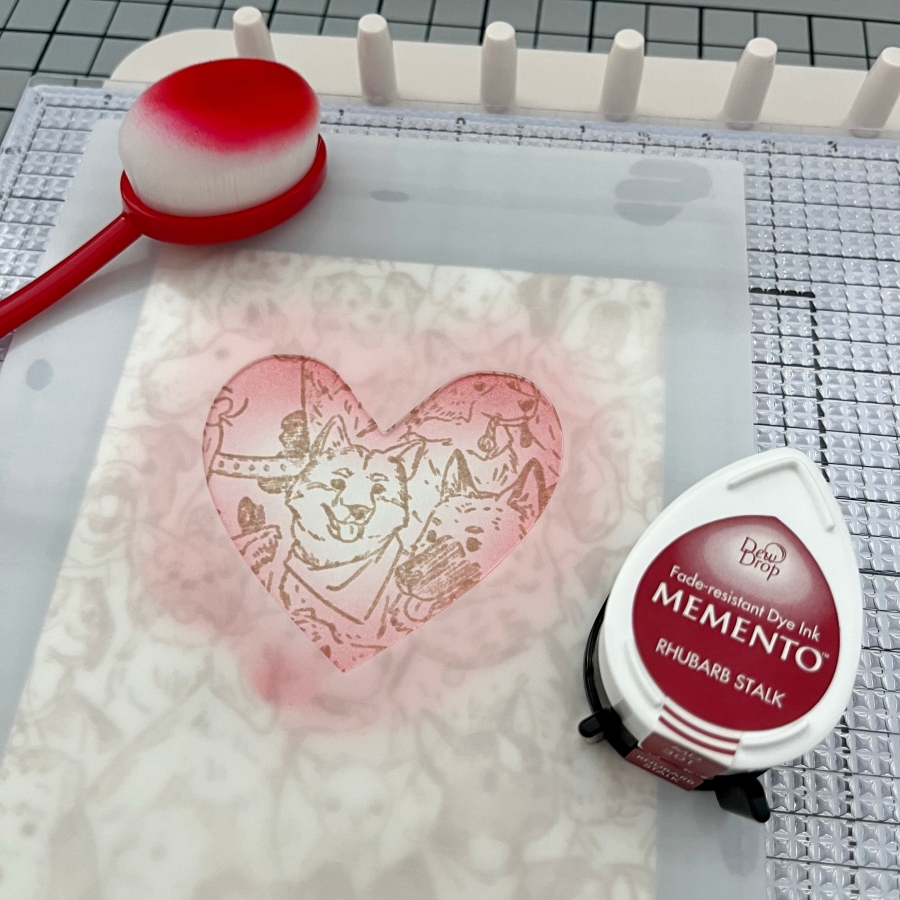
Step 2:
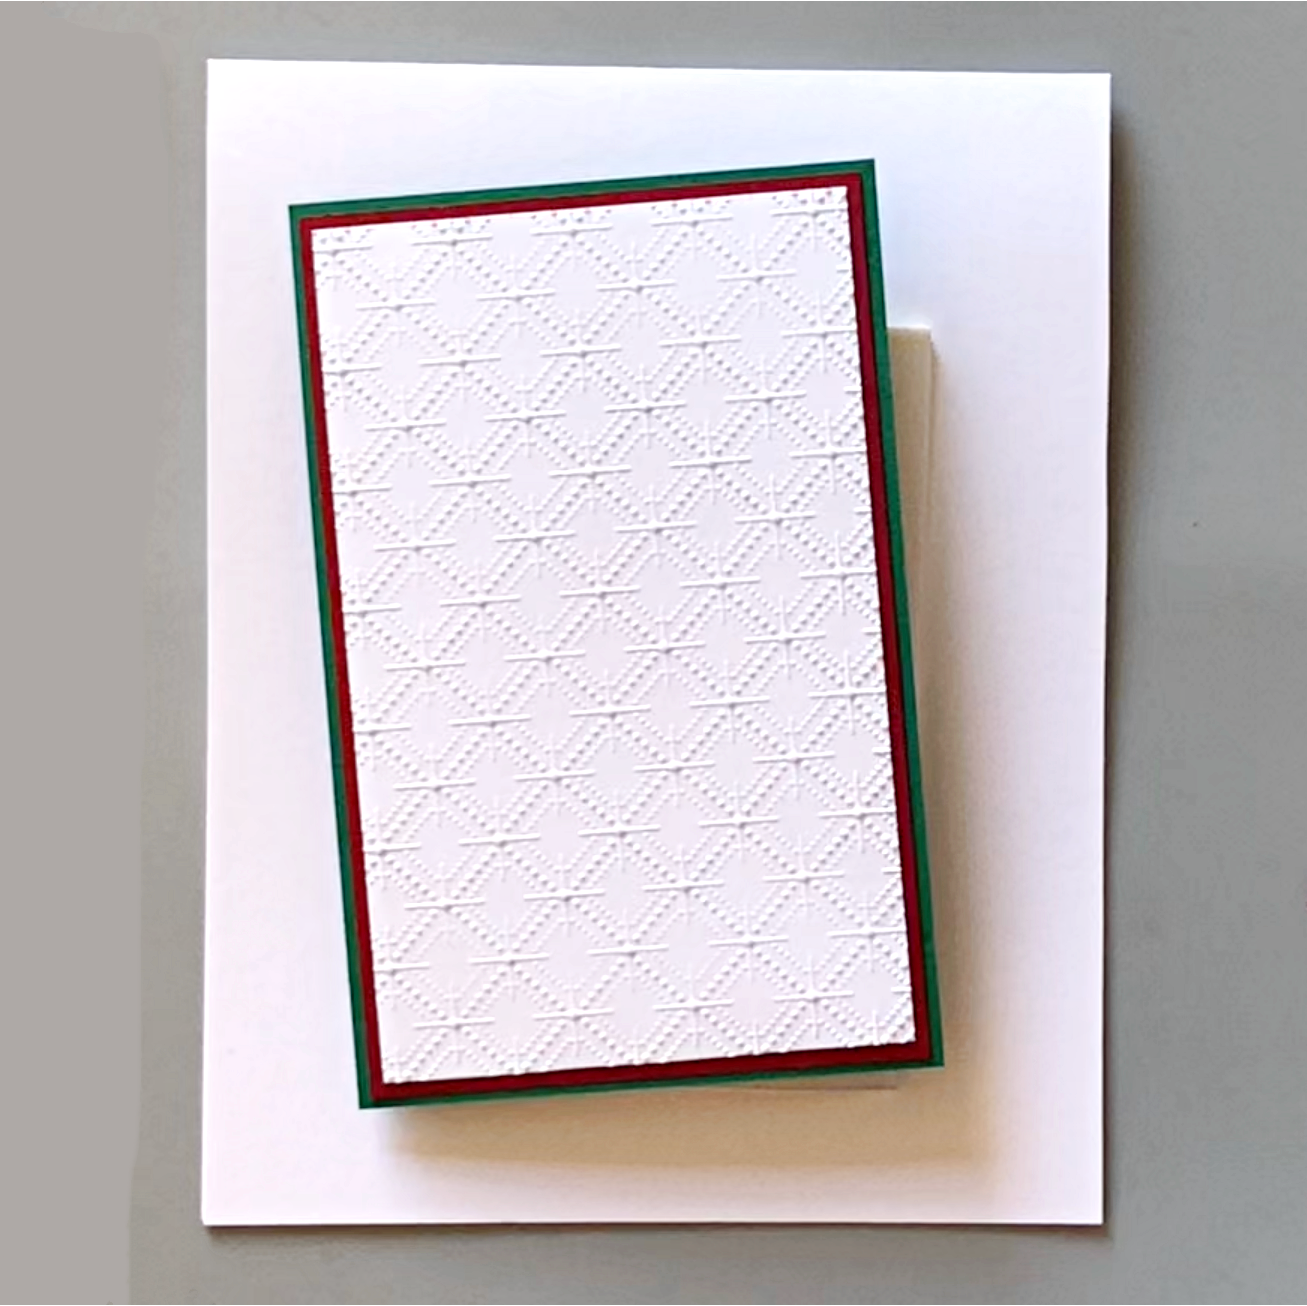
Die cut a piece of red cardstock with Cross Stitched Hearts dies. Then stamp the sentiment with VersaMark ink pad and emboss with white embossing powder. The cross stitched details on the die really adds a fine touch to this simple project.
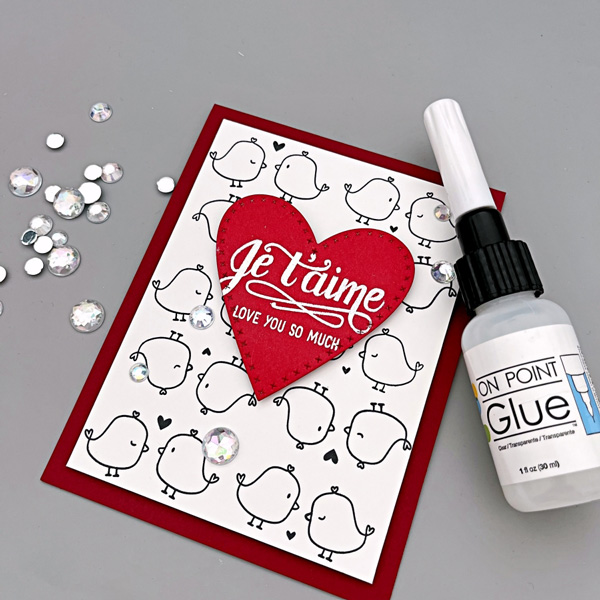
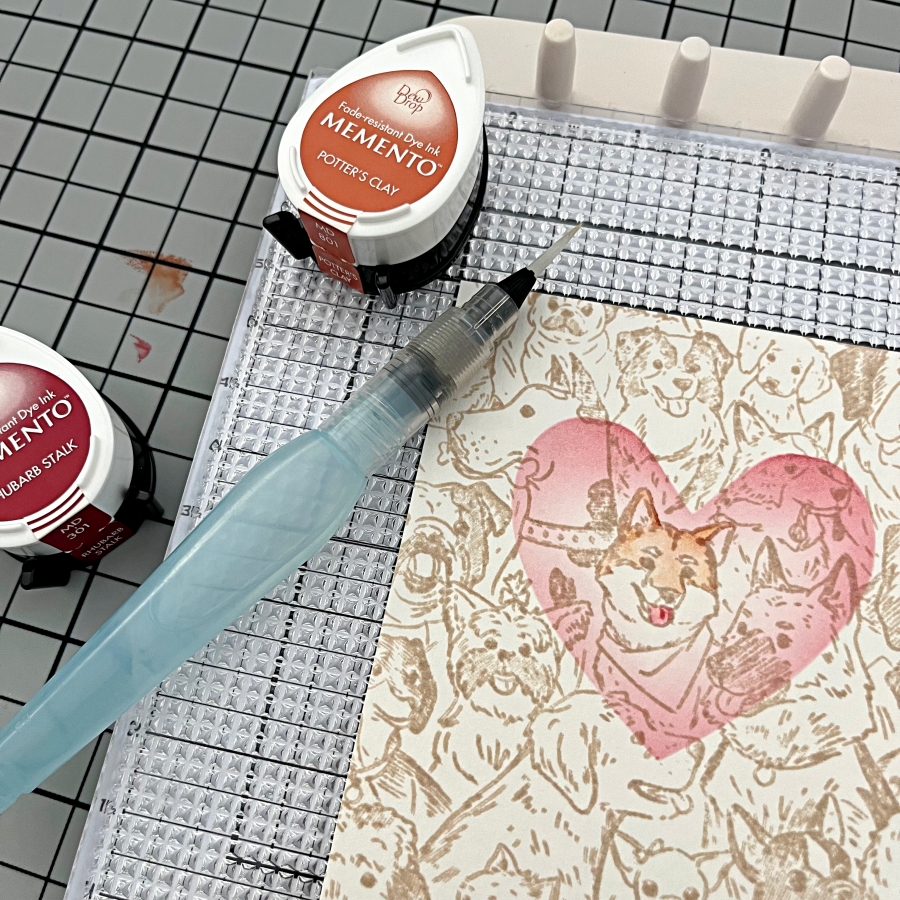
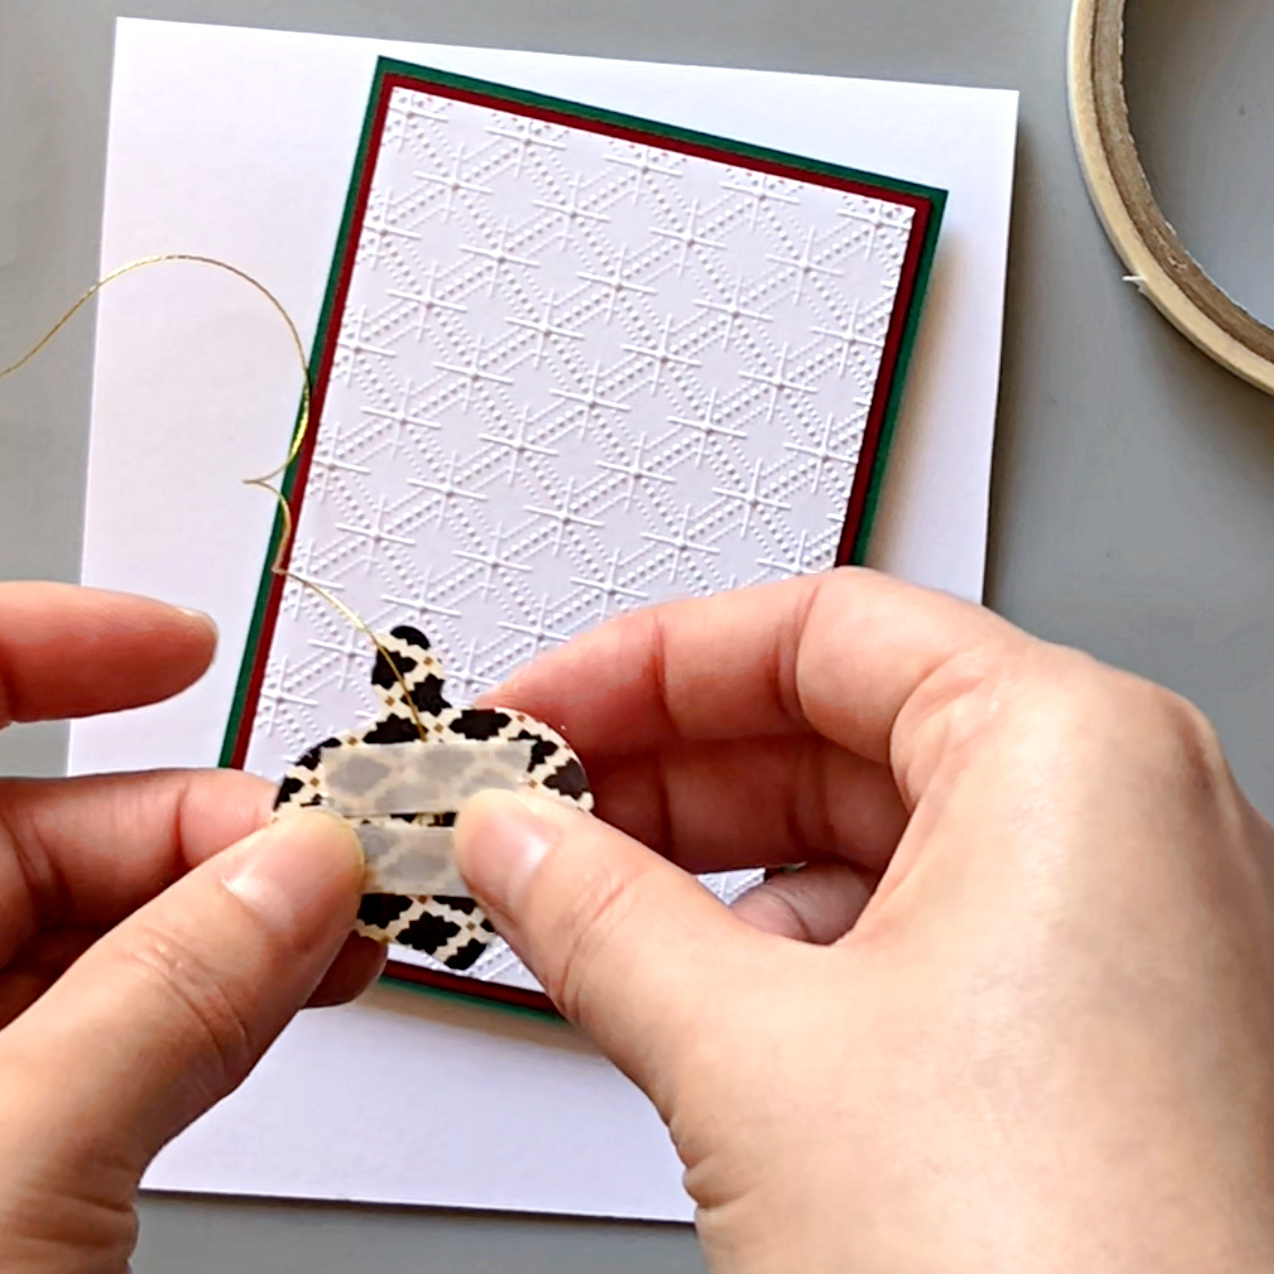
Step 3:
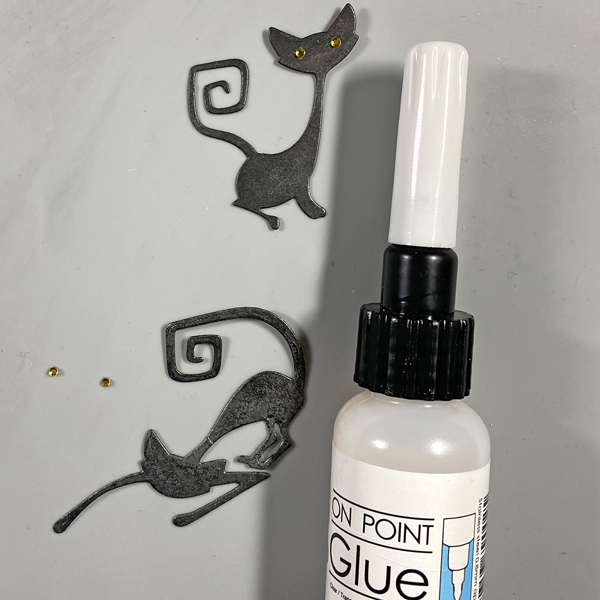
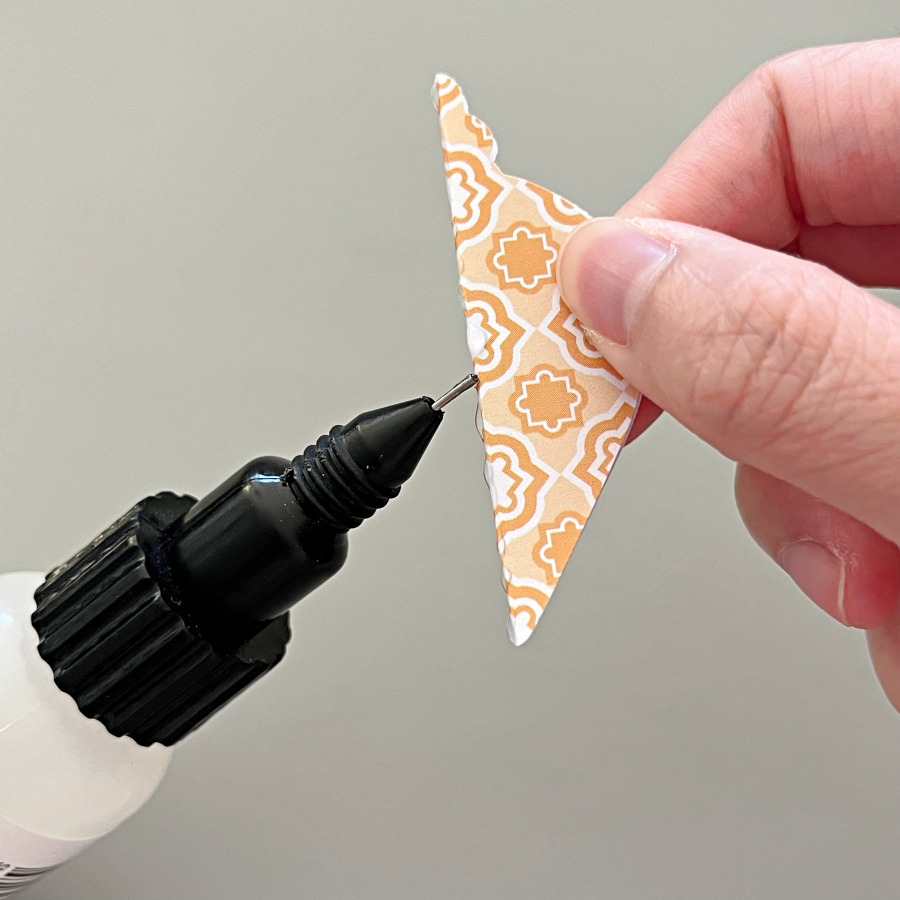
Finally, adhere rhinestones with On Point Glue and this quick and simple Valentine’s card is complete!
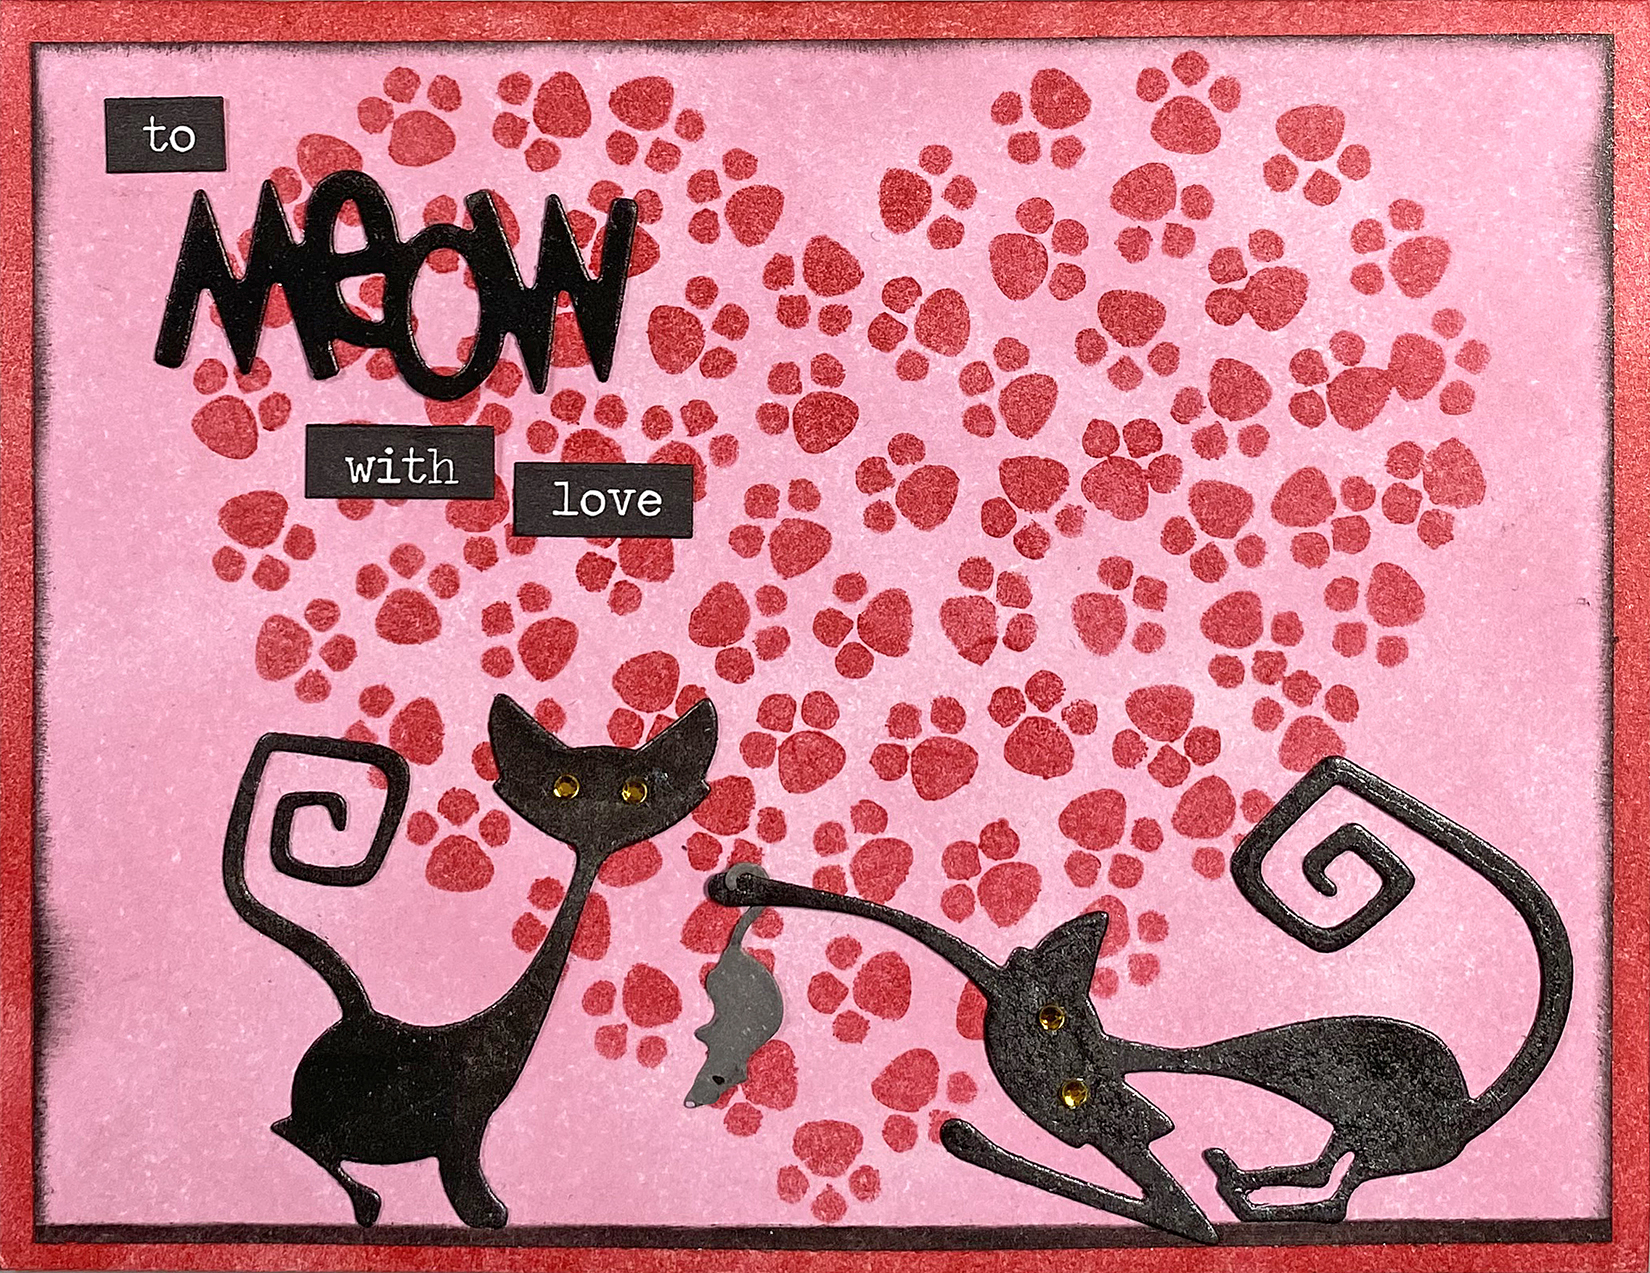
I hope you enjoyed today’s quick tutorial. I have a lot of small critter stamp sets and I can’t wait to create more stamped backgrounds like this. It’s super easy and fun; I hope you’ll give it a try, too!
Imagine Supplies:
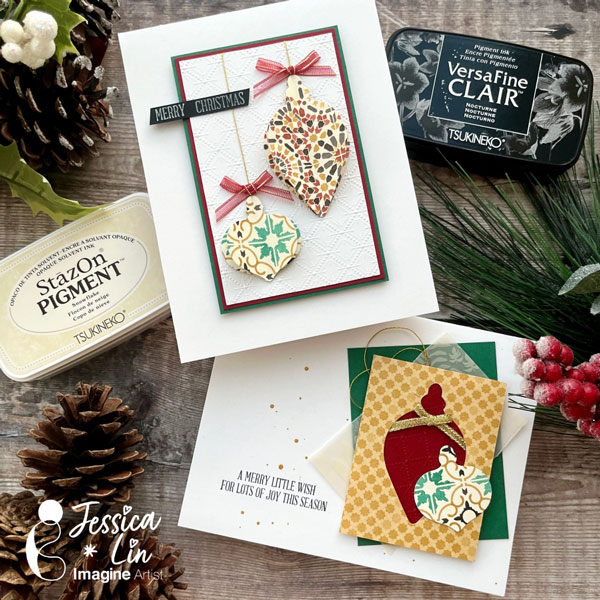
- VersaFine Clair – Nocturne
- VersaMark – Dazzle Champagne
- Mboss – White
- On Point Glue
- StazOn Cleaner
- Craft Mat
Other Supplies:
- Mama Elephant – Stamps – Oh Happy Birds
- We R – Tool – Precision Press and Stamping Pattern Block
- White and red cardstock