To Meow With Love – A Valentine’s Day Card

By Kathi Rerek

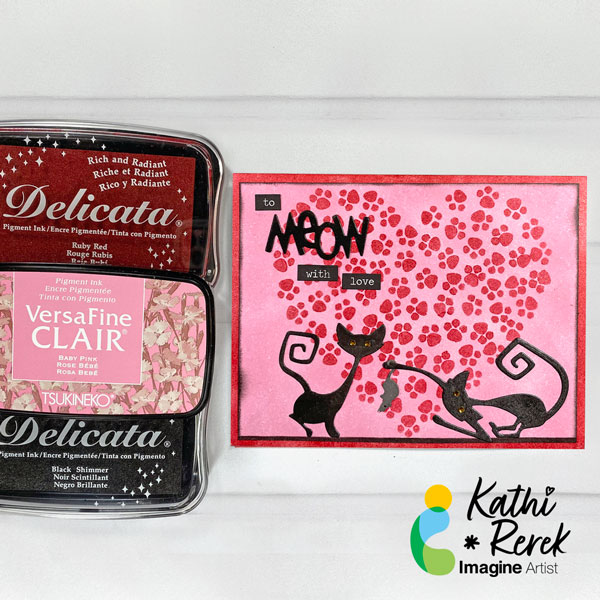
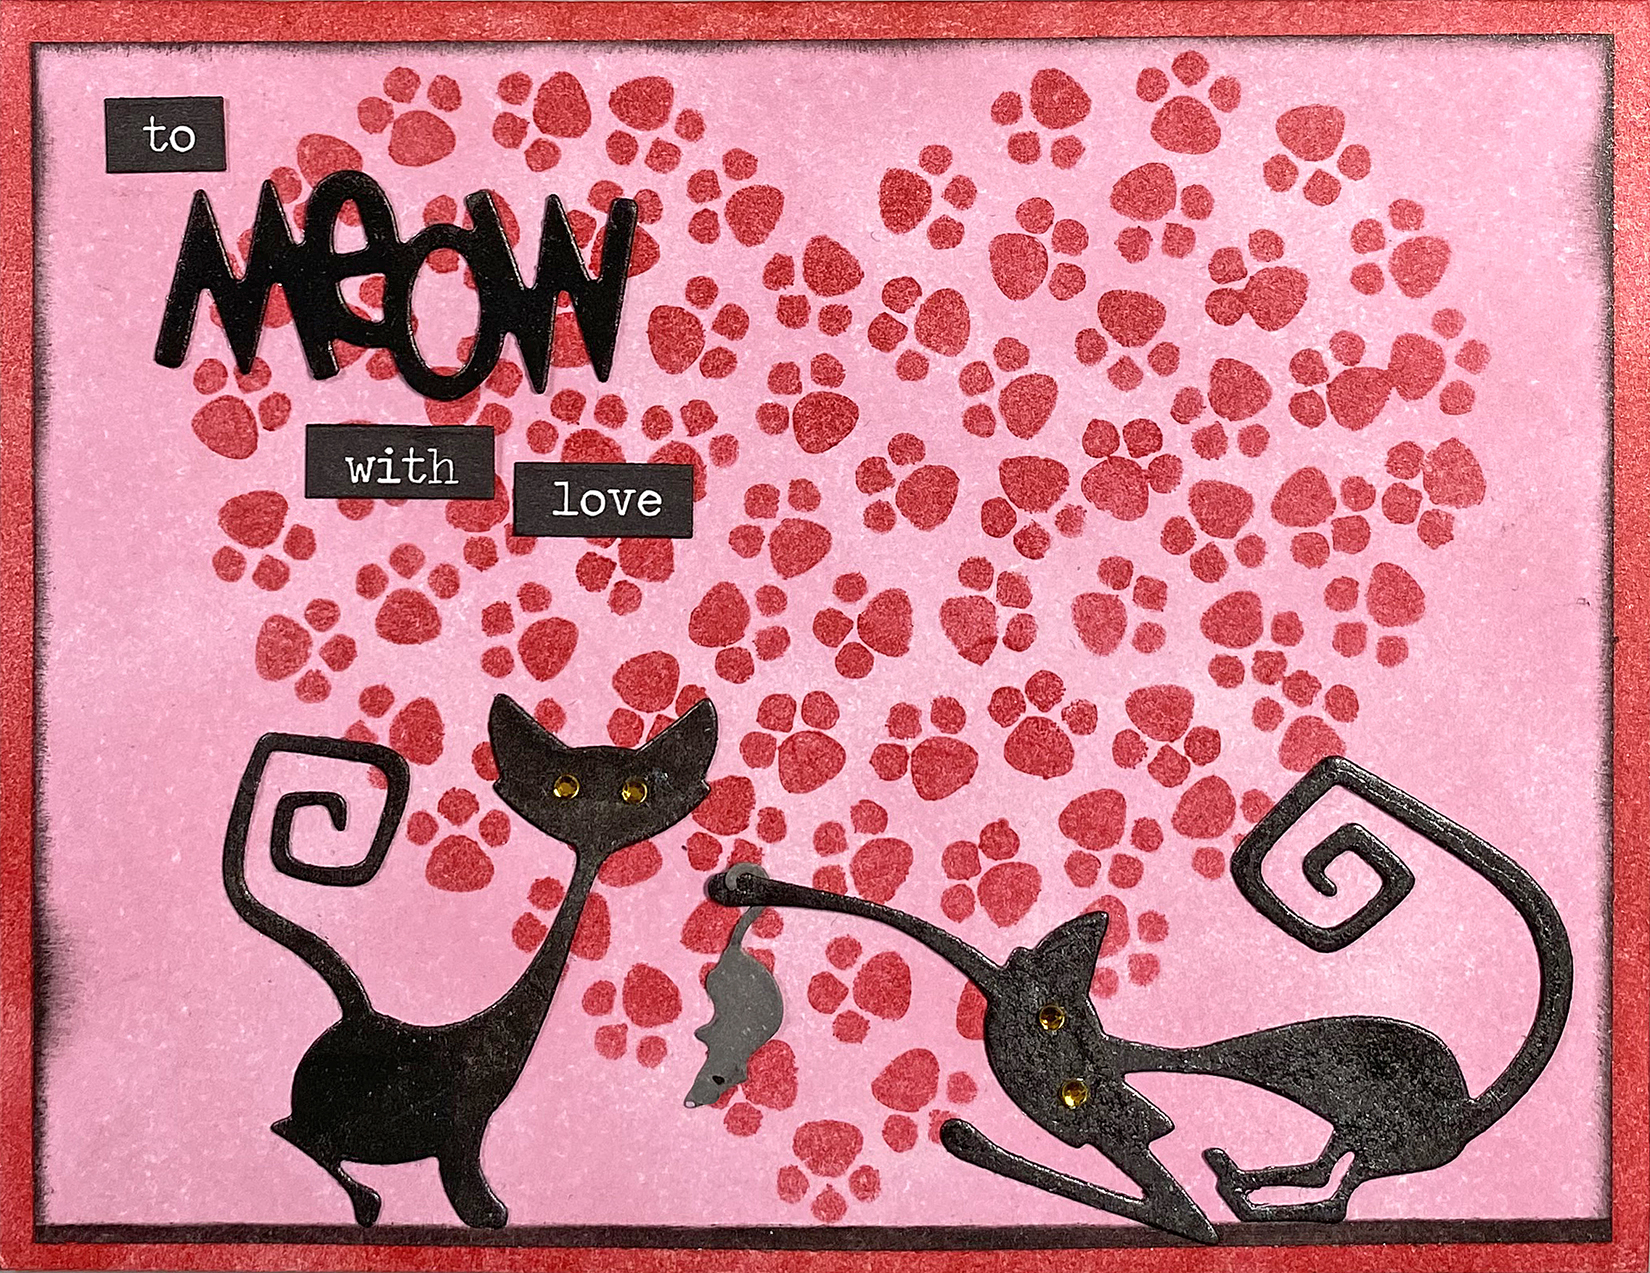
As a certified crazy cat lady, I had to make another another cat-themed Valentine’s Day Card! This one uses Baby Pink VersaFine Clair Ink with a shimmery Delicata die-cuts and a stenciled heart. It was quick, easy, and fun to create.

Skill Level: Beginner
Time: 45 minutes

Instructions:
Step 1:
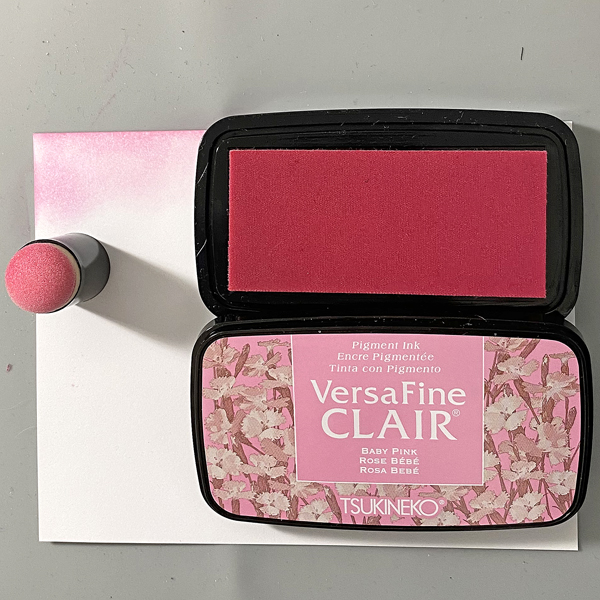
Use a Sponge Dauber to apply Baby Pink VersaFine Clair Ink to a 4” x 5.25” piece of white cardstock. Heat set.
Step 2:
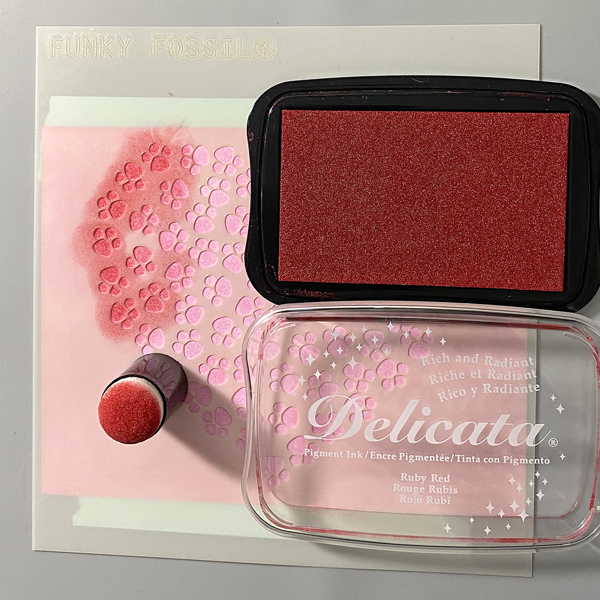
Use low-tack tape to secure the inked image panel to the back of the Pawsome Heart Stencil. Use a Sponge Dauber to apply Ruby Red Delicata Ink over the stencil onto the image panel. When done, remove the stencil and heat set the stenciled heart.

Use a Sponge Dauber and Black Shimmer Delicata Ink to edge the image panel. Sorry that there’s no photo.
Step 3:
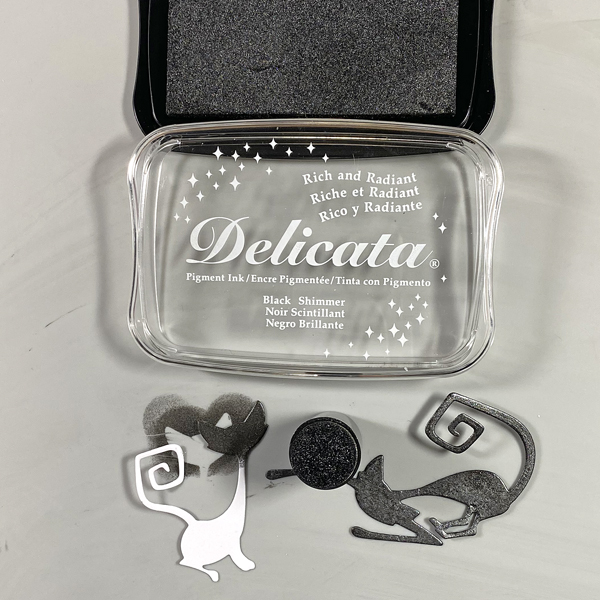
Use two of the cat dies from the Mischievous Thinlits Die Set to cut white cardstock. Use a Sponge Dauber to apply Black Shimmer Delicata Ink to both sides of each cat die-cut. Heat set.
Step 4:
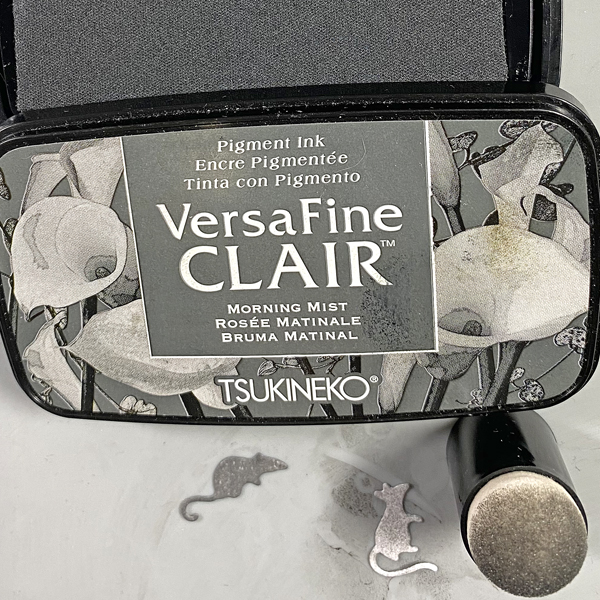
Use the Little Mice Die to cut white cardstock. Use a Sponge Dauber to apply Morning Mist VersaFine Clair Ink to the mouse. Heat set. Use a black pen to add an eye to the mouse and a Pink Uni-Posca Paint Pen to color its nose.
Step 5:
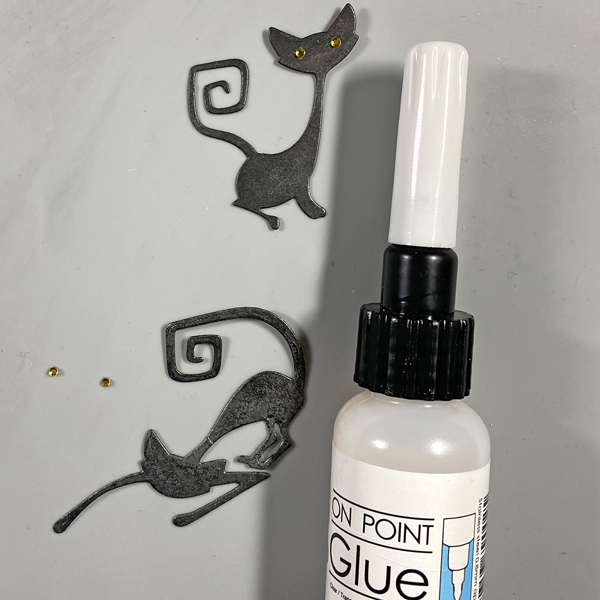
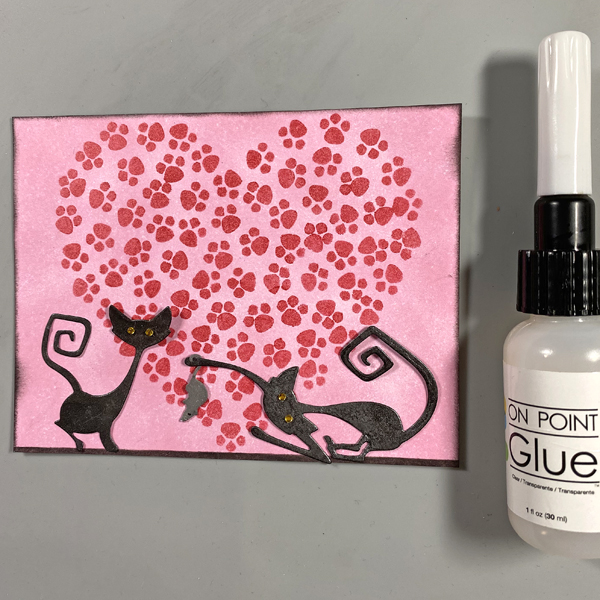
Use On Point Glue to add tiny gemstone eyes to the cats.
Step 6:
Use On-Point Glue to adhere the mouse to the outstretched paw of one of the cats. Use On Point Glue to adhere both cats to the image panel as shown.
Step 7:
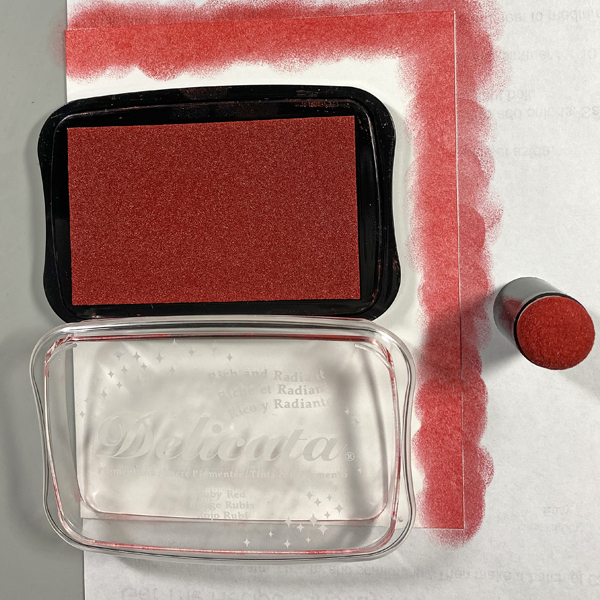
Use a Sponge Dauber to apply Ruby Red Delicata Ink to the outside .5” of a white A2 card. Heat set. Repeat application of the Ruby Red Delicata Ink to deepen the color and shimmer. Heat set.
Step 8:
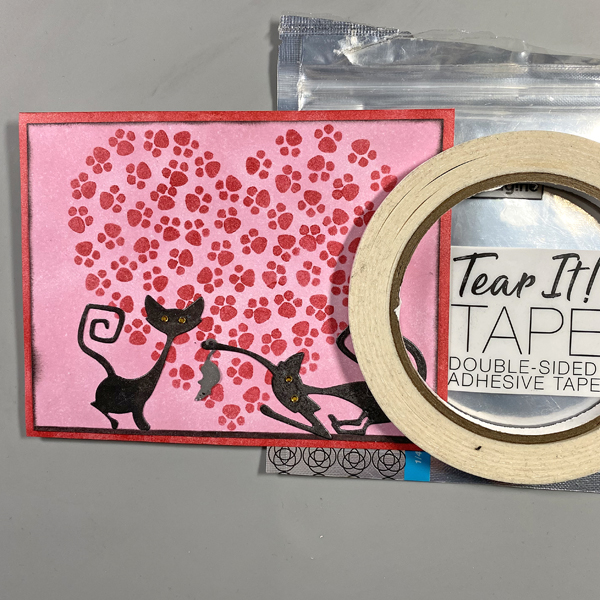
Use Tear It! Tape to mat the image panel with the Ruby Red Delicata inked card.
Step 9:
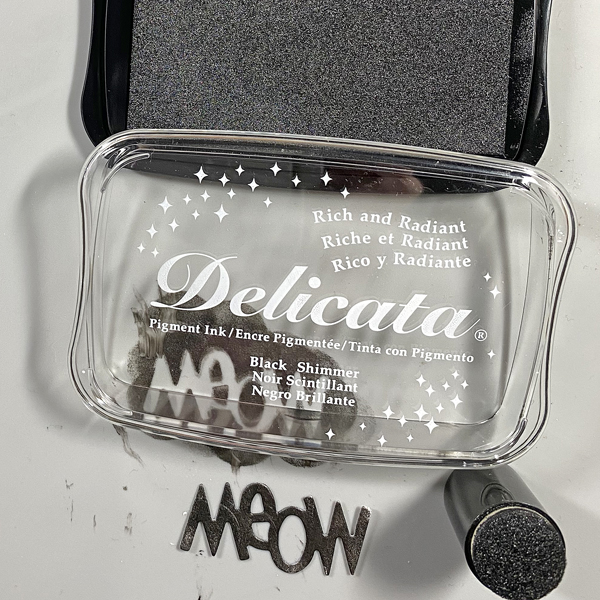
Use the “Meow” die to cut white cardstock. Use a Sponge Dauber to apply Black Shimmer Delicata Ink to both sides of the die-cut. Heat set.

Use On-Point Glue to adhere the “Meow” die-cut to the card.

Adhere the “to”, “with”, and “love” Chit Chat Verbiage Stickers to finish the card.

Finished Card
Imagine Crafts Supplies:

Other Supplies:

  • Solar White Classic Crest Cardstock by Neenah Papers
  • Pawsome Heart Stencil by Funky Fossil Designs
  • Mischievous Thinlits by Tim Holtz for Sizzix
  • Little Mice Die by Gina Marie Designs
  • “Meow” Die: Source Unknown
  • Chit Chat Tim Holtz Idea-ology Stickers by Advantus
  • Repositionable Scotch Tape by 3M
  • Low-Tack Tape
  • Magnetic Glass Craft Mat by Glassboard Studio
  • Big Shot by Sizzix

 Create a Dog Pun Valentine’s Card 

By Jessica Lin

Skill: Beginner
Time: 30 minutes

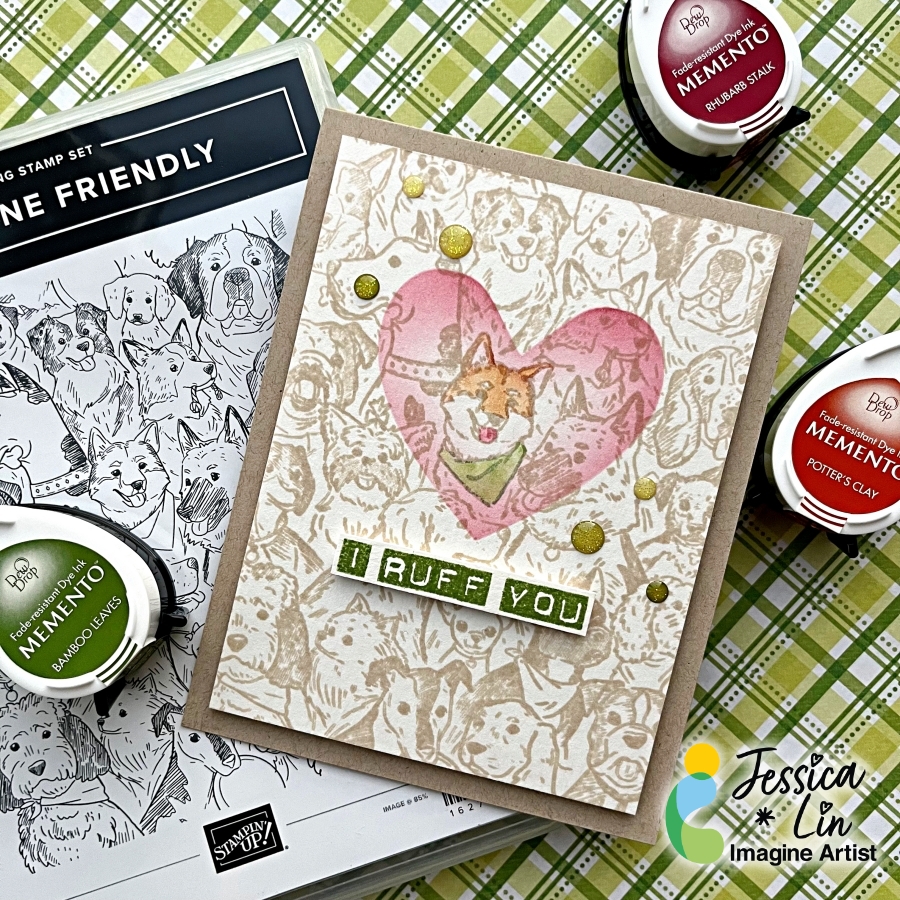
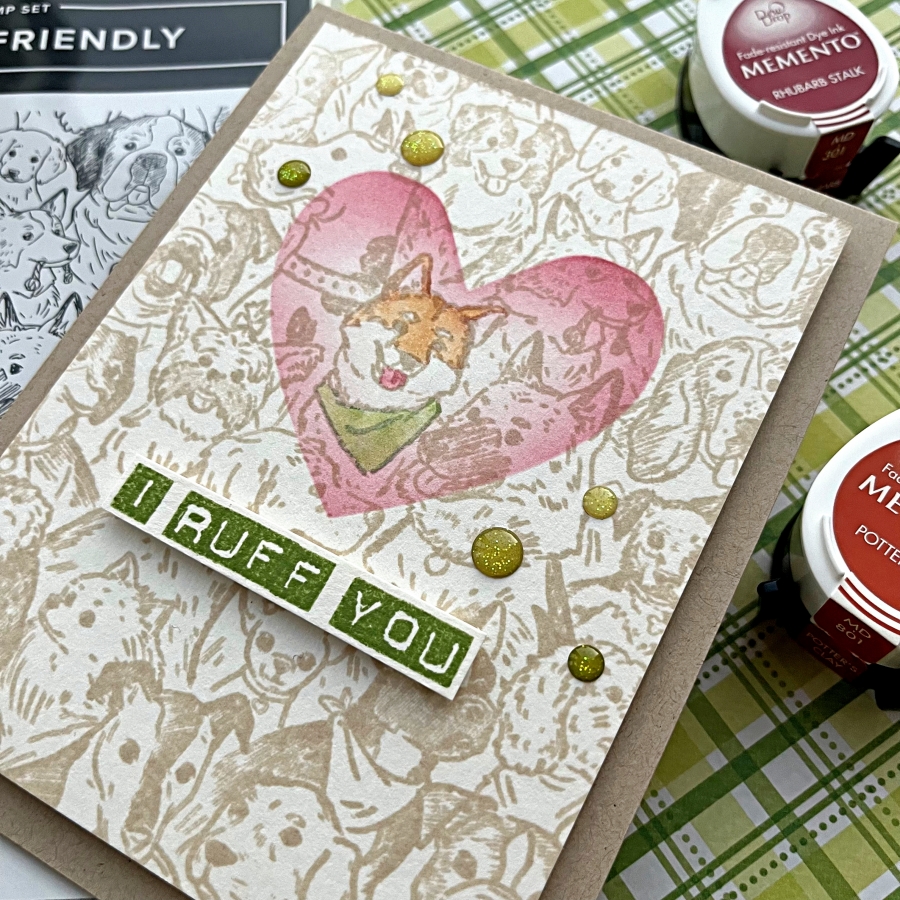
Hi everyone, it’s Jessica here. Today I have a special Valentine’s card to share with you. If you are a dog person, the background stamp we are using today is for you. It’s really unique and you could highlight any of the dogs to create personalized cards for the recipient.

Step 1:
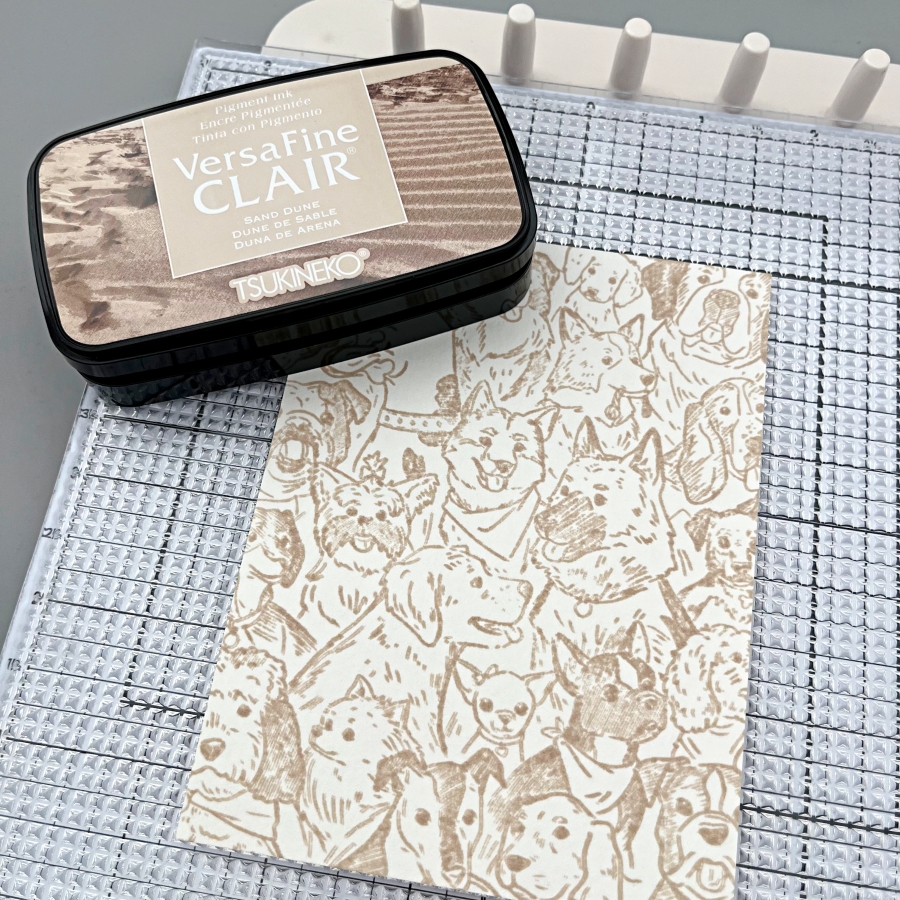
Ink up Stampin’ Up!’s Doggone Friendly background stamp with Sand Dune VersaFine Clair ink, then stamp on a piece of watercolor cardstock. I recently got a photopolymer sticky mat from Altenew and have enjoyed using it so far. It ensures the cardstock stays in place when you are stamping, which is a handy feature when you are stamping large images like background stamps.

Step 2:
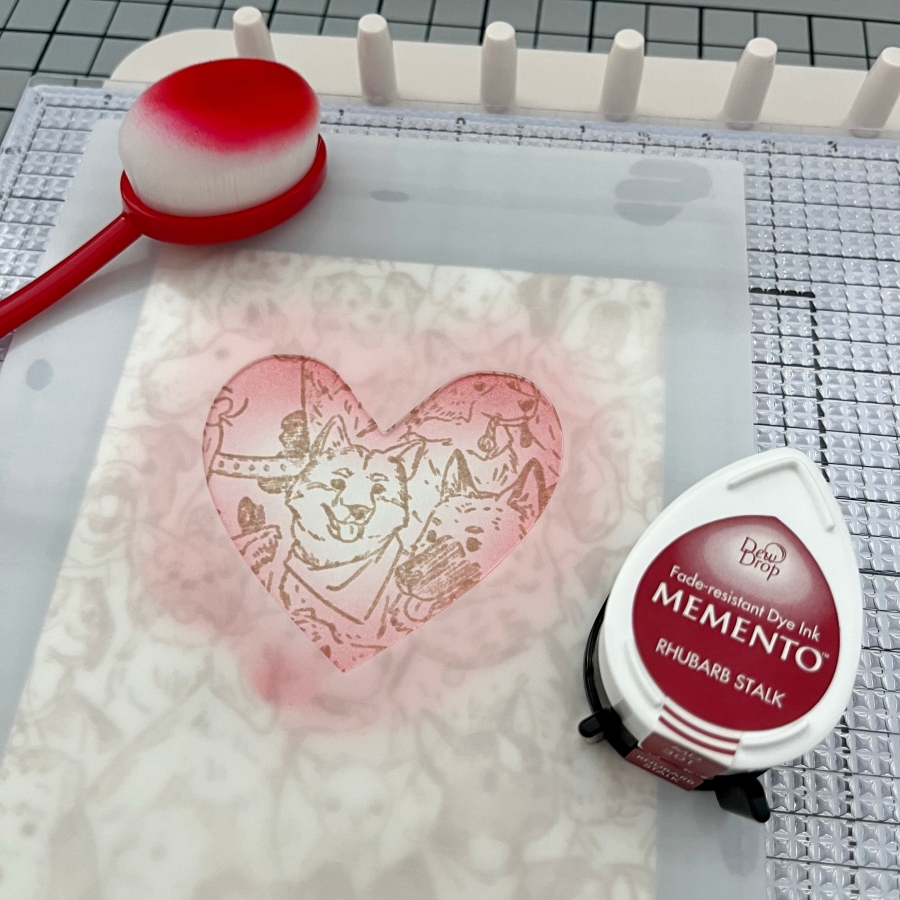
I wanted to highlight the Shiba Inu in the middle by creating a spotlight effect around him. I laid down the Spotlight Heart stencil in the center and ink blended the edges lightly with Rhubarb Stalk Memento ink. Memento inks are perfect for ink blending and since they are dye inks, the blended areas will not cover up the background stamp details.

Step 3:
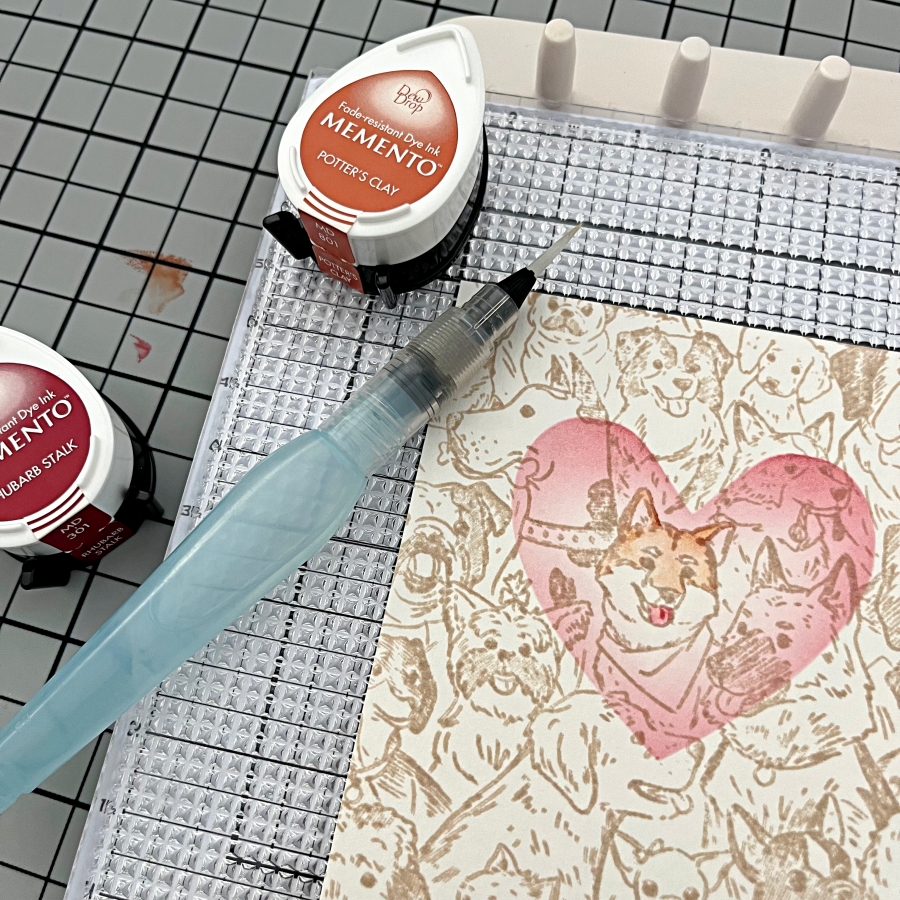
This step is completely optional, but I decided to add some simple watercoloring. I chose Potter’s Clay for his face and used Rhubarb Stalk to color his tongue. For his scarf, I used Bamboo Leaves (not pictured here).

Step 4:
Lastly, I stamped a “punny” sentiment using Bamboo Leaves Memento ink. I have used the Labeler Alphabet stamp set many times before to create custom sentiments. I thought this phrase compliments the blended heart shape nicely. Finally, I added some green enamel dots to decorate and the card is completed!

Imagine Supplies:

Other Supplies:

  • Stampin’ Up! – Stamp – Doggone Friendly
  • Waffle Flower – Stencil – Spotlight Heart
  • Stampin’ Up! – Stamp – Labeler Alphabet
  • Waterbrush
  • Blending brushes
  • Neenah – Cardstock – Desert Storm
  • Watercolor cardstock

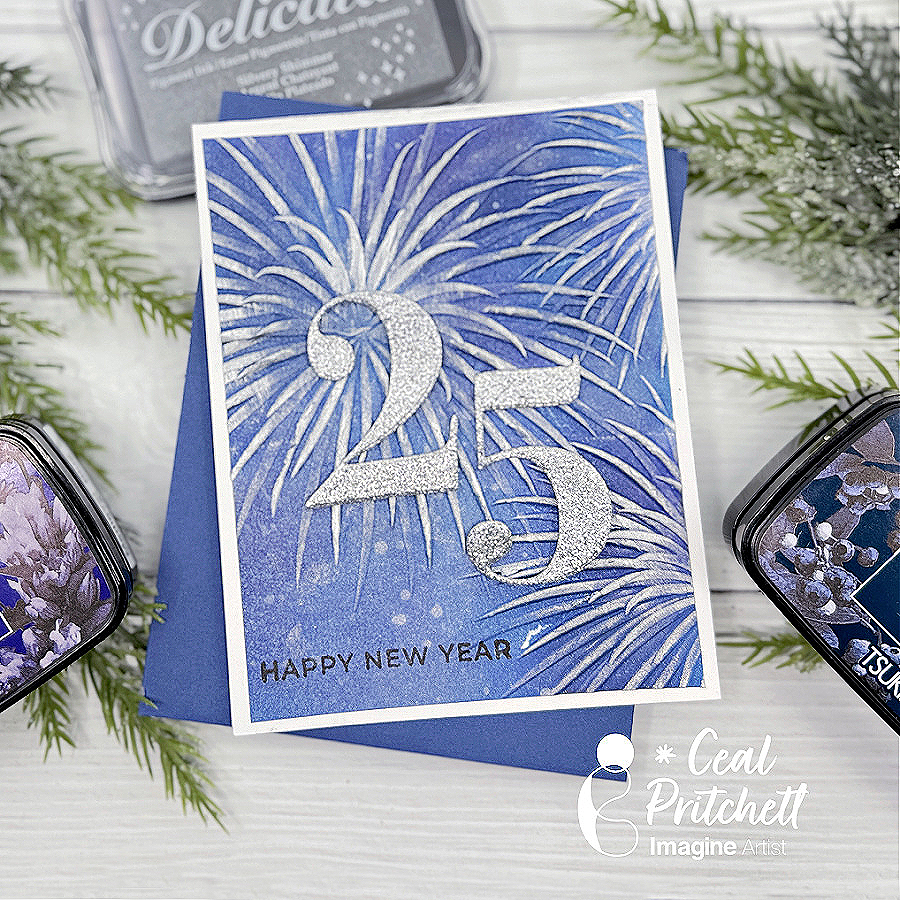
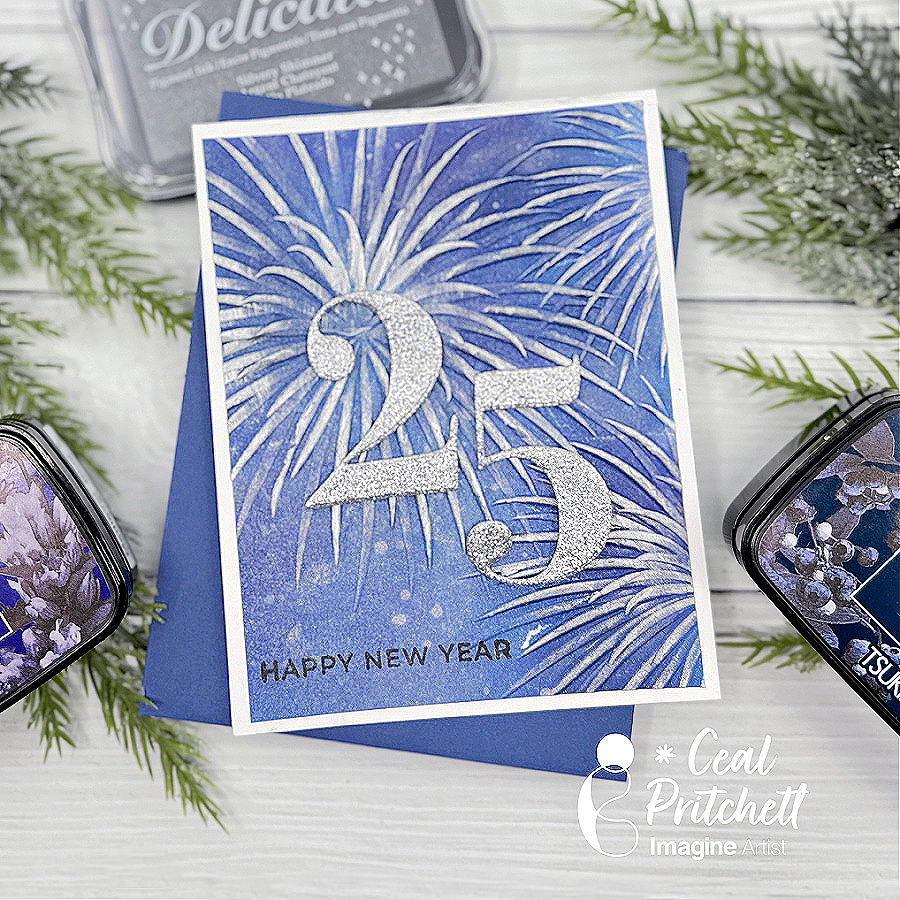
Let’s Make a Happy New Year’s Card

By Ceil Pritchett

Hello crafty friends!
It’s Ceal, here. Today I am sharing a New Year’s card with yo.

Skill Level: Intermediate
Time: 45 mins

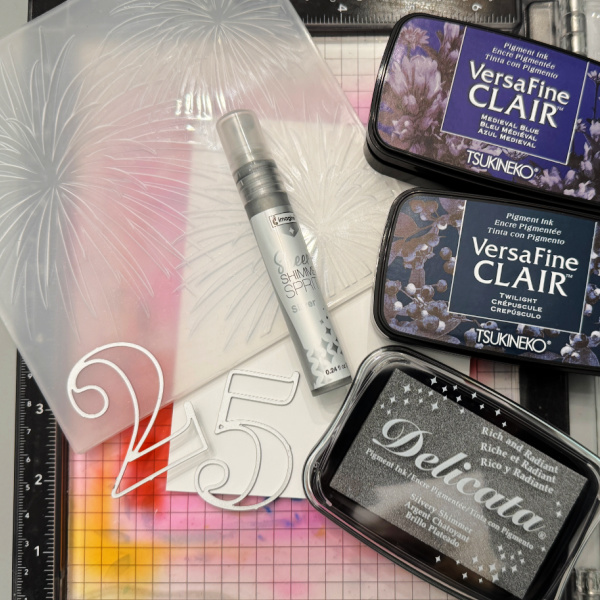
Directions: Gather your supplies. You will need an embossing folder, two different colors of dark ink, metallic ink, shimmer spray, number dies, and glitter paper.

Step 1:
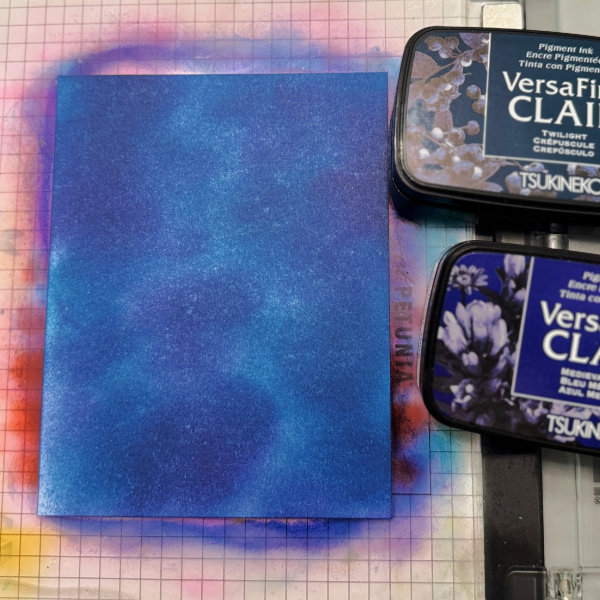
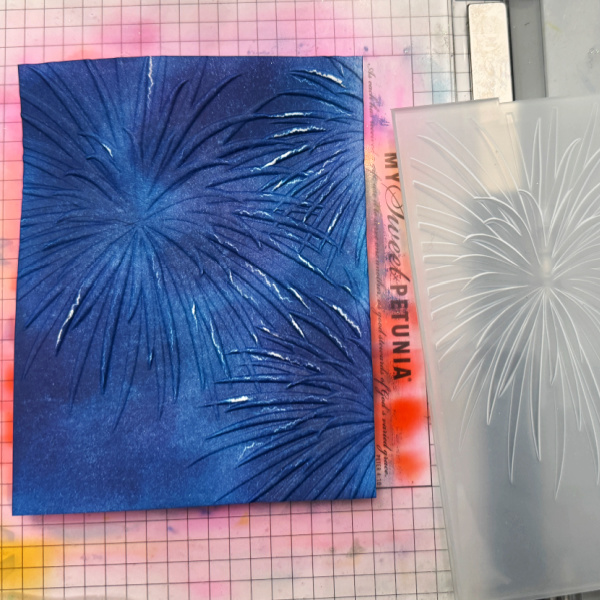
Blend the two dark inks together on a panel cut to 4x 5.25 to give the appearance of a night sky.

Step 2:
Run the blended panel through the die cutting machine with a 3D embossing folder.

Step 3:
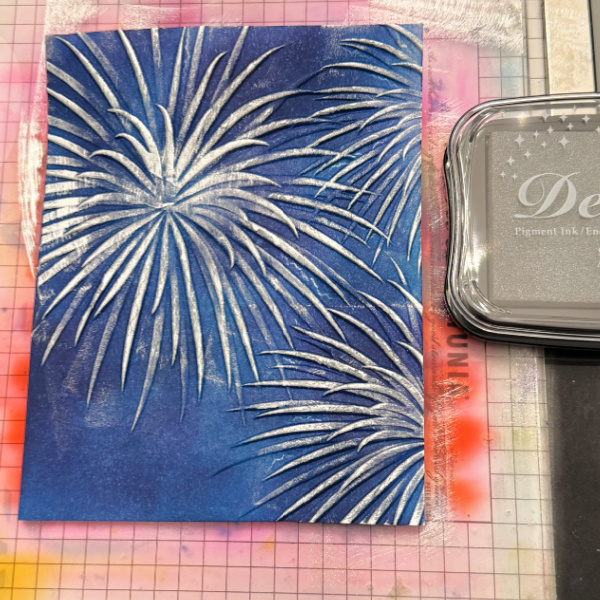
Rub a metallic ink pad over the raised areas of the panel.

Step 4:
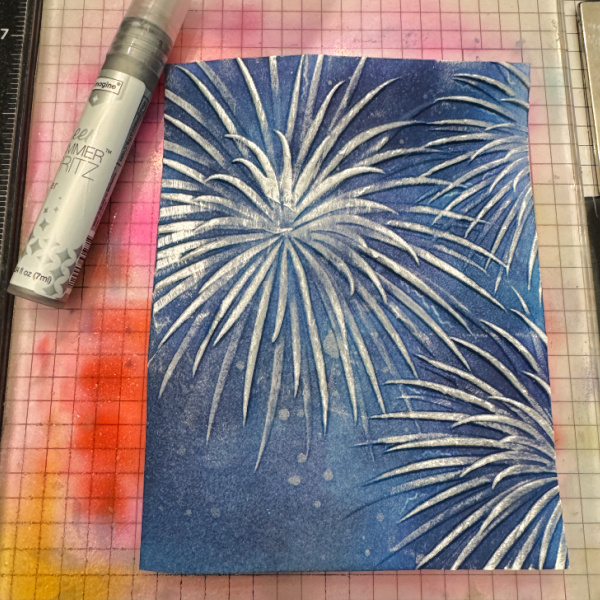
Spray a shimmer spray over the panel to give it more sparkle.

Step 5:
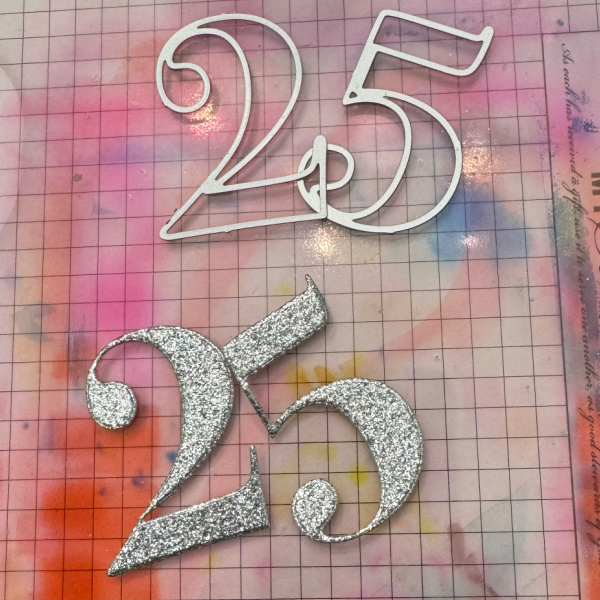
Cut the number 2 and 5 out of glitter paper.

Step 6:
Add number to the panel and adhere the panel to the card base. Stamp the sentiment on panel.

Supplies:

Imagine products:

VersaFine Clair – Medieval Blue, Twilight
Delicata – Silvery Shimmer
Sheer Shimmer Spritz – Silver
On Point Glue

Other products:

Fireworks embossing folder – Altenew
Fancy Die Number 2 – Hero Arts
Fancy Die Number 5 – Hero Arts
Happy New Year Stamp – Taylored Expressions
Glitter paper – Altenew

Upcycle Chocolate Bar Packaging into a Money Holder

By Jessica Lin

Skill: Beginner
Time: 30 minutes

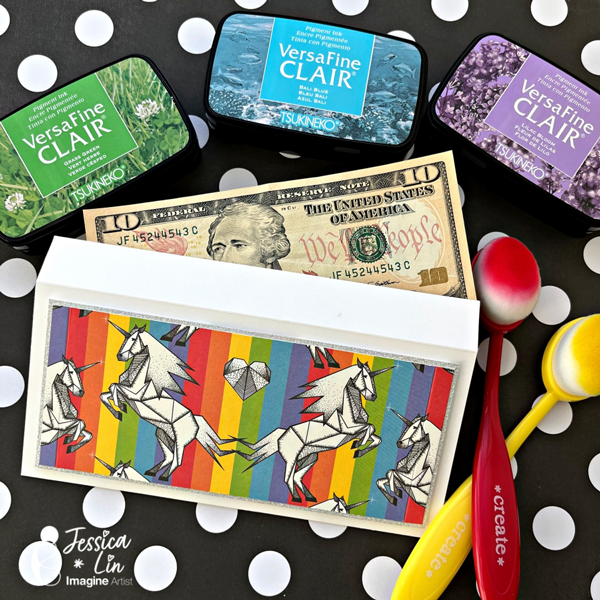
Hi everyone, it’s Jessica here. Christmas is right around the corner. Did you start preparing presents and gifts for the holidays? I recently received several Iceland chocolates and their packaging is so adorable! I decided to upcycle them into money holders which is perfect for the upcoming gift-giving season. If you like this idea, just keep reading!

Step 1:
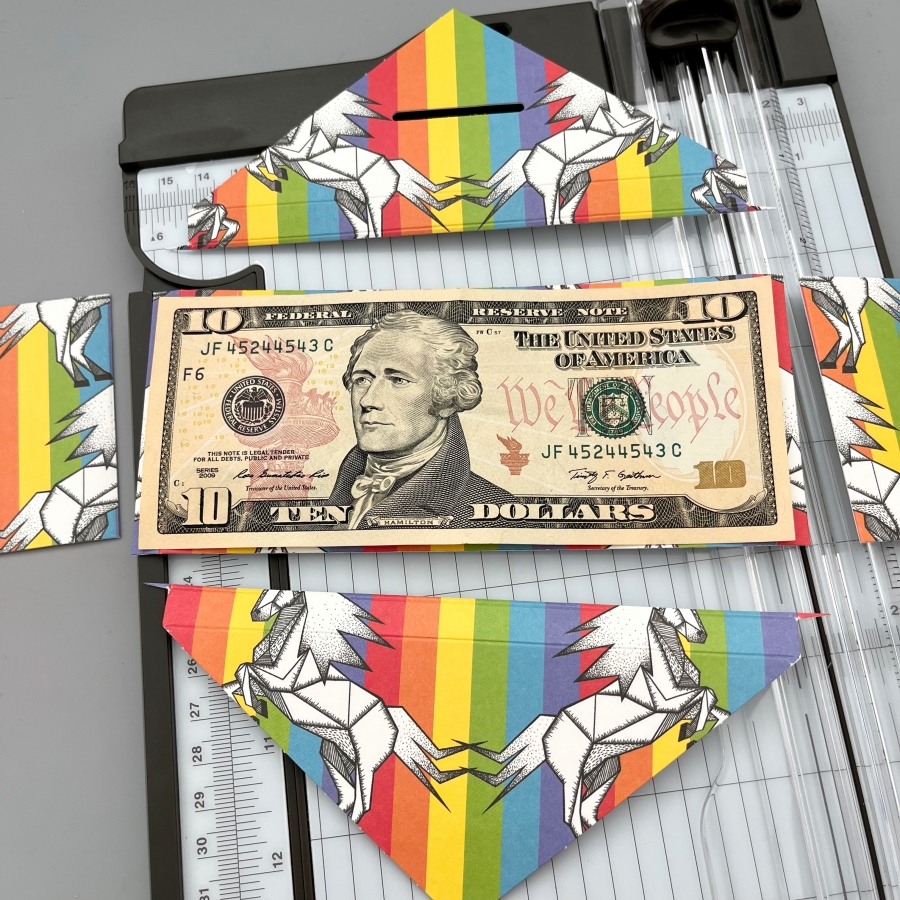
Trim the chocolate bar packaging to size. For U.S. dollar bills, I trimmed down to 6 3/8‘’ x 2 3/4‘’. This was the largest size I could get from this packaging. If your packaging is larger, 6 1/2‘’ x 2 7/8‘’ would be a great size too.

Step 2:
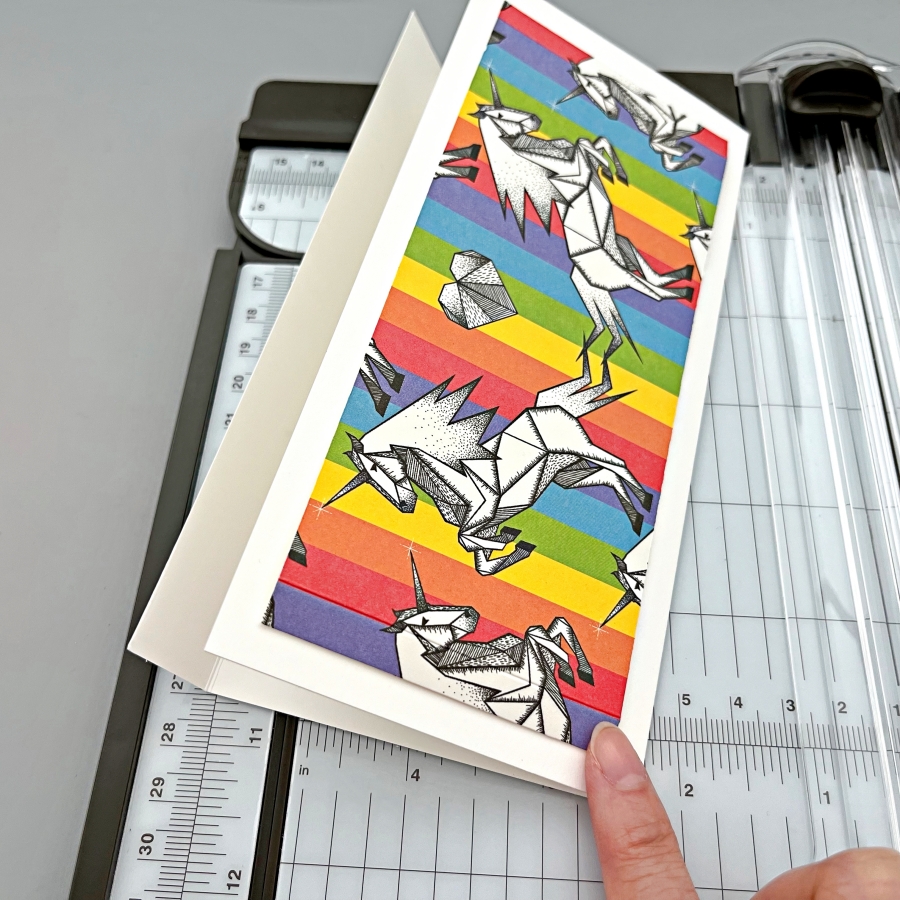
Cut and score a piece of white cardstock to create the envelope base. I started with a 7’’ x 7 1/2’’ piece of cardstock and scored at 3 5/16‘’ to create a 7’’ x 3 5/16‘’ envelope. This envelope also has a small flap closure but it sticks out a little bit. If you would like a larger flap that lays flatter, you could use a 7’’ x 8’’ piece of cardstock instead.

Step 3:
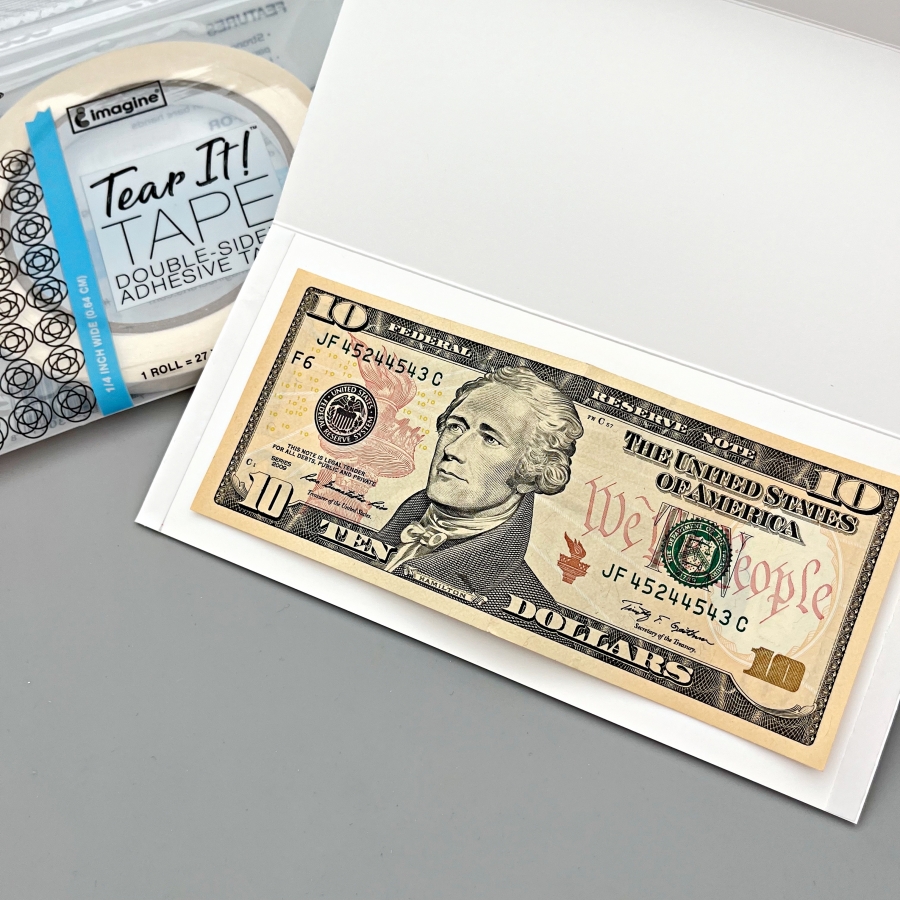
Apply Tear It Tape to both ends of the envelope and adhere together to form the envelope pocket.

Step 4:
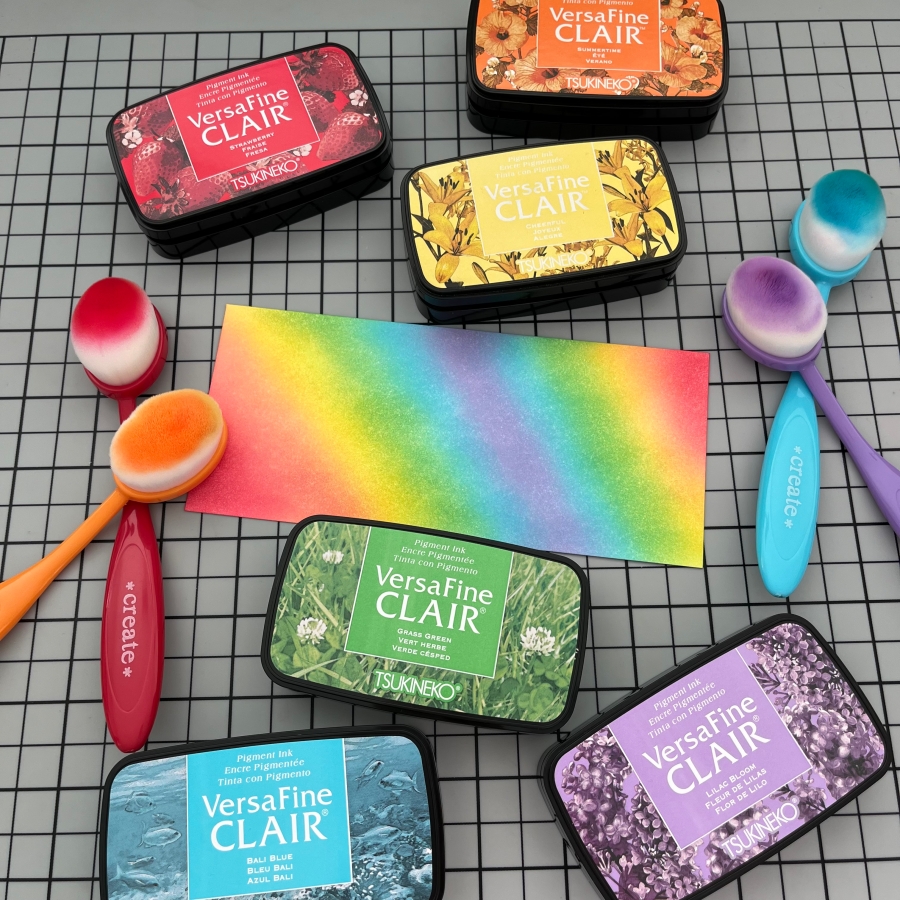
I decided to decorate the backside of the envelope as well. I ink blended a 6 3/4‘’ x 3’’ piece of cardstock with Strawberry, Summertime, Cheerful, Grass Green, Bali Blue, and Lilac Bloom VersaFine Clair inks. I love the newly released ink colors. They create such a vibrant rainbow gradient!

Step 5:
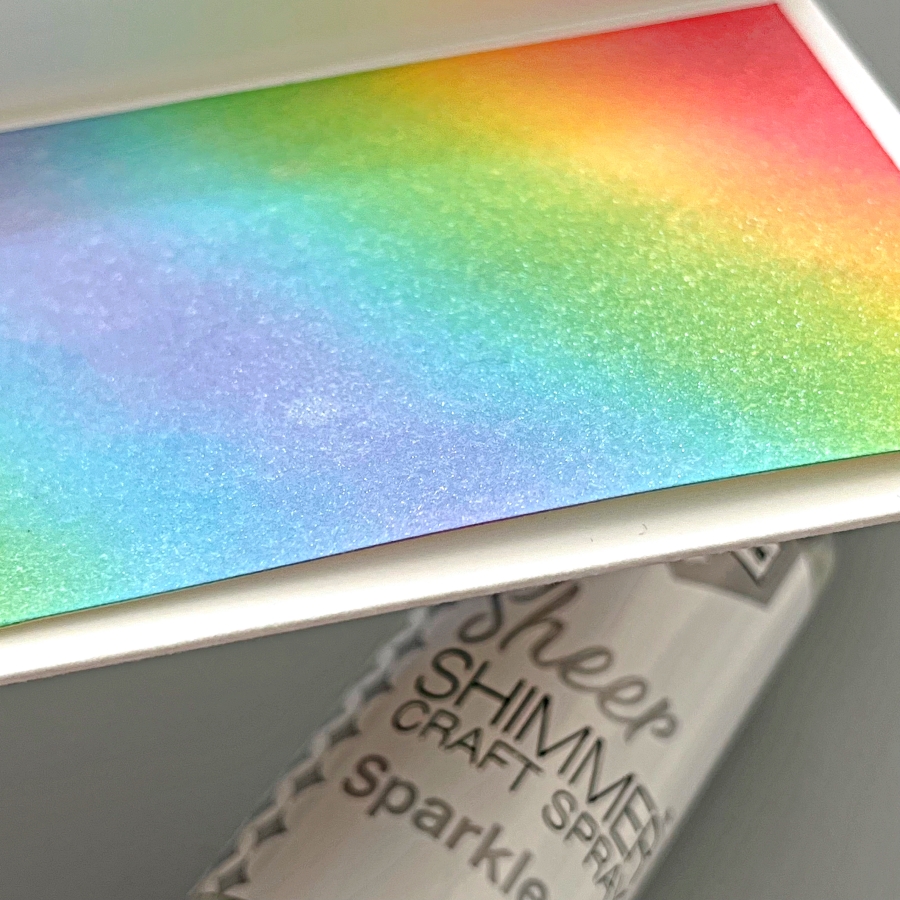
For additional shimmer and shine, generously spritz a layer of Sheer Shimmer Craft Spray (Sparkle) and let dry.

I hope you enjoyed this tutorial and would try upcycling pretty packaging in the future. Thank you so much for stopping by, and I’ll see you next time!

Imagine Supplies:

Other Supplies:

  • Paper Trimmer
  • Color packaging or patterned paper
  • White cardstock

Quick & Easy Christmas Cards using Ornament Punches

By Jessica Lin

Skill Level: Beginner
Time: 30 minutes

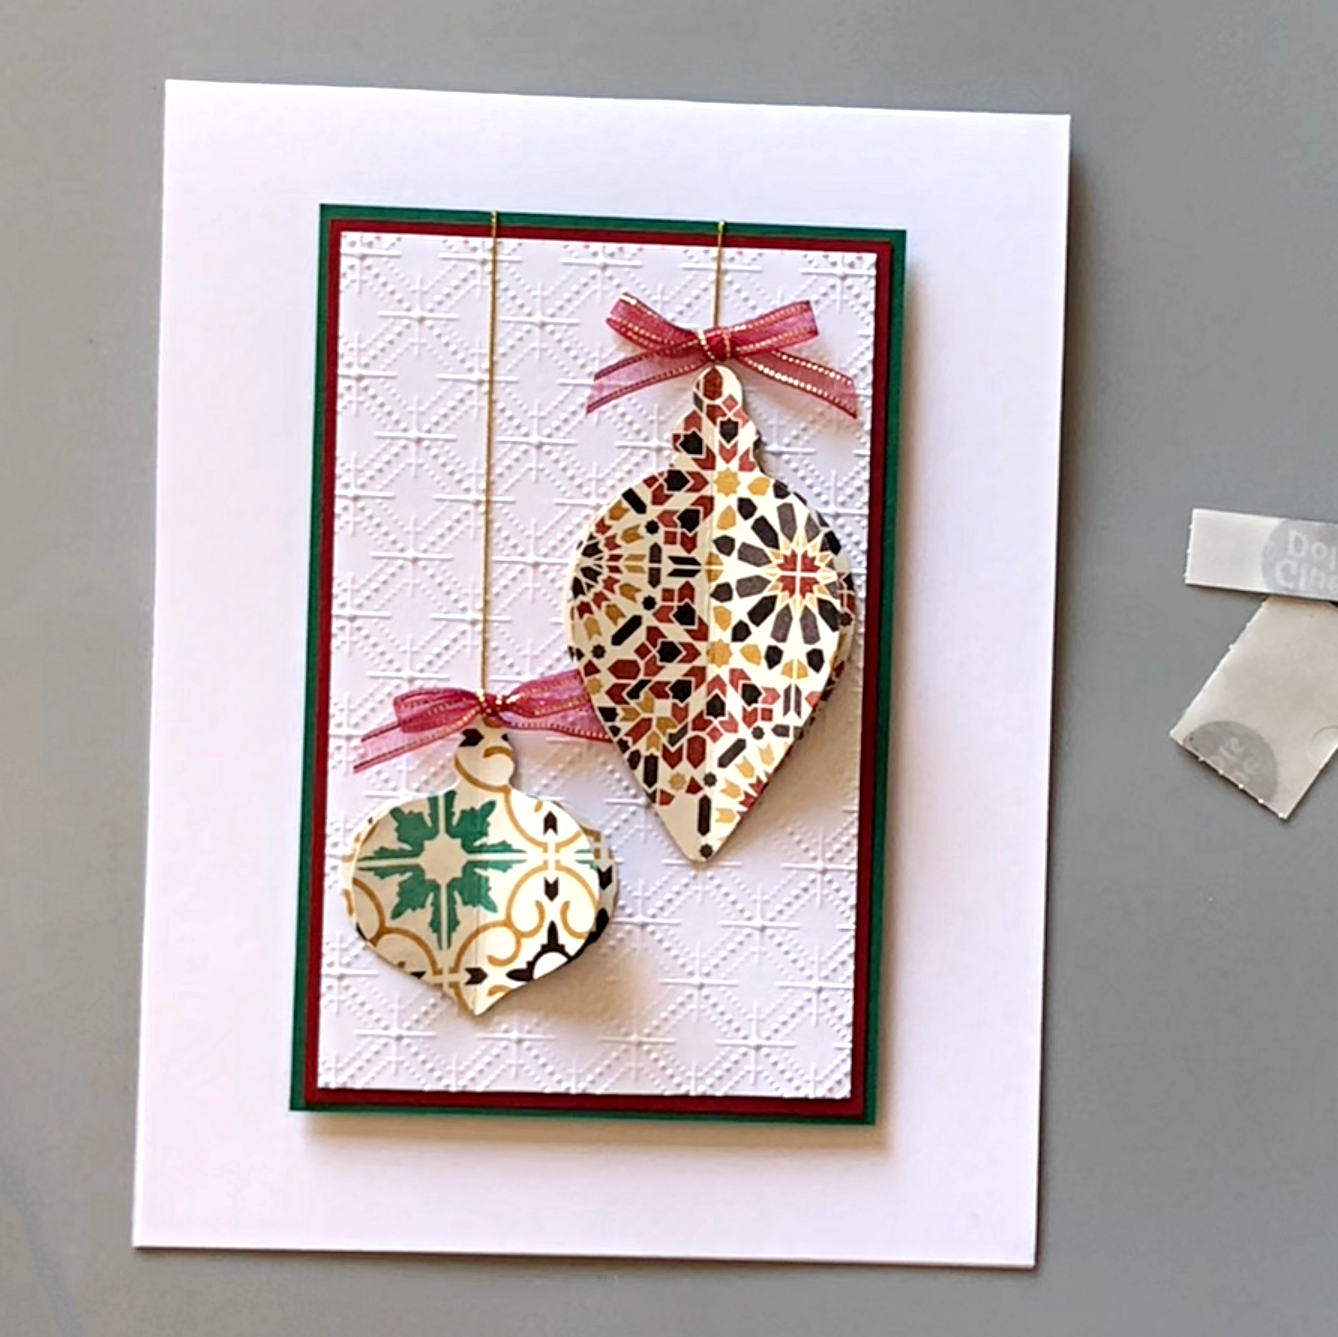
Hi everyone, it’s Jessica here. Quick & easy cards are so fun to make, and they are perfect for holiday mass production too! I made several versions today using some punches, and I hope you’ll enjoy this quick tutorial.

Step 1:
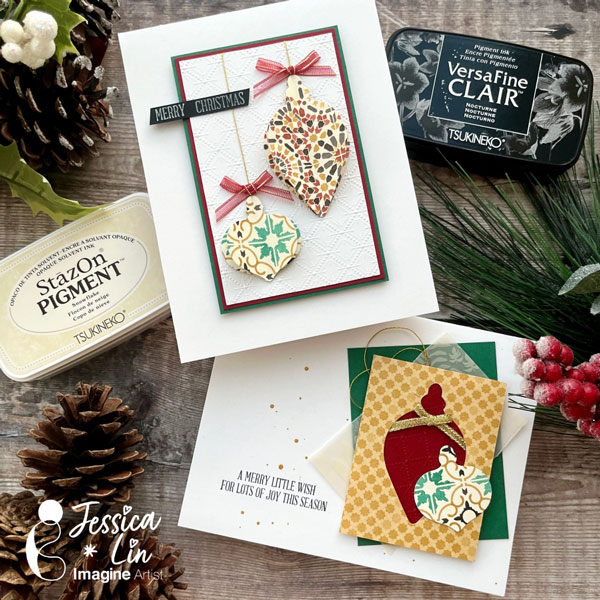
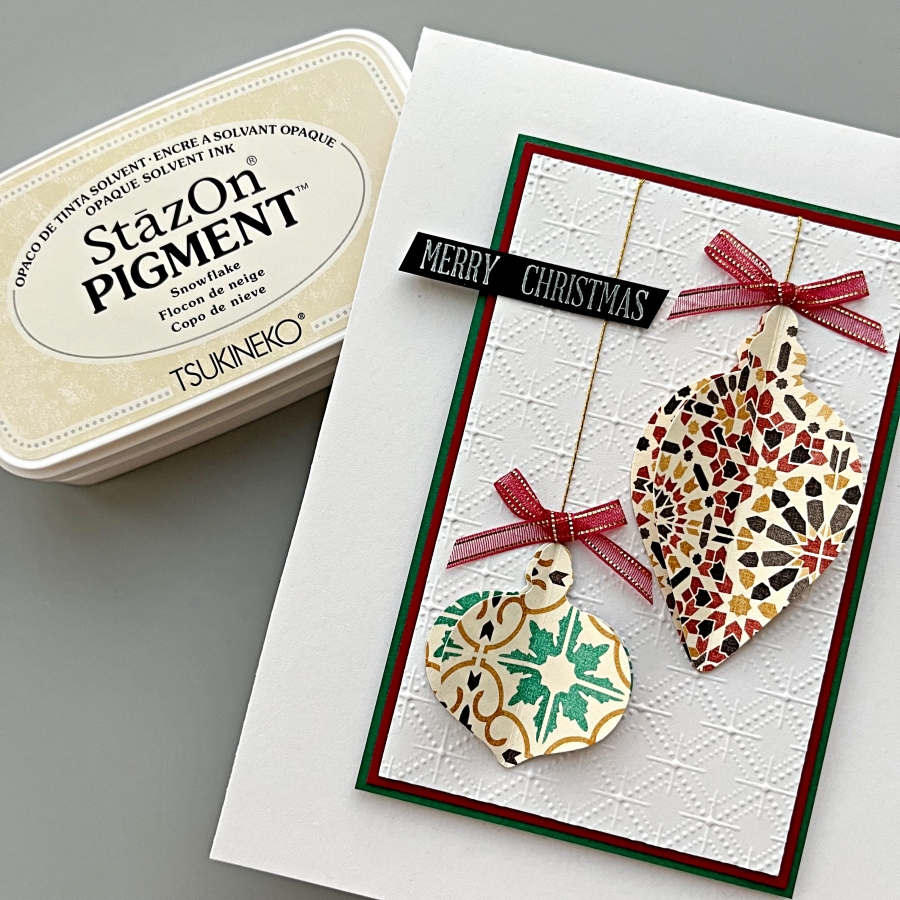
Use Stampin’ Up!’s Gleaming Ornaments punches with patterned paper to create the christmas ornaments. Each ornament needs two pieces; one unscored and one scored in the middle.

Step 2:
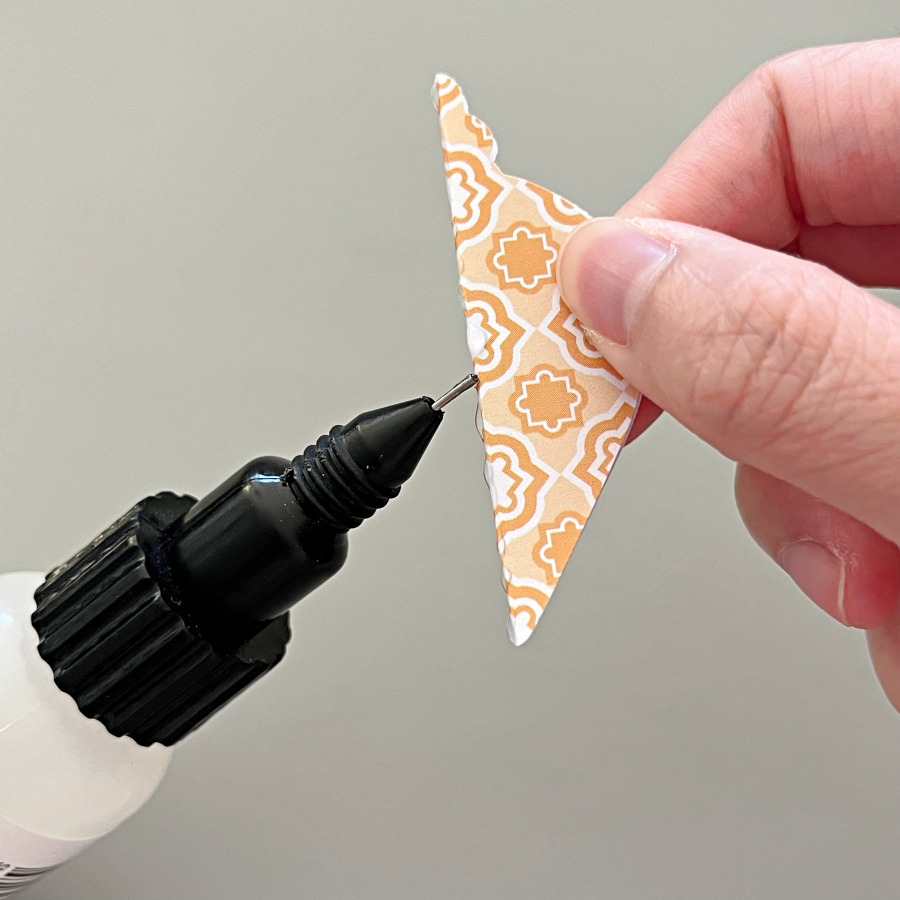
Apply On Point Glue onto the folded crease (backside of the patterned paper) and adhere to the unscored punch piece. Hold in place for 20-30 seconds while the glue dries.

Step 3:
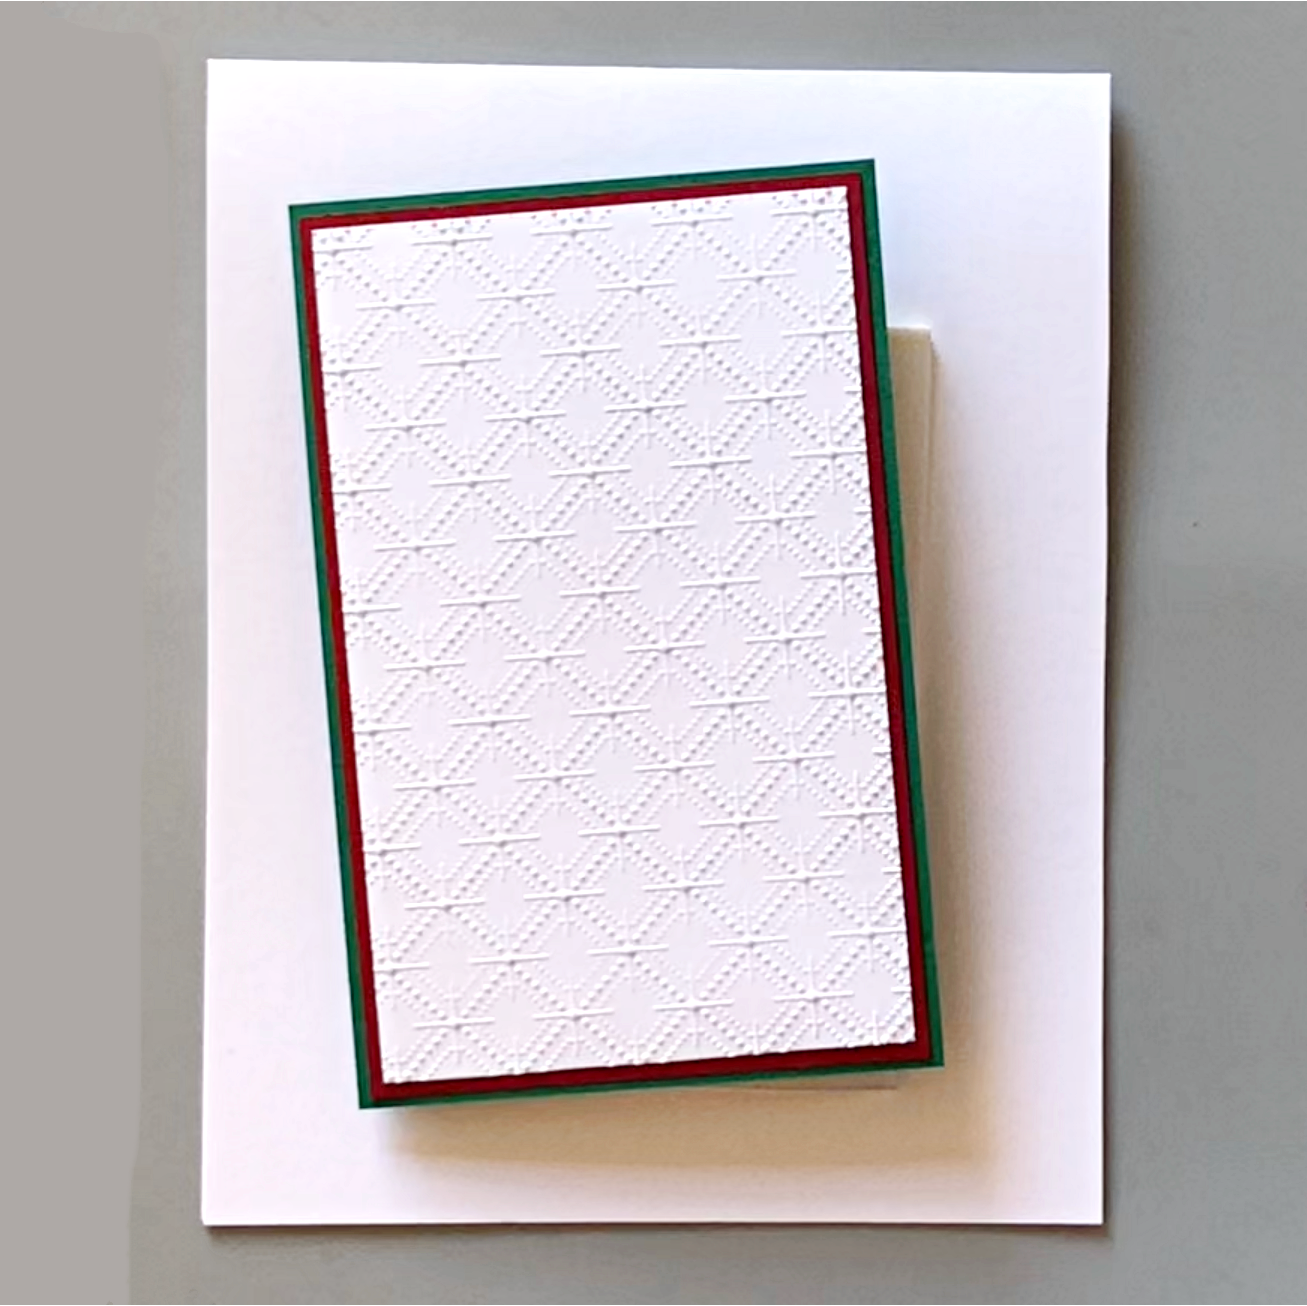
Prepare 3 pieces of cardstock and adhere them together with Tear It Tape. The largest size measures 2 3/4‘’ x 4 1/4‘’, the medium size measures 2 5/8‘’ x 4 1/8‘’, and the small size 2 1/2‘’ x 4’’.

Step 4:
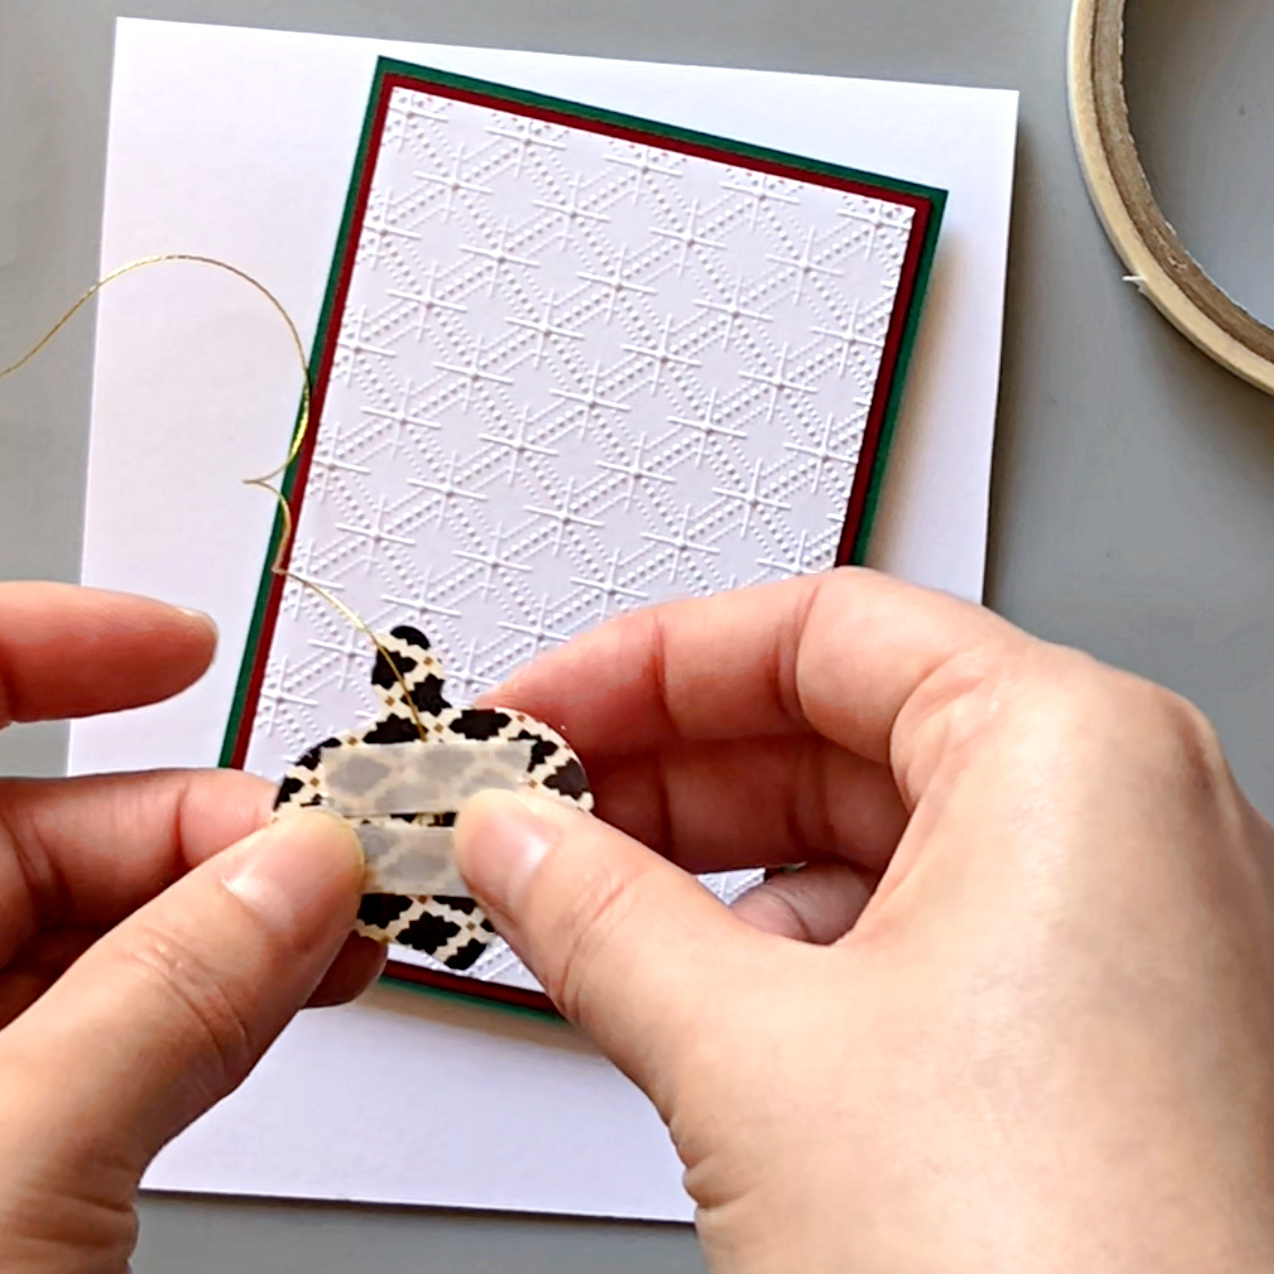
Attach a piece of gold thread to the back of the ornament with Tear It Tape, and adhere to the layered background. Attach the other end of the gold thread to the back of the green cardstock layer.

Step 5:
Adhere tiny bows to the top of the ornaments with glue dots.

Step 6:
Stamp the sentiment on black cardstock using StazOn Pigment ink. Adhere both the sentiment strip and the layered panel to the card base with Tear It Tape.

Step 7:
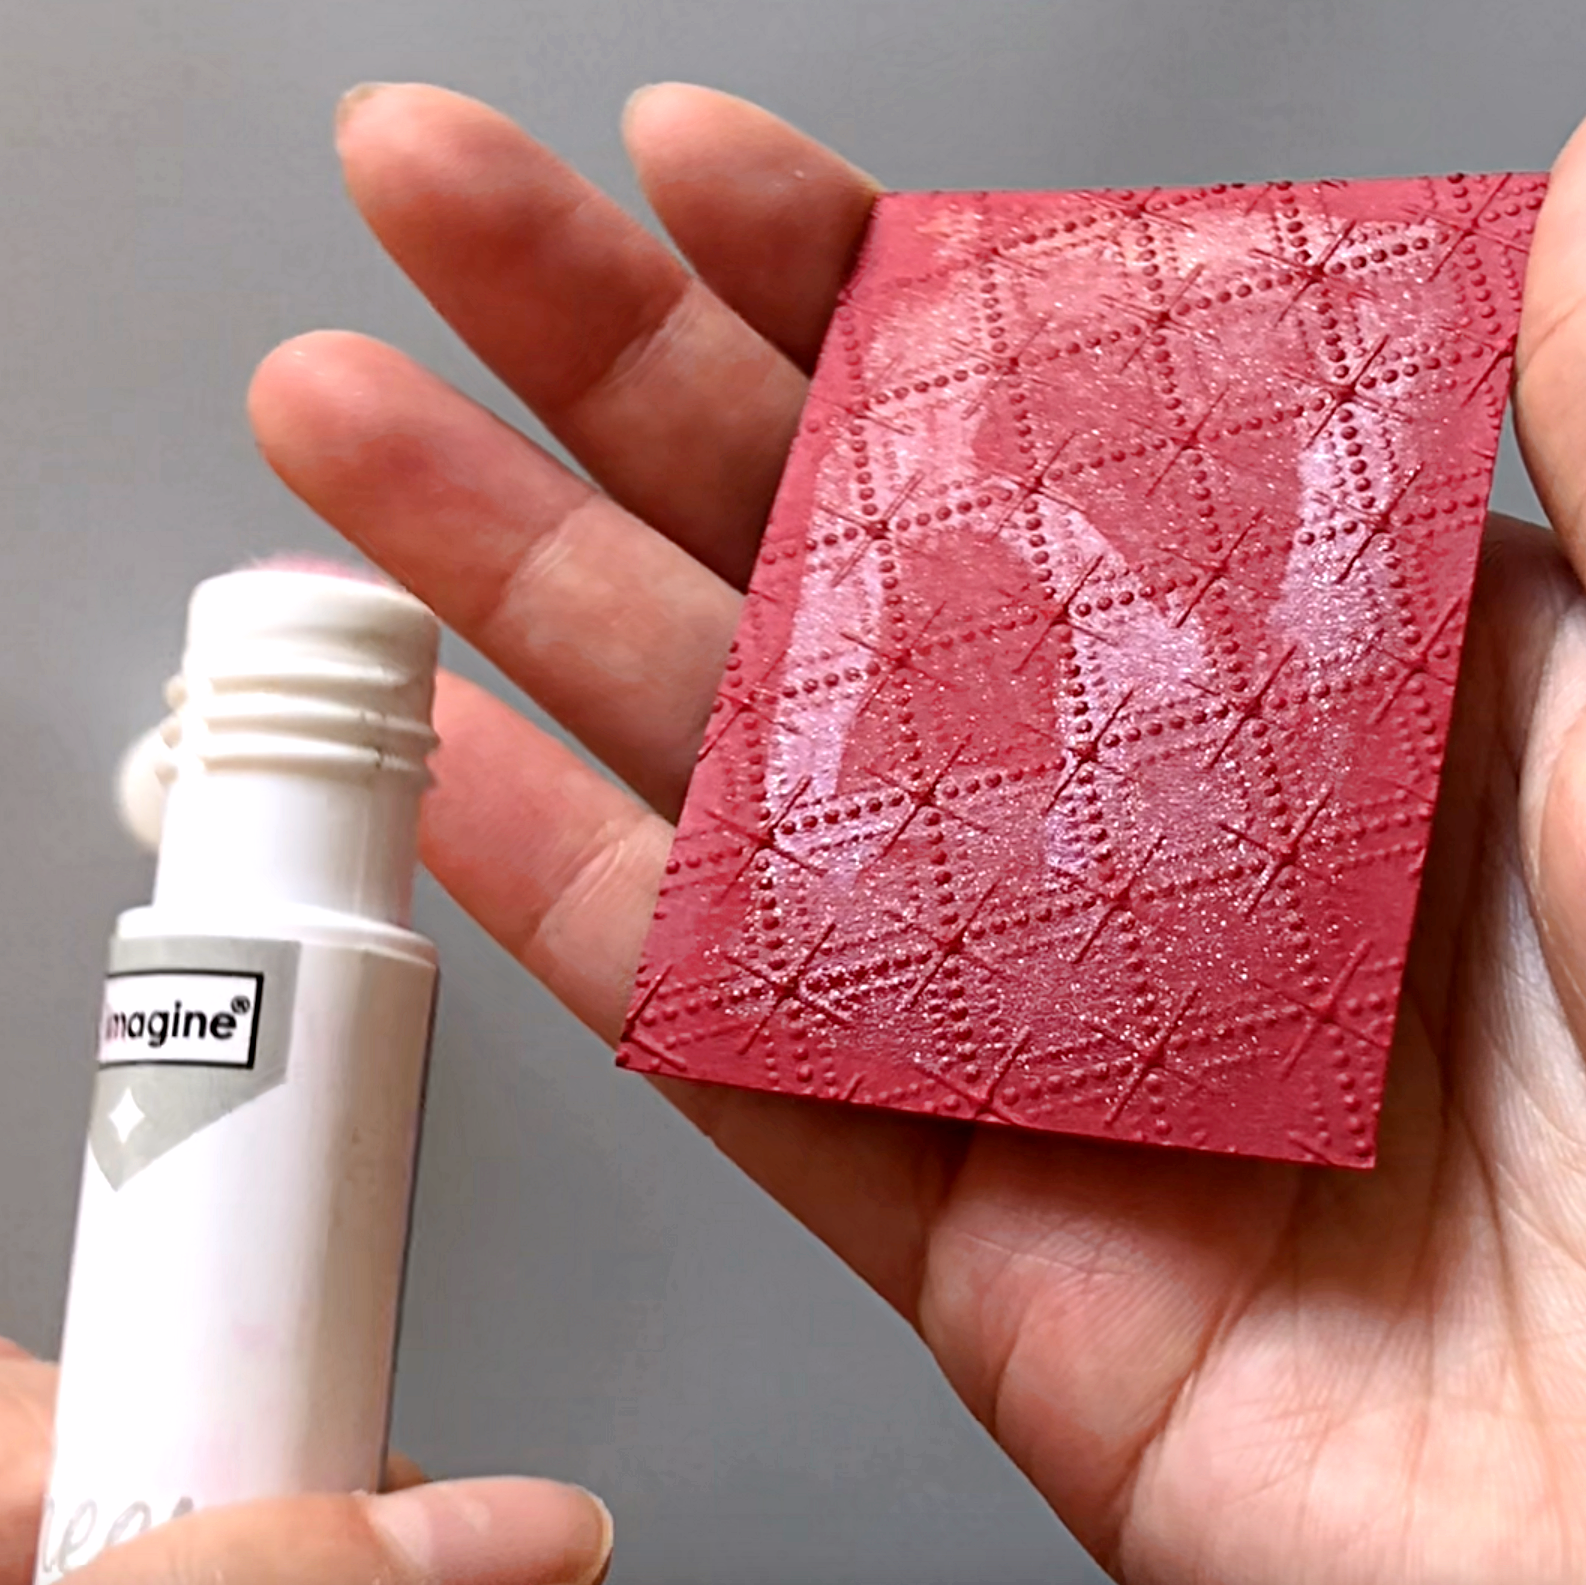
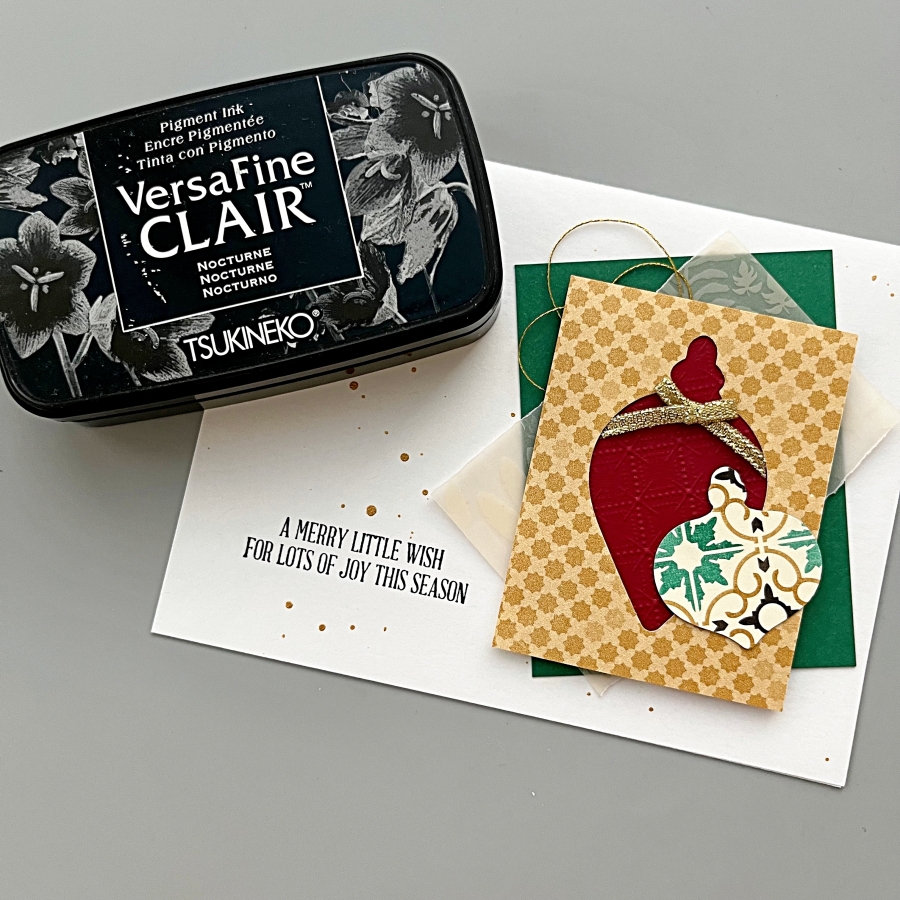
For the second version of the christmas card, I used the negative pieces from the punches and layered red, embossed cardstock underneath. Generously apply the Sheer Shimmer Stix in sparkle to add additional shimmer.

Step 8:
Adhered the patterned paper pieces onto the card base and stamp the sentiment using VersaFine Clair Nocturne ink. For a finishing touch, splatter on gold acrylic paint with a paint brush.

Imagine Supplies:

Other Supplies:

  • Stampin’ Up! – Punch – Gleaming Ornaments Punch Pack
  • Stampin’ Up! – Stamps – A Wish for Everything
  • We R – Tool – Precision Press
  • Gold thread
  • Thin red ribbon
  • Glue Dot
  • White, green, red, black cardstock

Let’s Make a Steampunk Father’s Day Card with Metallic Brilliance Inks

By Kathi Rerek

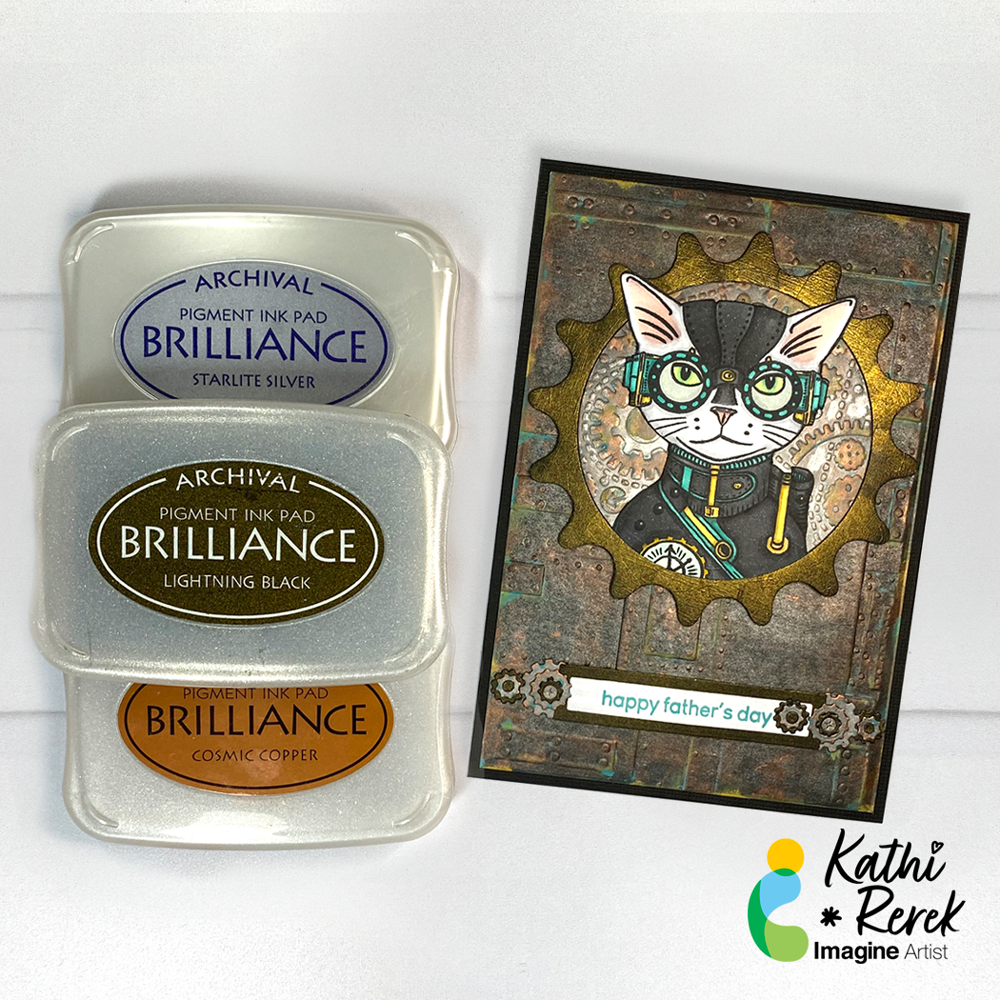
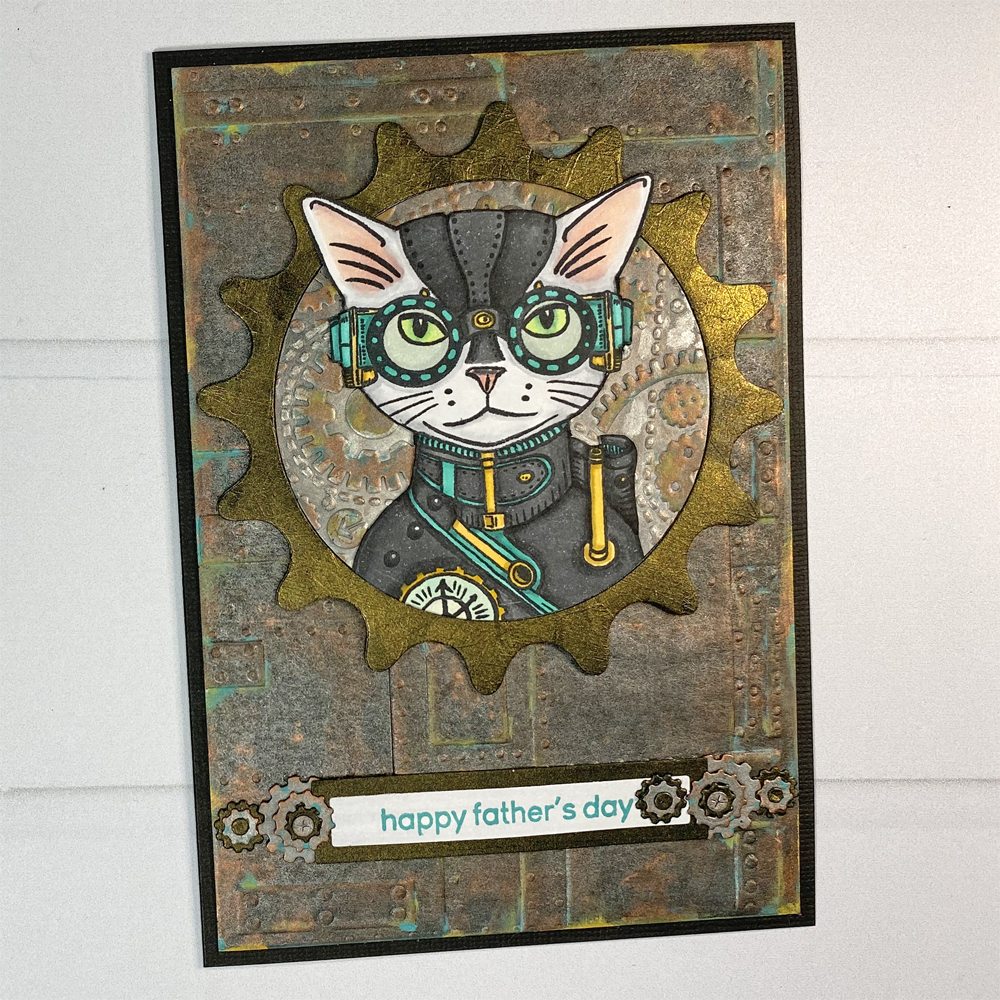
I’m continuing my experimentation with Metallic Brilliance Inks with this Father’s Day card using two of my favorite themes – cats and Steampunk!

Skill Level: Advanced
Time: 2.5 Hours

Directions:

Step 1:
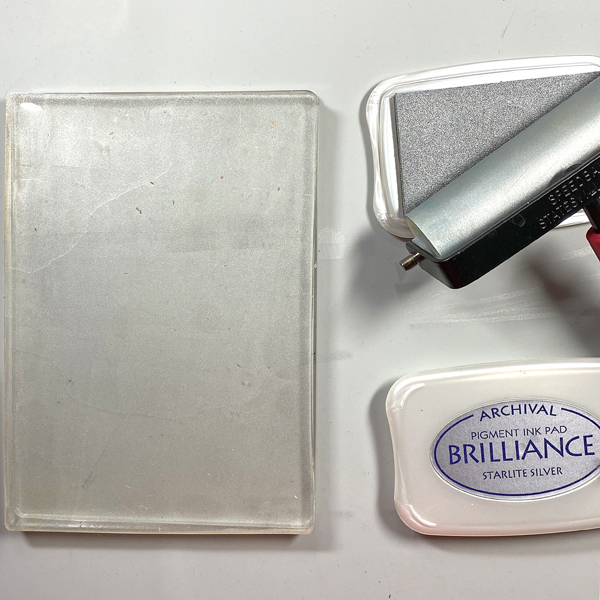
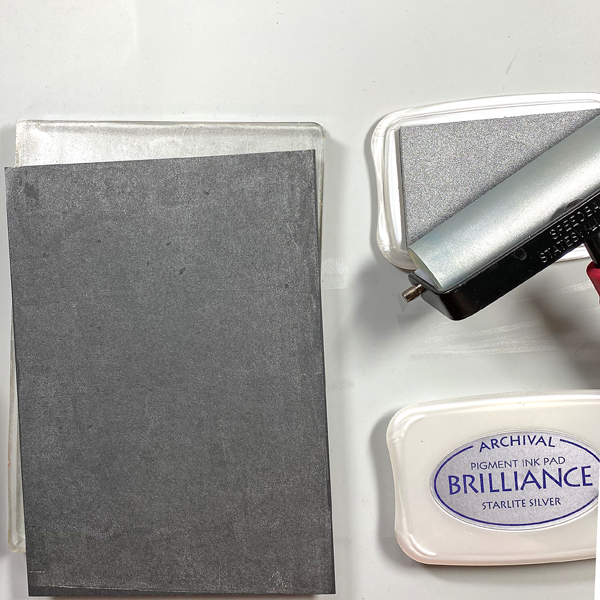
Use a brayer to apply Starlite Silver Brilliance Ink to a 5” x 7” Gel Press. Place a piece of black mixed media paper onto the Gel Press. Smooth the back of the paper to transfer the in and pull a print.

Step 2:
Repeat Step 1 to enhance the coverage.

Step 3:
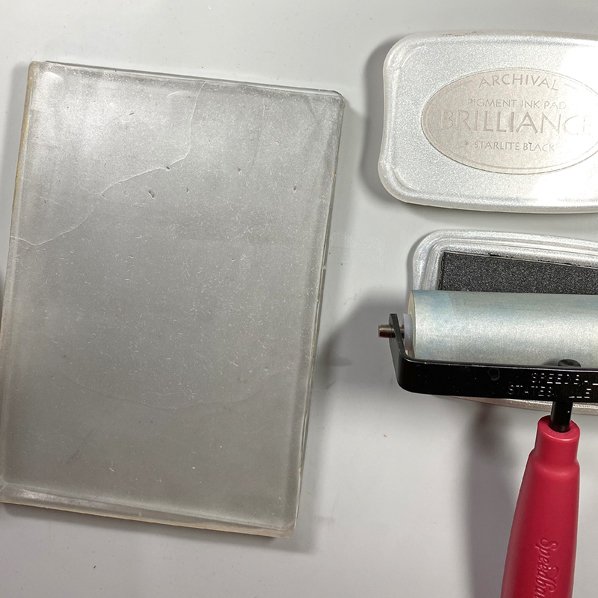
Clean the brayer, then use it to apply Starlite Black Brilliance ink to the Gel Press. Place the print back onto the Gel Press inked side down. Smooth the back of the paper, then pull the print. Heat set the inked paper, then clean the brayer and the Gel Press.

Step 4:
Place the inked black mixed media paper into the Foundry 3D Alterations Embossing Folder. Spritz the back of the paper with water. Close the folder and run it through a die-cut machine.

Step 5:
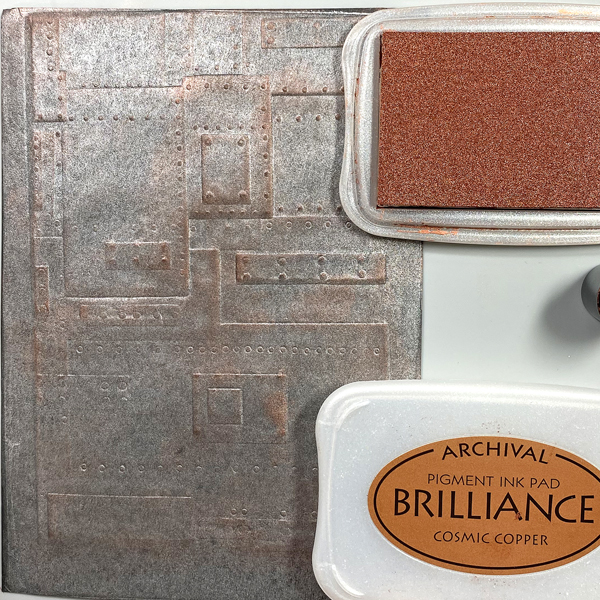
Use a Sponge Dauber to apply Cosmic Copper Brilliance Ink to the high points of the embossed paper. Heat set.

Steps 6A and 6B:
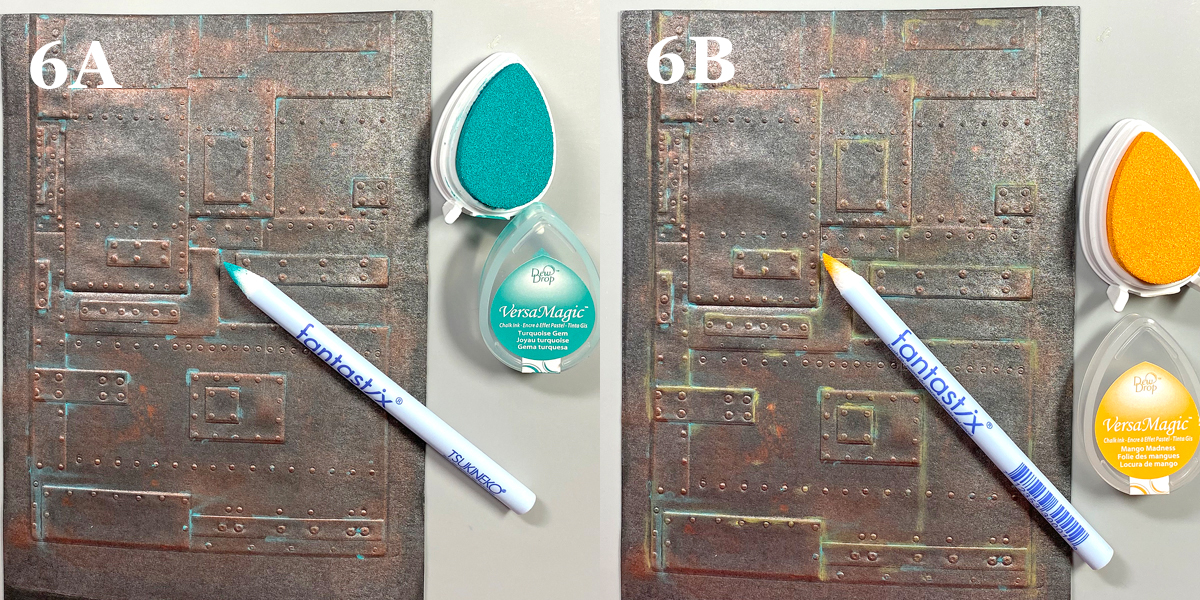
Use Fantastix to apply Turquoise Gem VersaMagic Ink randomly to the high points of the embossed paper (6A). VersaMagic Ink has a matte chalk finish which comes out when it’s heat embossed.

Use another Fantastix to Apply Mango Madness VersaMagic Ink randomly to the high points of the embossed paper (6B). Heat set the panel and set aside.

Step 7:
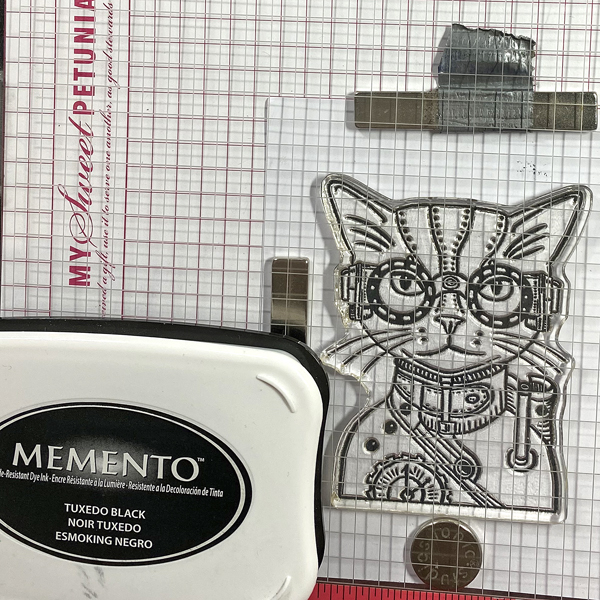
Use Tuxedo Black Memento Ink to stamp the cat from the Steampunk Pets Clear Stamp Set onto white cardstock.

Step 8:
Fussy-cut the image and use Copic markers to color it. Use a dark marker to edge the cut image. Set aside.

Step 9:
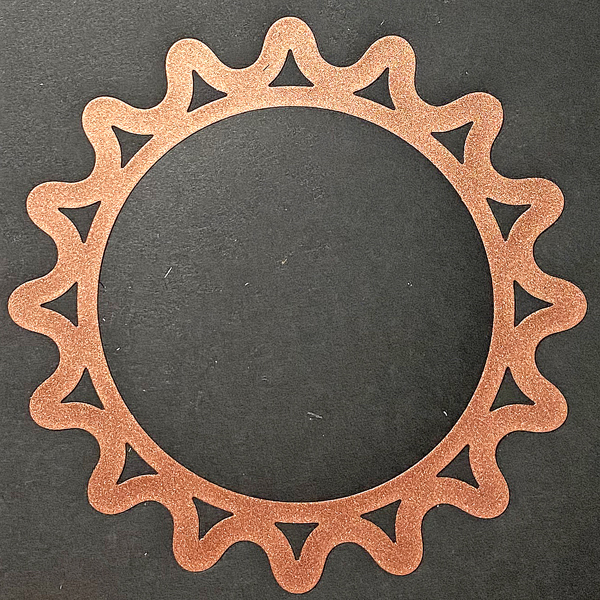
Use the largest die from the Sprightly Sprockets Shapeabilities Die Set to cut black mixed media cardstock two times. You will end up with two cogs and two circles.

Step 10:
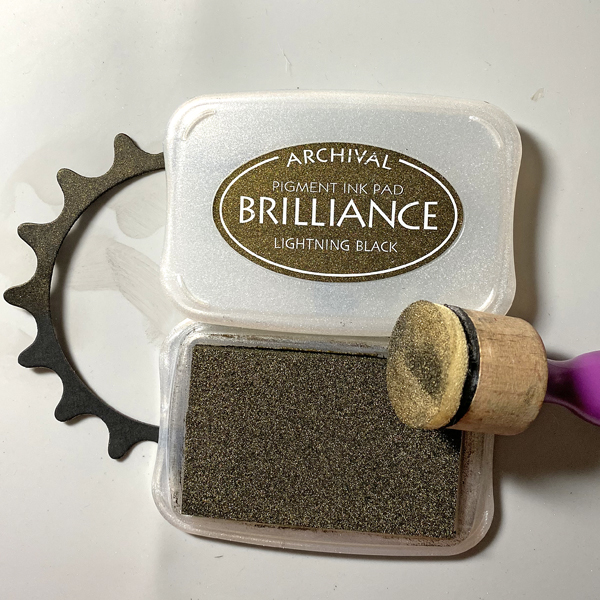
Sponge Lightning Black Brilliance Ink over one of the cog die-cuts and one of the circles. Heat set both.

Step 11:
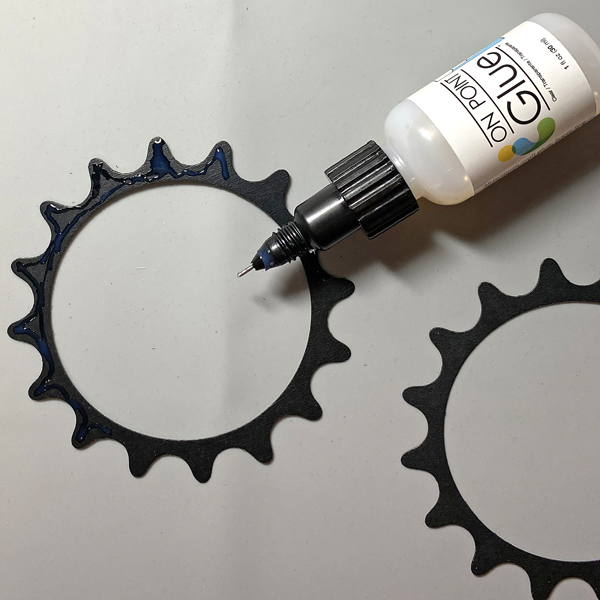
Use On-Point Glue to adhere the inked cog atop the other one.

Step 12:
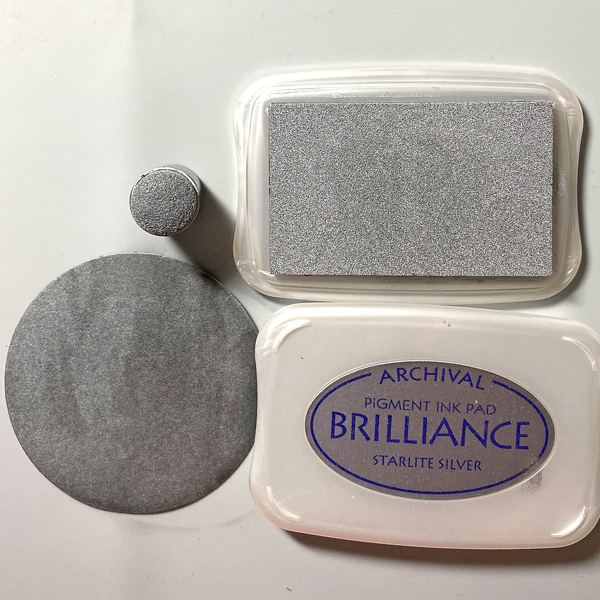
Use a Sponge Dauber to apply Starlite Silver Brilliance ink to one of the circles from Step 9. Heat set.

Step 13:
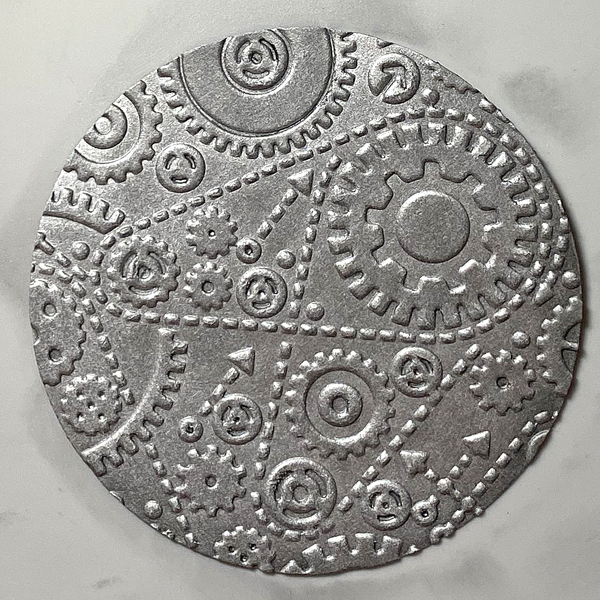
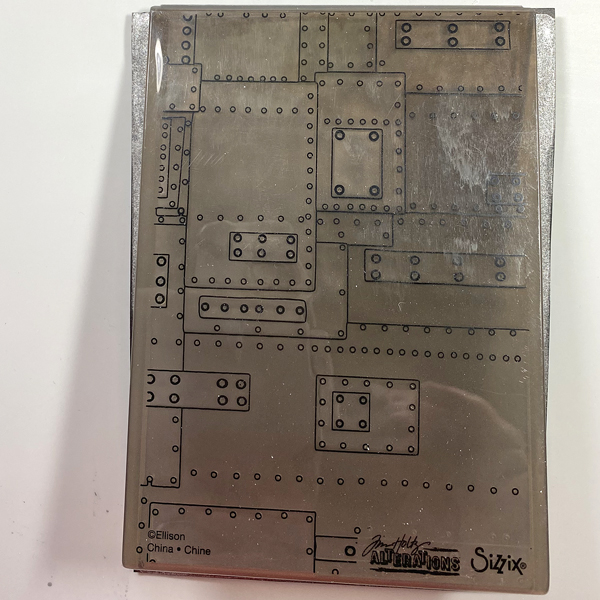
Place the silver-inked circle into the Gears Alterations Folder and run it through a die-cut machine.

Step 14:
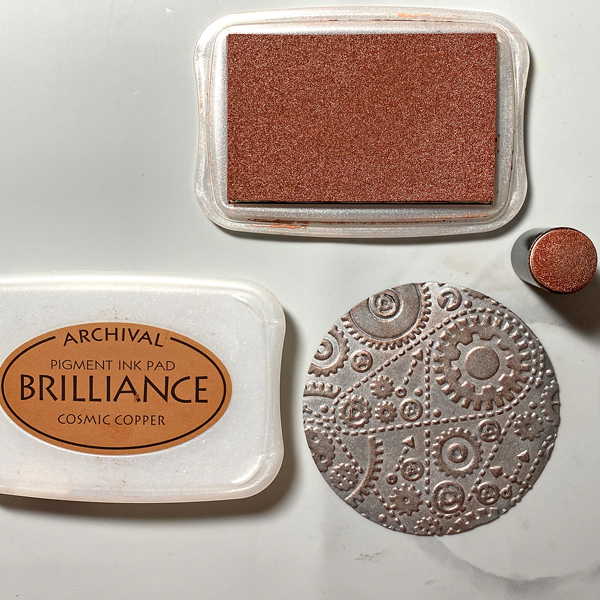
Use a Sponge Dauber to apply Cosmic Copper Brilliance Ink to the high points of the embossed circle. Heat set.

Steps 15A and 15B:
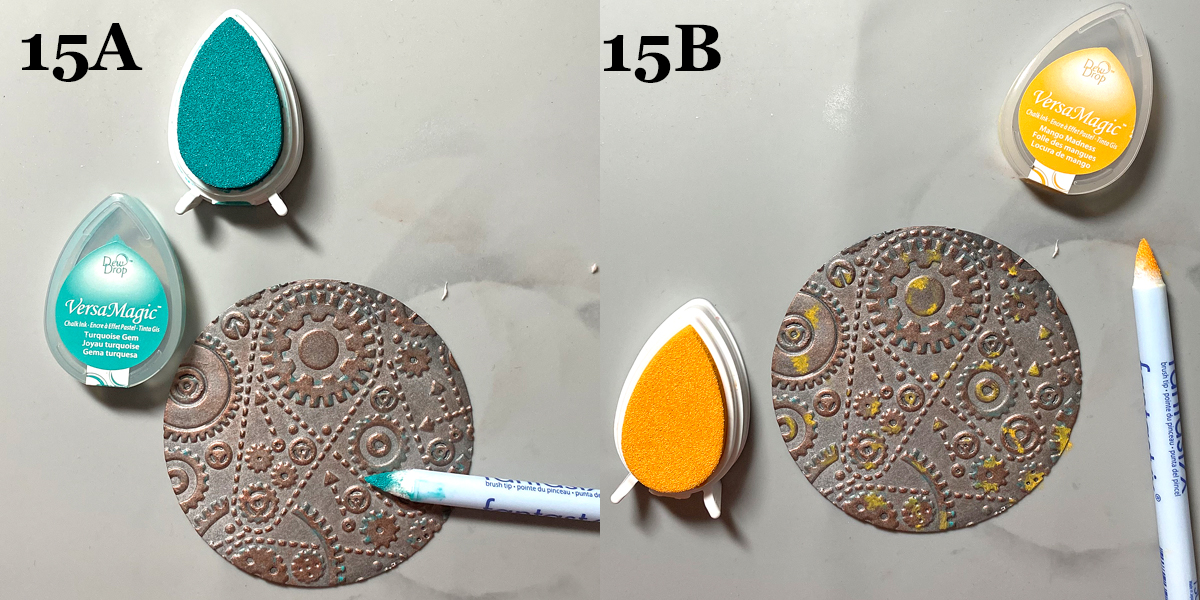
Use Fantastix to apply Turquoise Gem VersaMagic Ink randomly to the high points of the embossed paper (15A).

Use another Fantastix to Apply Mango Madness VersaMagic Ink randomly to the high points of the embossed paper (15B).

Step 16:
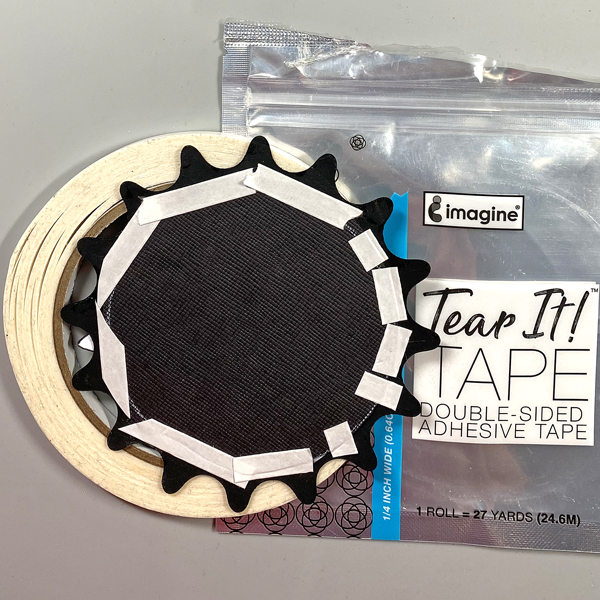
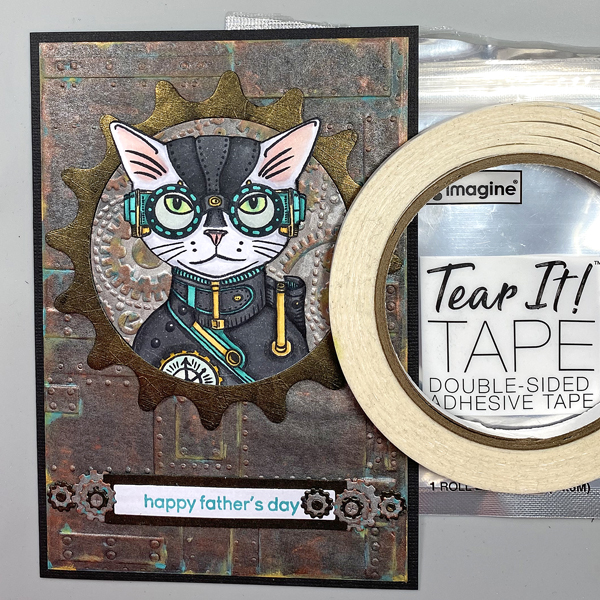
Use Tear It! Tape to adhere a slightly larger circle to the back of the stacked cog die-cuts.

Step 17:
Use a Sponge Dauber to apply Starlite Silver Brilliance Ink to a strip black mixed media paper. Sorry that there’s no photo. Use cog dies to cut the silver-inked black paper.

Step 18:
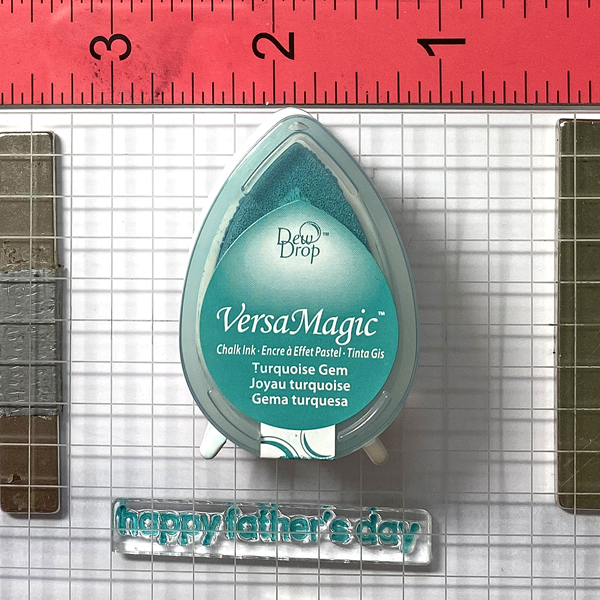
Use a C2 Copic marker to color a piece of white cardstock. Use magnets to secure the colored cardstock onto a stamping platform. Place the “Happy Father’s Day” sentiment stamp facedown on the colored cardstock. Ink the stamp with Turquoise Gem VersaMagic Ink and stamp. Repeat inking and stamping if necessary to attain a good impression. Remove the stamped cardstock from the stamping platform and heat set the ink.

Step 19:
Use a rectangle die to cut the sentiment. Use the matching nameplate die to cut the Lightning Black circle. Adhere the sentiment die-cut atop the nameplate die. Sorry that there’s no photo.

Step 20:
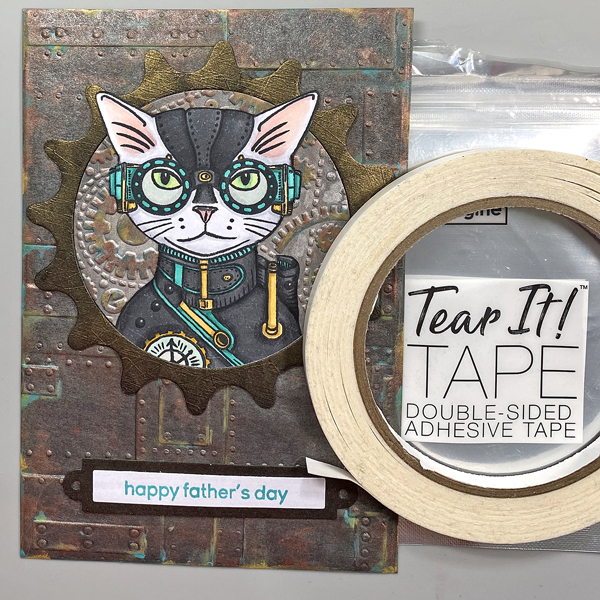
Use Tear-It! Tape to adhere the embossed circle and the Steampunk Cat onto the cog die-cut. Use the tape to adhere the sentiment as shown.

Step 21:
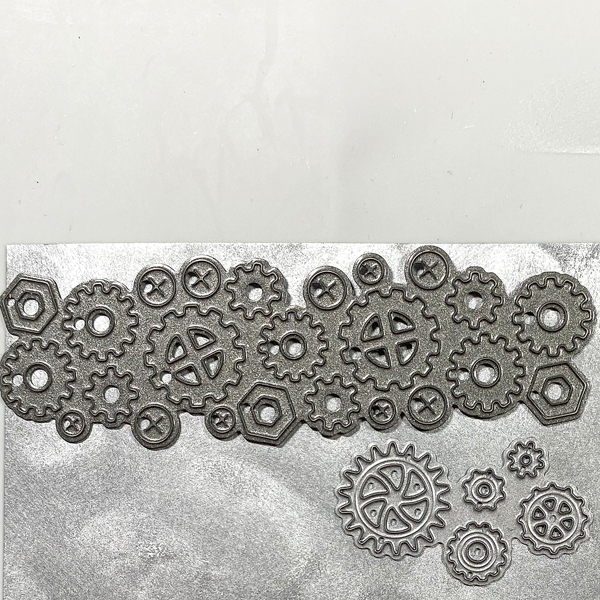
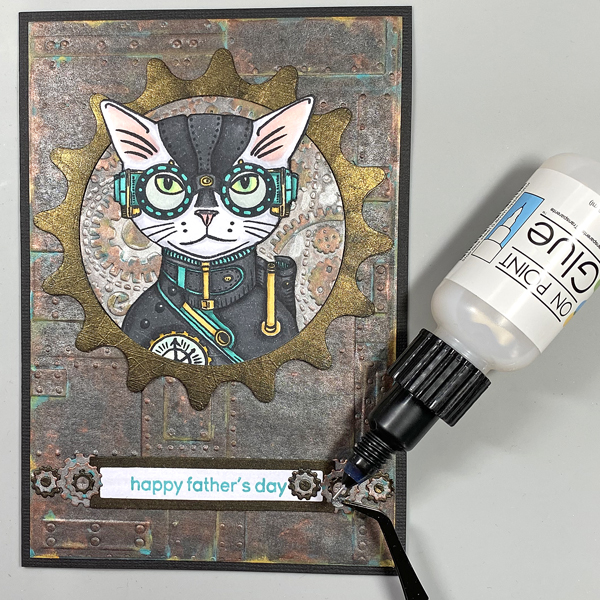
Use On Point Glue to adhere the gears, cogs, and screws to the sentiment die-cut.

Step 22:
Cut black cardstock to 10” x 7”. Score at 5” and fold to form a 5” x 7” card. Use Tear-It! Tape to adhere the image panel to the front of the card.

Finished Card

Crafts Supplies:

Imagine:

Other Supplies:

  • 140 lb. Black Mixed Media Paper by Strathmore
  • Raven Cardstock by Bazzill Basics
  • Solar White Classic Crest Cardstock by Neenah Designs
  • 5” x 7” Gel Press
  • 4” Brayer by Speedball
  • Foundry 3D Alterations Foundry Embossing Folder by Tim Holtz for Sizzix
  • Gears Alterations Embossing Folder by Tim Holtz for Sizzix
  • Sprightly Sprockets Shapeabilities Die Set
  • Nuts and Bolts Craftables Punch Die by Marianne Designs
  • Mini Gears Die Set by Memory Box
  • Premier Ink Blending Tools by Hunkydory Crafts
  • Premier Ink Blending Sponges by Hunkydory Crafts
  • Steampunk Pets Clear Stamp Set by Funky Fossil Designs
  • Classic Sentiments Clear Stamp Set by Hefty Doodle
  • Copic Markers
  • Spray Mister
  • Curved Craft Scissors by Fiskar’s
  • Heat Gun

Misti Stamping Platform by My Swe