Hello Friends! Katy here with another quick project for you. Today’s card is for Father’s Day, but as always you can use this design for what ever you need!
I decided to do a monochromatic theme. What’s that mean really? Well that simply means consisting of one color or hue. Today’s color or hue is blue. Great for masculine. Todays project also allows us to stretch our supplies by using a holiday background stamp, genius I know. Check out the video below for all the details.
Other Products Used • Affiliate links here https://ldli.co/e/qypqyed at no additional cost to you. Thank you for your support • Simon Says Stamp Poinsettia Background-No Longer Available, see below for other options • Kat Scrappiness Upper and Lower Case Condensed Alphabet dies • Spellbinders Cobalt Hot Foil • Spellbinders Ideal Moments BetterPress Plate • The Greetery Crimped Frames
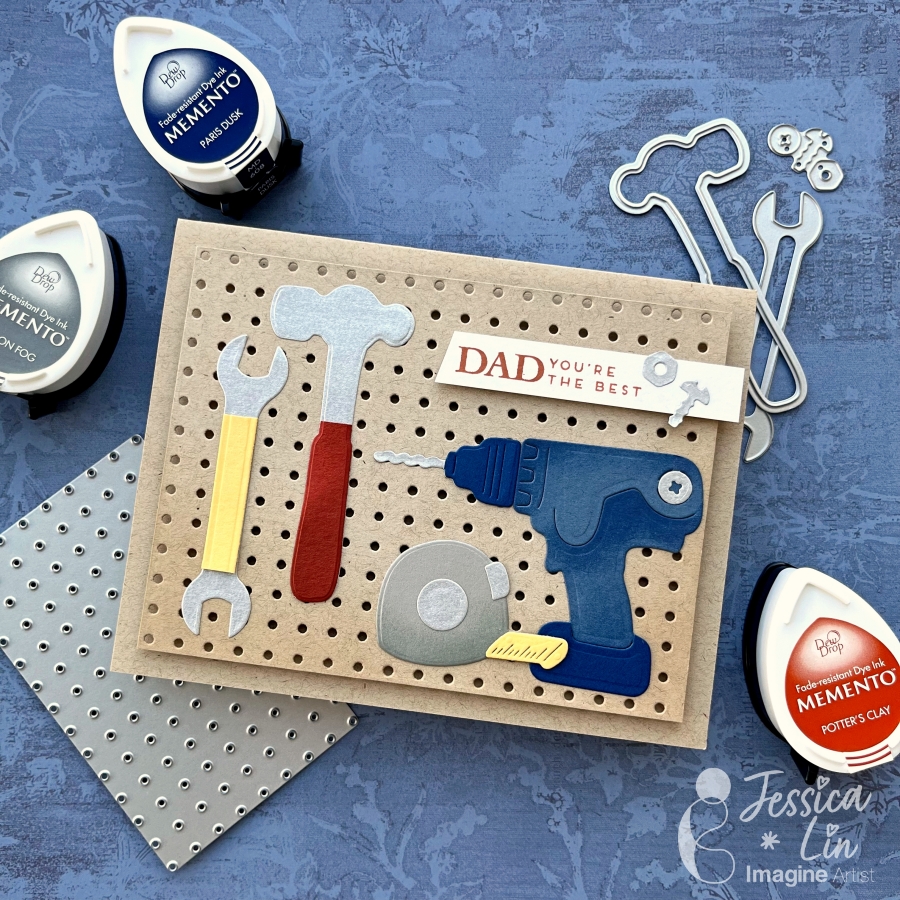
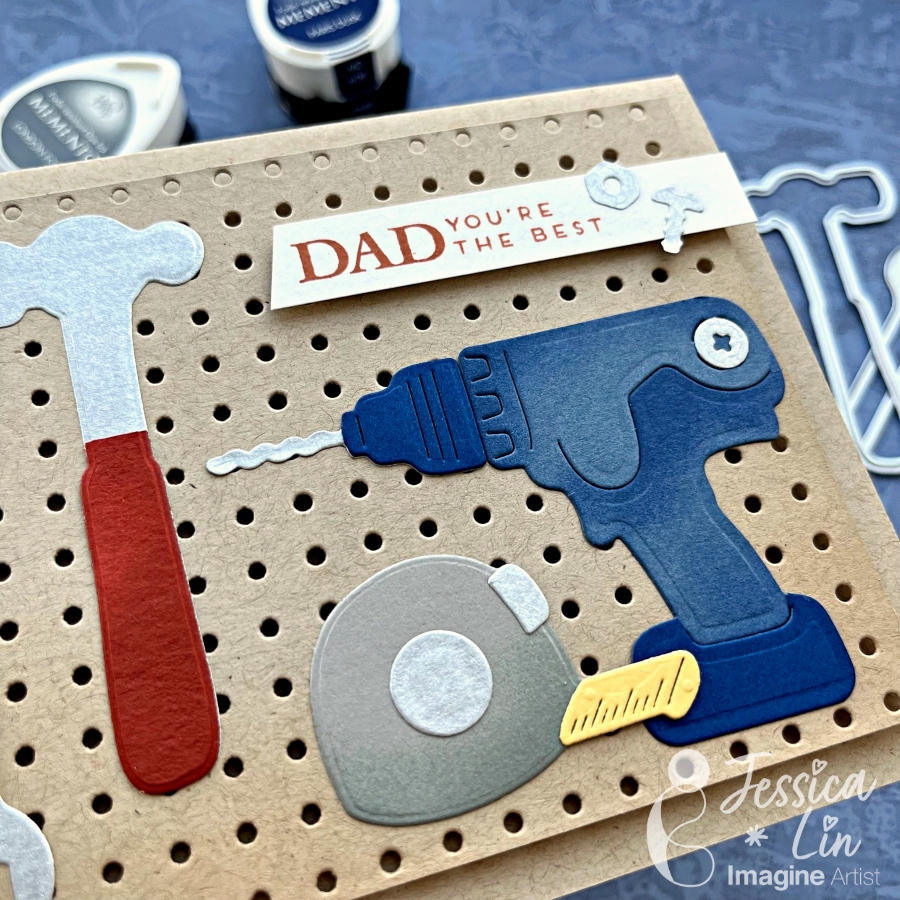
Hi everyone! It’s Jessica here. Today I would like to share a Father’s Day card that showcases different tools to thank my dad for all the home improvement projects he has done in the past year. I also ink blended Memento inks on the die cut pieces to create more depth. If you’d like to learn some tips and tricks on ink blending small paper elements, just keep reading!
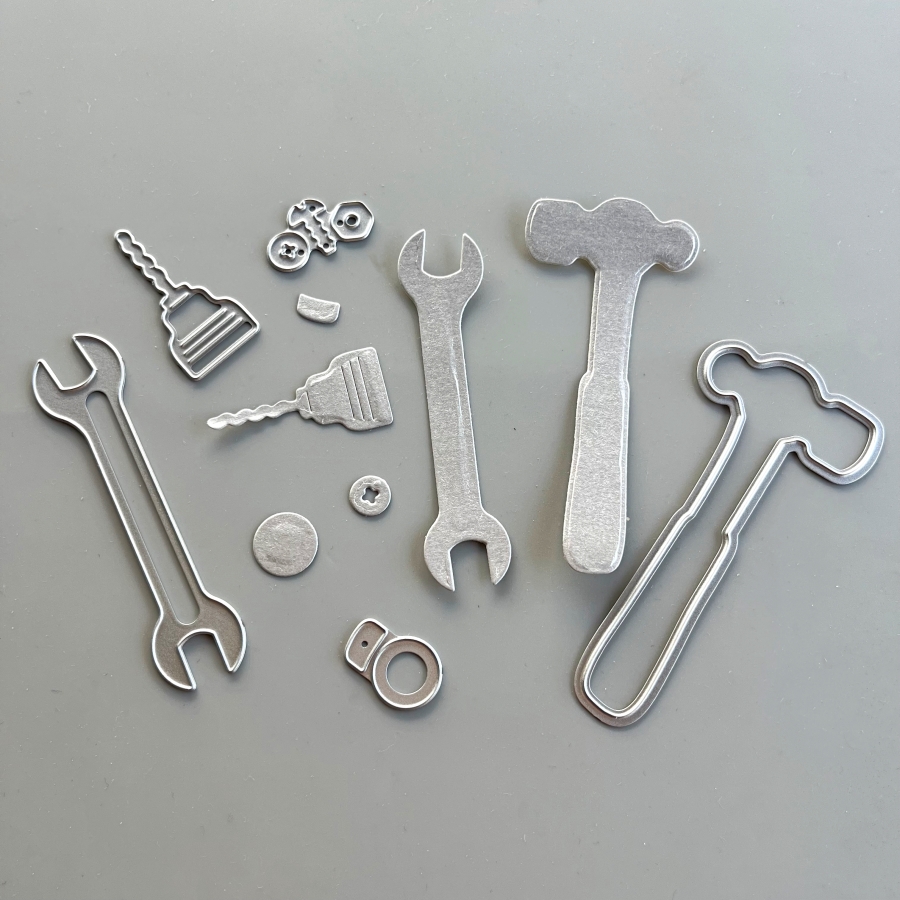
Step 1: First, I die cut several tools from a silver cardstock. I’ve had this paper for a long time since my scrapbooking days, and I am glad to finally use it again. I also adhered Stick It sheets to the back of the silver cardstock before die cutting, so that all of the elements are adhesive backed. This will make adhering to the small tool pieces easier and mess-free.
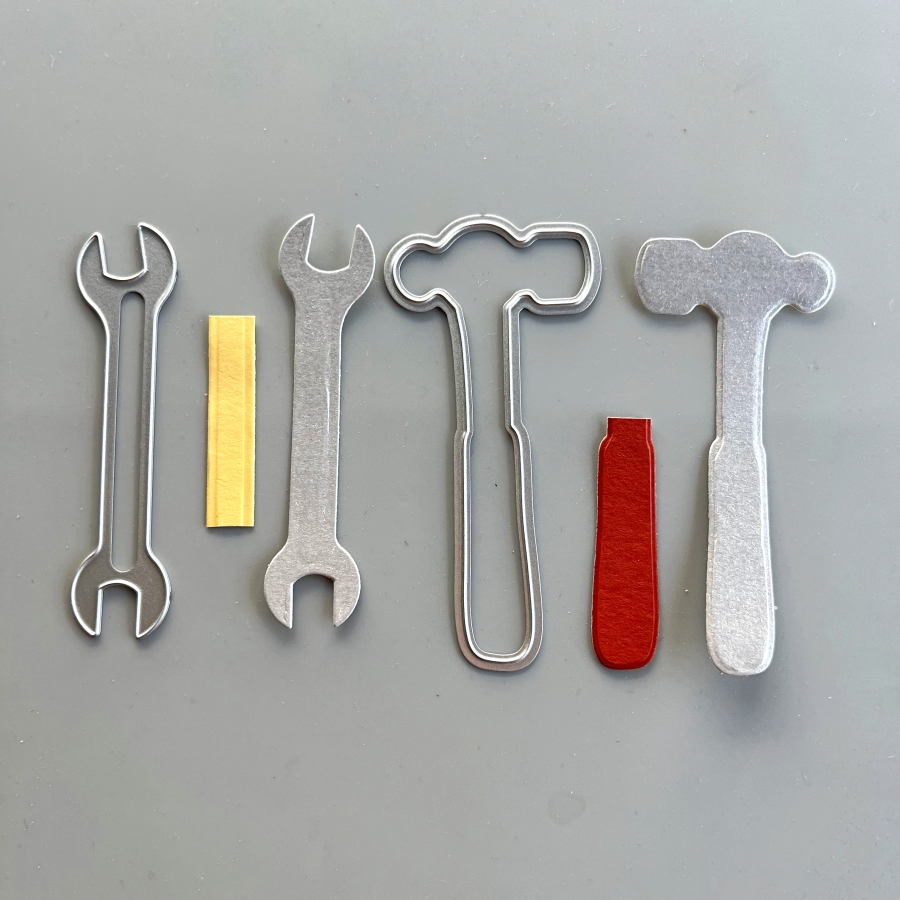
Step 2: Die cut again with colored cardstock to create the handles on the tools. I used So Saffron cardstock for the wrench and Cajun Craze cardstock for the hammer.
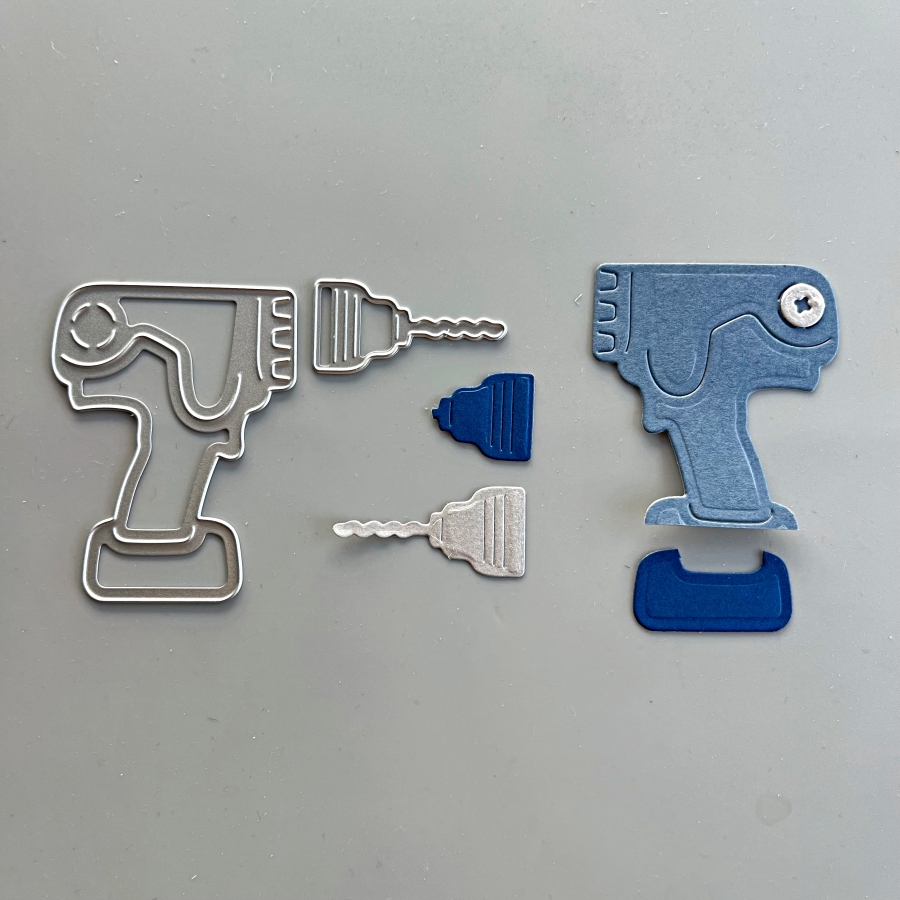
Step 3: For the power drill, I used Misty Moonlight and Blueberry Bushel cardstock. I also die cut a bolt from the silver cardstock to decorate this power drill.
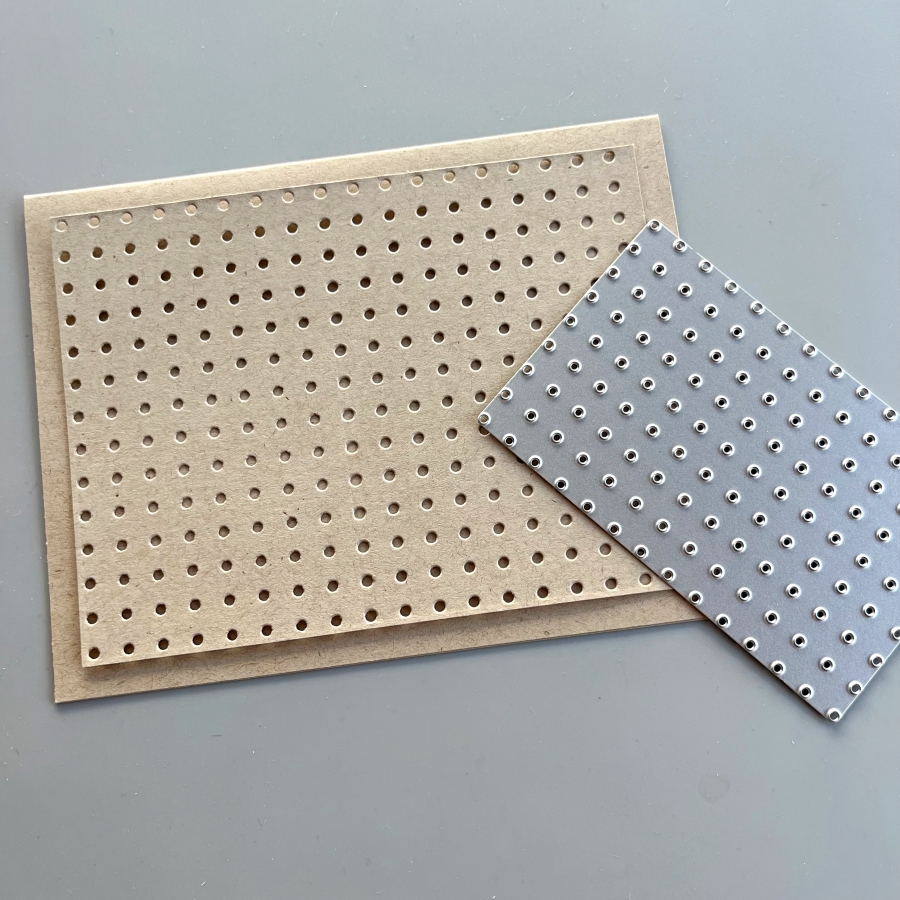
Step 4: One of the things I love about this die set is that it includes this pegboard die. You can extend the size of this die by matching up the holes on the die with a row of die cut holes and die cut again. They will fit like a puzzle and it almost feels like it is “locked” once the fitting is matched up.
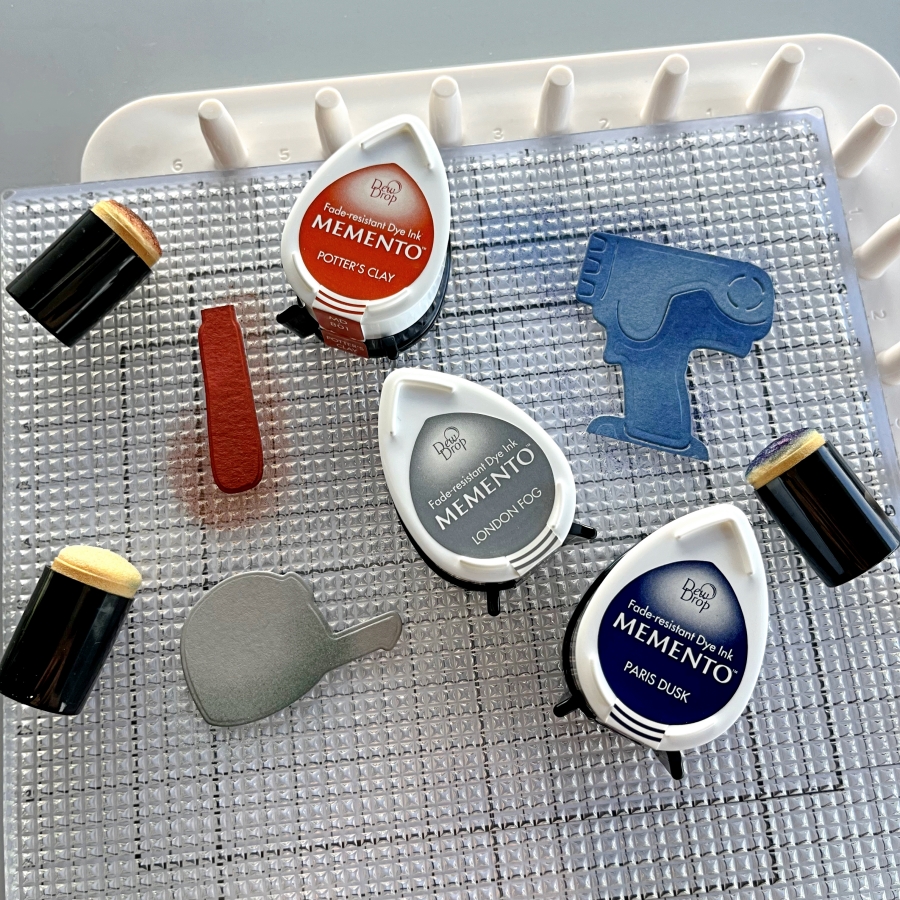
Step 5: I decided to dress up the die cuts further by ink blending the edges with Memento Inks. Since the die cut pieces are small, I opted for the small sponge daubers instead of my regular blending brushes. These small daubers are great for precise ink blending. I also lay the die cuts on Altenew’s Grip Mat, which conveniently secures the paper pieces and ink pads so they don’t shift around when ink blending.
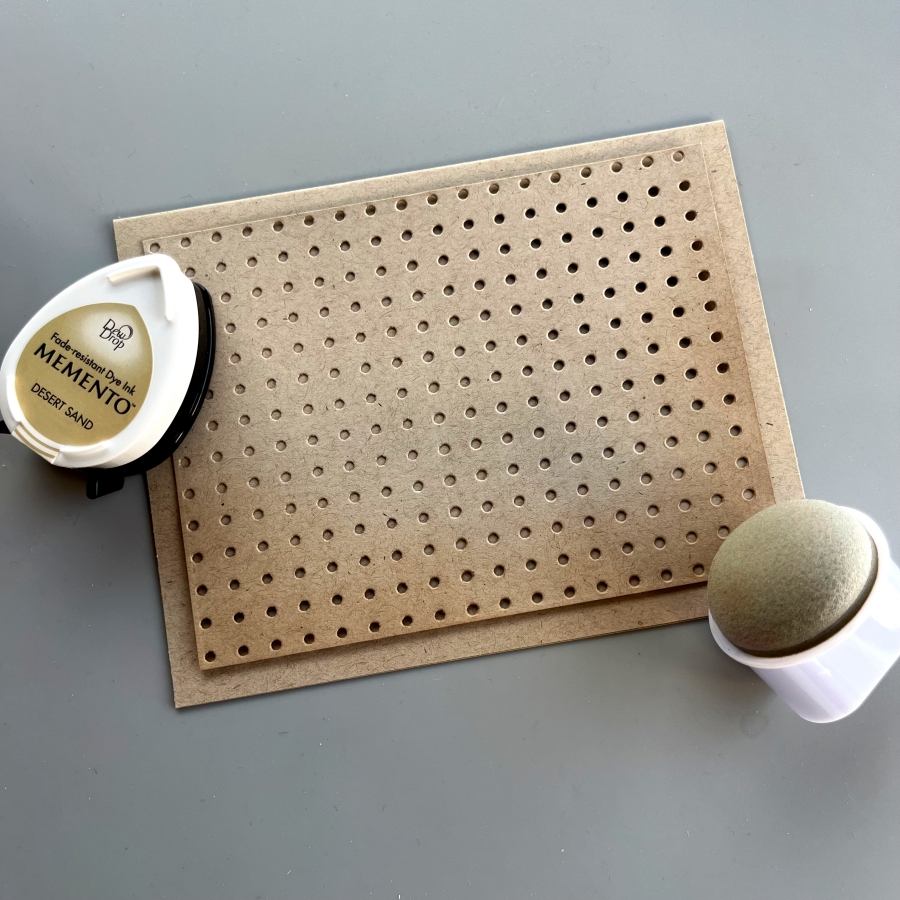
Step 6: The Jumbo Dauber is also a great blending tool. I used Desert Sand Memento Ink to add some shadows to the bottom edges of the pegboard piece.
Step 7: Finally, I adhered the pieces with Tear It Tape and stamped the sentiment from Stampin Up’s Heartfelt Hello set. This card was fun to put together and I hope you enjoyed it.
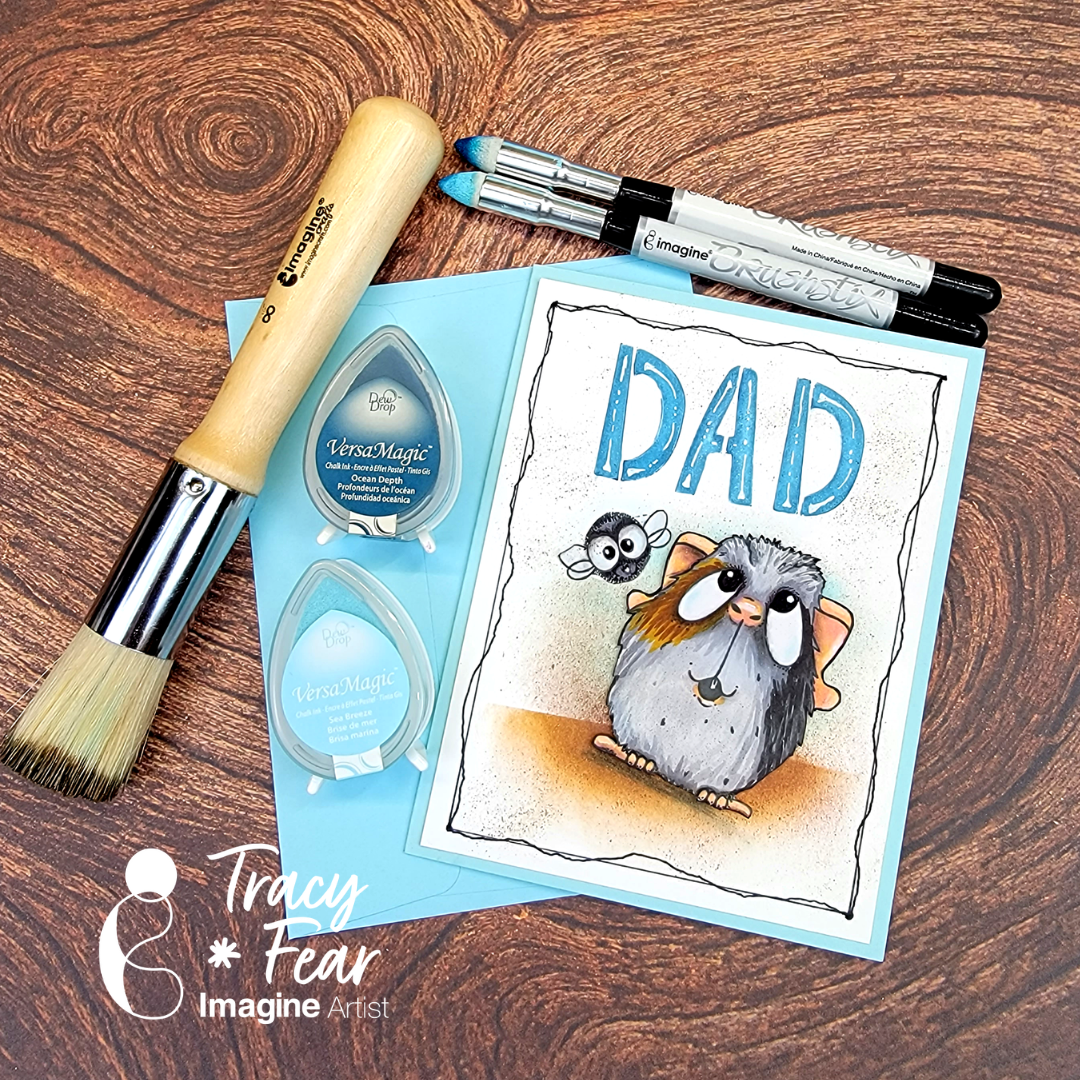
Hello Friends! Tracy here and today I am excited to share this fun and quirky little Father’s Day card created with a family funny bone element!
In today’s video tutorial I am sharing how to get dimensional effects out of your lettering stencils and how to create background noise using our #8 Stippling Brush and our Brushstix along with some of our most popular inks!
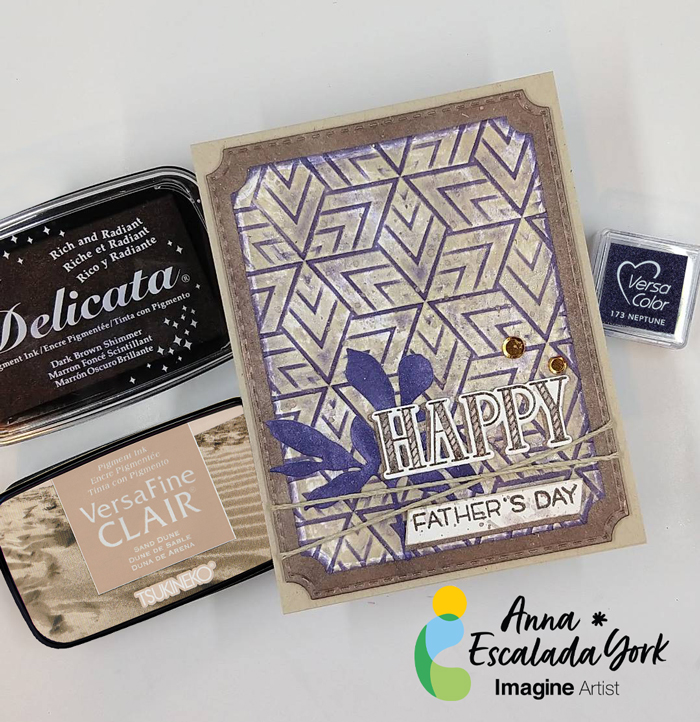
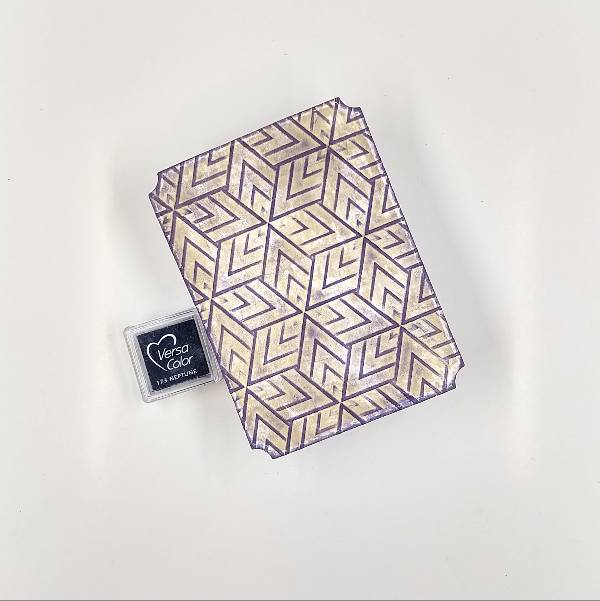
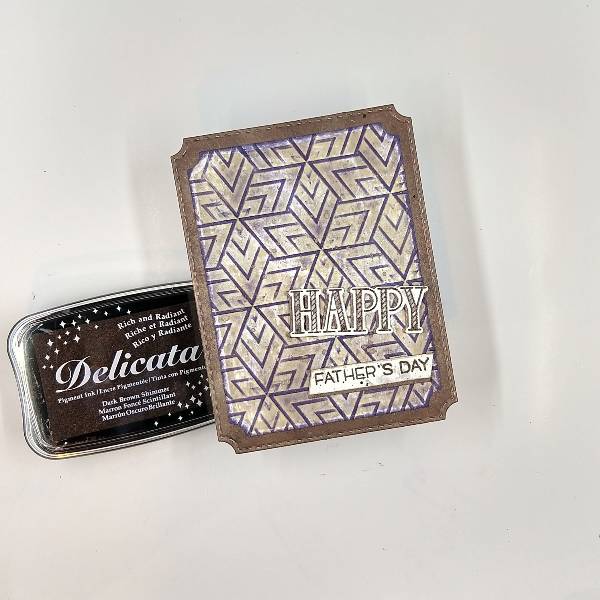
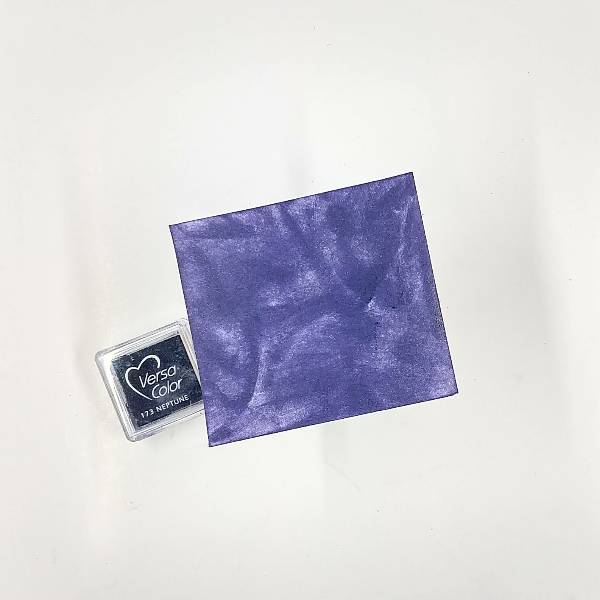
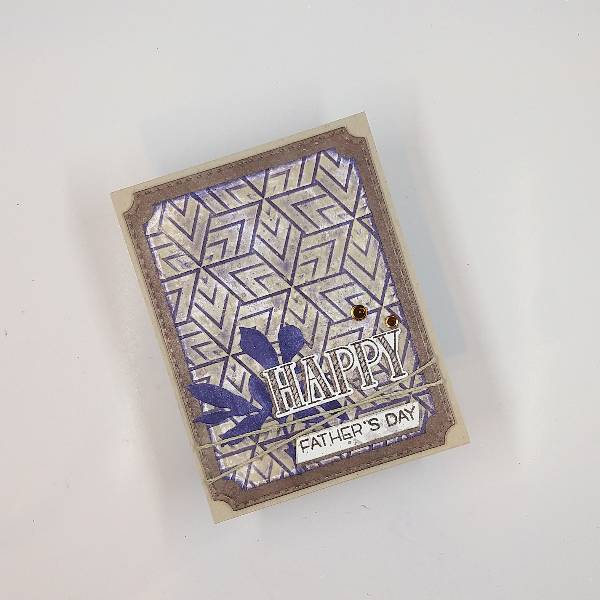
I wanted to make my Father-In-Law’s Father’s Day Card with a variety of browns and a pop of another color. So I picked Neptune VersaColor ink for a pop of color on the monochromatic background.
Skill: Intermediate Time: 1.5 hours
Directions:
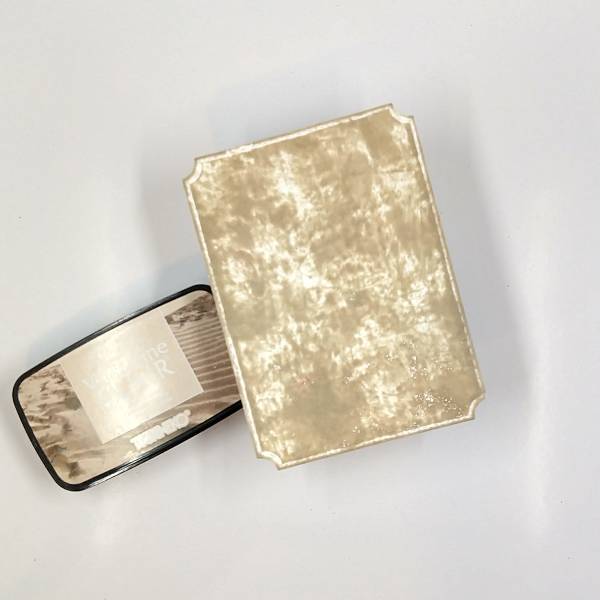
Step 1: Die cut a piece of watercolor paper with the second-largest die in an A2-sized die set. Press a Sand Dune VersaFine Clair Ink onto the watercolor panel.
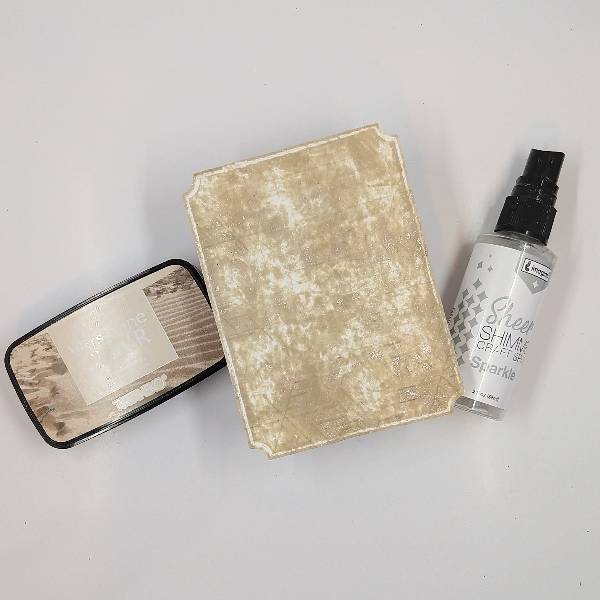
Step 2: Spray Sparkle Sheer Shimmer Craft Spray onto an embossing folder and then emboss the Sand Dune colored panel by running it through a die cutting machine between the two sides of the embossing folder. Allow the panel to dry.
Step 3: Glide a Neptune VersaColor ink across the panel. The raised (embossed) parts of the panel will be colored with the Neptune ink, and the debossed parts of the panel will stay the Sand Dune color. Then run the Neptune VersaColor pad across the edges of the panel to color the border of the panel as well.
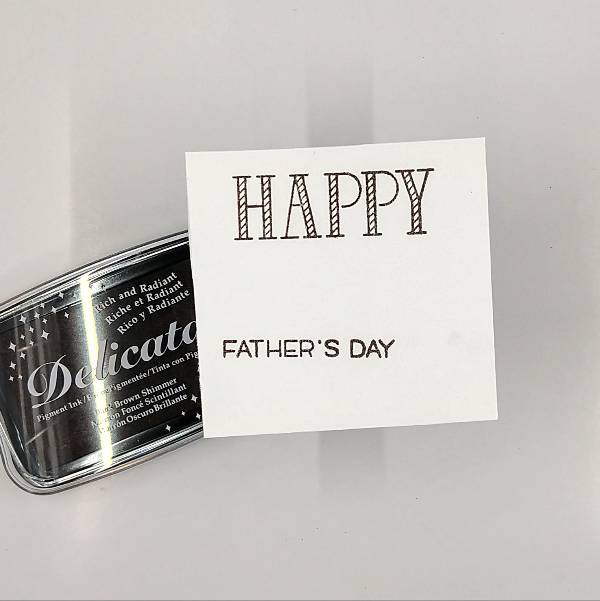
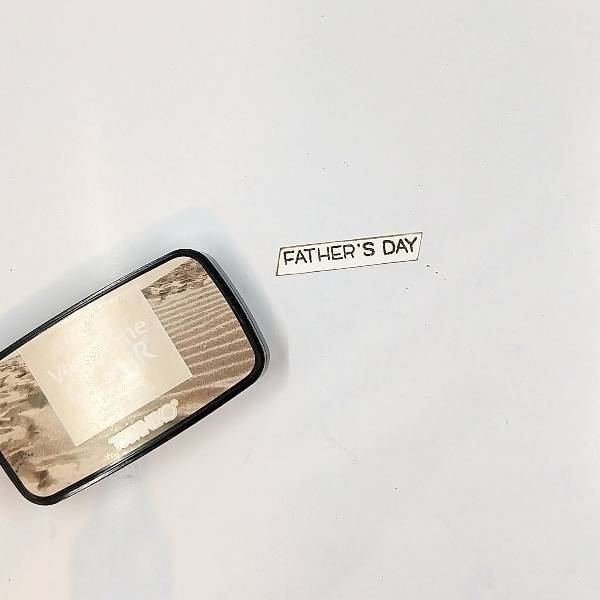
Step 4: Stamp the card’s sentiments (both the larger “happy” and the “Father’s Day” subsentiment) on another piece of watercolor paper with Dark Brown Shimmer Delicata ink and then heat emboss both of them with clear embossing powder. Set this aside as well.
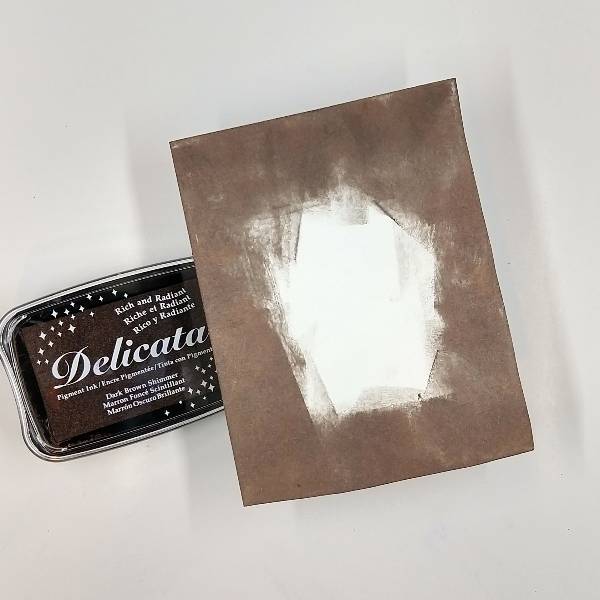
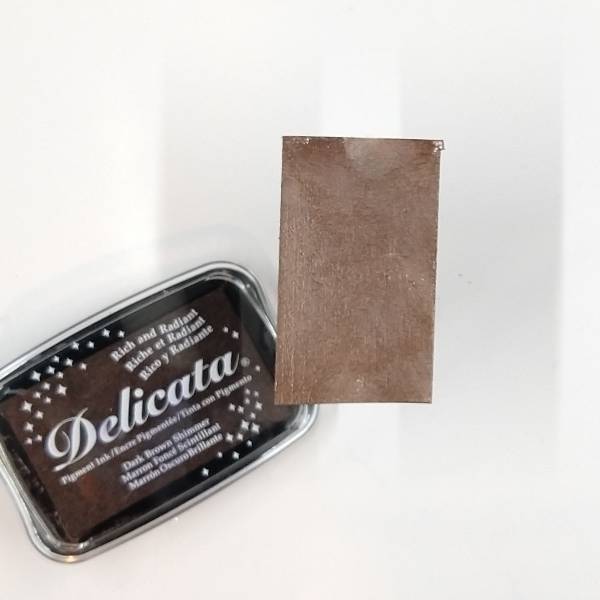
Step 5: Press the Dark Brown Shimmer Delicata Ink Pad onto the edges of a watercolor panel until achieving a thick, dark brown border. This panel will become the matte layer of the card.
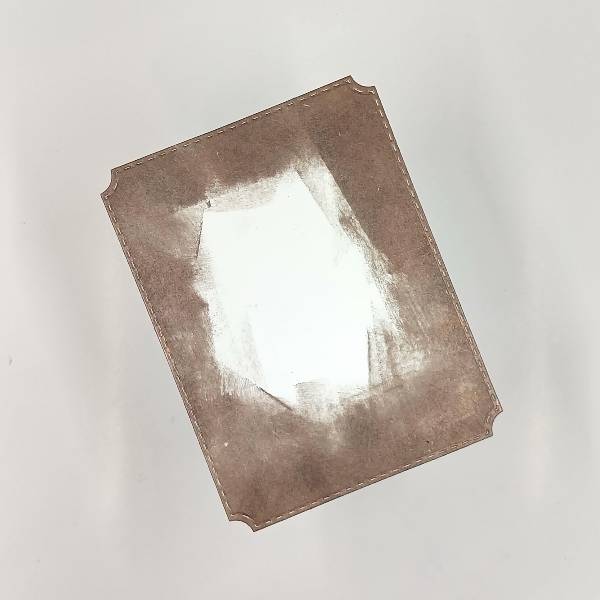
Step 6: Using the largest die from the A2-sized die set, die cut the dark brown panel . Glue the two panels together and set aside.
Step 7: Trim the sub-sentiment with a paper trimmer. Press the edges of the sentiment strip into the Sand Dune VersaFine Clair ink pad and set the sentiment strip aside to dry.
Steps 8 and 9: Press the Dark Brown Shimmer Delicata ink pad onto another small piece of watercolor paper.
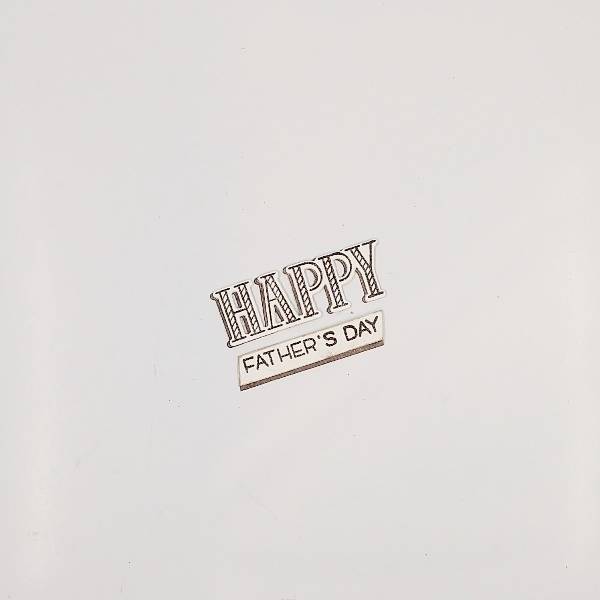
Not pictured: Die cut the larger “Happy” sentiment from step 4 with the corresponding die. Then die cut a piece of the Dark Brown Shimmer colored watercolor paper with the same die to create two layers of the die cut.
Step 10: Glue the two die cut sentiment layers together, with the dark brown layer peeking out on the left side of the stamped (top) layer. Using some of the remaining dark brown watercolor paper from the last step, cut a thin strip to glue on the bottom of the sub sentiment. Glue the thin brown strip behind the sub sentiment as well as some scrap cardstock to make the sub sentiment three layers deep for strength and dimension. Set them both aside.
Step 11: Press the Dark Brown Shimmer Delicata ink pad onto a piece of acetate packaging and mix with water. Splatter the panels and the sub sentiment with the dark brown splatter. Paint the large “happy” sentiment letters with some of the remaining brown-tinted water. Set it all aside to dry.
Step 12: Press a Neptune VersaColor ink pad onto another small piece of watercolor paper. Set it asde for the ink to dry.
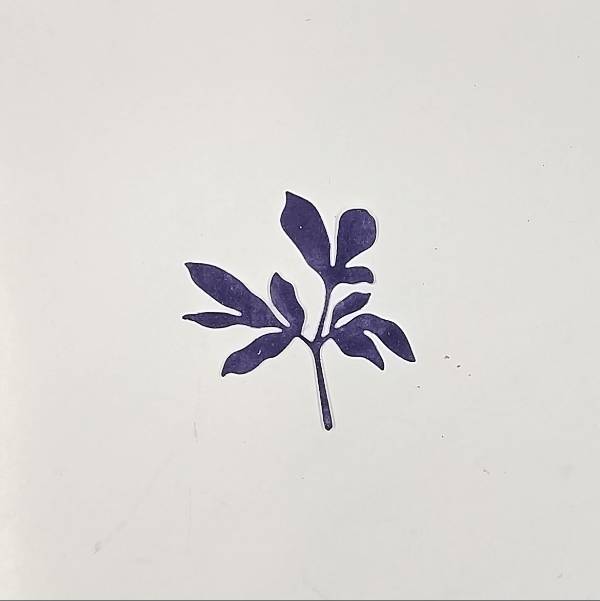
Step 13: Die cut the Neptune-colored watercolor paper with a leaf die.
Step 14: Assemble the card. If desired, add some twine and attach to the back of the card panels with washi tape and then add foam tape on the back so the card base will lay flat when attached to the kraft A2-sized card base. Then glue some brass-colored sequins near the sentiment to finish the card.
Hi everyone! I think I found my go-to die set for making cards for guys! It’s always been hard for me to come up with masculine card designs. This Brewed die set featuring beers, ale, and wine is gender-neutral and just perfect for a Father’s Day card.
Skill: Intermediate Time: 30 minutes
Step 1: Ink blend a gingham pattern using the Artistic Mix masks with Memento Paris Dusk ink. I like to emphasize certain areas and use a light hand for others to create variations of shades.
Step 2: Die cut the beer and hops elements using different color cardstock.
Step 3: To add some foamy details to the beer foam, apply a layer of Radiant Neon Amplify! Then heat set with your heat gun until a bubbly texture starts to puff up. I haven’t used these in a long time and was surprised with how well the result looked! There’s no waiting time for drying, either. Just heat set as soon as you apply the liquid layer.
Step 4: Assemble the die cut elements with Tear-It Tape and foam tape. I used On Point Glue to adhere the two “Cheers” die cuts. The fine tip nozzle is really handy for applying small amounts of glue to intricate die cuts. For the final step, I heat embossed the sentiment with white Mboss powder and that completes the card!
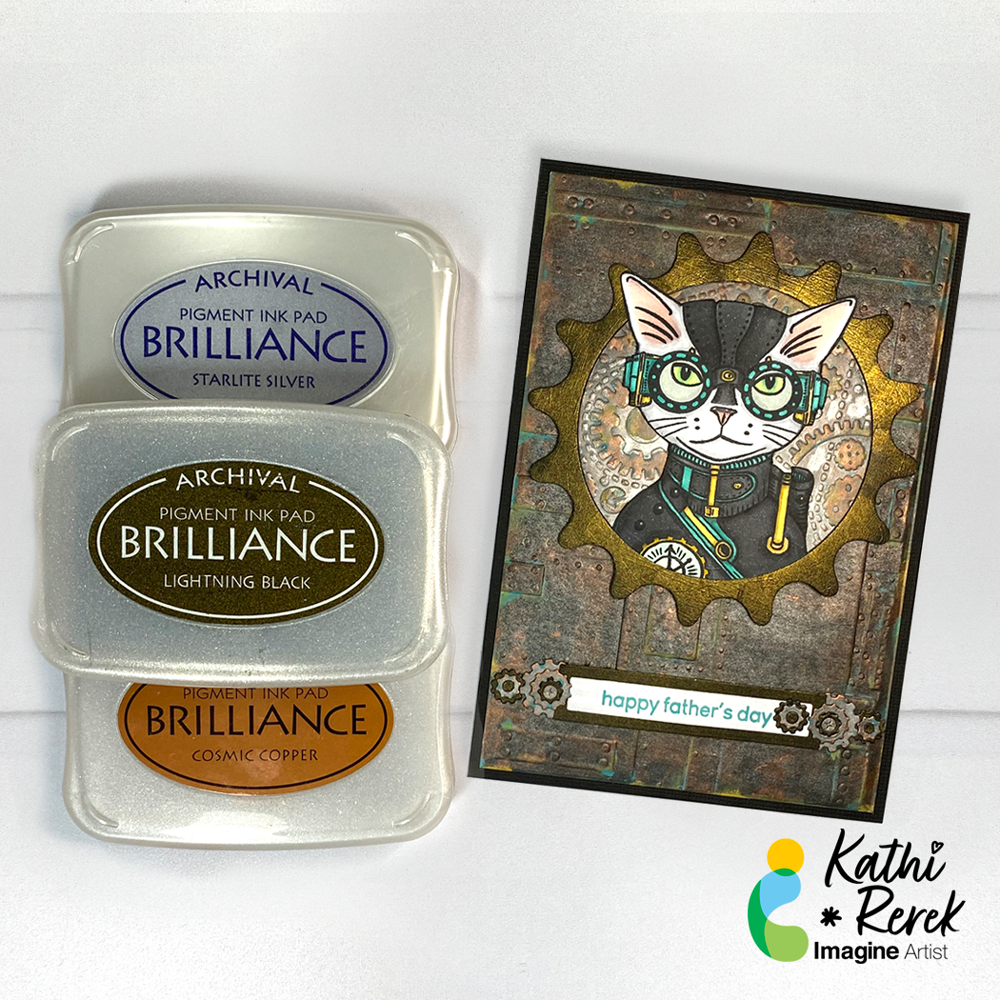
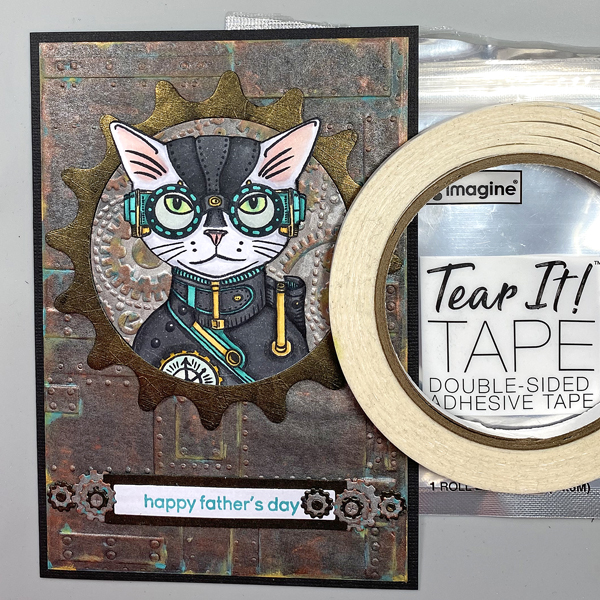
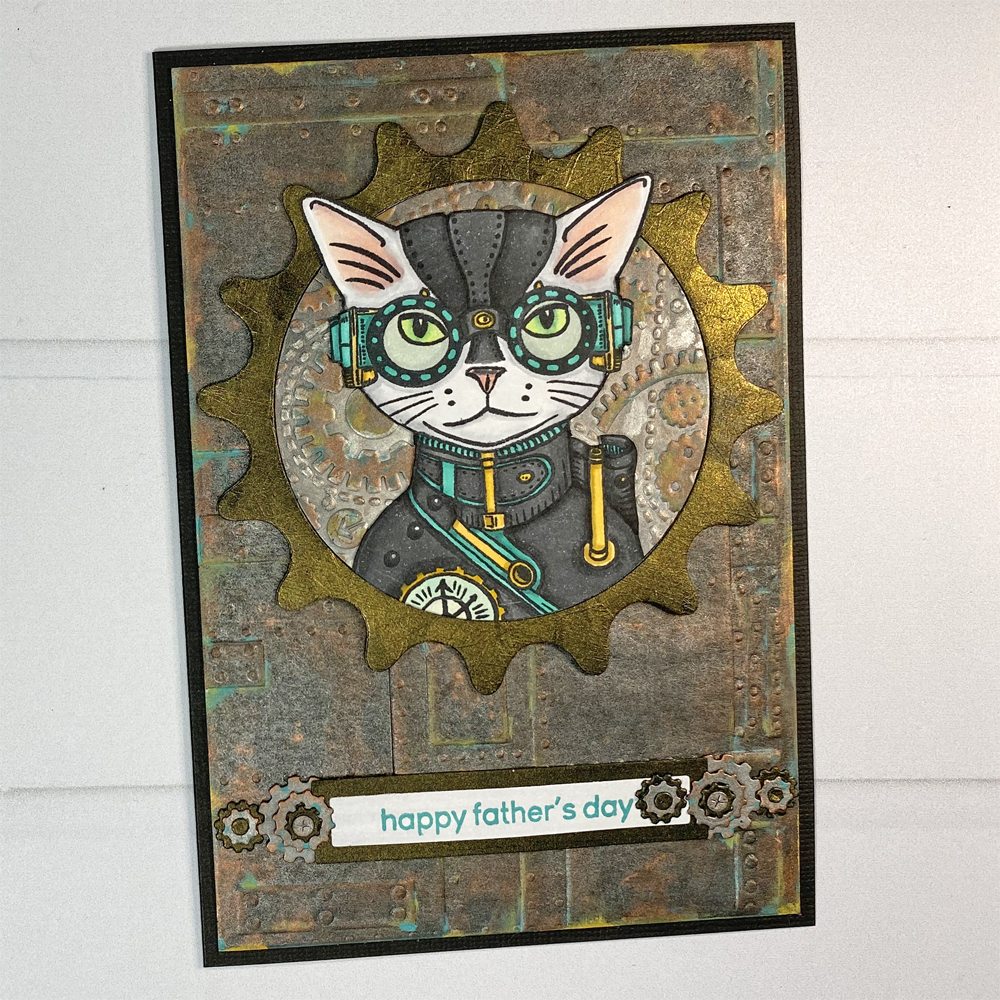
I’m continuing my experimentation with Metallic Brilliance Inks with this Father’s Day card using two of my favorite themes – cats and Steampunk!
Skill Level: Advanced Time: 2.5 Hours
Directions:
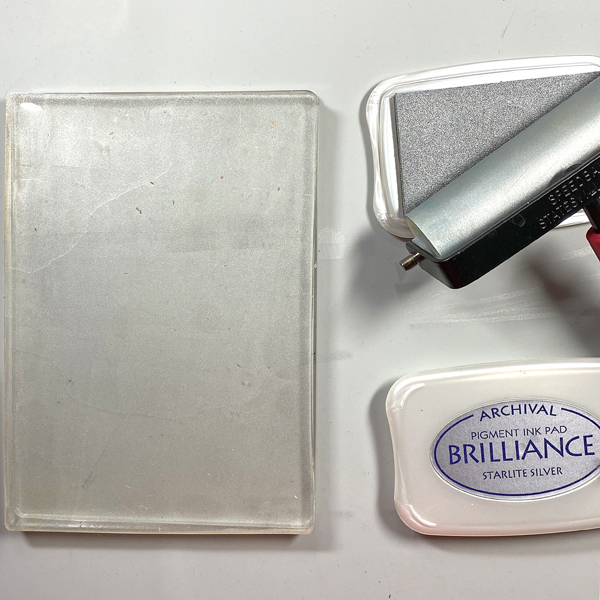
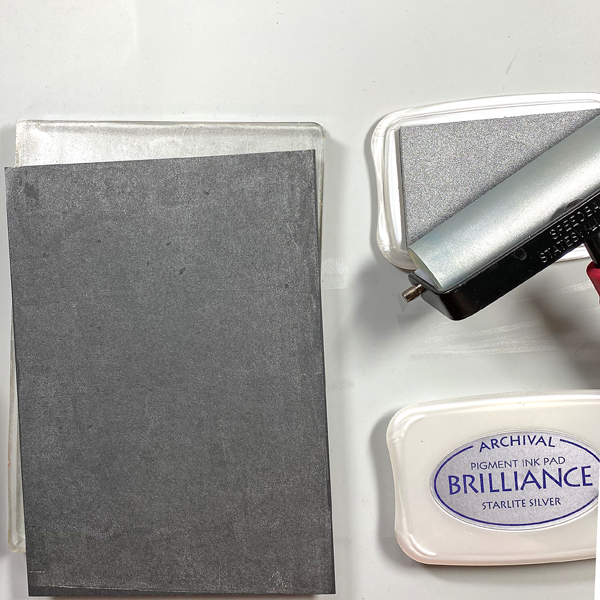
Step 1: Use a brayer to apply Starlite Silver Brilliance Ink to a 5” x 7” Gel Press. Place a piece of black mixed media paper onto the Gel Press. Smooth the back of the paper to transfer the in and pull a print.
Step 2: Repeat Step 1 to enhance the coverage.
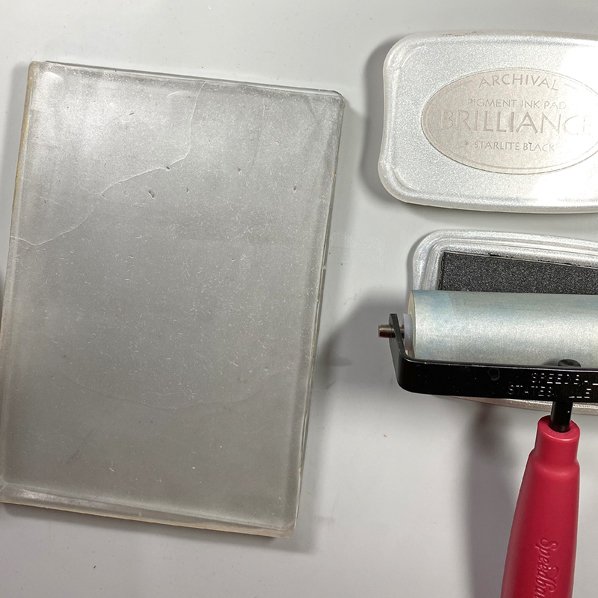
Step 3: Clean the brayer, then use it to apply Starlite Black Brilliance ink to the Gel Press. Place the print back onto the Gel Press inked side down. Smooth the back of the paper, then pull the print. Heat set the inked paper, then clean the brayer and the Gel Press.
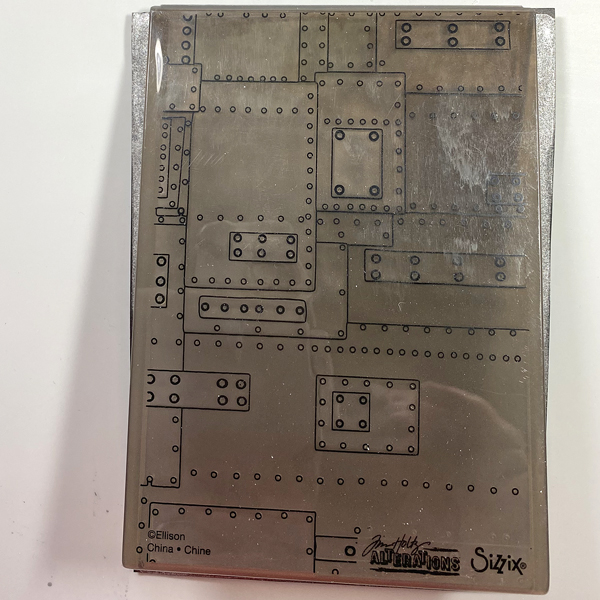
Step 4: Place the inked black mixed media paper into the Foundry 3D Alterations Embossing Folder. Spritz the back of the paper with water. Close the folder and run it through a die-cut machine.
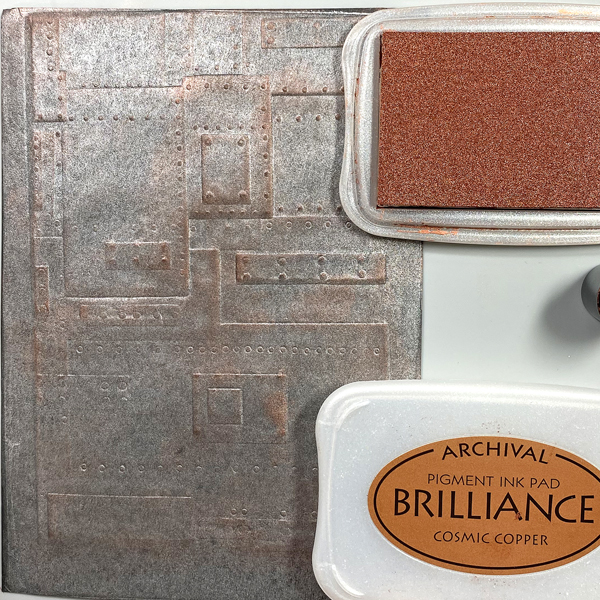
Step 5: Use a Sponge Dauber to apply Cosmic Copper Brilliance Ink to the high points of the embossed paper. Heat set.
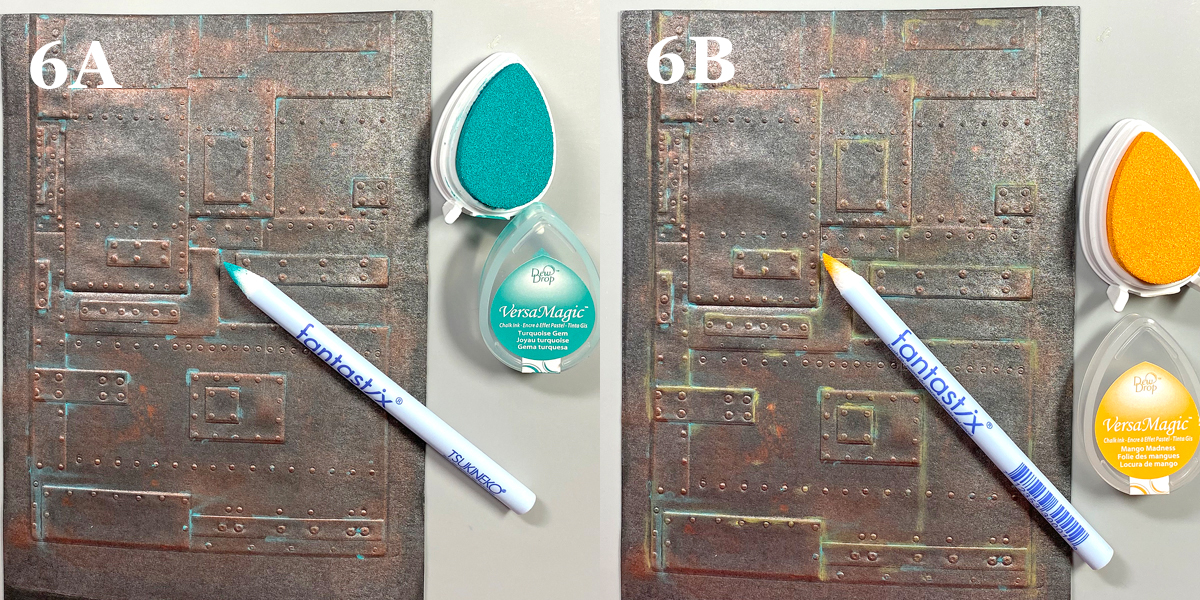
Steps 6A and 6B: Use Fantastix to apply Turquoise Gem VersaMagic Ink randomly to the high points of the embossed paper (6A). VersaMagic Ink has a matte chalk finish which comes out when it’s heat embossed.
Use another Fantastix to Apply Mango Madness VersaMagic Ink randomly to the high points of the embossed paper (6B). Heat set the panel and set aside.
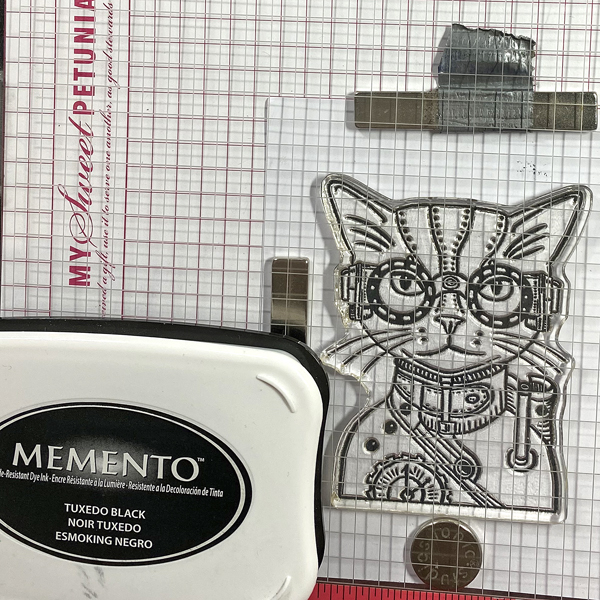
Step 7: Use Tuxedo Black Memento Ink to stamp the cat from the Steampunk Pets Clear Stamp Set onto white cardstock.
Step 8: Fussy-cut the image and use Copic markers to color it. Use a dark marker to edge the cut image. Set aside.
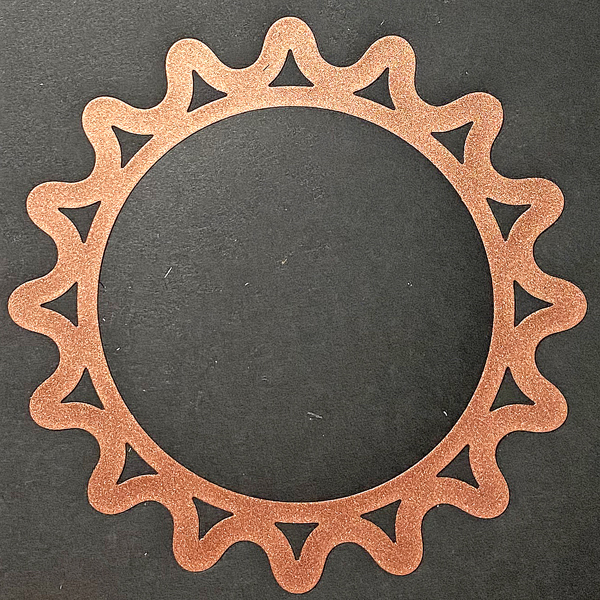
Step 9: Use the largest die from the Sprightly Sprockets Shapeabilities Die Set to cut black mixed media cardstock two times. You will end up with two cogs and two circles.
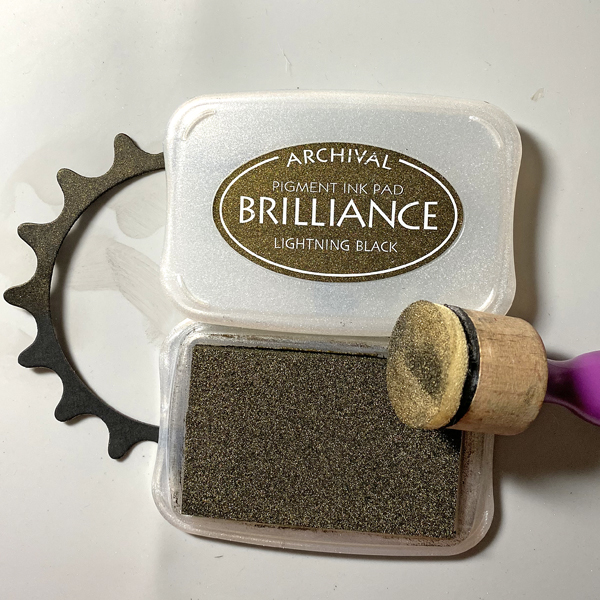
Step 10: Sponge Lightning Black Brilliance Ink over one of the cog die-cuts and one of the circles. Heat set both.
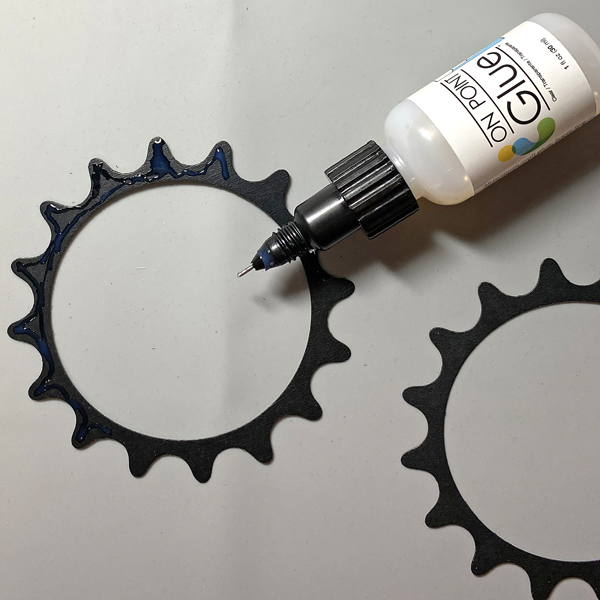
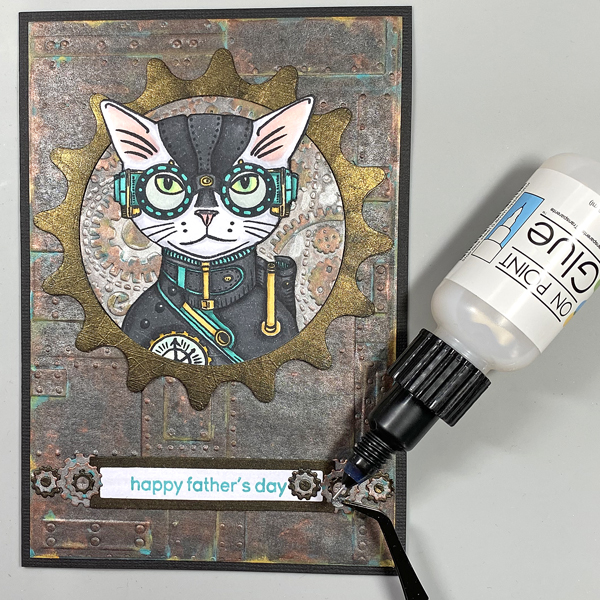
Step 11: Use On-Point Glue to adhere the inked cog atop the other one.
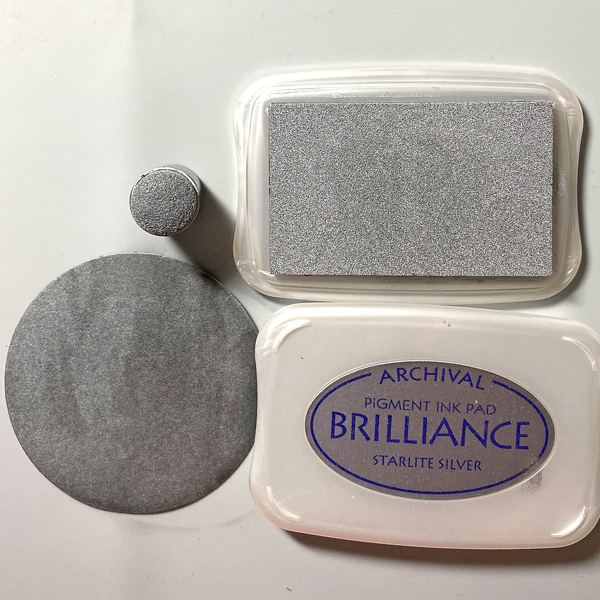
Step 12: Use a Sponge Dauber to apply Starlite Silver Brilliance ink to one of the circles from Step 9. Heat set.
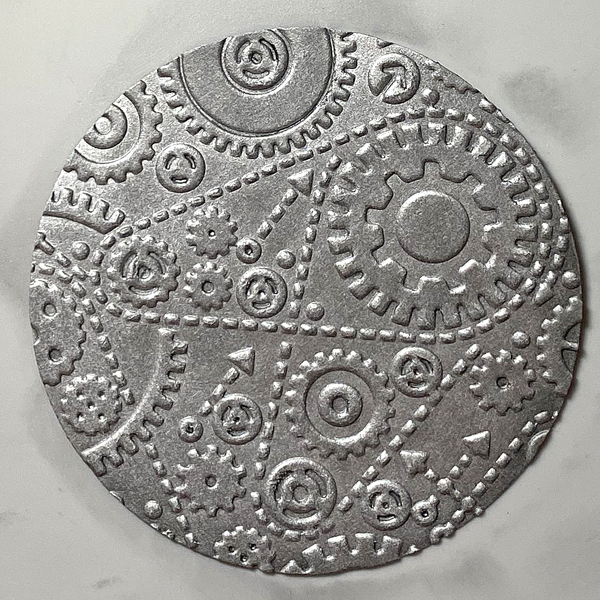
Step 13: Place the silver-inked circle into the Gears Alterations Folder and run it through a die-cut machine.
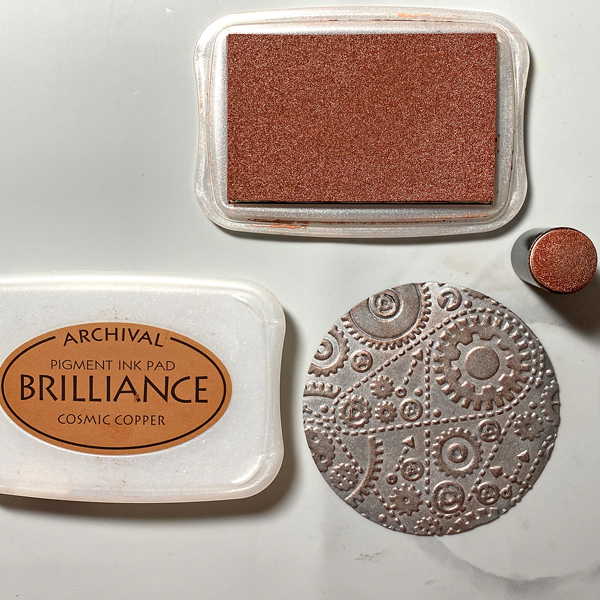
Step 14: Use a Sponge Dauber to apply Cosmic Copper Brilliance Ink to the high points of the embossed circle. Heat set.
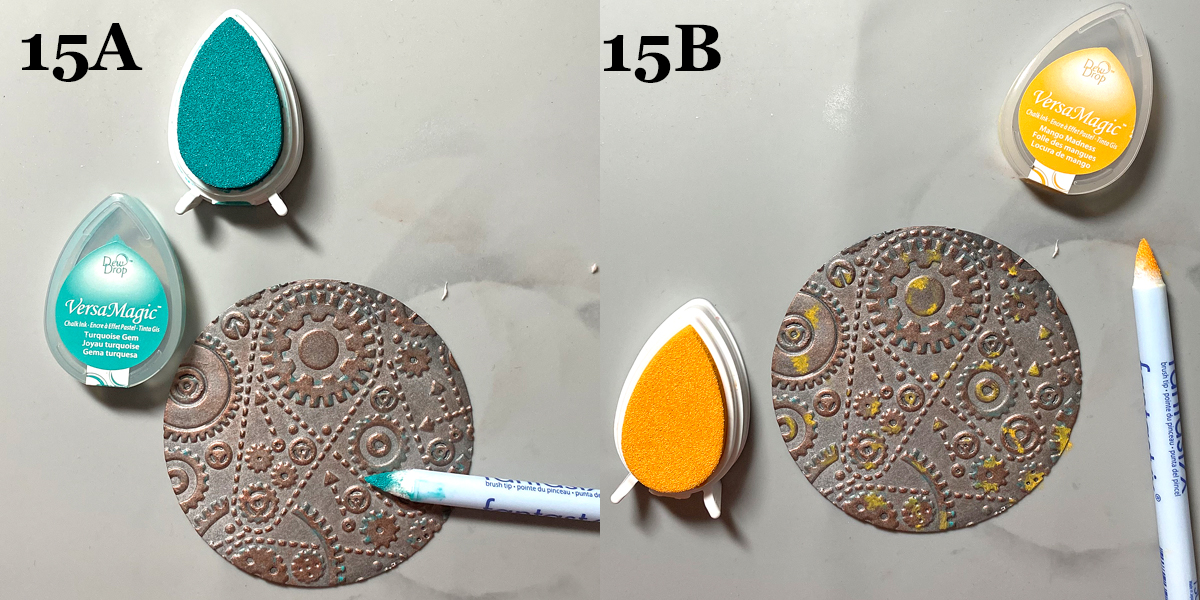
Steps 15A and 15B: Use Fantastix to apply Turquoise Gem VersaMagic Ink randomly to the high points of the embossed paper (15A).
Use another Fantastix to Apply Mango Madness VersaMagic Ink randomly to the high points of the embossed paper (15B).
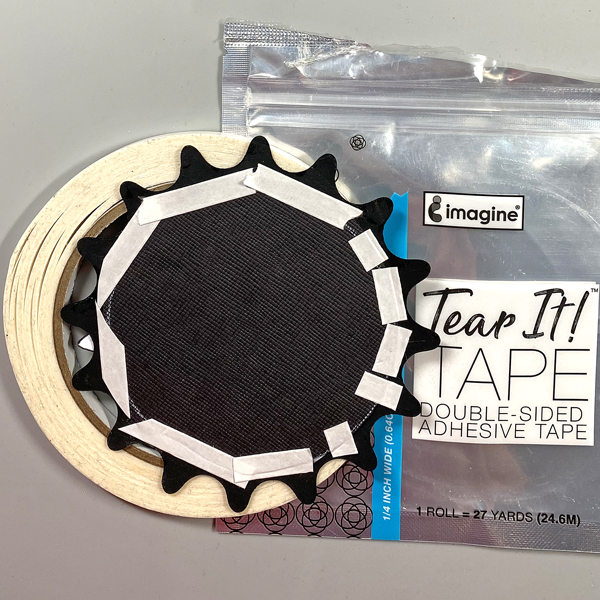
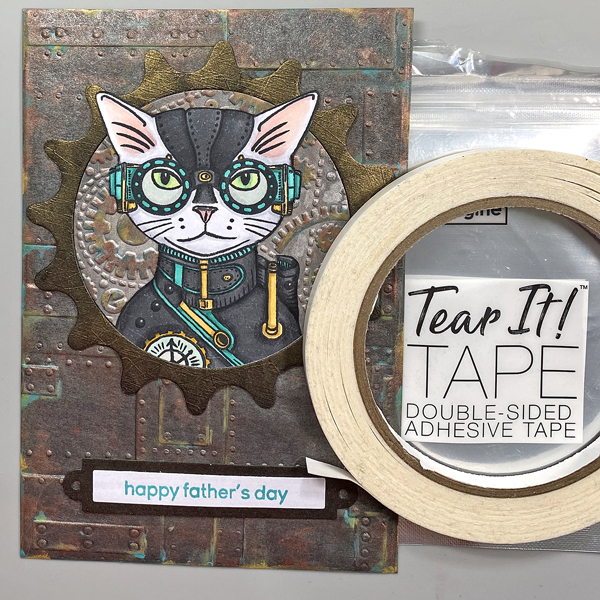
Step 16: Use Tear It! Tape to adhere a slightly larger circle to the back of the stacked cog die-cuts.
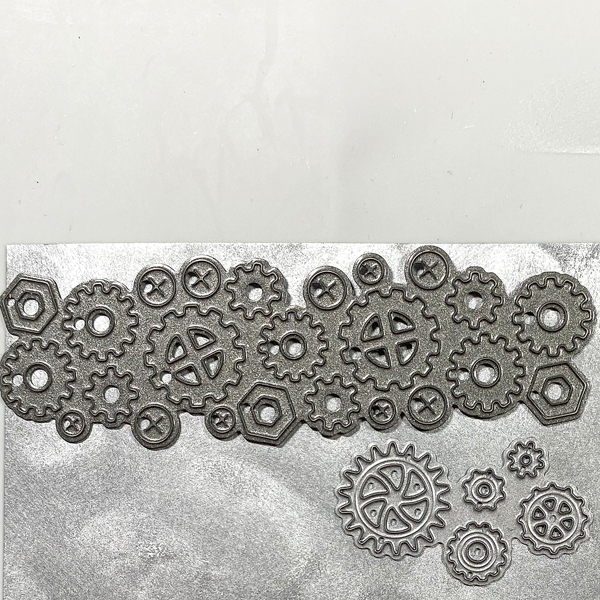
Step 17: Use a Sponge Dauber to apply Starlite Silver Brilliance Ink to a strip black mixed media paper. Sorry that there’s no photo. Use cog dies to cut the silver-inked black paper.
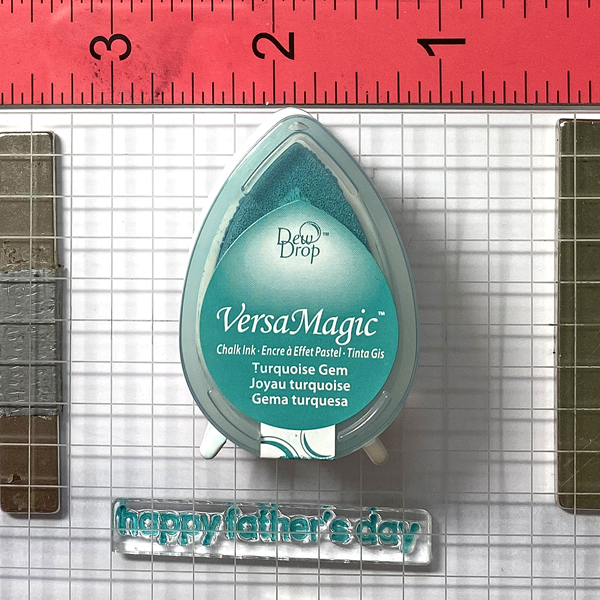
Step 18: Use a C2 Copic marker to color a piece of white cardstock. Use magnets to secure the colored cardstock onto a stamping platform. Place the “Happy Father’s Day” sentiment stamp facedown on the colored cardstock. Ink the stamp with Turquoise Gem VersaMagic Ink and stamp. Repeat inking and stamping if necessary to attain a good impression. Remove the stamped cardstock from the stamping platform and heat set the ink.
Step 19: Use a rectangle die to cut the sentiment. Use the matching nameplate die to cut the Lightning Black circle. Adhere the sentiment die-cut atop the nameplate die. Sorry that there’s no photo.
Step 20: Use Tear-It! Tape to adhere the embossed circle and the Steampunk Cat onto the cog die-cut. Use the tape to adhere the sentiment as shown.
Step 21: Use On Point Glue to adhere the gears, cogs, and screws to the sentiment die-cut.
Step 22: Cut black cardstock to 10” x 7”. Score at 5” and fold to form a 5” x 7” card. Use Tear-It! Tape to adhere the image panel to the front of the card.