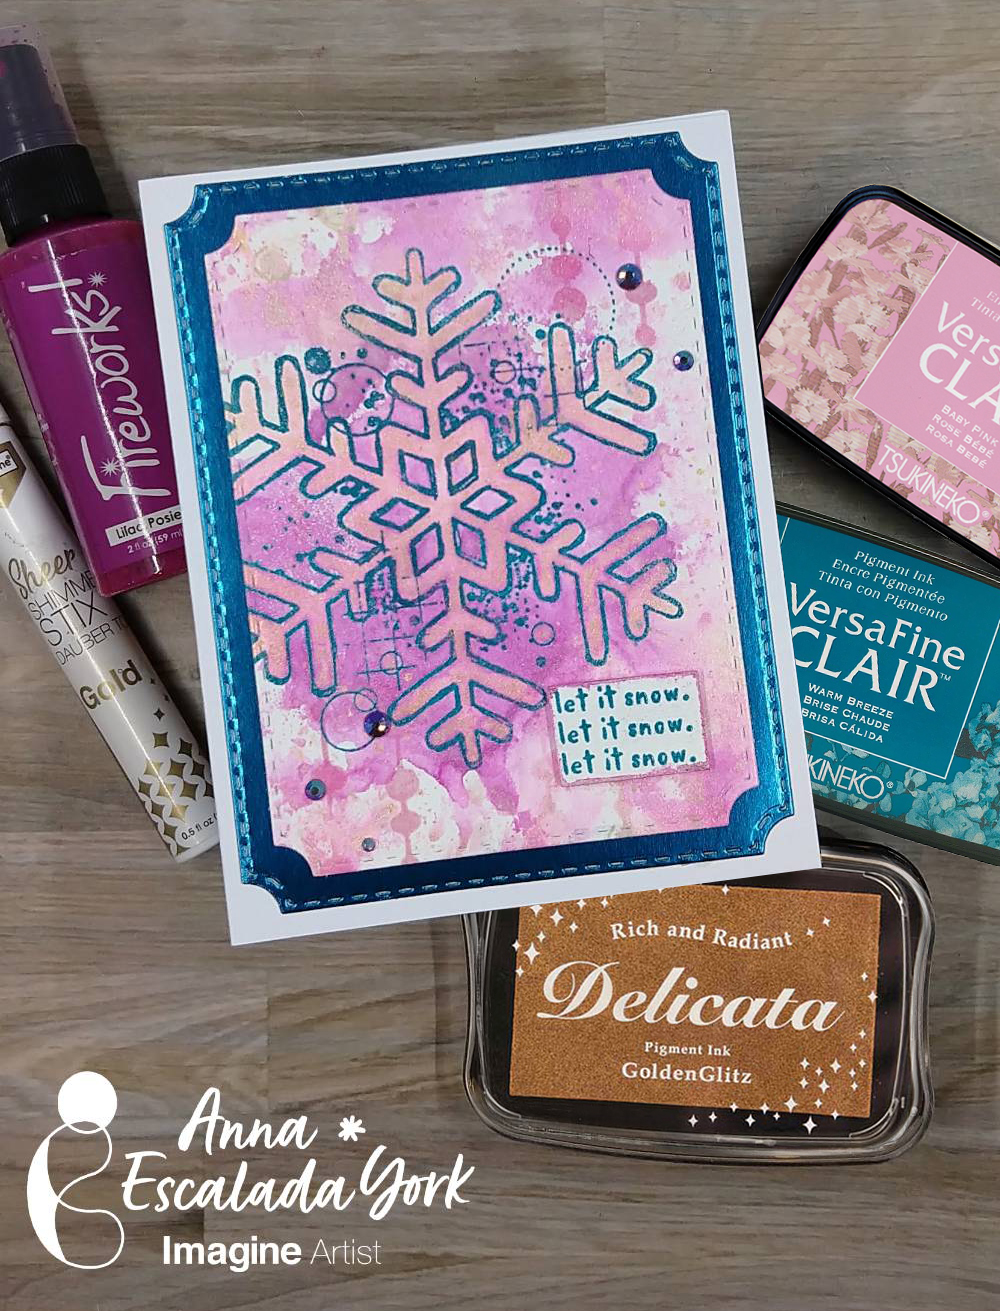
By Anna Escalada York
It’s July, so bring on the holiday cards! I personally love non-traditional colored holiday cards and so created one in pink, blue and purple.
Skill: Intermediate
Time: 1.0 hour
Directions:
Step 1:
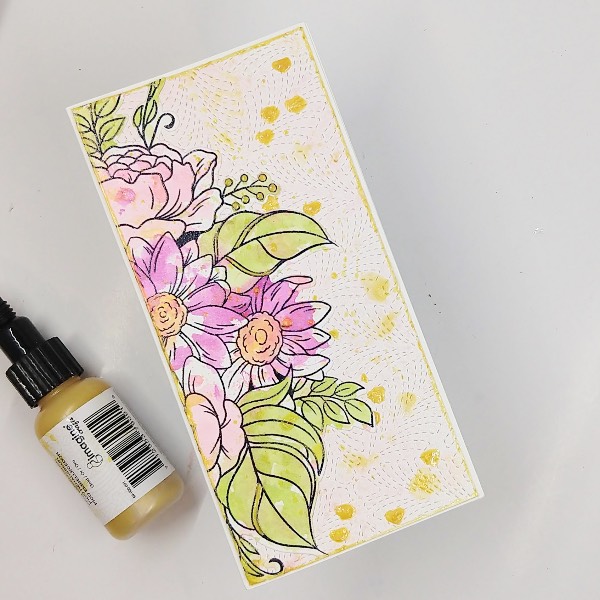
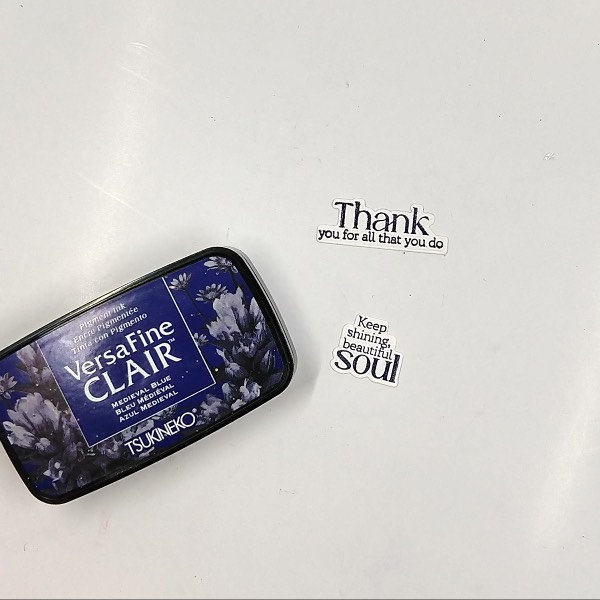
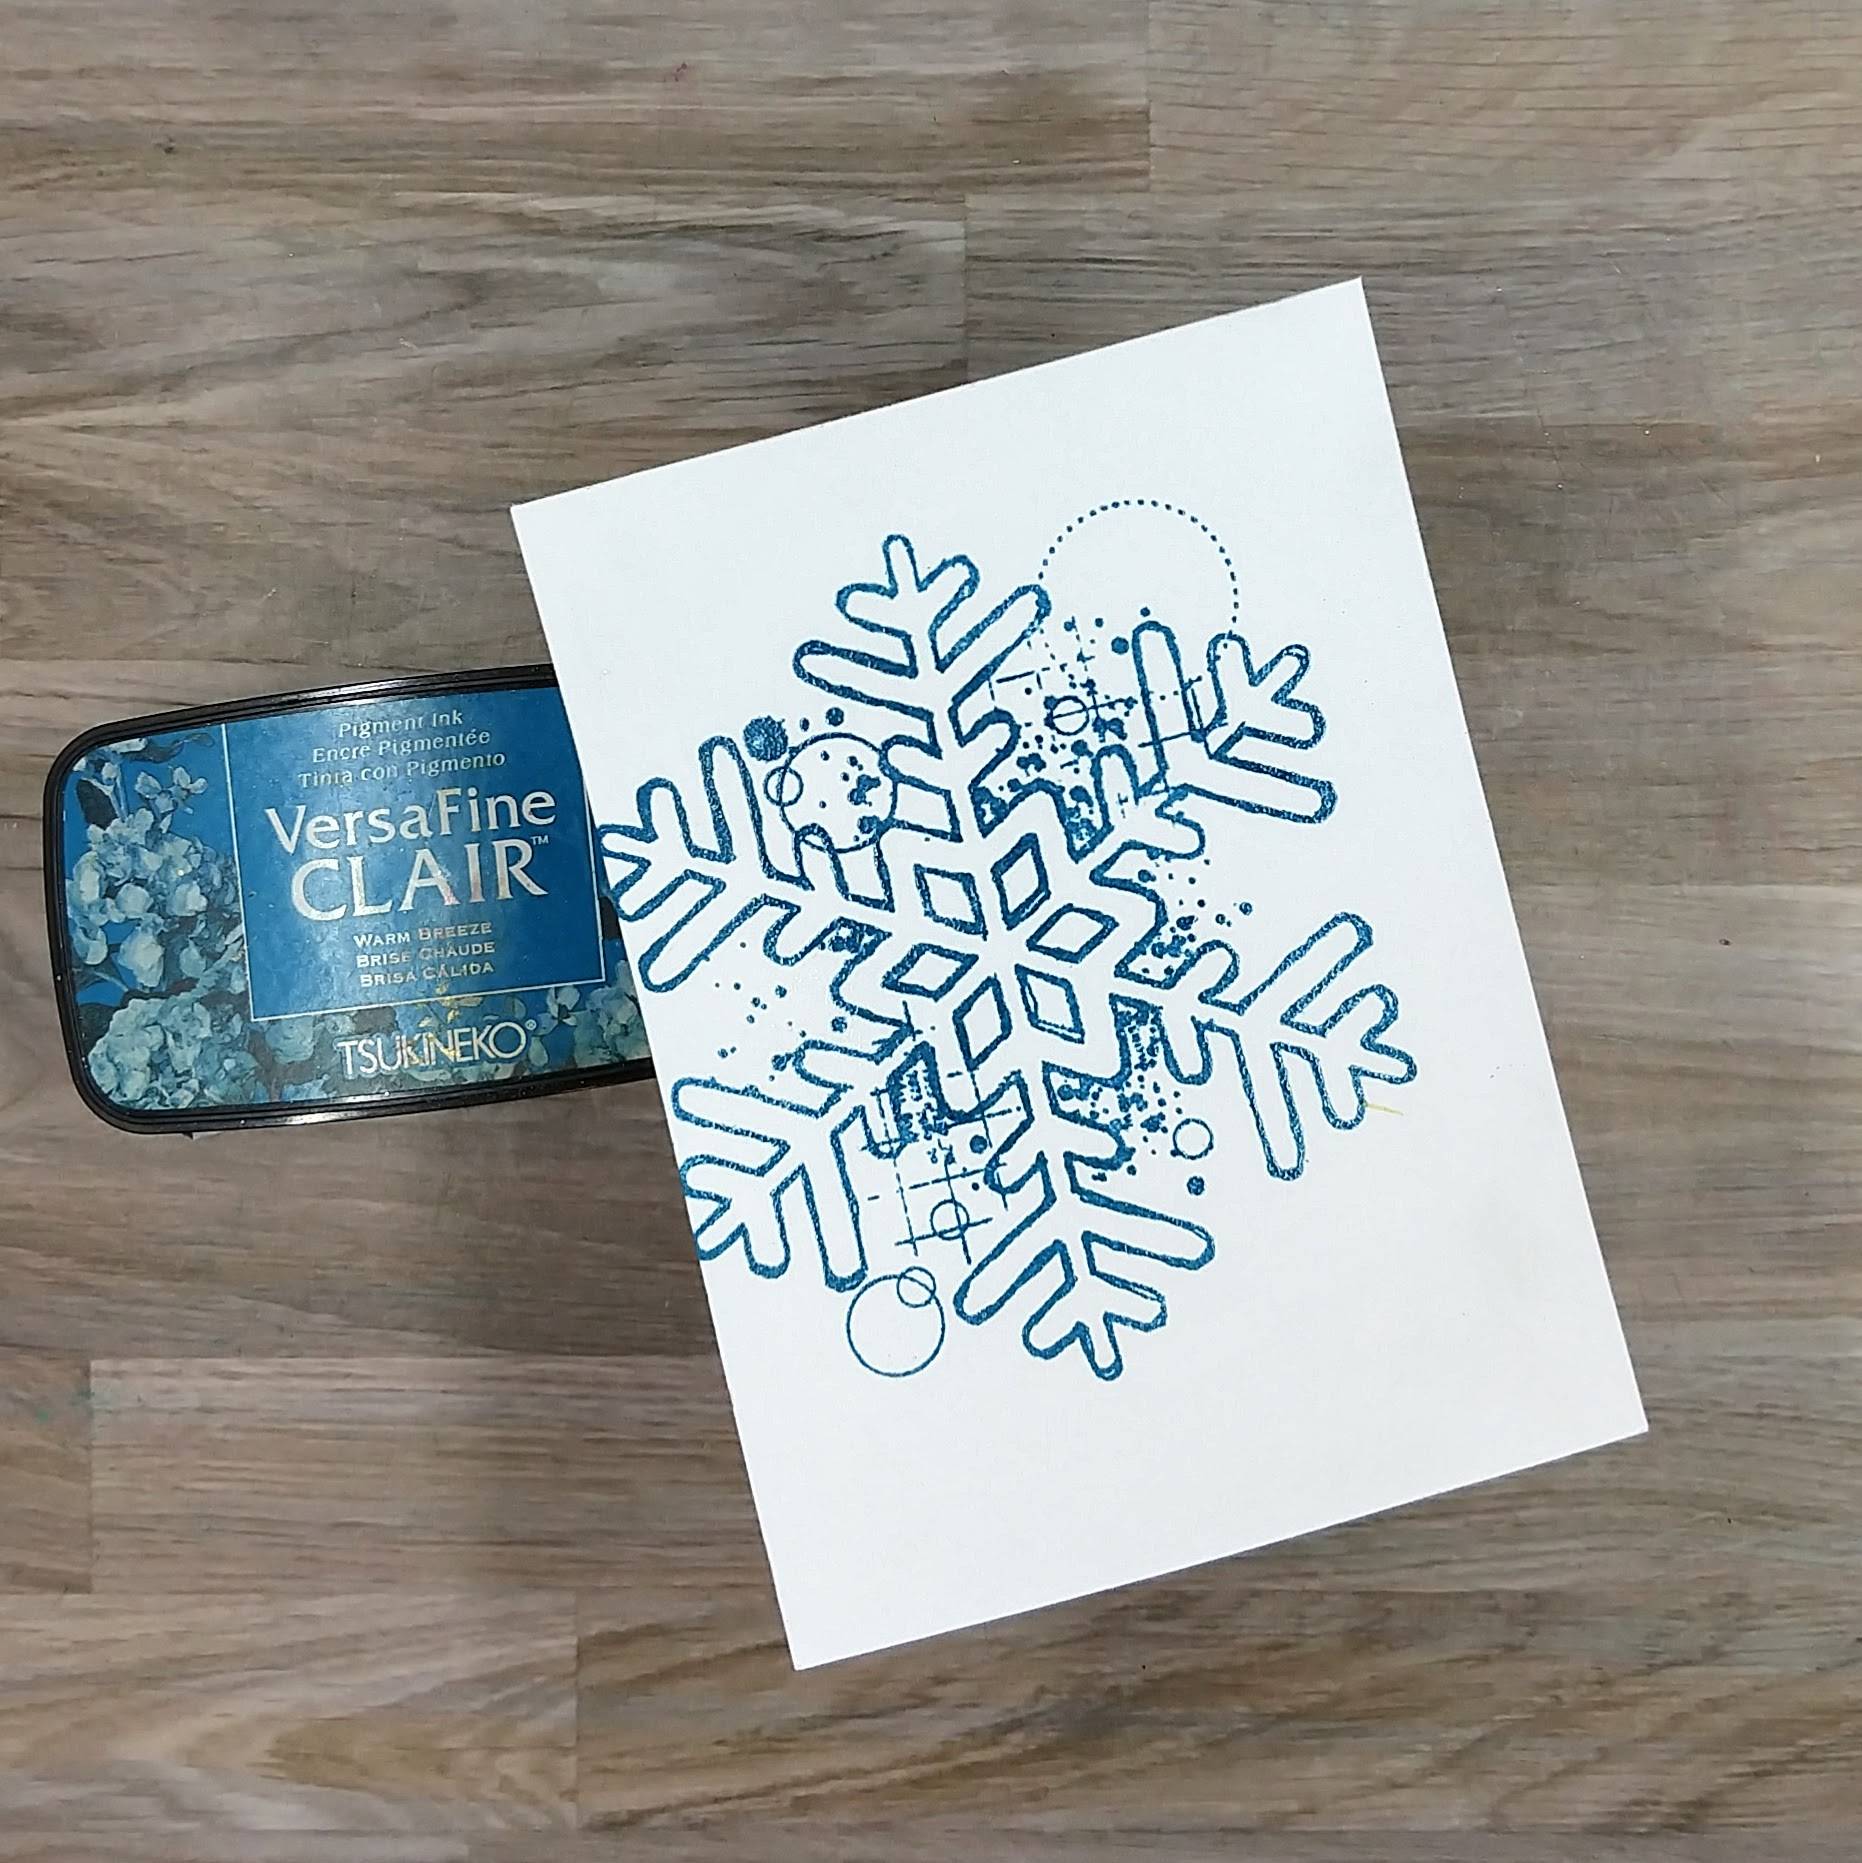
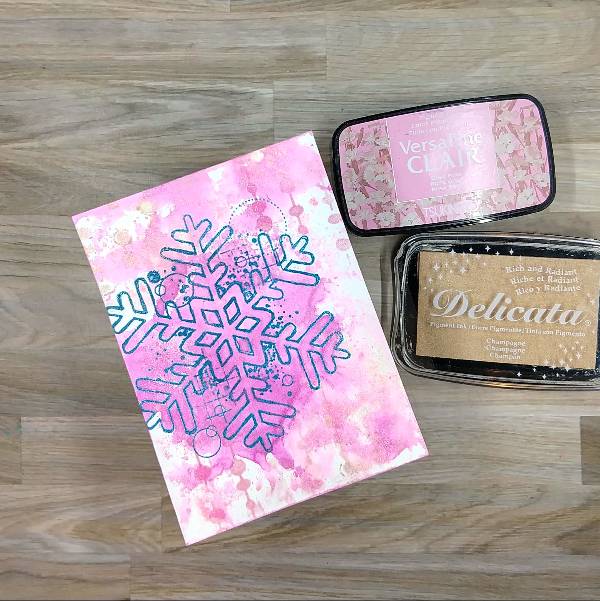
Stamp a large snowflake stamp on watercolor paper with Warm Breeze VersaFine Clair ink and heat emboss with clear embossing powder.
Step 2:
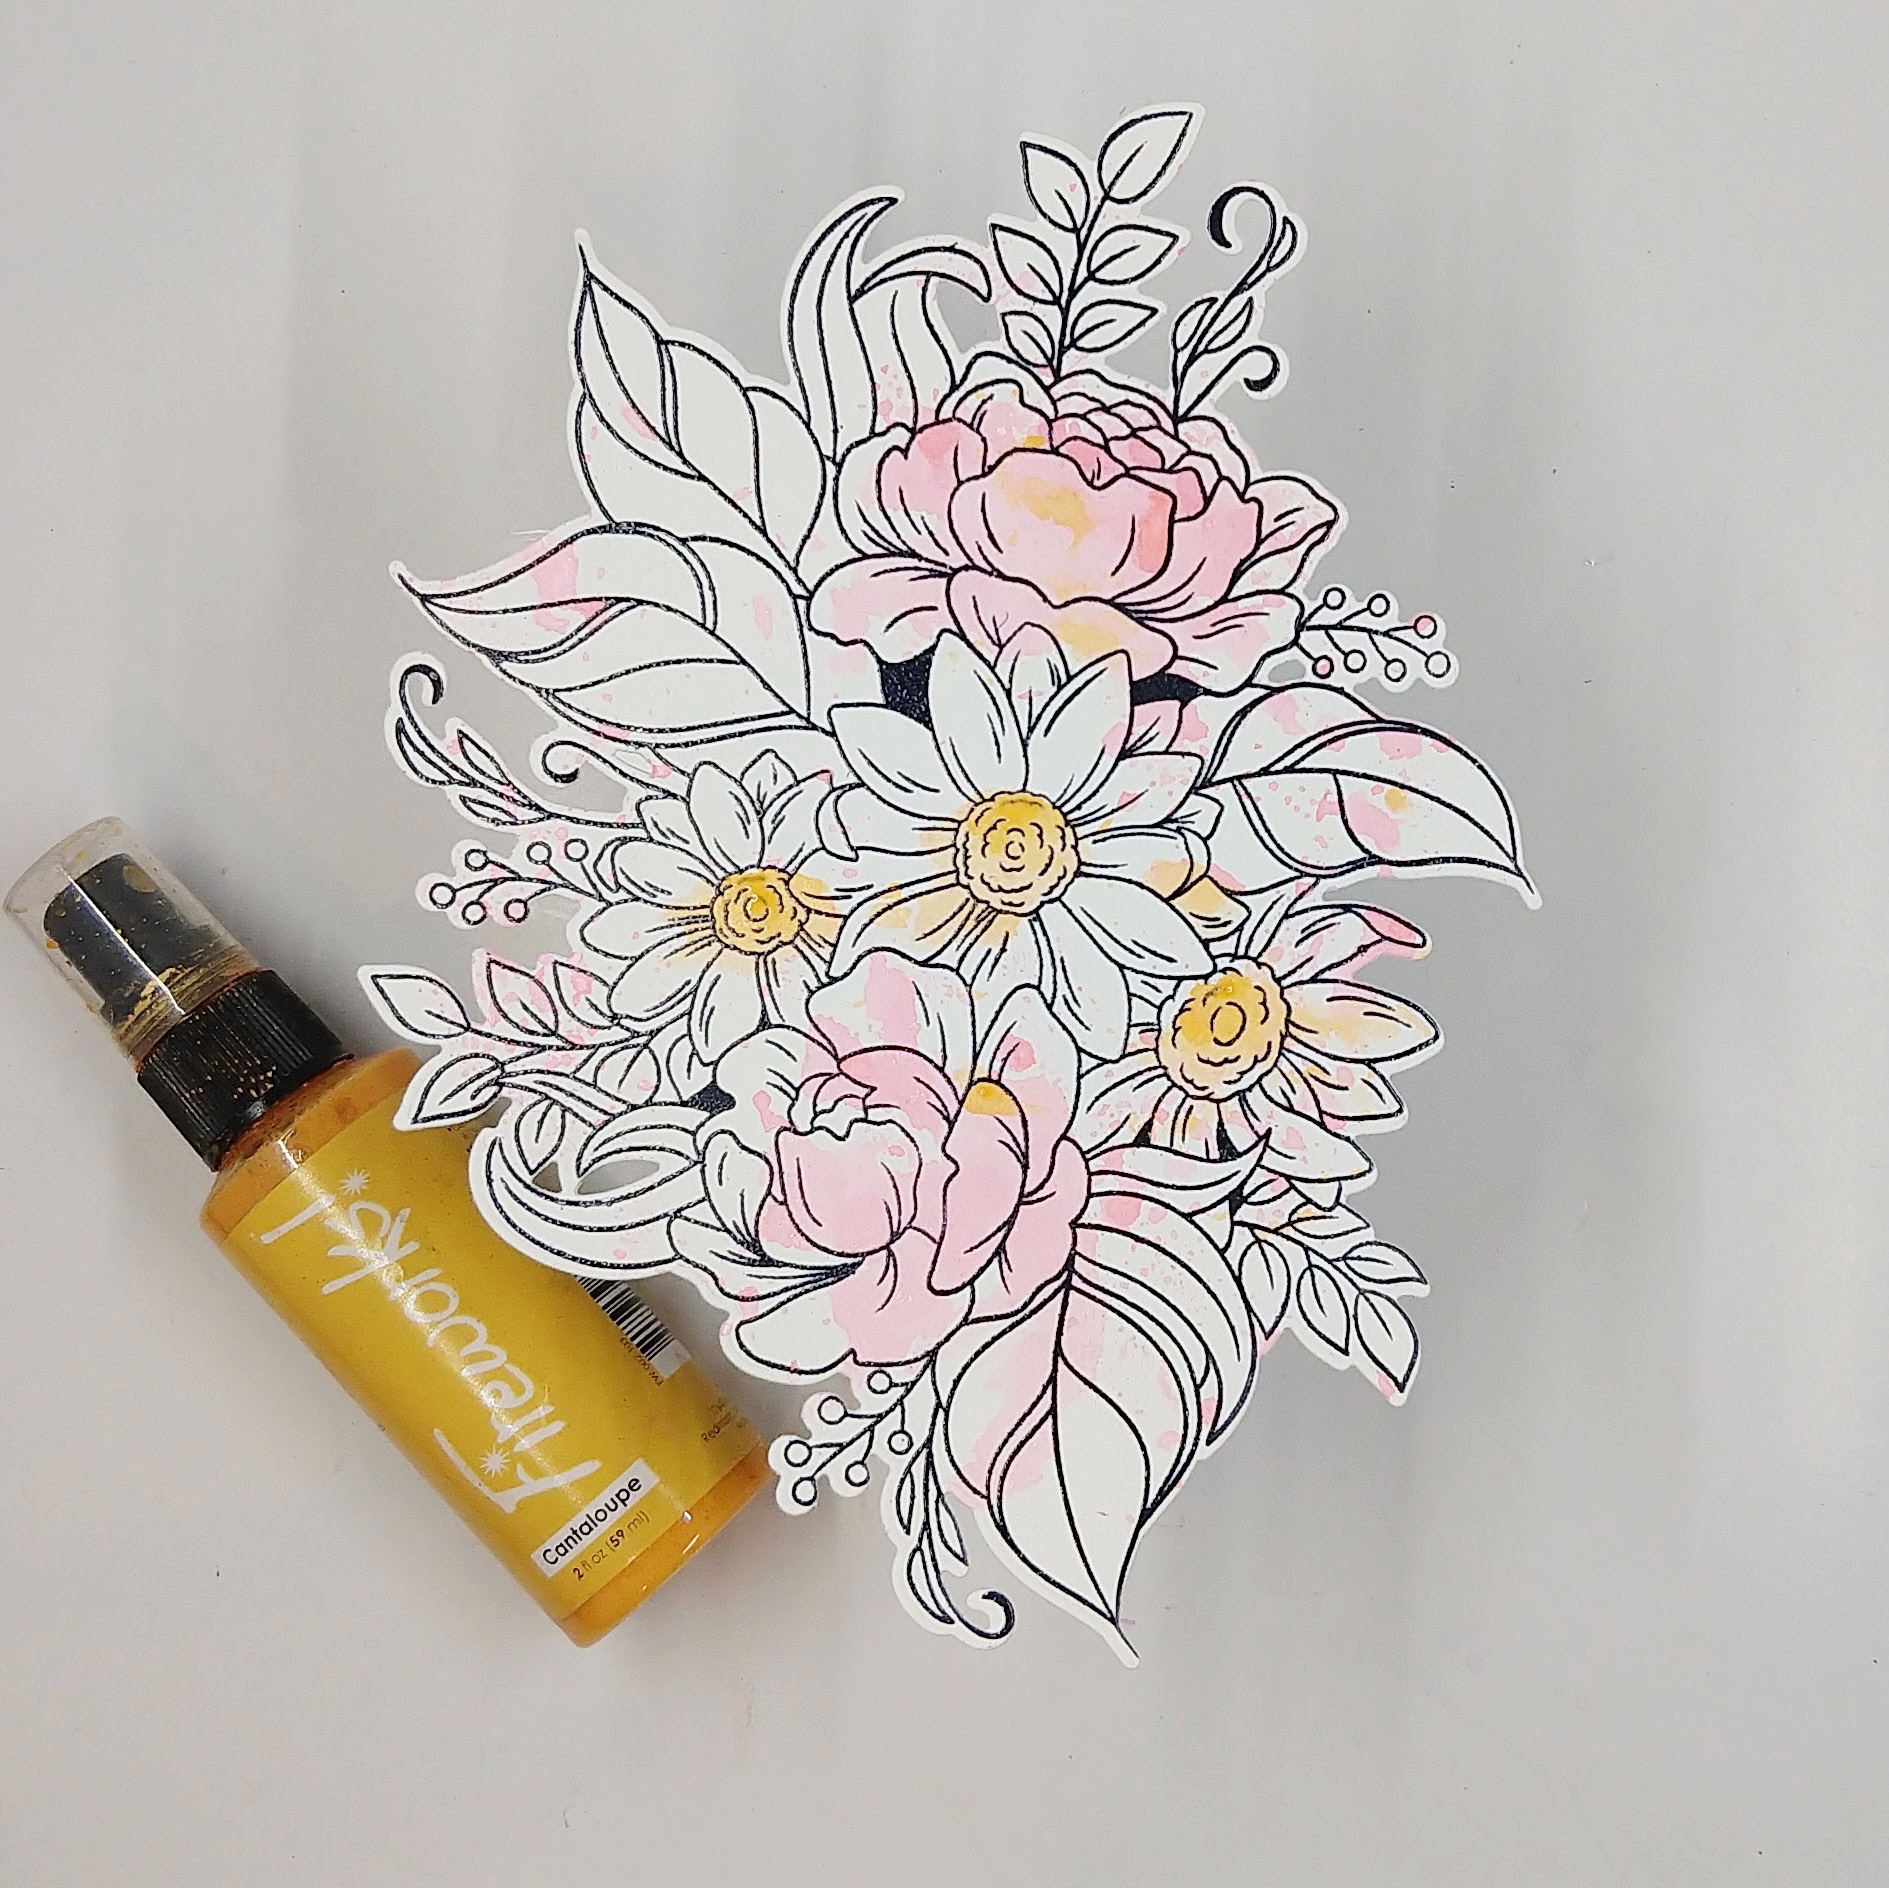
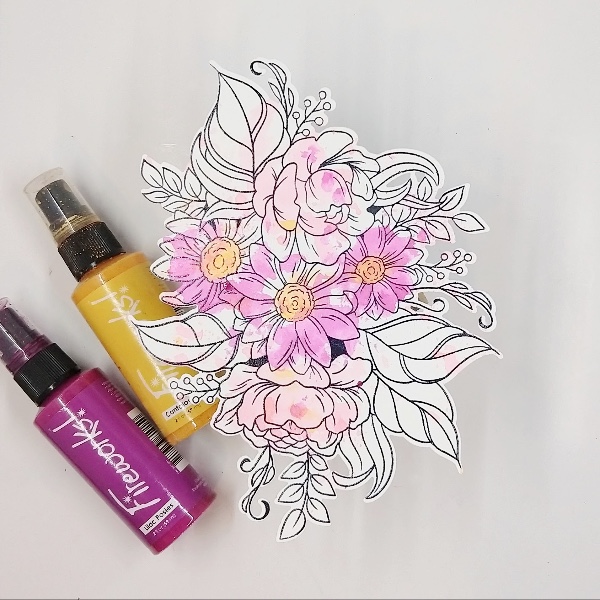
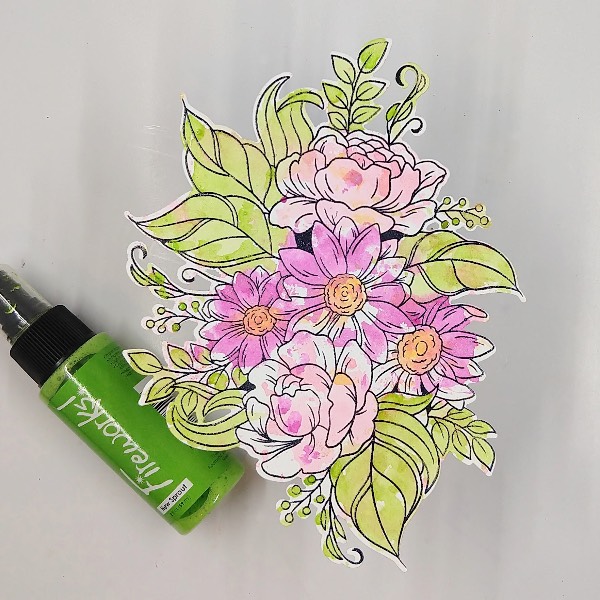
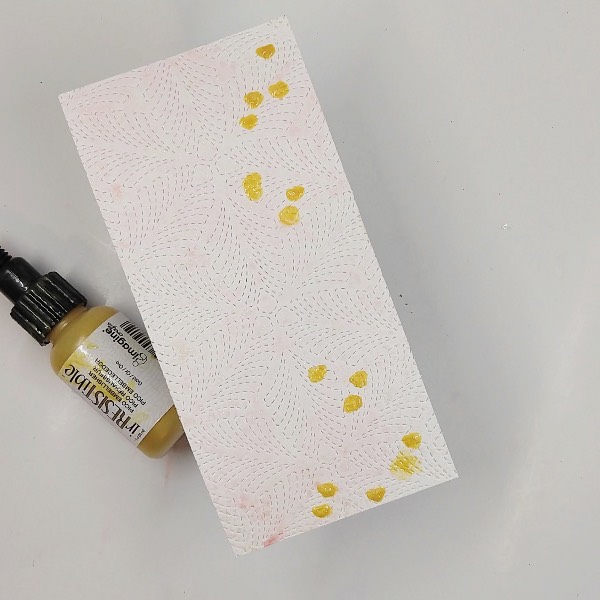
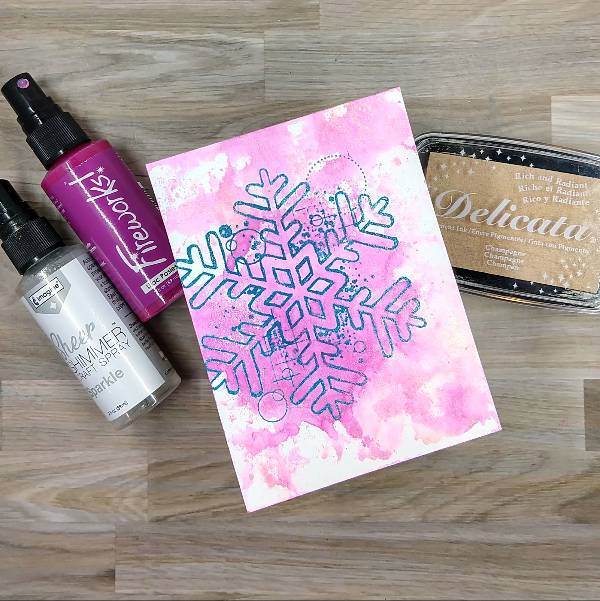
Watercolor smoosh the watercolor panel with alternating layers of Lilac Pansies Fireworks! Craft Spray and Champagne Delicata Ink mixed with Sparkle Sheer Shimmer Craft Spray on scrap acetate.
Step 3:
Ink blend a combination of Champagne Delicata Ink and
Step 4:
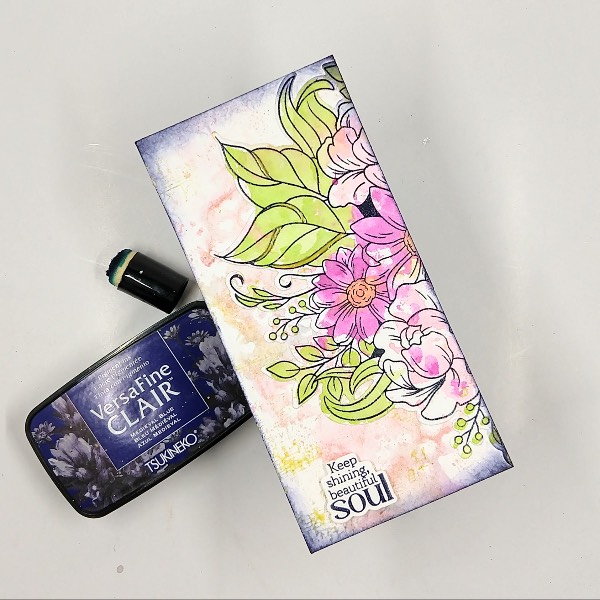
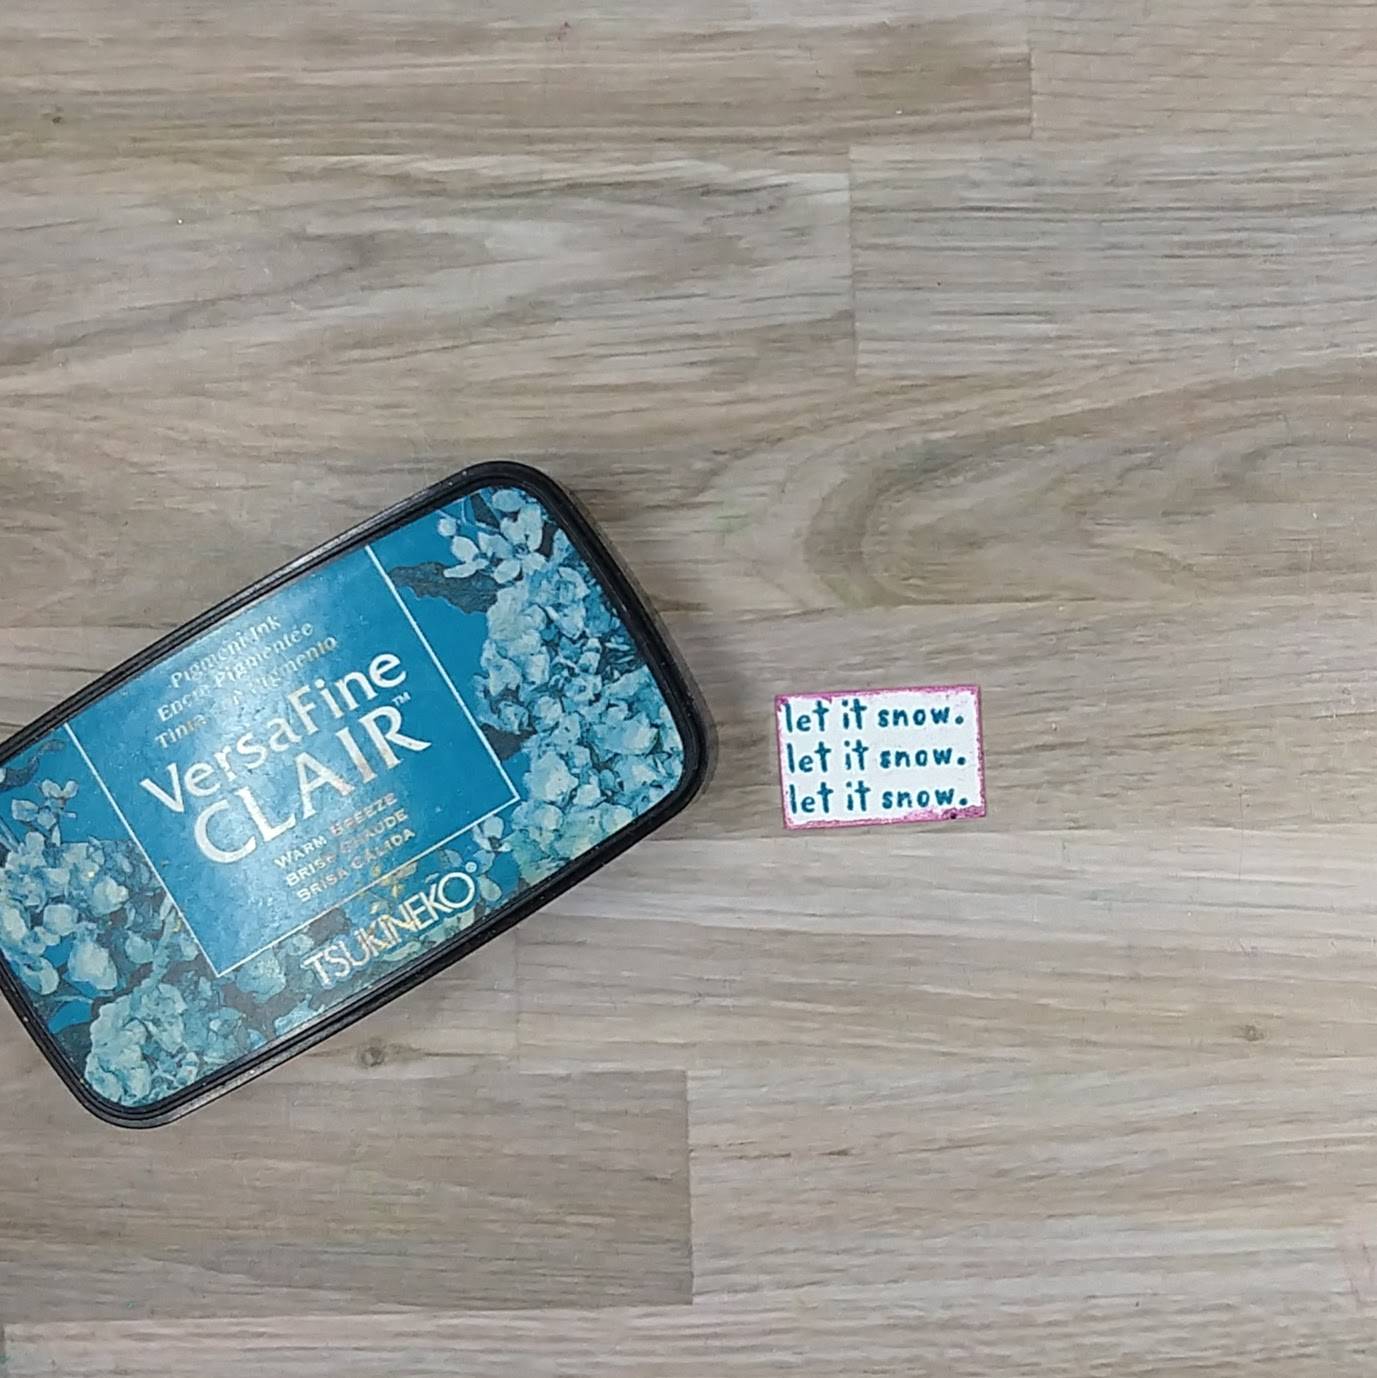
Stamp the sentiment on a small scrap of watercolor paper with more of the Warm Breeze VersaFine Clair ink. Heat emboss with more clear embossing powder. Trim the sentiment down to the desired size with scissors. Then press the edges of the sentiment strip into the remaining mix of colors from step 2’s watercolor smooshing to color the edges.
Steps 5 and 6:
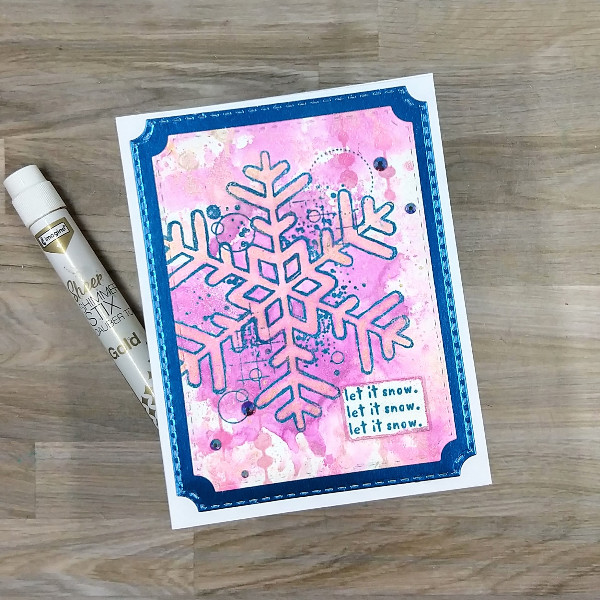
Press the Gold Sheer Shimmer Stix Dauber Top onto another piece of scrap acetate to create a liquid gold medium. Watercolor the gold liquid inside the snowflake to make it shiny. Watercolor smoosh the remaining gold watercolor onto the card panel.
After everything dried, die cut the watercolor panel with the second-largest die from an A2-sized nesting die set and a piece of blue metallic cardstock with the largest die from the same
A2-sized die set. Glue both die cut layers together. Attach the sentiment with foam tape. Glue sequins around the snowflake. Finally, glue the whole thing onto an A2-sized white cardbase.
Art Supplies
Imagine
• Delicata ink – Champagne
• Fireworks! – Lilac Posies
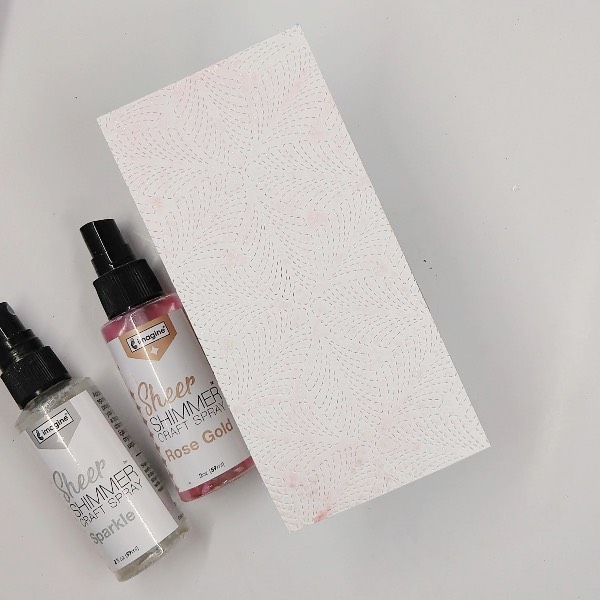
• Sheer Shimmer Craft Spray – Sparkle
• Sheer Shimmer Stix Dauber Top – Gold
• VersaFine Clair ink – Baby Pink
• VersaFine Clair ink – Warm Breeze
• Sponge dauber
Other
• Altenew – foam tape
• Crafty Meraki – embellishments – Meraki Sparkle Prismatic Blue
• Idea-ology and Tim Holtz – 6 x 9 cardstock – blue (from the Metallic Colors collection)
• Pink and Main – die set – Notched Corners
• Scrapbook.com – stencil – String Lights
• A2-sized white card base
• Clear Embossing Powder
• Watercolor paper
• Thin paint brush
• Die cutting machine
• Scissors
• Glue