• Brutus Monroe Embossing powders in Gilded Metallic and Fairy Dust •Embossing Powder •Multiple Sizzix dies from several sets • PVA Adhesive • Foam Tape
ALTERNATIVE PRODUCTS THAT CAN BE USED TO RECREATE SOMETHING SIMILAR
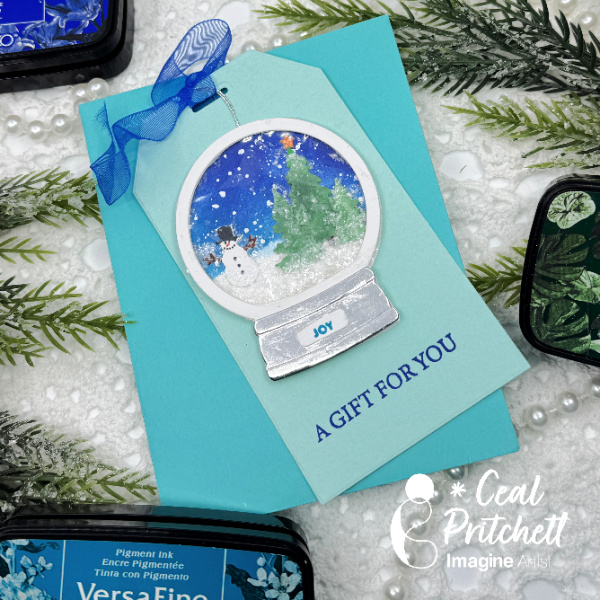
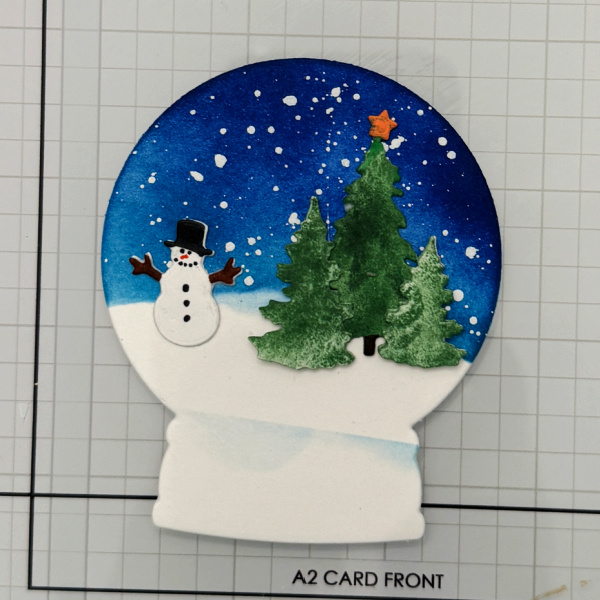
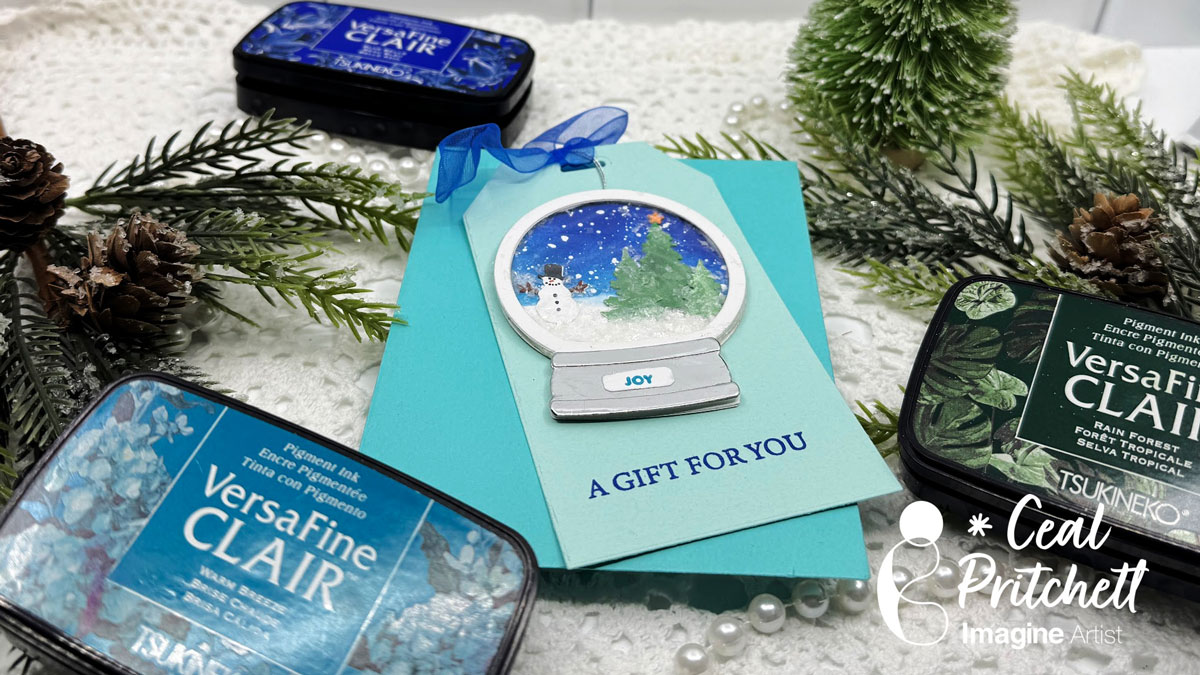
Hello Crafty Friends, It’s Ceal, here. Today I am sharing how to make this Gift Tag with a Shaker Ornament attached. The recipient can also use the Shaker Ornament for a gift tag if they want.
Skill: Intermediate Time: 1 hour
Directions:
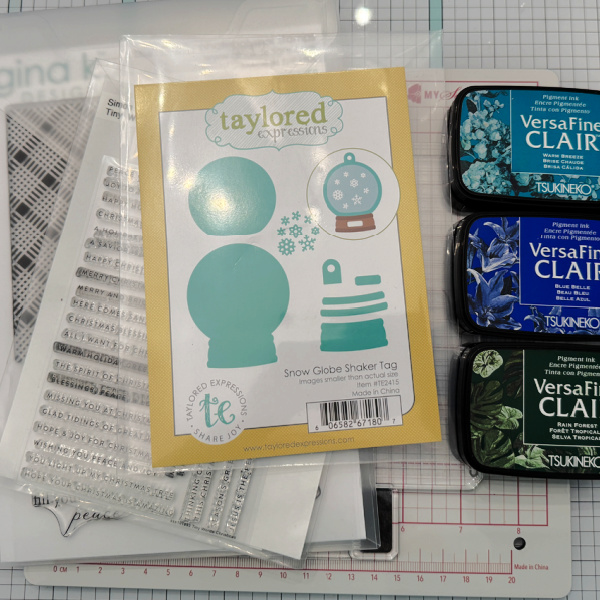
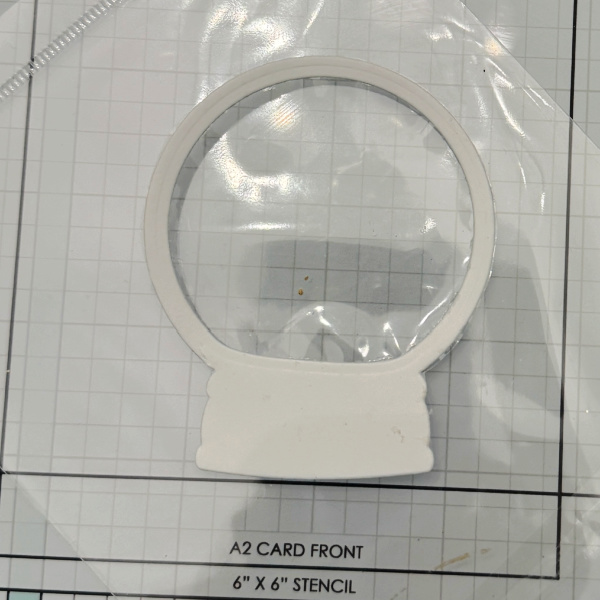
Gather your supplies. For this project you will need a MISTI Lite or other stamping platform, a Grip or Sticky Mat, a shaker element die set (I used a snow globe) a tag die set, and a die cutting machine. I used several colors of VersaFine Clair ink in Rain Forest, Blue Belle and Warm Breeze
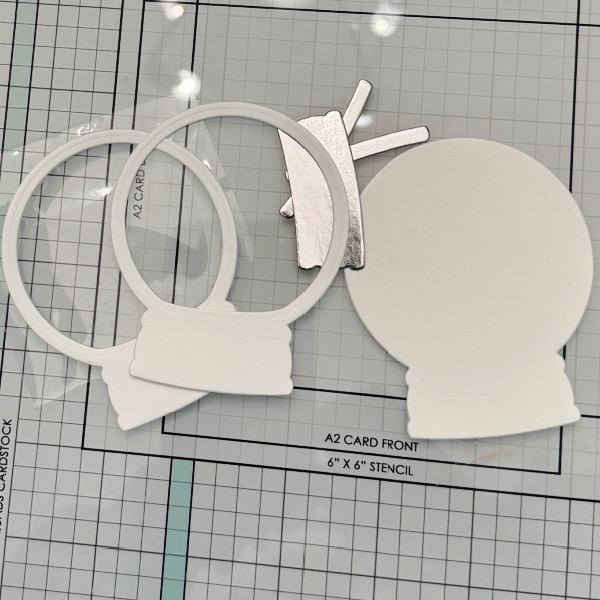
Step 1: Cut out all your die cut pieces. I ended up also using some trees and a snowman from an old Hero Arts set. You will need 2 frames and two bases of the snow globe
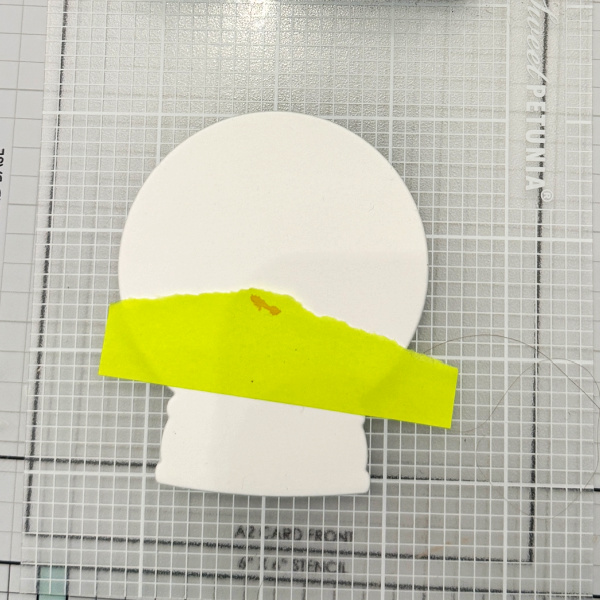
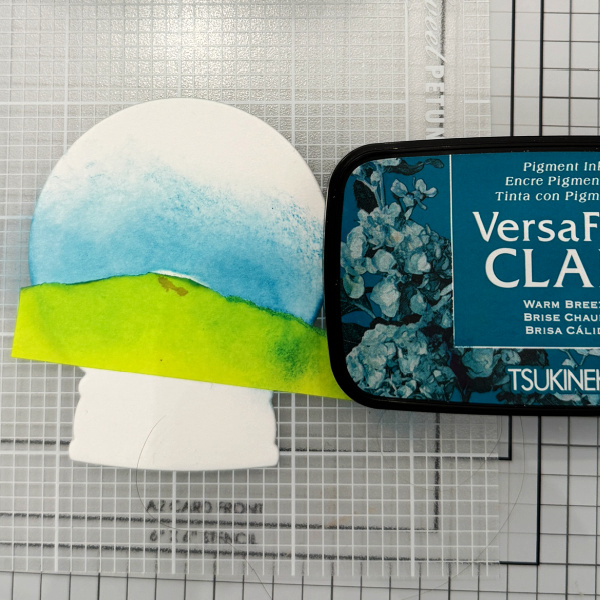
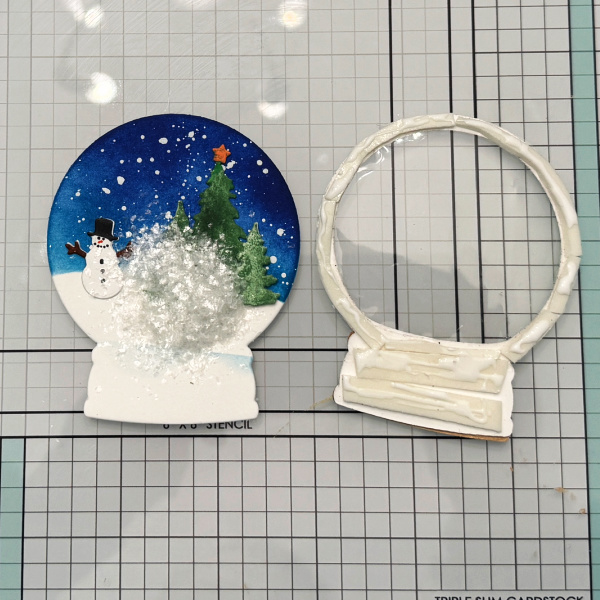
Step 2: Mask off the bottom portion of the snow globe for the snow.
Step 3: Using Warm Breeze, ink the bottom portion above the mask.
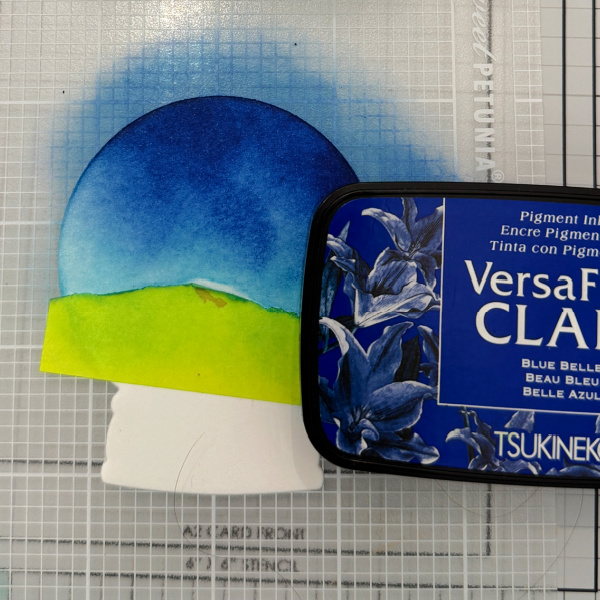
Step 4: Using Blue Belle, ink the top portion of the snow globe.
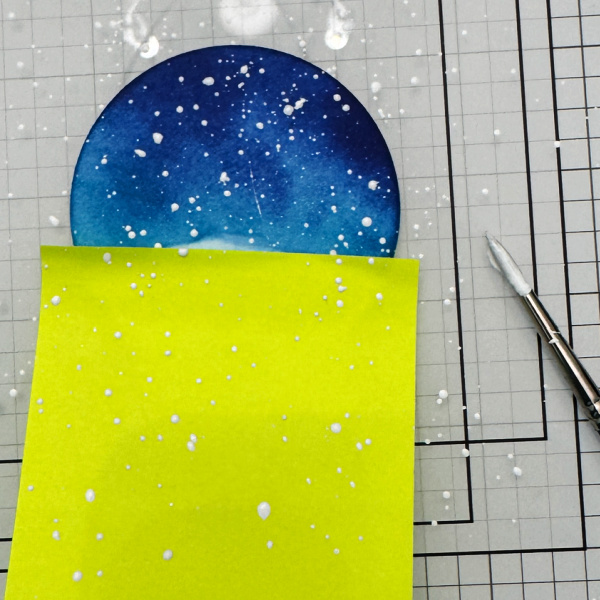
Step 5: Cover the bottom portion of the snow globe and splatter the top portion with watered down white acrylic paint for the snow.
Step 6: Ink the trees using Rain Forest ink and color the hat, arms, face, and button of the snowman with a marker.
Step 7: Add all the elements, trees and snowman to the base.
Step 8: Recycle and add some packaging to one of the globes to create the shaker.
Step 9: Add some glitter or sequins to the front of the snow globe and add foam tape to the back of the snow globe frame.
Tip- always add liquid glue on the foam tape so it gives a minute to move it if needed. Glue the two together.
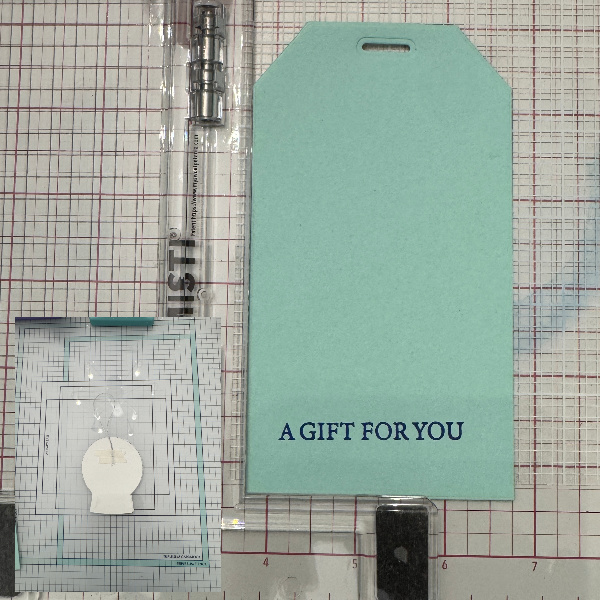
Step 10: Cut out a tag and stamp a greeting on it. Add a string to the snow globe and then place another backer over it for a clean look.
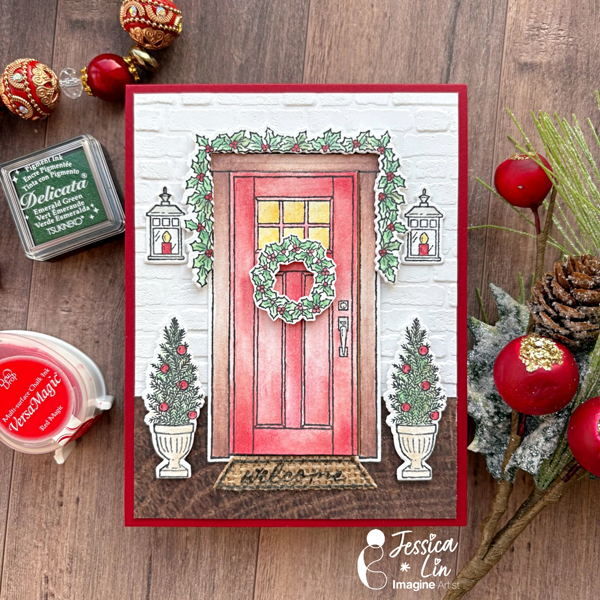
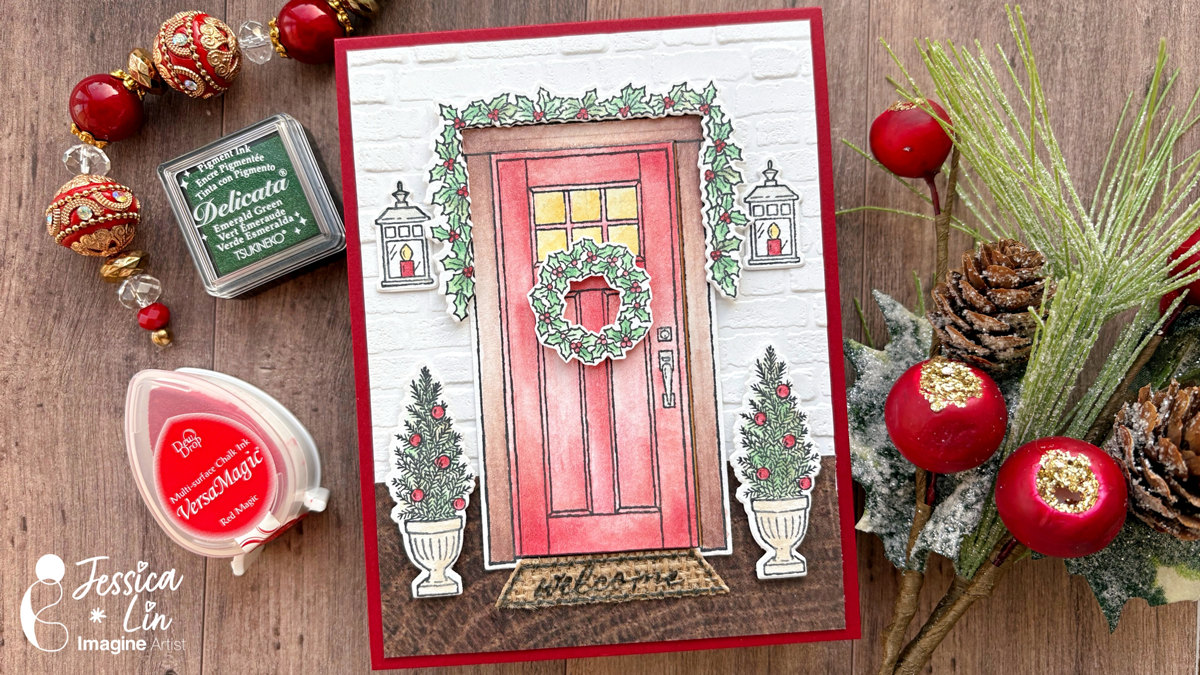
Hi everyone! It’s Jessica here and I am so excited to share today’s project with you. Christmas is my favorite holiday of the year and I love making Christmas cards. I decided to build a doorway scene today using Stampin’ Up’s At Home with You stamps and dies. After die cutting, the door actually opens, making this a special and interactive Christmas card.
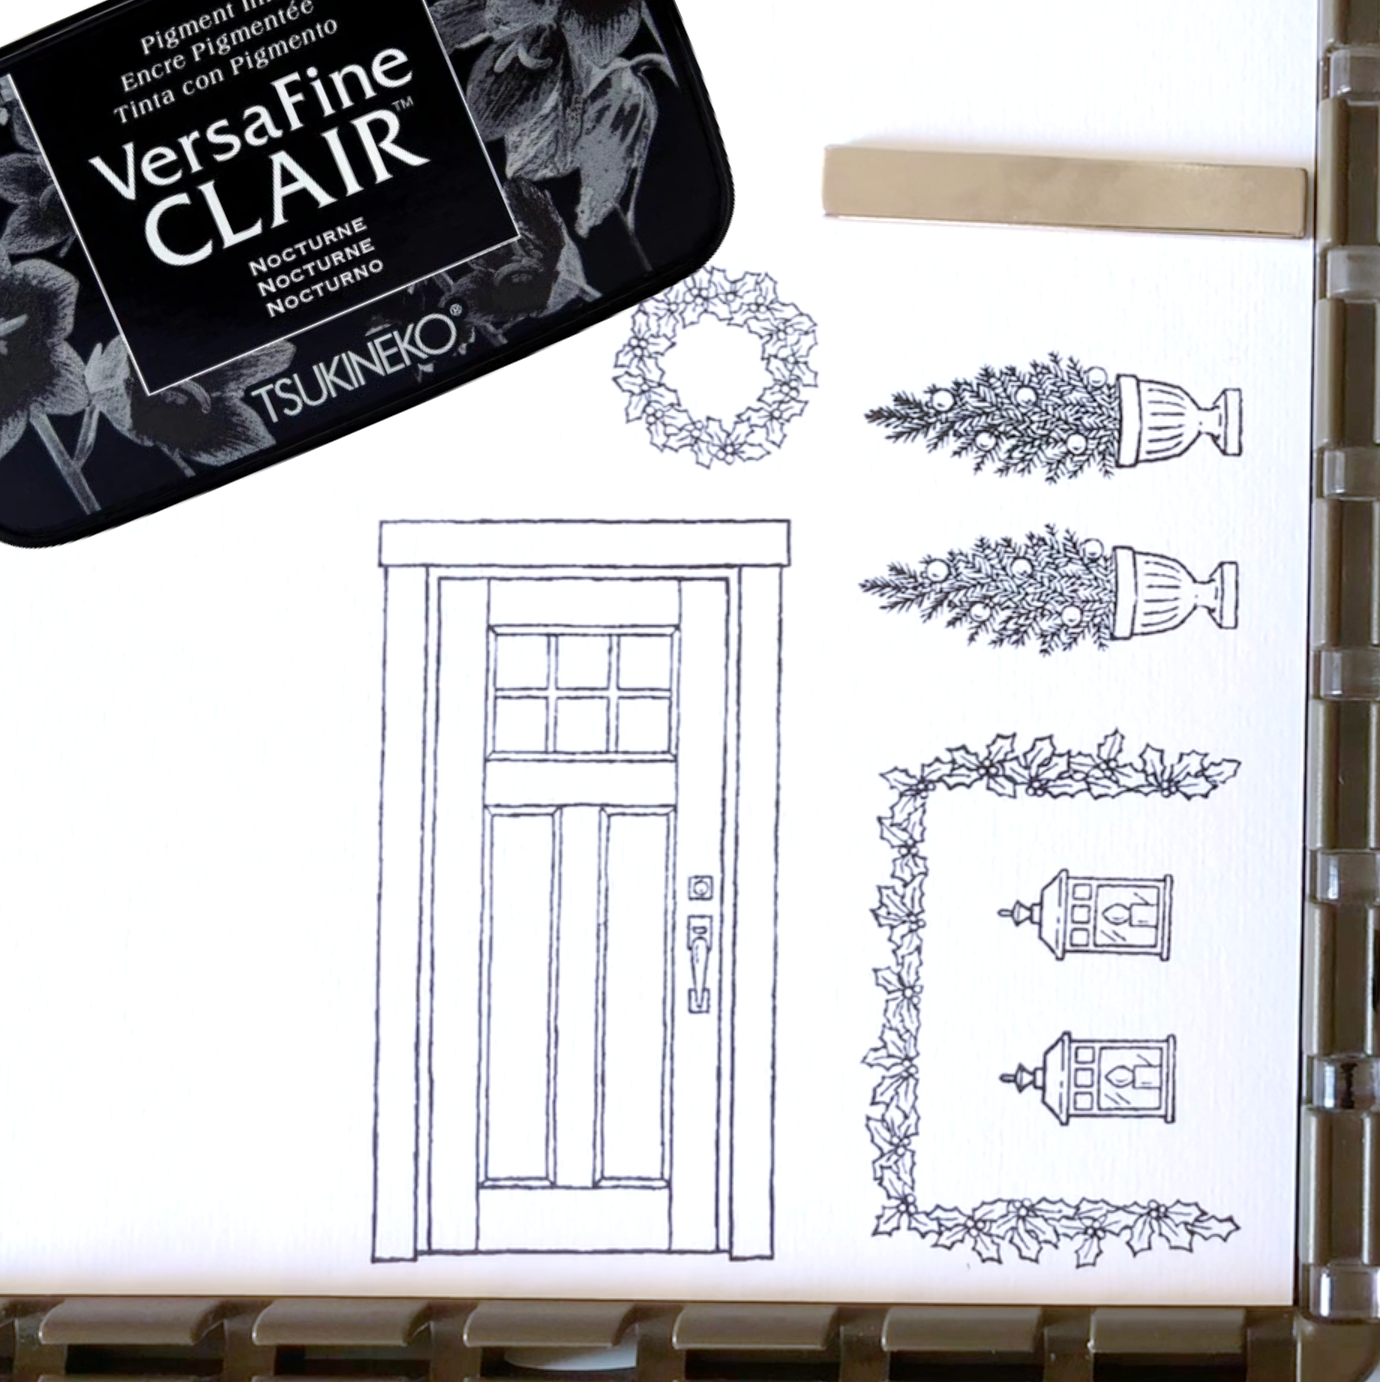
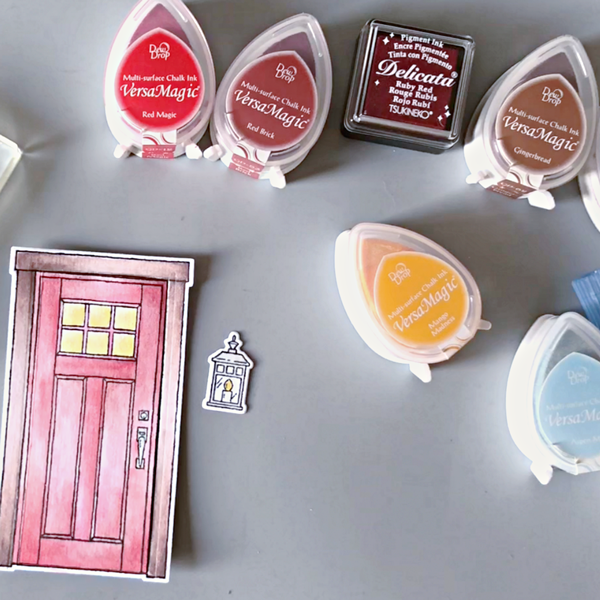
Step 1: The stamp set I am using today is At Home with You from Stampin’ Up. It features a door and various elements that are great for building specific scenes for different occasions such as Christamas, Thanksgiving, or birthdays. I stamped several images with VersaFine Clair Nocturne ink. It’s a pigment-based ink that is waterproof and great for being the outlines of watercolored images.
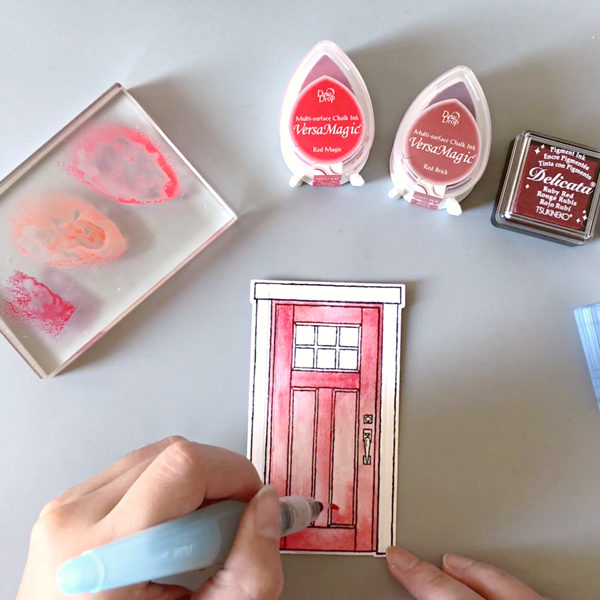
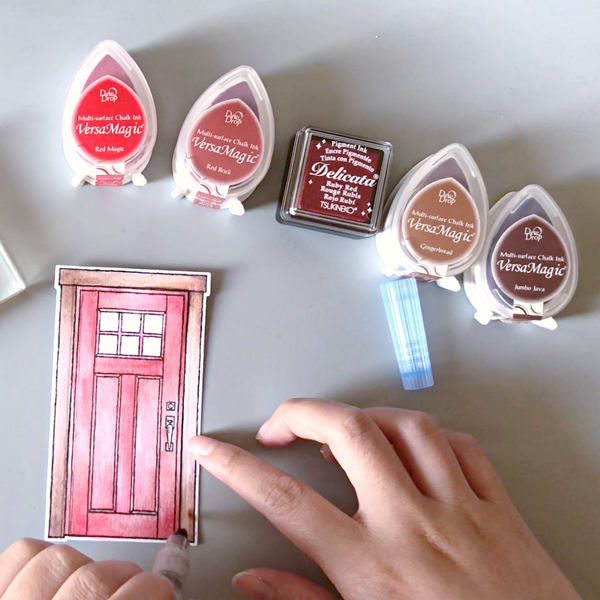
Step 2: After die cutting the stamped images with coordinating dies, it’s time to watercolor. I decided to use VersaMagic Red Magic, Red Brick, and Delicata Ruby Red for the door. I pressed some ink onto an acrylic block and watercolored with a waterbrush.
Step 3: For the door frame, I watercolored with VersaMagic Gingerbread and Jumbo Java.
Step 4: Then I added VersaMagic Mango Madness to the window and the candle. Don’t forget to color the door knob, too! I used VersaMagic Niagara Mist with a hint of Aspen Mist. The candle shade is colored with the same colors as the door knob.
Step 5: Finally, for the plants and wreaths, I watercolored with VersaMagic Hint of Pesto, Delicata Emerald Green and Ruby Red. Delicata ink pads are shimmery and add the perfect touch of Christmas spirit to these images. I wish you could see the shimmer in person!
Lastly, I colored the planter with VersaMagic Wheat ink pad.
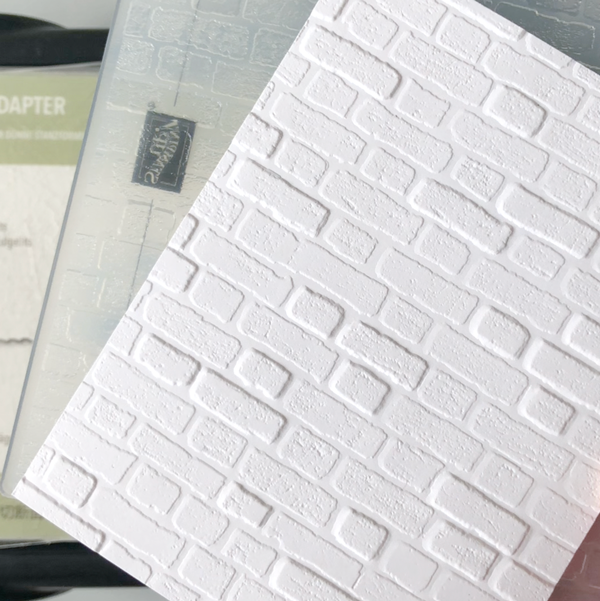
Step 6: Since we are building a front door scene, I embossed the background cardstock with Stampin’ Up’s Brick & Mortar embossing folder. I love the realistic brick textures of this embossing folder; it’s one of my all-time favorites.
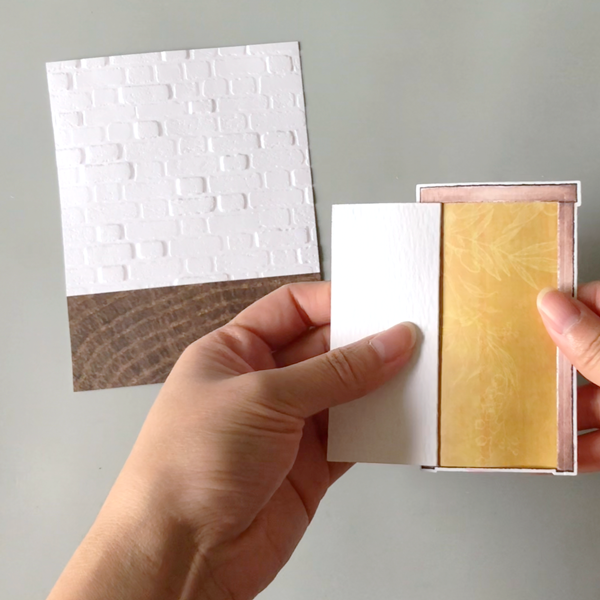
Step 7: Then I added a piece of 4’’ x 1 ½’’ wood patterned paper as the foreground. I also added yellow patterned paper to the inside of the door; this door die actually cuts around the door frame so that the door can open! Isn’t it a fun, little mechanism?
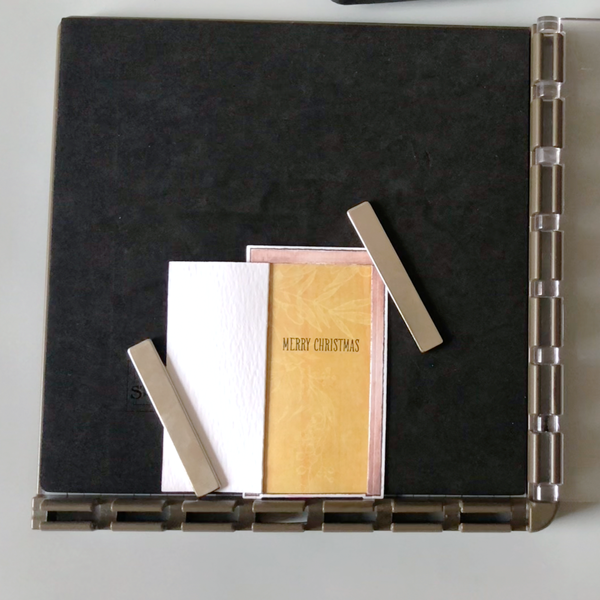
Step 8: You can then add a Christmas greeting that will be revealed when you open the door. I decided to keep it simple and stamped a “Merry Christmas” sentiment with VersaMagic Nocturne ink pad.
Step 9: The At Home with You stamp set also comes with a door mat image. I stamped it several times on burlap paper with VersaMagic Nocturne ink pad.
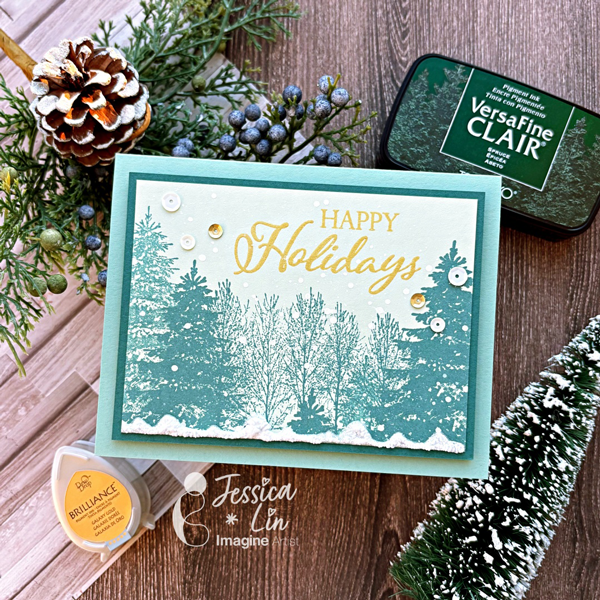
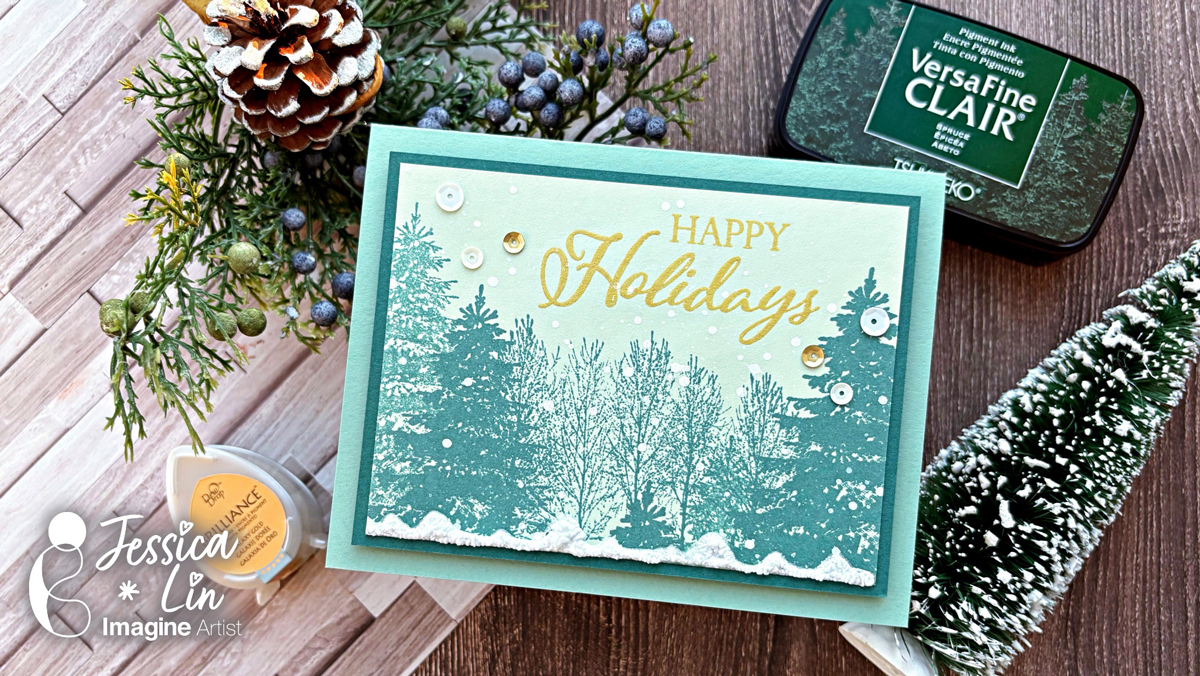
Hi everyone! It’s Jessica here. Today I have a beginner-friendly project to share with you. If you are just starting out and don’t have many ink pads, this tutorial is for you. I will be sharing some stamping techniques to help you create shades of color with just one ink pad. So let’s get started!
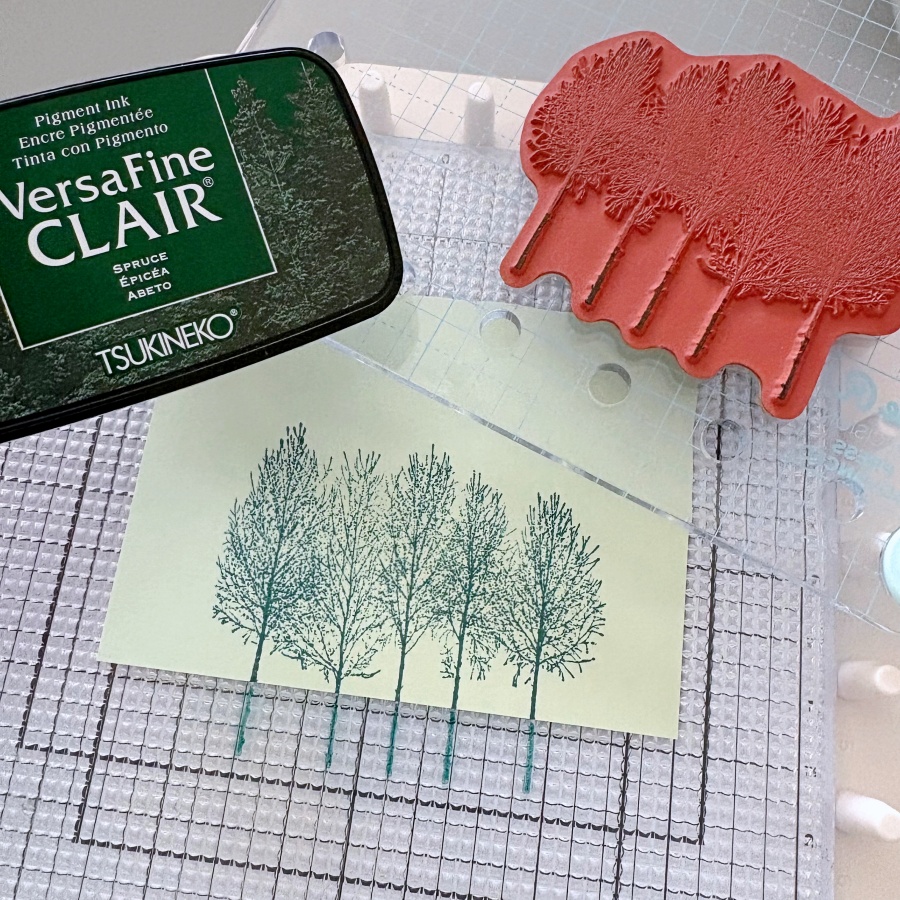
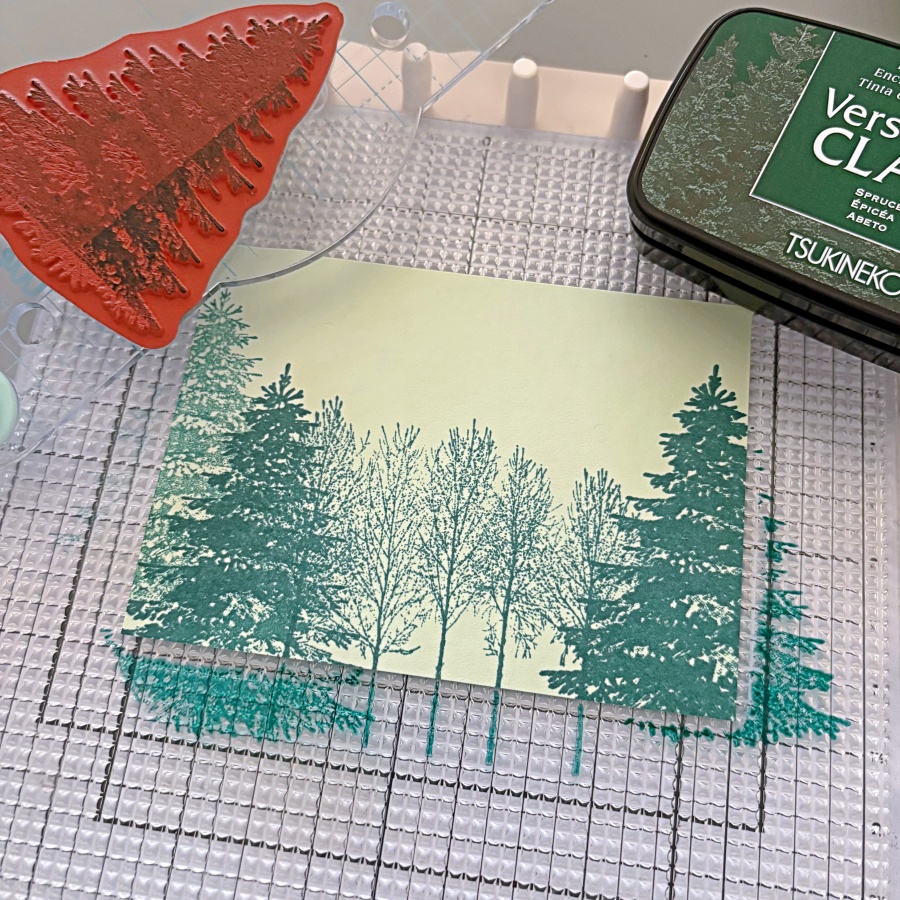
Step 1: The ink pad I will be using today is VersaFine Clair Spruce. It is perfect for stamping the pine tree images from Stampin’ Up’s Winter Woods set. I stamped the image in the center on a piece of 3 ½’’ x 4 ¾’’ Soft Seafoam cardstock.
Step 2: Then I stamped a different pine tree image on the left and right at various heights. You might notice that some of the pine trees appear darker; that is because I stamped the image twice. By using a stamp positioning tool, you can restamp an image at the same spot. In this case, it creates a darker shade of color even though you are using the same color ink pad. On the very left, there is a pine tree that looks lighter in color. To achieve this effect, you can stamp lightly on a piece of scrap paper first. Then, using the leftover ink, stamp on the cardstock to create a lighter shade.
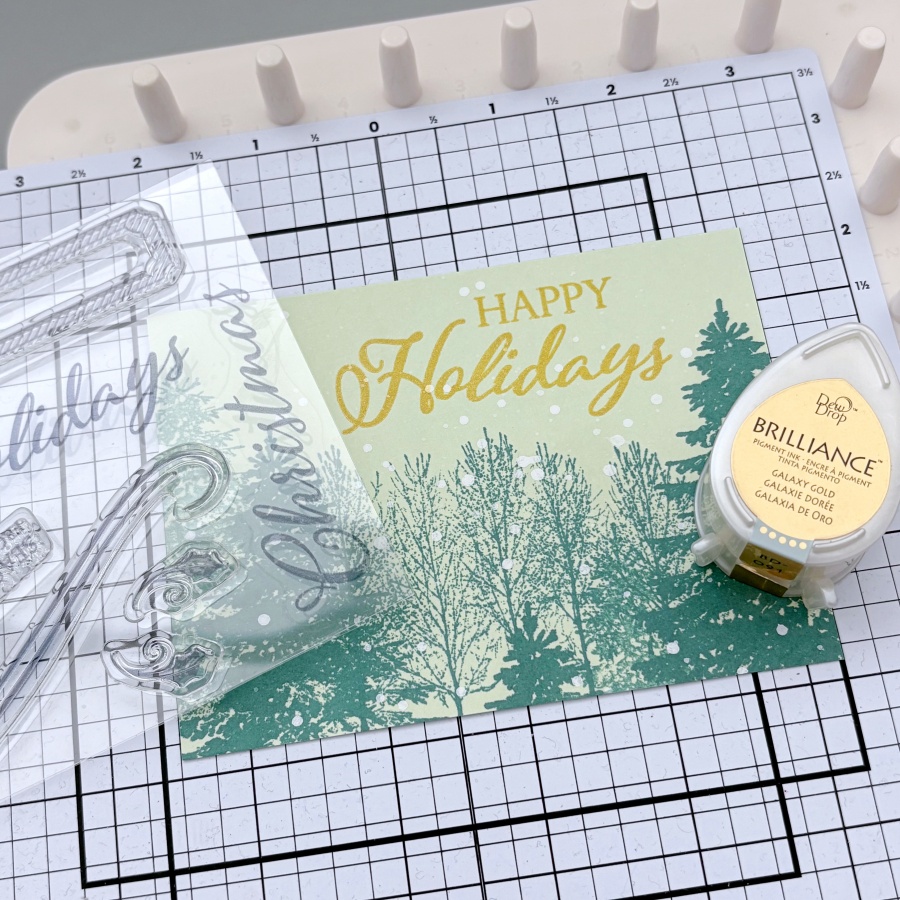
Step 3: I then sprinkled some diluted white acrylic paint for a snowing effect. Once the acrylic paint is dried, you can stamp the sentiment. I decided to use Stampin’ Up’s Merry Christmas to All stamp set and stamped it with Brilliance Galaxy Gold ink pad.
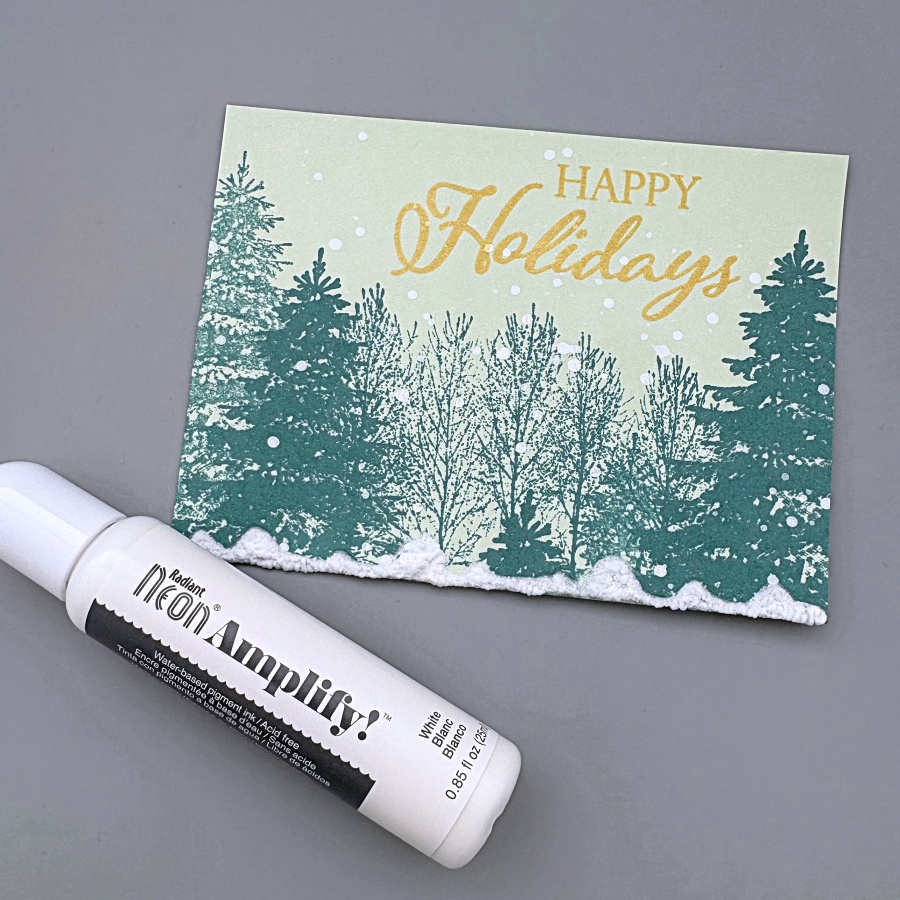
Step 4: For an even more dramatic snow effect, you could add white Neon Amplify to the bottom edge of the cardstock. I drew a wavy pattern that mimics the looks of piles of snow. You don’t have to wait for the puff paint to dry, you can heat set it with a heat gun immediately and the paint will puff up!
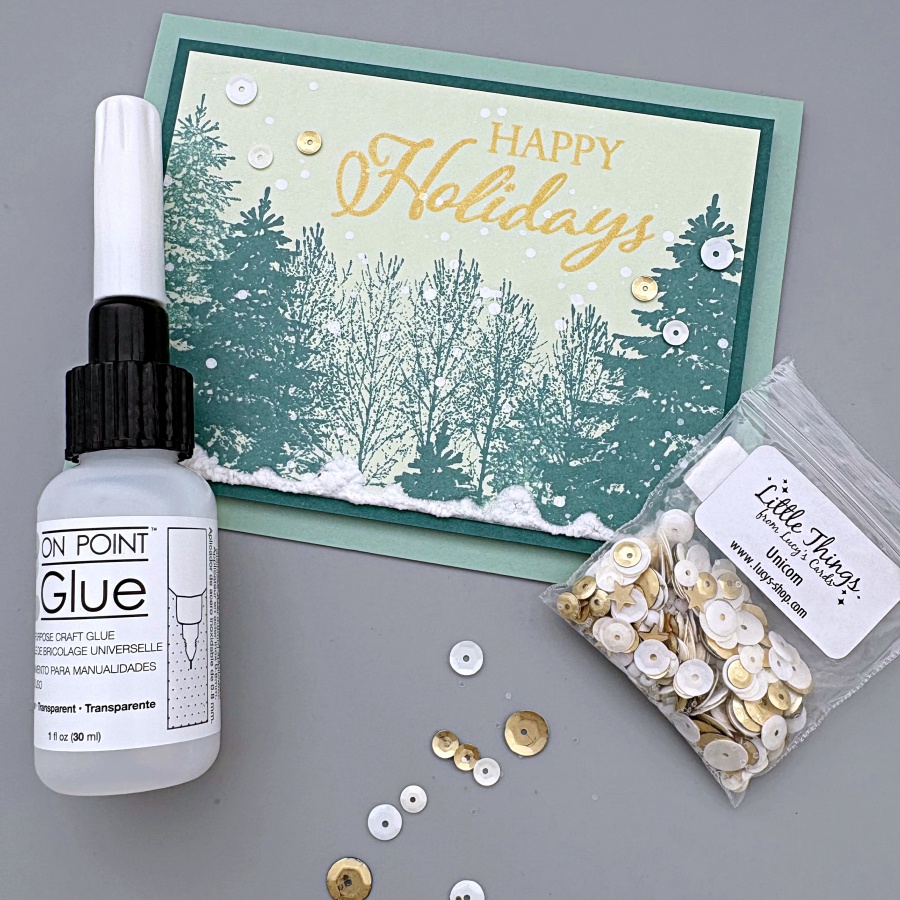
Step 5: Then I adhered the stamped panel to a piece of Shaded Spruce cardstock that measures 3 ¾’’ x 5’’. After that, mount the cardfront to an A2 Mint Macaron cardbase. For some finishing touches, I adhered some white and gold sequins with On-Point Glue, and this holiday card is complete!
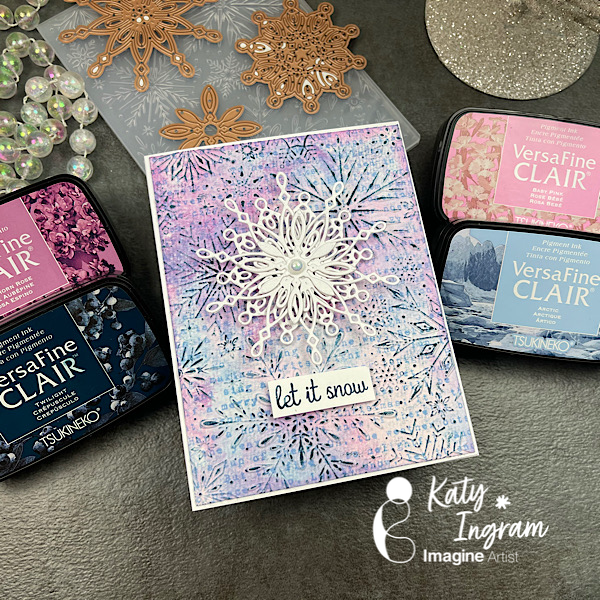
Hello Friends! Katy here with another holiday video using VersaFine Clair inks to create a beautiful mixed media looking snowflake card. Video has all the details. Thanks for watching.
Hello Friends! Happy Holidays! How lucky would one be to come upon a peaceful scene like this, 2 deer hunting for grass on a snowy landscape? For this card I stayed focused on only two colors and some glitter paper to create this wintry scene.
Tracy
Skill: Intermediate Time: 60 Minutes
Art Supplies
• Die cutting machine • 100lb white paper • A2 Card Base • Water and a brush • Dies • Glitter cardstock • Vellum • Foam Tape • White Paint
Other Products Used • Clear Embossing Powder WOW • Snowflake Stencil-no label, but I think it is Tonic Studio • Simon Says Stamp and Die Set “Joy to You and Yours” • PVA Adhesive • Foam Tape
ALTERNATIVE PRODUCTS THAT CAN BE USED TO RECREATE SOMETHING SIMILAR
Any Inks any combination of background stamps, dies, and feature stamps and stencil
To learn how to create your own vintage Christmas card, click here!