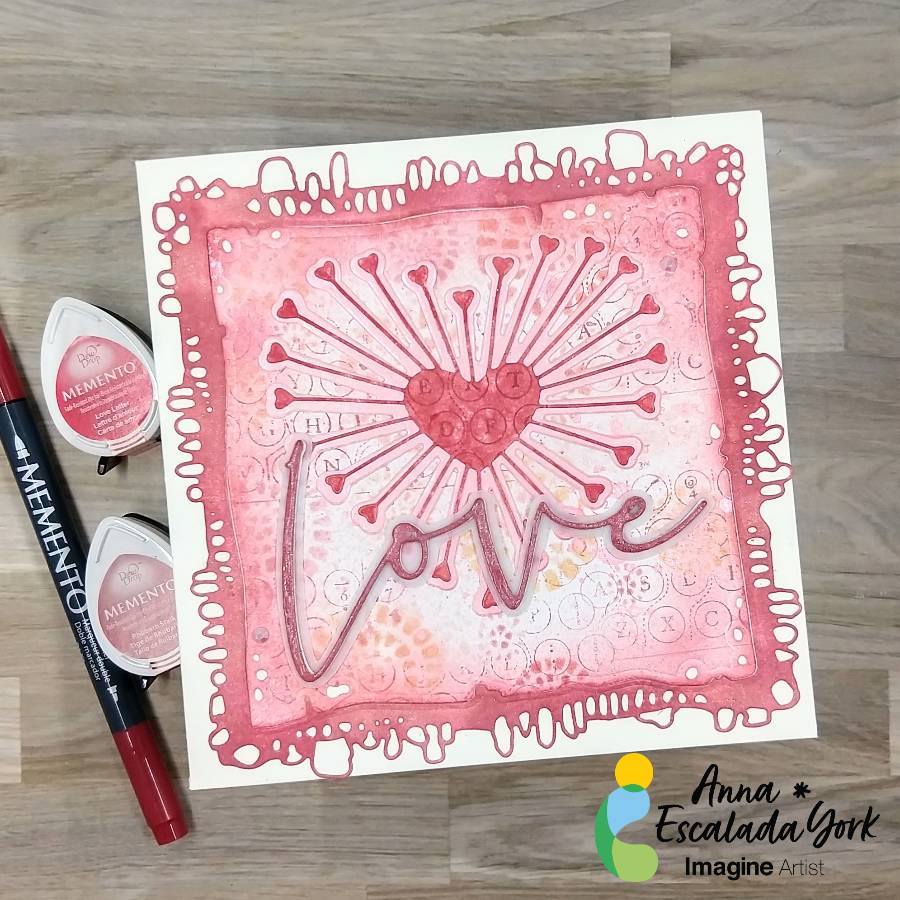
By Anna Escalada York
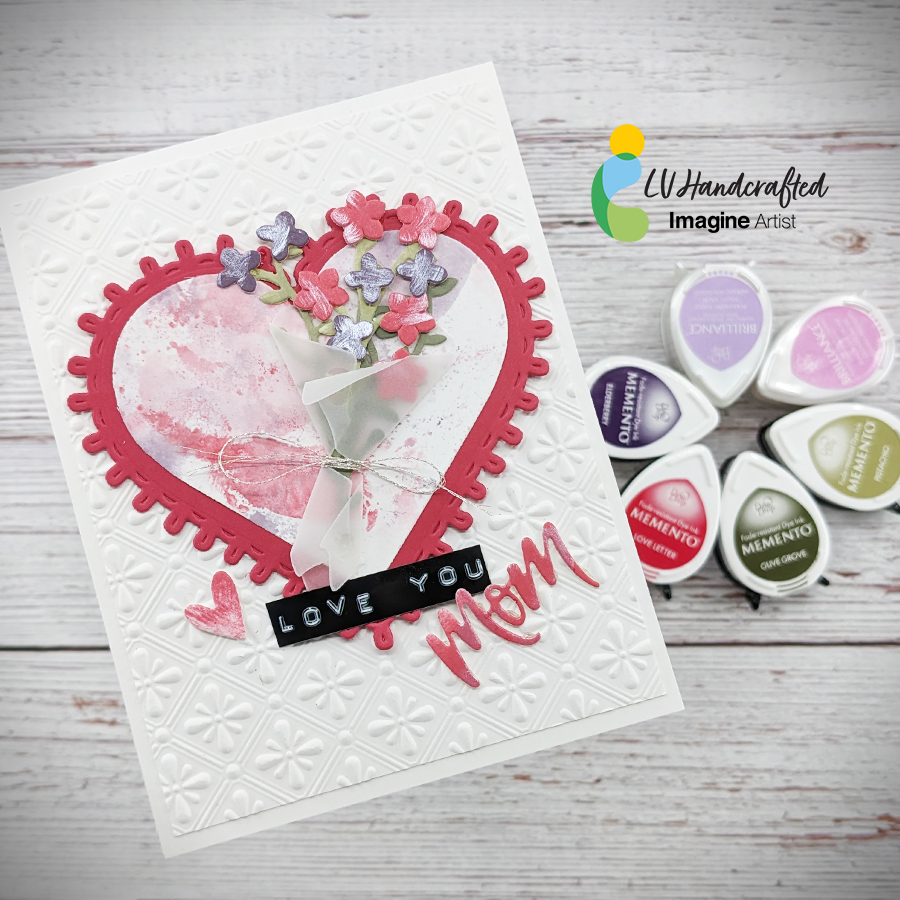
I wanted to use some dies in my stash plus some warm colored inks to make a Valentine’s Day card for my husband.
Skill: Intermediate
Time: 1.5 hours
Directions:
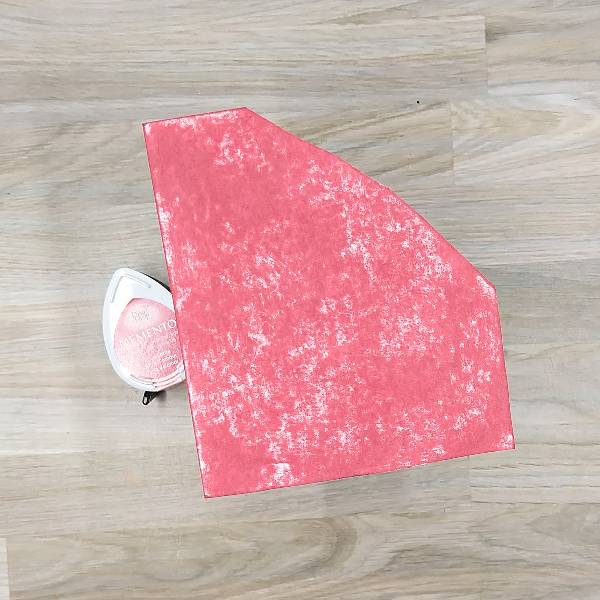
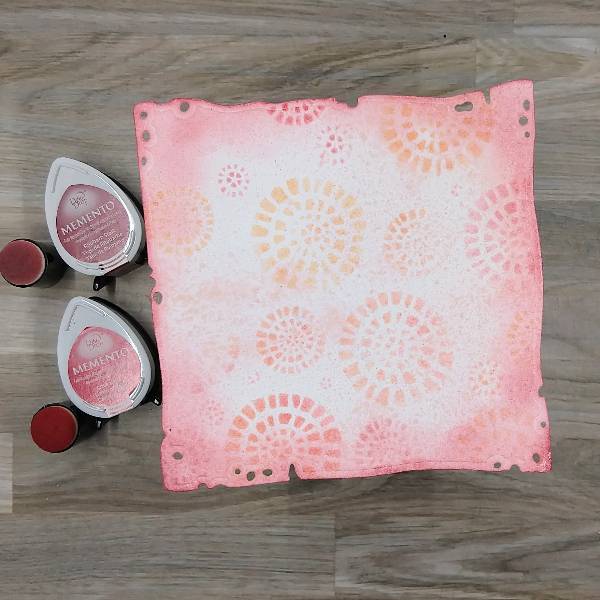
Step 1:
Rub a piece of watercolor paper with a Love Letter Memento ink pad. Don’t worry too much about the consistent color across the watercolor paper.
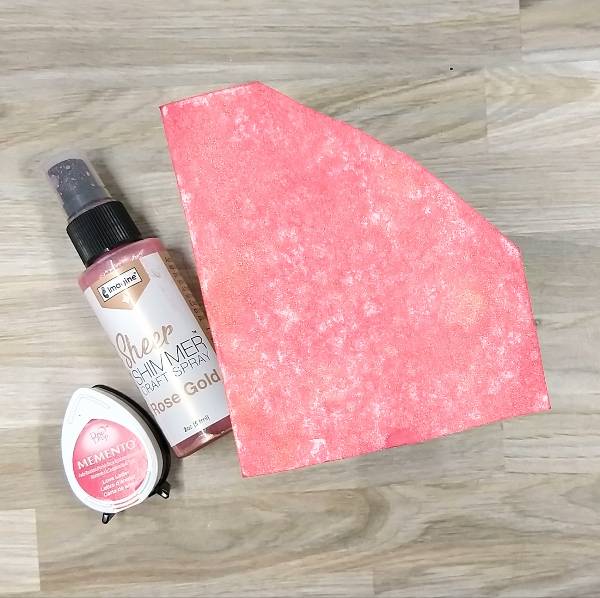
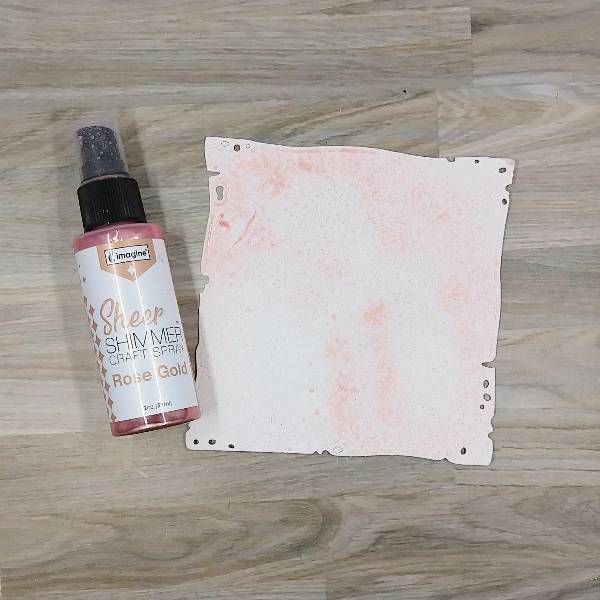
Step 2:
Spray the same watercolor paper with Rose Gold Sheer Shimmer Craft Spray and allow to dry.
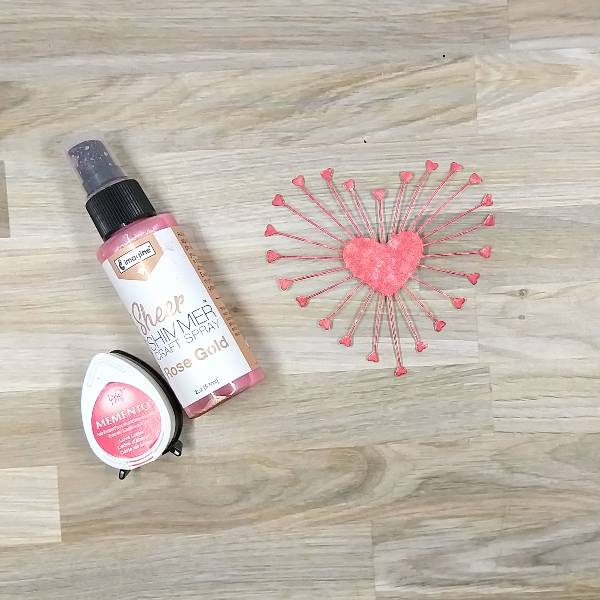
Step 3:
Die cut the colored and sprayed watercolor paper.
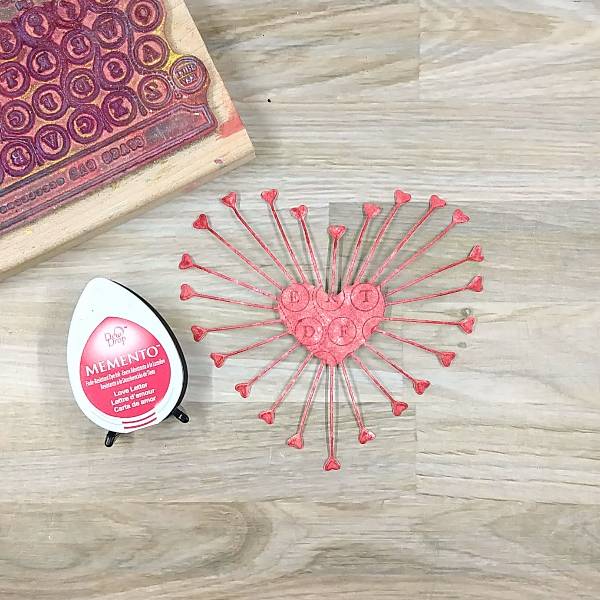
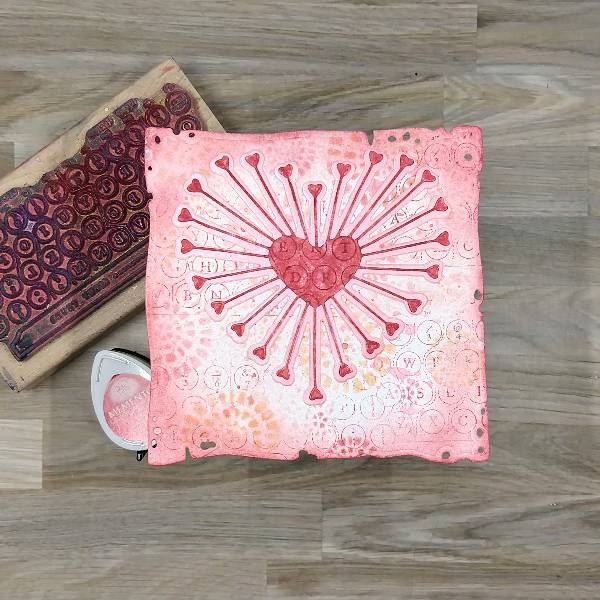
Step 4:
Use a background or texture stamp to to stamp the center of the die cut with ore Love Letter Memento ink. If desired, rub the small hearts around the edge with more Love Letter Memento ink as well.
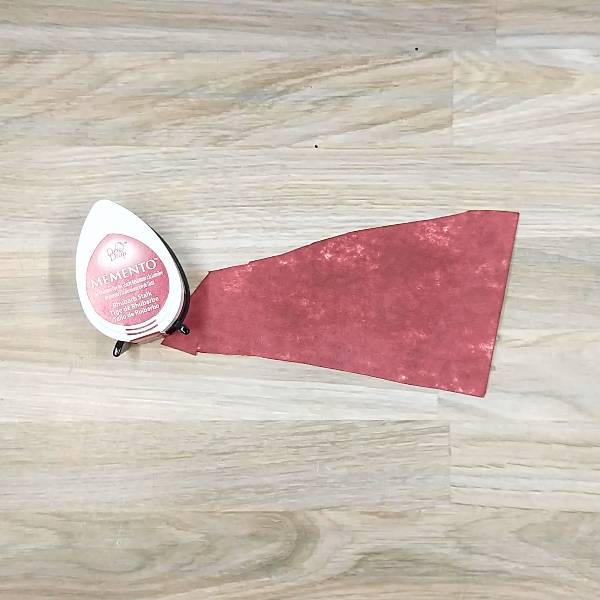
Step 5:
Rub a piece of watercolor paper with Rhubarb Stalk Memento ink pad. Again, don’t worry too much about the consistent color across the watercolor paper.
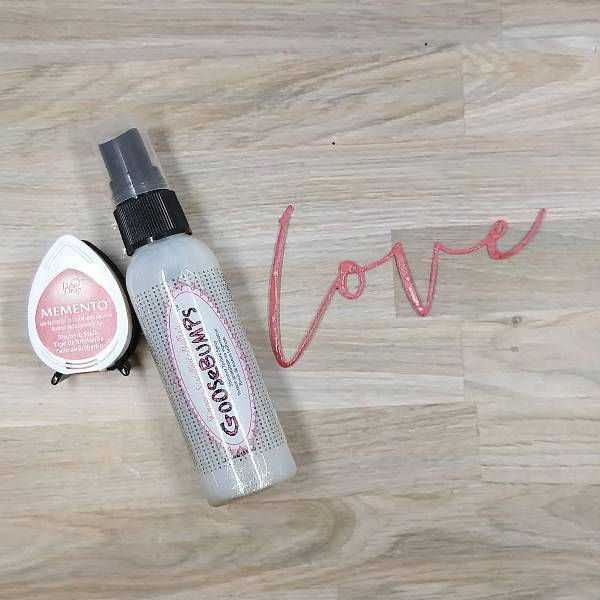
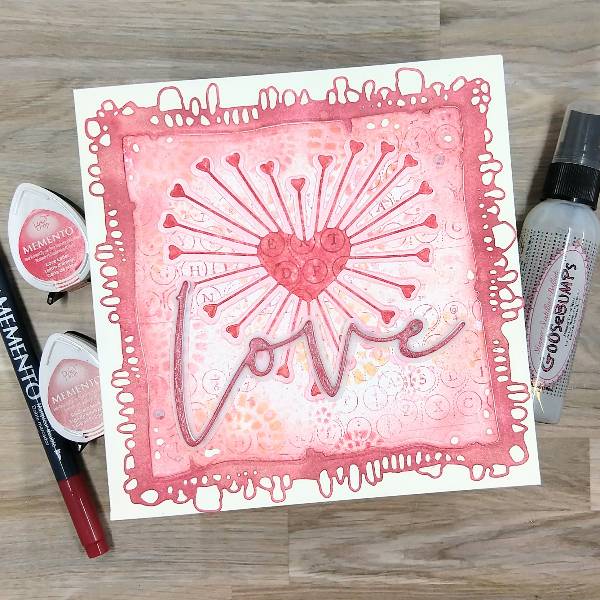
Steps 6 and 7:
Die cut the Rhubarb Stalk colored watercolor paper and use a paintbrush to paint GooseBumps Shimmer Texture Spray on the die cut. Allow the GooseBumps Shimmer Texture Spray to dry (or if you are impatient like me use your heat tool to dry it quickly).
(Not pictured: Die cut two more layers of the sentiment die with scraps of cardstock and glue the three layers together for dimension. Then die cut the shadow of the sentiment with vellum and glue the sentiment onto the shadow.)
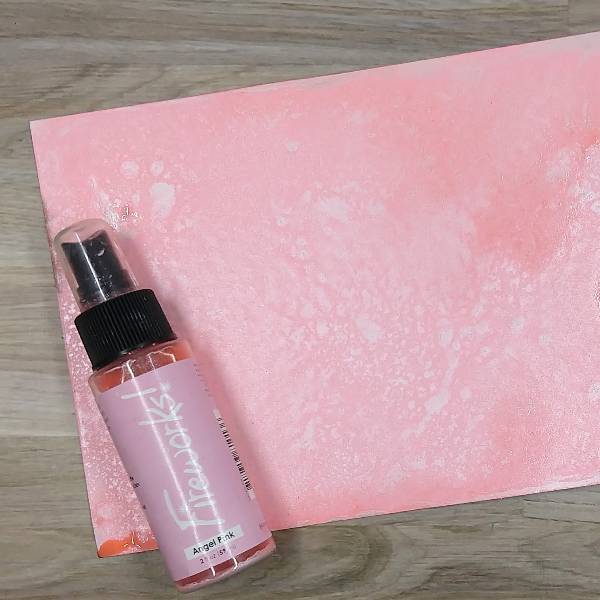
Step 8:
Spray enough Angel Pink Fireworks! Shimmery Craft Spray onto a piece of watercolor paper to totally color the paper and allow to dry.
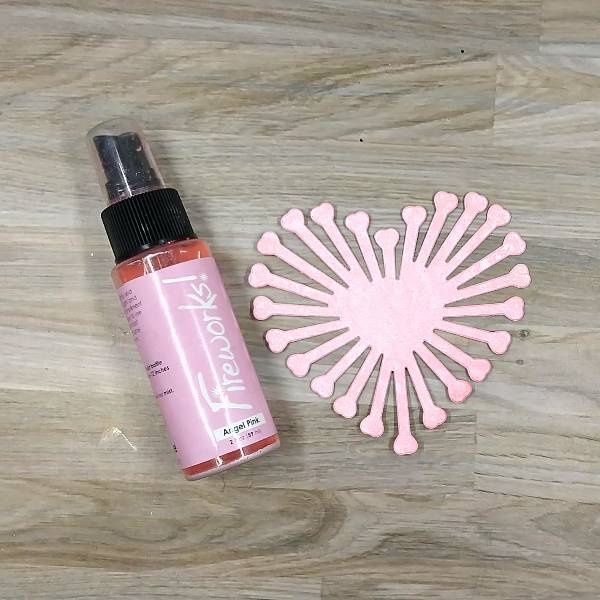
Step 9:
Die cut the sprayed watercolor paper. Glue the two layers of die cut hearts together.
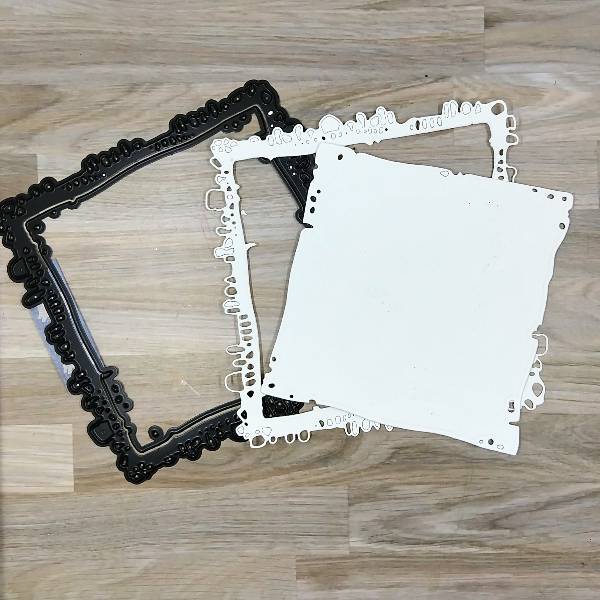
Step 10:
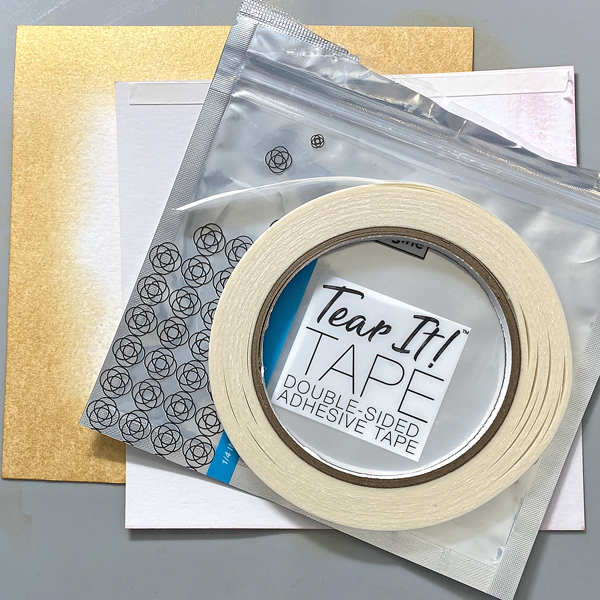
Tape an outer and inner frames together with tape and use them both together to die cut more watercolor paper.
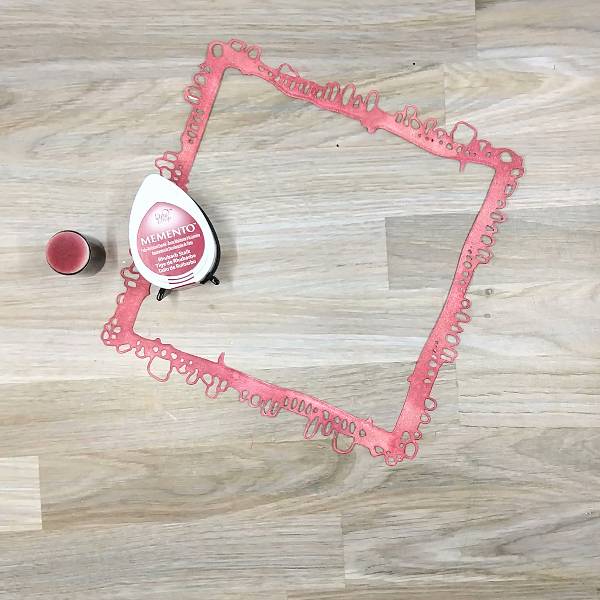
Step 11:
Ink blend the die cut frame with Rhubarb Stalk Memento Ink using a sponge dauber.
Step 12:
Spray the internal part of the die cut with Rose Gold Sheer Shimmer Craft Spray and allow to dry.
Step 13:
Use Love Letter and Rhubarb Stalk Memento Ink to ink blend through a stencil. Then ink blend around the edges of the die cut with more Rhubarb Stalk Memento Ink.
Step 14 and 15:
Use the same texture stamp used to stamp the red heart, stamp the background (internal part) of the card base with more of the Love Letter Memento Ink multiple times to add some more interest to the background.
Step 16:
Arrange the card and glue it onto a 6” x 6” card base. Start out by gluing the sentiment onto the internal part of the cardpanel (over the die cut heart). Then glue the frame onto the card base and nestle the internal part of the card onto the card. Add sequins on the lower left and upper right parts of the card.
Art Supplies
Imagine
• Fireworks! Shimmery Craft Spray – Angel Pink
• GooseBumps Texture Spray – Shimmer
• Memento Dual Marker – Rhubarb Stalk
• Memento Dye Ink – Love Letter, Rhubarb Stalk
• Sheer Shimmer Craft Spray – Rose Gold
• Sponge daubers
Other
• AALL & Create – die set – Nature’s Doily
• Brutus Monroe – die set – Heart Petals
• Scrappy Tails – rhinestones – white rhinestones
• Stampers Anonymous – woodblock stamp – U3-2603 (typewriter stamp)
• Stencil in my stash
• Watercolor paper
• Scrap cardstock
• Vellum
• Die cutting machine
• Paint brush
• Scissors
Glue