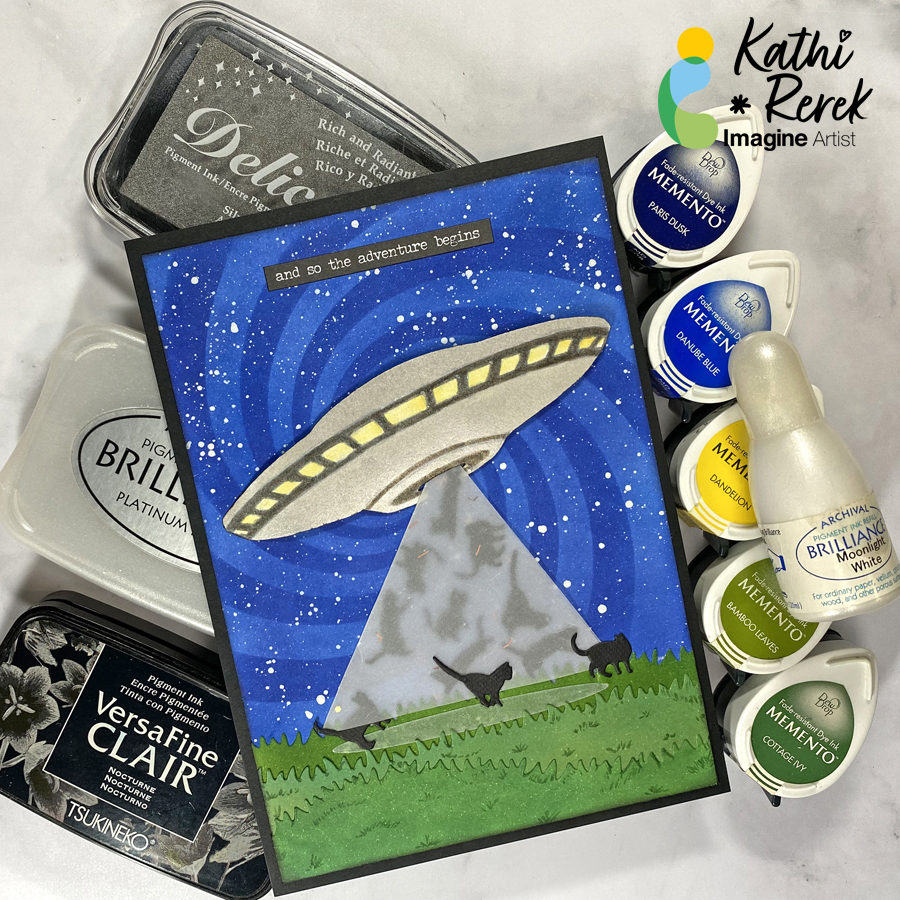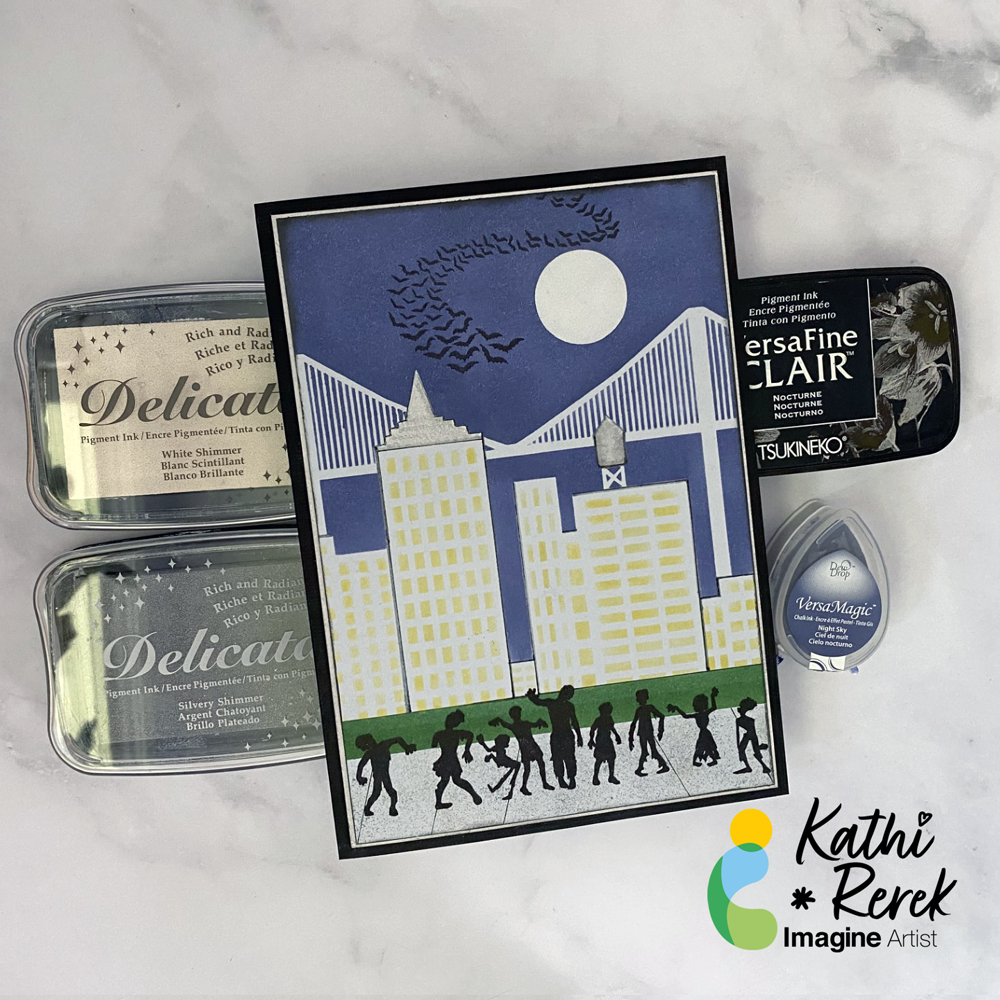
By Kathi Rerek
Halloween card made easy with VersaMagic, Brilliance, Delicata, VersaFine Clair, and Memento Inks!
Skill Level: Beginner to Intermediate
Time: 1 hour
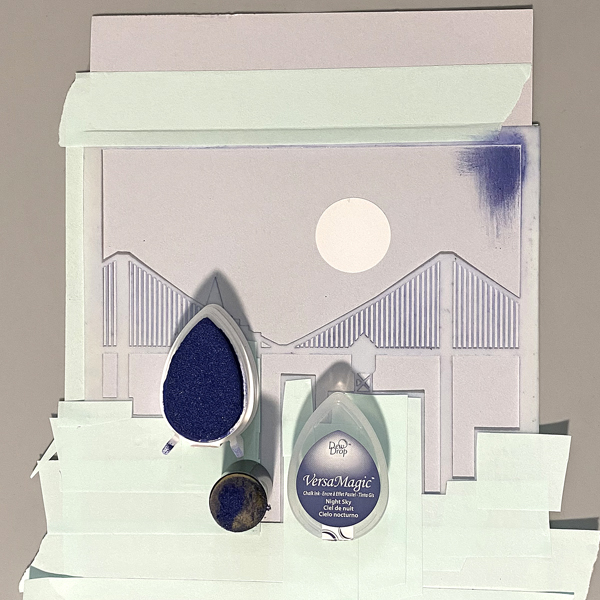
Step 1.
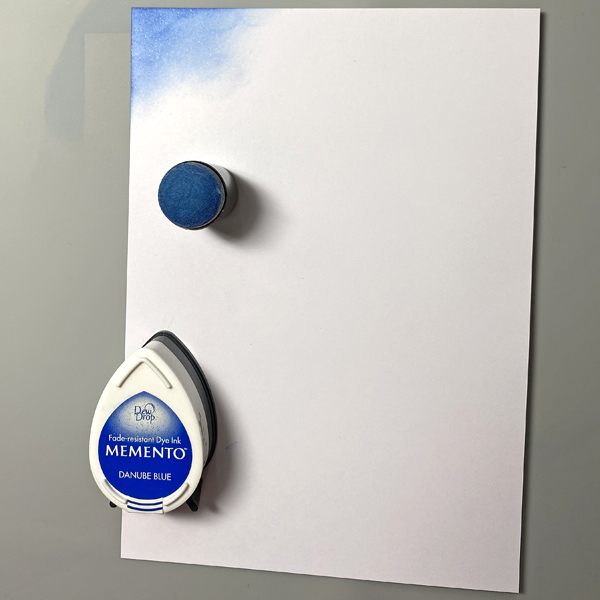
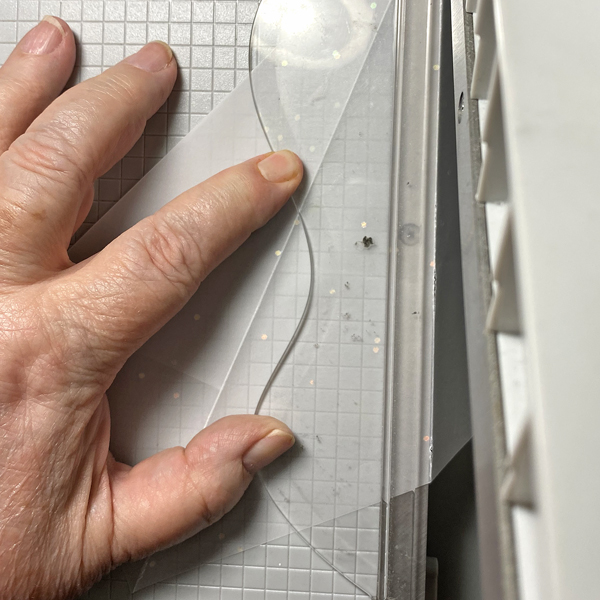
Use low-tack tape to secure the Cityscape Stencil to a 5.5” x 8.5” piece of light grey cardstock. Trim and place low-tack tape to cover the buildings’ windows. Use a circle punch to cut a circle from mask paper and adhere the circle mask above the bridge. Keep the mask paper with the circular hole for another step..
Use a sponge dauber to apply Night Sky VersaMagic Ink over the stencil and the moon mask onto the the grey cardstock to create a night sky.
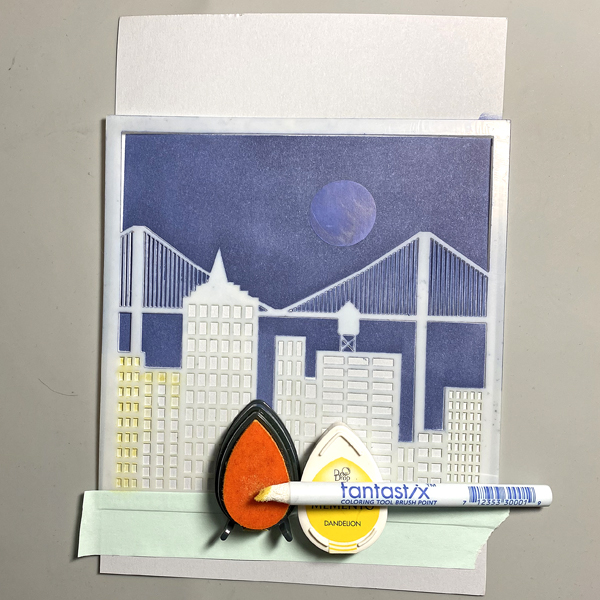
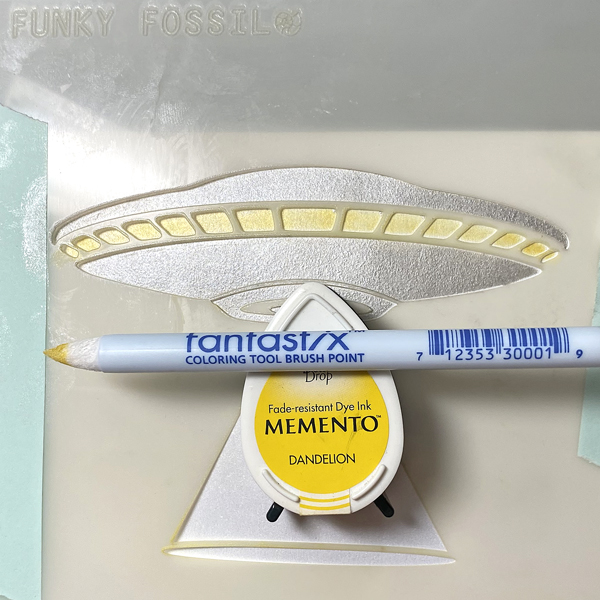
Step 2:
Keeping the stencil in place, remove the tape covering the windows. Use a Fantastix to apply Dandelion Memento Ink over the window apertures of the stencil.
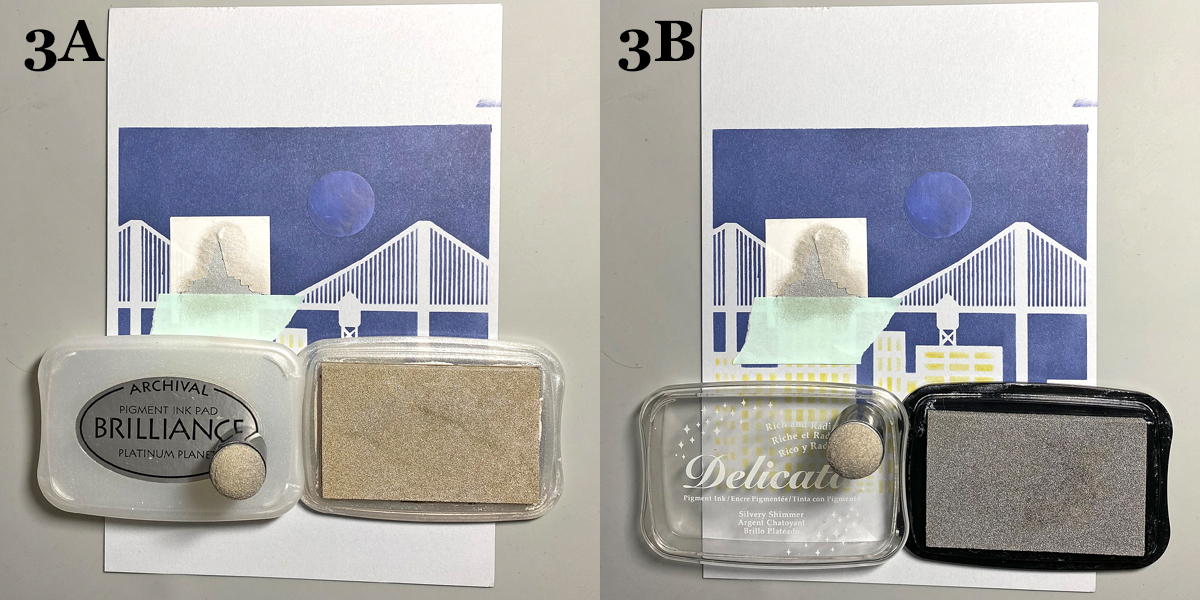
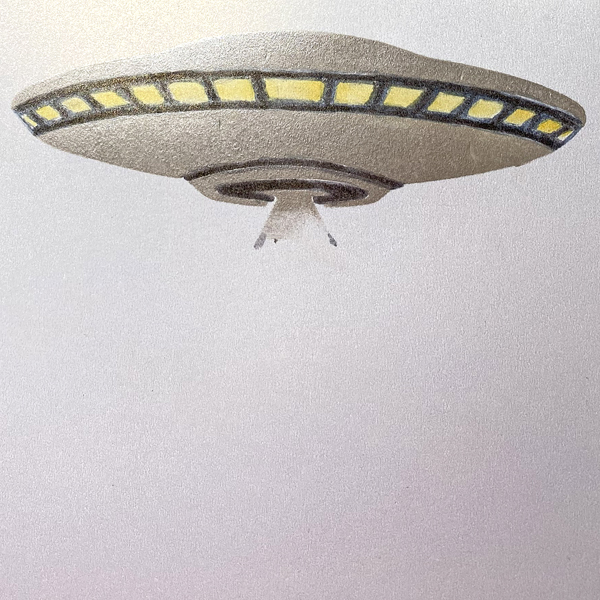
Step 3:
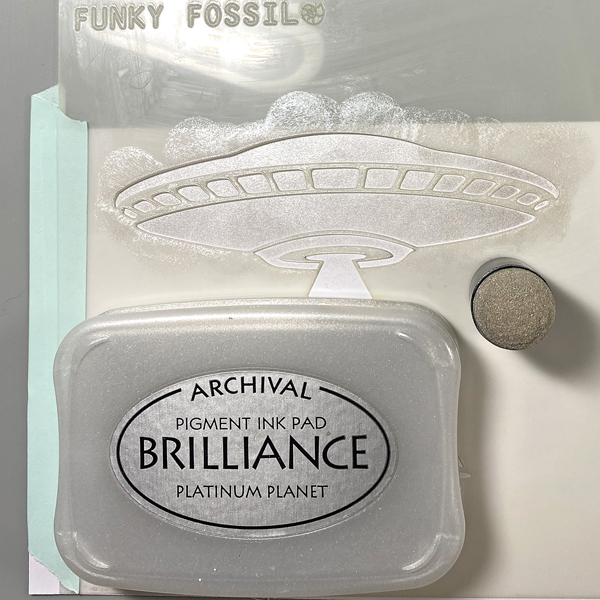
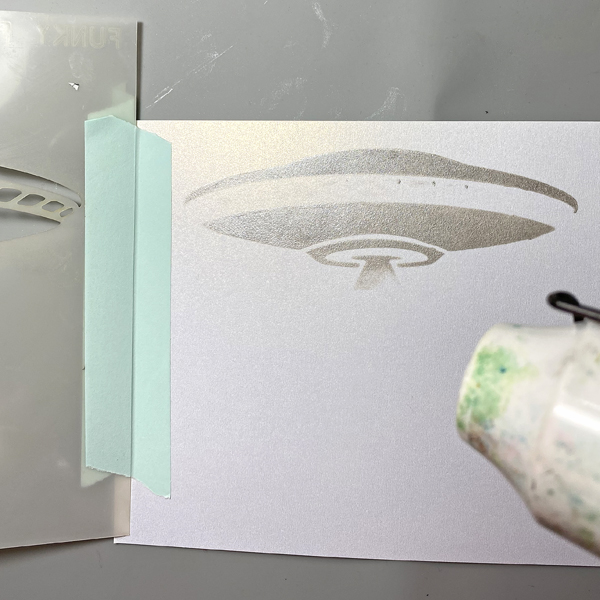
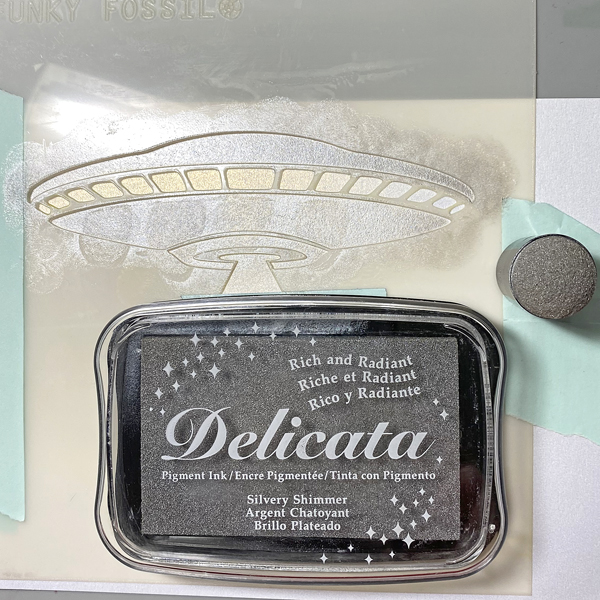
Trace the spire onto masking paper, fussy-cut along the lines, leaving the outline of the spire intact. Place the mask around the spire on the image panel. Use low-tack tape to cover the base of the spire.
Use a sponge dauber to apply Platinum Planet Brilliance Ink to the spire, then apply Silvery Shimmer Delicata Ink overtop to amp up the silver.

Step 4:
Use low-tack tape to cover the area around the rooftop water tower, leaving the tower unmasked. Use a Fantastix to apply Platinum Planet Brilliance Ink to color the water tower. Use another Fantastix to apply Starlight Black Brilliance Ink to add shading to the water tower.
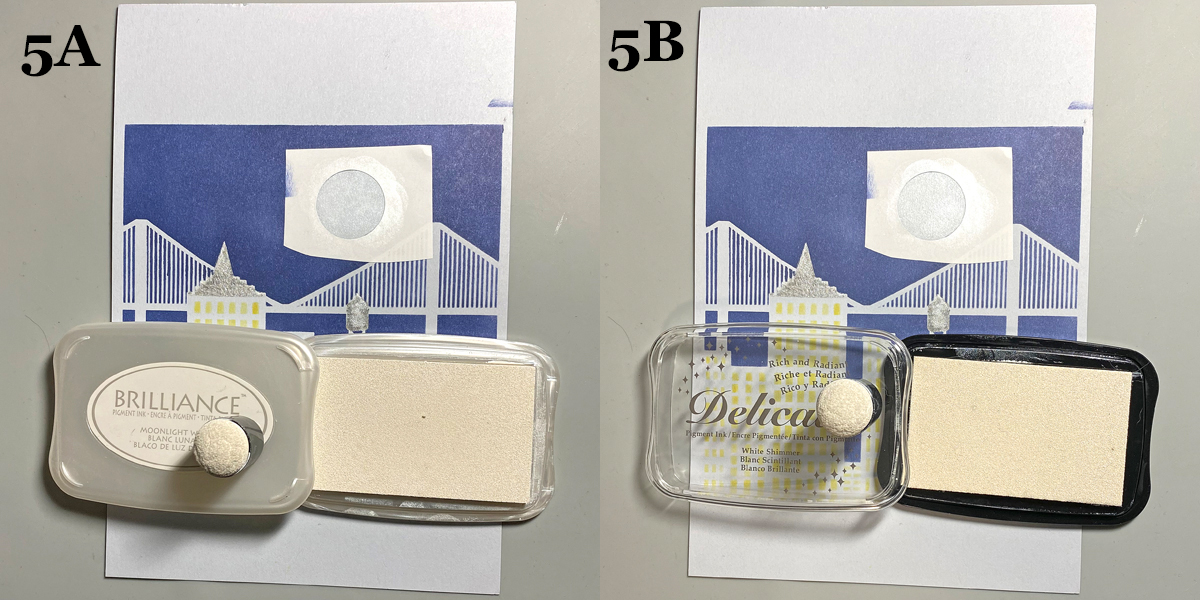
Step 5:
Remove the circle mask from the sky. Adhere the mask paper with the circle hole to the sky area, leaving the center open. Use a Sponge Dauber to apply Moonlight White Brilliance ink to color the moon white. Use a Sponge Dauber to apply White Shimmer Delicata Ink overtop to add shimmer to the moon.

Step 6:
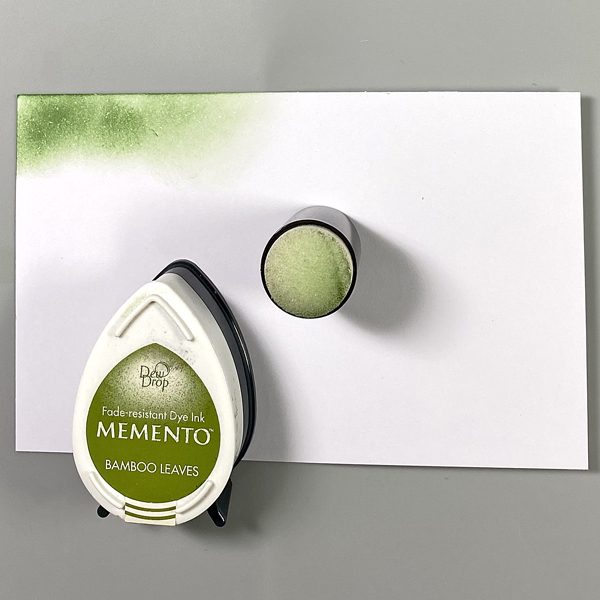
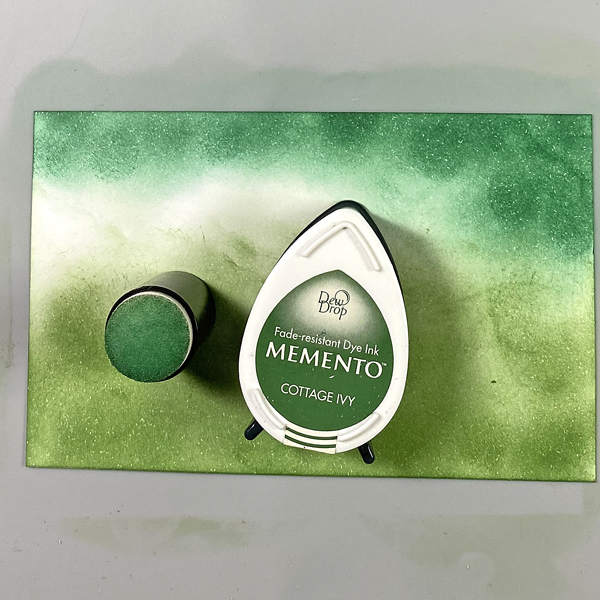
Use a scrap of cardstock and low-tack tape to cover the buildings. Place another piece of low-tack tape horizontally across the bottom 1.25” of the image panel.Use Sponge Daubers to apply Cottage Ivy and Bamboo Leaves Memento Ink between the masked areas to create a grassy lawn.
Step 7:
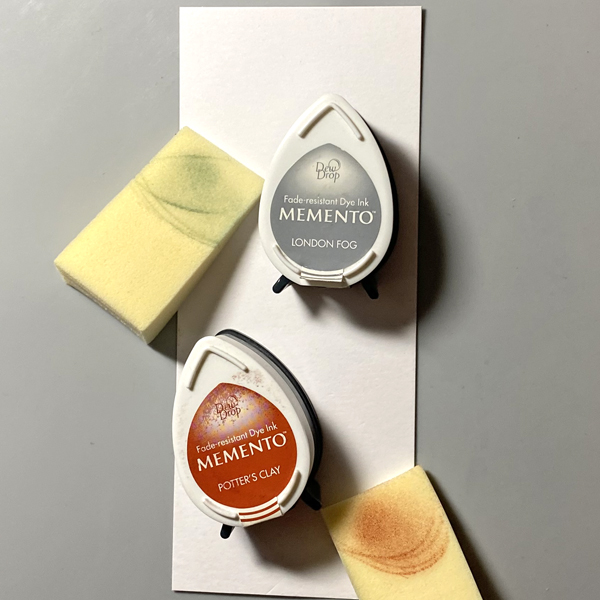
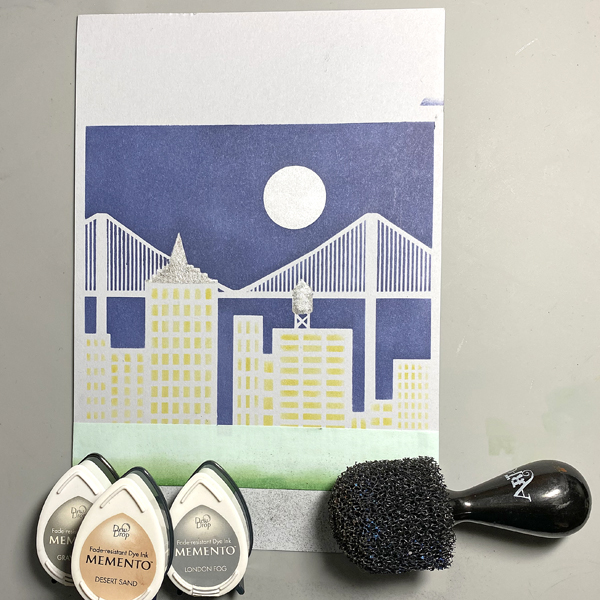
Use low-tack tape to cover the grassy areas. Use the pouncy tool to apply London Fog, Grey Flannel, and Desert Sand Memento Inks to create a cement sidewalk.
Step 8:
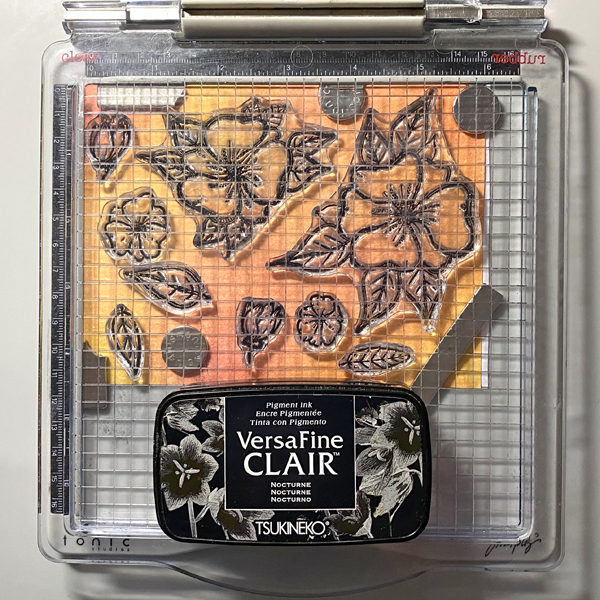
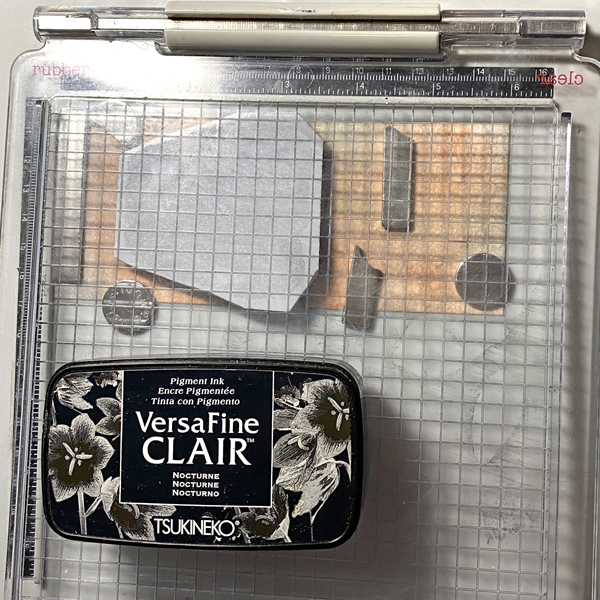
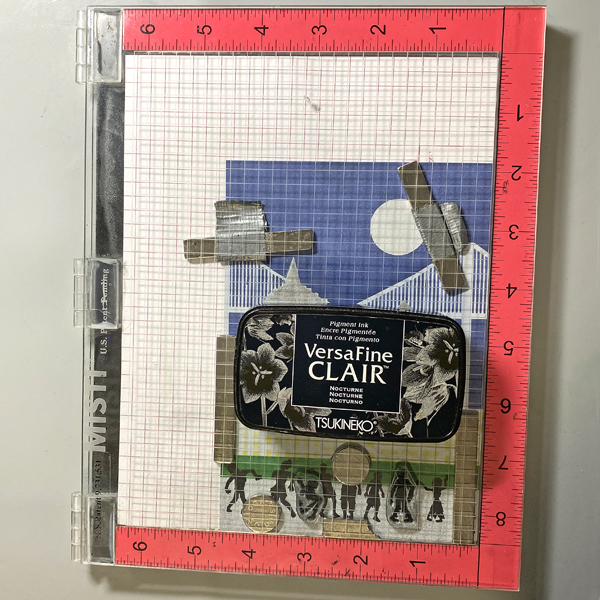
Use magnets to secure the image panel to the stamping platform. Position the Zombie stamps facedown where desired. Press the lid of the platform onto the back of the stamps, lift, ink the stamps with Nocturne VersaFine Clair Ink, and stamp. Re-ink and repeat stamping if needed to attain a good solid impression.
Remove the Zombie stamps from the platform., then remove the image panel from the platform,. Heat set the stamped images.
Step 9:
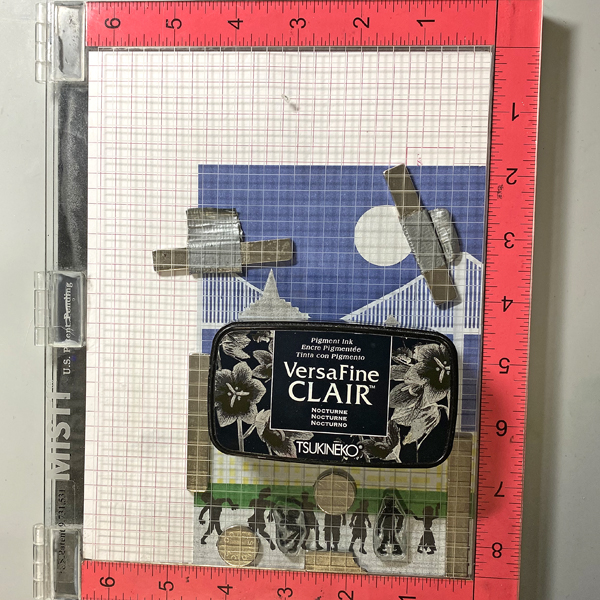
Place the image panel back onto the base of the stamping platform, secured with magnets.. Place the other two small Zombie stamps facedown between the other stamped images. Press the lid of the platform onto the back of the stamps, lift, ink the stamps with Nocturne VersaFine Clair Ink, and stamp. Re-ink and repeat stamping if needed to attain a good solid impression.
Remove the stamps from the platform Remove the image panel from the platform. Heat set.
Step 10:
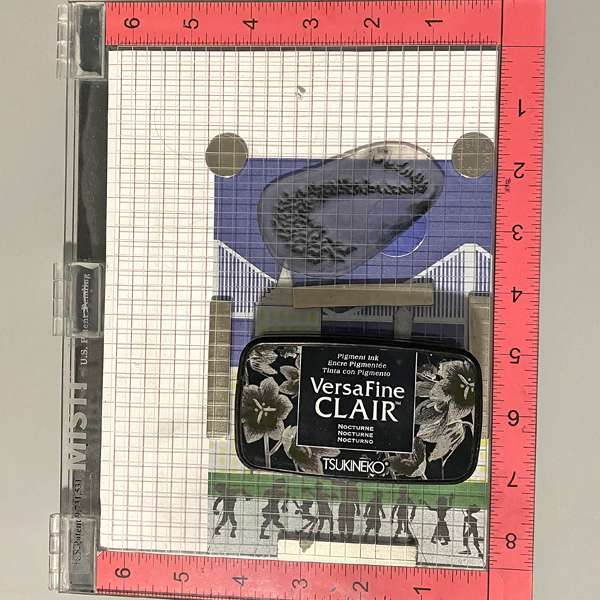
Place the image panel back onto the stamping platform, secured with magnets. Place the Bat Colony Stamp facedown in the sky area as shown. Press the lid of the platform onto the back of the stamps, lift, ink the stamps with Nocturne VersaFine Clair Ink, and stamp. Re-ink and repeat stamping if needed to attain a good solid impression.
Remove the stamps from the platform Remove the image panel from the platform. Heat set.
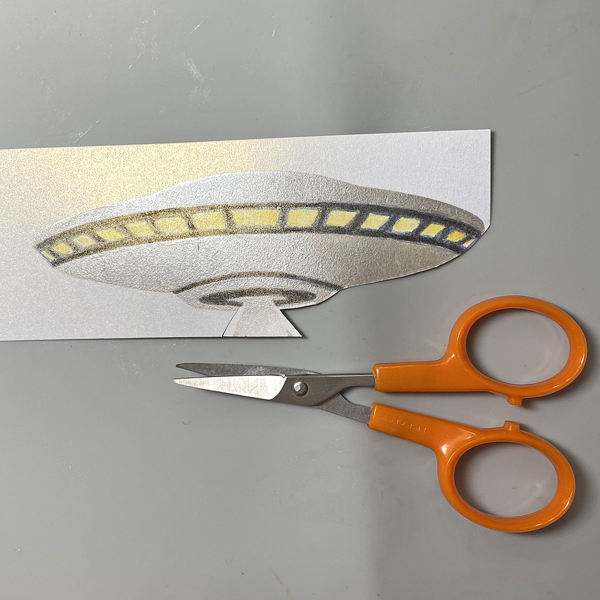
Step 11:
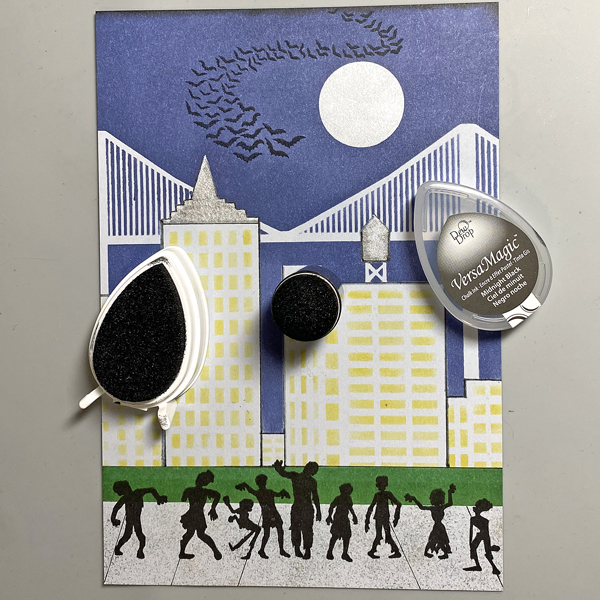
Trim the image panel to 4 5/8” x 6 5/8” . Use a Sponge Dauber to edge the image panel with Midnight Black VersaMagic Ink.

Step 12:
Trim a piece of white cardstock to 4.75” x 6.75”. Use a Sponge Dauber to apply Platinum Planet Brilliance Ink to the outside .5” of the image panel. Then use a Sponge Dauber to apply Silvery Shimmer Delicata Ink overtop to add to the metallic shine.
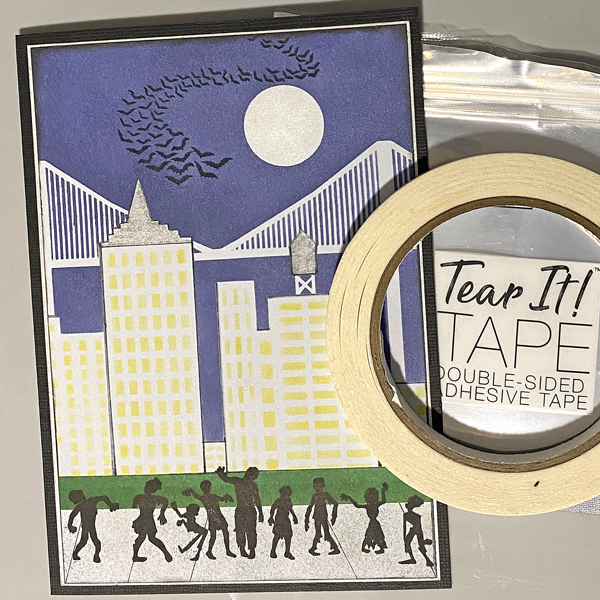
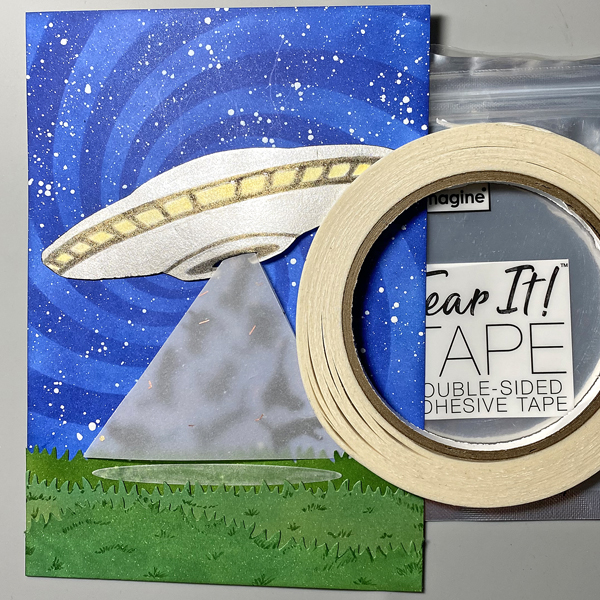
Step 13:
Use Tear It! Tape to mat the image panel to the silver-inked cardstock, then use Tear-It! Tape to adhere the matted image panel to a black 5” x 7” card.
Imagine Crafts Supplies:
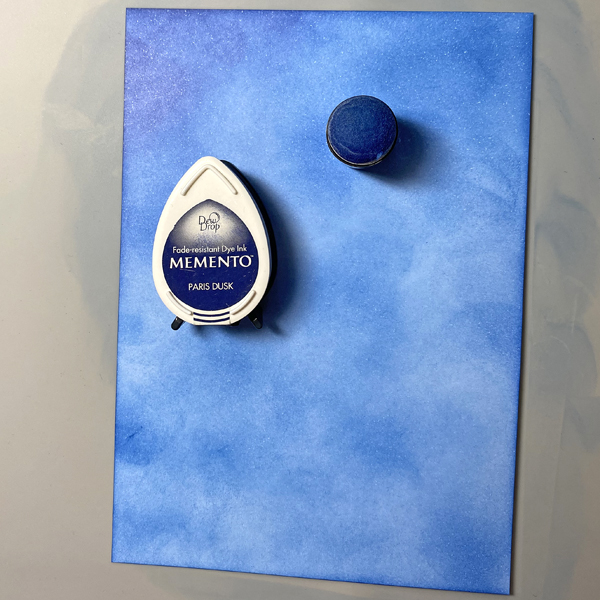
- VersaMagic Dew Drop Ink – Night Sky
- VersaMagic Dew Drop Ink – Midnight Black
- Brilliance Ink – Moonlight White
- Brilliance. Ink – Platinum Planet
- Delicata Ink – White Shimmer
- Delicata Ink – Silvery Shimmer
- Memento Dew Drop Ink – Dandelion
- Memento Dew Drop Ink – Bamboo Leaves
- Memento Dew Drop Ink – Cottage Ivy
- Memento Dew Drop Ink – London Fog
- Memento Dew Drop Ink – Grey Flannel
- VersaFine Clair ink – Nocturne
- Sponge Daubers
- Fantastix
- Tear It! Tape
- Craft Mat
Other Supplies:
- Light Grey Cardstock
- Cityscape Stencil TCW376 by The Crafters Workshop
- Bat Colony Clear Polymer Stamp by Lavinia Stamps
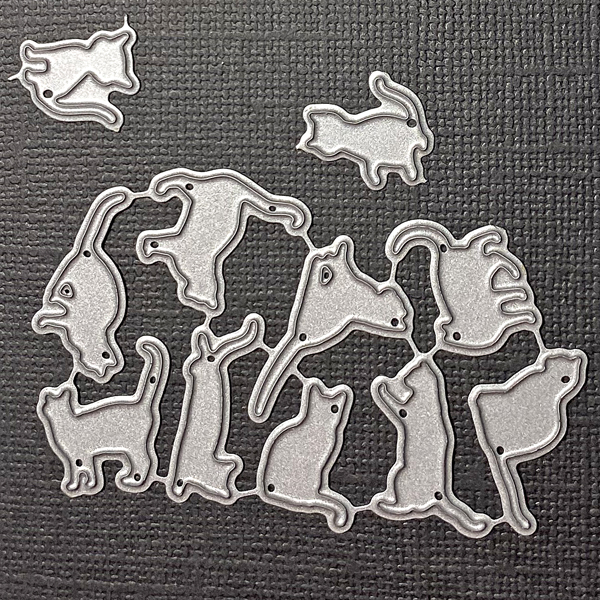
- Zombie Party by Whimsy Stamps
- Low-Tack Tape
- Mask Paper by Gina K Designs
- Pouncy Tool
- Heat Gun by EK Success
- Mini Guillotine Trimmer by Tim Holtz for Tonic Studios
- Misti Stamping Platform by My Sweet Petunia