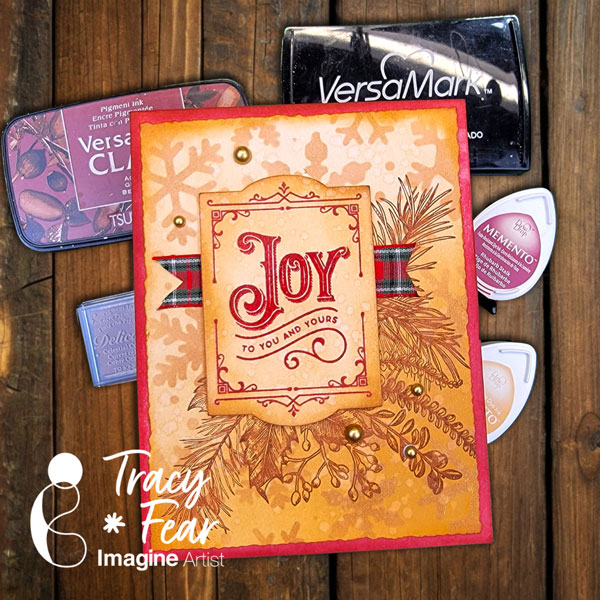
Hello Friends! Happy Holidays! There’s nothing I love more than a vintage Christmas card and that’s just what you will learn to create in the video! Follow along with me while we create this super easy Christmas Card!
• Acrylic stamping block or stamp platform • Snowflake Stencil • Stencil Brush • 100lb white paper • A2 Card Base • Clear embossing powder • Ribbon scrap • Embellishments • Water and a brush • Stamps of your choice • Antistatic Powder Tool • Embossing heat tool • Tim Holtz and Sizzix Dies Darling Deer, Arctic, and Festive Words • Glitter paper from my stash • White Gel Pen • Dr. PH Martin’s Bleedproof White Vellum from my stash
ALTERNATIVE PRODUCTS THAT CAN BE USED TO RECREATE SOMETHING SIMILAR Any Inks any combination of background stamps, dies, and feature stamps and stencil
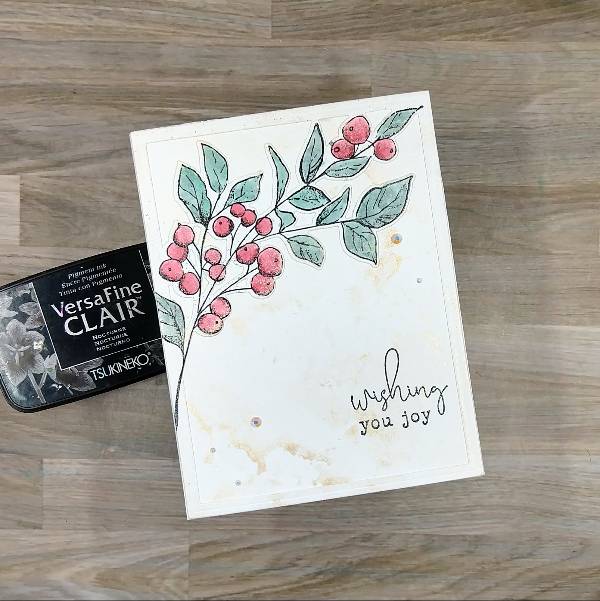
I was inspired to make a minimalist holiday card to allow the main botanical image to shine as the focal point. But I also knew that I wanted it to be shiny, so pulled out my current favorite Delicata color-Champagne- to add some subtitle shine.
Skill: Intermediate Time: 1 hour
Directions:
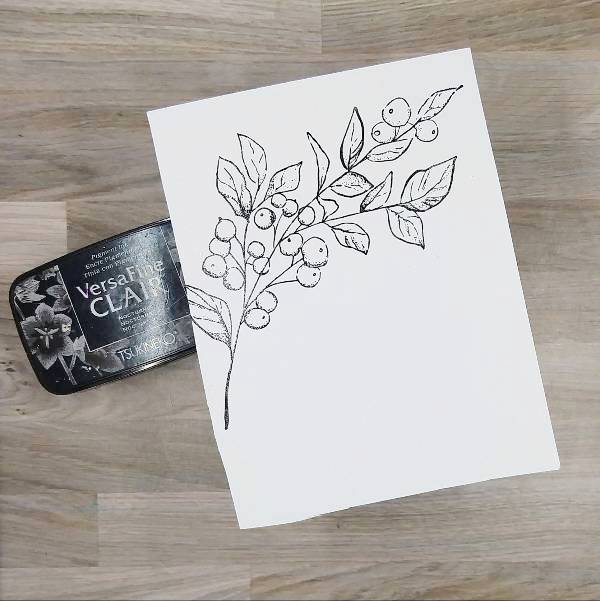
Step 1: Stamp the large botanical image on a piece of watercolor paper with Nocturne VersaFine Clair ink. Then heat emboss with clear embossing powder.
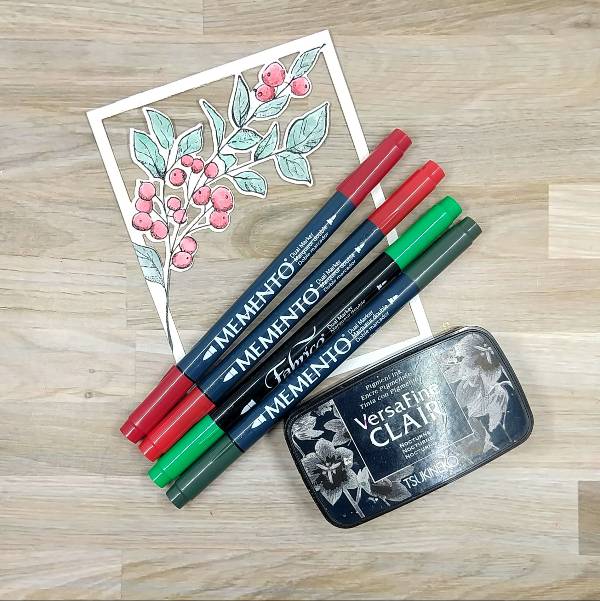
Step 2: Use markers to color in the berries and leaves. Use the Rhubarb Stalk Memento Dual Marker to color over the shaded areas of the berries. Then color a piece of acetate packaging with Lady Bug Memento Dual Marker and spray with water, use this to watercolor in the berries. While watercoloring, make sure to watercolor over all of the berries to blend in the watercolor with the darker red marker already colored in the berries. Then color another area of the acetate packaging with both the Emerald Fabrico Dual Marker and the Northern Pine Memento Dual Marker and spray with more water. Mix the two colors together to create a blend of the two colors and then watercolor the leaves. Allow to dry.
After all of the image dried, die cut the image with the corresponding die.
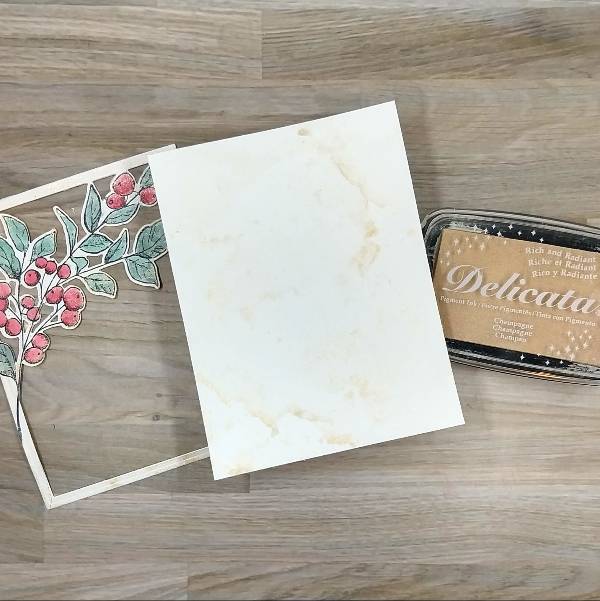
Step 3: Trim a second panel of watercolor paper in the papertrimmer the same size as the die cut frame created in step 2. Then press the Campagne Delicata Ink pad onto acetate packaging and spray with water to watercolor smoosh both the panel and the botanical image/frame to add sparkle to both.
Off camera, I got a small smudge on the frame with my finger. To fix this, I used some of the leftover green watercolor I made for step 2 to splatter green over the frame.
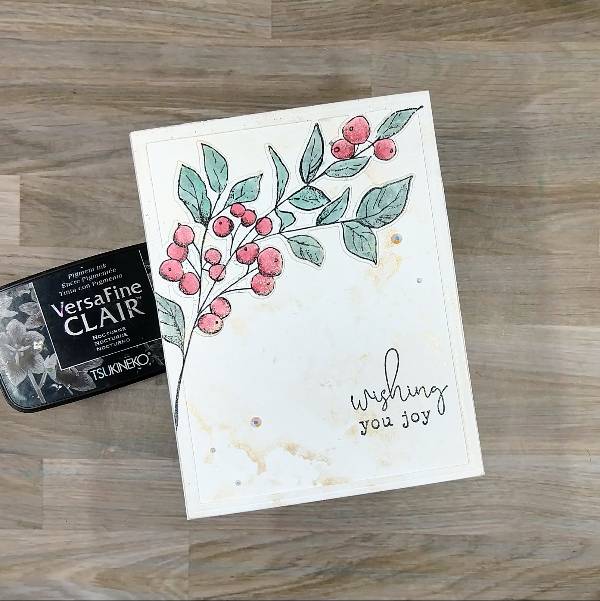
Step 4: Glue the frame onto the watercolor panel. Then stamp a sentiment on the lower right corner of the panel with more Nocturne VersaFine Clair ink and heat emboss with clear embossing powder. Glue the panel onto an A2-sized white cardbase. Glue white rhinestones on the lower left and upper right parts of the card panel to finish the card.
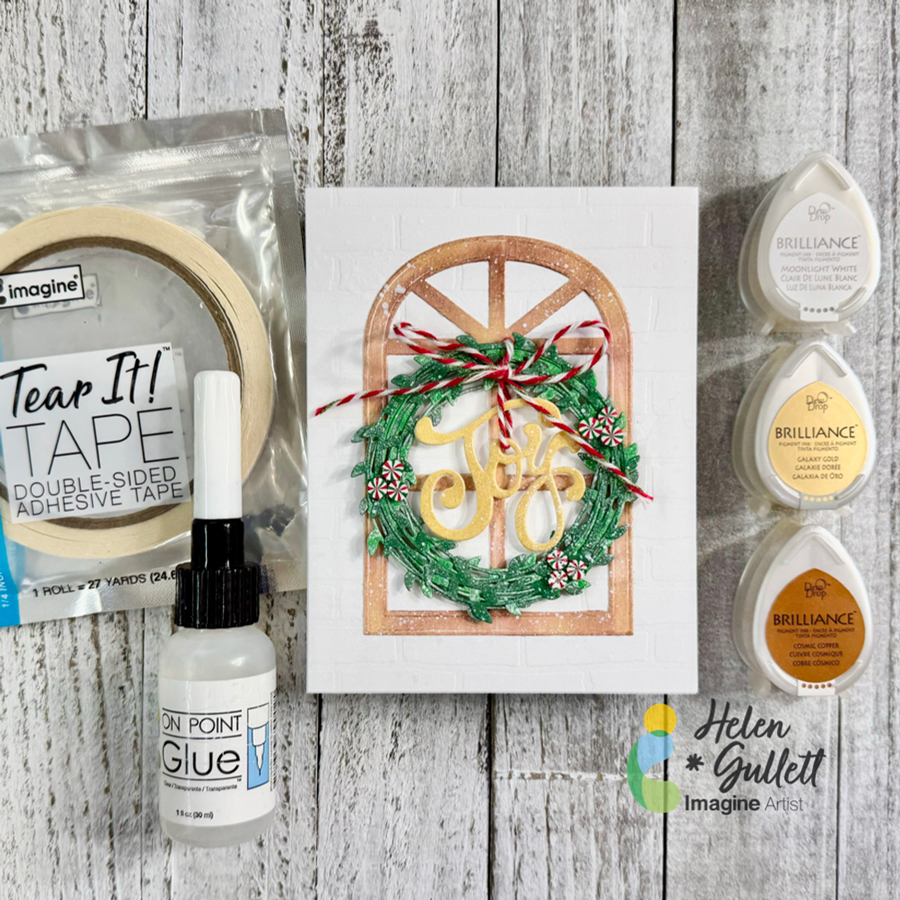
Hello crafty friends! If you ask me if we could start making Christmas projects in July, I would say the sooner the better. One of the ways to share the joy of the Holiday is by sending handmade Christmas cards. Today, I have this no-stamping Christmas card idea to share with you all. Yes… it is a no-stamping card, all die cuts. To add extra shimmer to the die cuts, I use Brilliance Dew Drop inks today. So, let’s turn on the Christmas music and get crafting!
Skill: Intermediate Time: 20-30 minutes
Direction:
Step 1 Cut a heavyweight white cardstock (110 lb) to make the A2 card base in 4.25 inch x 5.5 inch dimension. Set a side.
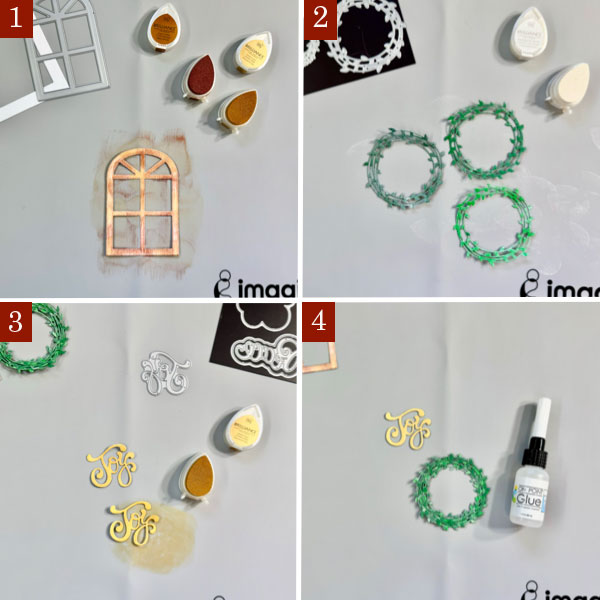
Cut out a piece of white cardstock with the Arched Window die with the die cutting machine.
Randomly dab some of the Cosmic Cooper Brilliance ink and Galaxy Gold ink on the window to cover it. Then set it aside to dry or you can use a craft heat gun to speed up the drying time.
Step 2 Cut out 2 or 3 shades of green cardstocks with the wreath die with the die cutting machine.
Randomly dab some of the Moonlight White Brilliance ink on each of the wreaths to give them a snowy effect. Then set them aside to dry or you can use a craft heat gun to speed up the drying time.
Step 3 Cut out another white cardstock with the Joy word die using the die cutting machine twice. You can cut out 3-4 times to create a thicker word chipboard.
Cover the word diecuts with some of the Galaxy Gold ink to give them gold color. Then set them aside to dry or you can use a craft heat gun to speed up the drying time.
Step 4 Put together the wreath diecuts with some of the On Point Glue to become a one thicker wreath. Put a heavy object (I used a large acrylic stamping block) on them until the glue dries permanently in a couple minutes.
Do the same way with the Joy word diecuts to create the word chipboard.
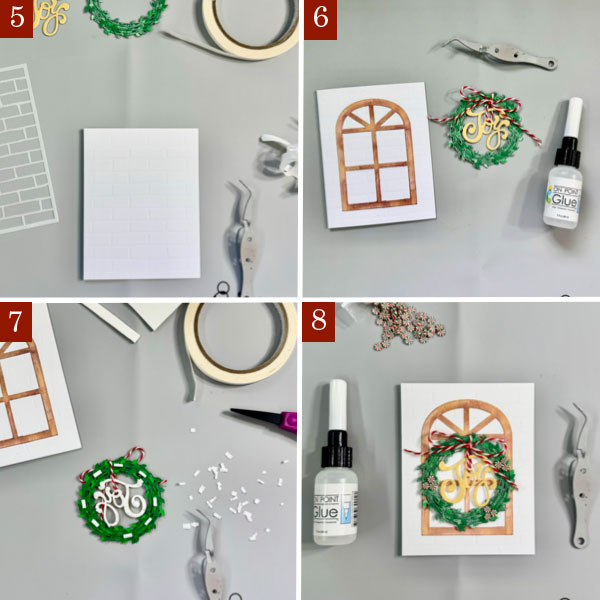
Step 5 I embossed a piece of 4.25 inch x 5.5 inch white cardstock using the Brick Wall stencil. If you have a similar background embossing folder, you can use it, too.
Add the embossed background panel to the card base with some of the Tear It! Tape.
Step 6 Add the arched window to the card with On Point Glue, add a heavy object on it (or a large acrylic stamping block) until the glue dries permanently.
Add the word chipboard to the wreath with some baker’s twine to make it look like hanging down in the middle of the wreath. Tie up the twine into a bow and secure it with a dab of On Point Glue. Put a heavy object (or a larger acrylic stamping block) on it so the twine stays in place until the glue dries permanently.
Step 7 Cut a couple thin strips out of the thin white fun foam (about ¼ inch wide) and add some of the Tear It! Tape to them to create the foam tape.
Cut the foam tape into small pieces and add them at the back of the wreath. Remove the backing of the foam tapes and add the wreath to the card.
Step 8 Decorate the wreath with some of the Peppermint clay embellishments by adding them to the wreath with some of the On Point Glue.
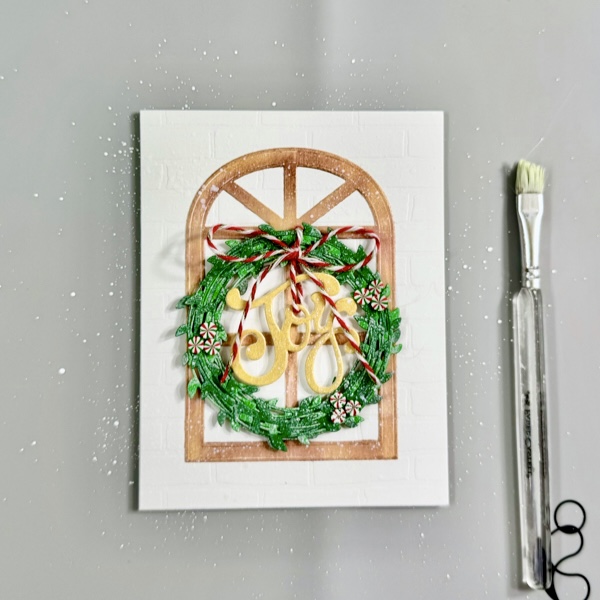
Step 9 On the craft mat, mix a small amount of white acrylic paint with some water.
Add some of white paint splatters to the card using brush for more texture and snowy look.
Dry the whole card with a craft heat gun.
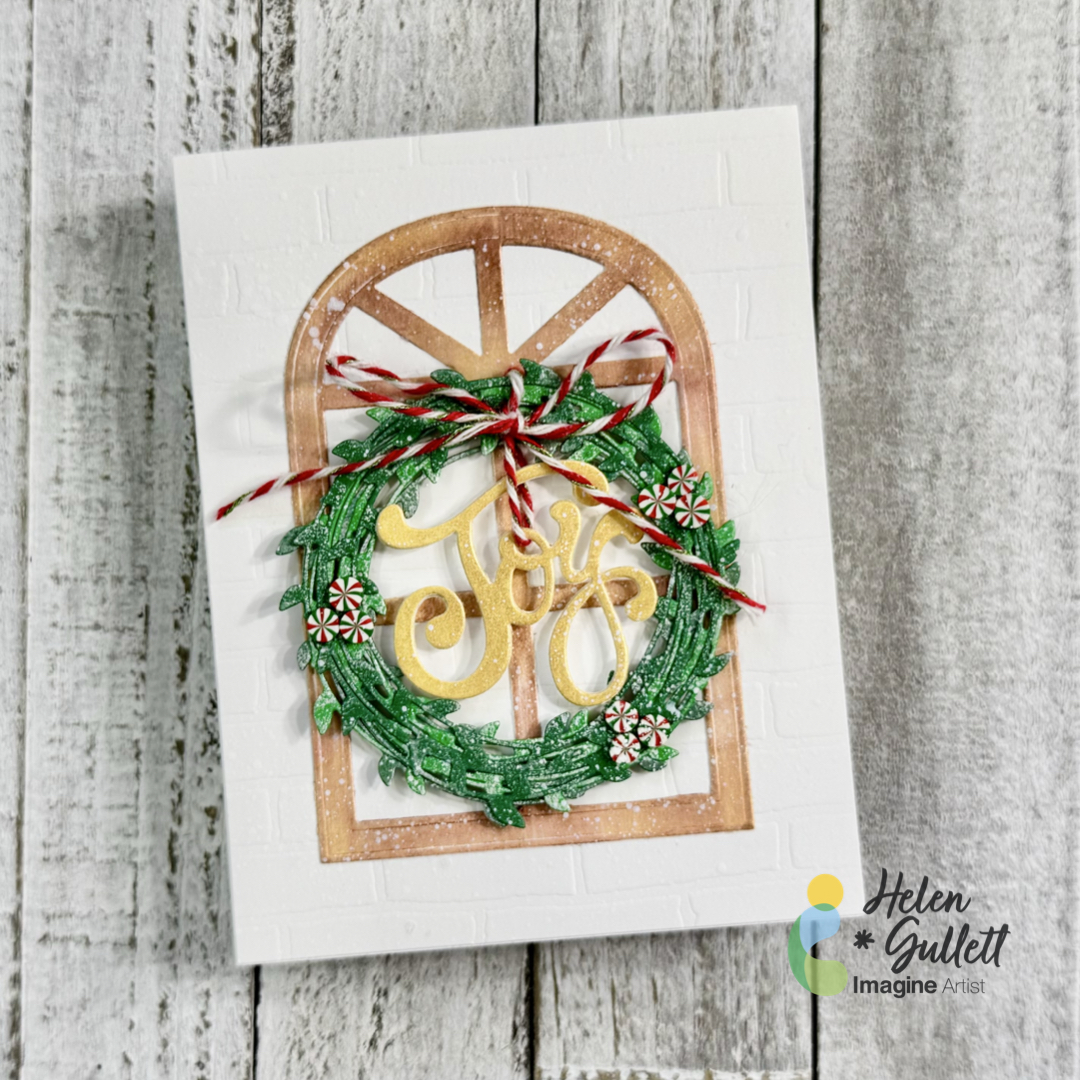
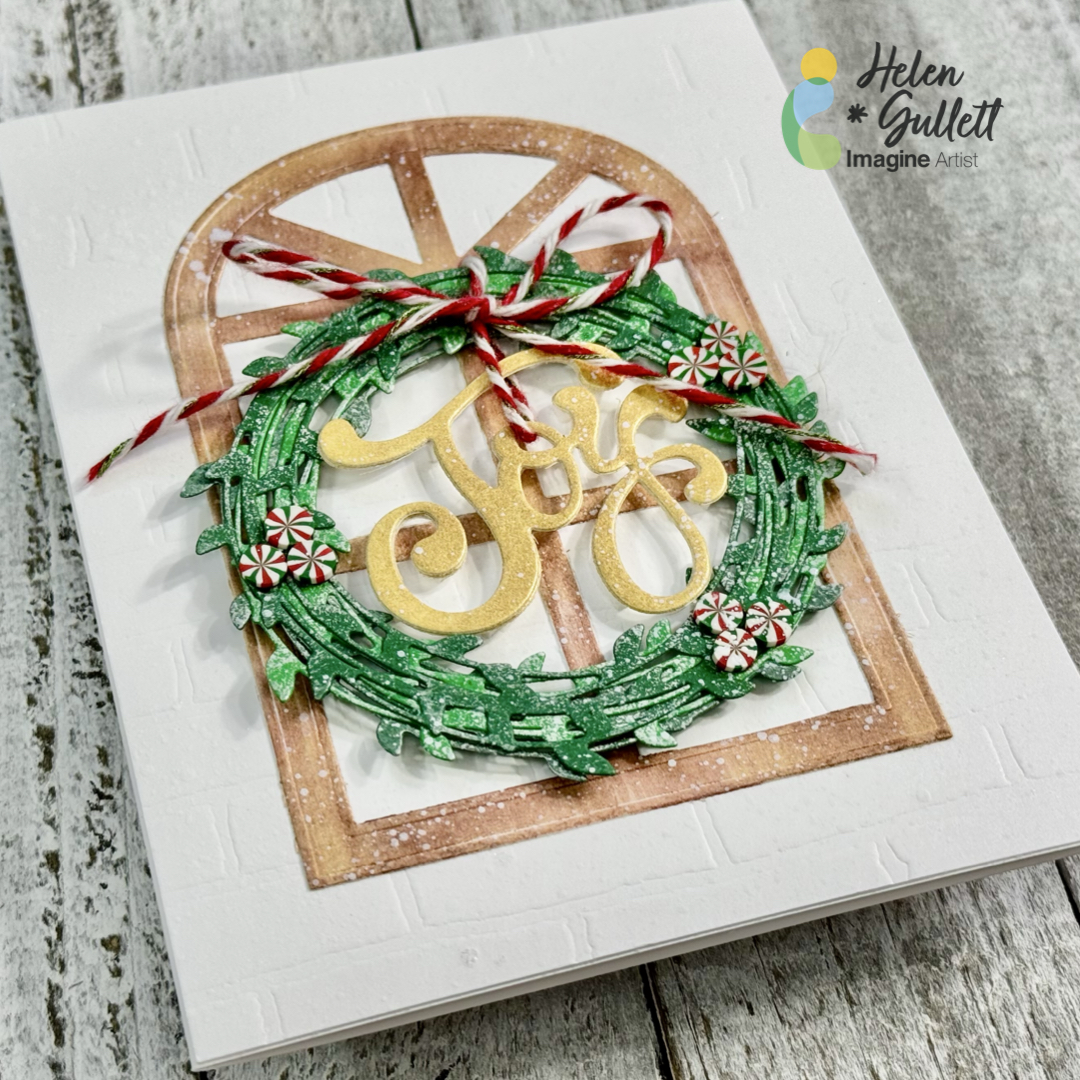
I love how this no-stamping Christmas card turned out and I hope you do, too. I plan to make more of this card to send them out to families and friends later.
Thank you so much for stopping by our blog today. Have a wonderful day!
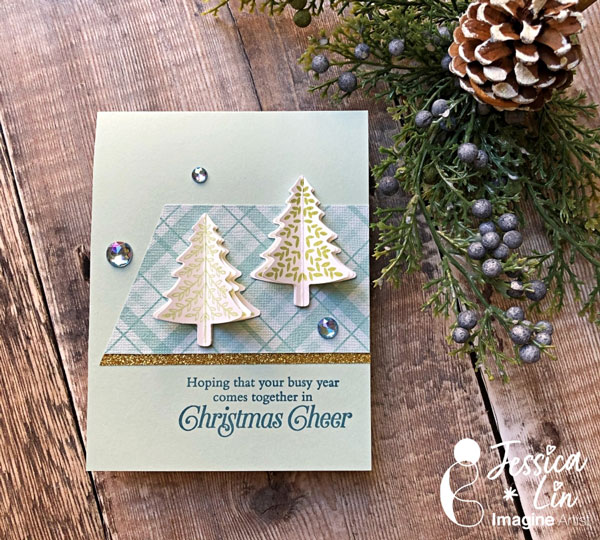
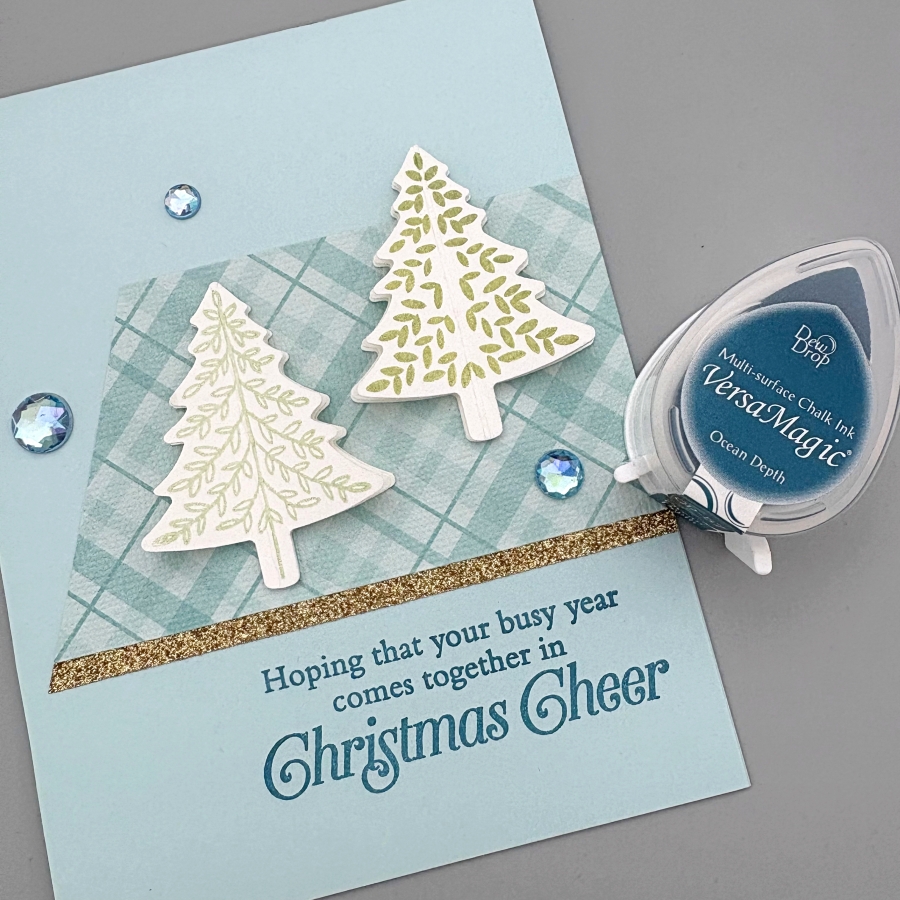
– Hi everyone! It’s Jessica here. Today I am sharing a simple way to create 3D Christmas trees for your holiday cards. It is beginner friendly with minimal supplies, and I think it’s perfect to mass produce as well.
Skill: Beginner Time: 30 min
Directions:
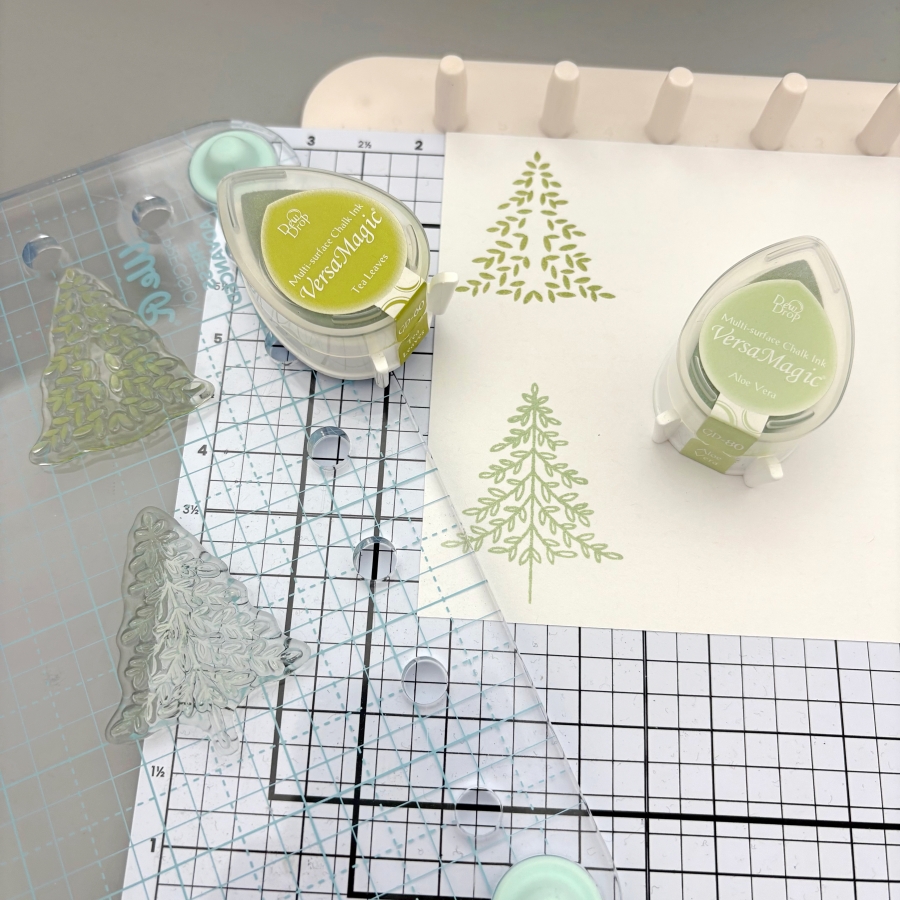
Step 1: Start by stamping Christmas tree images with VersaMagic Aloe Vera and Tea Leaves ink pads. I used stamps from Stampin’ Up’s Perfectly Plaid set, but any small Christmas tree image would work for today’s technique. For each 3D Christmas tree, you would need three layers. You could stamp each design three times for each layer, or only stamp the top layer for quick mass production of cards.
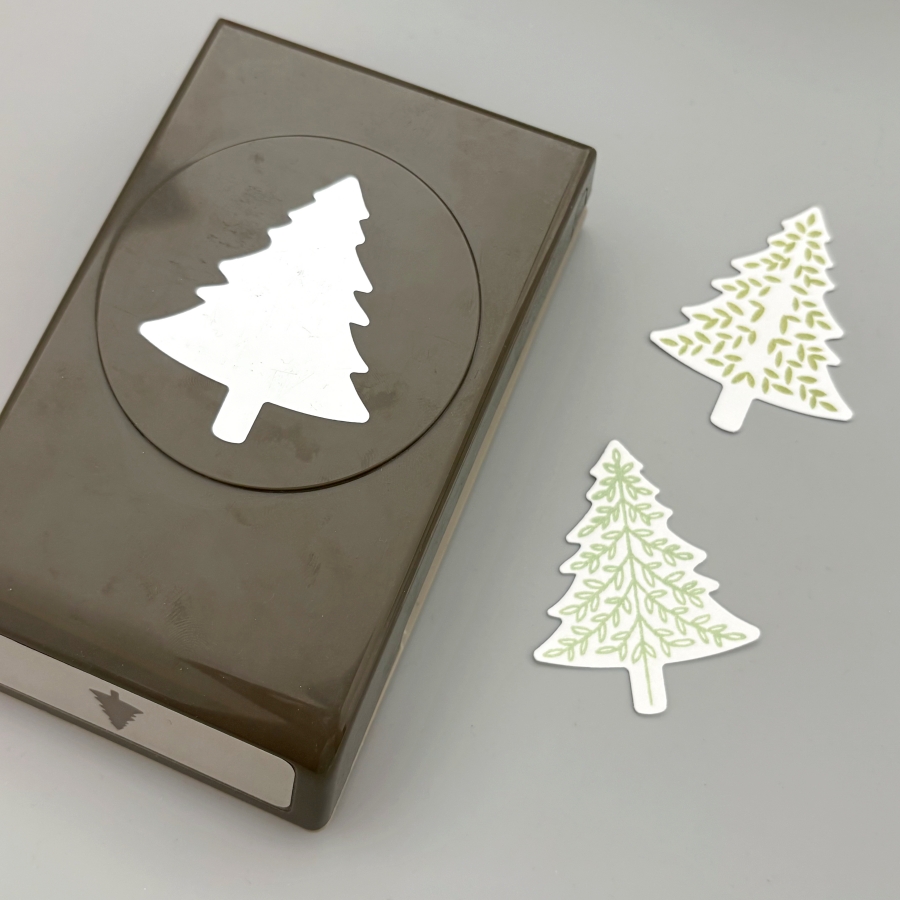
Step 2: Next, use the matching paper punch to cut out the Christmas trees. If you only stamped the top layer, be sure to punch out 2 additional cutouts with white cardstock for each 3D tree you are building. Since I am making two 3D trees today, I would need 4 more white cutouts.
Step 3: Score each Christmas tree cutout in the middle. I lined up the top and bottom of the cutout to the score guide to score.
Step 4: After scoring, fold the stamped Christmas tree cutout in half, and apply On Point Glue to the top of the folded crease. Then adhere it to a blank (or stamped) cutout. Be sure to hold the folded layer in place for about 20 seconds before the glue dries. Repeat this process to adhere the second layer to the third tree cutout.
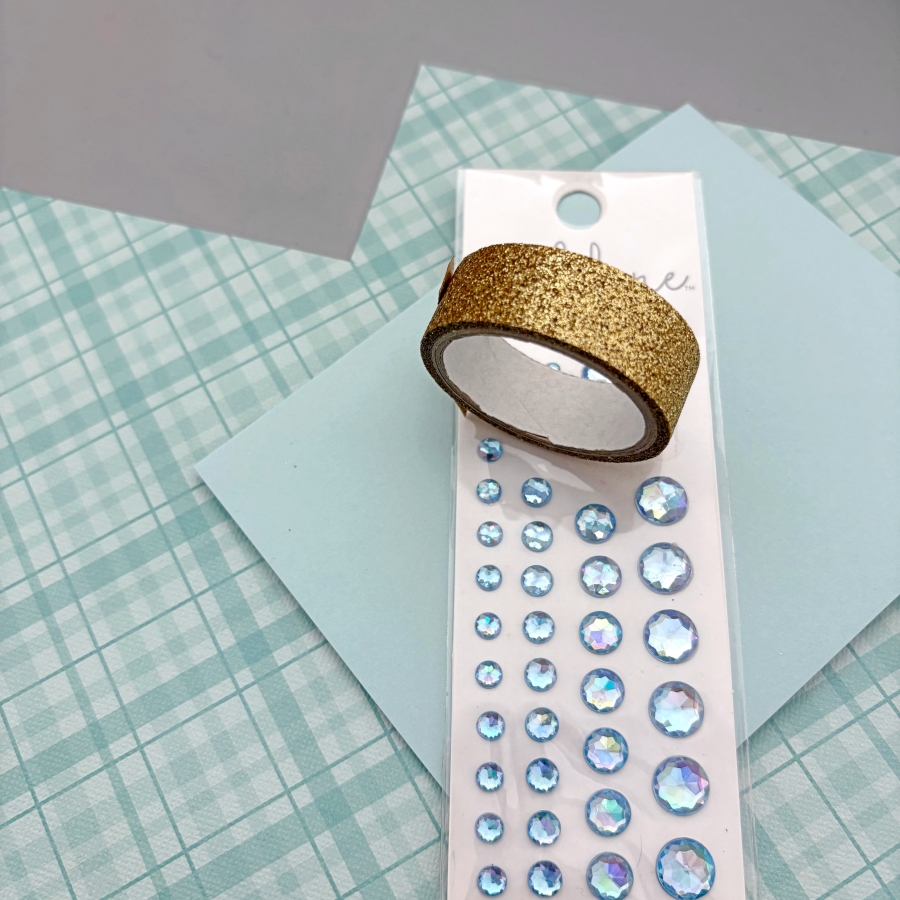
Step 5: Now that the 3D Christmas trees are made, it is time to prepare the card base. Trim a piece of patterned paper to 4 x 2 ¼ inches and a cut a 4 ¼ inch piece of gold glitter washi tape. Trim one side at an angle to create a banner shape and adhere both pieces to the card base.
Step 6: Finally, stamp the sentiment using VersaMagic Ocean Depth ink pad. Adhere the 3D Christmas trees using Tear-It! Tape and embellish the card with a few rhinestones.
Here is a finished card where I stamped all 3 layers of the 3D Christmas trees. I love how easy it is to create the 3D element, and it is mail-friendly, too! I hope this tutorial inspires you to get a headstart on making Christmas cards for this year. Thank you so much for stopping by, and I’ll see you in my next tutorial!
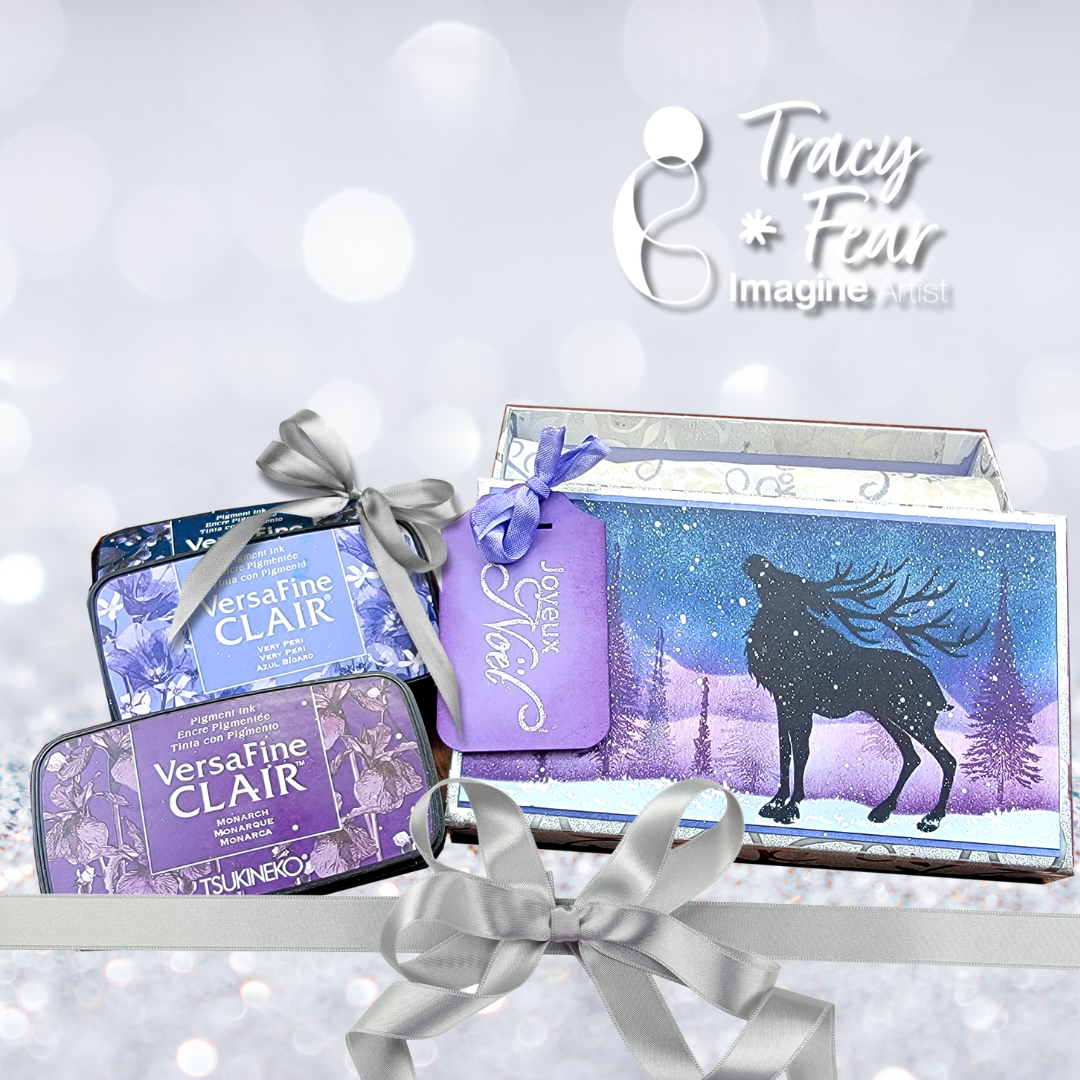
Hello Friends! Tracy here and today I am delighted to share this tutorial that helps you make gift giving even more spectacular by creating a custom gift box using your stamps and inks!
In today’s video tutorial I am sharing how I used some plain tissue paper and a Dollar Store box along with stamps and inks and a little paint to dress up a gift box!
Tracy
Skill: Intermediate Time: 30 Minutes to 90 Minutes
Art Supplies
Stamping Platform Glue Fan brush Your choice of stamps Ephemera of your choice Tissue paper Empty gift box Stencil Stencil Brush
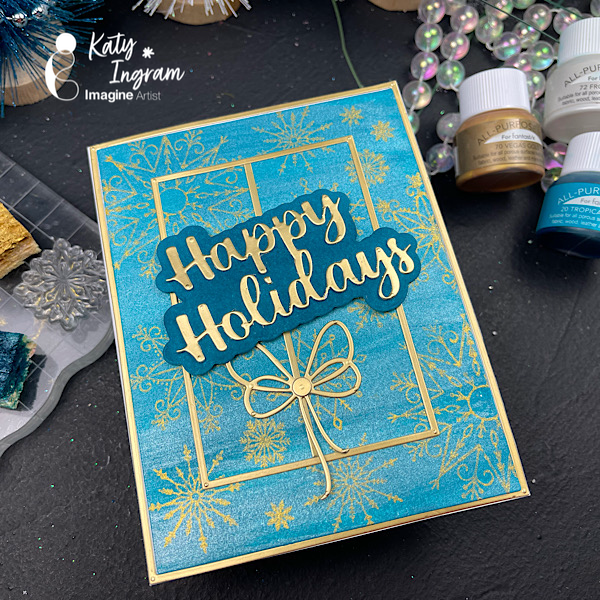
Hello Friends! Katy here with another quick project using All-Purpose Inks. I used my simple swiping technique for the background and then used Vegas Gold All-Purpose Ink to stamp my snowflakes.I kept things even simpler by using a kitchen sponge to ink up my stamps.