Create An Elegant “Always & Forever” Wedding Sign

by Steph Ackerman

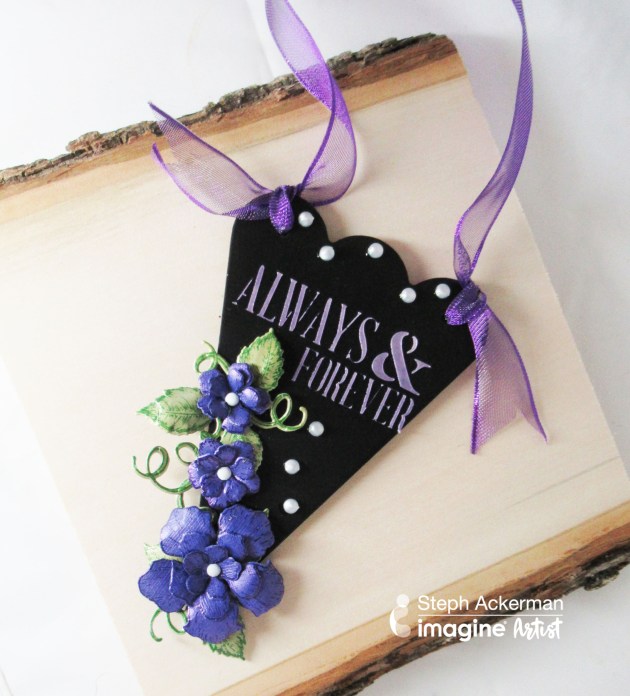
Create An Elegant "Always & Forever" Wedding Sign using a Purple Theme

As Summer is on its way, it’s time to start thinking about the upcoming wedding season. For this project, I wanted to incorporate Creative Medium acrylic paste so I decided to do some experimenting. The iridescent material in pastes pops on the black chalkboard piece and creates a beautifully vibrant effect. To match all the colors, I also applied the pastes to cardstock to make flowers. Take a look at how I created a beautiful decorative sign using Creative Medium and VersaFine Clair.

Skill: Intermediate
Time: 1 hour + dry time

Directions
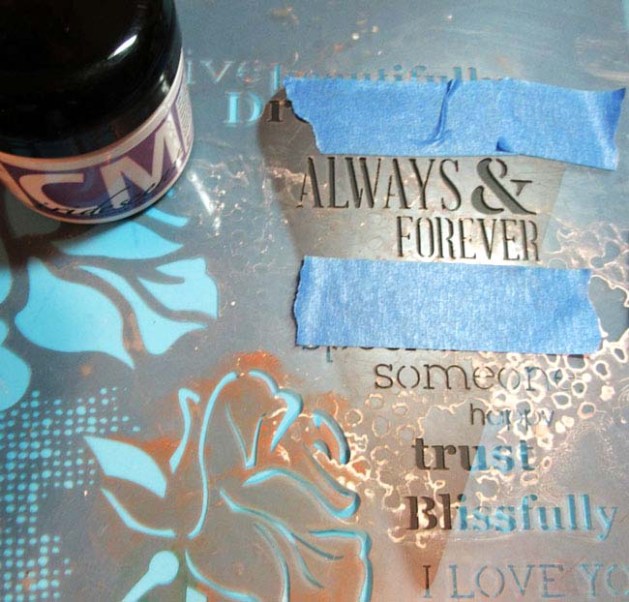

Step 1

Tape the stencil to the chalkboard, covering any parts of the stencil you don’t want to use with extra tape.


Step 2

Using a pallet knife, cover the stencil with Creative Medium Purple Iridescent.
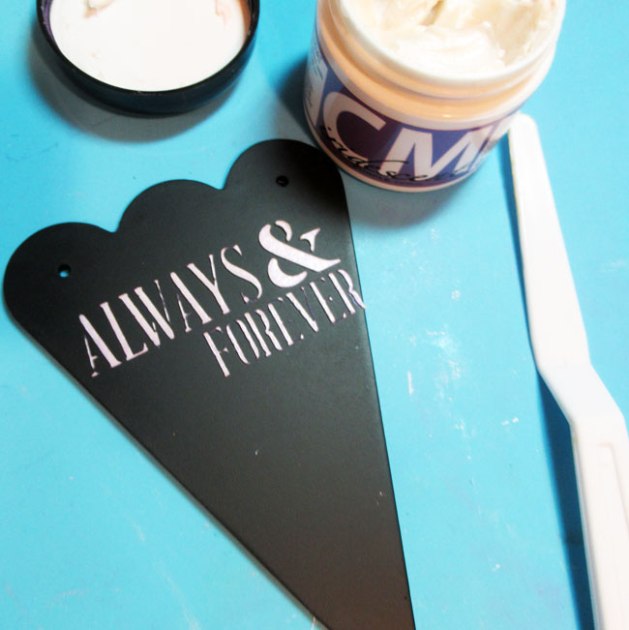

Step 3

Remove the stencil and allow the Creative Medium to dry.


apply Creative Medium Iridescent Purple onto a strip of purple cardstock
Step 4

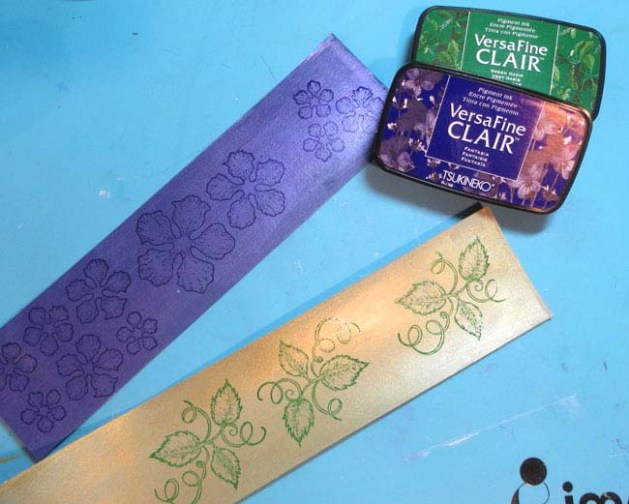
Use a pallet knife to apply Creative Medium Iridescent Purple onto a strip of purple cardstock. Use a pallet knife to apply Creative Medium Metallic Gold onto a strip of green cardstock. Allow both pieces to dry before moving on to next step.

Step 5

Stamp flowers with VersaFine Clair Fantasia Ink on the strip of purple cardstock. Stamp leaves with VersaFine Clair Green Oasis Ink on the strip of gold covered green cardstock.
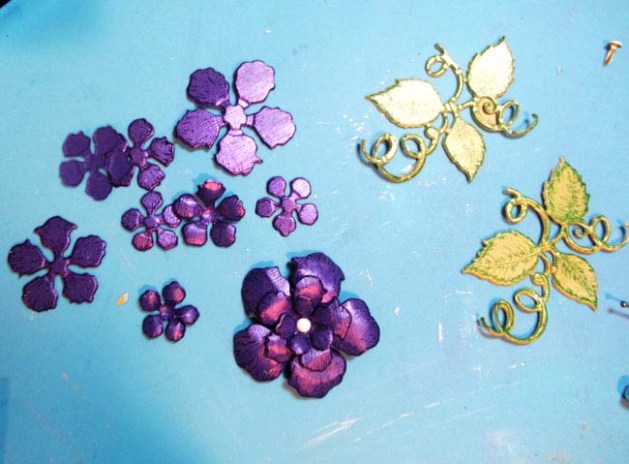

Step 6
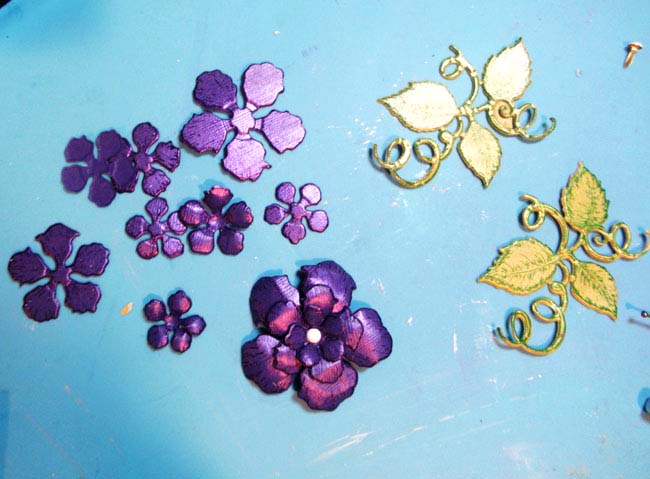
Using the coordinating dies, die cut the flowers and leaves. Assemble the flowers by shaping the petals with a stylus and piecing together with brads.

Step 7
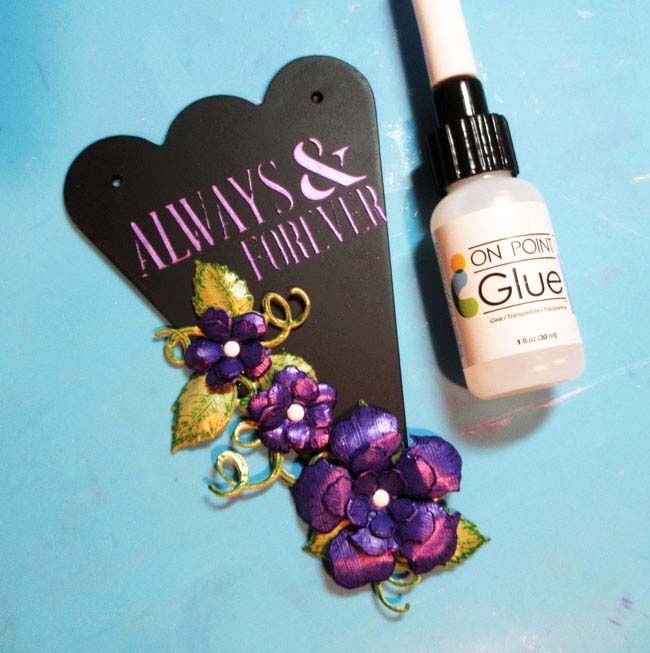
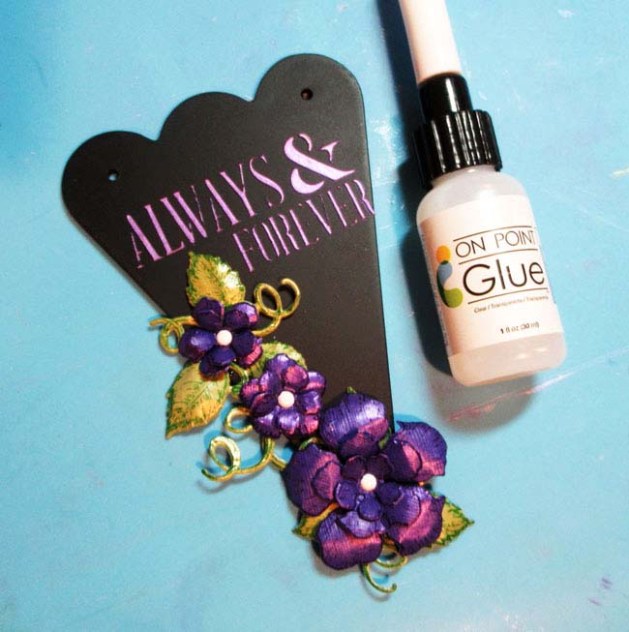
Use On Point Glue to adhere the flowers and leaves to the panel.


Step 8
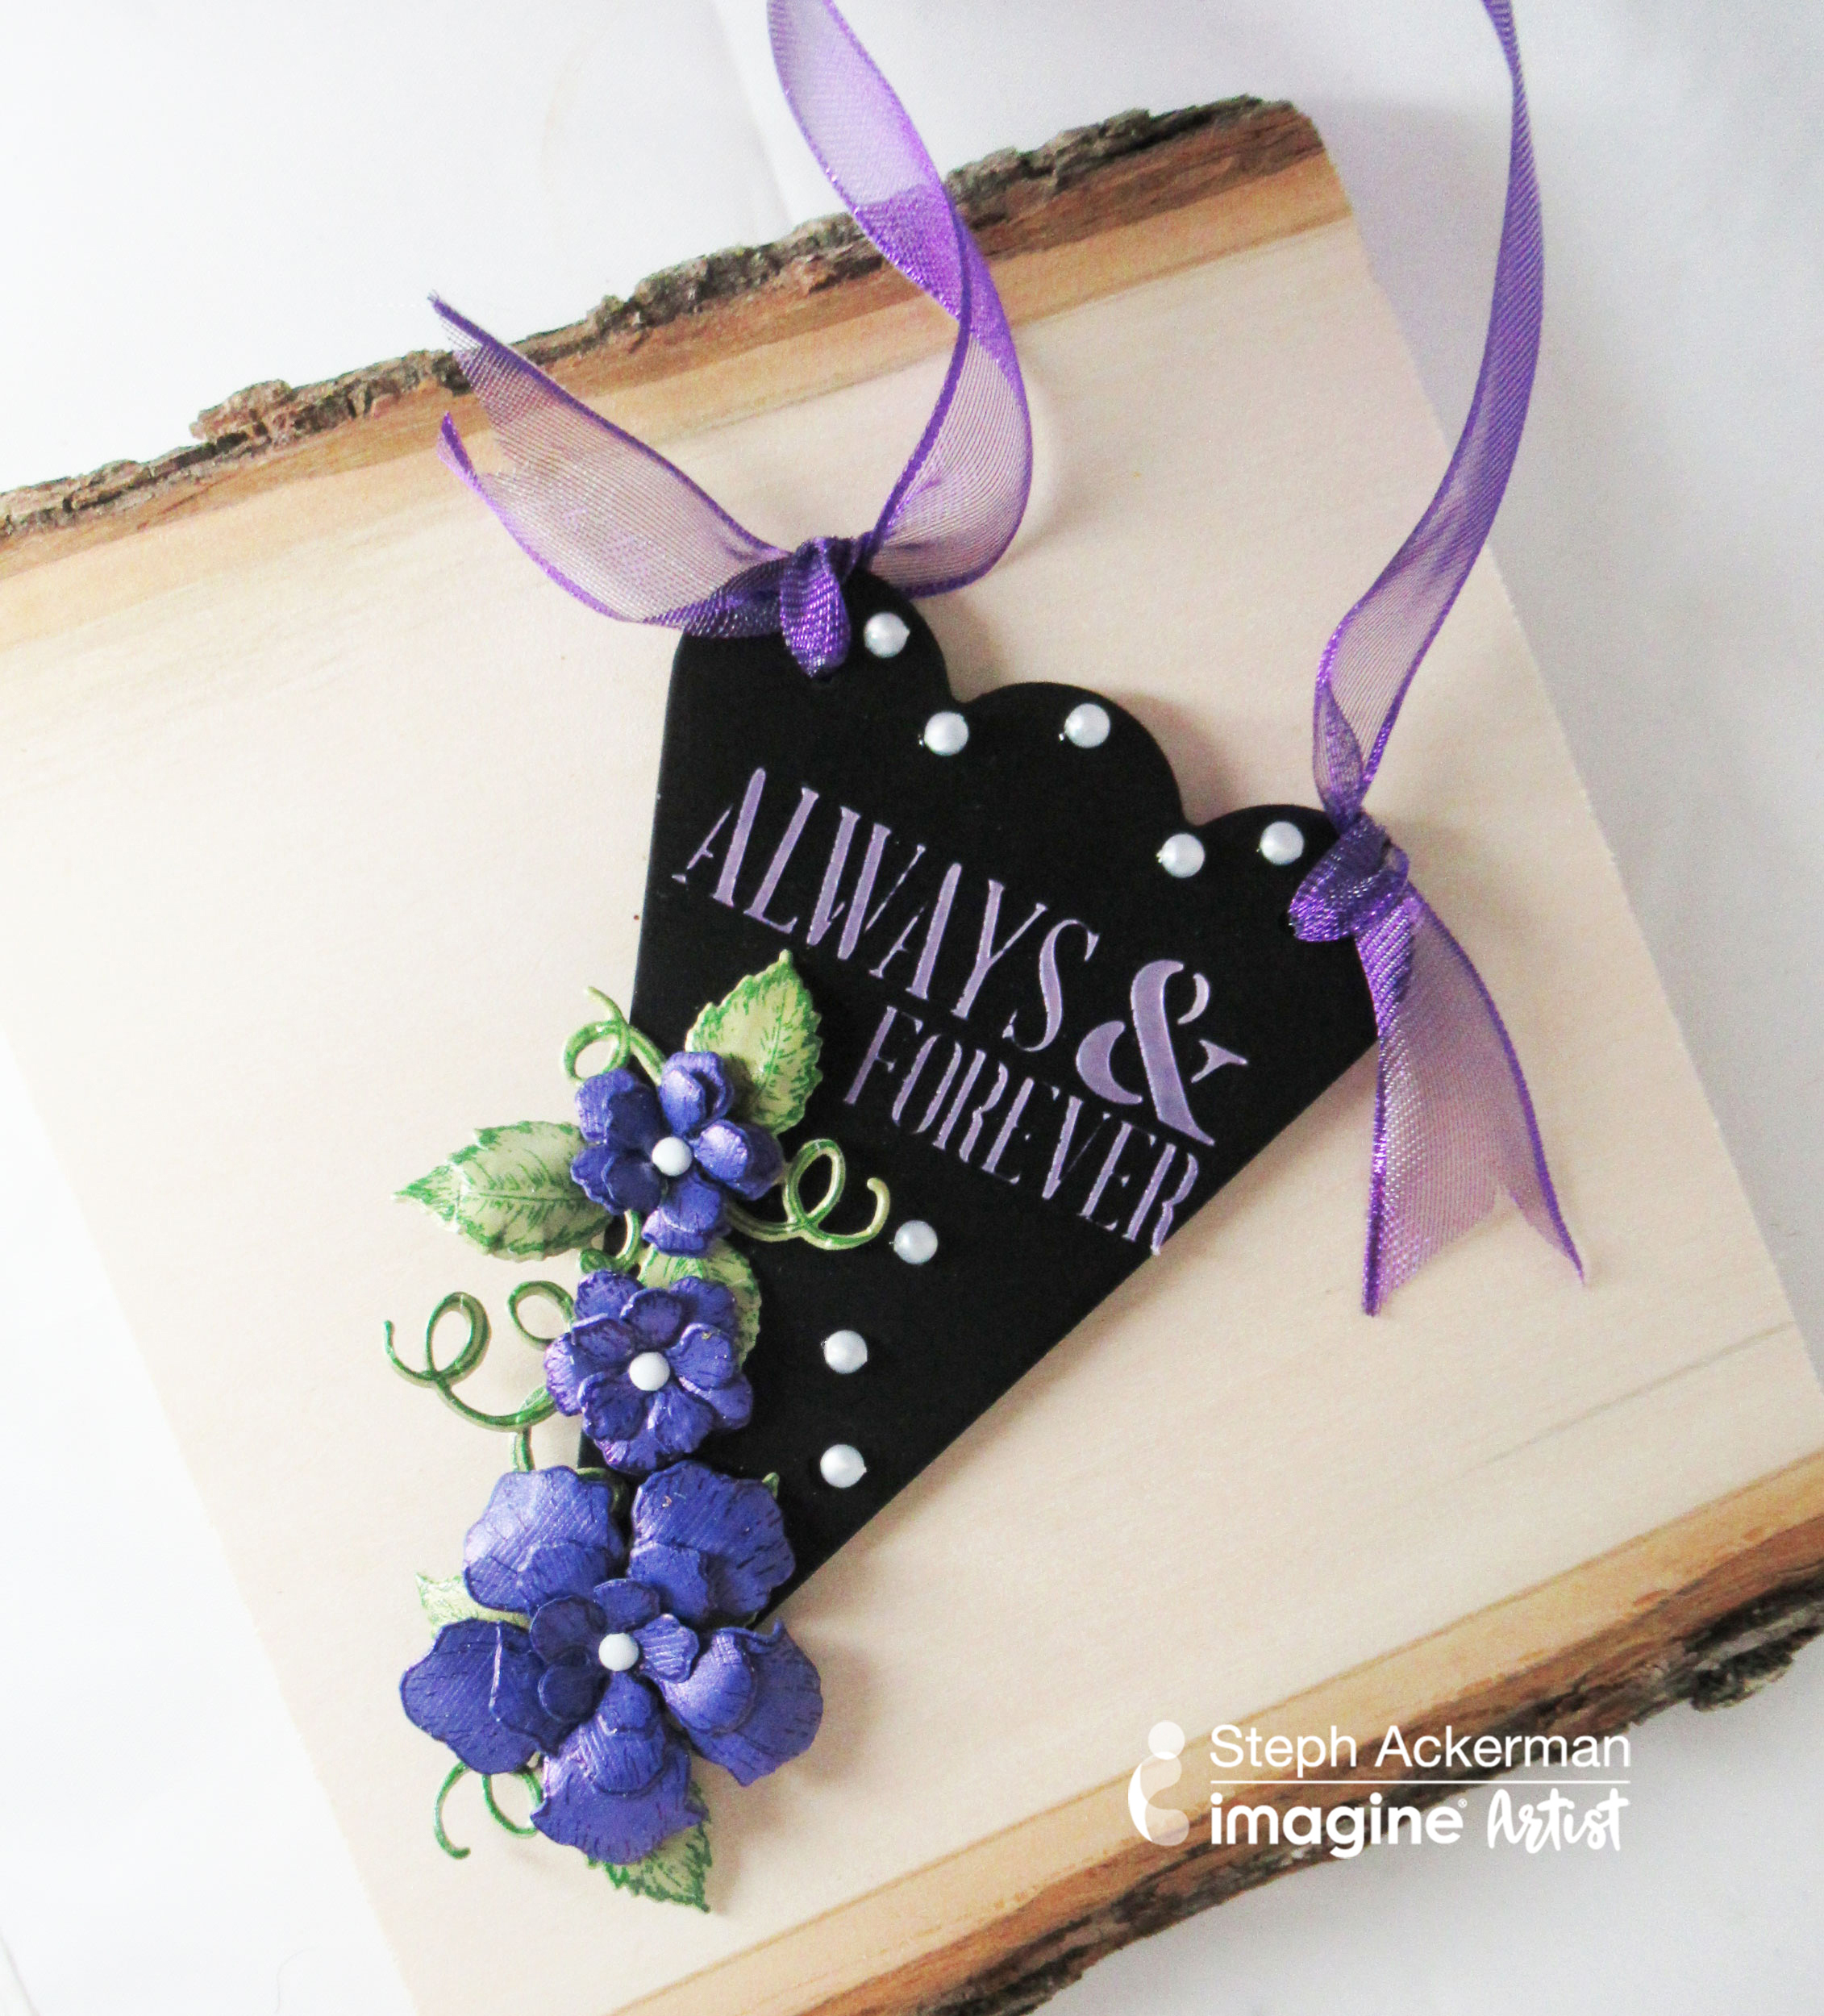
Tie purple ribbon to the panel. Use On Point Glue to adhere pearls about the panel. This piece would look great hanging on the back of the bride and grooms chairs, near a floral display or by the guest book. It would be easily customized to match the wedding colors of choice as well!

Supplies

Imagine
Other
  • Chalkboard Panel
  • Heartfelt Creations – Classic Rose Stamp Set, Classic Rose Die Set
  • Cardstock – Purple, Green
  • Brads
  • Die cut machine
  • Pearls
  • Prima Marketing – Stencil
  • Shaping stylus
  • Ribbon

How to Make Wedding Flowers from Coffee Filters

by Jennifer Vanderbeek

How to Make Wedding Flowers from Coffee Filters pink roses

Flowers are one of the most expensive parts of weddings and yet it’s difficult to picture a modern wedding without copious amounts of them. When I got married I had far more time than money (we had a two-year engagement) so I used that time to craft all the paper goods, decorations including the flowers and even part of my wedding dress. In this video, I’ll show you how to make four types of flowers out of coffee filters that I’ve dyed with Fireworks Craft Spray and Walnut Ink, making them completely customizable to your wedding, shower, or party theme, as well as how to turn them into boutonnieres and small bouquets.


Supplies

Imagine
Other
  • Coffee Filters
  • Clover – Water Spritzer
  • Darice – Heat Tool
  • Fiskars – Scissors
  • Floral Wire
  • Floral Tape
  • Ribbon

See How to Create Wedding Invitation, Place Cards, & Favor Box

by Roni Johnson

See How to Create Wedding Invitation, Place Cards, Favor Box

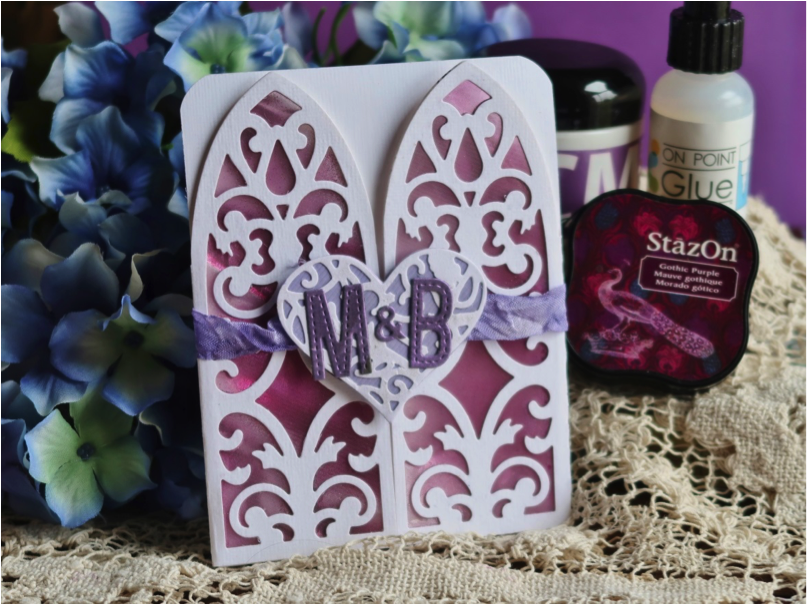
The wedding season is approaching quickly and today I wanted to show you that anyone can create an elegant wedding ensemble without breaking the bank. This entire set was made using plain white cardstock that was elevated to something special with help from products by Imagine.

Skill: Advanced
Time: 60+minutes (depending on numbers being made)

Directions

How to Create the Wedding Invitation


Step 1

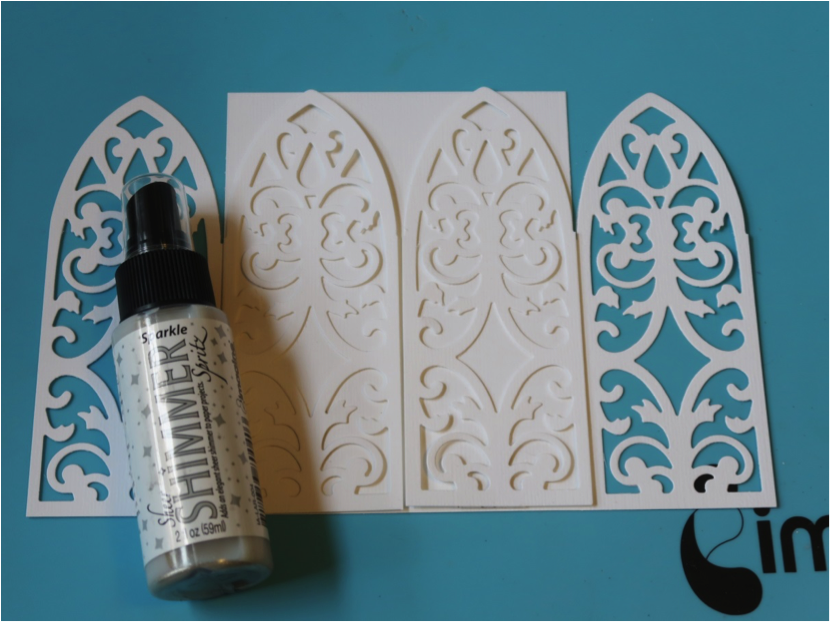
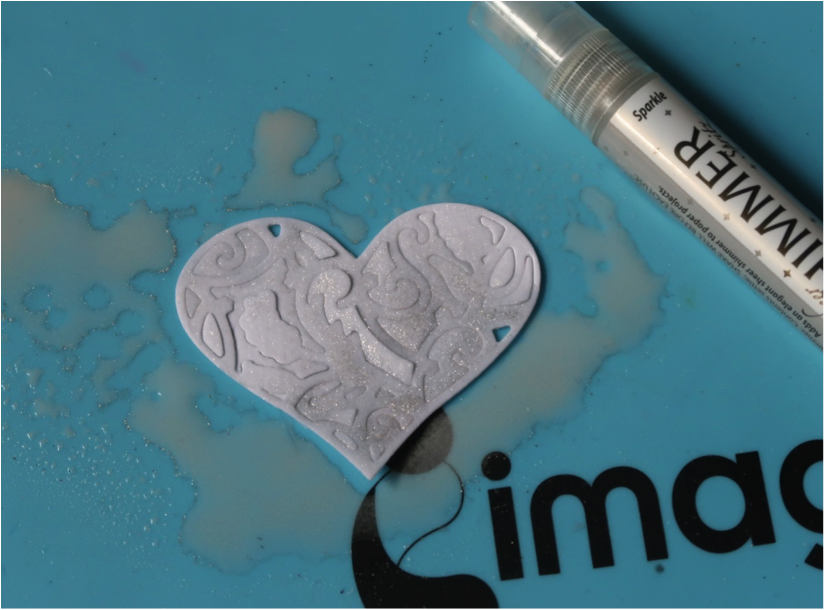
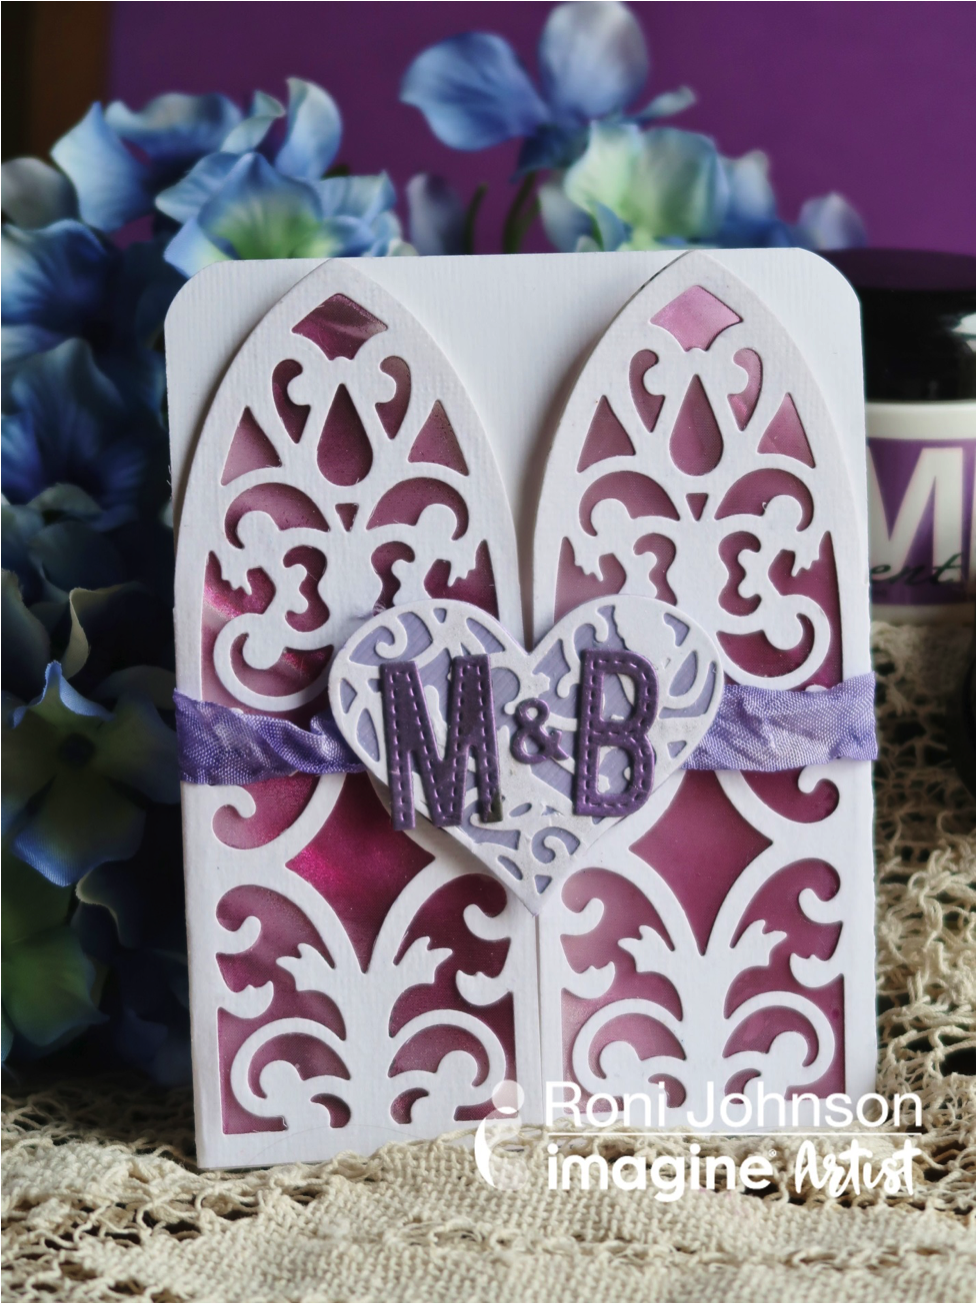
Die cut card base, matching panels and filigree hearts from plain white cardstock. Mist the card, panels, and heart with Sheer Shimmer Spritz in Sparkle and let dry naturally.


Step 2

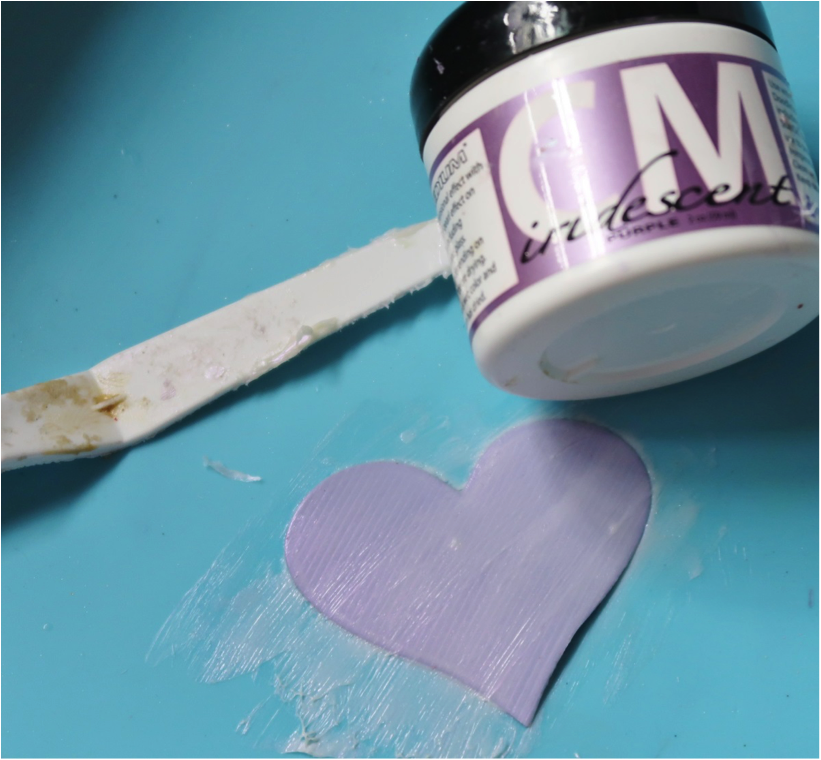
Die-cut solid heart from lavender cardstock.


Step 3

Spread an even layer of Iridescent Purple Creative Medium over the heart using a palette knife. At this time, spread a layer of the Purple Creative Medium over a large piece of black cardstock and set both aside to dry.


Step 4

Sponge Gothic Purple Staz On ink over a sheet of Vertigo Film.


Step 5

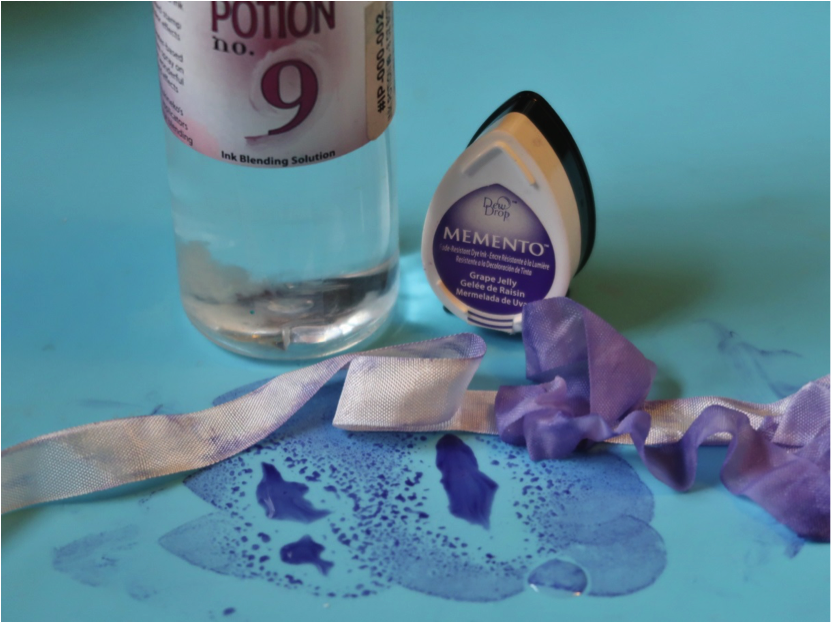
Pounce Grape Jelly Memento Ink on the craft mat, spritz with Ink Potion No. 9, scrunch up a length of white rayon seam binding and dab it in the ink mixture. Set aside to dry.


Step 6

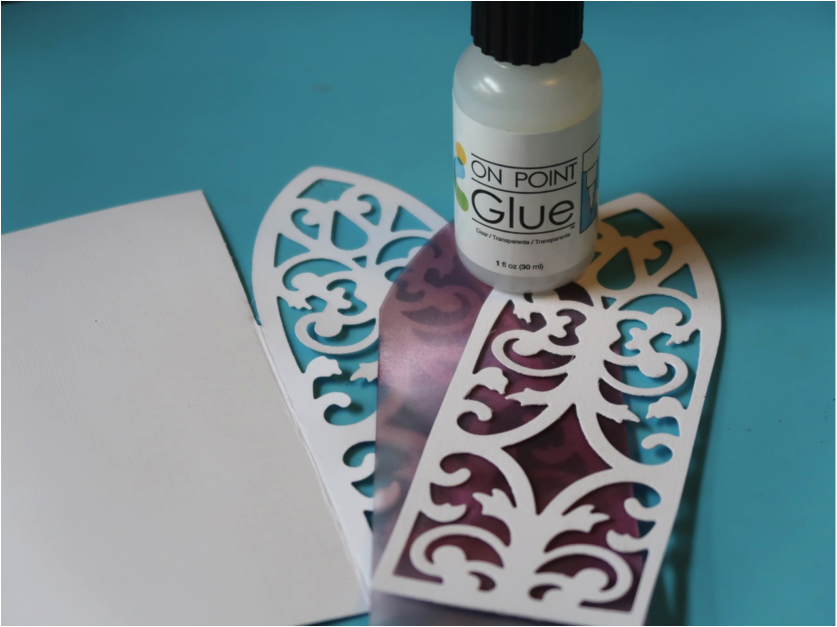
Once all of the elements have dried trim two pieces of the Vertigo Film to the size of the filigree flaps. Adhere the Vertigo Film to the card using On Point Glue sandwiching the film between the card flap and extra filigree screen. Adhere the Sparkle filigree heart to the lavender heart using On Point Glue. Die cut letters and “&” sign from the black Creative Medium covered cardstock and adhere to the center of the heart.


Step 7

Adhere one end of the ribbon to the card, adhere the other end to the heart. Wrap the ribbon around the card and secure the heart to the card with a Velcro dot. Insert computer generated invitation panel to the inside of the card.


How to Make the Place Cards


Step 1

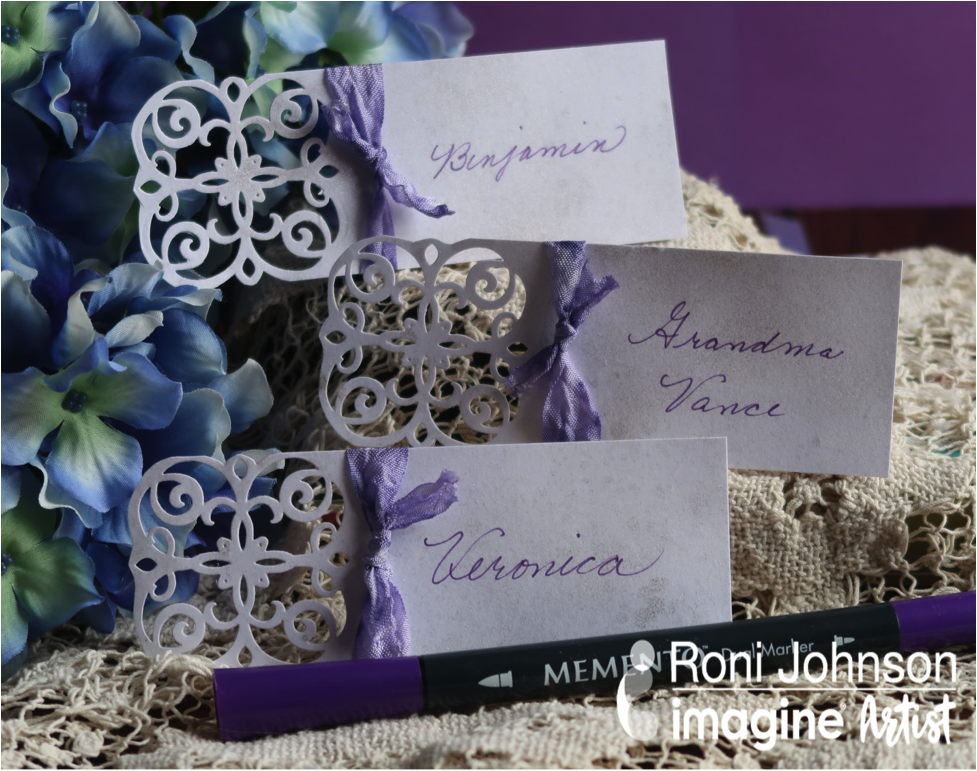
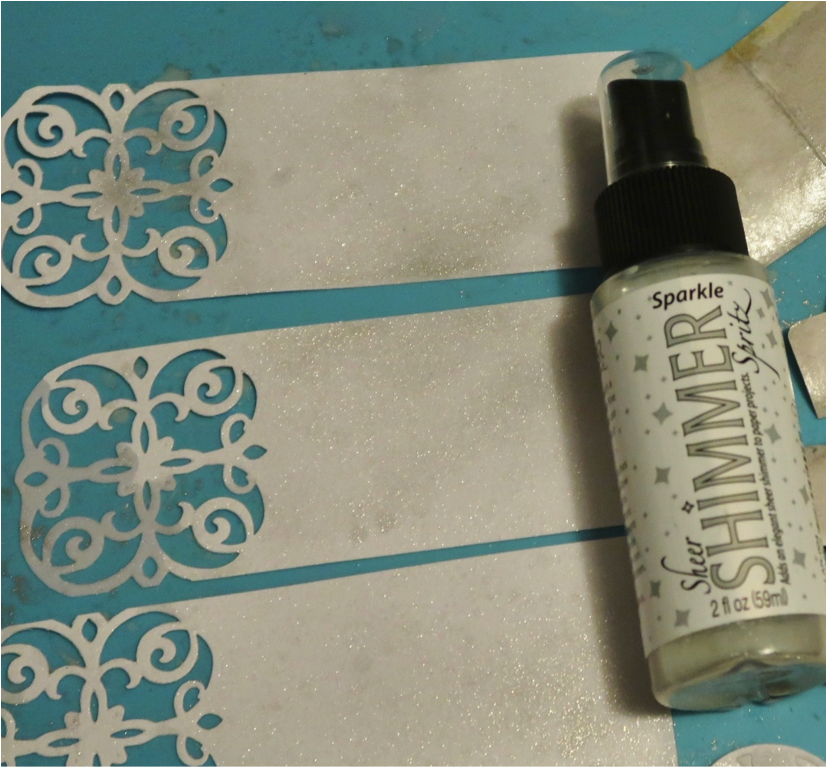
Die cut filigree design on a strip of cardstock. Spritz the die cut strips with Sparkle Sheer Shimmer Spritz.


Step 2

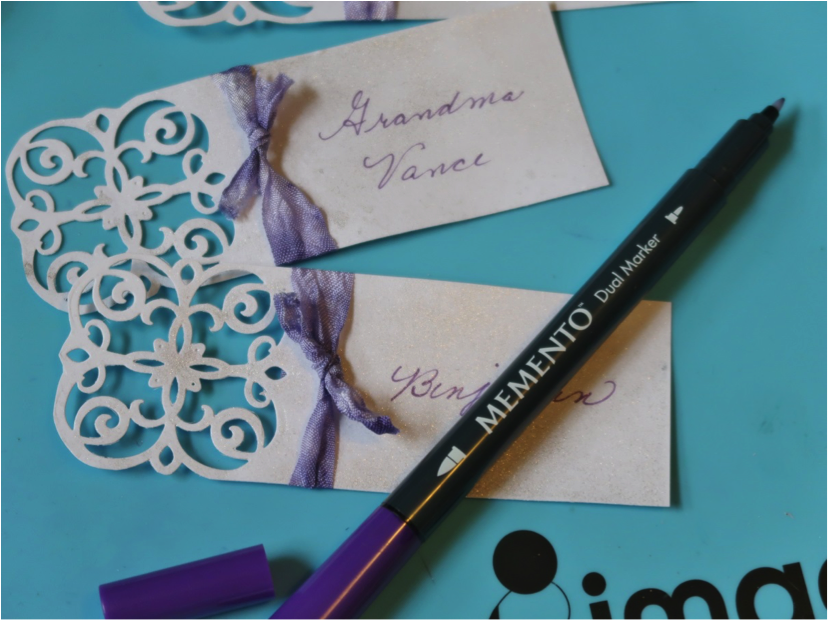
Tie a piece of the dyed seam binding around each place card. Cut a piece of scrap cardstock 1×2 inch and fold in half to form a small tent. Adhere the tent to the back of the place card.Write each person’s name on the place cards using Grape Jelly Memento Dual Tip Marker.

Download a Free Template to Create this Favor Box


Step 1

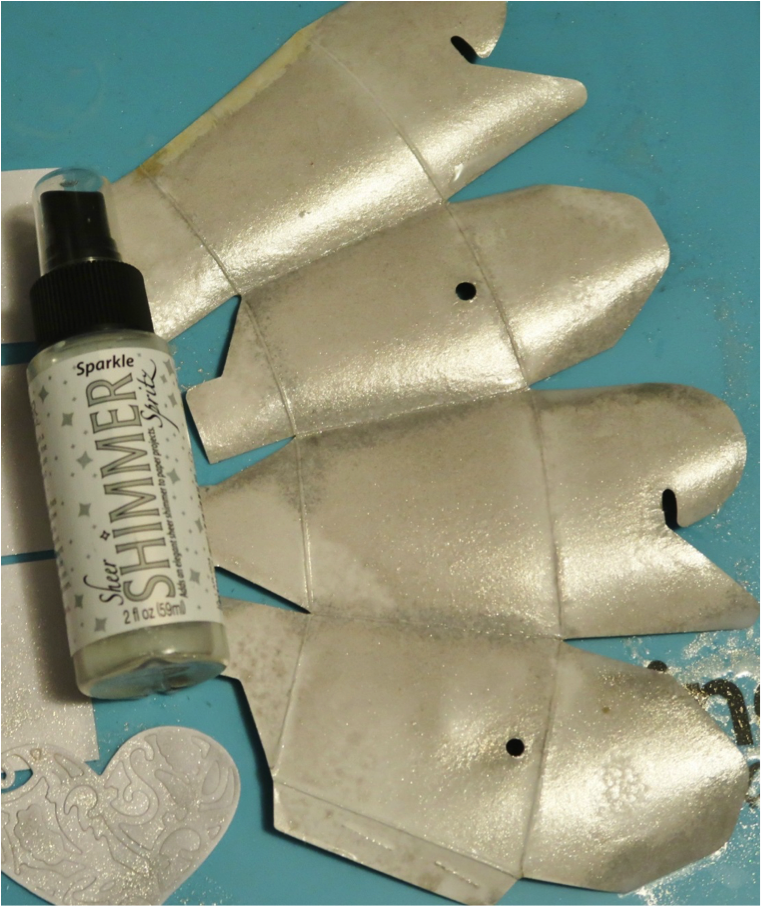
Download Free Box Pattern. Cut several favor boxes from white cardstock using pattern provided; score along all fold lines. Die-cut enough filigree and solid colored hearts for each favor box.


Step 2

Spritz treat boxes and filigree hearts with Sparkle Sheer Shimmer Spritz and let dry. Assemble hearts the same as the on the invitations. Assemble the box using Tear It Tape. Make the handle using dyed rayon seam binding; affix heart to the front of the box. Fill each box as desired.

Supplies

Imagine
Other
  • Spellbinders – Renaissance Jubilee Venetian Gatefold Die, Lace Medallion, Lace Heart
  • MFT – Bottle Cap Alphabet, Stitched Alphabet
  • White Cardstock
  • Rayon Seam Binding