Quick & Easy: Acrylic Block Inking Technique

Beginner Guide: Acrylic Block Inking Technique

by Martha Lucia Gomez

Using this acrylic block technique is an easy way to create a colorful background with a watercolor effect on your paper projects like cards and scrapbook layouts. You can do this technique using any water-based pigment or dye inks, and acrylic blocks of different sizes and shapes. You do not need a lot of different supplies to make beautiful backgrounds! You can do this with a single color of ink, but I used two colors of Memento water-based dye inks because the colors in the line blend together so nicely.

shopping list for Imagine


Memento Inkpad Tuxedo Black

Memento Inkpad Tangelo

Memento Inkpad Dandelion

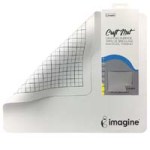
Imagine Craft Mat

 Joy Clair Stamps

Stampin Up Cardstock

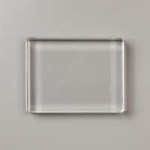
Acrylic Block by Stampin’ Up

Case base – white or black

2 oz Water Bottle

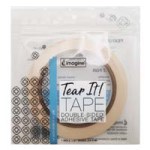
Tear It Tape

Select the size and shape of the acrylic block that you want to use to create the background. Here I used a block large enough to cover most of a standard size card but small enough to also leave a white border. Apply the ink directly on the acrylic block by swiping the ink pad on the surface.. Dye inks appearance on the block will look clear, but once you press the block onto paper the color will pop! I used two different colors, Memento Dandelion and Tangelo. I love the way the two similar colors fade into one another.

Spray your inked block with water. The intensity of color depends on the amount of water that you apply. Less water  will result in more color, and more water less color. Since the dye inks are waterbased the water will allow the orange and yellow to blend even more. Turn your block around and stamp the color directly over your cardstock or watercolor paper. Press the block into the paper with your hands to transfer the color. Lift the block off of the paper and let the cardstock dry naturally or speed the process with a heat tool. This technique can be used on most types of cardstock.

Arrange your clear stamps on the acrylic block. If you are not sure how you would like the design to look you can practice placement before you ink the stamp. This gives you a sense of the final look and feel. It can be eye-pleasing to have the stamped image use the full panel frame, meaning it covers both the colored and white areas. Here I decided to place the large floral image in the top corner and the sentiment “Thanks” in the opposite corner. Ink your main image using Memento Tuxedo Black to create a contrast. Adhere your inked and stamped panel to the black card base using double-sided tape. The black in the flower print and sentiment will pop even more because it matches the paper of the card base.


Learn How to Create a Beautiful Thank You Card with Ink Blending

by Arjita Sepaha Singh

Learn How to Create a Beautiful Thank You Card with Ink Blending

For my card today, I have created a peacock inspired color blended background. I have used Versafine Clair Inks and Jumbo daubers which make blending super easy and seamless. Once the background was ready I used a beautiful lacy rubber stamp and the brand new Stazon Pigment Ink in white to stamp the image. This delicate image was crisp and beautiful. To finish the card I used a die cut and a sentiment. I also added gorgeous sparkle using the new Sheer Shimmer Stix.

Skill: Beginner
Time: 30 minutes

Directions

Supplies

Imagine
Other
  • Rubber background Stamp
  • Doily die
  • Cardstock – White
  • Double sided tape
  • Scissors

How To Create A Beautiful Embossed And Watercolor Thank You Card

by Elina Stromberg

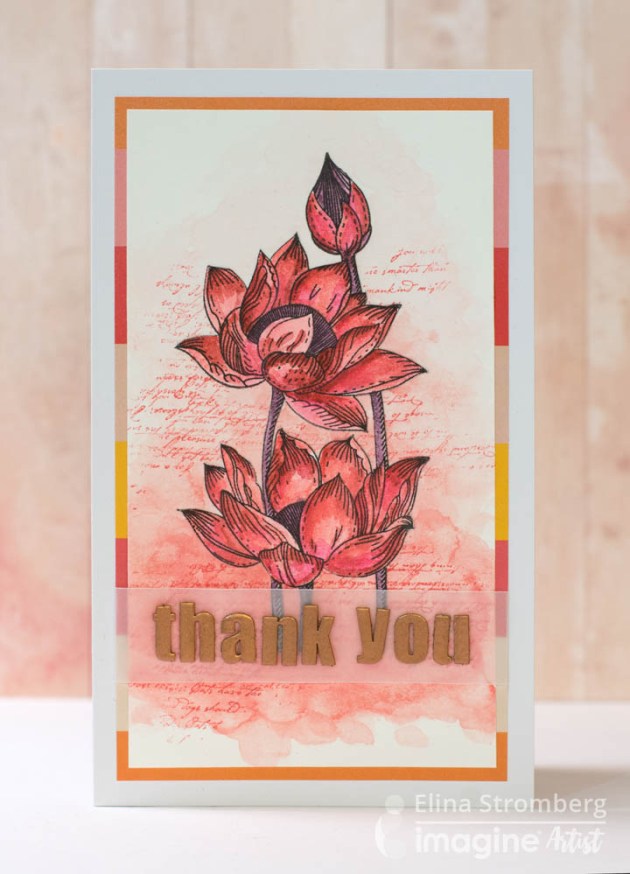
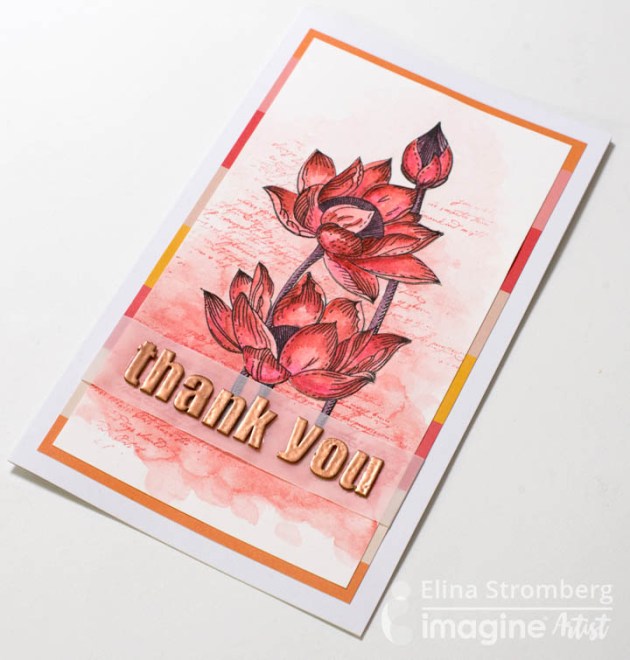
create a thank you card using memento inks and versamagic

Our lovely color of the month is ‘Passion Red’. What a perfect choice for a bright blooming flower card! I wanted to create a soft water-color painted look on my card, and all I needed was my water-soluble Memento and VersaMagic stamping inks and my Craft Mat as my palette.

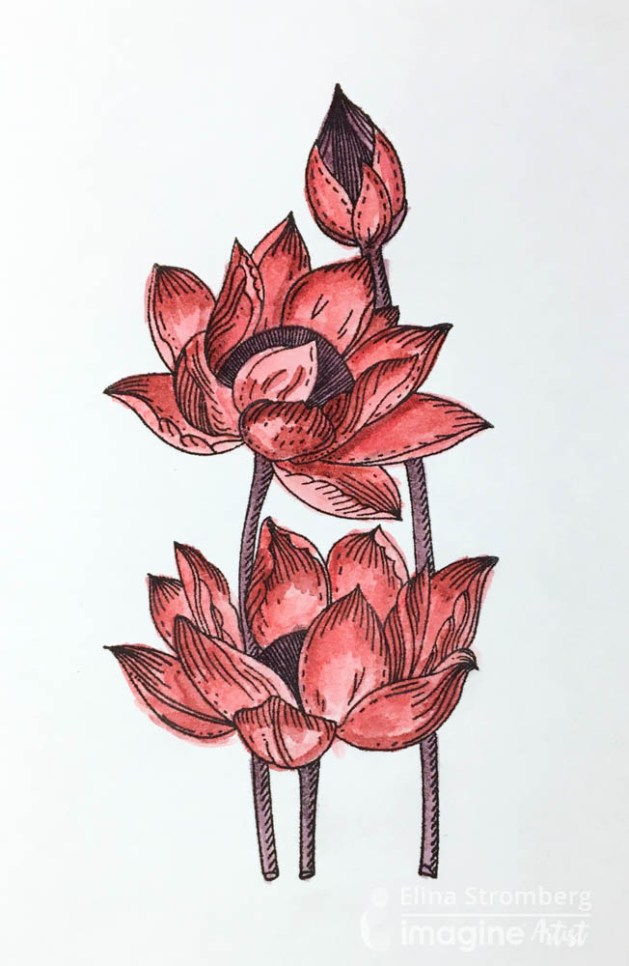
Tsukineko ink pads come in several beautiful red colors, so I chose a few of my favorite reds and used them both for coloring the card background and for painting the beautiful Penny Black flower image. The trick was to stamp the main image twice and to layer the fuzzy-cut image on top of the stamped background; by using this technique the main image on the finished card has a beautiful, crispy edge, and while painting you don’t need to worry about the wet color running over the stamped lines!

Skill: Intermediate
Time: 1.5 hours

Directions


Step 1

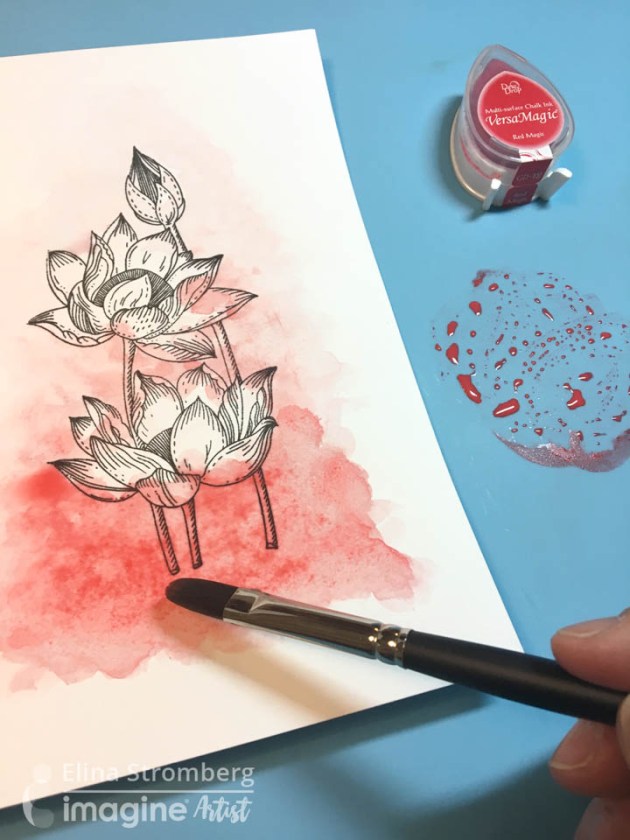
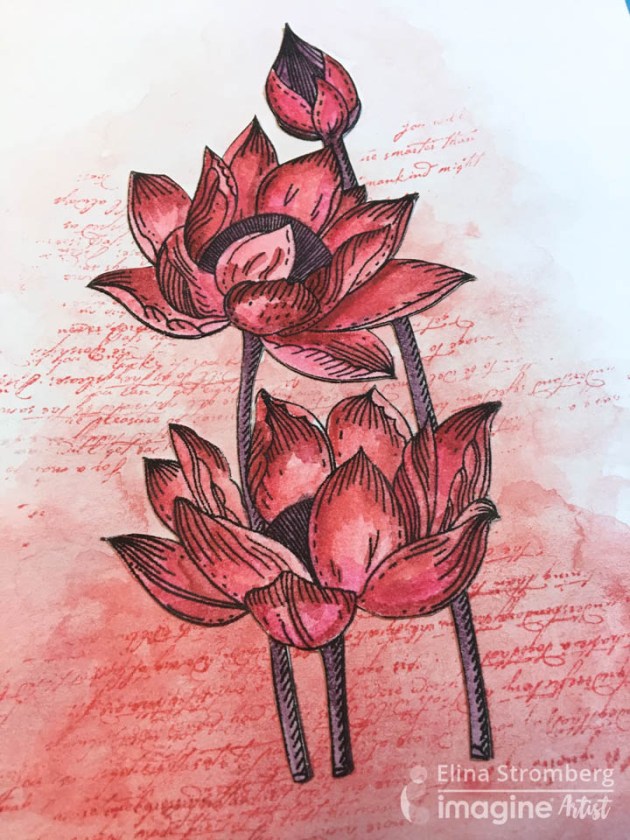
Stamp flower image with VersaFine ink on white watercolor or mixed media paper. Apply ‘Red Magic’ VersaMagic ink on the Craft Mat. Using a hint of water pick up the rich, creamy color with a brush and color the background. Apply more red pigment on the bottom, and mix the color with water to create a lighter color for the top of the card. Do not mind painting over the stamped image; it will be covered with a second image layer later. Let air dry or dry with a heat gun.


Step 2

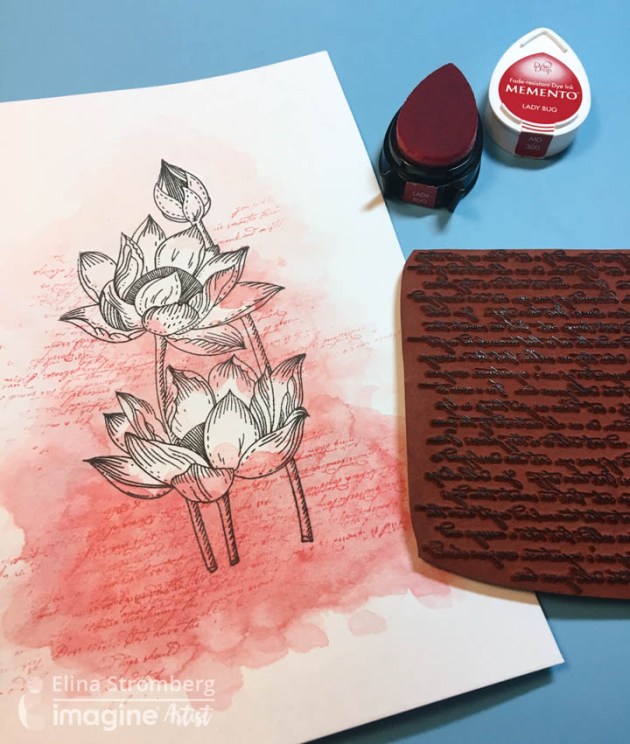
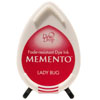
Add texture to the painted background. Stamp random patterns here and there using red ‘Lady Bug’ Memento color. Keep the stamp in your hand (do not attach to an acrylic stamping block) and bend it while stamping.


Step 3

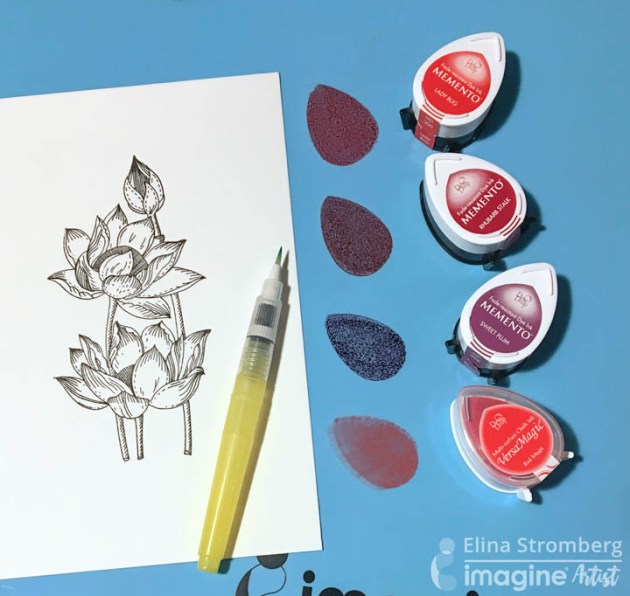
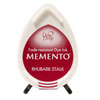
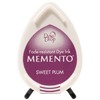
Re-stamp the main flower image on another sheet of white mixed media paper. Color the image using a water brush and a few hues of red ink. I used Memento ‘Lady Bug’, bit darker red ‘Rhubarb Stalk’, dark purple ‘Sweet Plum’, and VersaMagic ‘Red Magic’ for coloring the background. Use the Craft Mat as your palette and apply more ink if needed. Once dry, cut out the image.


Step 4

Glue the fussy cut image on the background. Trim the background to size.


Step 5 

Color the letters for the sentiment word. Press each chipboard letter on clear VersaMark ink. Pick up the letter with a tweezer, dab into copper embossing powder, and heat-set the powder by heating the chipboard on the Craft Mat. Glue letters on a strip of vellum. Fold ends of the vellum strips on the card background and secure them with double-sided tape. This will keep the strip in place; there’s no need to glue it on the card front.


Step 6

Mat card front on striped patterned paper and attach on the card base. Done!

Supplies
Imagine

VersaMagic DewDrop in Red Magic

Imagine Craft Mat

Memento DewDrop in Lady Bug

Memento DewDrop in Rhubarb Stalk

Memento DewDrop in Sweet Plum

VersaMark

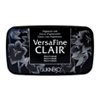
VersaFine Clair in Nocturne

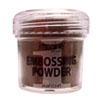
Embossing Powder in Copper

Other
  • White mixed media paper
  • Brush
  • Water brush
  • Penny Black Stamps – Awaken
  • Background pattern stamp
  • White vellum
  • Chipboard letters
  • Scissors
  • Tweezers
  • Heat gun
  • Glue
  • Striped patterned paper
  • White card base