Hello everyone! Today I am sharing how I made this filmstrip valentines card using some Memento inks.
Skill: Intermediate Time: 1 hour
Directions:
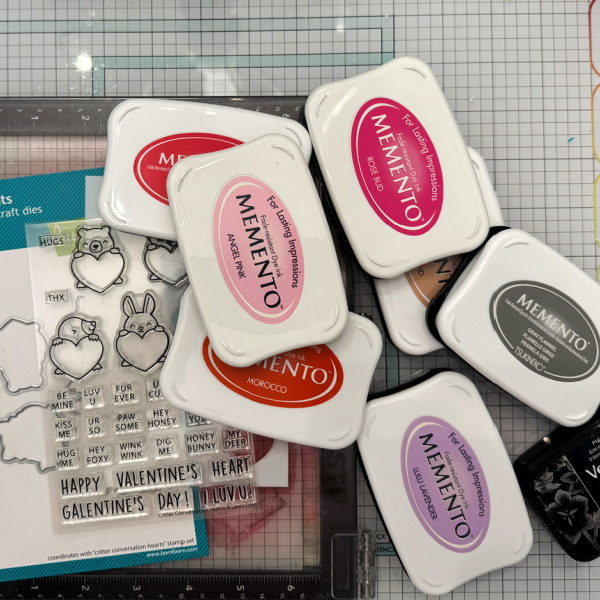
Gather your supplies. To make this card, you will need a valentines set (preferably with small images to fit in the film strip), a film/postage strip die, and sereral colors of ink.
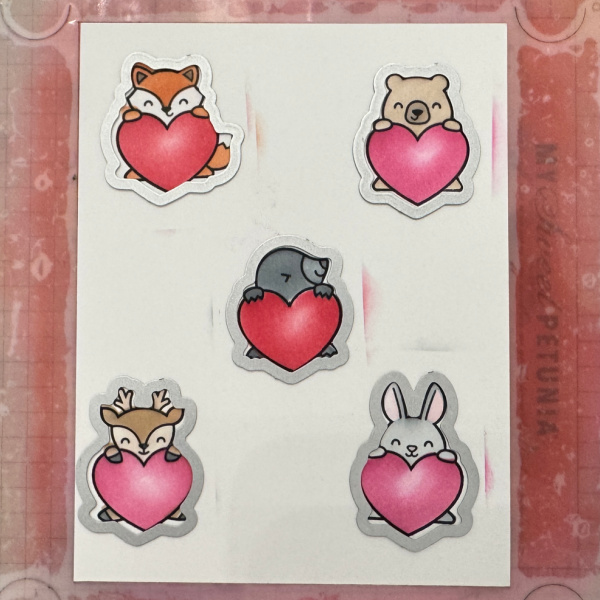
I started with a white top folding A2 card base and a white panel for the images. I used a set from Lawn Fawn that has coordinating stamp, coloring stencils and dies. I used Memento inks in several colors to color the images and a stamp/film strip die.
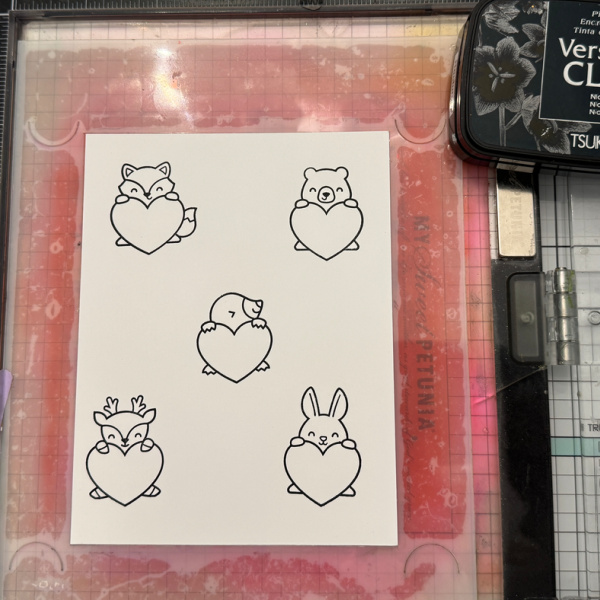
Step 1: Stamp the images in VersaFine Nocturne ink on a panel of white cardstock.
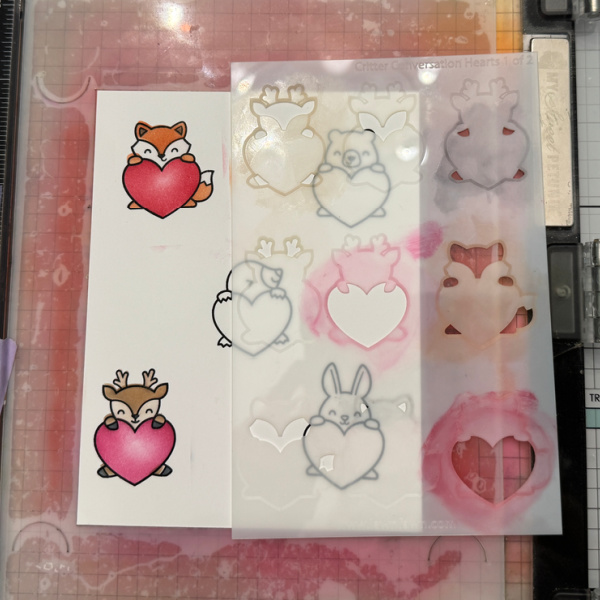
Step 2: Using stencil No. 1, color the images in the desired colors. I used Morocco for the fox and Desert Sand for the deer.
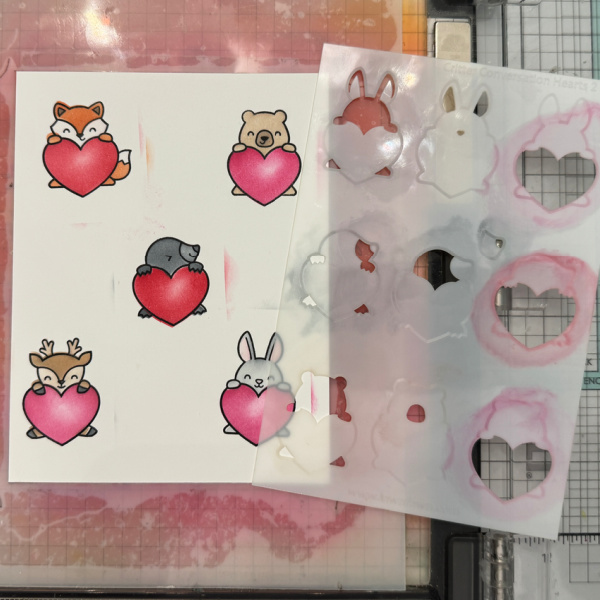
Step 3: Using stencil No. 2, color the remaining images in the desired color. I used Desert Sand for the bear and Gray Flannel for the seal and Bunny just heavier handed on the seal. I used Angel Pink for the ears.
Step 4: Using the coordinating dies and a die cutting machine, cut out the images.
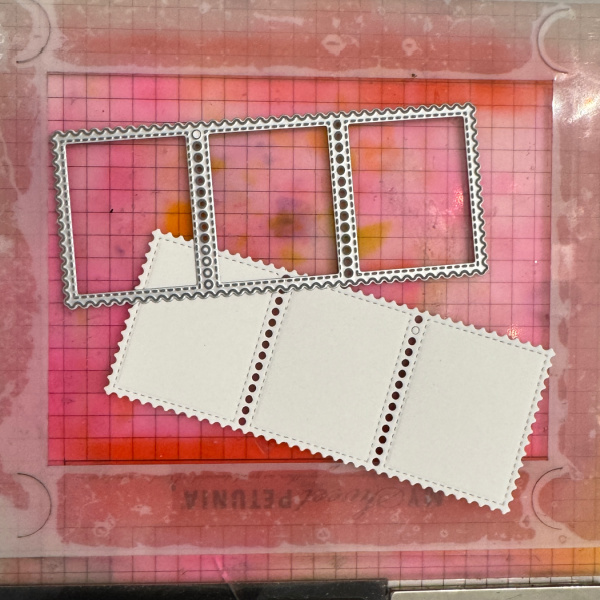
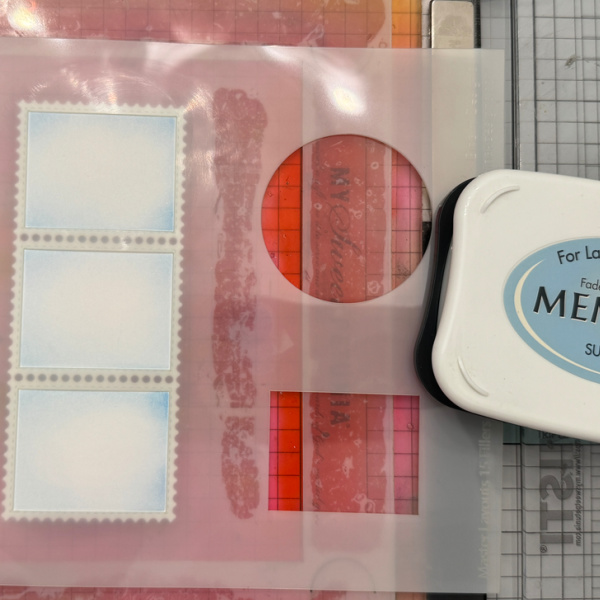
Step 5: Cut out the postage/film strip and then color with coordinating stencil. I used Summer Sky.
Step 6: Cut out a background using a heart cover plate.
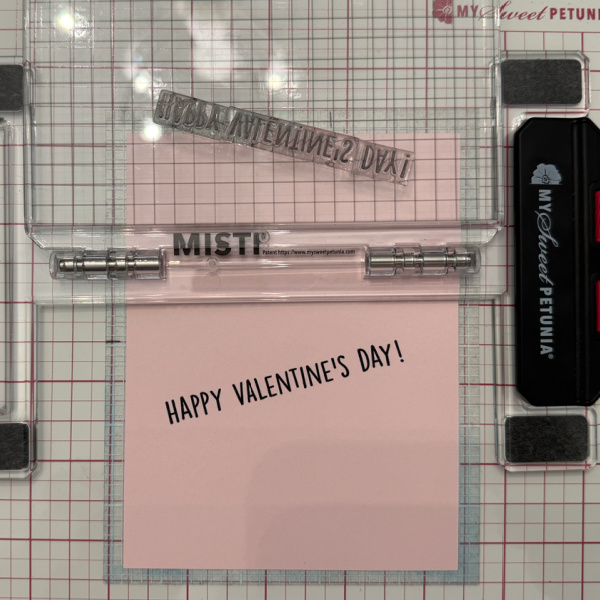
Step 7: Stamp the greeting and then cut down at an angle. Put all the elements together on the card base.
The postage/film strip will hang over a little and will need to be trimmed. You can prevent this by madding a horizontal card rather than a vertical one.
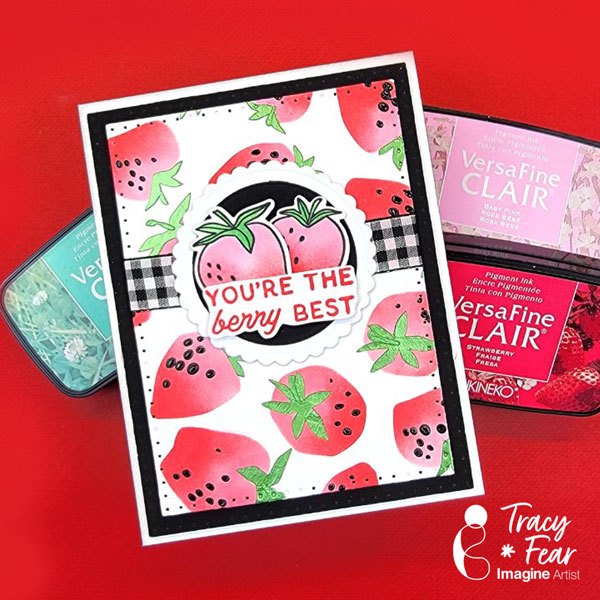
Other Products Used Simon Hurley Very Berry Stencil Set Berry Best Stamp and Coordinating Dies Stellar paste in Black Widow Lunar Paste in Later Gator PVA Adhesive Ink blending brushes
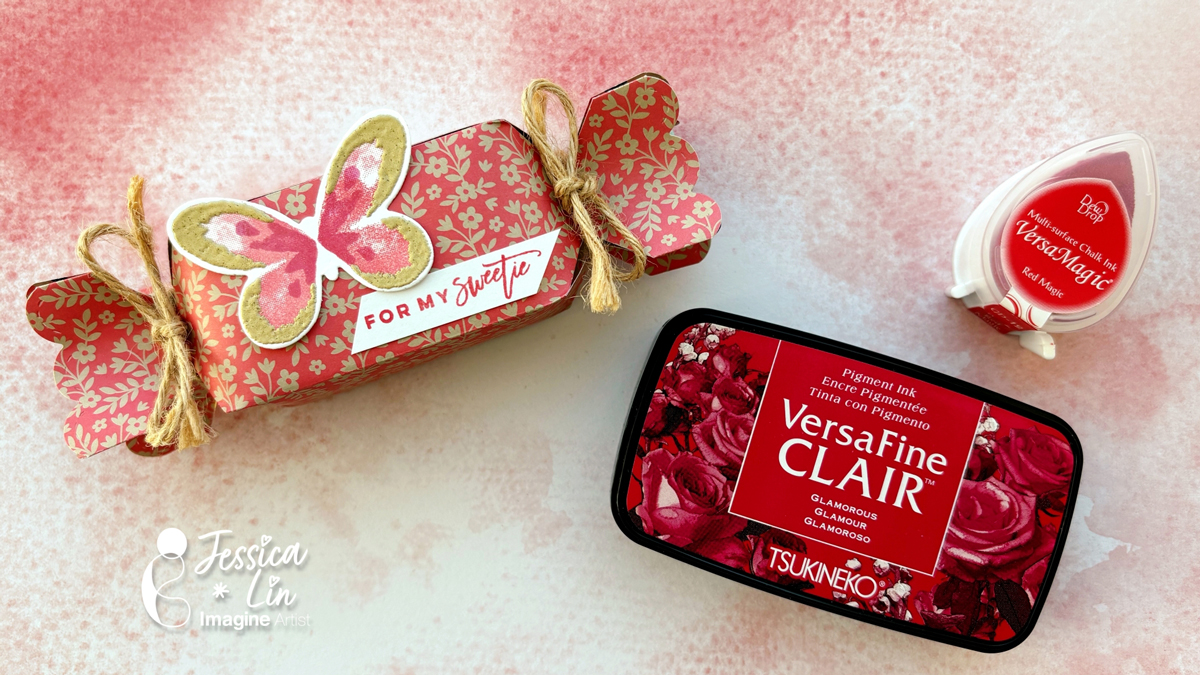
Hi everyone! It’s Jessica here. Today I am sharing a candy box idea that is fitting for all occasions. However, the candy box die I am using today is versatile and you could dress up the box for Halloween treats, too!
Directions:
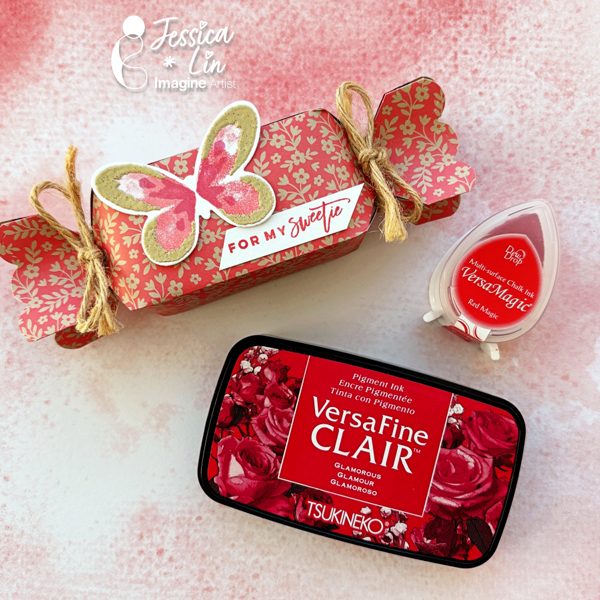
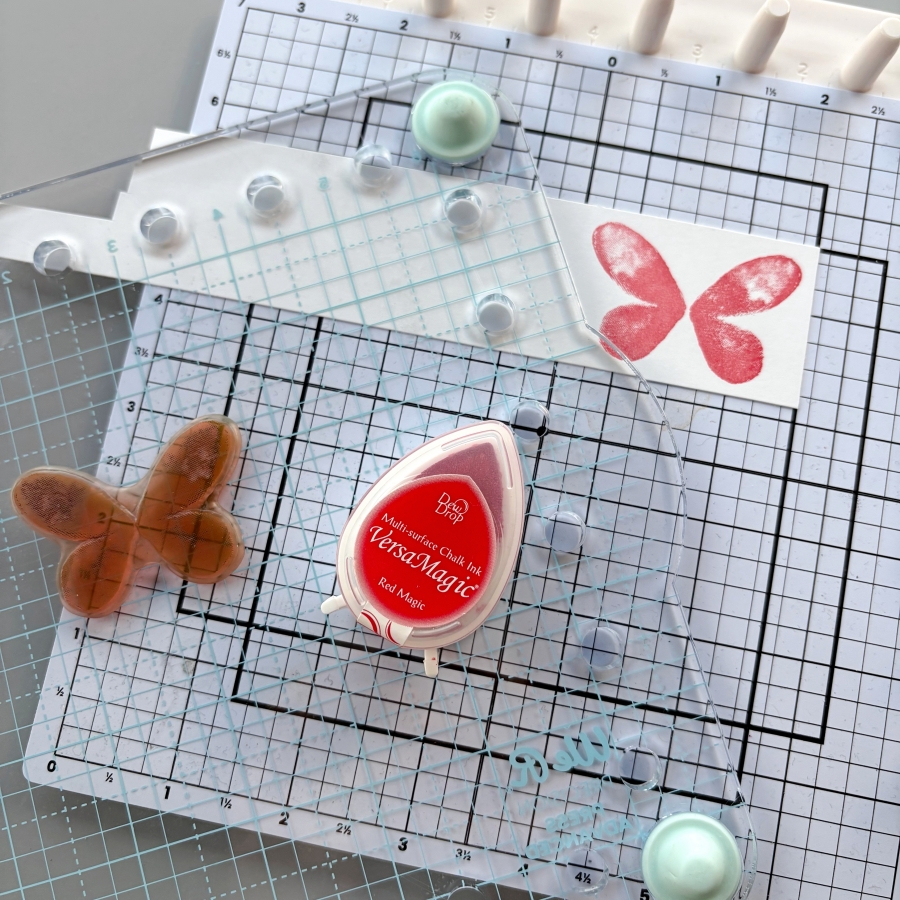
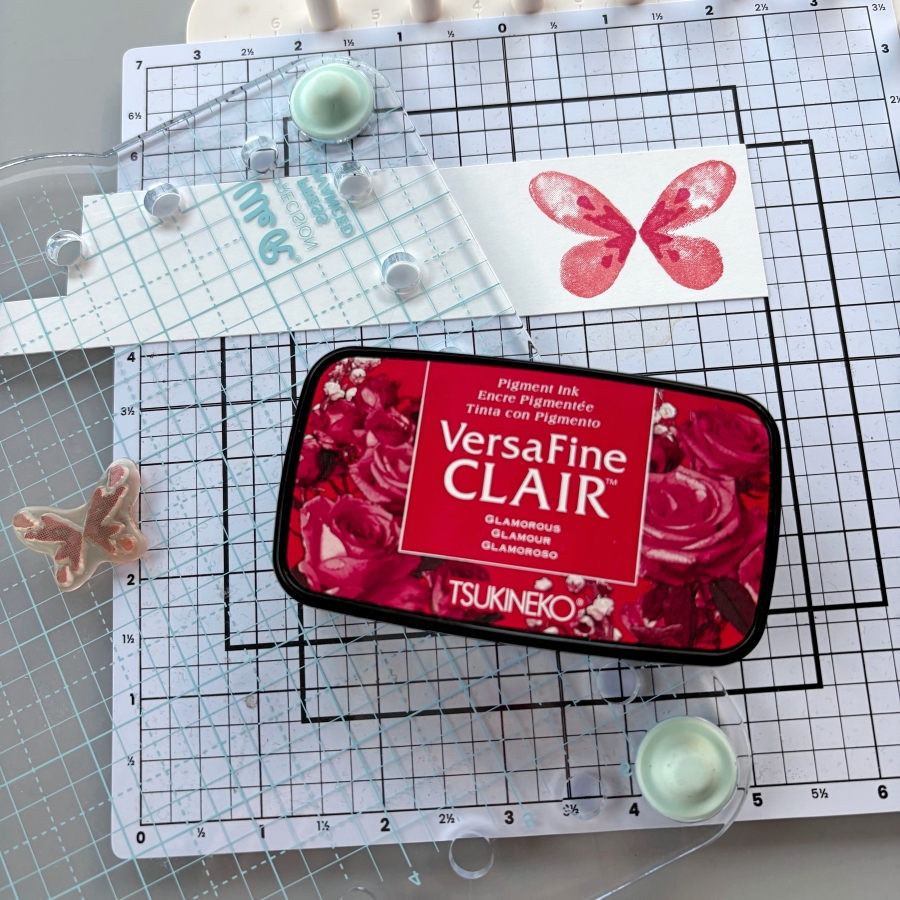
Step 1: Stamp the small butterfly base image from Stampin’ Up’s Watercolor Wings set with VersaMagic Red Magic ink pad.
Step 2: For the second layer of the butterfly stamp, I used VersaFine Clair Glamorous ink pad. I think these two shades of red complement each other very well.
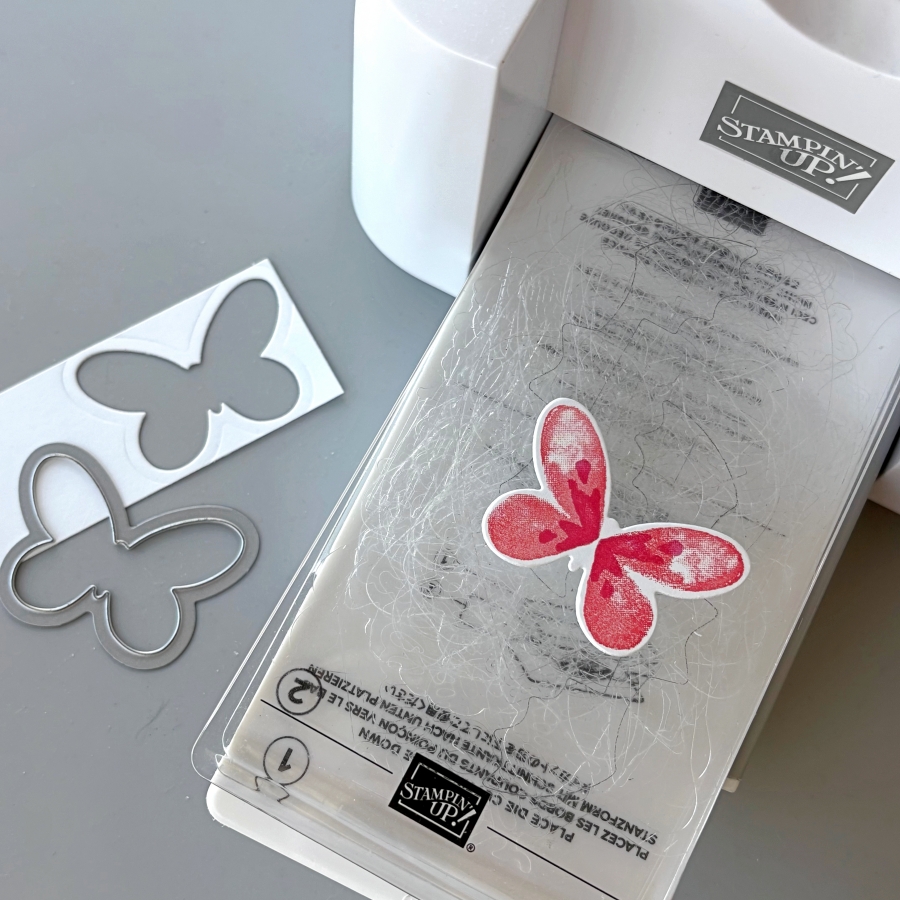
Step 3: Die cut the butterfly with the coordinating Butterflies Thinlits dies.
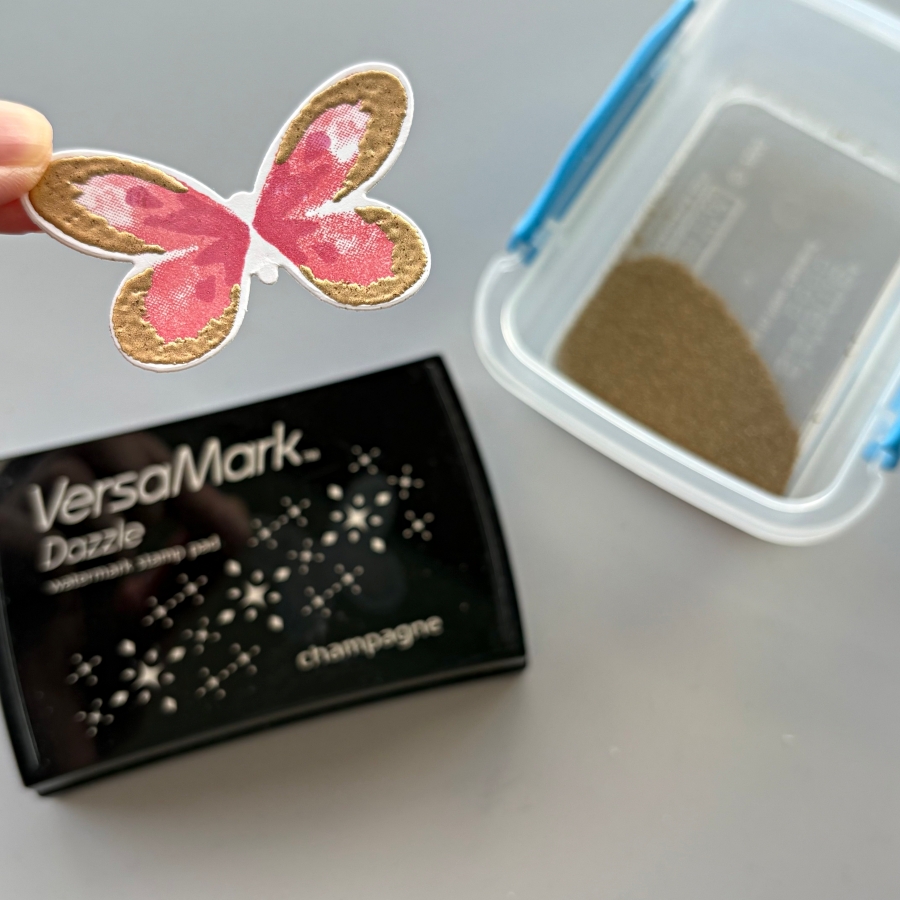
Step 4: Stamp the third layer with VersaMark ink pad and heat emboss with gold embossing powder.
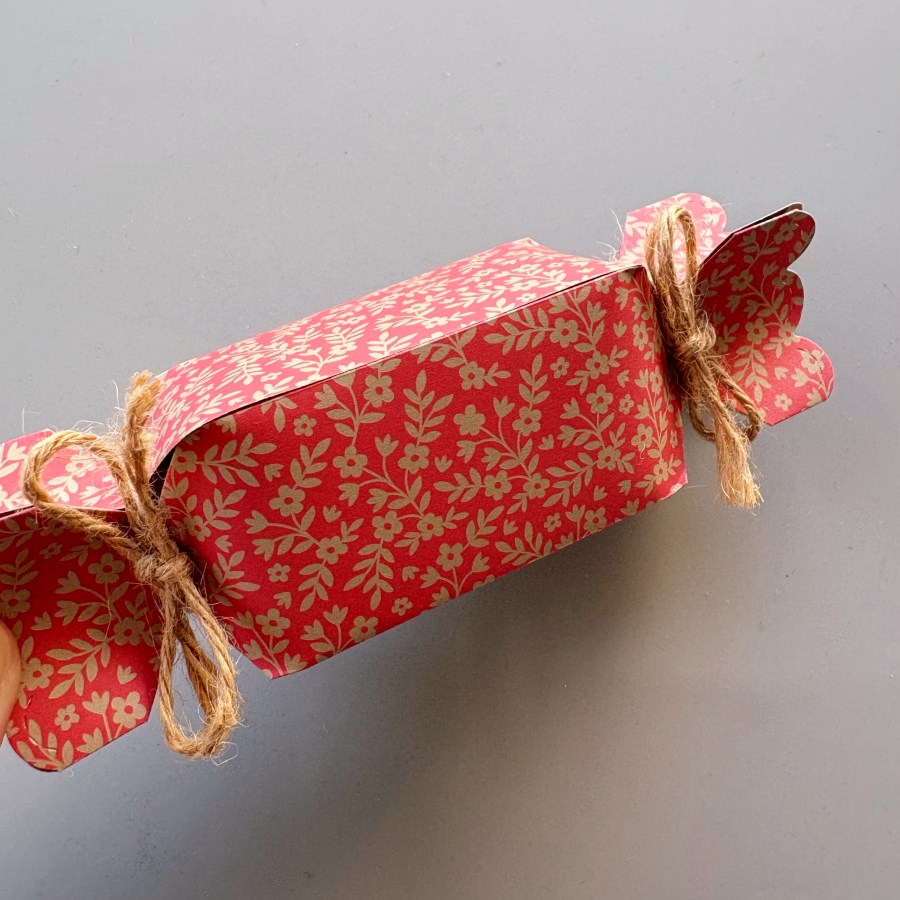
Step 5: Die cut two pieces of patterned paper using Lawn Fawn’s Candy Box die. Then adhere the sides of the boxes together with Tear-It Tape, while leaving the ends open. After filling the box with treats (chocolates like Ferrero Rocher and Lindt are perfect!), tie the ends of the candy box with pieces of twine.
Step 6: Stamp a sentiment with VersaMagic Red Magic ink and this simple treat box is complete! Imagine
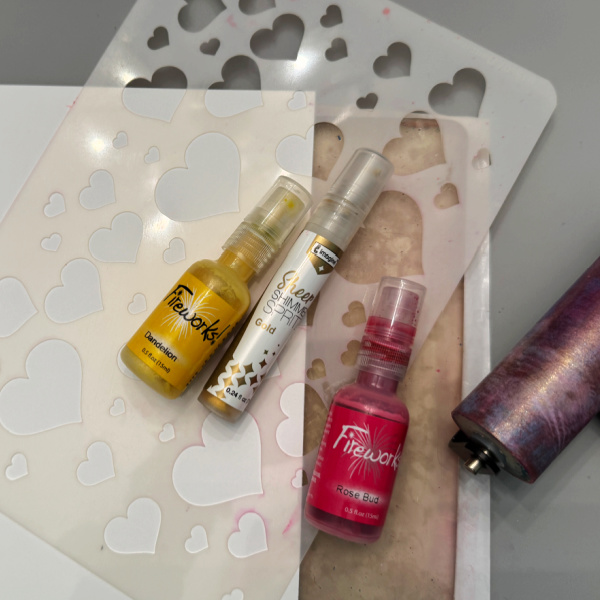
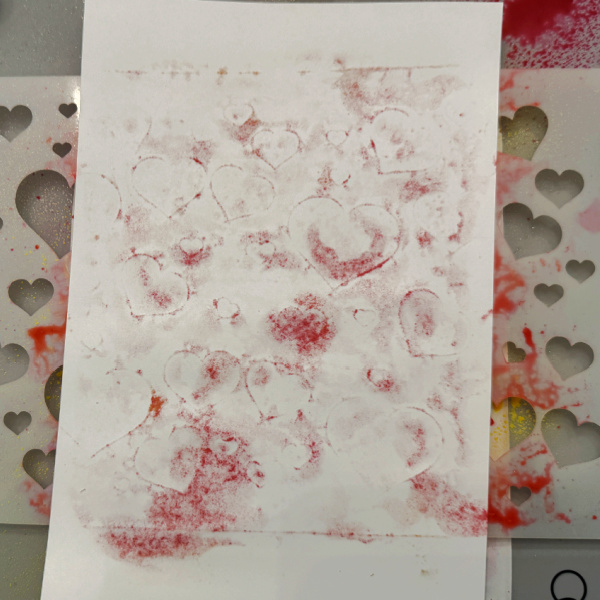
Hello Everyone, it’s Ceal, here. Today I am sharing how to create a background using our Fireworks spray using a Gel Press plate.
Skill Level: Beginner to Advanced Time: 45 minutes to an hour
Directions: Gather your supplies. You will need some Fireworks! sprays, some shimmer spray (I used gold), a stencil, a Gel Press plate, a rubber brayer, some copy paper or cardstock (I used copy paper) A word die or any other die ad some VersaFine Clair Nocturne ink.
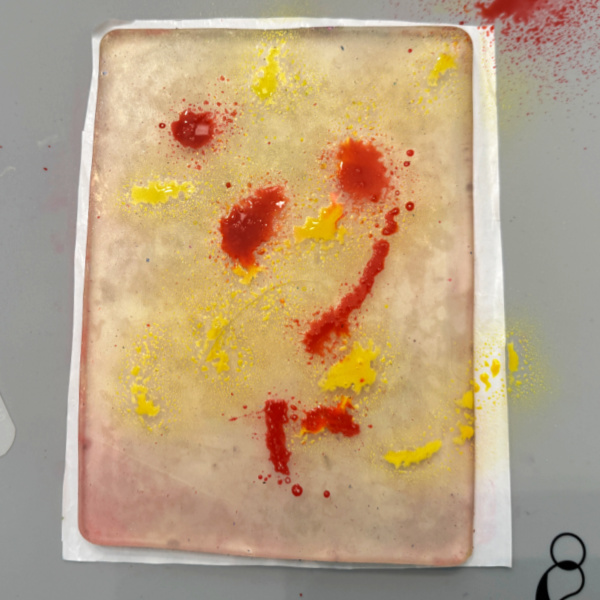
Step 1: Spray Fireworks! spray directly on the Gel Press plate.
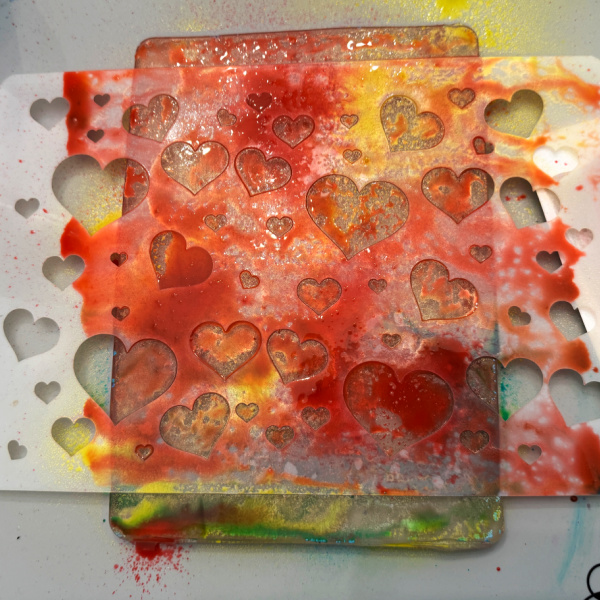
Step 2: Lay stencil over the Gel Press plate and roll the brayer over it to distribute and then spray again with Fireworks! spray.
Step 3: Lay the copy paper (I used Hammermil 60lb) on top and rub your hand over the entire piece several times until you see the medium come through the paper.
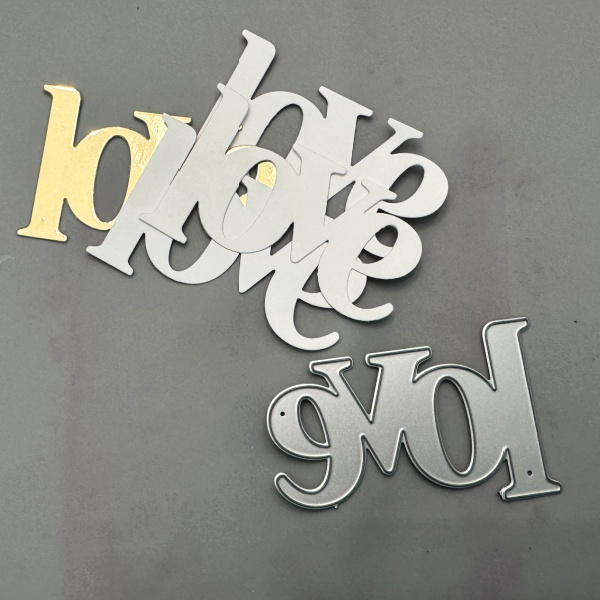
Step 4: Die cut several pieces of the word die. I cut three out of whit and one out of gold to tie in with the gold shimmer on the background. I glued the altogether offsetting the gold one on the bottom.
Step 5: Glue the background on a card base and add the word die to the front. Stamp the coordinating message directly on the background.
• Classic Crest Solar White card base -Neenah • Gold Foil cardstock – Simon Says Stamp • Gel plate – Gel Press • Heart Stencil – A Colorful Life Designs • Love die – Hero Arts • Stamped sentiment – hero Arts
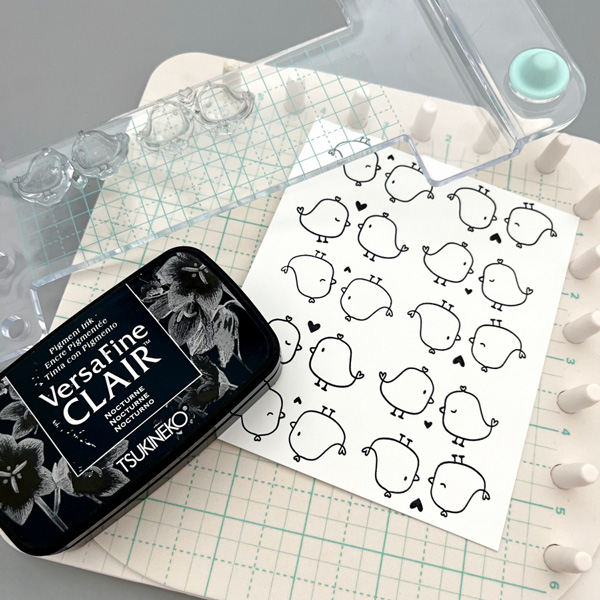
Hi everyone, it’s Jessica here. Have you tried using small stamps to create a card background? Today I am sharing this technique I discovered using the We R Precision Press stamping tool. It takes stamping these small images to the next level, and you can get really creative results!
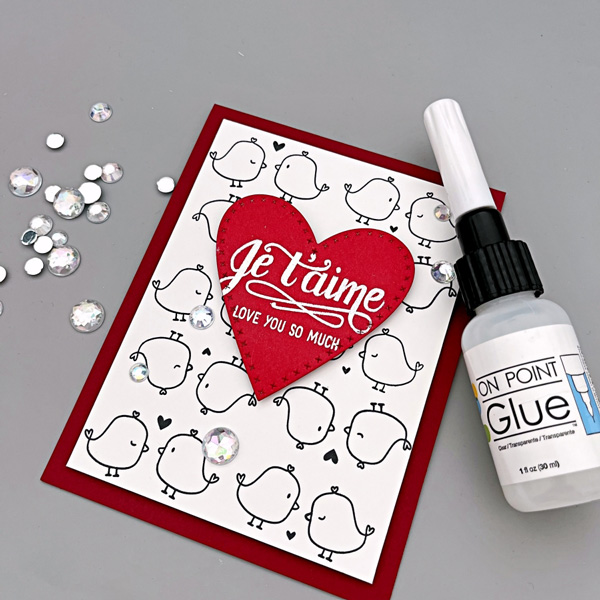
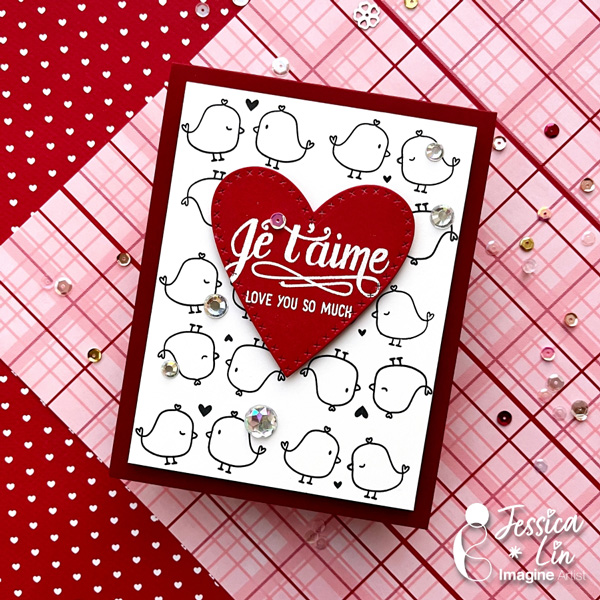
Step 1: I decided to create a stamped background for this year’s Valentine’s card. These adorable love bird images are from Mama Elephant’s Oh Happy Birds set. I placed 4 little birds onto the We R Stamping Pattern Block plate and made sure the images are within the 1’’ grid lines. This made pattern stamping the background so easy; simply use the pegs on the We R Precision Press to stamp on the 1’’, 3’’, 5’’ marks. Then rotate your 5’’ cardstock and stamped on the 2’’ and 4’’ marks using the opposite orientation of the stamps. The VersaFine Clair inks are my go-to for stamping fine line images like these. The lines are so clear and crisp, I’m totally in love with the result!
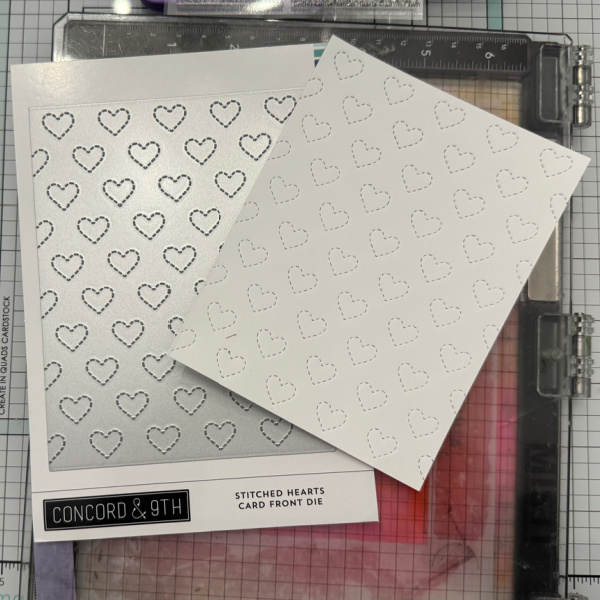
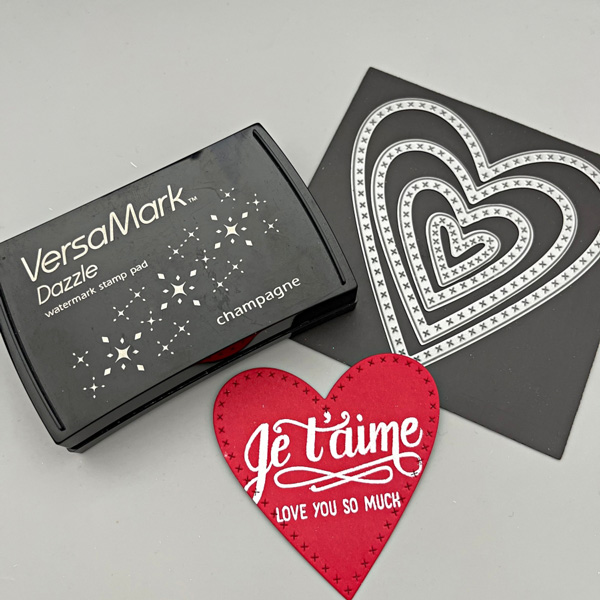
Step 2: Die cut a piece of red cardstock with Cross Stitched Hearts dies. Then stamp the sentiment with VersaMark ink pad and emboss with white embossing powder. The cross stitched details on the die really adds a fine touch to this simple project.
Step 3: Finally, adhere rhinestones with On Point Glue and this quick and simple Valentine’s card is complete!
I hope you enjoyed today’s quick tutorial. I have a lot of small critter stamp sets and I can’t wait to create more stamped backgrounds like this. It’s super easy and fun; I hope you’ll give it a try, too!
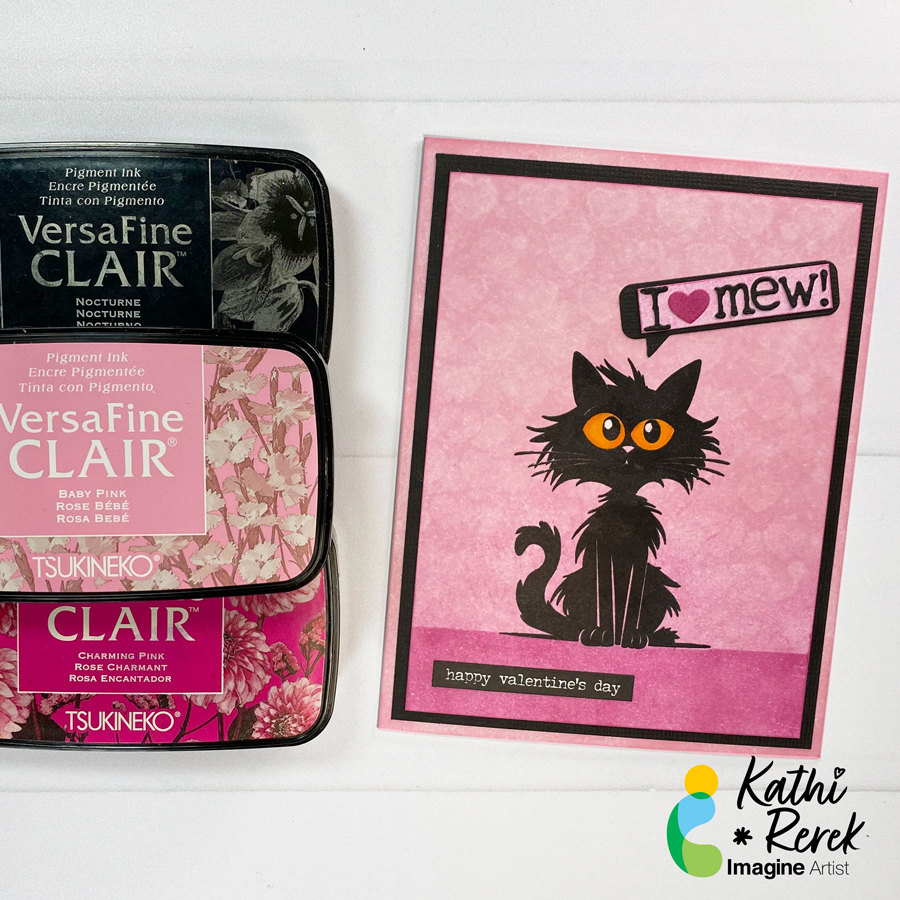
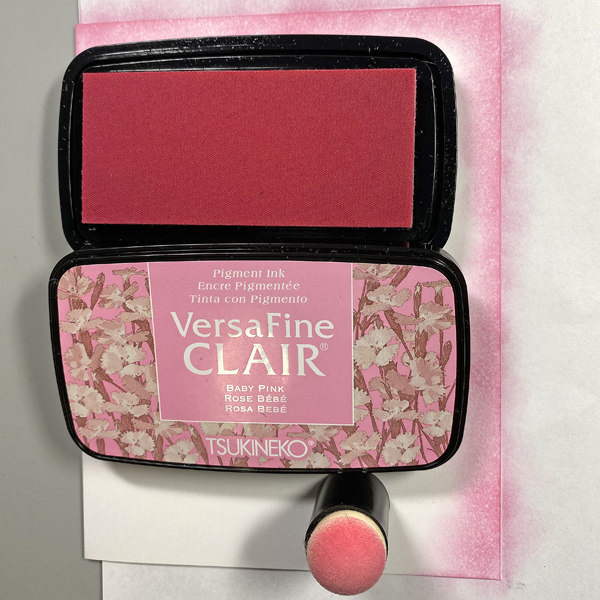
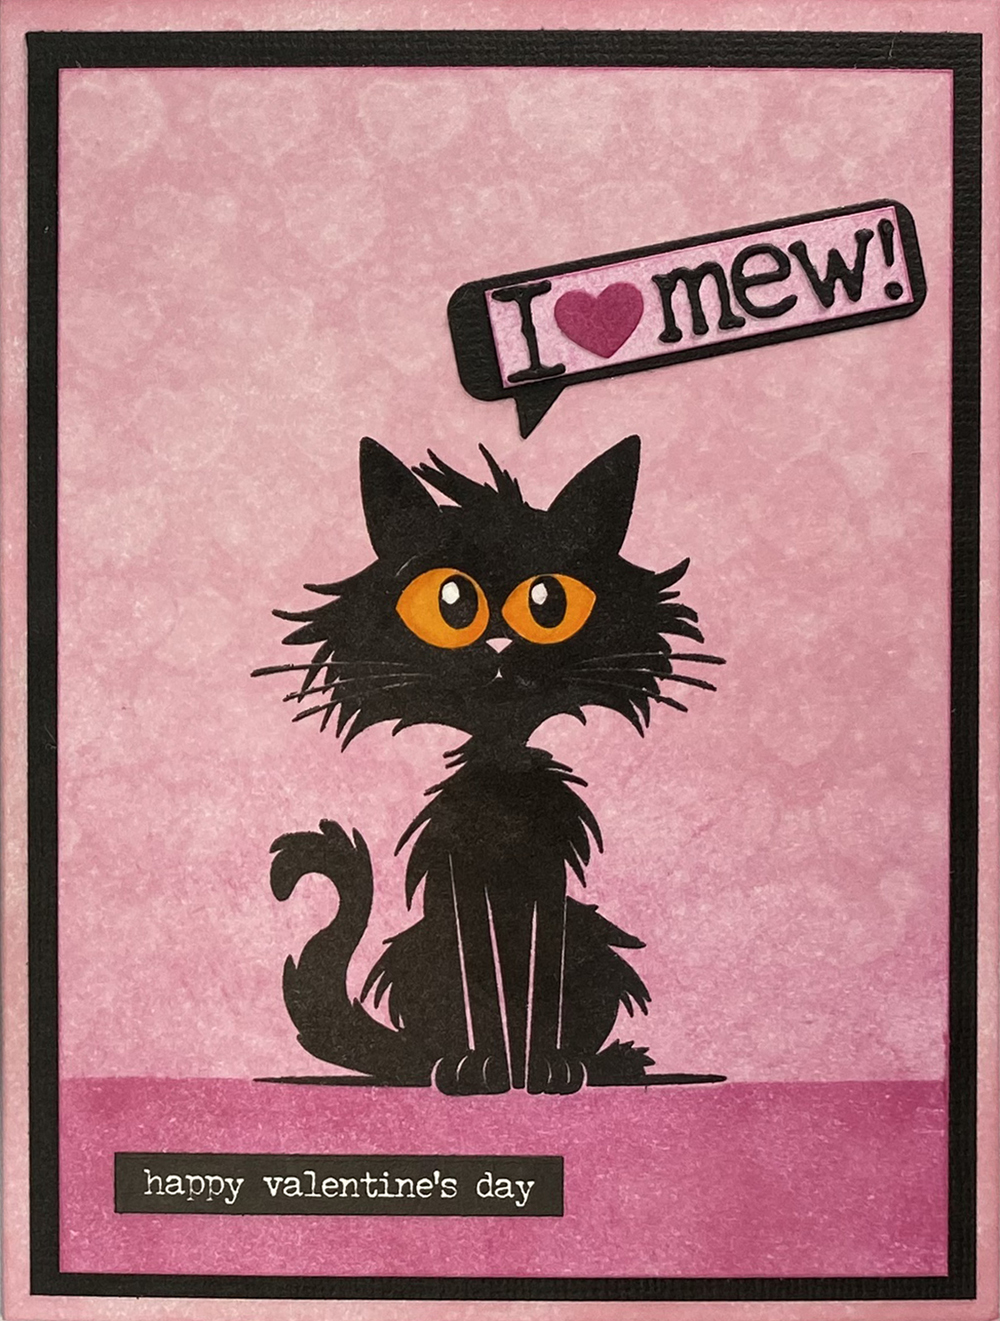
Here’s a punny Valentine’s Day card that showcases the blending of the new Baby Pink VersaFine Clair Ink with the Charming Pink VersaFine Clair Ink. I also used Purell to create a fun ghosting technique!
Skill Level: Beginner Time: 45 minutes
Instructions:
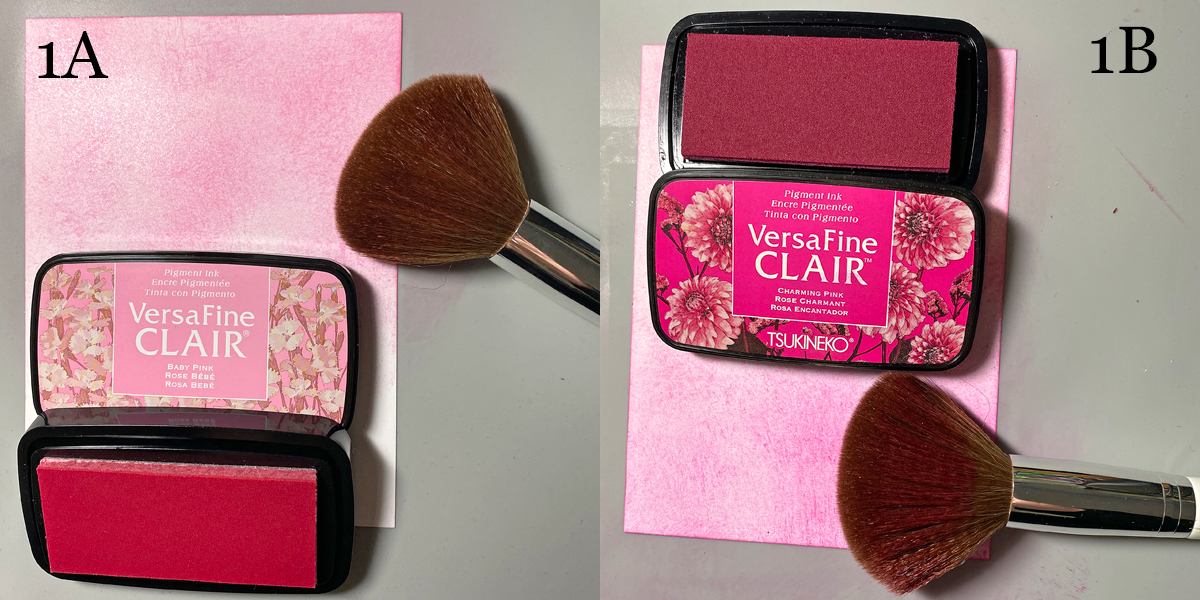
Steps 1A and B:
Use a make-up brush to apply Baby Pink VersaFine Clair Ink to a piece of white cardstock. Start at the top of the panel and work downwards. The make-up brush creates soft textured look on the cardstock. Continue to brush downwards until the brush doesn’t put ink onto the cardstock (1A)
Use the same make-up brush to apply Charming Pink VersaFine Clair Ink from the base of the cardstock panel, blending as you go. (1B)
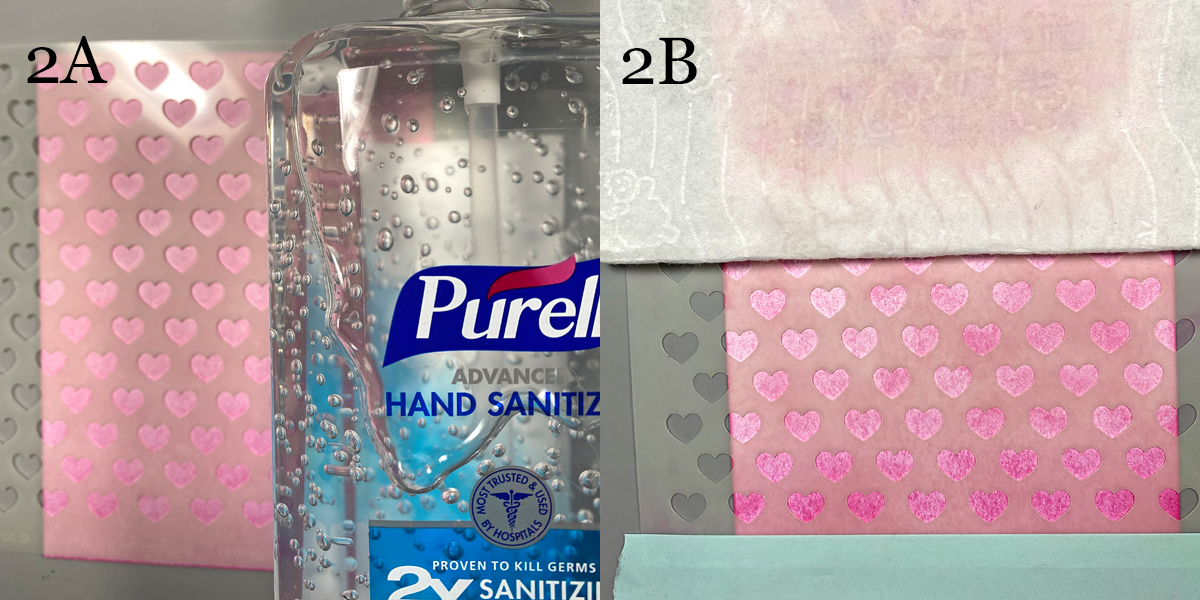
Steps 2A and B:
Place the Staggered Hearts stencil over the inked panel. (2A)
Add Purell to a dry baby wipe until it’s saturated then use the wipe to apply the Purell over the stencil onto the cardstock. The Purell will lift the VersaFine Clair Ink, creating ghosted hearts on the background. Heat setting will accentuate the ghosted effect while setting the ink. (2B)
Step 3:
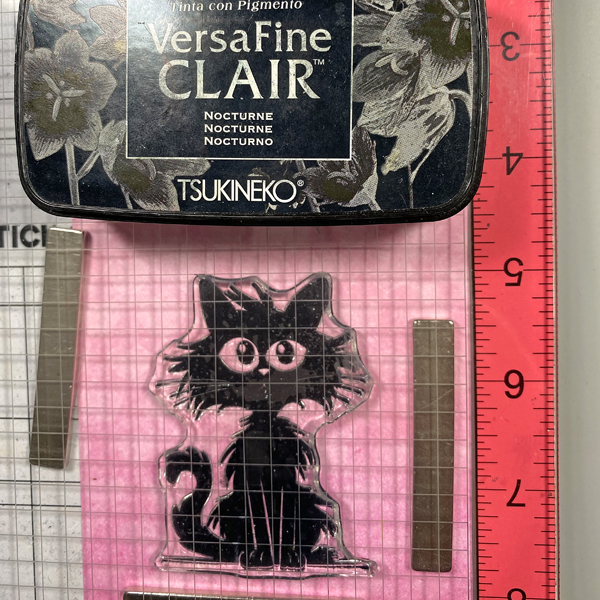
Place the inked cardstock panel onto a stamping platform. Use Nocturne VersaFine Clair Ink to stamp the cat. Re-ink and stamp again if necessary for a crisp image. Remove the image panel and use a paint brush dipped and the ink pad to do any necessary touch ups to the image. Heat set.
Step 4:
Use Prismacolor markers to color the cat’s eyes, taking care to avoid the black ink and contaminate your markers. Use a white gel pen to add highlights to the cat’s eyes. No photos. Sorry.
Step 5:
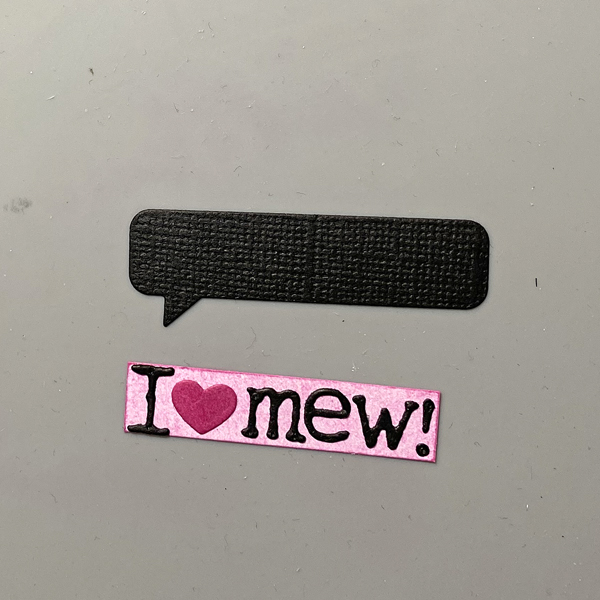
Use alphabet dies and a speech bubble die to cut black cardstock. Use a flag and a heart die to to cut to cut extra inked cardstock from Step 1. Smoosh the heart die-cut onto the Charming Pink VersaFine Clair inkpad. Trim the ends off of the flag die-cut and edge with Charming Pink VersaFine Clair Ink. Adhere the letter die-cuts and the heart to the pink strip, then adhere to the black speech bubble die-cut.
Step 6:
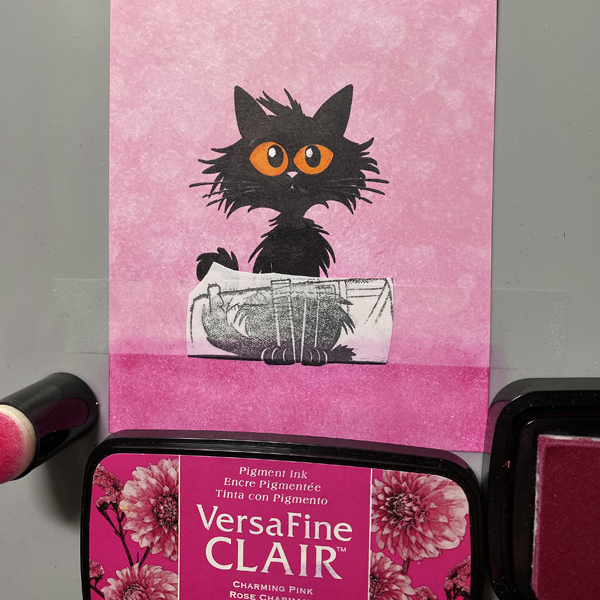
Use Nocturne VersaFine Clair Ink to stamp the cat onto the scrap of repositionable sticker paper. Fussy-cut the sticker paper along the bottom and place it over its counterpart as a mask. Place a strip of repositionable Scotch Tape across the image panel. Use a Sponge Dauber to apply Charming Pink VersaFine Clair Ink over the tape and the masked cat paws to the bottom of the image panel.
Remove the tape and the mask over the cat. Use Use a Sponge Dauber to edge the image panel with Charming Pink VersaFine Clair Ink.
Step 7:
Use a Sponge Dauber to apply Baby Pink VersaFine Clair Ink to the outside .5” perimeter of an A2 card. Heat set.
Step 8:
Cut a panel of black cardstock to 4” x 5.25”. Use Tear It! Tape to mat the image panel with the black cardstock, adhere the matted image panel to the card, and adhere the speech bubble die-cut as shown. Use the sentiment sticker to finish the card.