Adorable Filmstrip Valentine’s Card

By Ceal Pritchett

Hello everyone!
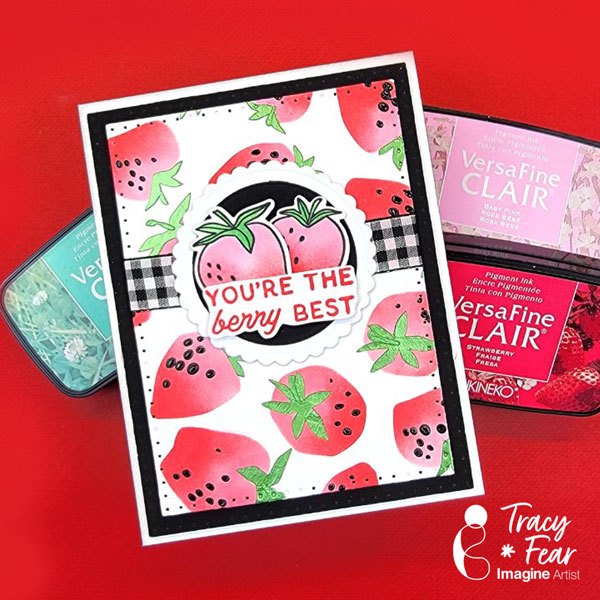
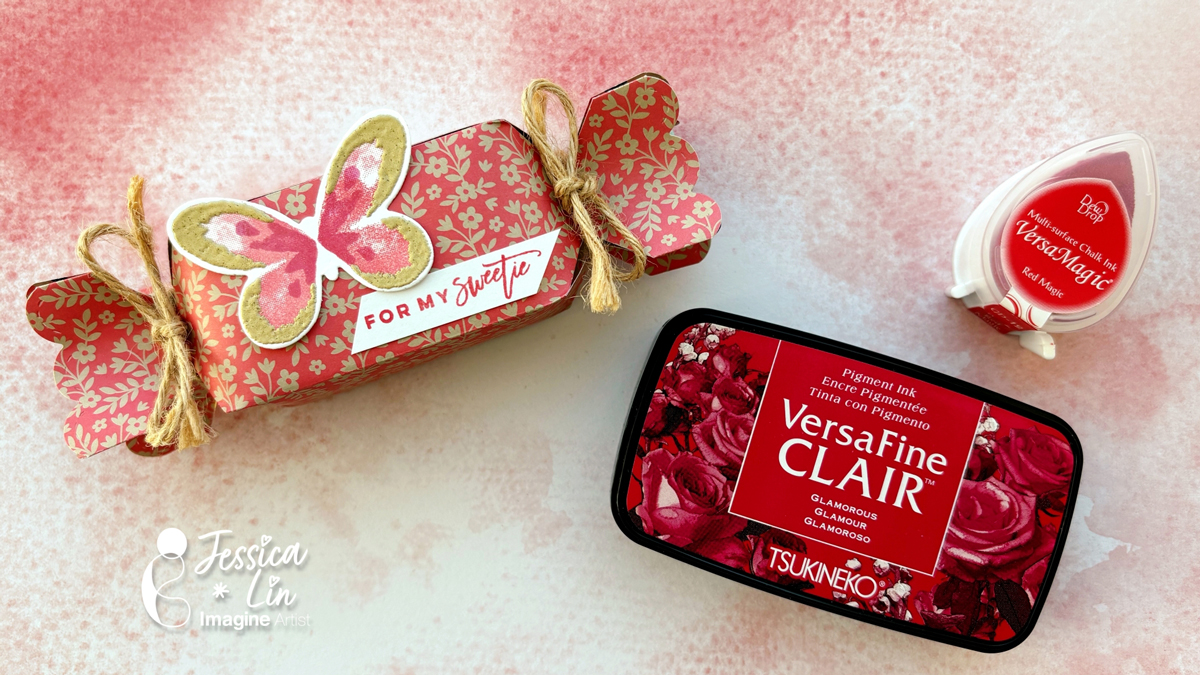
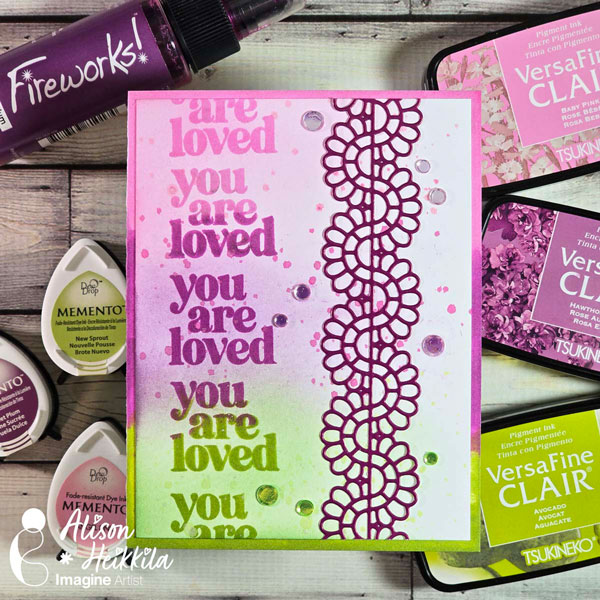
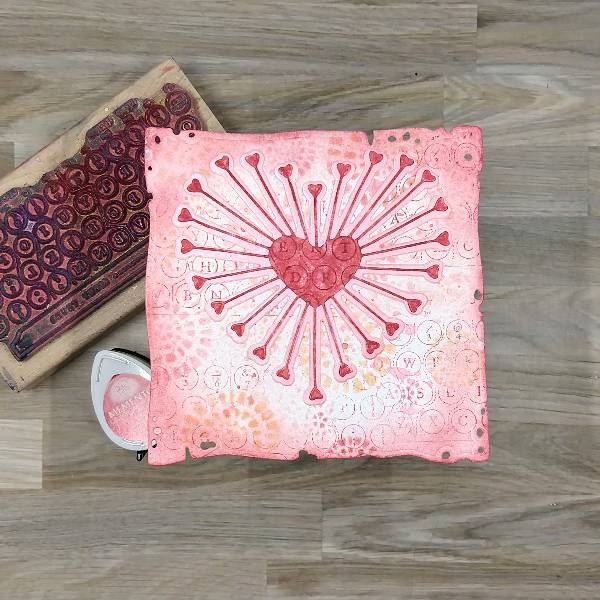
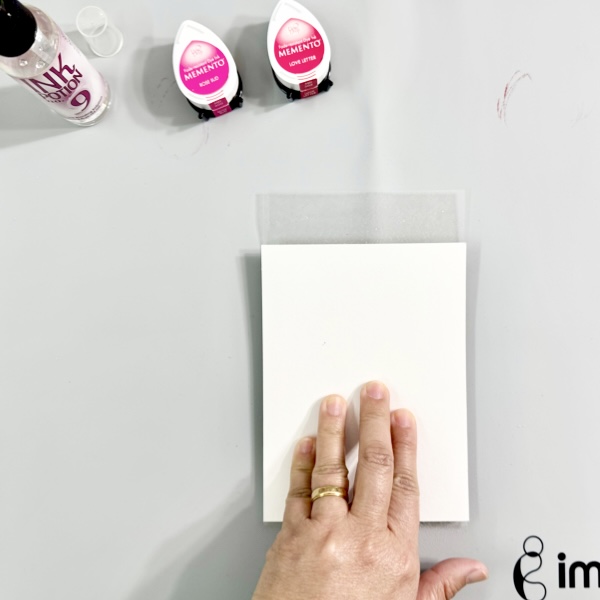
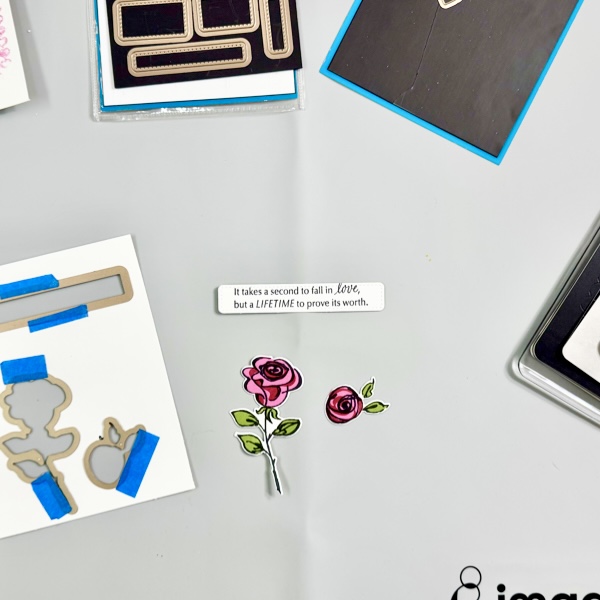
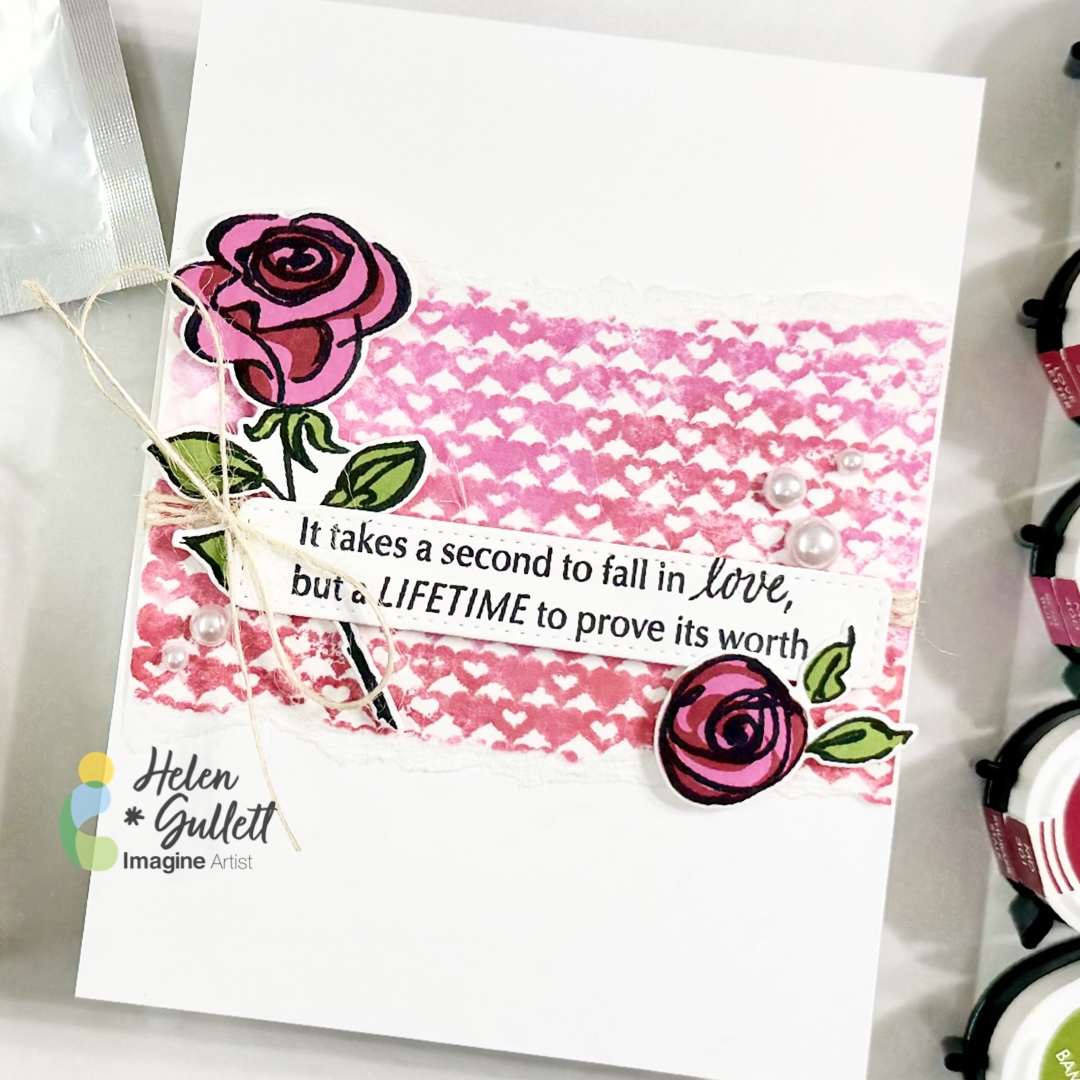
Today I am sharing how I made this filmstrip valentines card using some Memento inks.

Skill: Intermediate
Time: 1 hour

Directions:

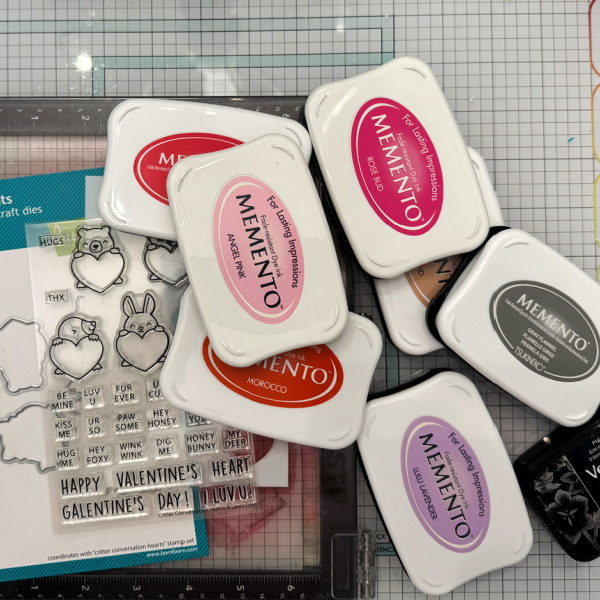
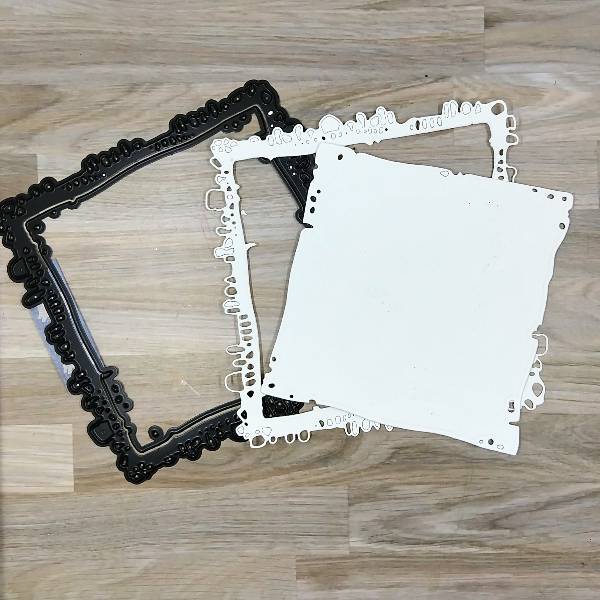
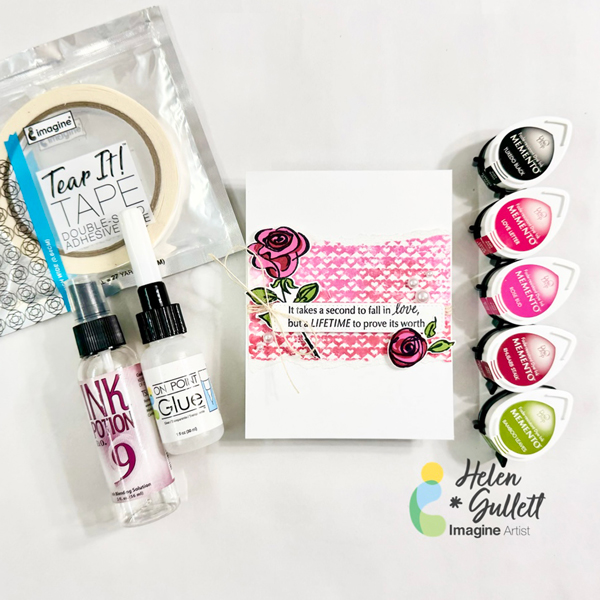
Gather your supplies. To make this card, you will need a valentines set (preferably with small images to fit in the film strip), a film/postage strip die, and sereral colors of ink.

I started with a white top folding A2 card base and a white panel for the images. I used a set from Lawn Fawn that has coordinating stamp, coloring stencils and dies.  I used Memento inks in several colors to color the images and a stamp/film strip die.
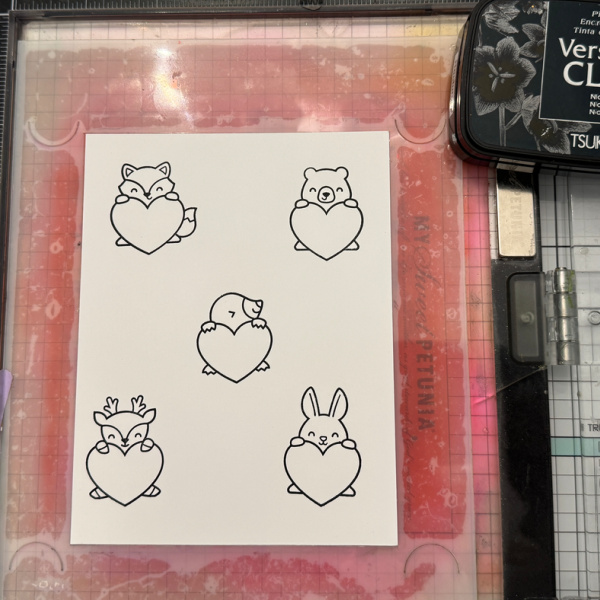
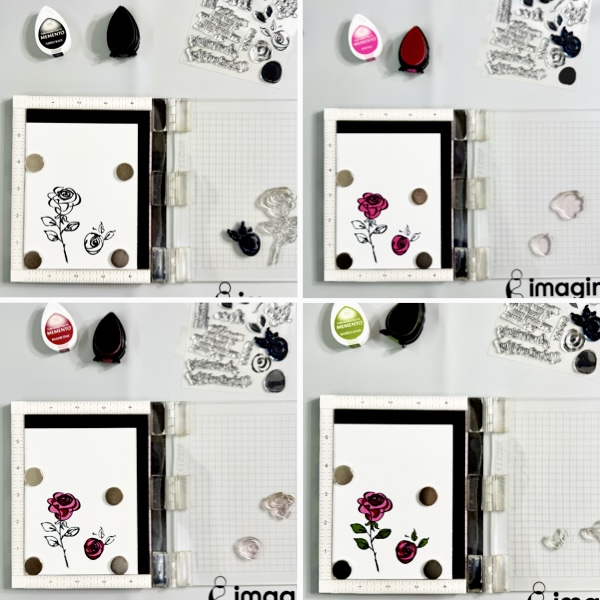
Step 1:
Stamp the images in VersaFine Nocturne ink on a panel of white cardstock.
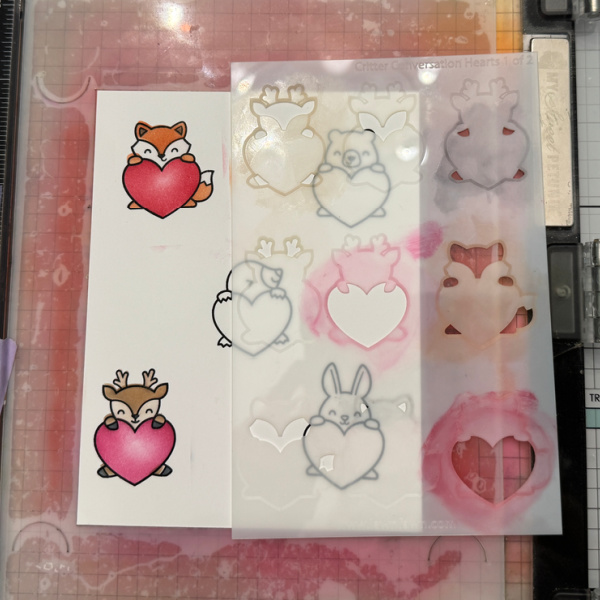
Step 2:
Using stencil No. 1, color the images in the desired colors. I used Morocco for the fox and Desert Sand for the deer.
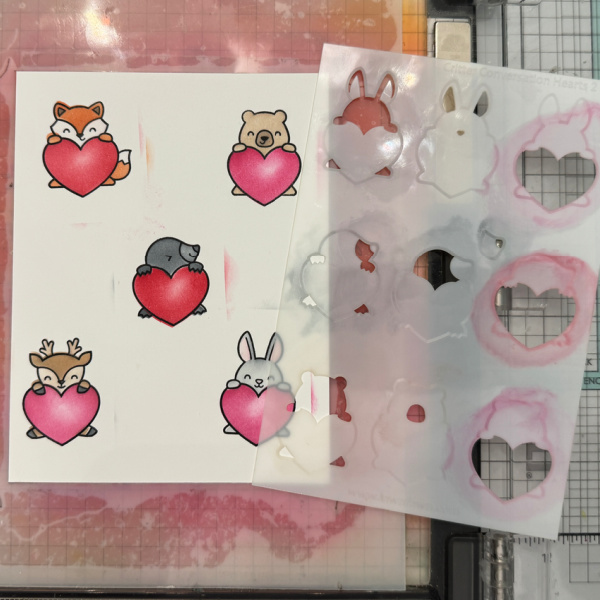
Step 3:
Using stencil No. 2, color the remaining images in the desired color. I used Desert Sand for the bear and Gray Flannel for the seal and Bunny just heavier handed on the seal.  I used Angel Pink for the ears.
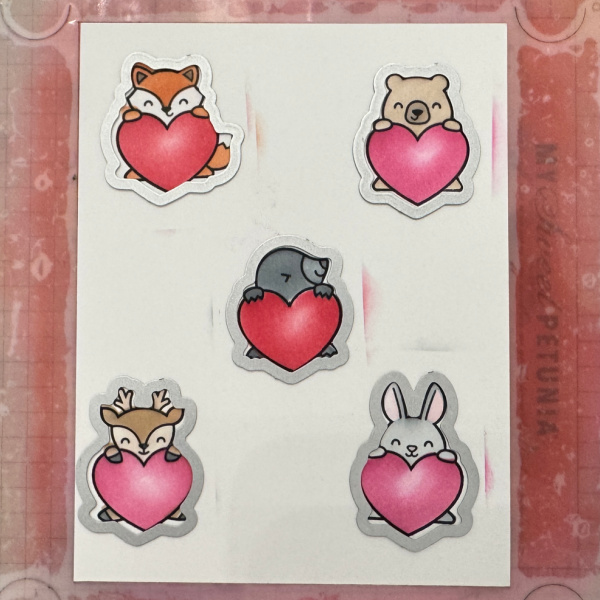
Step 4:
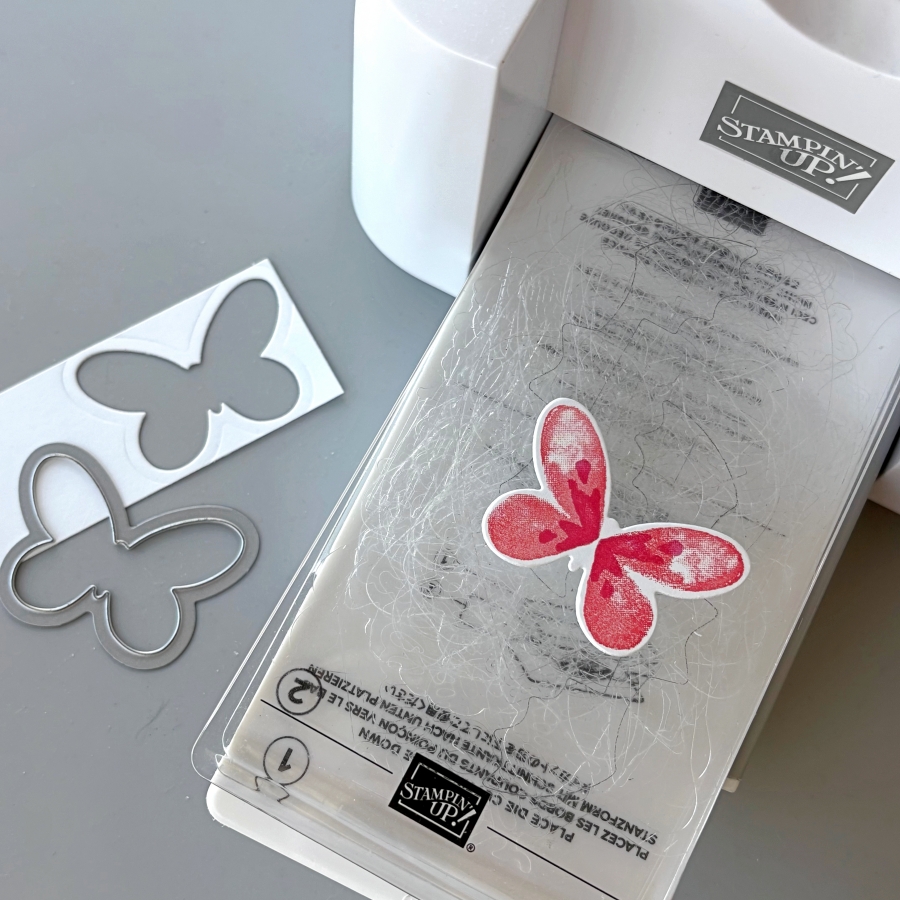
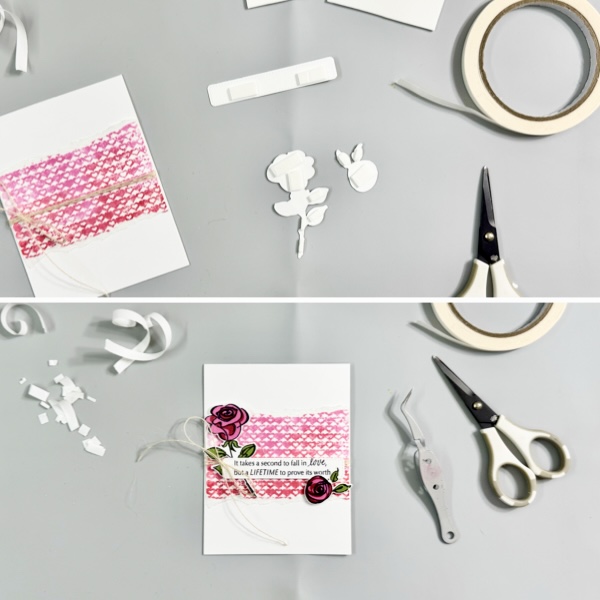
Using the coordinating dies and a die cutting machine, cut out the images.
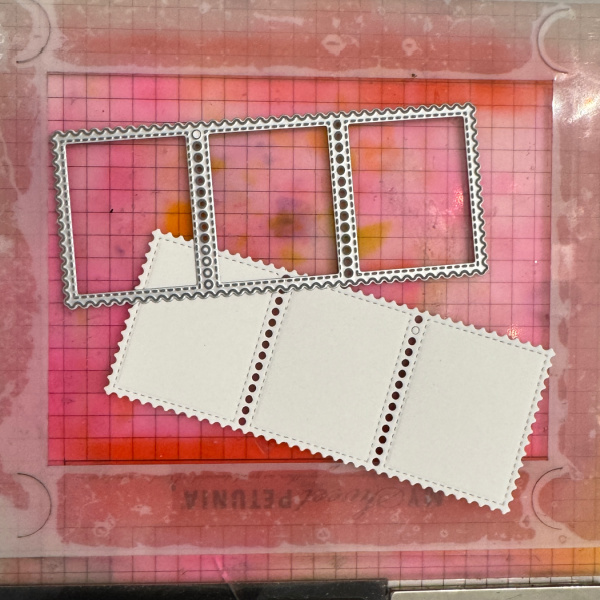
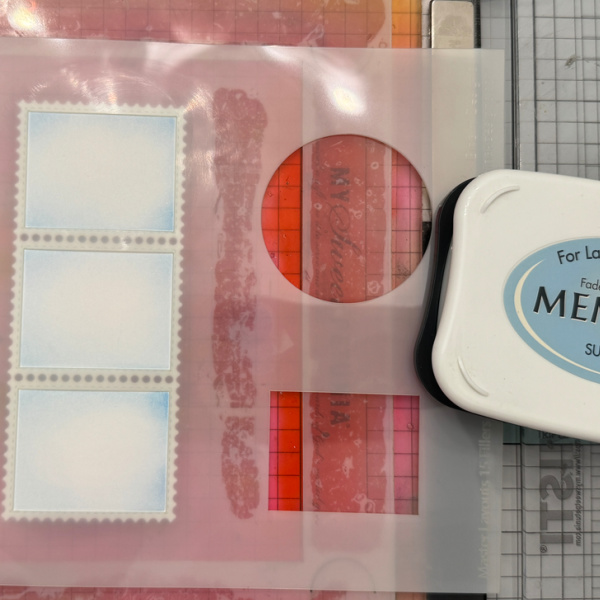
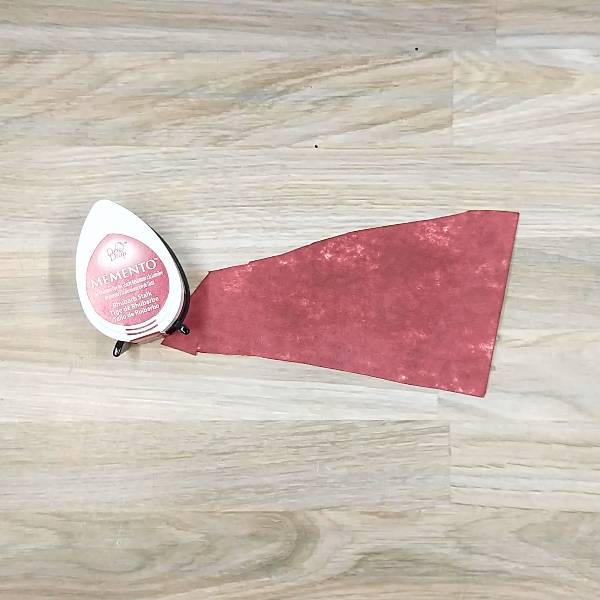
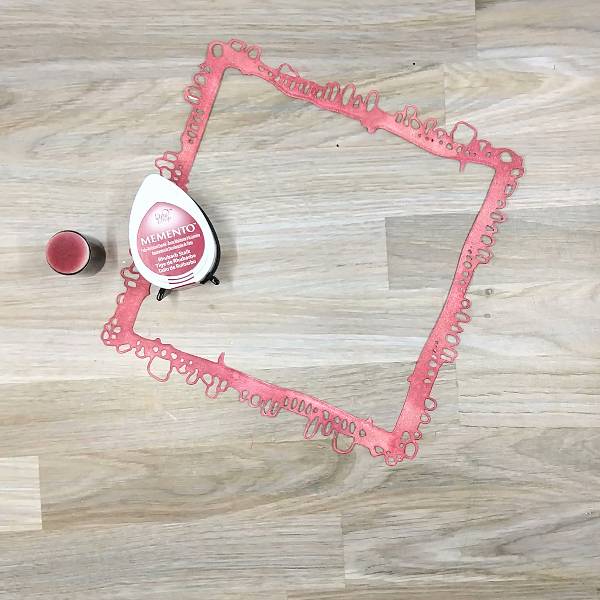
Step 5:
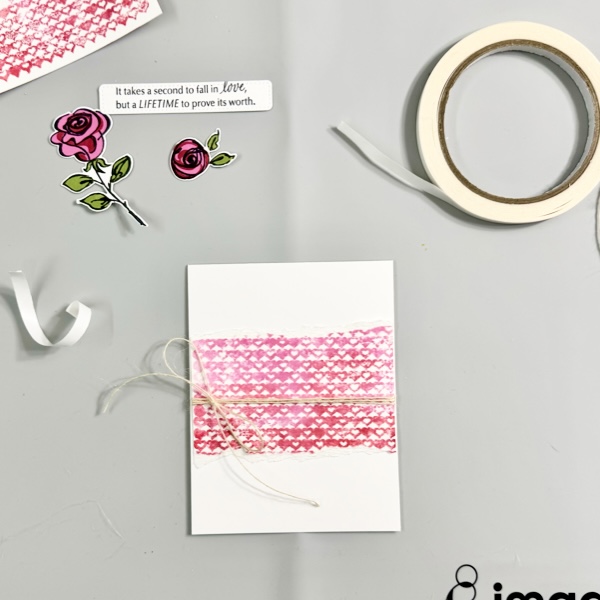
Cut out the postage/film strip and then color with coordinating stencil. I used Summer Sky.
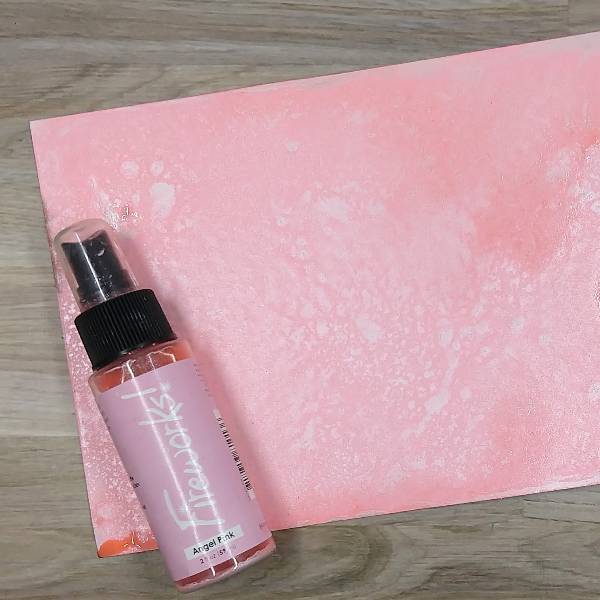
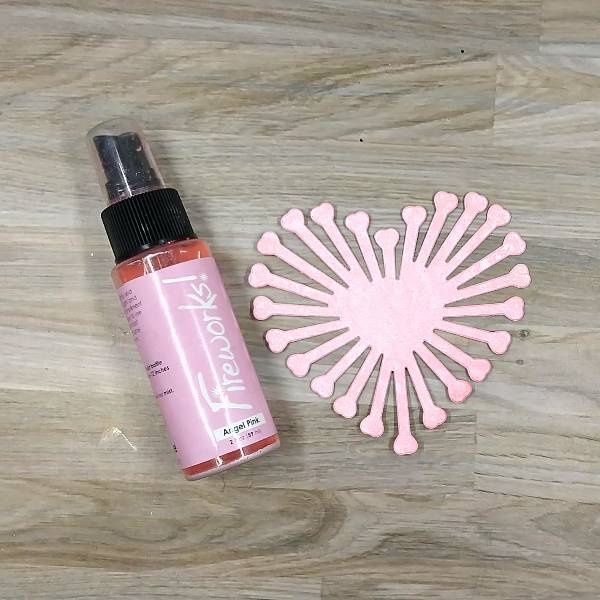
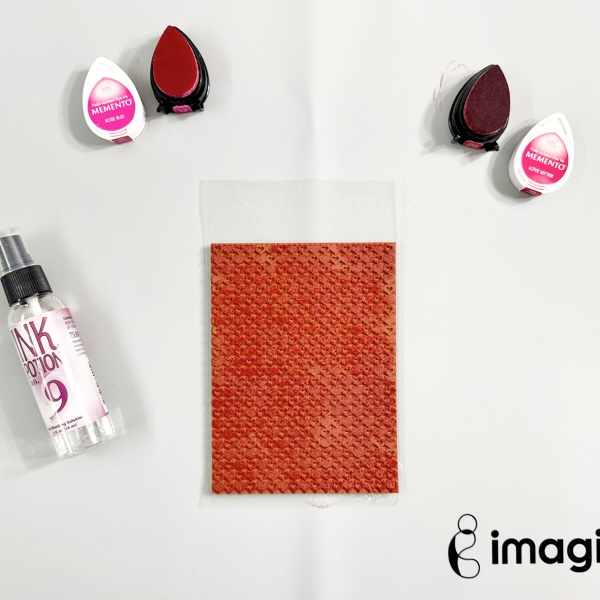
Step 6:
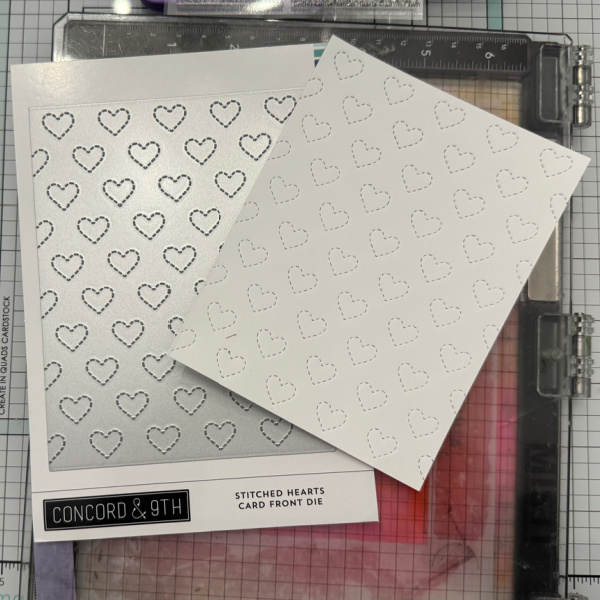
Cut out a background using a heart cover plate.
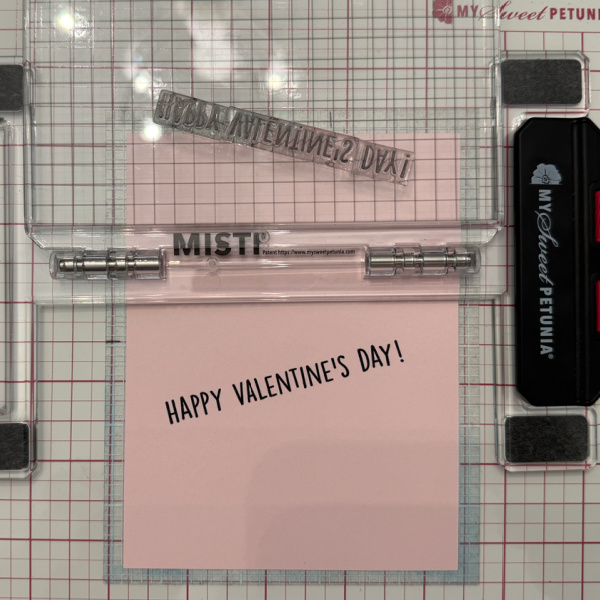
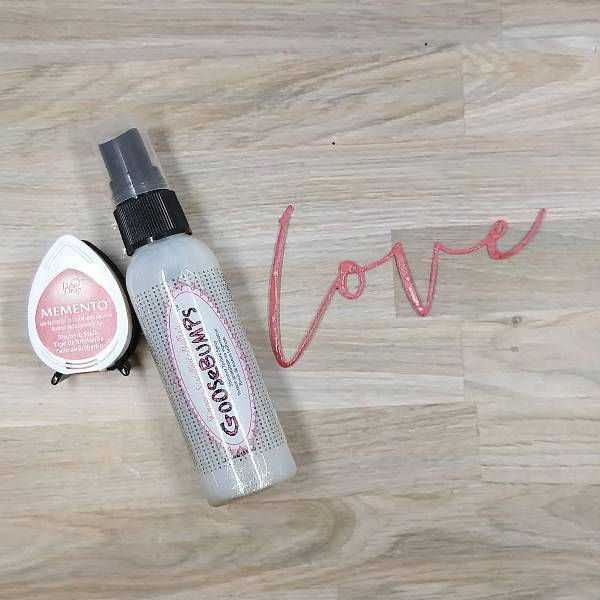
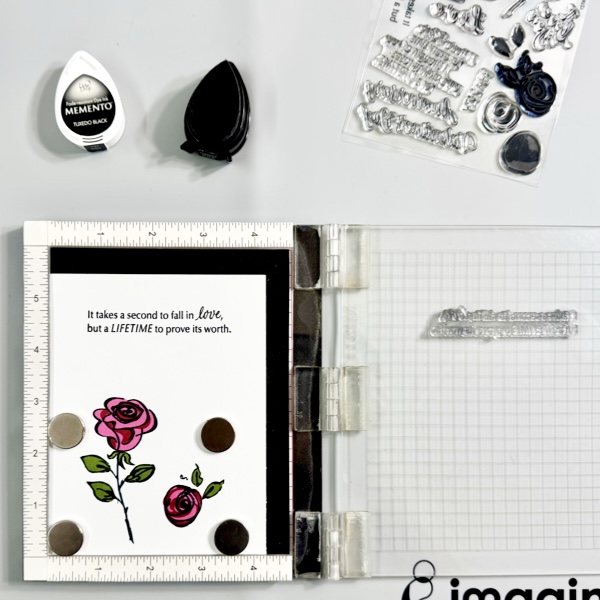
Step 7:
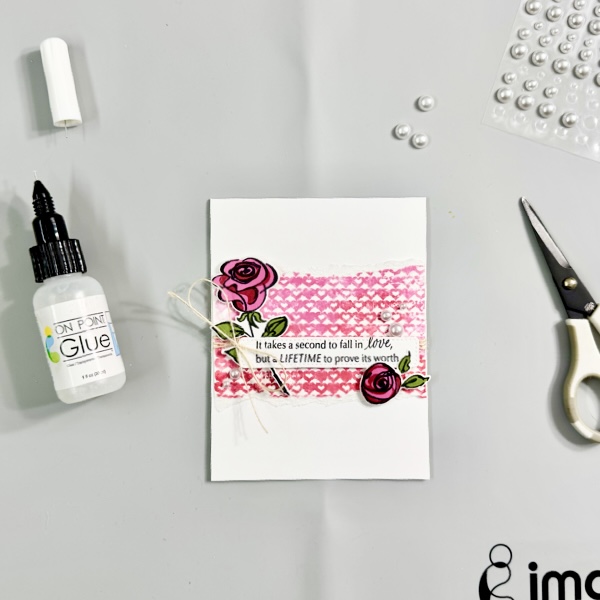
Stamp the greeting and then cut down at an angle. Put all the elements together on the card base.

The postage/film strip will hang over a little and will need to be trimmed. You can prevent this by madding a horizontal card rather than a vertical one.

Craft Supplies:

Imagine Products:

• Memento Inks in the following colors
Desert Sand, Summer Sky, Gray Flannel, Love Letter, Lulu Lavender, Angel Pink and Rose Bud

Other Products

Critter Conversation Hearts by Lawn fawn
Stamp Set
Coordinating Coloring Stencils
Coordinating Dies
Postage/Film strip die by Gina K Designs

Strawberry-licious Handmade Greeting Card

By Tracy Fear

Berries Galore!
Join Me Creating a a fun and whimsical card featuring delicious strawberries!

Tracy

Skill: Intermediate
Time: 60 Minutes

Art Supplies
100lb white paper
A2 Card Base
Stamp Platform
Colored Texture Paste
Stencils
Ribbon
Blending Brushes

Imagine Products
VersaFine Clair in Baby Pink, Strawberry, Grass Green, and Nocturne

Other Products Used
Simon Hurley 
Very Berry Stencil Set
Berry Best Stamp and Coordinating Dies
Stellar paste in Black Widow
Lunar Paste in Later Gator
PVA Adhesive 
Ink blending brushes

 Create an Easy Candy Treat Box 

By Jessica Lin

Skill: Beginner
Time: 20 minutes

Hi everyone! It’s Jessica here. Today I am sharing a candy box idea that is fitting for all occasions. However, the candy box die I am using today is versatile and you could dress up the box for Halloween treats, too!

Directions:

Step 1:
Stamp the small butterfly base image from Stampin’ Up’s Watercolor Wings set with VersaMagic Red Magic ink pad.

Step 2:
For the second layer of the butterfly stamp, I used VersaFine Clair Glamorous ink pad. I think these two shades of red complement each other very well.

Step 3:
Die cut the butterfly with the coordinating Butterflies Thinlits dies.

Step 4:
Stamp the third layer with VersaMark ink pad and heat emboss with gold embossing powder.

Step 5:
Die cut two pieces of patterned paper using Lawn Fawn’s Candy Box die. Then adhere the sides of the boxes together with Tear-It Tape, while leaving the ends open. After filling the box with treats (chocolates like Ferrero Rocher and Lindt are perfect!), tie the ends of the candy box with pieces of twine.

Step 6:
Stamp a sentiment with VersaMagic Red Magic ink and this simple treat box is complete! Imagine

Craft Supplies:

Imagine

Other Supplies:

  • Stampin’ Up! – Stamps – Watercolor Wings
  • Lawn Fawn – Die – Candy Box
  • Winnie & Walter – Stamps – Sentimental: Endearments
  • Gold Embossing Powder
  • Twine

Tone on Tone Stamping You Are Loved Card

By Alison Heikkila

Hello! Alison Heikkila here. Grab a sentiment that’s worth repeating and let’s do some tone on tone stamping. You can do any color combo you want, just try not to overlap colors that are opposite on the color wheel. The techniques we’re doing today are great ways to mix various inks you may have in your stash.

Skill Level: Intermediate
Time to Complete: 20-30 Minutes

*Some affiliate links are used in this post. That means that if you shop through these links, I may receive a small compensation, at no cost to you. For more information, please see my Affiliates page, where I also have some coupon codes.

Supplies:
Imagine:
Memento Ink: Angel Pink
Memento Ink: Sweet Plum
Memento Ink: New Sprout
VersaFine Clair: Baby Pink
VersaFine Clair: Hawthorn Rose
VersaFine Clair: Avocado
Fireworks! Spray: Angel Pink, Sweet Plum, Pear Tart
On Point Glue

Other:
Concord & 9th: Checking In Stamps
Spellbinders: Eyelet Scallop Border
A Colorful Life Designs: Luminous Whisper Pink, Luminous Petticoat Pink, Metallic Lime Card Bling (use code AlFan10 to save 10%)
Scrapbook.com: Blending Brushes
Scrapbook.com: Artis Craft Glue
Accent Opaque: 100lb. White Cardstock
Glossy Magenta Cardstock (substitute with any color you have)

This was so much fun to create. I’d love to make it again with different colors. What colors would you use? I might try teal, terra cotta, and cocoa next. Thanks so much for stopping by. Have an inspiring day!

Let’s Make a Valentine’s Day Card

By Anna Escalada York

I wanted to use some dies in my stash plus some warm colored inks to make a Valentine’s Day card for my husband.

Skill: Intermediate
Time: 1.5 hours

Directions:

Step 1:

Rub a piece of watercolor paper with a Love Letter Memento ink pad. Don’t worry too much about the consistent color across the watercolor paper.

Step 2:

Spray the same watercolor paper with Rose Gold Sheer Shimmer Craft Spray and allow to dry.

Step 3:

Die cut the colored and sprayed watercolor paper.

Step 4:

Use a background or texture stamp to to stamp the center of the die cut with ore Love Letter Memento ink. If desired, rub the small hearts around the edge with more Love Letter Memento ink as well.

Step 5:

Rub a piece of watercolor paper with Rhubarb Stalk Memento ink pad. Again, don’t worry too much about the consistent color across the watercolor paper.

Steps 6 and 7:

Die cut the Rhubarb Stalk colored watercolor paper and use a paintbrush to paint GooseBumps Shimmer Texture Spray on the die cut. Allow the GooseBumps Shimmer Texture Spray to dry (or if you are impatient like me use your heat tool to dry it quickly).

(Not pictured: Die cut two more layers of the sentiment die with scraps of cardstock and glue the three layers together for dimension. Then die cut the shadow of the sentiment with vellum and glue the sentiment onto the shadow.)

Step 8:

Spray enough Angel Pink Fireworks! Shimmery Craft Spray onto a piece of watercolor paper to totally color the paper and allow to dry.

Step 9:

Die cut the sprayed watercolor paper. Glue the two layers of die cut hearts together.

Step 10:

Tape an outer and inner frames together with tape and use them both together to die cut more watercolor paper.

Step 11:

Ink blend the die cut frame with Rhubarb Stalk Memento Ink using a sponge dauber.

Step 12:

Spray the internal part of the die cut with Rose Gold Sheer Shimmer Craft Spray and allow to dry.

Step 13:

Use Love Letter and Rhubarb Stalk Memento Ink to ink blend through a stencil. Then ink blend around the edges of the die cut with more Rhubarb Stalk Memento Ink.

Step 14 and 15:

Use the same texture stamp used to stamp the red heart, stamp the background (internal part) of the card base with more of the Love Letter Memento Ink multiple times to add some more interest to the background.

Step 16:

Arrange the card and glue it onto a 6” x 6” card base. Start out by gluing the sentiment onto the internal part of the cardpanel (over the die cut heart). Then glue the frame onto the card base and nestle the internal part of the card onto the card. Add sequins on the lower left and upper right parts of the card.

Art Supplies

Imagine

• Fireworks! Shimmery Craft Spray – Angel Pink
• GooseBumps Texture Spray – Shimmer
• Memento Dual Marker – Rhubarb Stalk
• Memento Dye Ink – Love Letter, Rhubarb Stalk
• Sheer Shimmer Craft Spray – Rose Gold
• Sponge daubers

Other

• AALL & Create – die set – Nature’s Doily
• Brutus Monroe – die set – Heart Petals
• Scrappy Tails – rhinestones – white rhinestones
• Stampers Anonymous – woodblock stamp – U3-2603 (typewriter stamp)
• Stencil in my stash
• Watercolor paper
• Scrap cardstock
• Vellum
• Die cutting machine
• Paint brush
• Scissors

Glue

CAS Valentine’s Day Card

By Helen Gullett

Hello crafty friends! Valentine’s Day is around the corner and today, I have a love themed CAS card idea to share with you all. It is a fun and quick card to make to spread love with others through handmade cards.

Let’s get crafting!

Skill: Intermediate
Time: 15-20 minutes

Direction:

Step 1
Cut out a piece of Canson watercolor paper into 4.5 inch x 6 inch that you want to use as your background panel. I use 9×12 Canson watercolor paper and trim it into 2 panels.

Dab randomly the Memento inks (Love Letter & Rose Bud) on the background stamp.

Spray lightly with the Ink Potion No. 9.

Step 2
Add the watercolor panel to the inked stamp and firmly press it down to the stamp. Try to center it to the stamp.

Carefully move around your finger all over the watercolor panel to get the ink transferred well.

Lift up the paper off the stamp and you will get the first watercolor print background. There are still some inks left on the stamp, pray again with the Ink Potion No.9 to get the second print out of it.

Step 3
Repeat step 2 but instead of moving your hand all over the paper, you can try to just partially press the paper to get partially watercolor background print just like on the right panel in the picture.

Step 4
This layered stamping technique is easier done with a position stamping tool if you have it. If you do not have it, clear acrylic stamping blocks work, too. Cut out a white cardstock into 4.25 inch x 5.5 inch.

Stamp the outline flower images with a Memento Tuxedo Black ink pad.

Stamp the solid background flower images with a Rose Bud ink pad, then stamp the shadow flower images with a Rhubarb Stalk ink pad.

Stamp the leaves images with a Bamboo Leaves ink pad.

Step 5
Stamp the sentiment with a Memento Tuxedo Black ink pad at the extra space of the cardstock panel.

Step 6
Cut out all the flower pieces with the matching dies. Optional, if you don’t have the matching dies to your stamp set, you can fussy cut it with scissors.

Cut out the sentiment with one of the Label framelits dies.

Step 7
Rip the top and bottom of the watercolor background panel to give some texture to the background panel.

Optional: You can use the whole watercolor background panel as your background.

Wrap around some of the Burlap twine around the background panel and tie up a bow.

Add it to the card base with some of the Tear It! Tape.

Step 8
Add some of the Tear It Tape! to both sides of the white fun foam and cut it into a 3D foam tape strip. Add some of them to the flowers and sentiment label.

Add each of the flowers and sentiment to the card.

Step 9
Add some of the white pearl gems with some of the On Point Glue to embellish the card.

Hope this CAS card project gives you an idea to make some Valentine’s Day. Thank you for stopping by our blog today. Have a fabulous day!

Craft Supplies

Imagine Crafts:

Others:

  • Layered Rose Stamp & Die Set (Dare 2B Artzy)
  • Label framelits die set (Dare 2B Artzy, retired)
  • Hearts Background Stamp (A Jillian Vance Design, retired)
  • Burlap Twines
  • Pearl gems
  • Neenah Solar White Cardstock 80 lb
  • Canson  Watercolor paper 140 lb
  • White fun foam
  • MISTI stamping tool
  • Micro-tip scissors
  • Tweezers
  • Paper trimmer
  • Die cutting Machine