I wanted to create some backgrounds just to get my creative juices flowing. I am so glad I did because I was able to use many of the different cardstock scraps and designer paper scraps to make some really cute backgrounds.
I used different stencils from my stash, some blending brushes, and a few Imagine Crafts inks and daubers to create backgrounds that I turned into Birthday cards.
It’s Ceal, here. Today I am sharing my first post as an Imagine Artist In Residence. I am so excited to be a part of the Imagine team. I love all things snow related and with the groundhog not seeing his shadow and predicting an early spring, I had to make a couple more winter cards.
Here are the supplies I used:
Skill: Intermediate to Advanced. Time: 45 mins
Directions:
Step 1 Stamp the snowflake with VersaMark ink onto a piece of white cardstock cut to 4.25″ x 5.5″ . Emboss the snowflake with MBoss Sparkle embossing powder.
Step 2 Using a Sponge Dauber, Ink blend over it with Brilliance Pearlescent Purple Ink
Step 3 With a die cutting machine, run the snowflake cover plate through.
Step 4 Cut a piece of amethyst cardstock to 4.25” x 5.5” to back the snowflake cover plate.
Step 5 To make the snowflake more dimensional place foam adhesive dots in between the two snowflakes Tip: Apply a little On Point glue to each foam dot to allow you to move it as needed.
Step 6 Stamp and die cut the sentiment and add it to the card front.
Step 7 Using On Point Glue, layer and glue all the pieces together.
I made a second card using Mboss Hologram and silver foil paper with the same design.
Other Supplies: Misti 2.0 Neenah 110lb Solar White cardbase Neenah 80lb Solar White Lessebo Amethyst Cardstock Silver Foil Cardstock Pinkfresh Studio: Folk Snowflake Pinkfresh Studio: Folk Snowflake Coordinating Cuts Pinkfresh Studio: Snowflakes Coverplate die
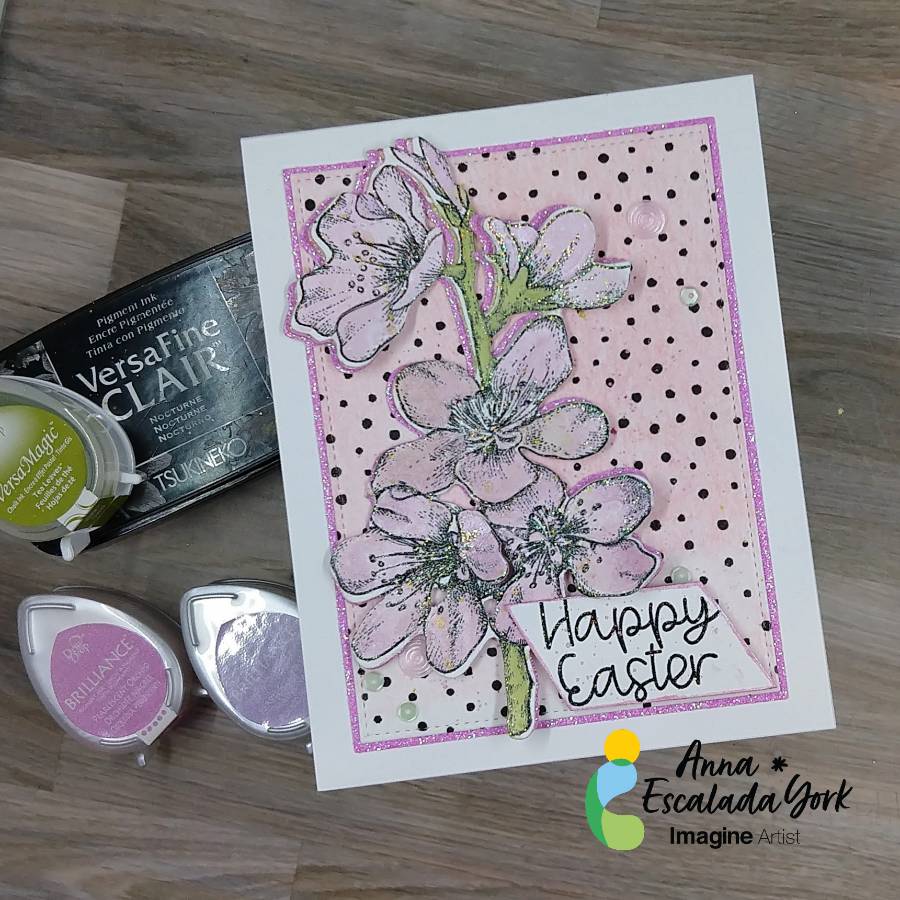
– In today’s tutorial, I will show you how to use Brilliance Pigment Ink and VersaMagic Chalk Ink to watercolor an image. This is a wonderful way to stretch your supplies and possibly try a new technique. In addition, I will share some mistakes I made along the way while making this card.
Skill: Intermediate Time: 1.5 hours
Directions:
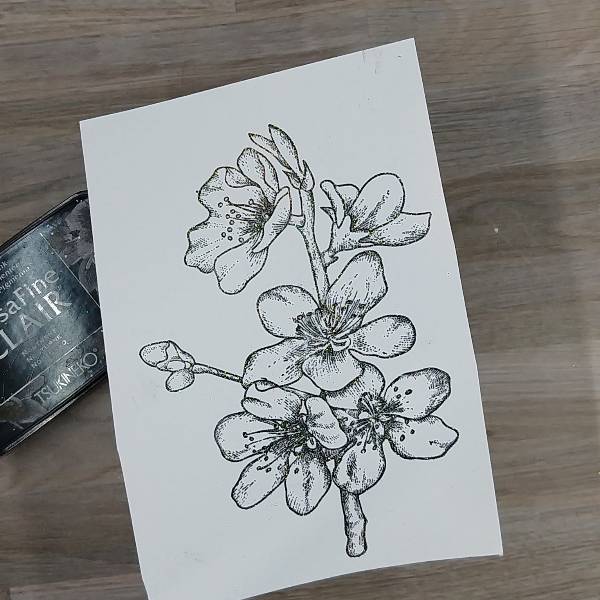
Step 1: Using a stamping platform, stamp the floral image with Nocturne VersaFine Clair ink. Optional step: Heat emboss with a clear or holographic embossing powder. I did this because I didn’t want to wait for the VersaFine Clair ink to dry.
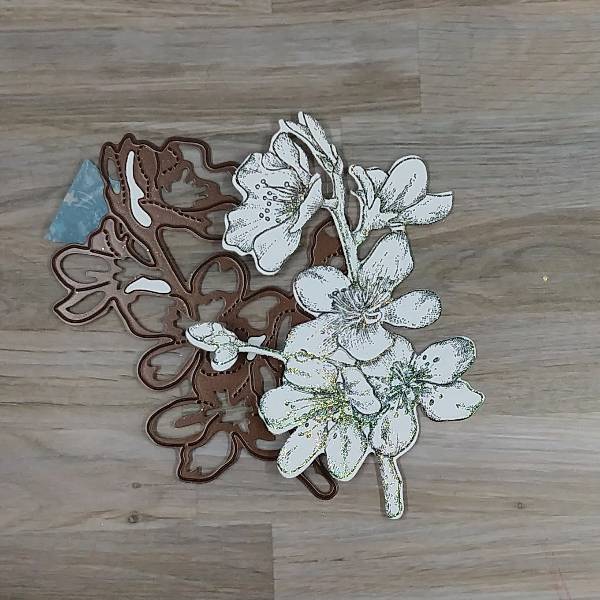
Step 2: Die cut the floral image with the corresponding die. I was “off” in the die cutting and so some of the stamped image was cut off. You can mostly see this on the singular bud on the left side of the image. Not shown: Using the same die to die cut a piece of pink glitter cardstock.
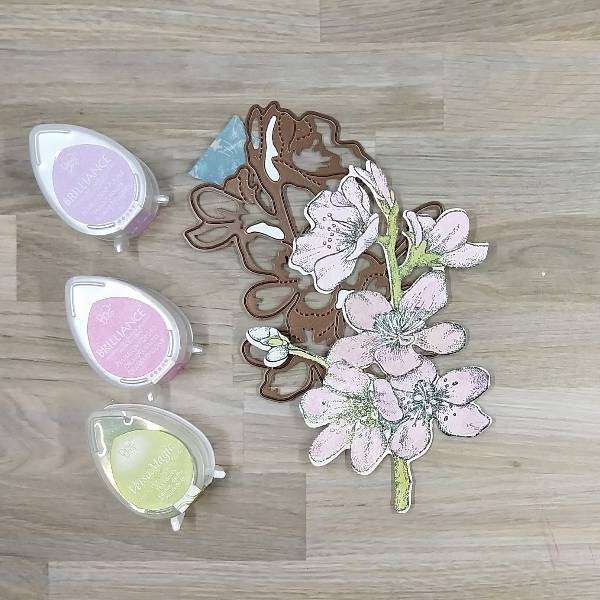
Step 3: Press the Pearlescent Orchid Brilliance Dew Drop pad onto a piece of acetate packaging and spray with Sparkle Sheer Shimmer Spray. On another part of the same acetate packaging (or possibly a palette or other non-porous surface, press the Pearlescent Purple Brilliance Dew Drop pad onto the surface and spray with more of the Sparkle Sheer Shimmer Spray. You should have two areas of color that you can mix with the spray to use as a watercolor.
Paint each flower or bud with a single layer of Pearlescent Orchid Brilliance Ink mixed with the Sparkle Sheer Shimmer Spray. Let the watercolor dry. Add some Pearlescent Purple Brilliance Ink mixed with the Sparkle Sheer Shimmer Spray to the edges of the petals to add some dimension and interest.
Repeated the process for the stems. Press the Tea Leaves VersaMagic Chalk Ink pad onto a piece of acetate and Spray the ink with more of the Sparkle Sheer Shimmer Spray. Use a paintbrush to paint the stem green. Let dry. If desired, repeat the process to amplify the intensity of the green watercolor. Let dry.
Not pictured: Gluing the pink glitter cardstock die cut behind the flower so that it can be seen on the left side of the floral image.
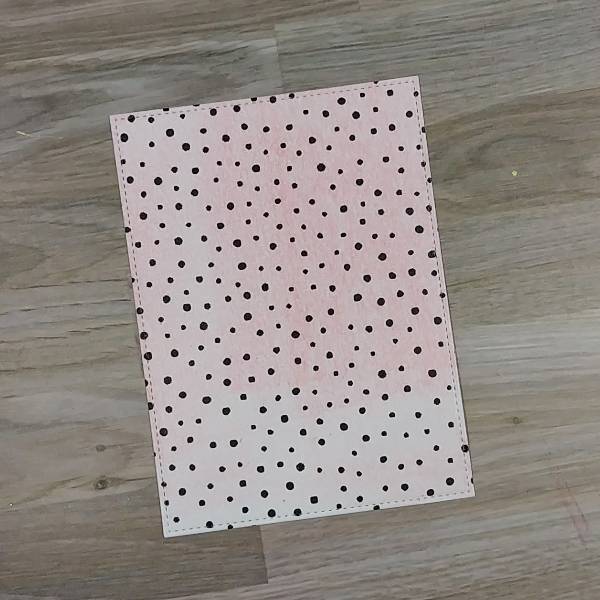
Step 4: Place a piece of wide washi tape over a piece of cardstock for the background panel before die cutting that cardstock. (I used a leftover piece of cardstock that had some leftover pink gel press printing on it so that you can see a little of the pink through the washi tape). Don’t have washi tape? Use a piece of patterned paper.
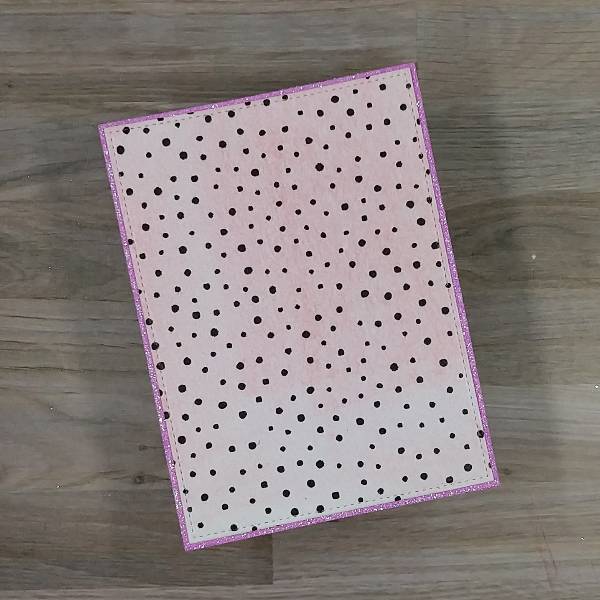
Step 5: The die cut set that was used to make the panel allows for two layers if desired. To make the matte layer, use a slightly larger die to die cut a piece of pink glitter cardstock and then glue the two panels together. Set them aside to dry.
Step 6: Press more of the Pearlescent Orchid Brilliance Ink Dew Drop onto the acetate packaging and spray more of the Sparkle Sheer Shimmer Spray onto the ink to create more watercolor and splatter both the floral image and the background with the orchid colored watercolor. To splatter, extend your finger parallel to the paper and tap a brush that has the Orchid watercolor on it multiple times. To create a more uniform splatter, move the paint brush or the paper around so that the splatter is added to a variety of places.
Spray more of the Sparkle Sheer Shimmer Spray (or water) into the gold watercolor pan and then tap the paintbrush across the floral image and panel a second time. Let dry.
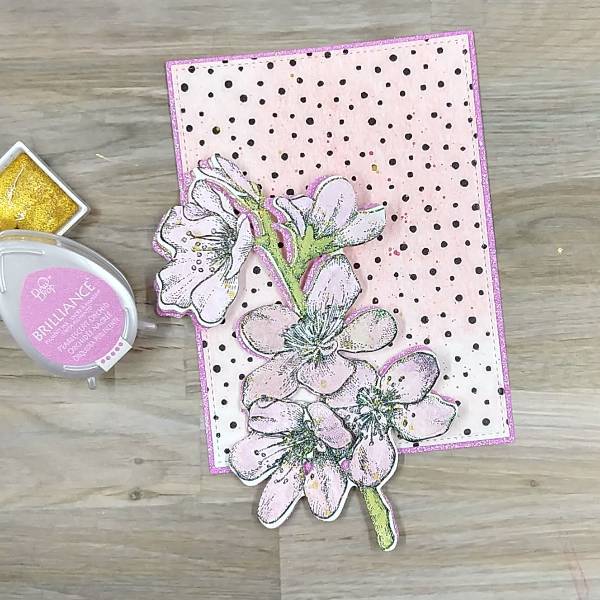
As you can see in the picture, between step 3 and now, the singular bud on the left was trimmed from both the stamped layer and the pink glitter cardstock so the die cutting mistake was eliminated.
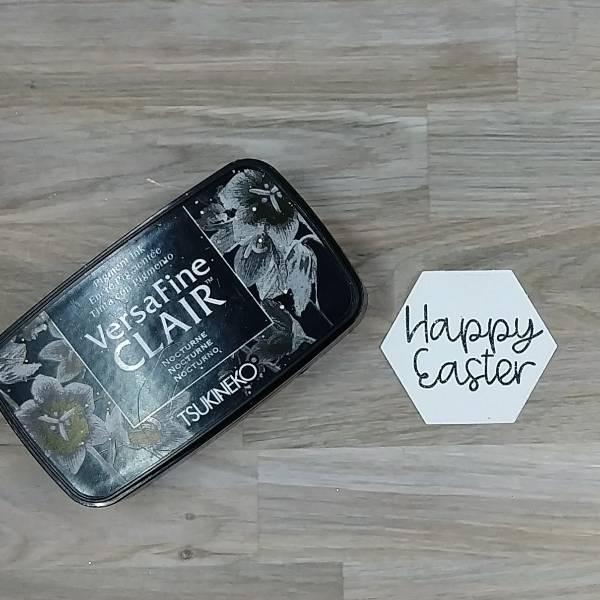
Step 7: Stamp the sentiment with Nocturne VersaFine Clair ink. Optional step: Heat emboss the ink with holographic embossing powder to eliminate drying time. (I originally was going to use this die cut sentiment, but later realized that it wouldn’t fit. I also forgot to take pictures of the sentiment I trimmed with my paper cutter and ended up adding to the card. So please use your imagination.)
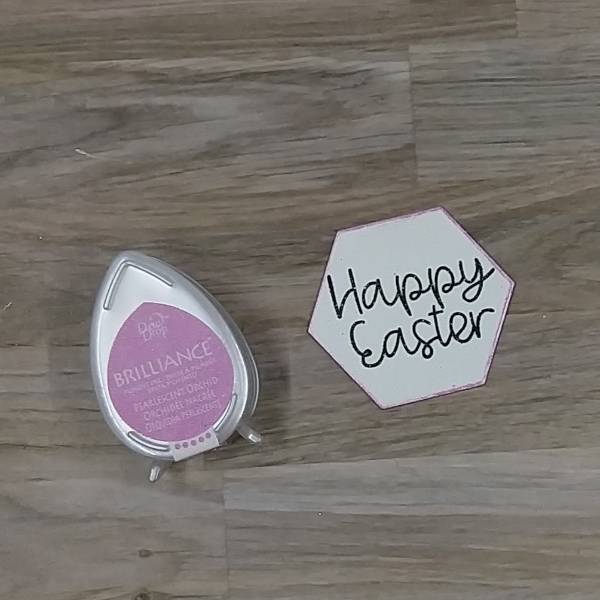
Step 8: On the sentiment that you see on the finished card, I trimmed the sentiment with my paper trimmer. The one picture above was die cut with a hexagon die. Regardless of how you end up shaping your sentiment (using a trimmer or a die), press the edges of the sentiment into the Pearlescent Orchid Brilliance Dew Drop pad to add color to the edges. Set aside to dry.
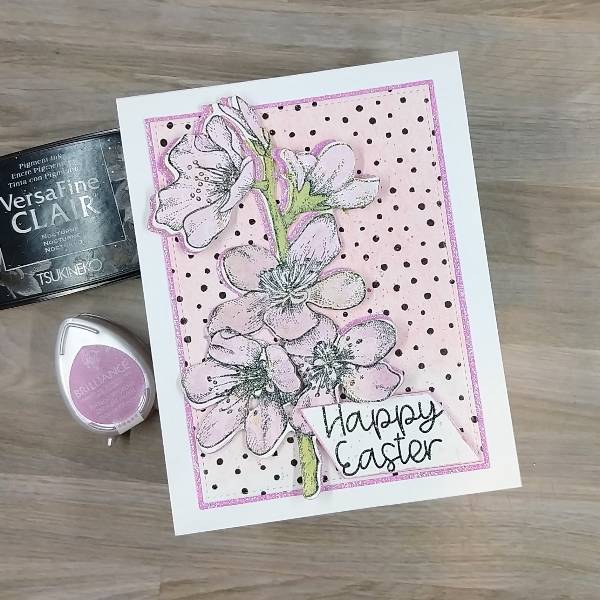
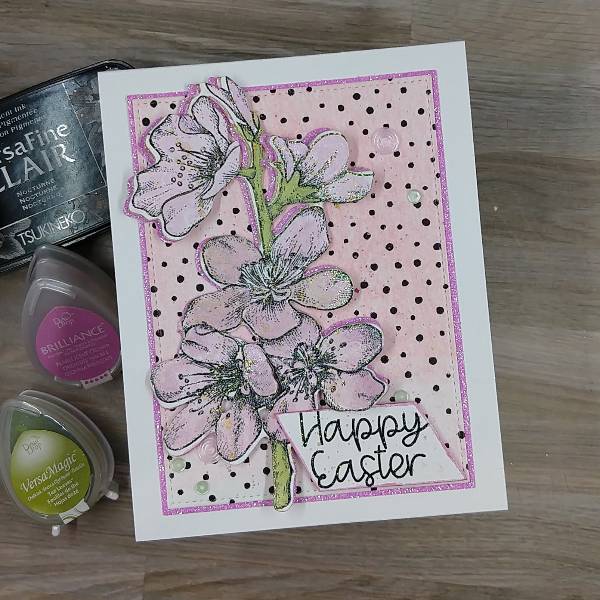
Steps 9 and 10: Time to glue! Glue the flower on the left third of the background panel. Then glue the panel onto an A2-sized white card base.
For step 10, attach foam tape behind the sentiment except on the upper left corner (since that will be overlapping with the floral image. Attach the sentiment to the lower right corner of the panel.
Step 11: Add pink and green sequins onto the card–on the lower left corner, close to the sentiment, and on the upper right corner of the card panel.
– Have you ever tried coloring on colored cardstock? The white washing technique is great for creating a blank canvas for your coloring, making the colors pop against navy, kraft, or even black cardstock.
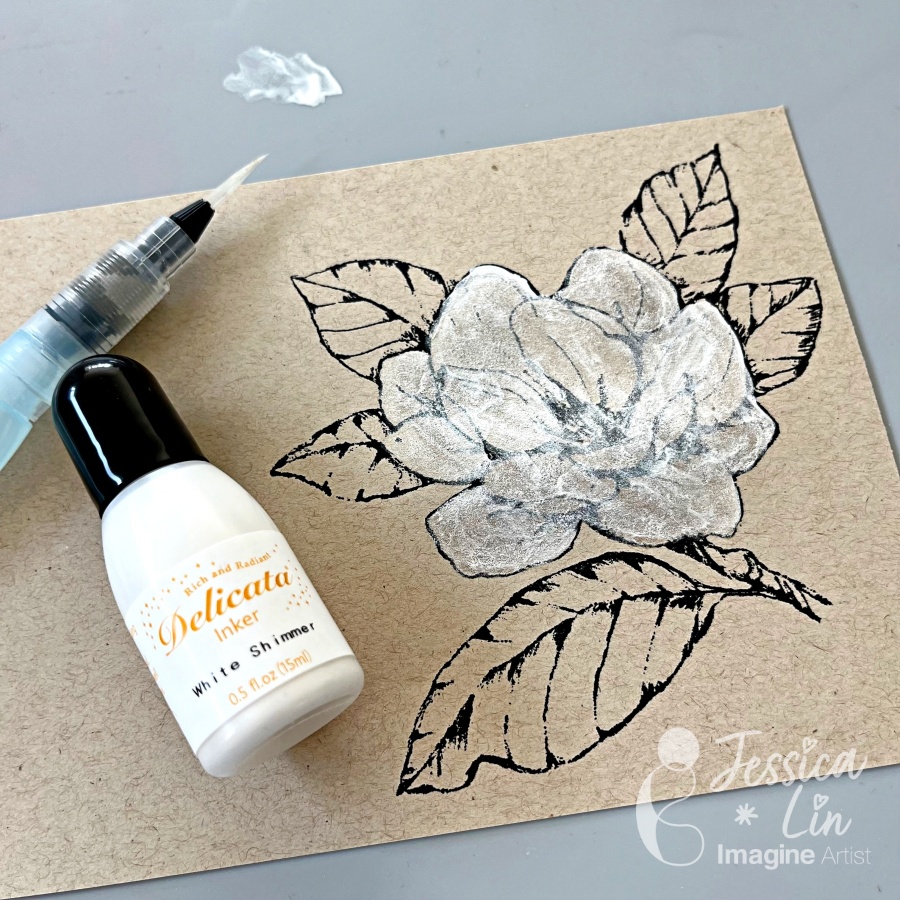
There are many white reinkers to choose from for this technique. I picked Delicata White Shimmer reinker and was surprised with how luscious the pearl shimmer looks!
Skill Level: Intermediate Time: 45 minutes
Directions:
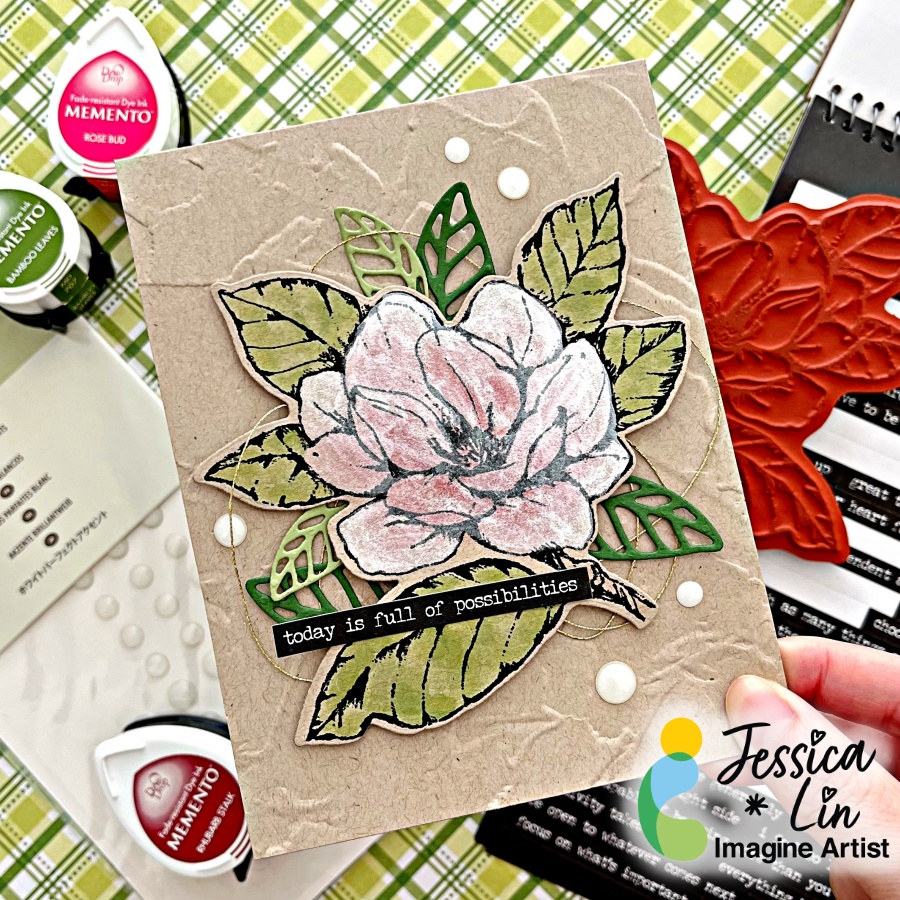
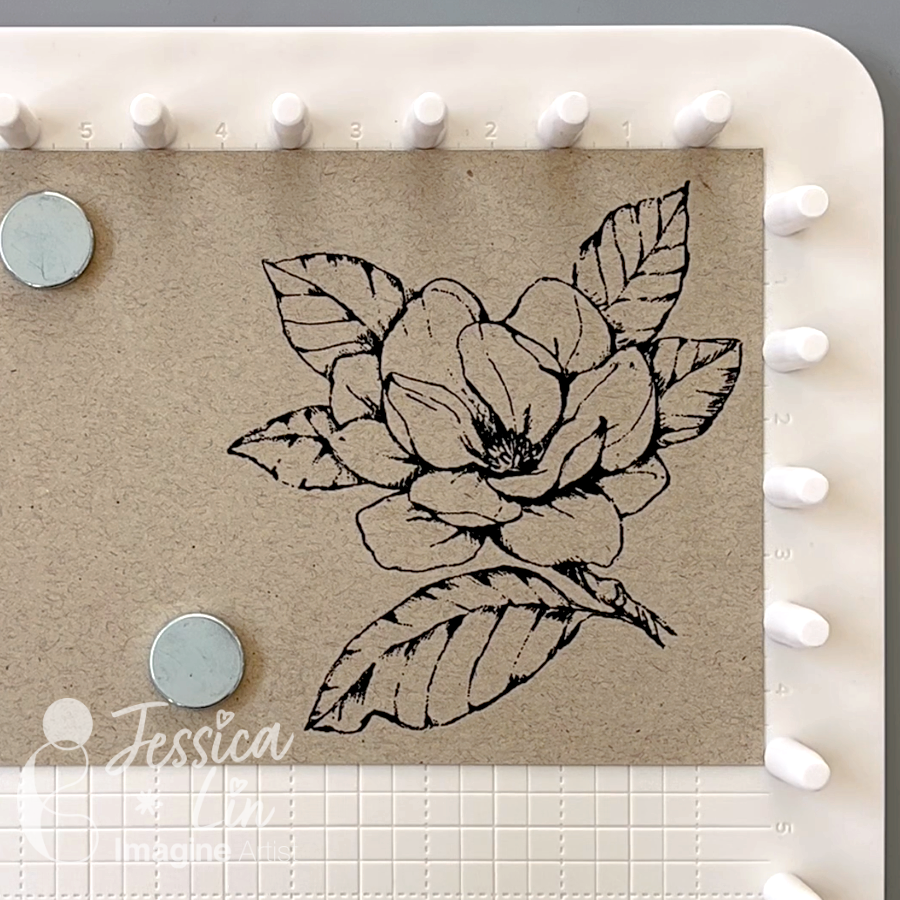
Step 1: The white wash technique works well with large stamps containing big, open areas. I chose this floral image from Stampin’ Up!’s Good Morning Magnolia set and stamped it with VersaFine Clair Nocturne ink. You may use any waterproof black ink pad in your stash, but the VersaFine Clair Nocturne has been my go-to. Look at how crisp the lines are!
Step 2: Using a waterbrush, color the center flower with Delicata White Shimmer ink from the reinker. I used the Craft Mat as my watercolor palette. Repeat this step a few times until you achieve a good coverage. Don’t worry if the black lines are covered by the white pigment ink; we will restamp the image at the end.
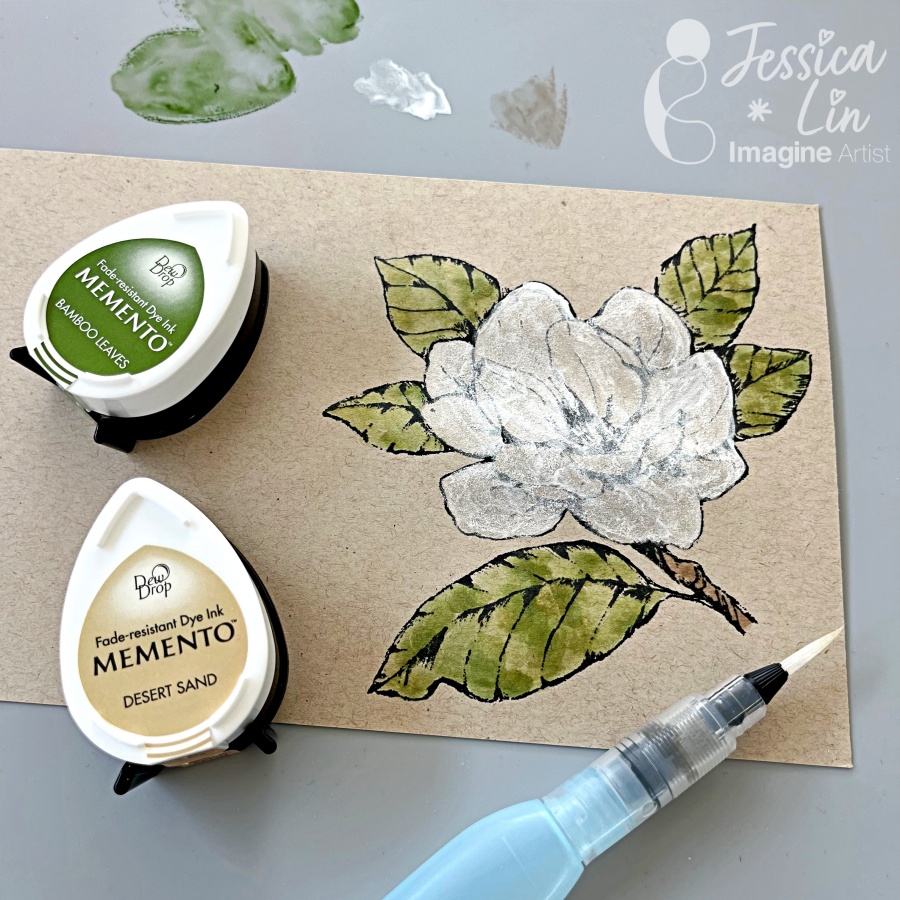
Step 3: Color the leaves with Memento ink pads in Bamboo Leaves and the branch with Desert Sand.
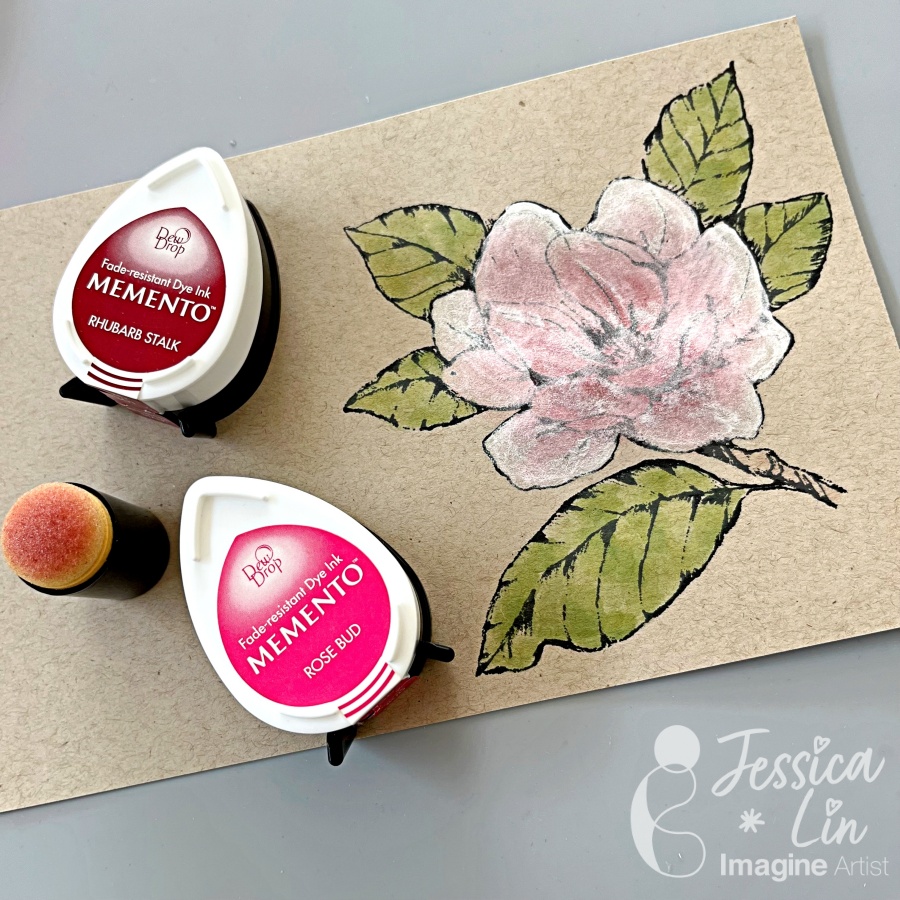
Step 4: Use a sponge dauber to quickly apply color to the flower image. I dabbed on Memento Rose Bud and used Memento Rhubarb Stalk scarcely to create some shadows.
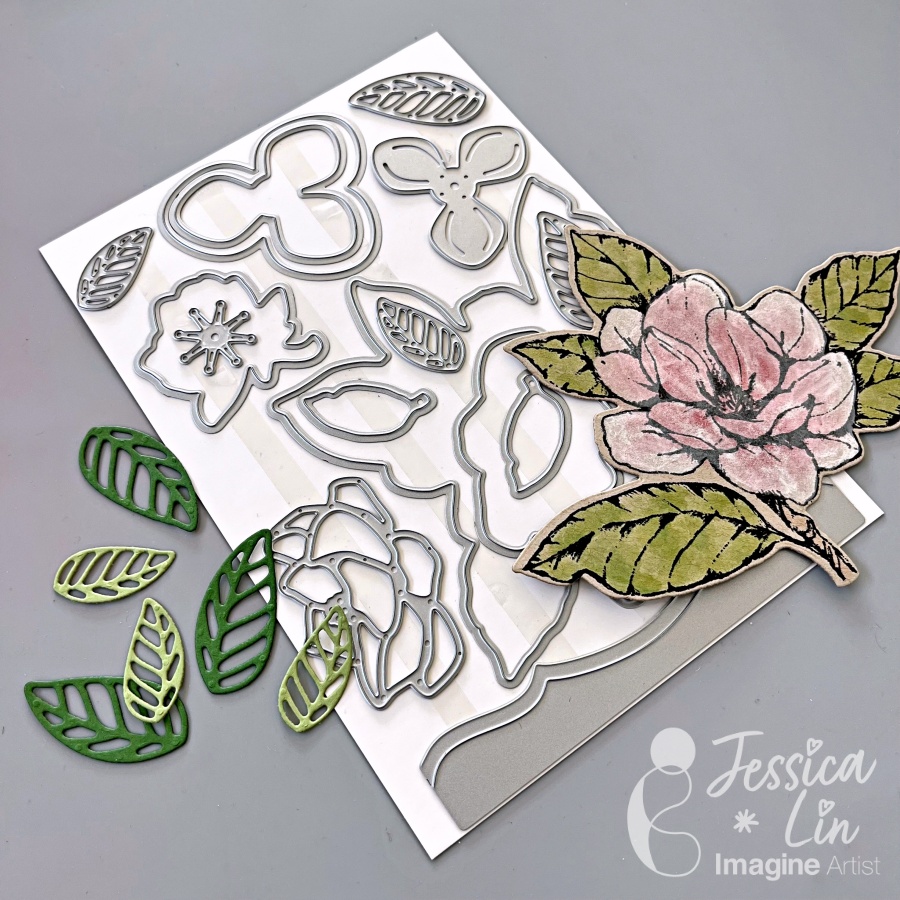
Step 5: Restamp the floral image with VersaFine Clair Nocturne ink once again to darken the outline. Die cut the floral image and some leaves using the Magnolia Memories dies from Stampin’ Up!.
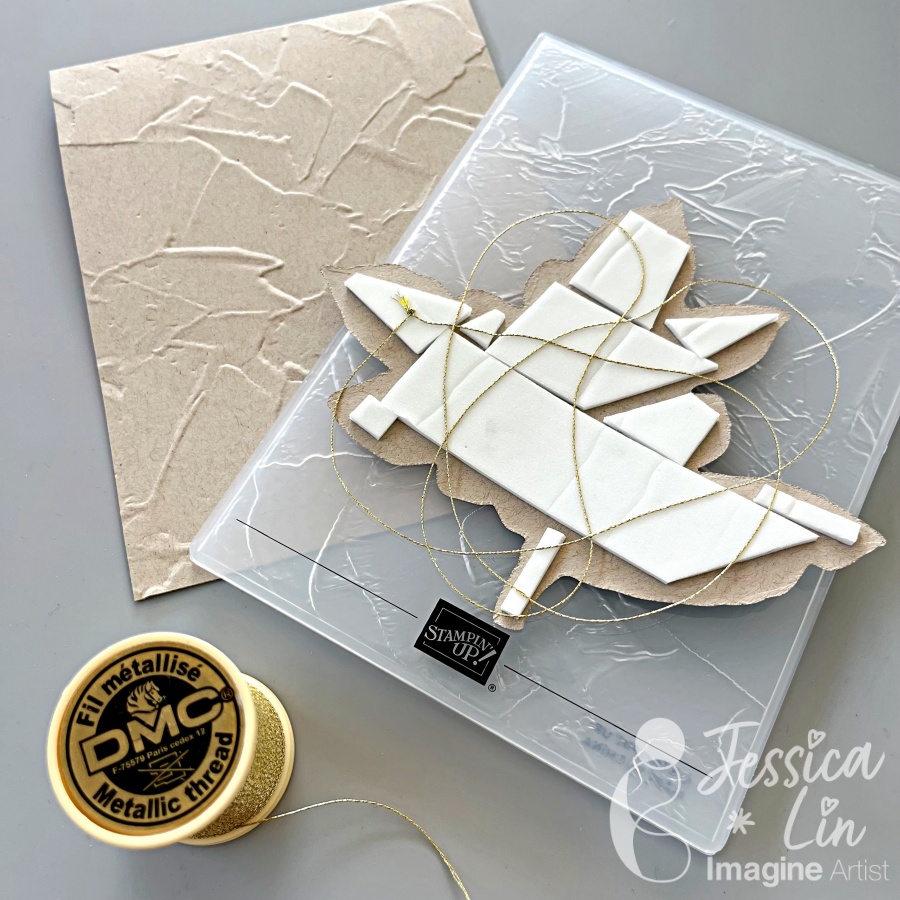
Step 6: Emboss the front of your A2 card with Painted Textures embossing folder to create a textured background. Mount the floral piece with foam tape to add even more dimension. I also decided to add some gold thread as a finishing touch.
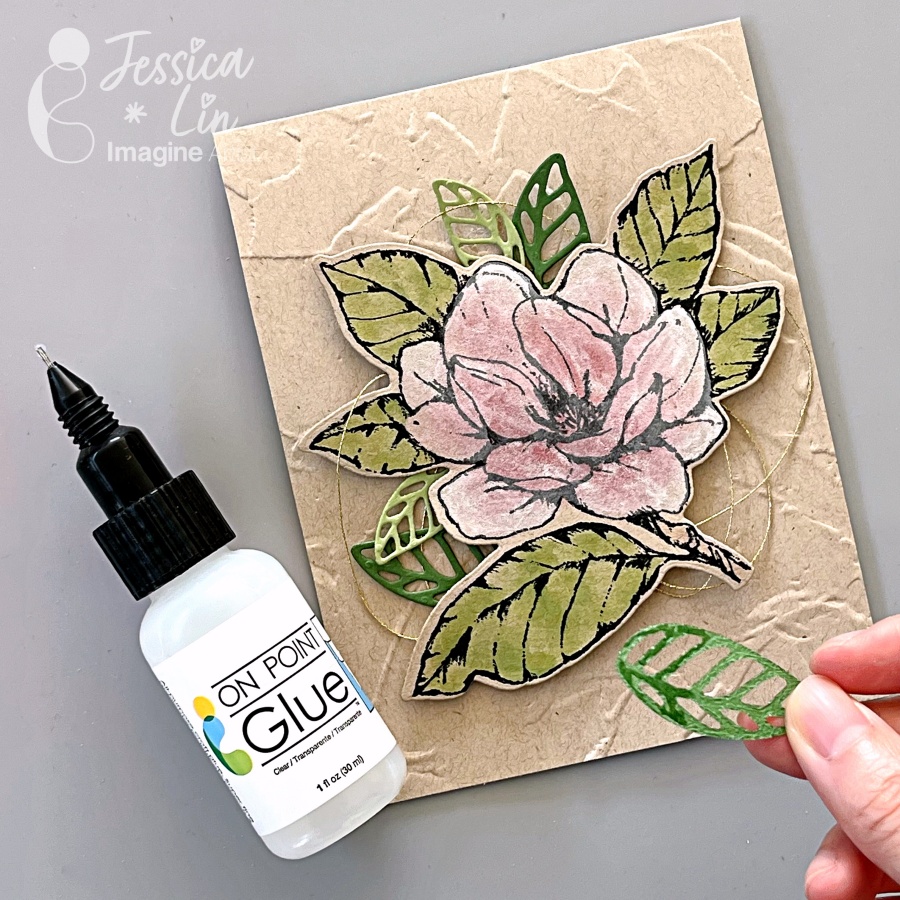
Step 7: Apply On-Point Glue partially on the bottom of the leaves die cuts, and tuck them behind the center floral image. Press down and hold for 30 seconds to create a tight bond.
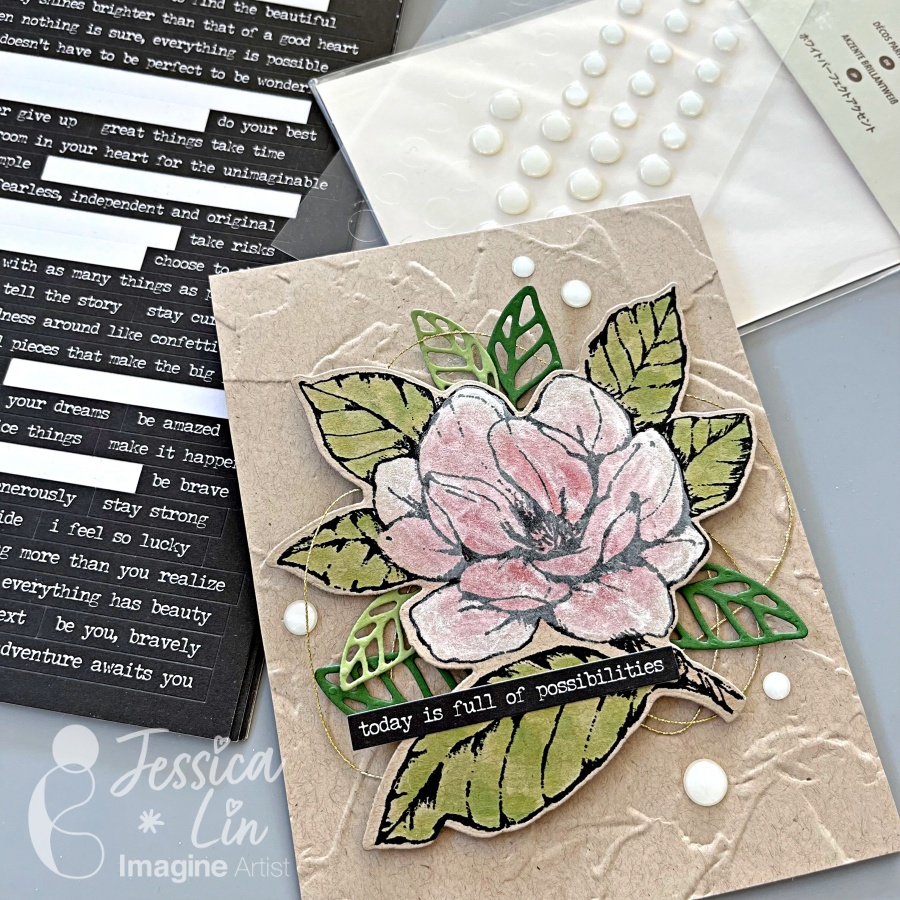
Step 8: Embellish the card with some white enamel dots and sentiment strip stickers and that’s the finished card!
I hope you enjoy this creation and give the whitewashing technique a try. It’s so simple to paint with the Delicata White Shimmer reinker, and I just love the pearly shine.
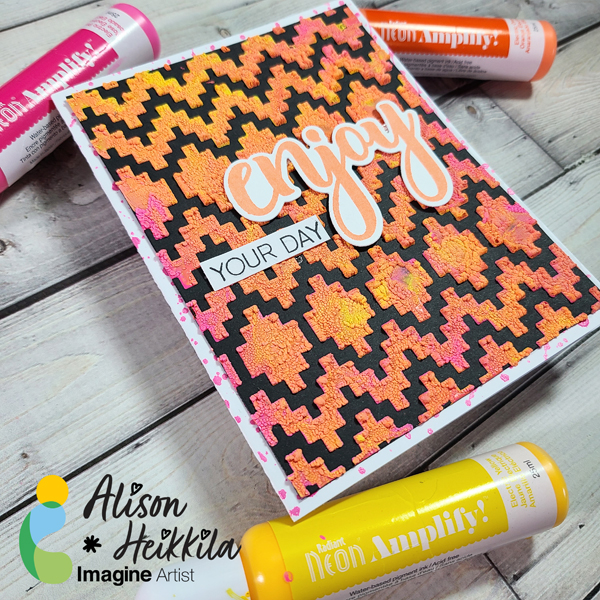
– Hello! Alison Heikkila here. I am so excited to share today’s video today because we’re using a product I haven’t used in quite a while. If you have never seen Amplify! before, you’re in for a textural treat. We’re going to use it with a cool stencil from A Colorful Life Designs.
*Some affiliate links are used in this post. That means that if you shop through these links, I may receive a small compensation, at no cost to you. For more information, please see my Affiliates page, where I also have some coupon codes.
Skill Level: Intermediate Time to Complete: 20-25 minutes
I think you can tell from the video that I had a blast making this card. I plan on making more like this soon, so I hope you’ll check them out. Thanks so much for stopping by. Have an inspiring day!
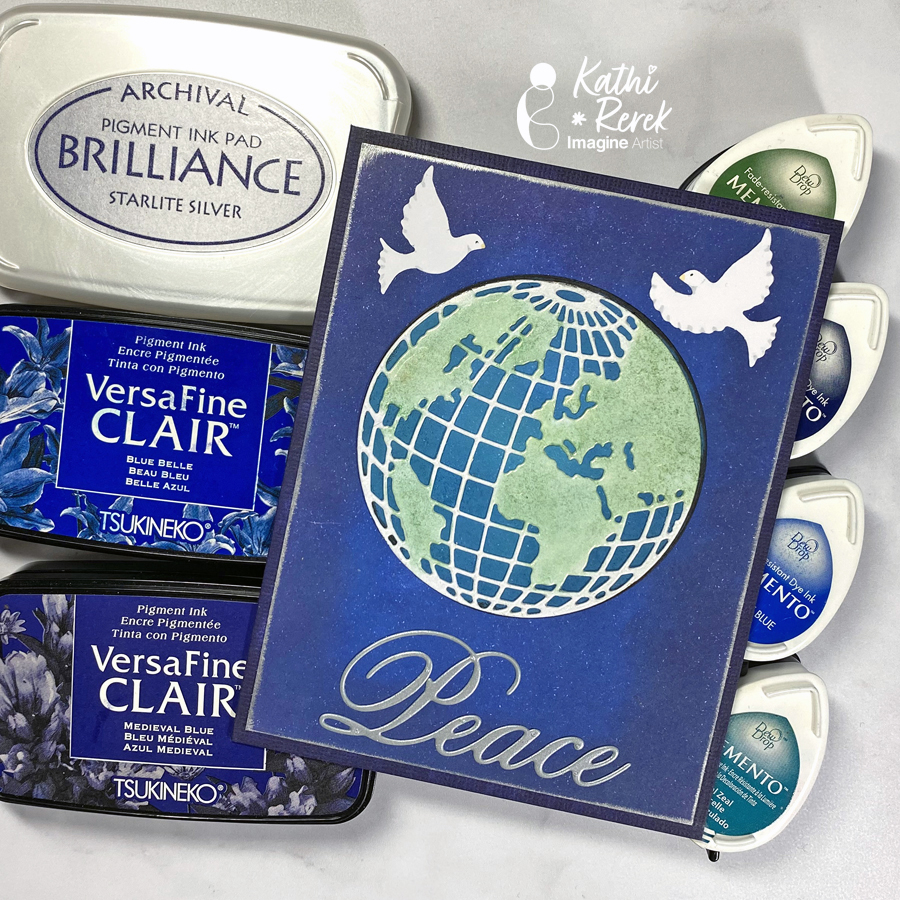
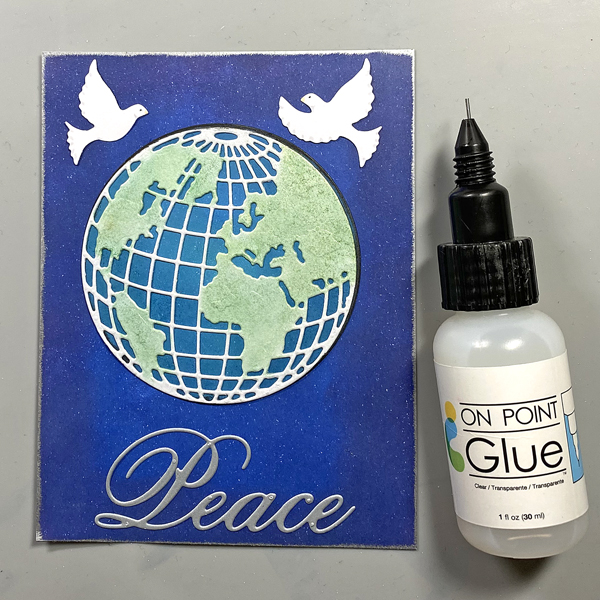
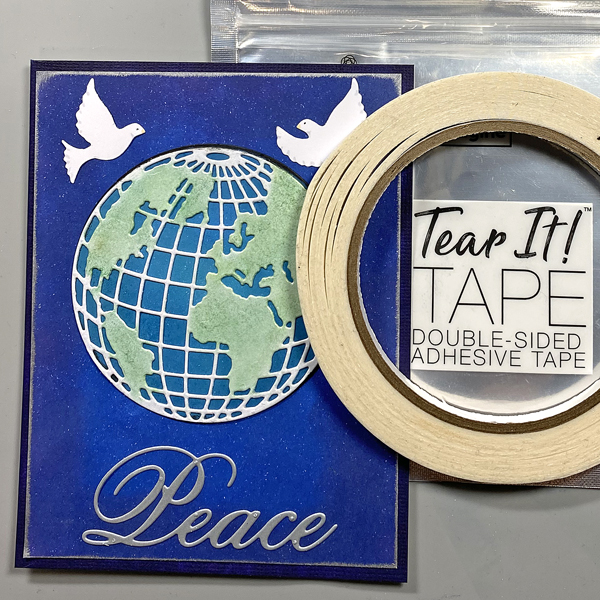
Here’s a dramatic, yet quick and easy Season’s Greeting’s Card
Skill Level: Beginner to Intermediate Time: 1 hour
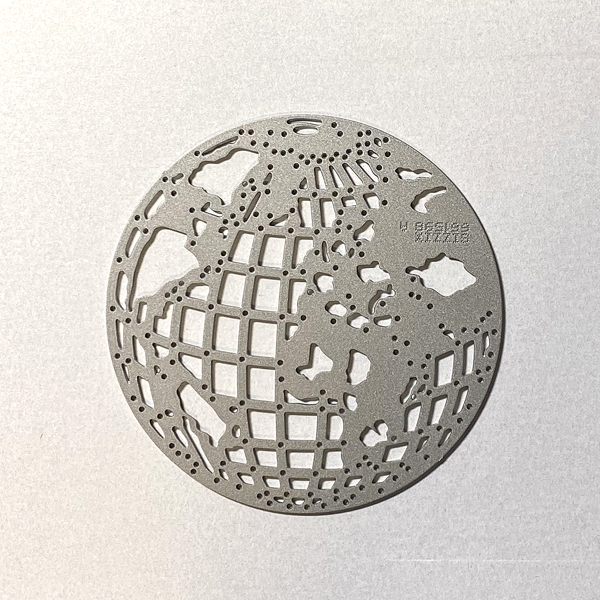
Step 1. Use the Mini Globe Thinlits cutting die to cut white metallic cardstock.
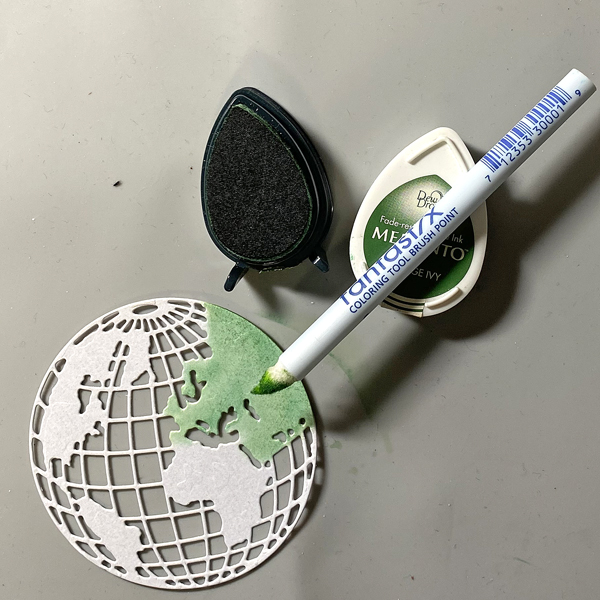
Step 2: Use a Fantastix to apply Cottage Ivy Memento ink to the land areas of the globe.
Step 3: Use a circle die to cut white cardstock.
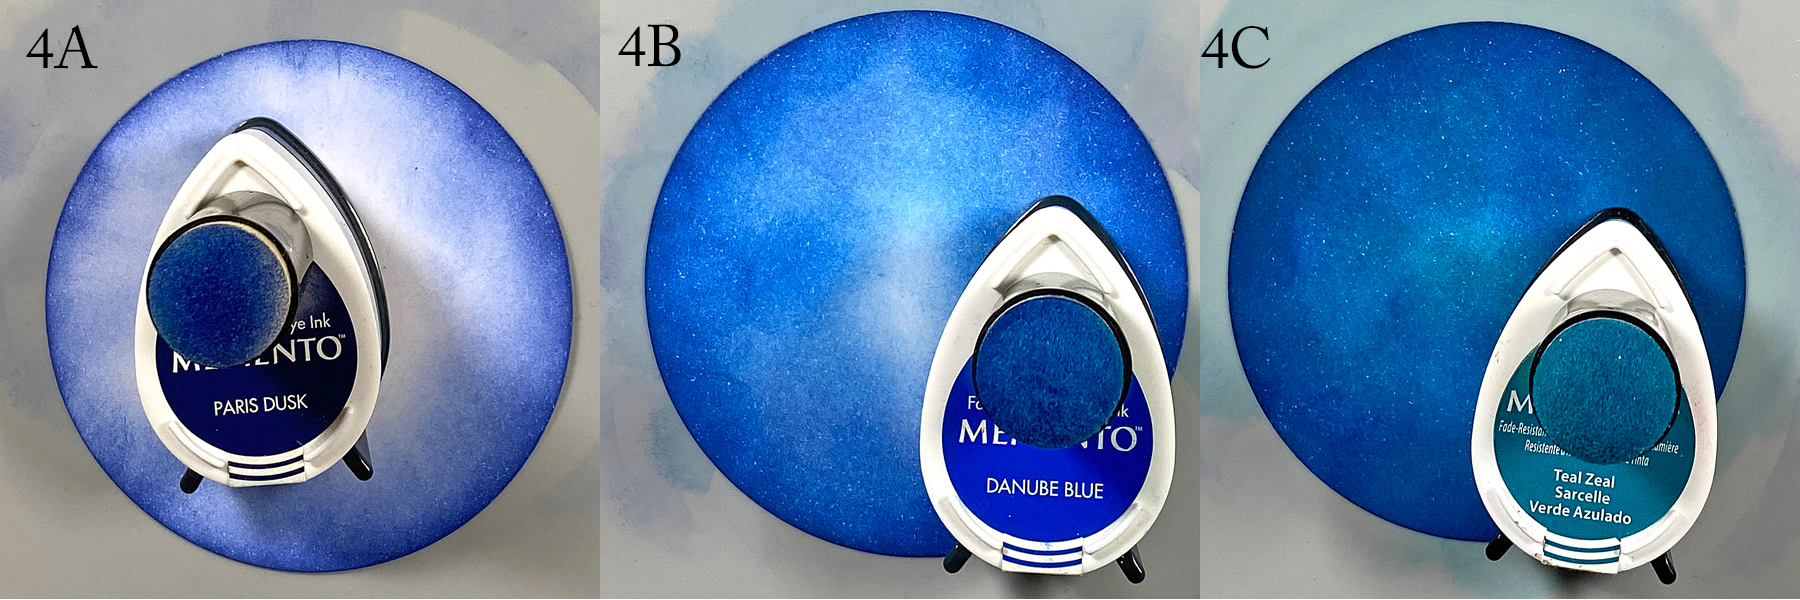
Step 4: Use a sponge dauber to apply Paris Dusk Memento Ink around the outside of the white circle die-cut. Use another sponge dauber to apply Danube Blue Memento Ink from the outside of the circle die-cut blending inwards. Use a third sponge dauber to apply Teal Zeal to the center of the die-cut, taking care to blend the inks together.
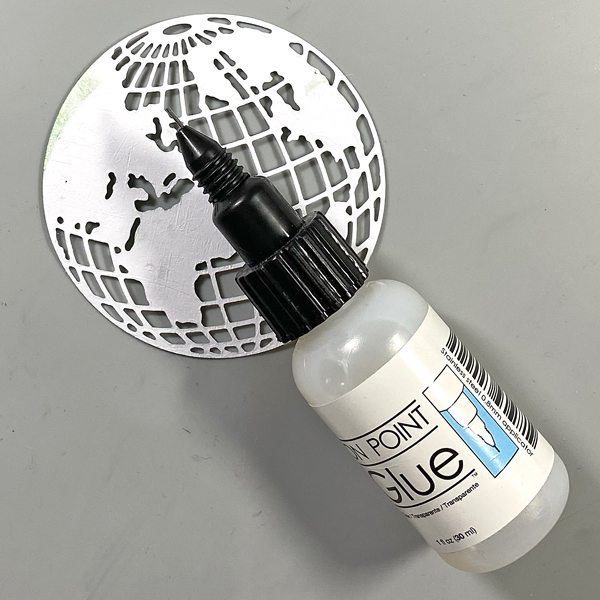
Step 5: Apply On Point Glue to the reverse of the glove, spread the glue with your finger, then adhere the globe to the inked circle. Set aside.
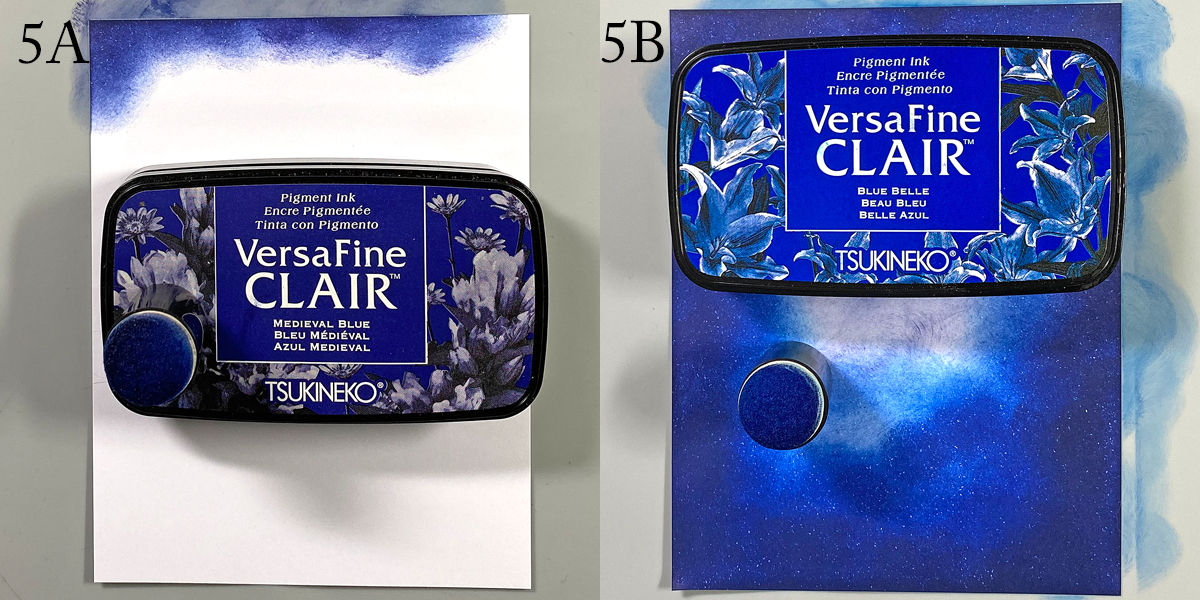
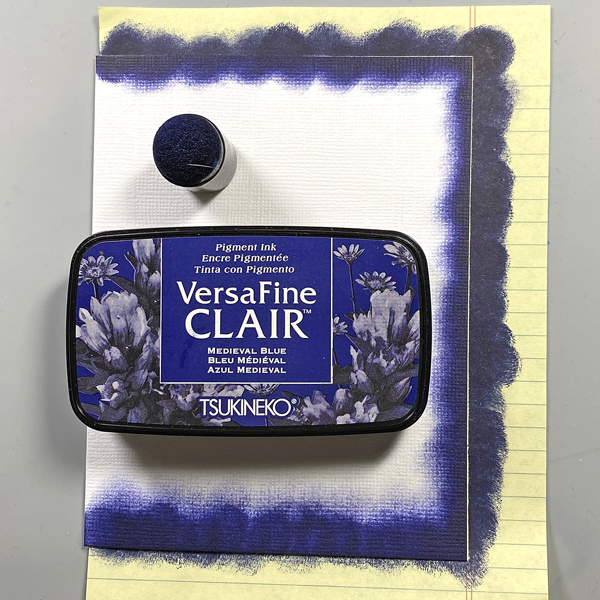
Step 6: Use a sponge dauber to apply Medieval Blue VersaFine Clair ink around the edges of a piece of 4” x 5.25” cardstock to create the image panel. Use a sponge dauber to apply Blue Belle VersaFine Clair ink from the center of the inked cardstock to the outside, taking care to blend the inks together. Heat set.
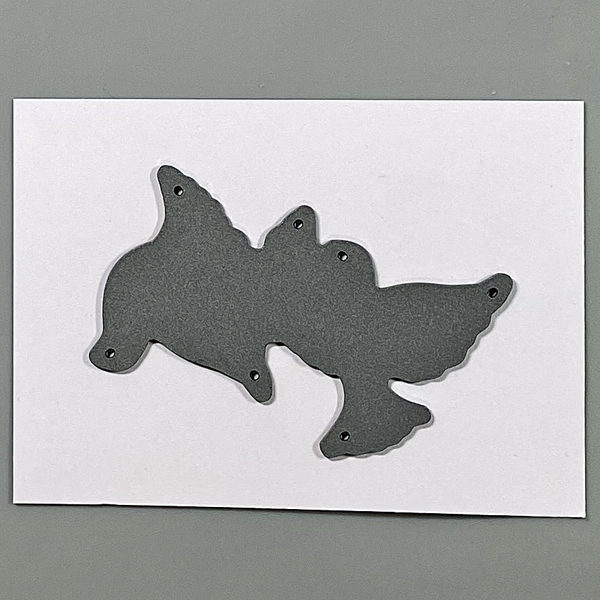
Step 7: Use the doves die to cut white cardstock. Use Copic markers to add details to the doves.
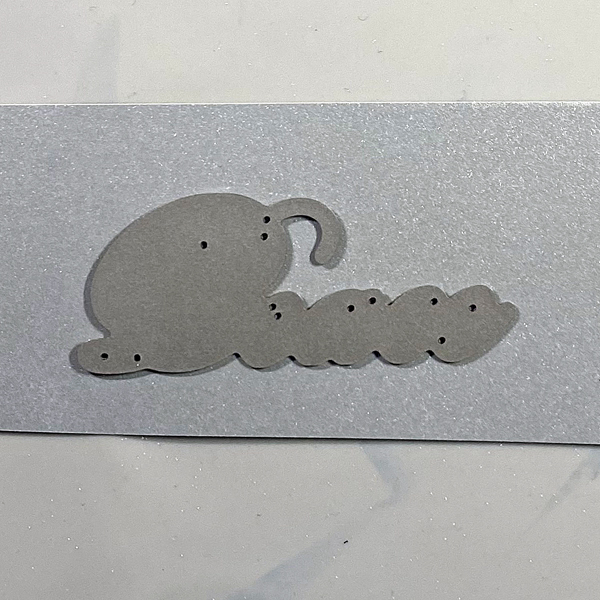
Step 8: Use the peace die to cut silver metallic cardstock and adhere to the base of the image panel.
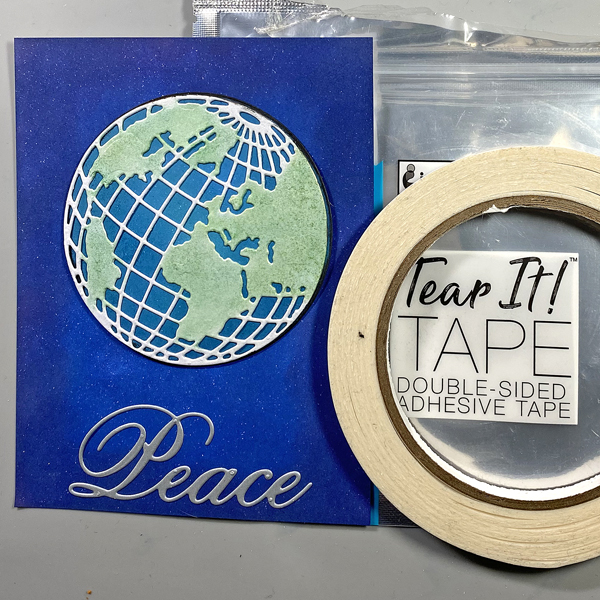
Step 9: Use Tear It! Tape to adhere the globe/circle combination to the card as shown.
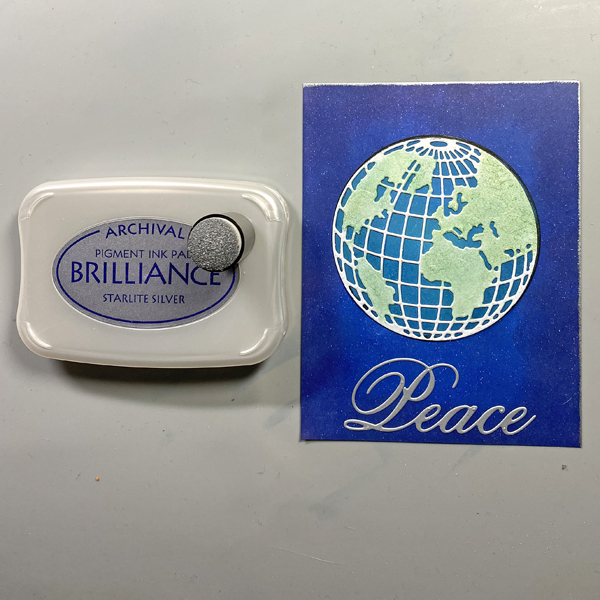
Step 10: Edge the image panel with Starlite Silver Brilliance ink and a sponge dauber. Heat set.
Step 11: Use On Point Glue to adhere the doves to the image panel.
Step 12: Use a sponge dauber to apply Medieval blue to the perimeter of a 4.25” x 5.5” white card. Heat set.
Step 13: Use Tear It! Tape to adhere the image panel to the inked white card.