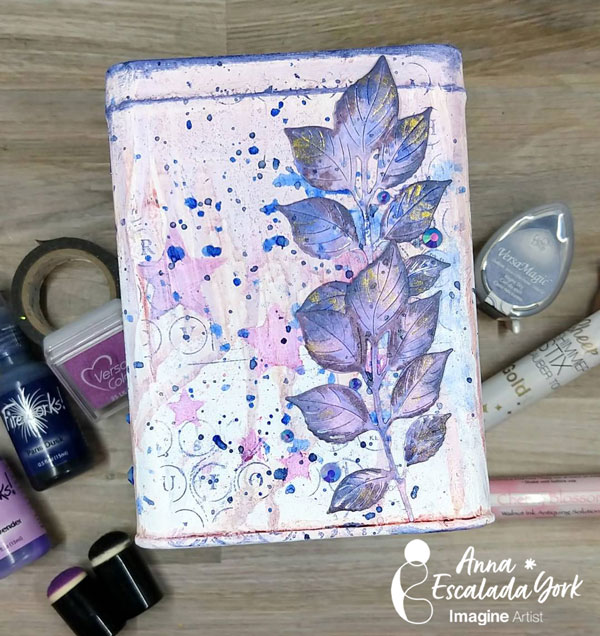
By Anna Escalada York
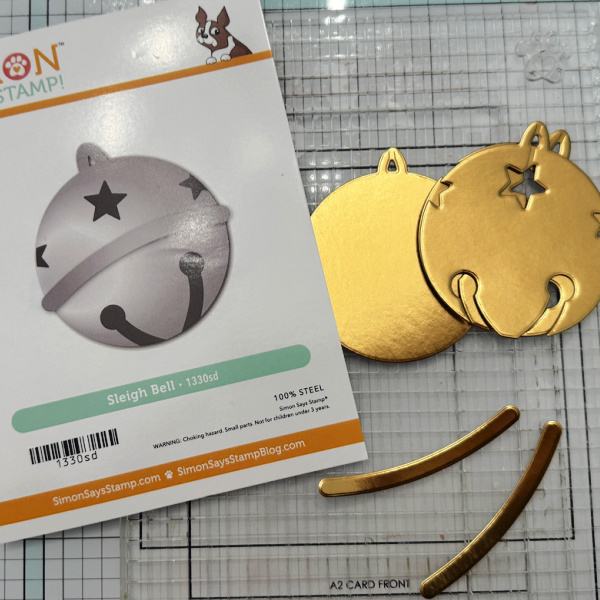
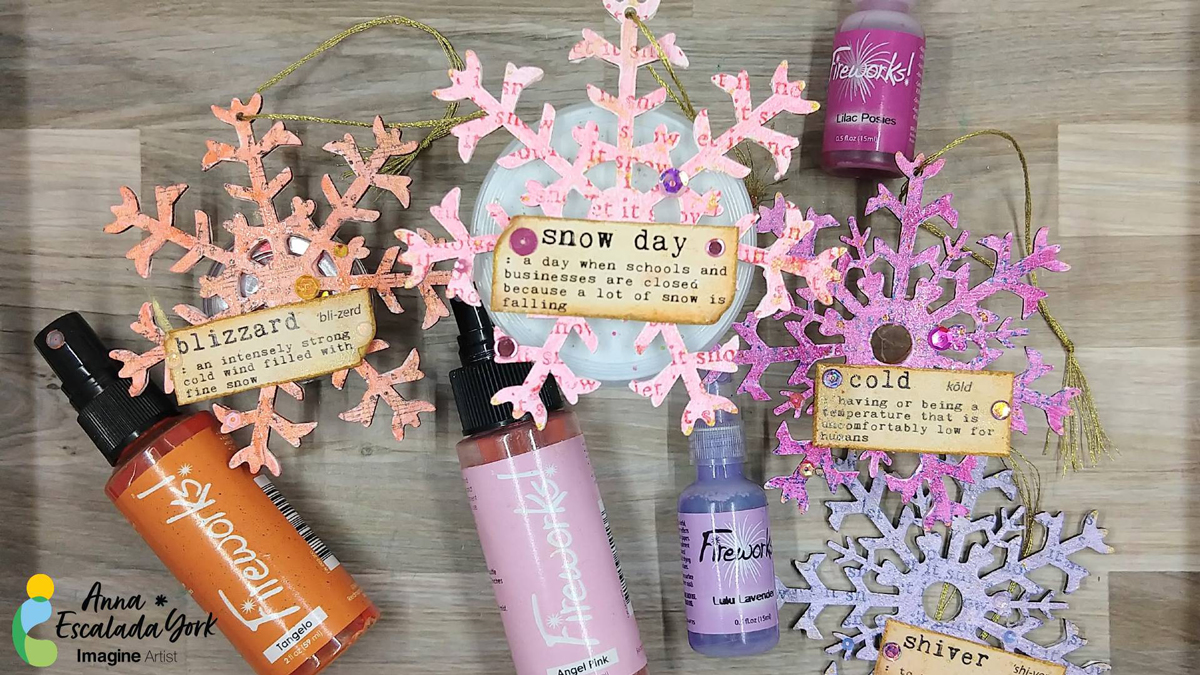
When I saw these fun chipboard snowflake ornaments in my local craft store, I knew I wanted use some Fireworks! spray to make them shine.
Skill: Intermediate
Time: 2 hours (active time) + dry time
Directions:

Step 1:
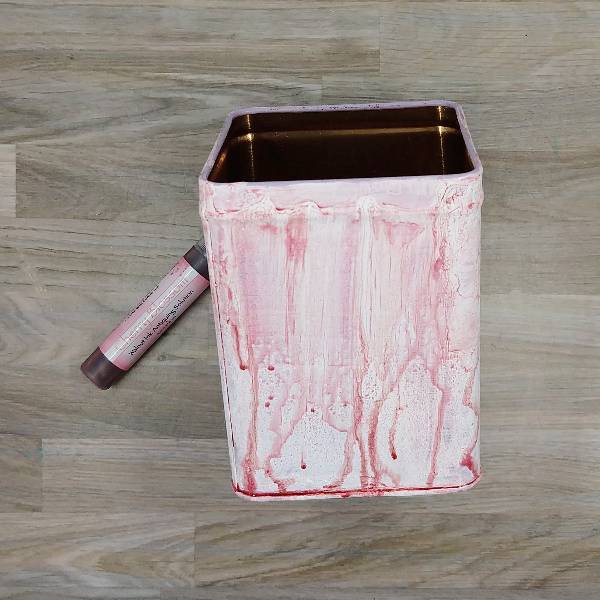
Cover the chipboard ornaments with a layer of Gesso. Allow to dry.
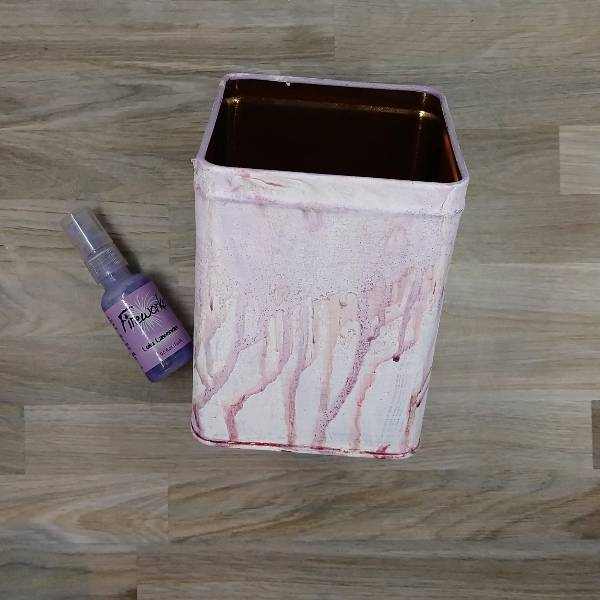
Step 2:
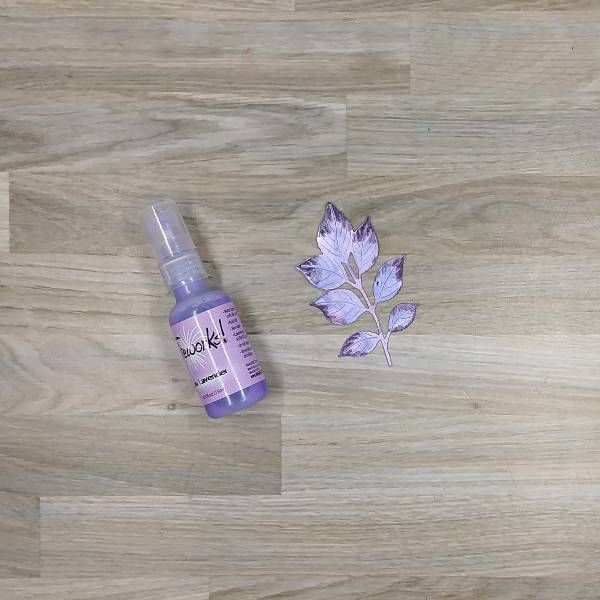
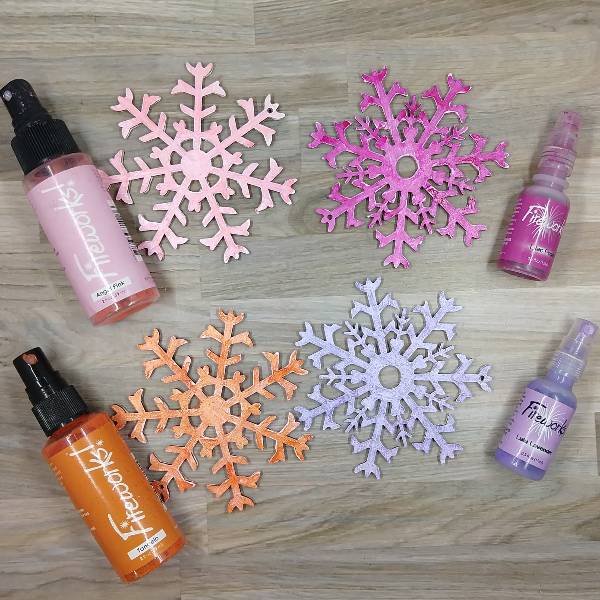
Spray each of the ornaments with a different color of Fireworks! Craft Spray: Angel Pink, Lilac Posies, Lulu Lavender, and Tangelo. Allow the spray to dry, and then spray a second time to enhance the color. (I chose to dry the spray to speed up the process but you could allow it to air dry.)
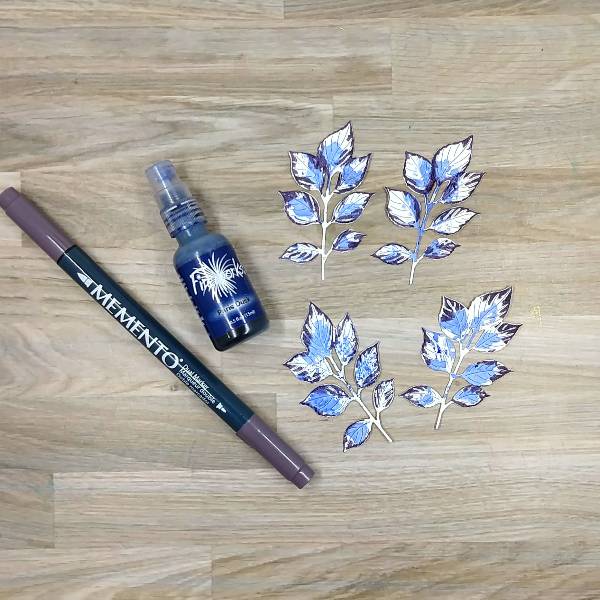
Step 3:
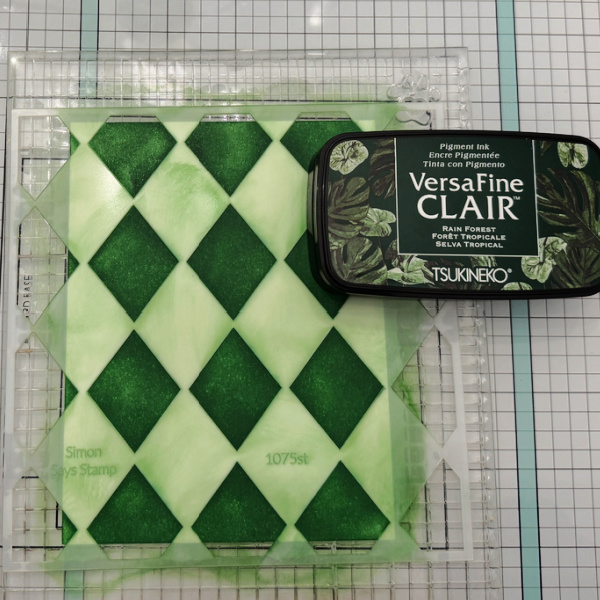
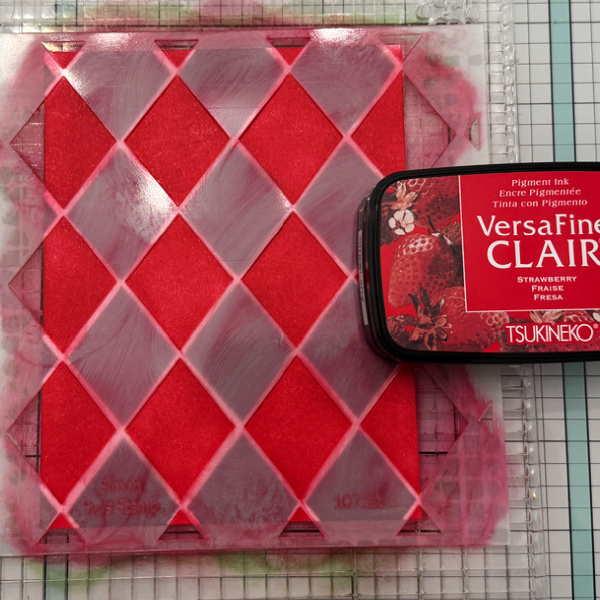
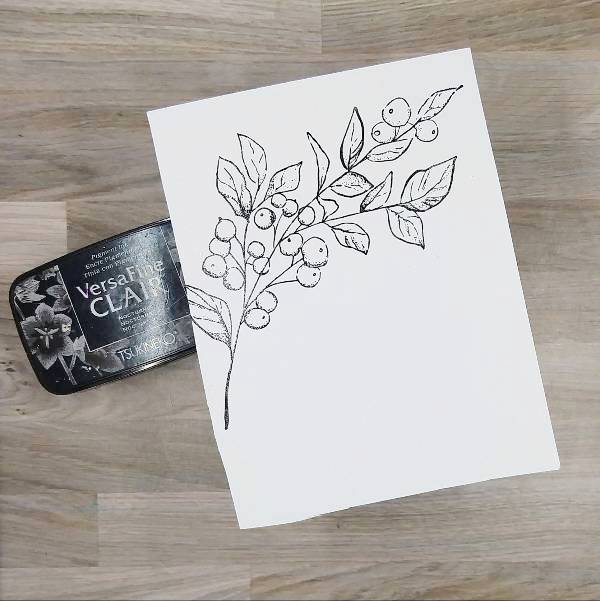
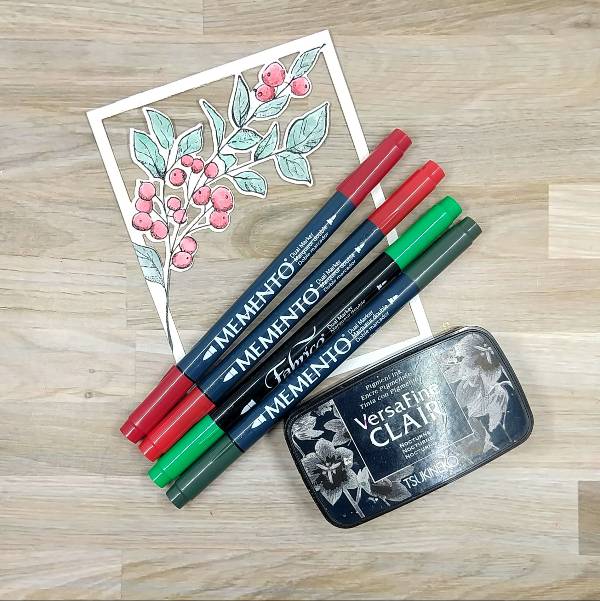
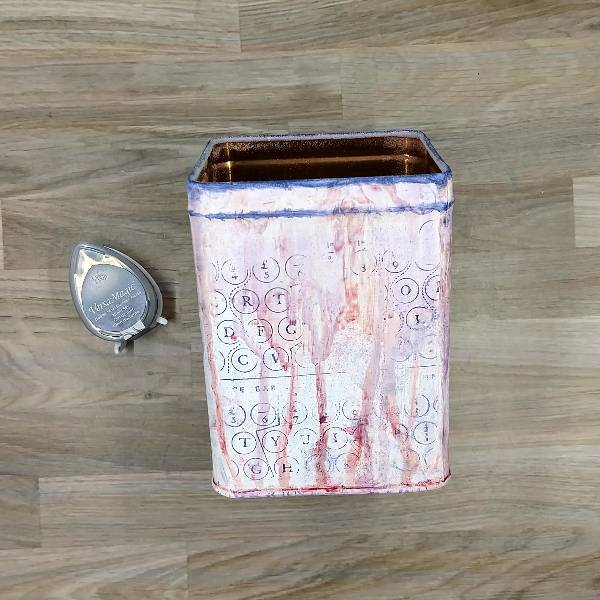
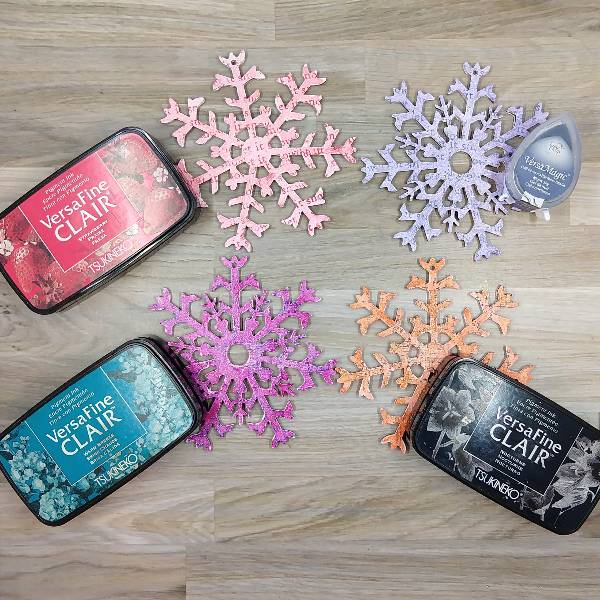
Use one of two small stamps to add some texture and color to each of the ornaments: Warm Breeze VersaFine Clair ink (on the Lilac Posies Fireworks! Craft Spray), Nocturne VersaFine Clair ink (on the Tangelo Fireworks! Craft Spray), Strawberry VersaFine Clair ink (on the Angel Pink Fireworks! Craft Spray), and Night Sky VersaMagic Chalk ink (on Lulu Lavender Fireworks! Craft Spray). Heat emboss each of the snowflakes with clear embossing powder.
Step 4:
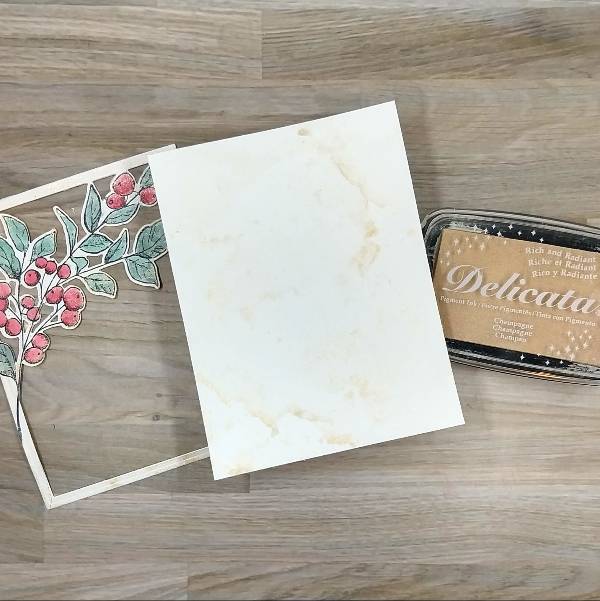
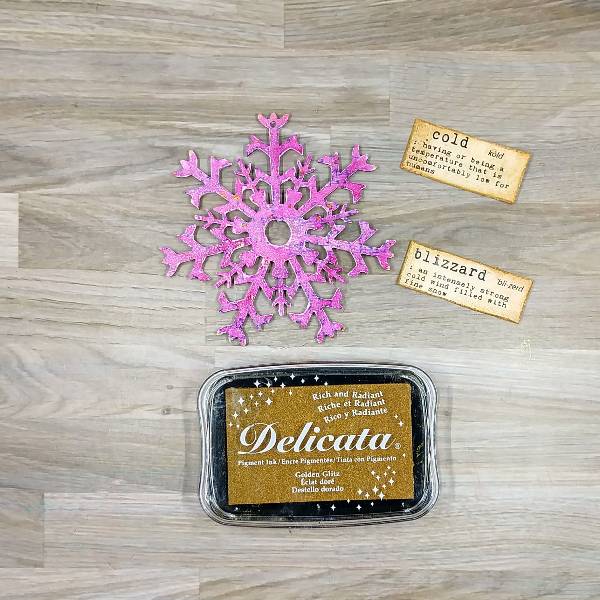
Cut out and distress the edges of 4 pre-printed winter sentiments. Then press the edges into the Golden Glitz Delicata ink pad. Heat emboss each of the sentiments with clear embossing powder.
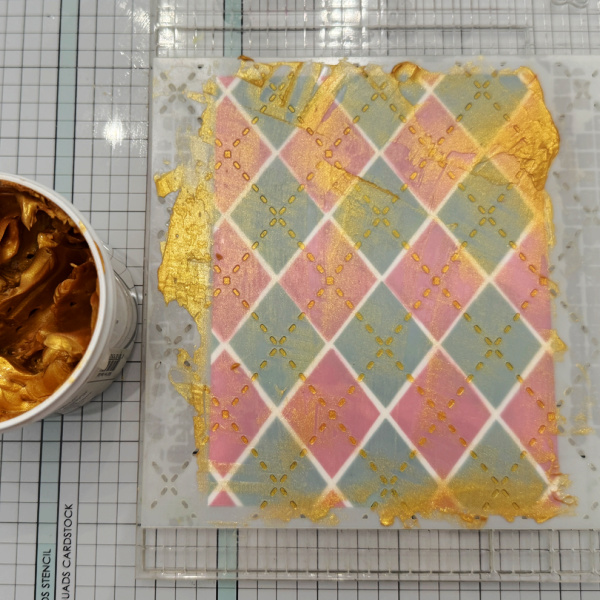
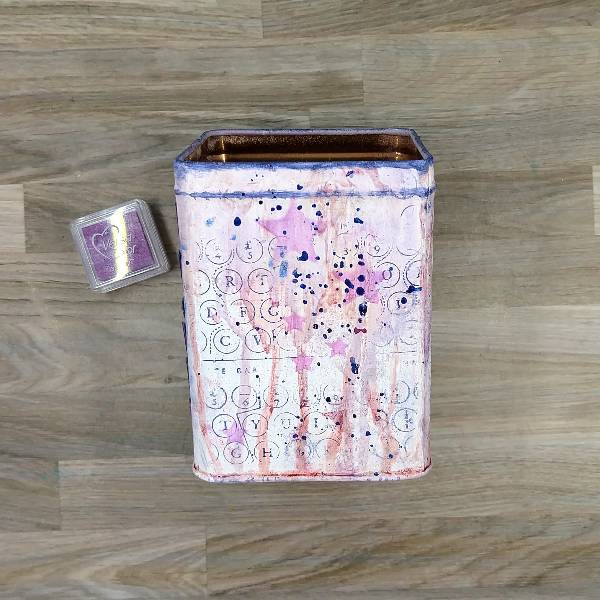
Then press the Golden Glitz Delicata ink pad onto a piece of acetate packaging and spray with water. Then press the acetate packaging onto each of the ornaments to add gold shimmer.
Allow to dry or dry with a heat tool. Then press the edges of the ornament into the ink pad. Allow to dry.

Step 5:
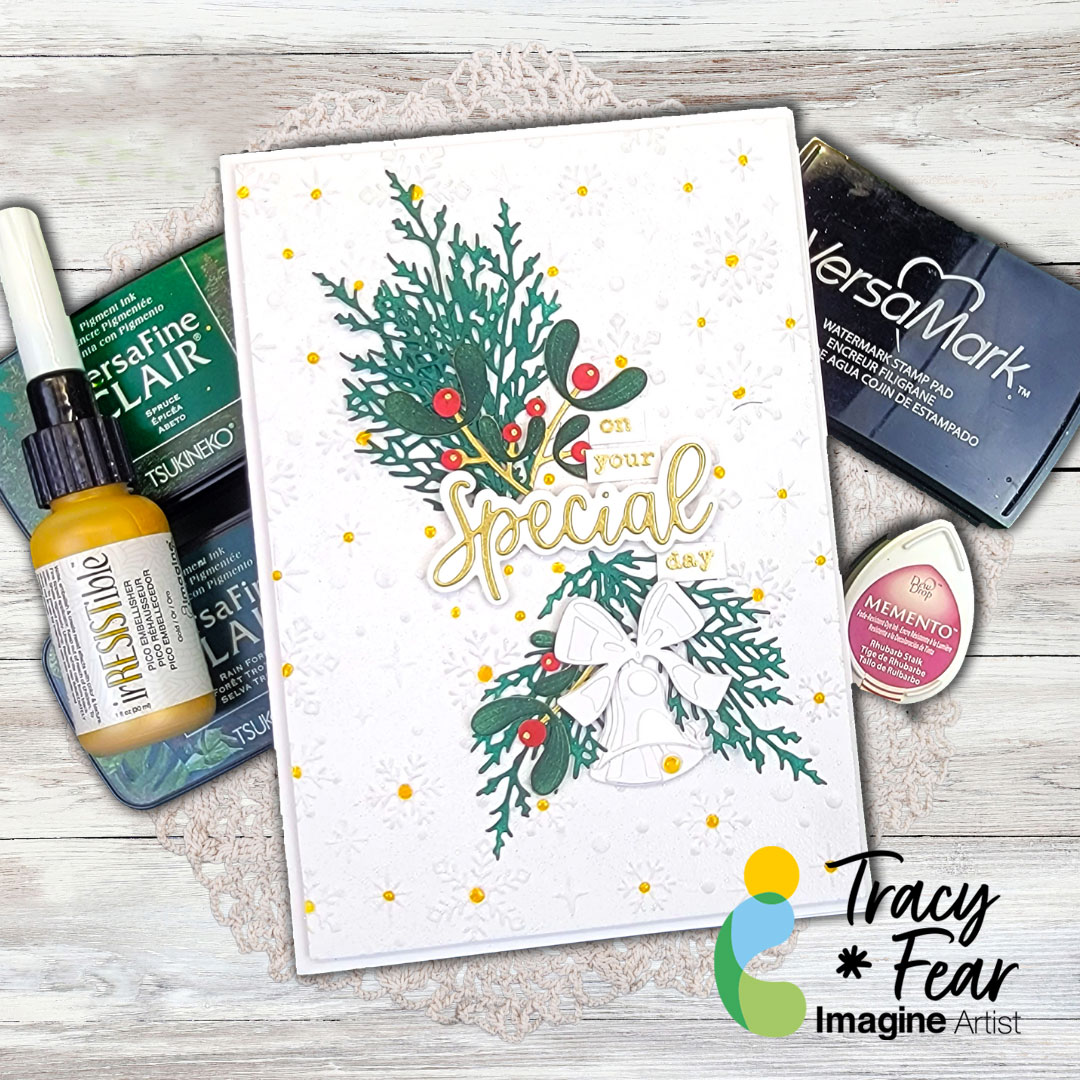
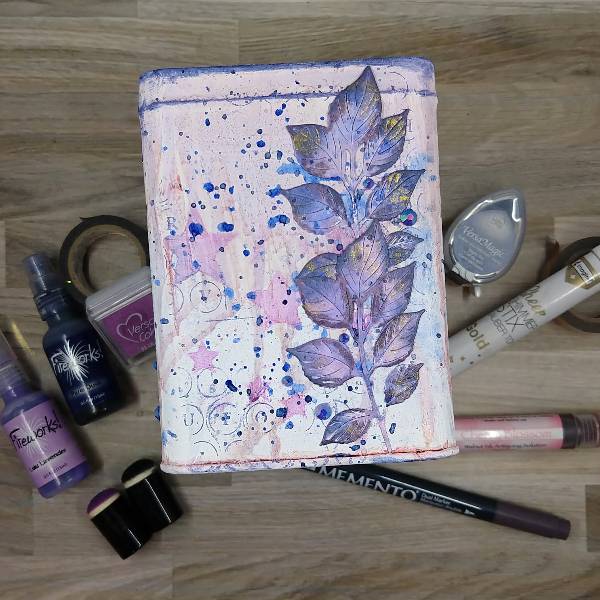
Glue the sentiment strips onto the ornaments. Glue sequins onto the ornament and strips. Add a loop of golden embroidery thread through the hole in each ornament to finish the project.
Art Supplies
Imagine
• Delicata Ink – Gold Glitz
• Fireworks! Craft Spray – Angel Pink, Lilac Posies, Lulu Lavender and Tangelo
• VersaFine Clair ink – Nocturne, Strawberry, Warm Breeze
• VersaMagic Chalk ink – Night Sky
Other Products
• Catherine Pooler – sequin mix – Inspiration Point
• Catherine Pooler – sequin mix – Miami
• Catherine Pooler – sequin mix – Wimbledon
• Catherine Pooler – sequin mix – Zanzibar
• Golden – Gesso Semi-Opaque Acrylic Primer
• Stampers Anonymous – stamp set – Cozy Christmas
• Unity Stamp Company – sentiment papers – Season of Definition
• Music stamp in my stash
• Chipboard snowflake ornaments
• Clear Embossing Powder
• Gold embroidery thread