By Ceil Pritchett
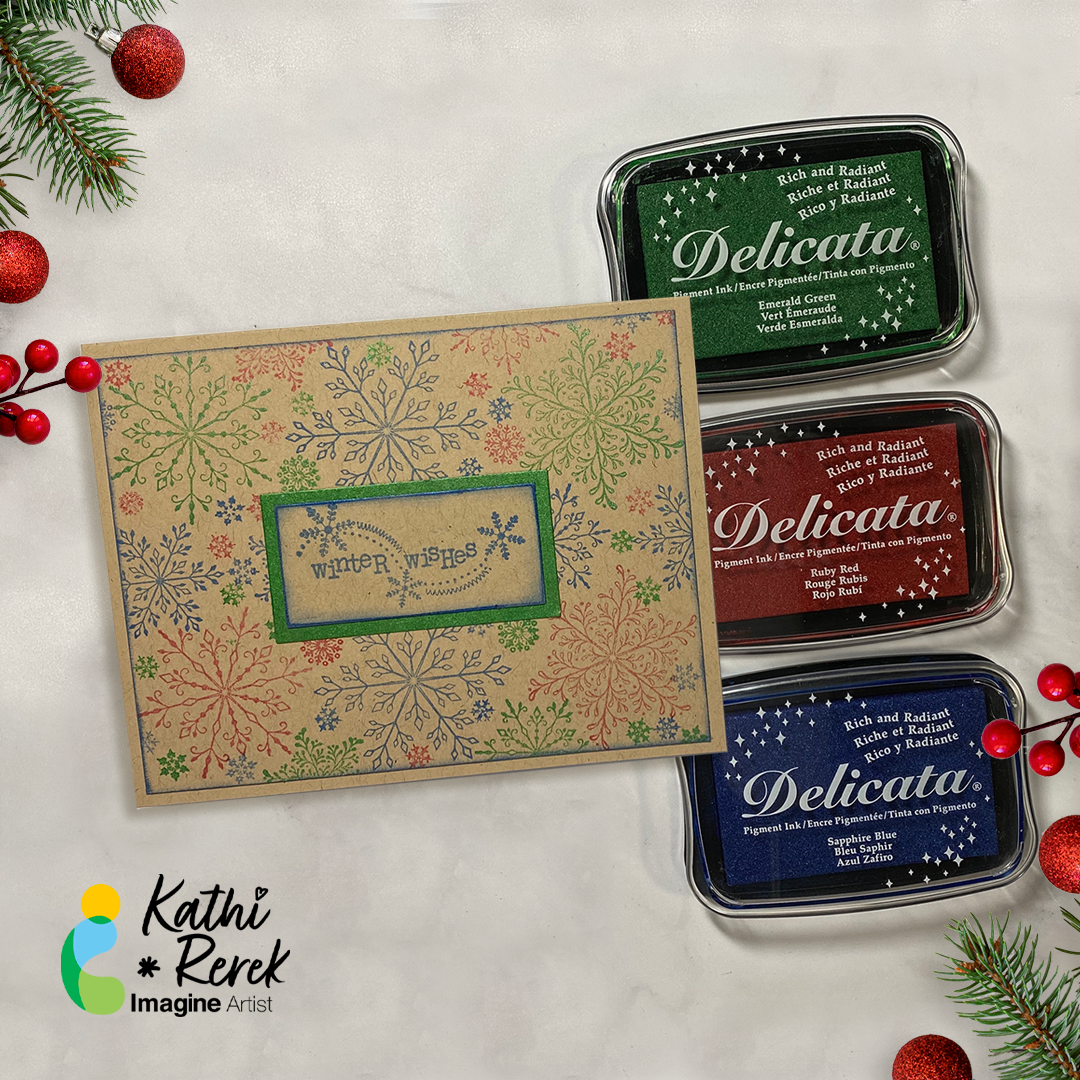
Hello Crafty Friends. Today, I am sharing how to add dimension to your card using diecuts and VersaFine Clair Inks.
Skill Level: Beginner to Intermediate
Time: 30 to 45 Minutes
Directions:

Step 1:
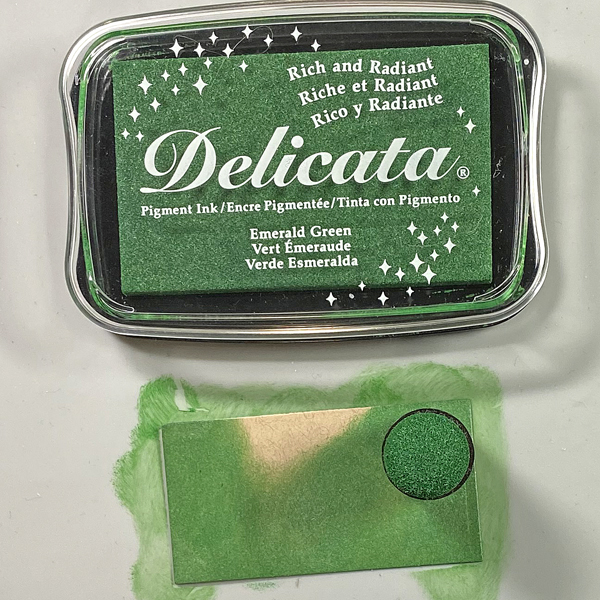
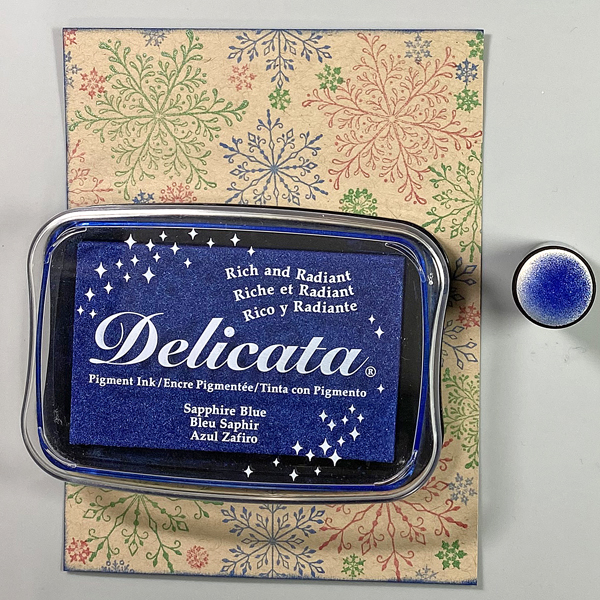
Gather your supplies. You will need several colors of ink, a stencil, a background cover plate, and die cuts for your stenciled image. You will also need VersaMark ink and some clear embossing powder.
Step 2:
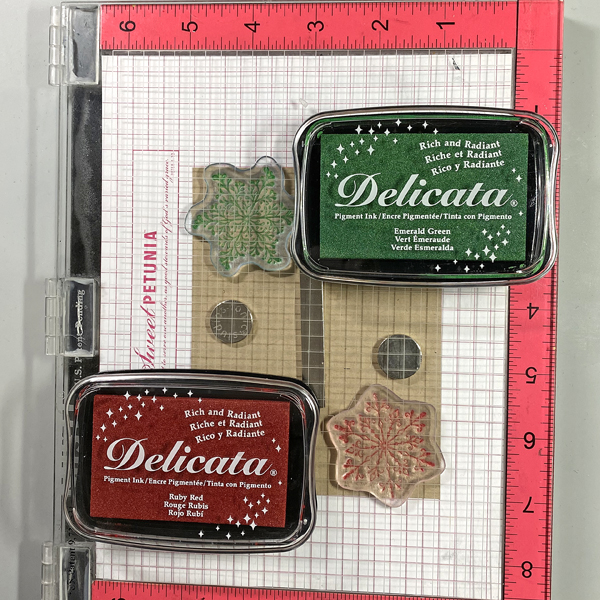
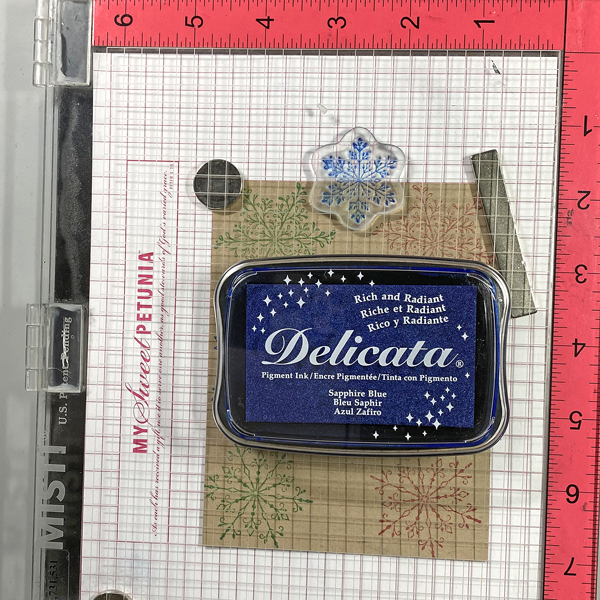
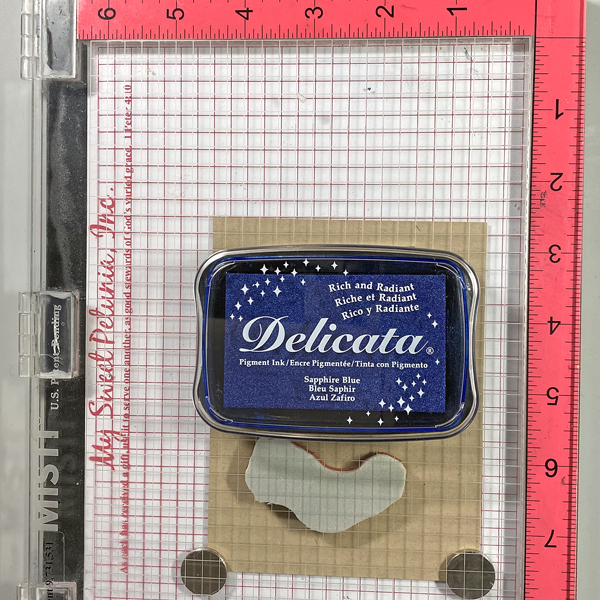
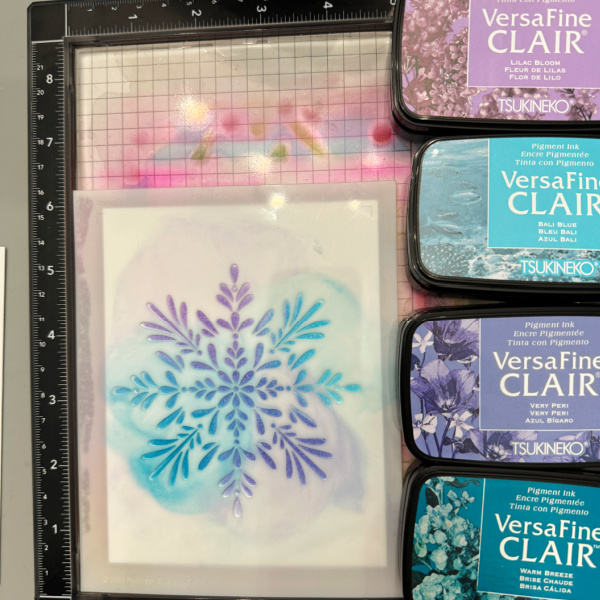
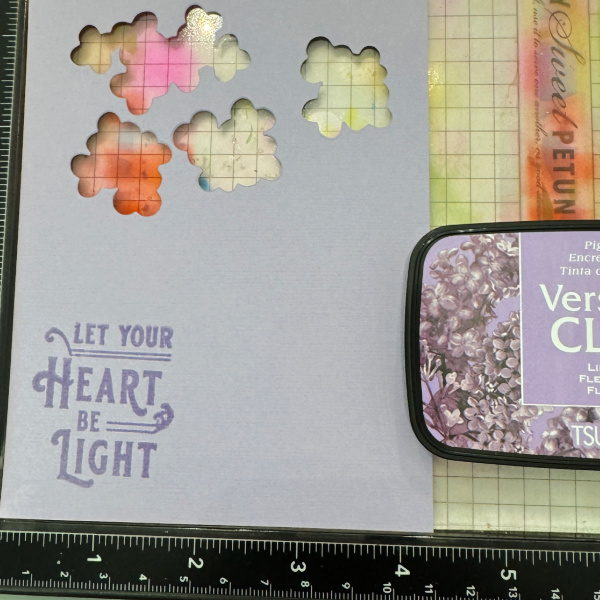
Using a grip mat or another sticky mat, lay your panel on the mat and cover with the stencil. Use several colors of ink to color the snowflake. Repeat this process 3 times.
Step 3:
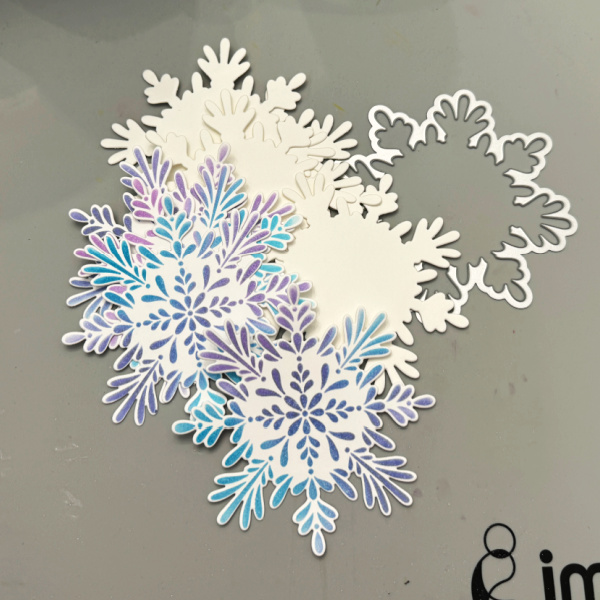
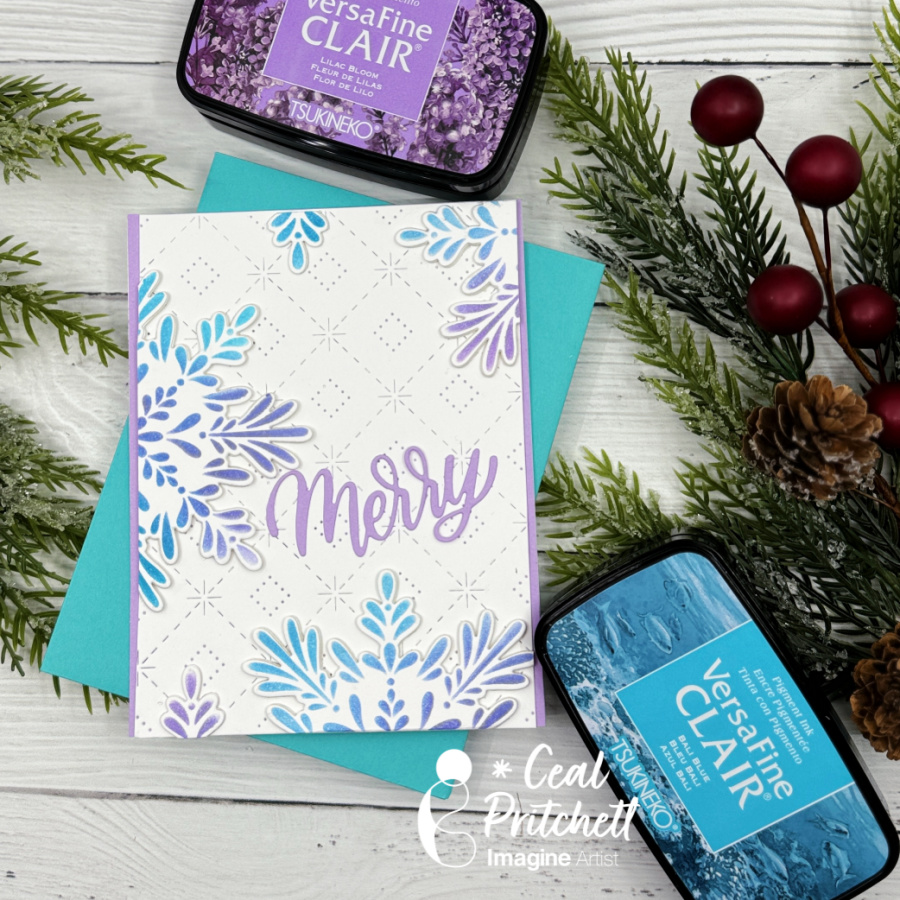
Using the coordinating die, cut out all of the snowflakes you colored along with 6 others out of a heavyweight cardstock. Add the ones cut out of the heavyweight cardstock to the colored ones. This will give you dimension for the snowflakes and will still go through the mail without extra postage.
Step 4:
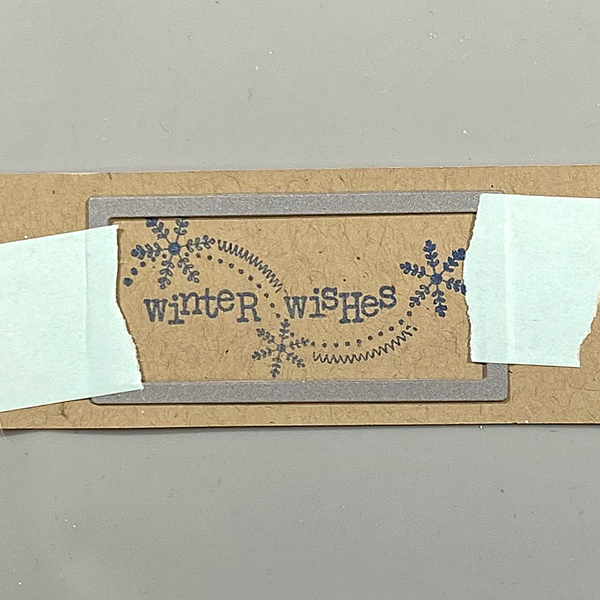
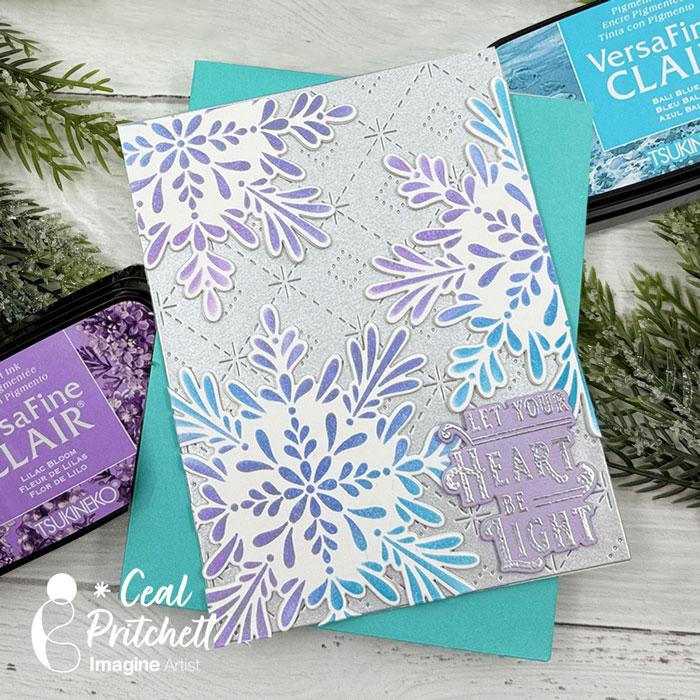
Stamp the sentiment in purple ink and emboss it with clear powder. For my sample I decided to go with embossing it with silver powder on purple cardstock.
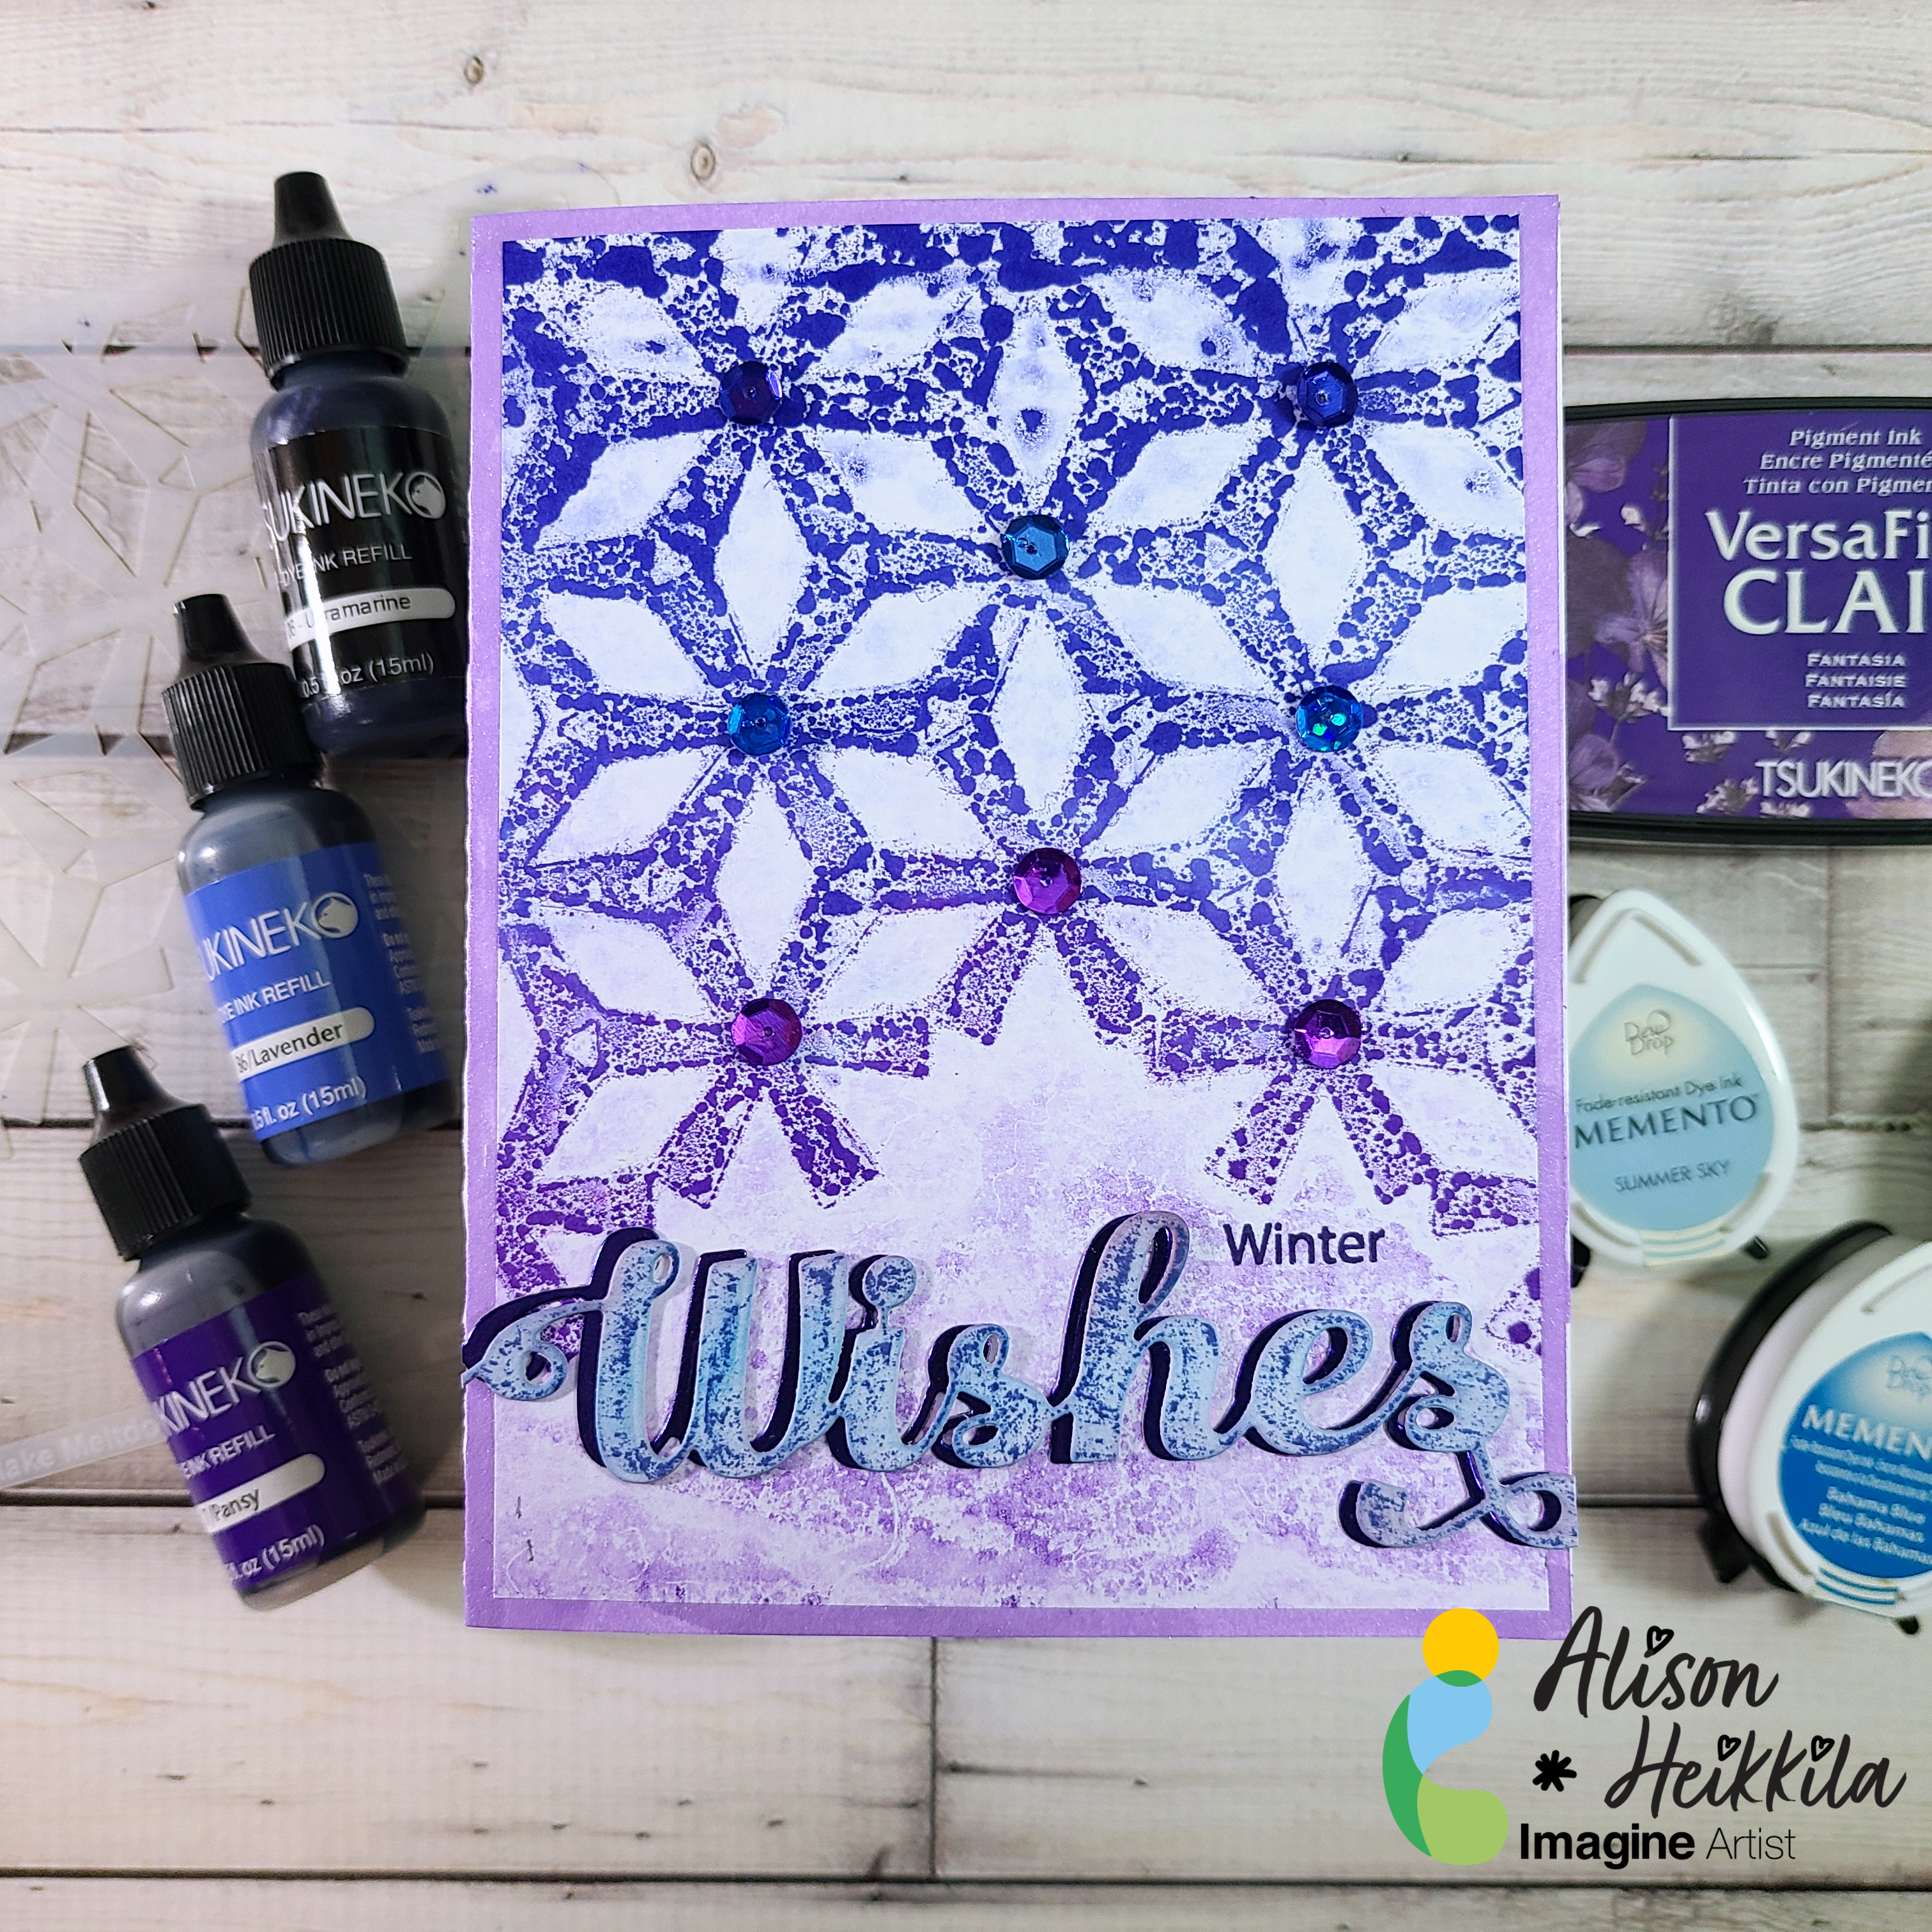
Create a background by using a cover plate die.
Assemble your card.
I created a second card with the left-over pieces.
Craft Supplies:
Imagine products:
VersaFine Clair – Bali Blue, Warm Breeze, Lilac Bloom and Very Peri
VersaMark
On Point Glue
Other products:
Neenah Classic Crest Solar White 120lb – CutCardStock
Neenah Classic Crest Solar White 80lb – CutCardStock
Stardream Silver Metallic 105lb – CutCardStock
Radiating Snowflake Stencil – PinkFresh Studio
Radiating Snowflake Die – PinkFresh Studio
Holiday Greeting Sentiments – PinkFresh Studio
Cover plate die – PinkFresh Studio
Merry Die – Kristina Werner C9