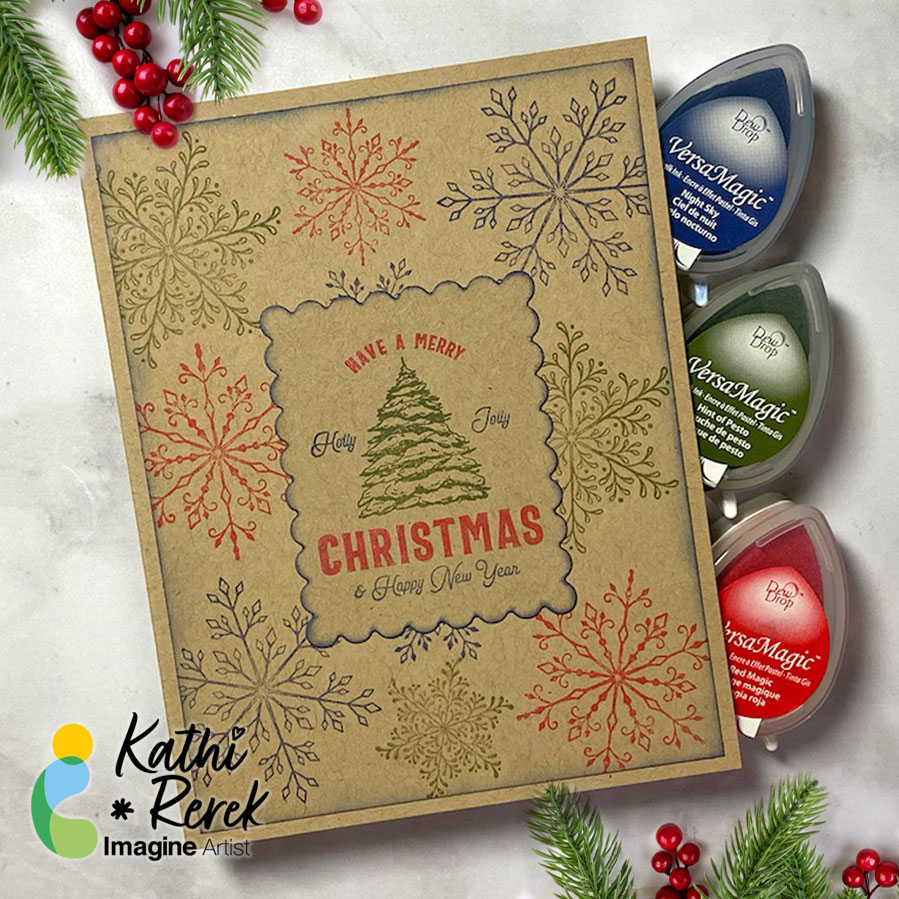
By Kathi Rerek
Skill Level: Beginner to Intermediate
Time: 1 hour
Step 1:
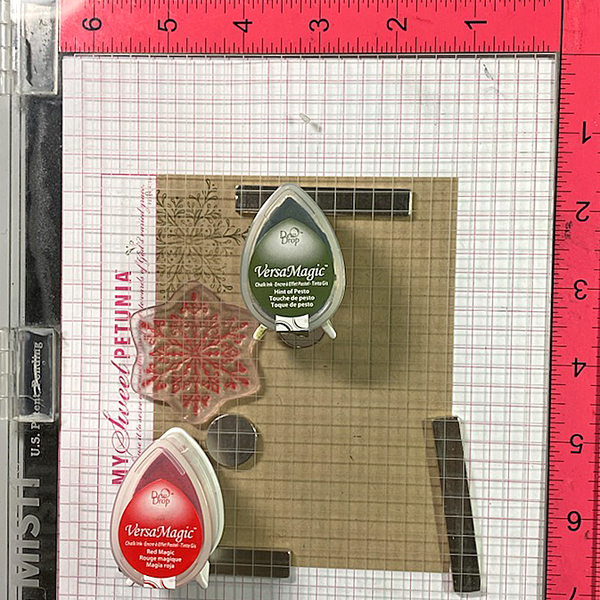
Use magnets to secure a 4” x 5.25” piece of Kraft cardstock onto the base of a stamping platform.
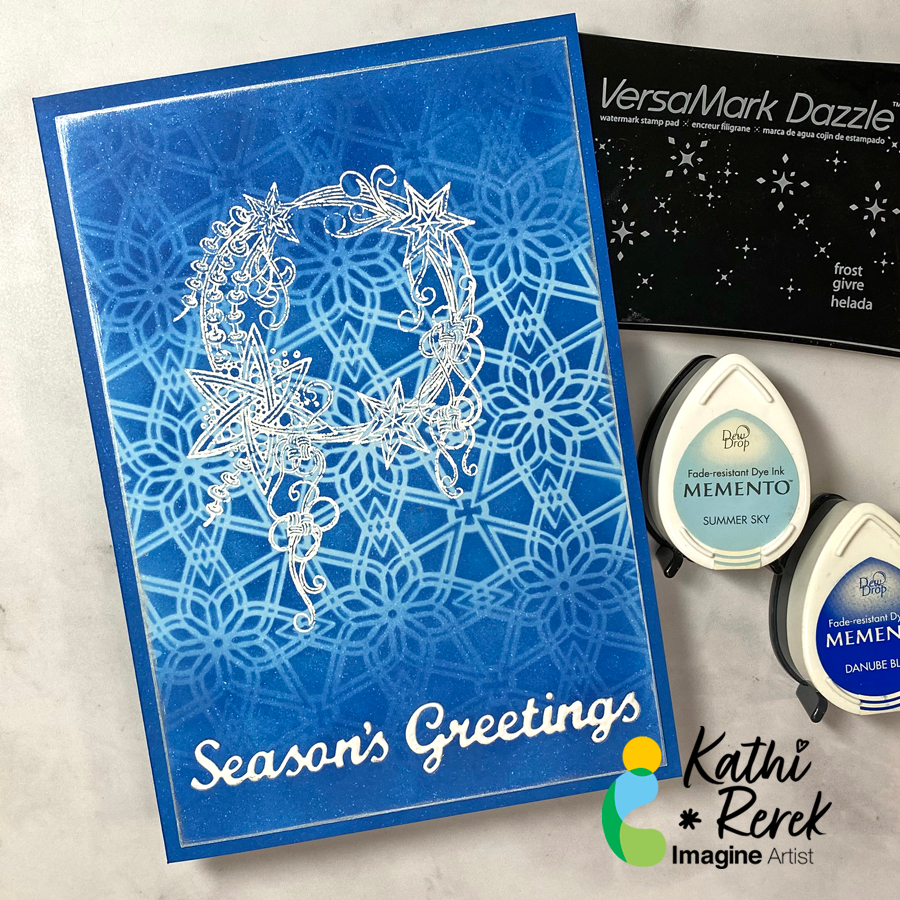
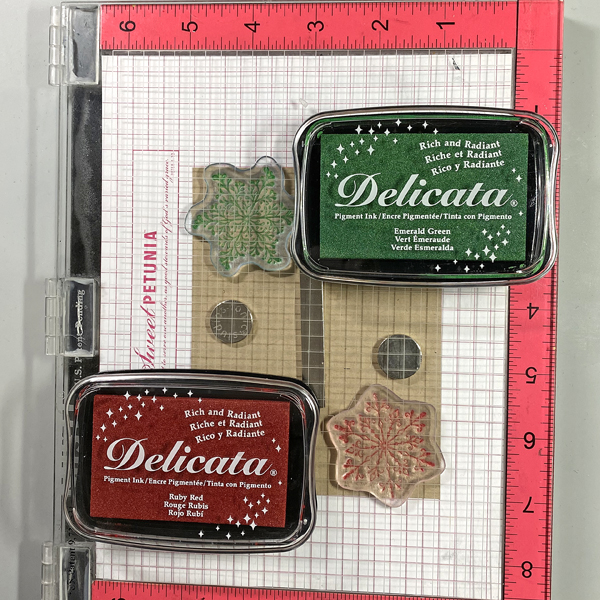
Position two snowflakes from the Snowflakes Large Clear Polymer Stamp Set so that one is facedown at the top left of the image panel and the other one is at the bottom right of the image panel. Ink the snowflake stamps with Emerald Green and Ruby Red Delicata Ink and stamp. Re-ink and stamp again if necessary to create good images. Clean and dry both stamps.

Step 2:
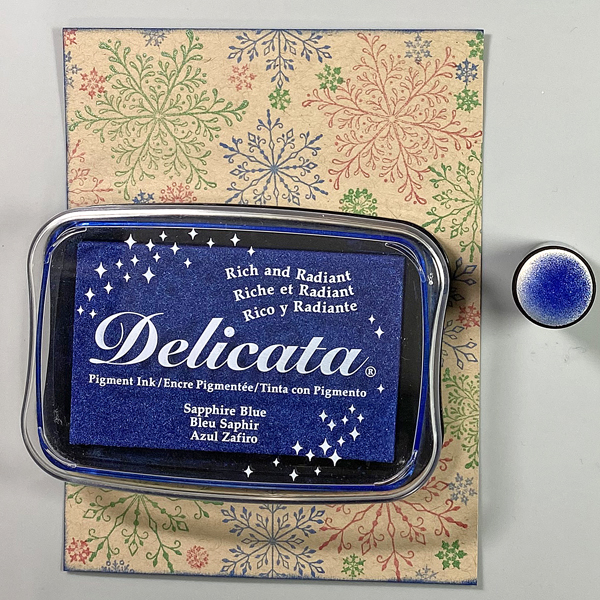
Position the third snowflake stamp from the stamp set facedown between the stamped snowflakes on the image panel. Ink the stamp with Sapphire Blue Delicata Ink and stamp. Re-ink and stamp again if necessary to create a good impression. Clean and dry the stamp. Reposition the same stamp facedown on the other side of the image. Ink the stamp with Sapphire Blue Delicata Ink. Clean and dry the stamp.
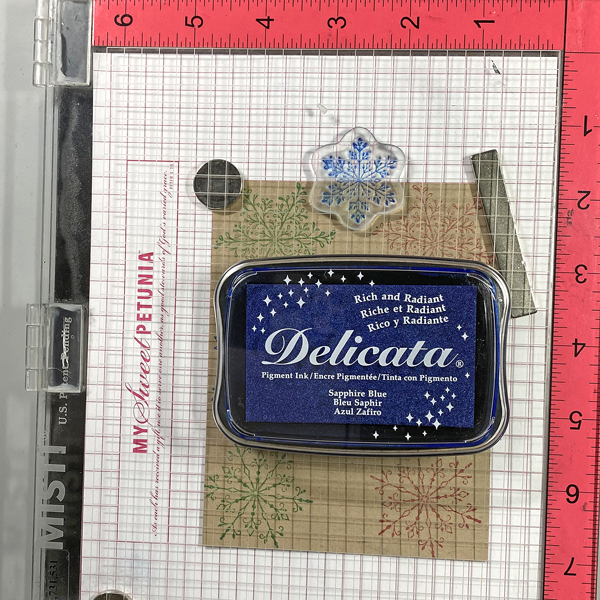
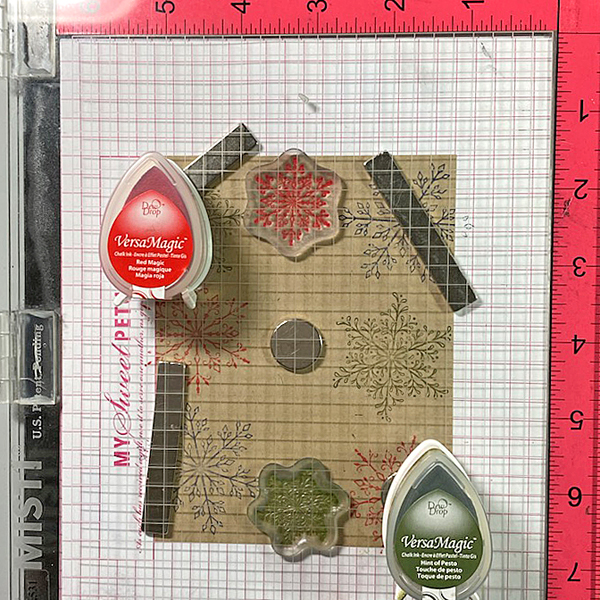
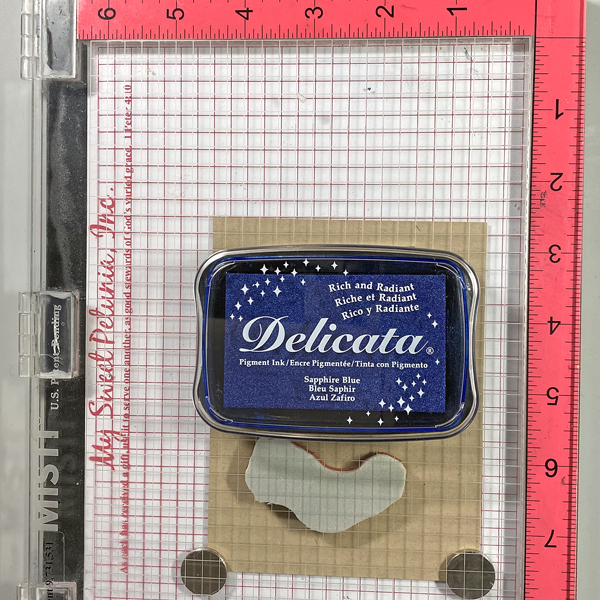
Step 3:
Position one of the snowflake stamps from the Snowflakes Small Clear Polymer Stamp Set facedown in the center top of the image panel. ink the stamp with Sapphire Blue Delicata Ink and stamp. Re-ink and stamp again if necessary to create a good impression. Clean and dry the stamp.
Continue the process of stamping snowflakes from the Snowflakes Small and the Snowflakes Clear Stamp sets with all three colors of Delicata Inks, taking care to clean and dry the stamps between colors. Heat set the image panel.
Step 4:
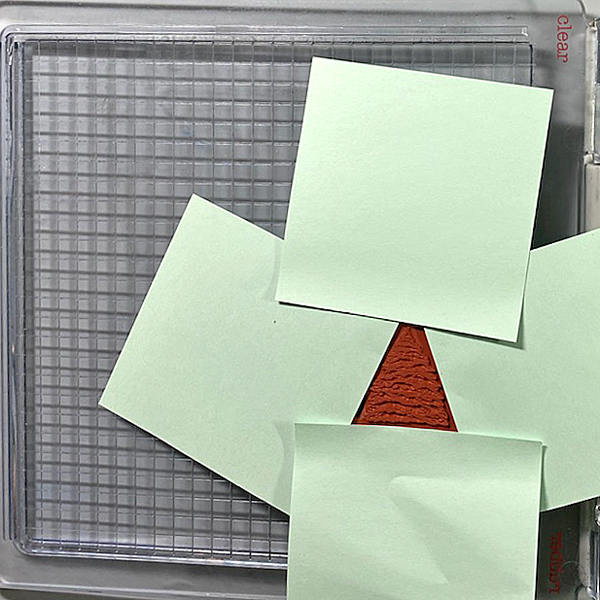
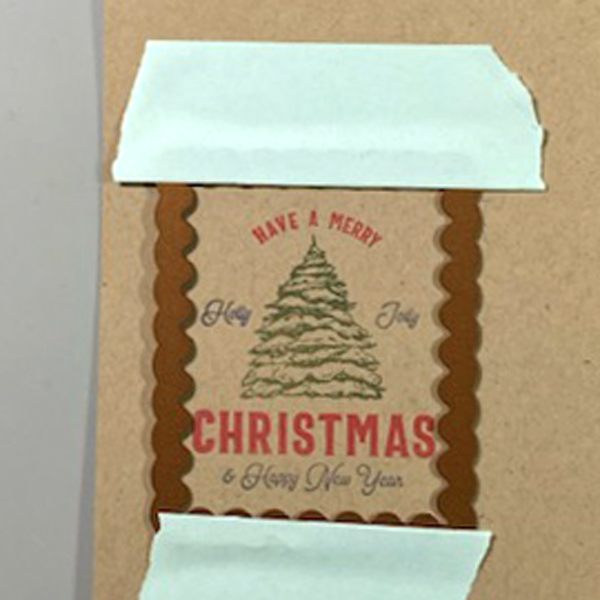
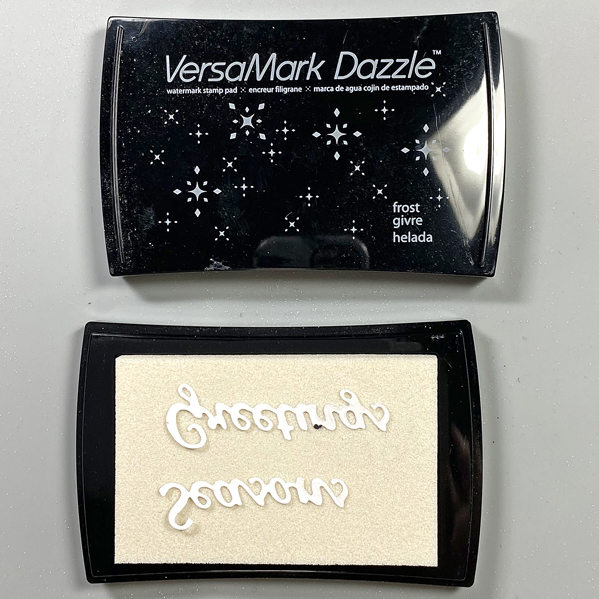
Ink the sentiment stamp with Sapphire Blue Delicata ink and stamp onto a piece of Kraft cardstock.
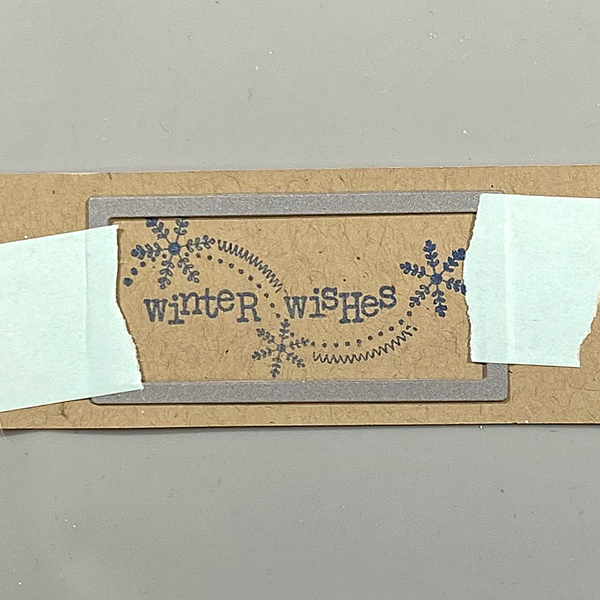
Step 5:
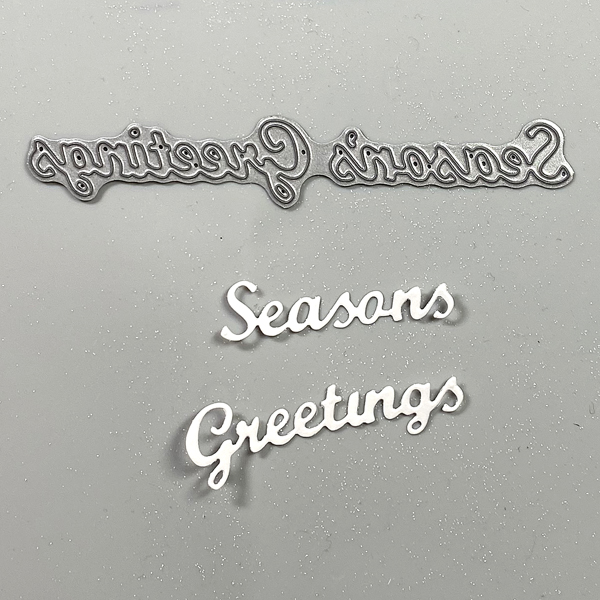
Use low-tack tape to secure a rectangle die to the sentiment strip. Run the sentiment strip through a die-cutting machine. Use a slightly larger rectangle die to cut a Kraft cardstock.
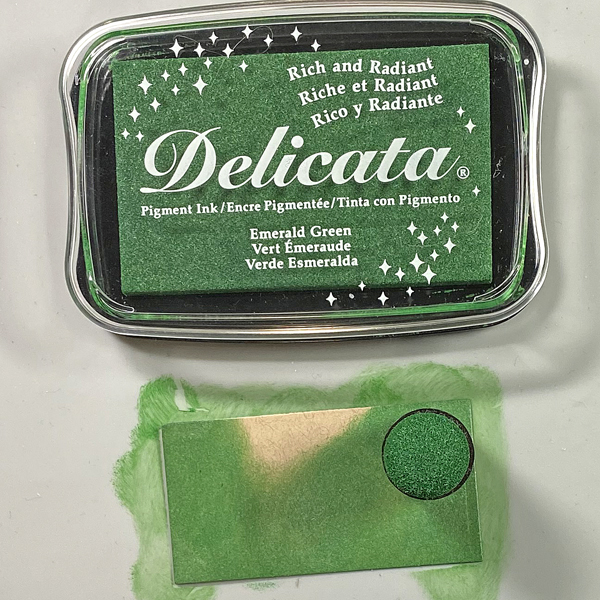
Step 6:
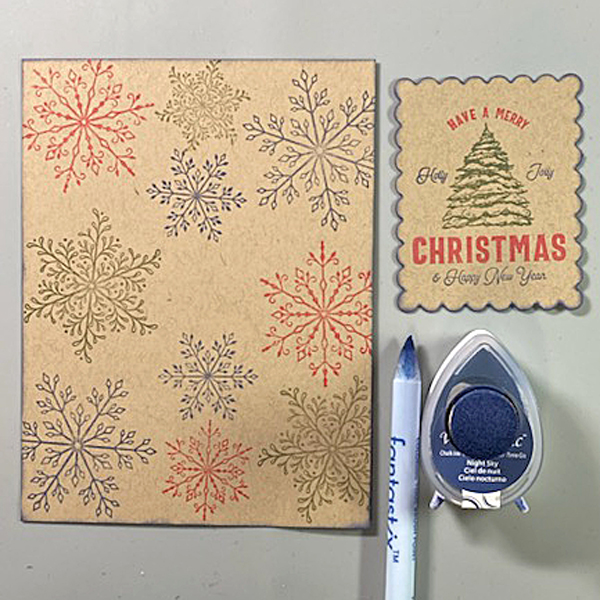
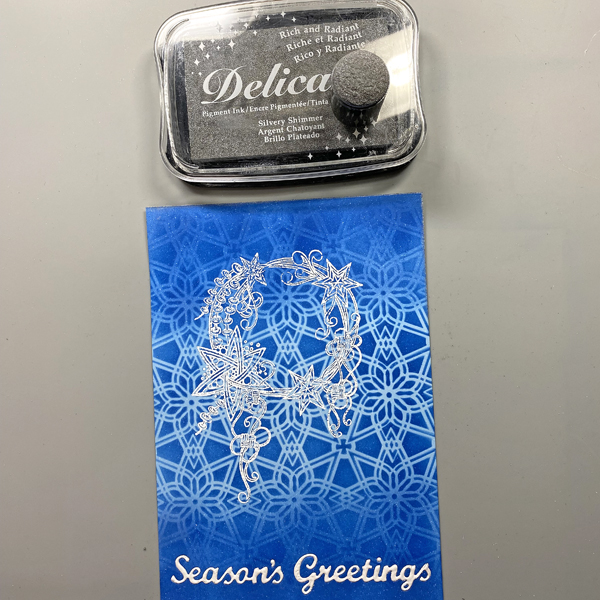
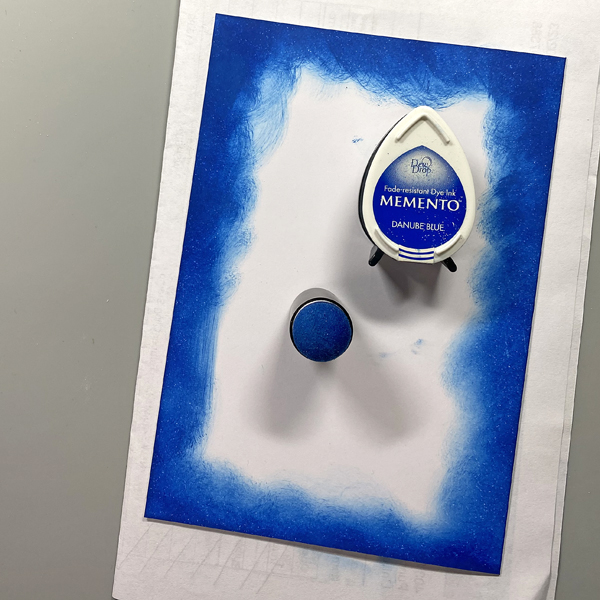
Use a sponge dauber to apply Emerald Green Delicata Ink to the die-cut. Heat set.
Step 7:
Use a Sponge Dauber to edge the snowflake stamped image panel. Heat set.

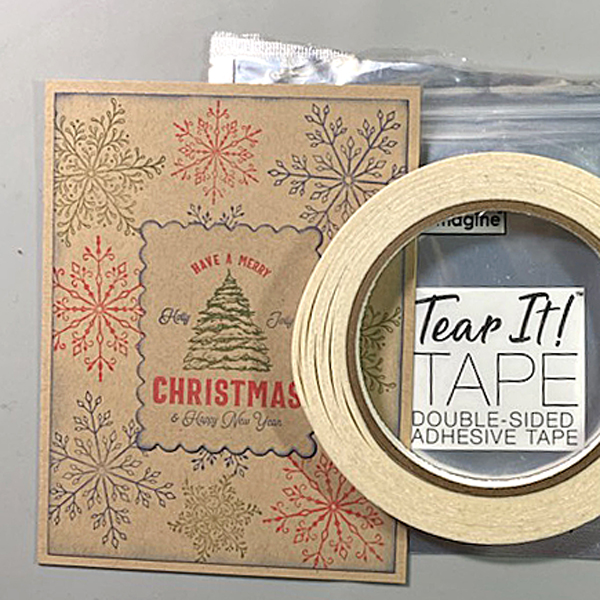
Step 8:
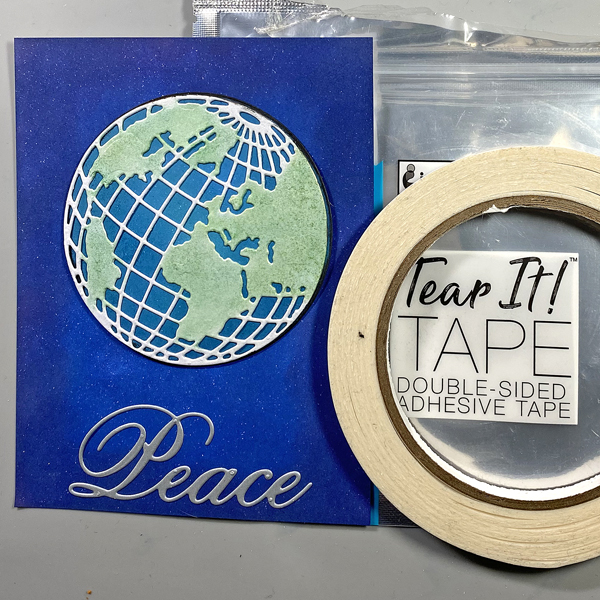
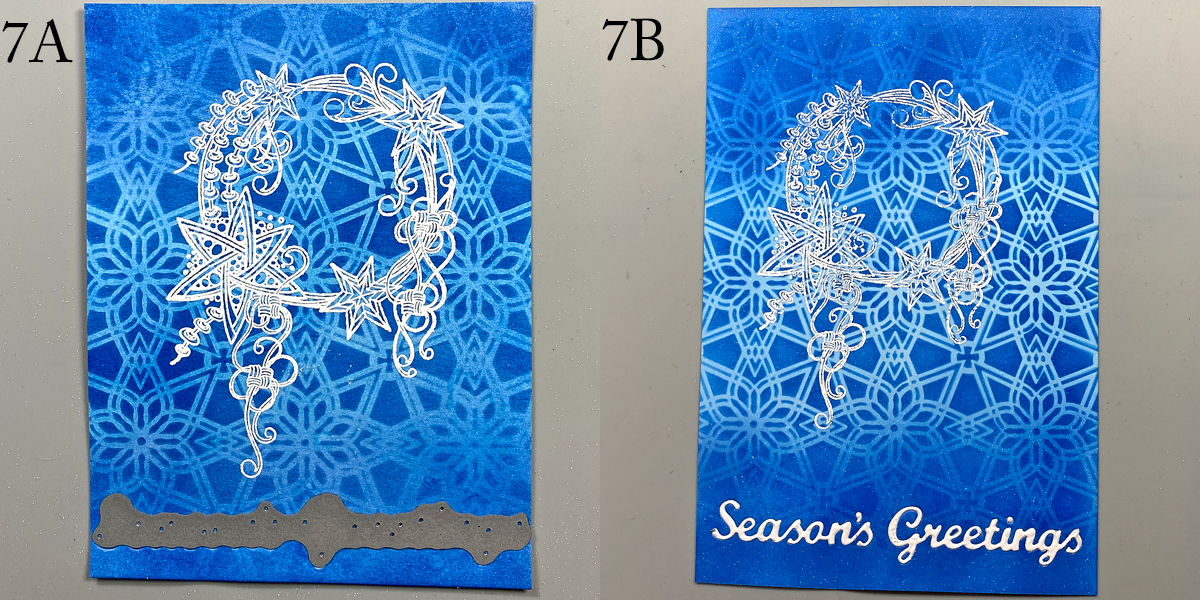
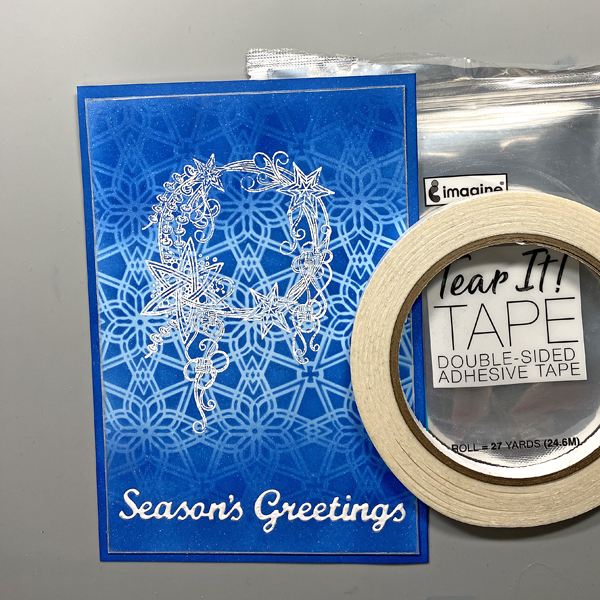
Use Tear It! Tape to adhere the image panel to a Kraft A2 Card. Use Tear-It Tape to adhere the sentiment to finish the card.
Imagine Crafts Supplies:
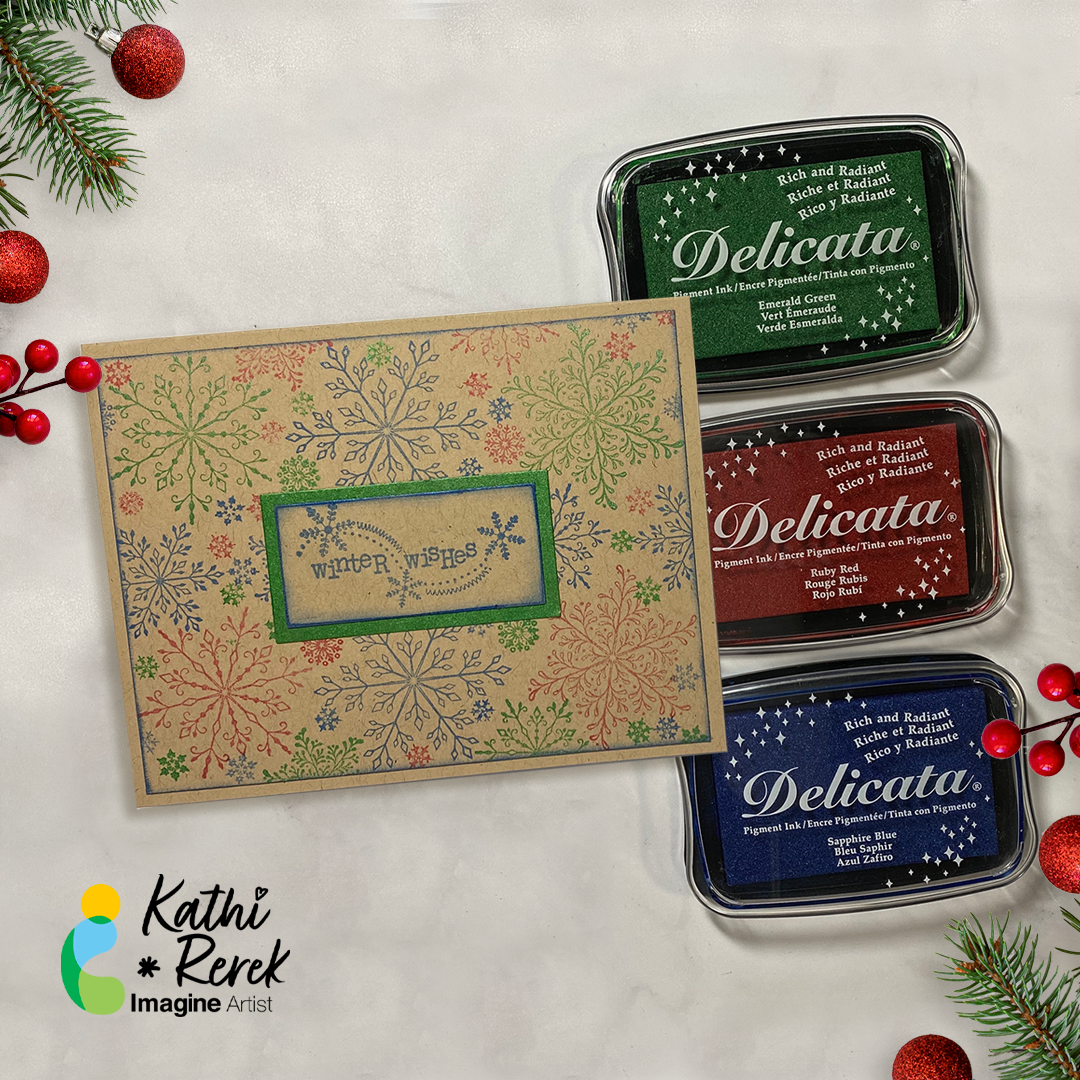
- Ruby Red Delicata Ink
- Emerald Green Delicata Ink
- Sapphire Blue Delicata Ink
- Sponge Daubers
- Tear It! Tape
- Craft Mat
Other Supplies:
- Kraft Cardstock by Bazzill Basics
- Snowflakes Clear Polymer Stamp Set by Lavinia Stamps
- Snowflakes Large Clear Polymer Stamp Set by Lavinia Stamps
- Snowflakes Small Clear Polymer Stamp Set by Lavinia Stamps
- Sentiment Stamp (Retired) by Unity Stamps
- Circles Die Set by QuicKutz
- Rectangles Nestabilities by Spellbinders
- Heat Gun by EK Success
- Big Shot