By Kathi Rerek
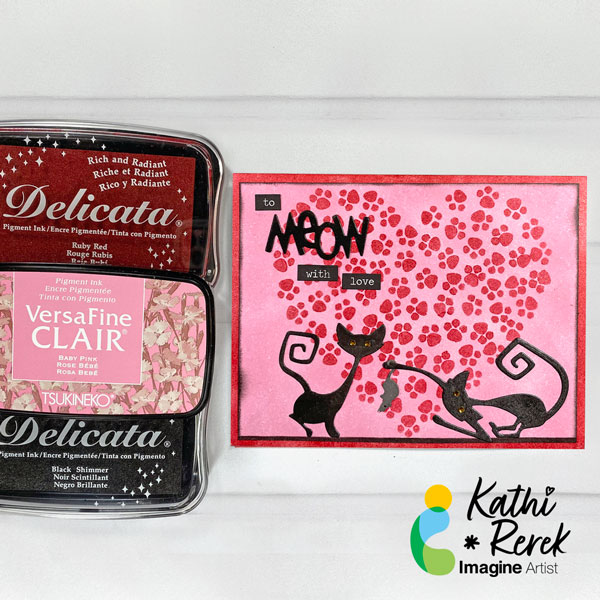
As a certified crazy cat lady, I had to make another another cat-themed Valentine’s Day Card! This one uses Baby Pink VersaFine Clair Ink with a shimmery Delicata die-cuts and a stenciled heart. It was quick, easy, and fun to create.
Skill Level: Beginner
Time: 45 minutes
Instructions:
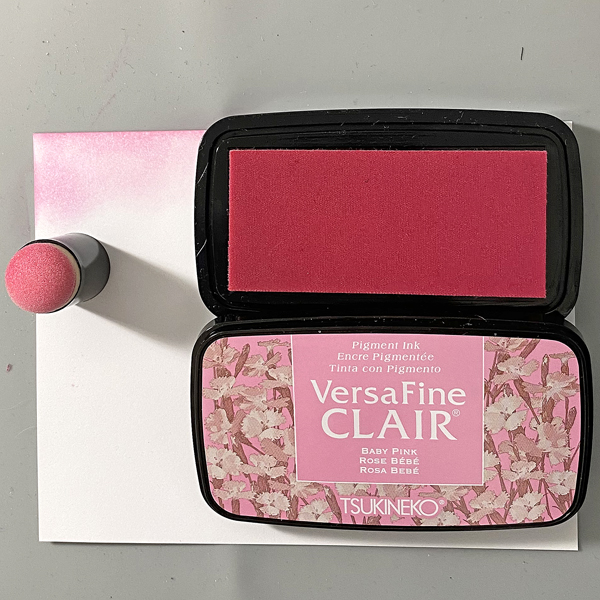
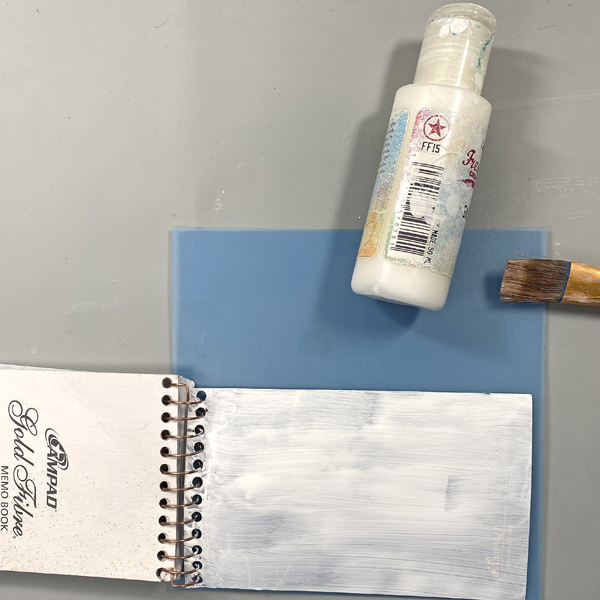
Step 1:
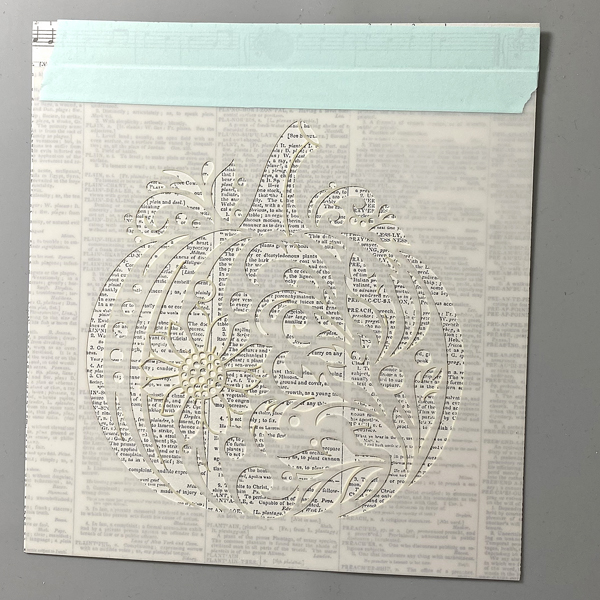
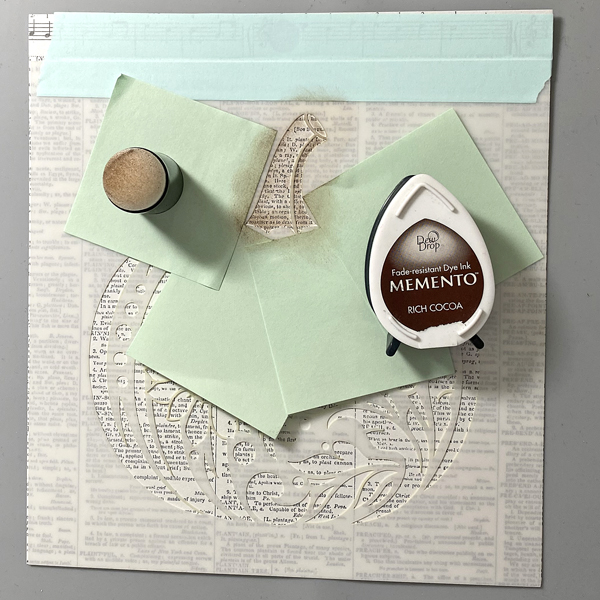
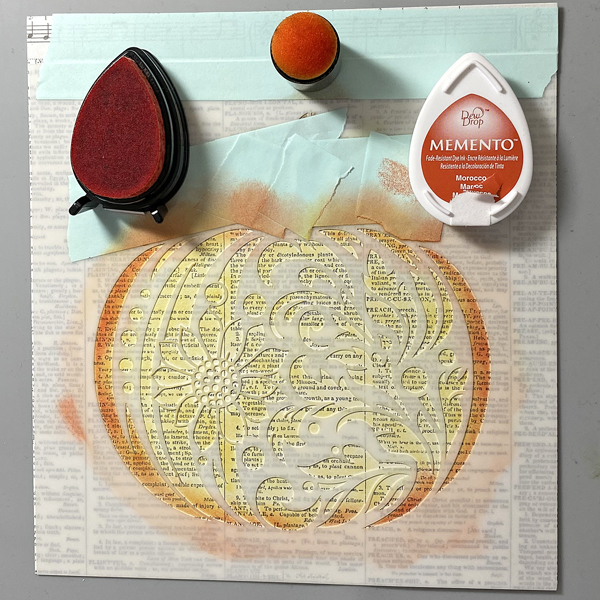
Use a Sponge Dauber to apply Baby Pink VersaFine Clair Ink to a 4” x 5.25” piece of white cardstock. Heat set.

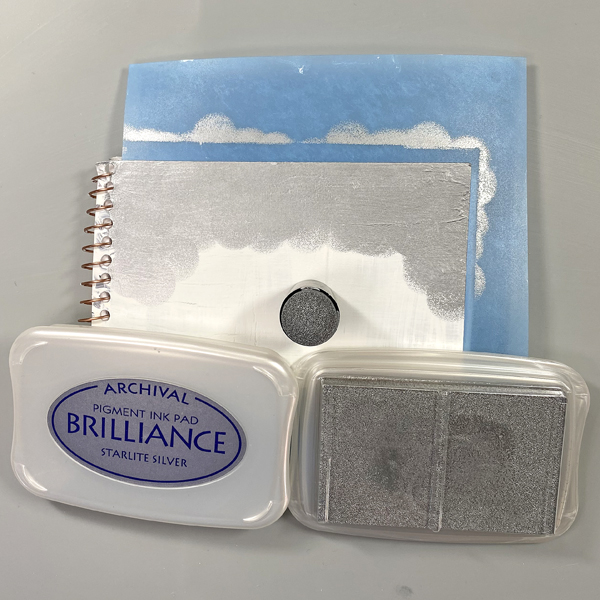
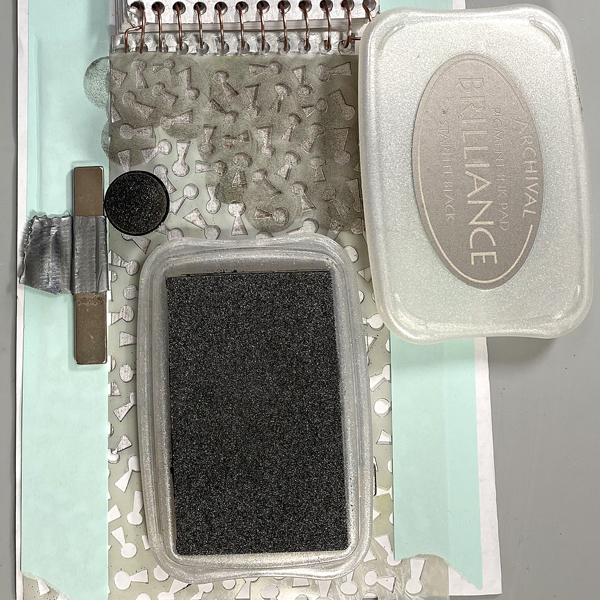
Step 2:
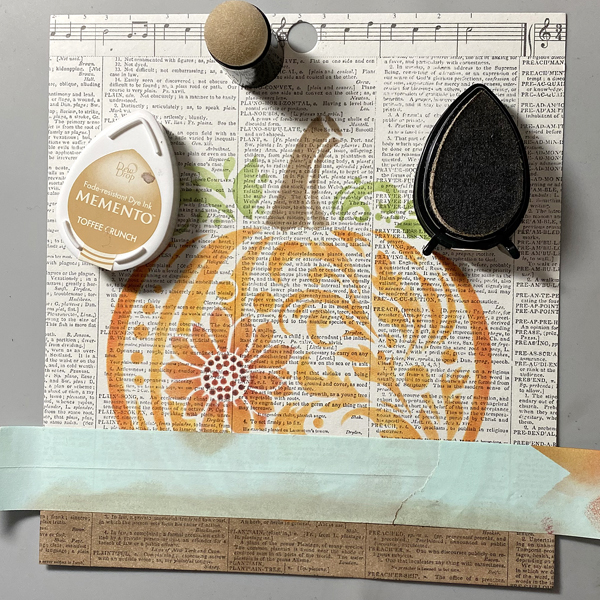
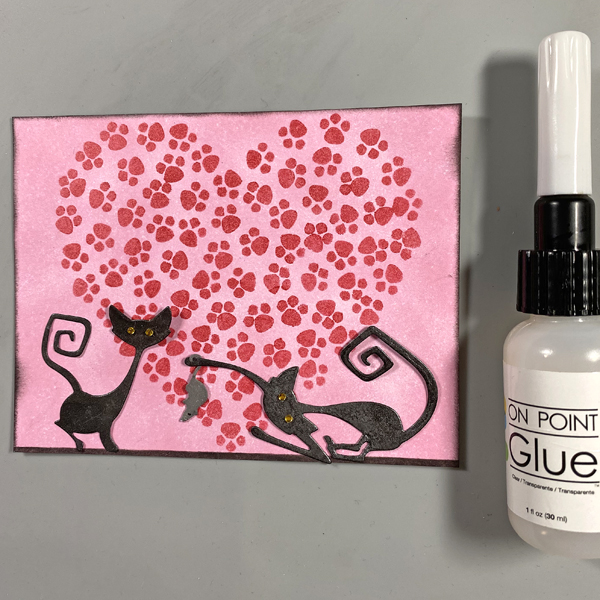
Use low-tack tape to secure the inked image panel to the back of the Pawsome Heart Stencil. Use a Sponge Dauber to apply Ruby Red Delicata Ink over the stencil onto the image panel. When done, remove the stencil and heat set the stenciled heart.
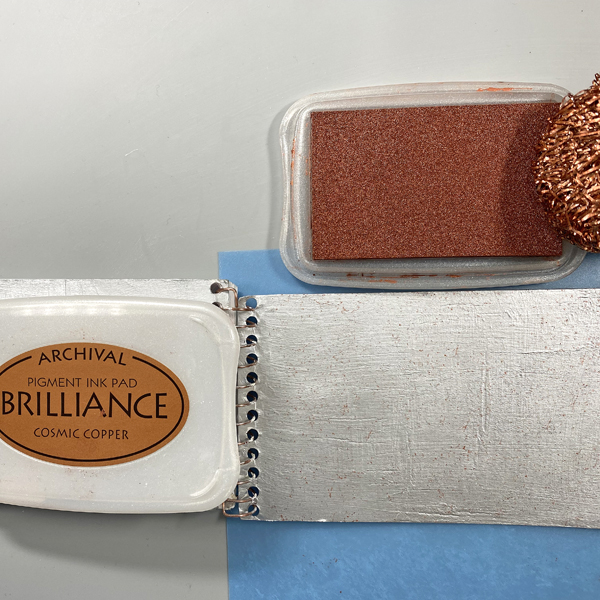
Use a Sponge Dauber and Black Shimmer Delicata Ink to edge the image panel. Sorry that there’s no photo.
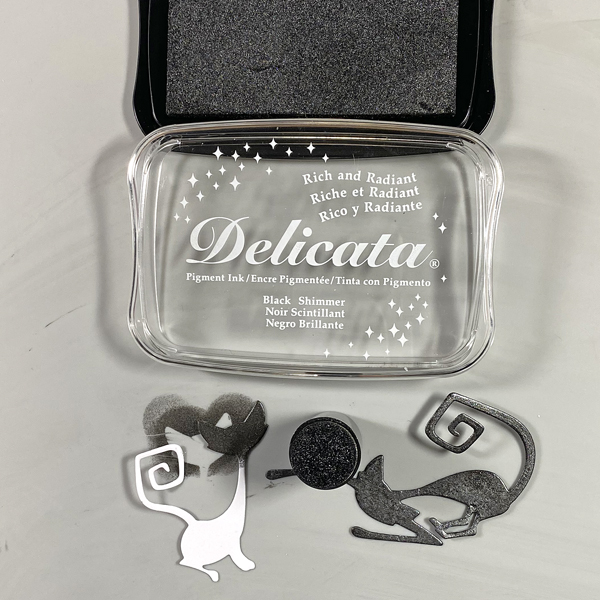
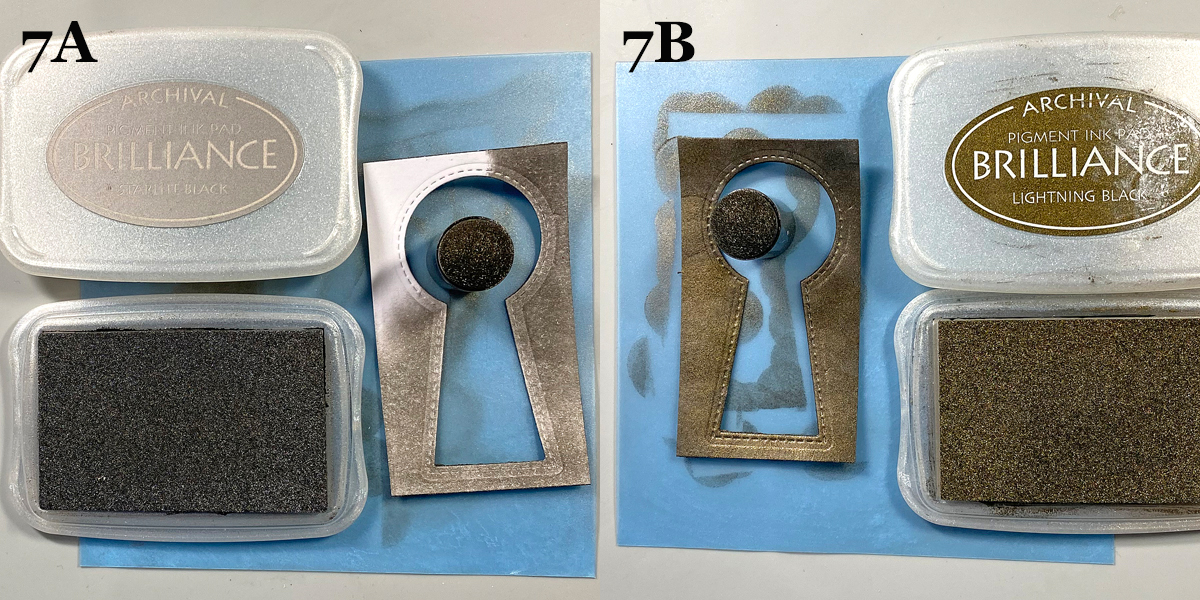
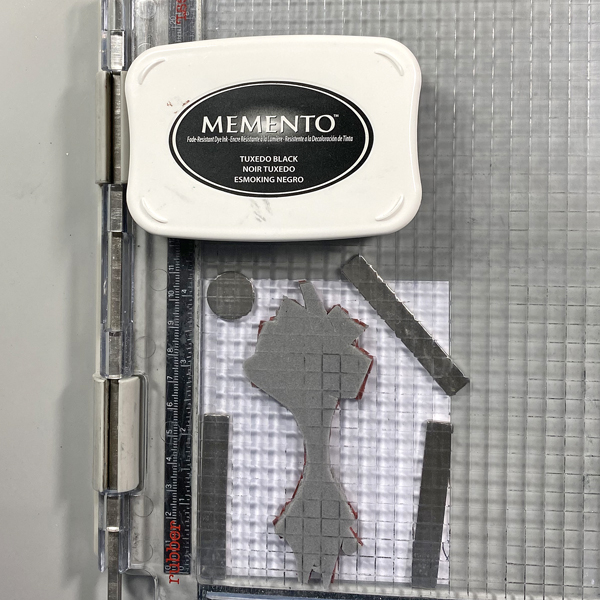
Step 3:
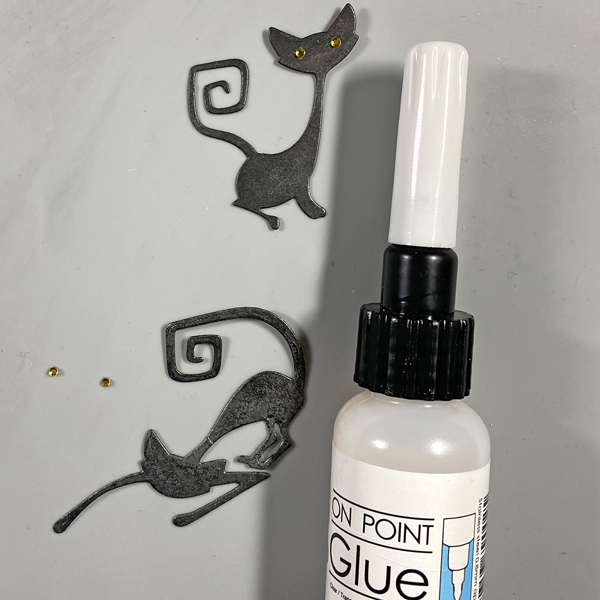
Use two of the cat dies from the Mischievous Thinlits Die Set to cut white cardstock. Use a Sponge Dauber to apply Black Shimmer Delicata Ink to both sides of each cat die-cut. Heat set.
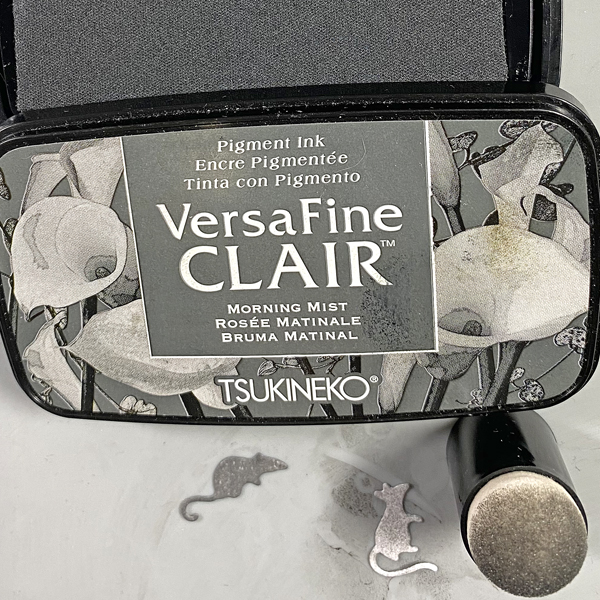
Step 4:
Use the Little Mice Die to cut white cardstock. Use a Sponge Dauber to apply Morning Mist VersaFine Clair Ink to the mouse. Heat set. Use a black pen to add an eye to the mouse and a Pink Uni-Posca Paint Pen to color its nose.
Step 5:
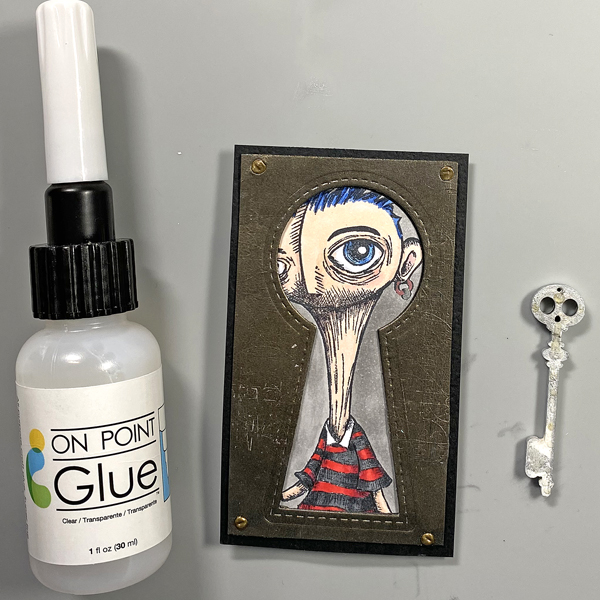
Use On Point Glue to add tiny gemstone eyes to the cats.
Step 6:
Use On-Point Glue to adhere the mouse to the outstretched paw of one of the cats. Use On Point Glue to adhere both cats to the image panel as shown.

Step 7:
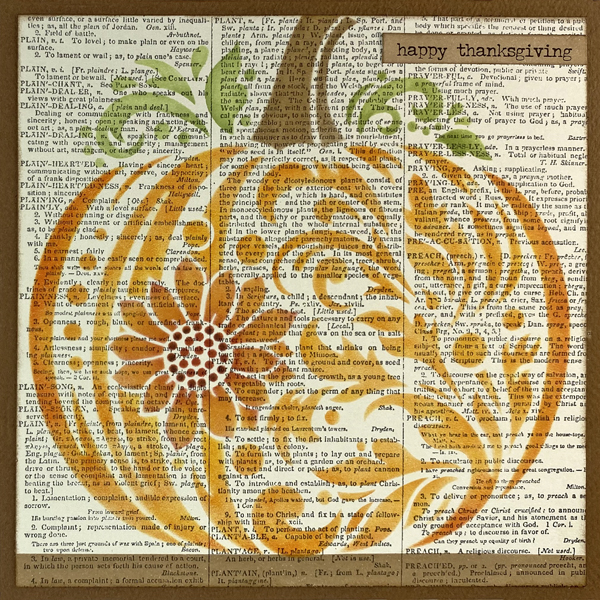
Use a Sponge Dauber to apply Ruby Red Delicata Ink to the outside .5” of a white A2 card. Heat set. Repeat application of the Ruby Red Delicata Ink to deepen the color and shimmer. Heat set.

Step 8:
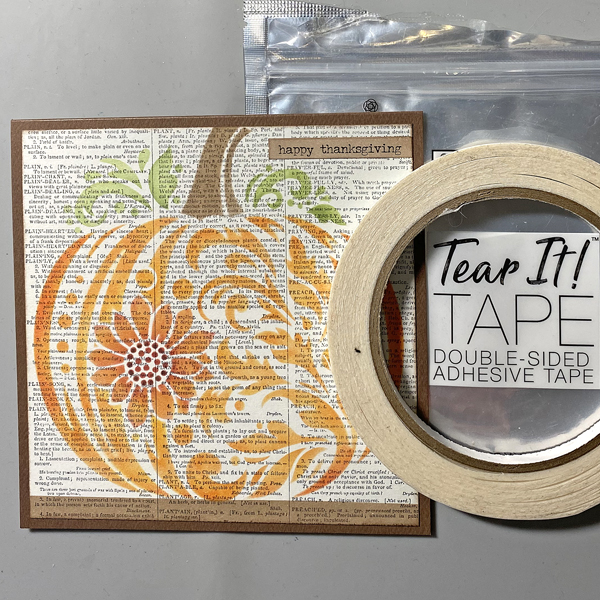
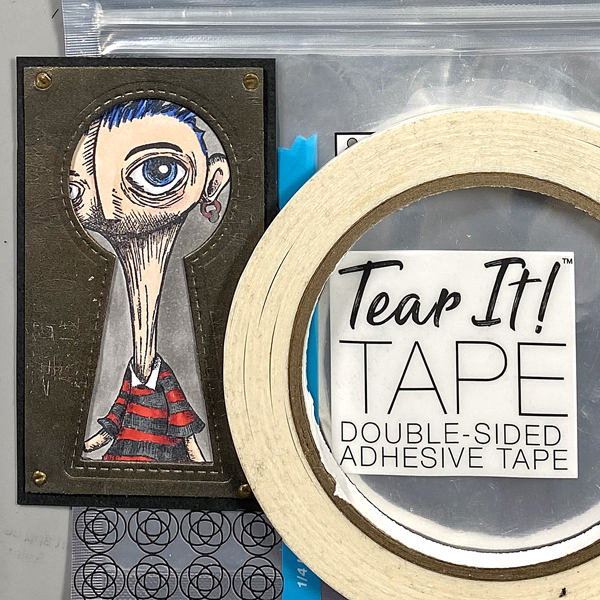
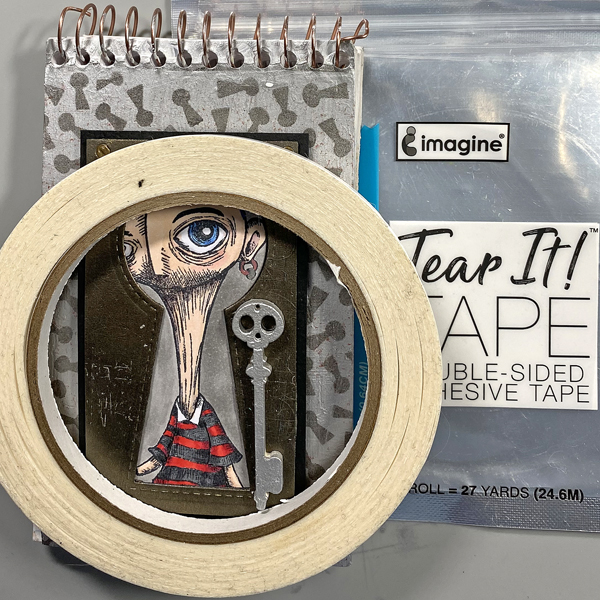
Use Tear It! Tape to mat the image panel with the Ruby Red Delicata inked card.
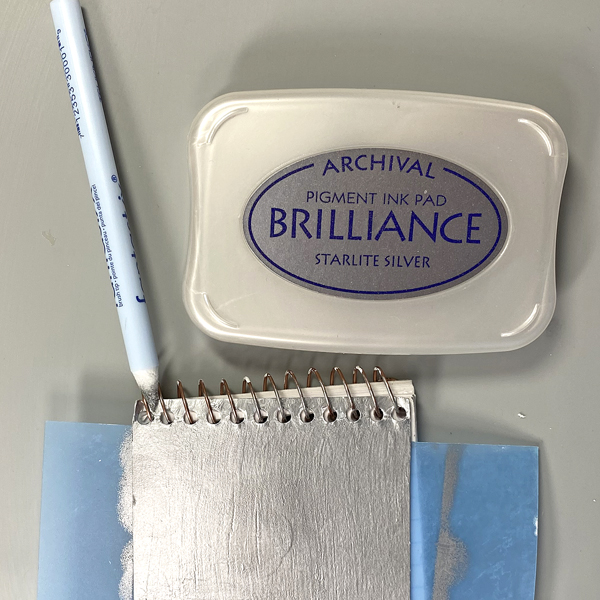
Step 9:
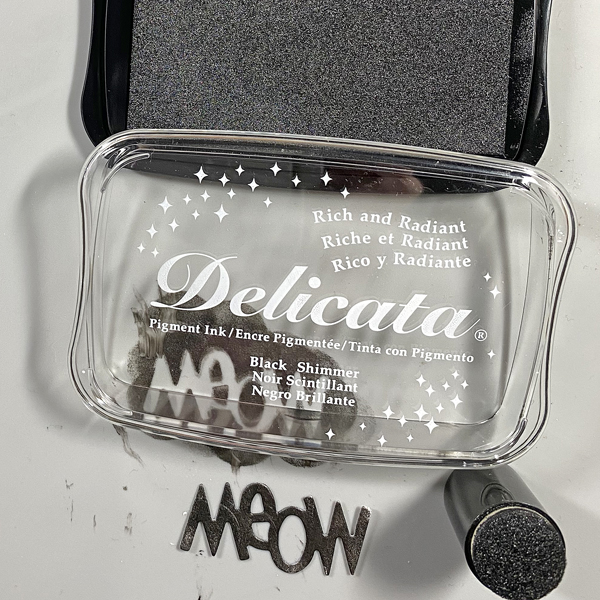
Use the “Meow” die to cut white cardstock. Use a Sponge Dauber to apply Black Shimmer Delicata Ink to both sides of the die-cut. Heat set.
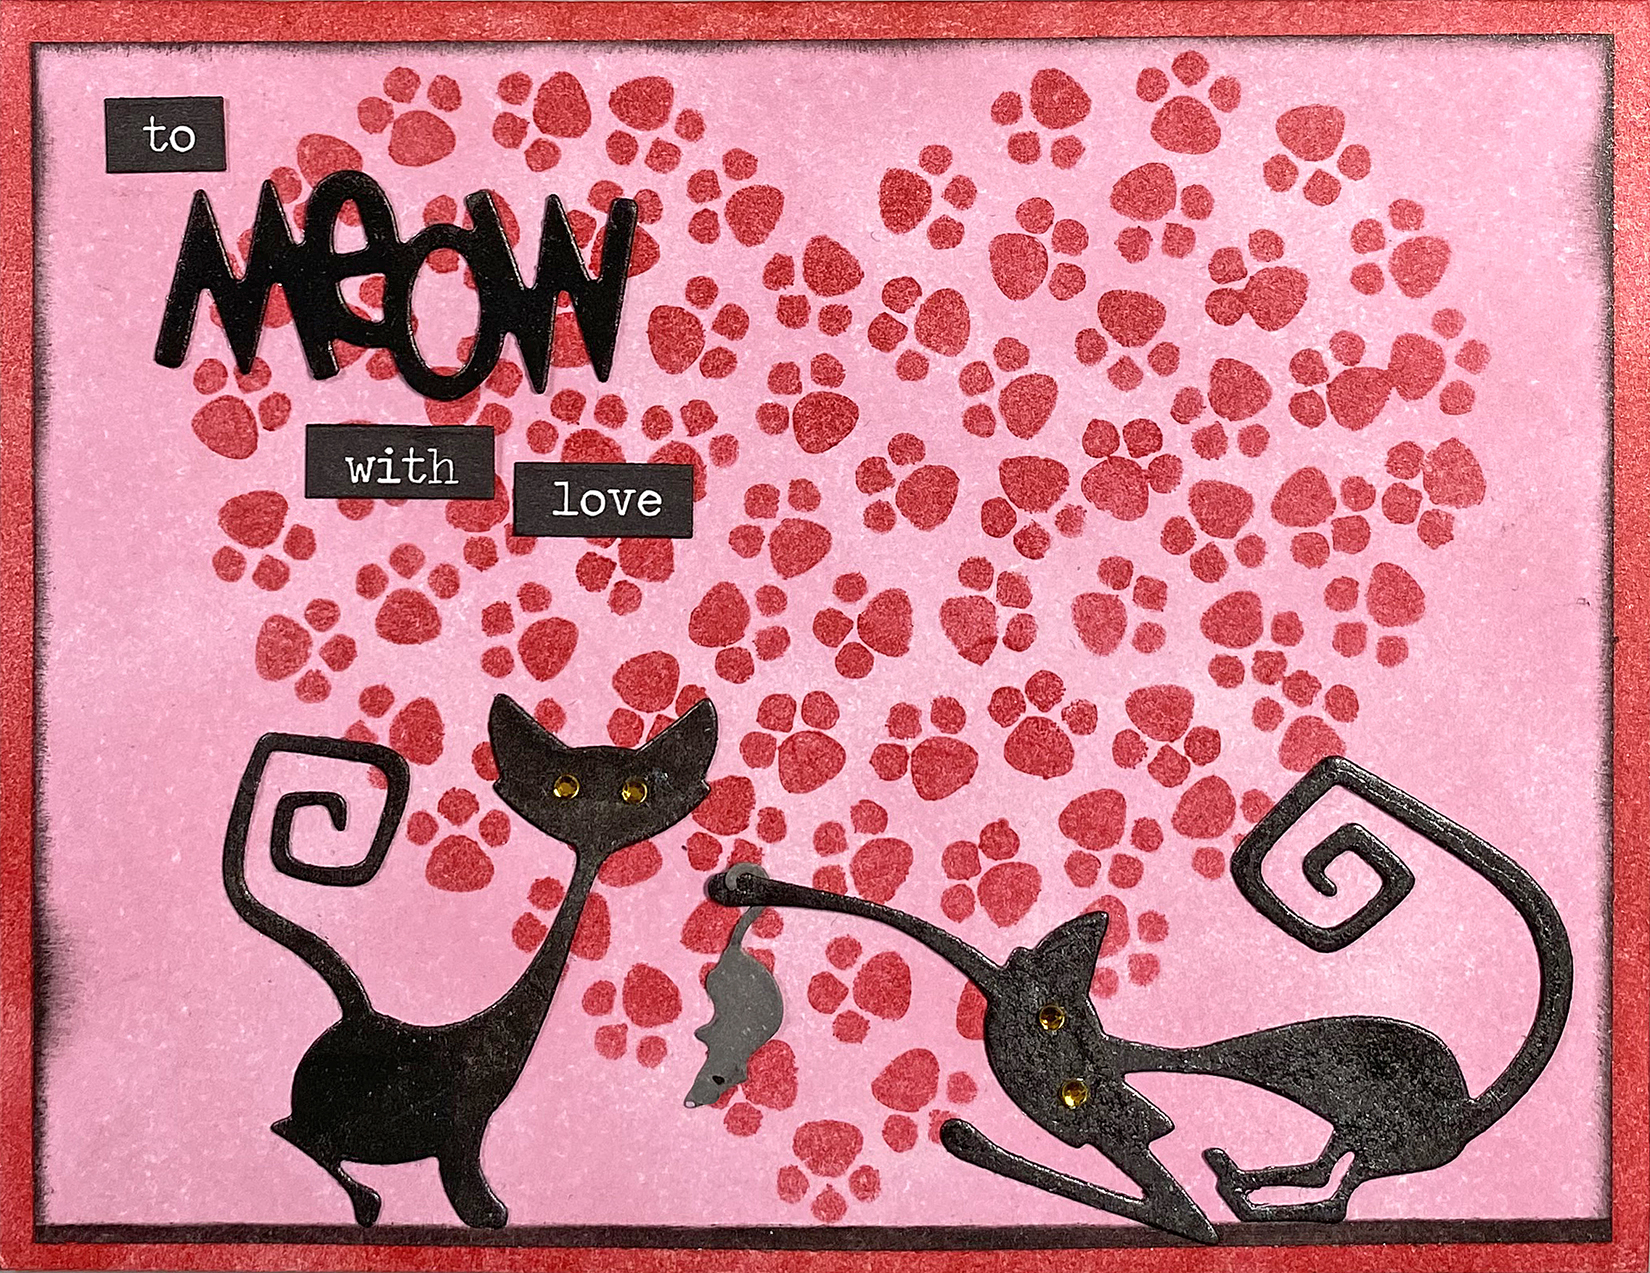
Use On-Point Glue to adhere the “Meow” die-cut to the card.
Adhere the “to”, “with”, and “love” Chit Chat Verbiage Stickers to finish the card.
Finished Card
Imagine Crafts Supplies:
- VersaFine Clair Ink – Baby Pink
- Delicata Ink – Ruby Red
- Delicata Ink – Black Shimmer
- VersaFine Clair Ink – Morning Mist
- Sponge Dauber
- On Point Glue
- Tear It! Tape
- Craft Mat
Other Supplies:
- Solar White Classic Crest Cardstock by Neenah Papers
- Pawsome Heart Stencil by Funky Fossil Designs
- Mischievous Thinlits by Tim Holtz for Sizzix
- Little Mice Die by Gina Marie Designs
- “Meow” Die: Source Unknown
- Chit Chat Tim Holtz Idea-ology Stickers by Advantus
- Repositionable Scotch Tape by 3M
- Low-Tack Tape
- Magnetic Glass Craft Mat by Glassboard Studio
- Big Shot by Sizzix