Merry Christmas Stenciled Card

By Ceil Pritchett

Hello crafty friends!
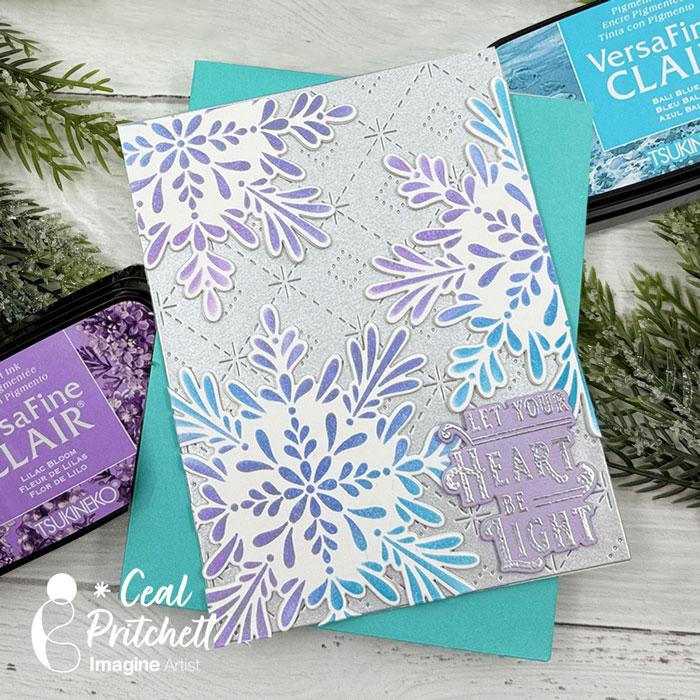
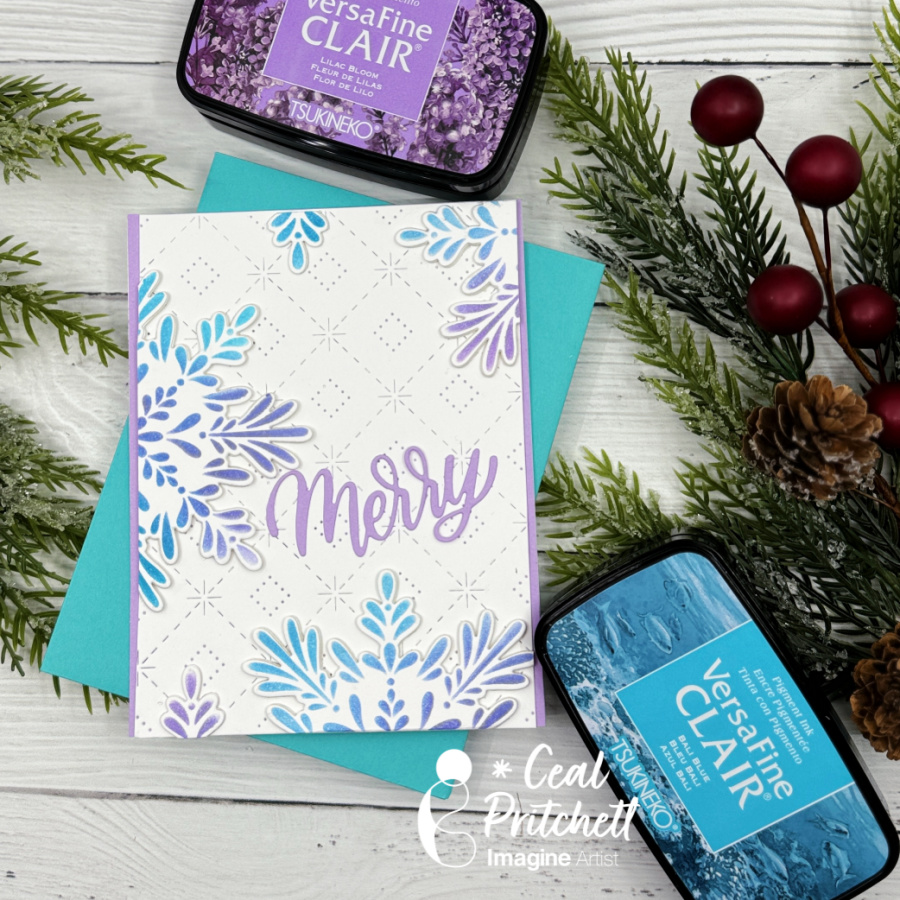
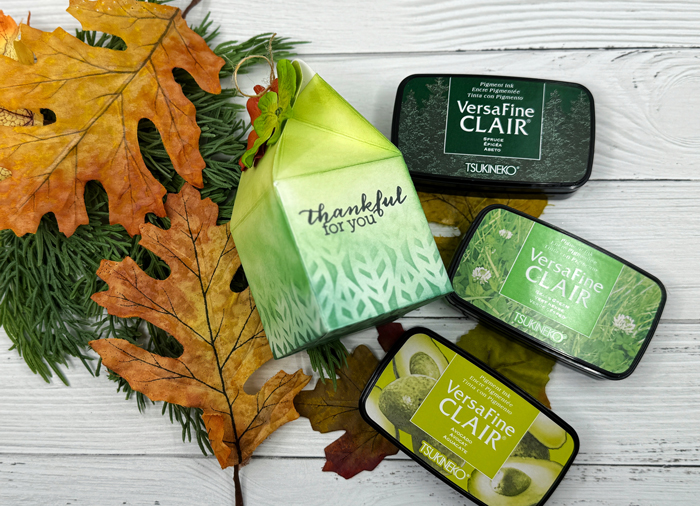
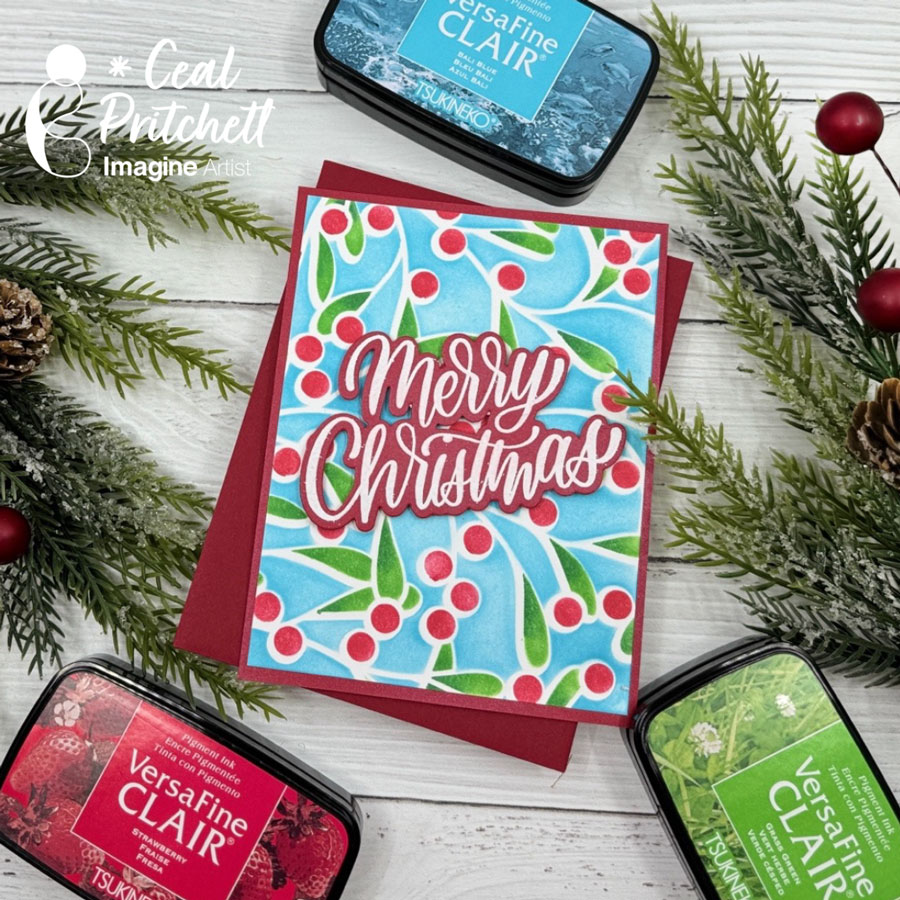
Today I am sharing how to create this stenciled Christmas card that would be a quick and easy card to make multiples of.

Skill Level: Beginner
Time: 15 to 20 minutes

Directions:

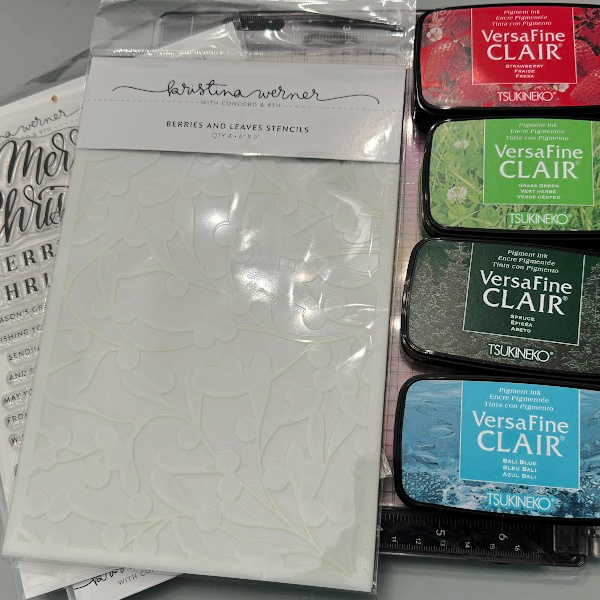
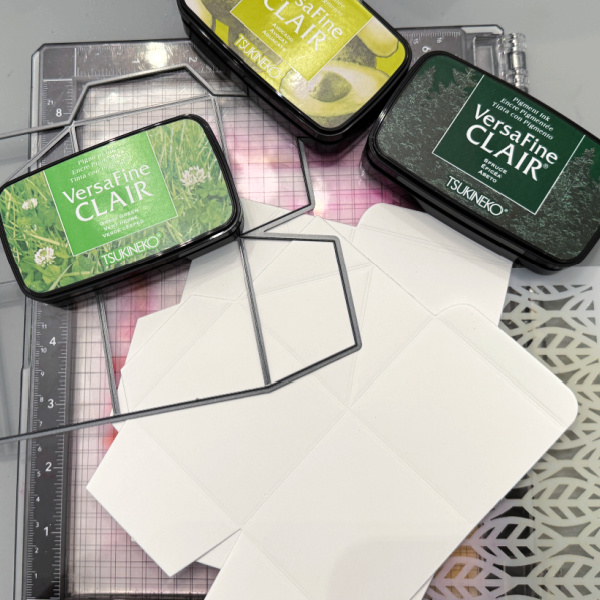
Gather your supplies. You will need several colors of ink; I used a nontraditional color along with the red and green. You will also need Layering stencils, some VersaMark ink, embossing powder and a die cut machine.
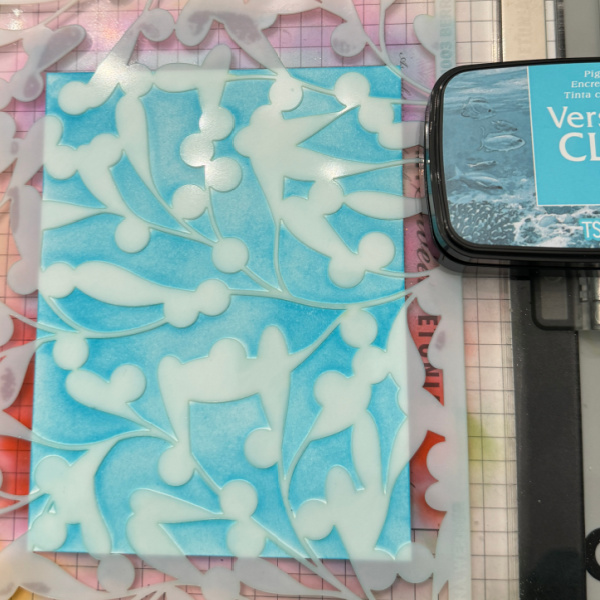
Step 1:
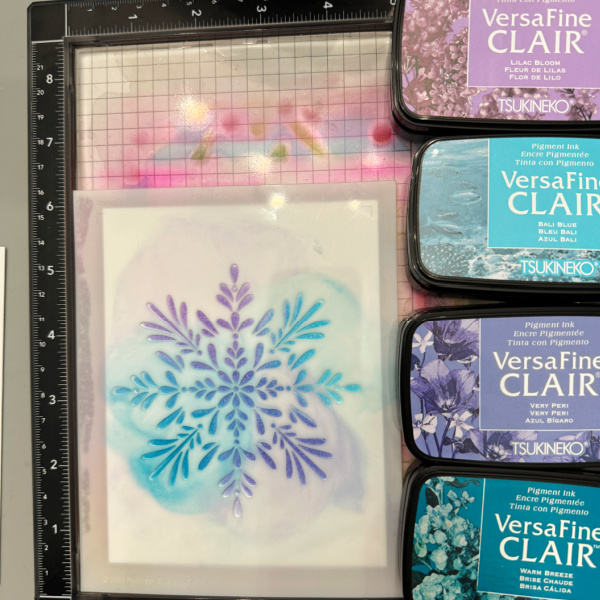
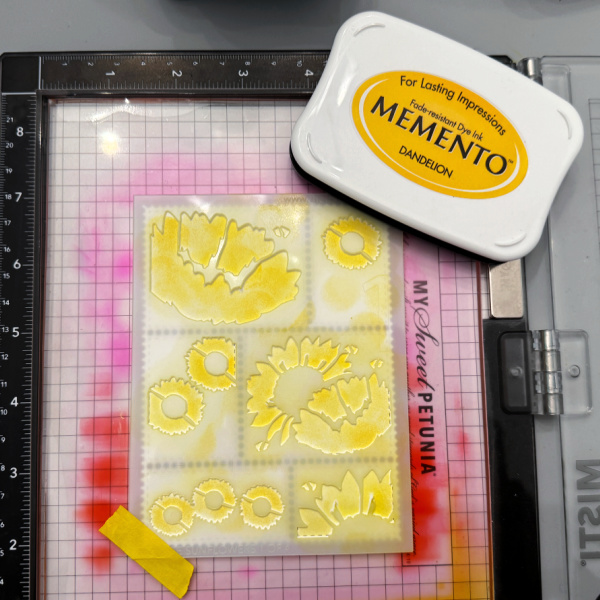
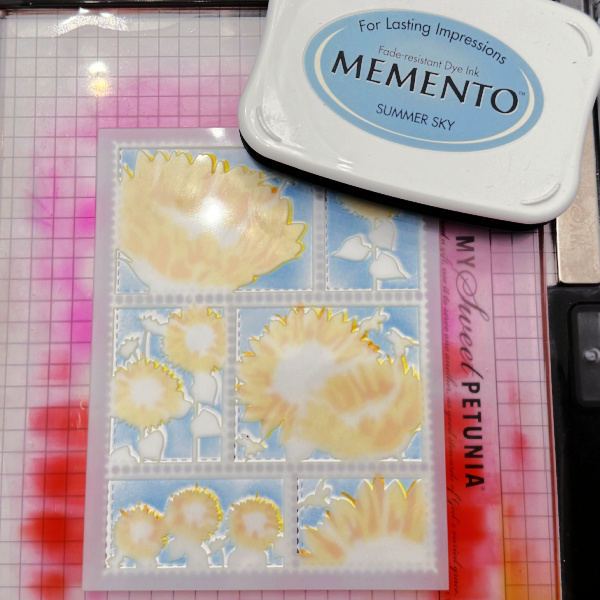
Using a grip mat or other sticky mat to hold your panel of white cardstock. Lay you stencil over the panel and ink blend the background color.
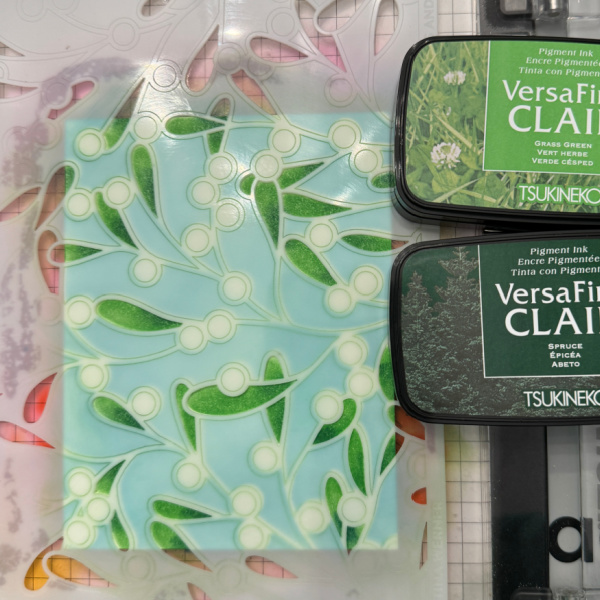
Step 2:
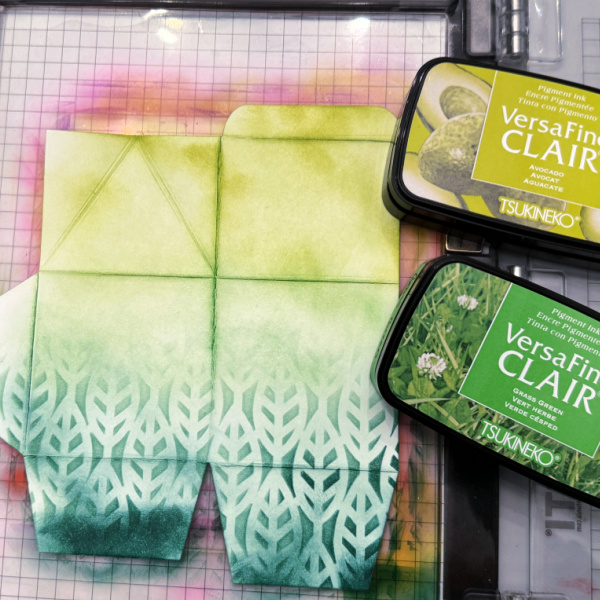
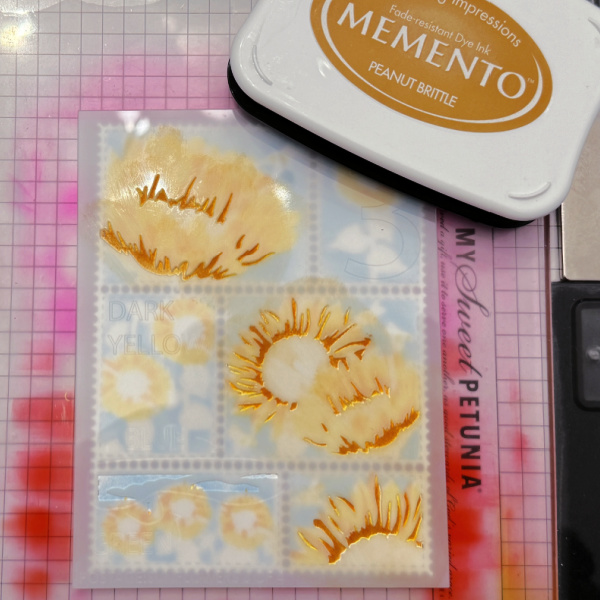
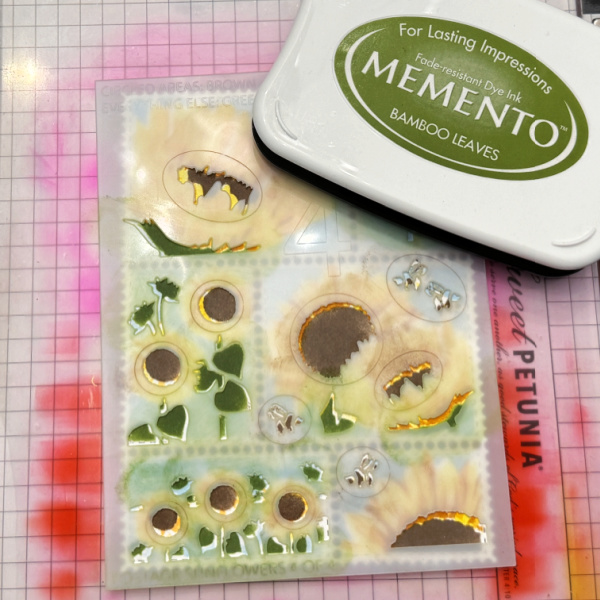
Remove the first stencil and place the next stencil over the panel and apply the next color. Since the second stencil is leaves, I used two different colors of green.
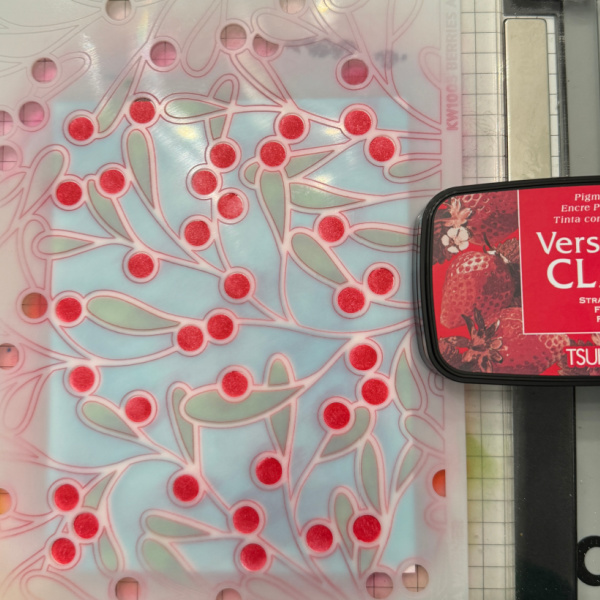
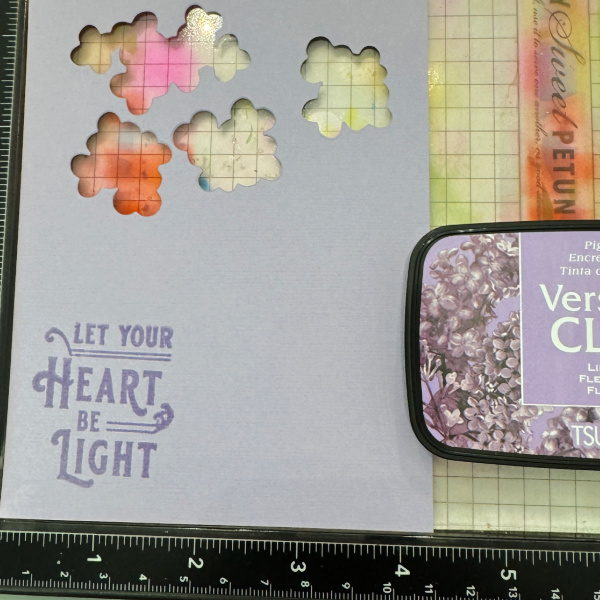
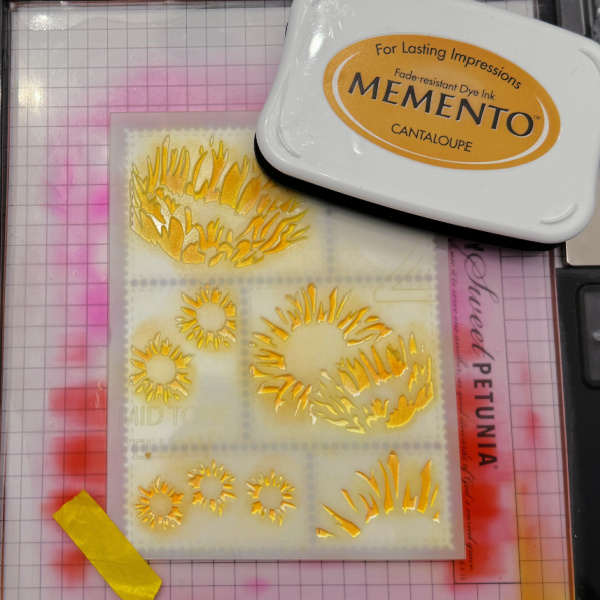
Step 3:
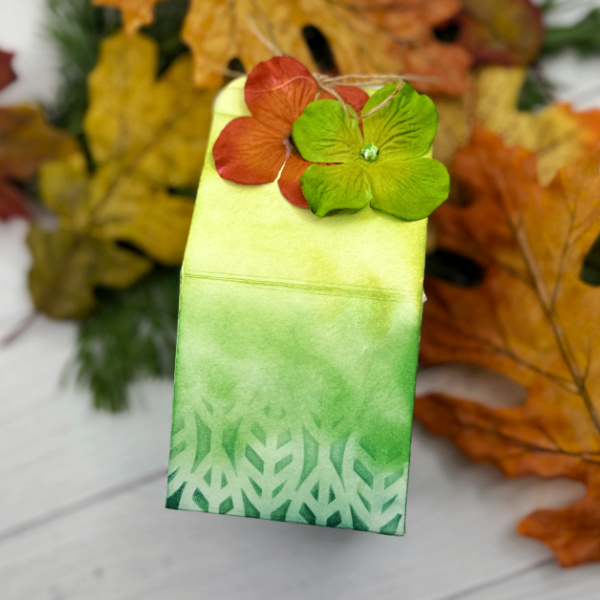
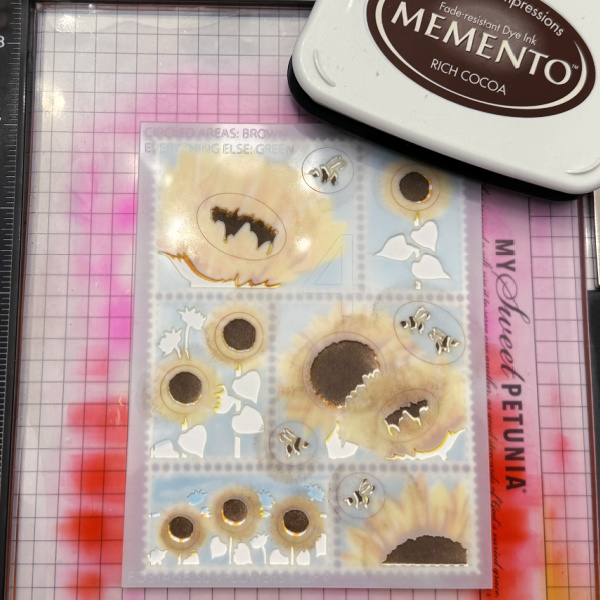
Remove the second stencil and lay the next stencil over your panel and apply the next color. With it being berries I used our new color strawberry with is perfect for berries.
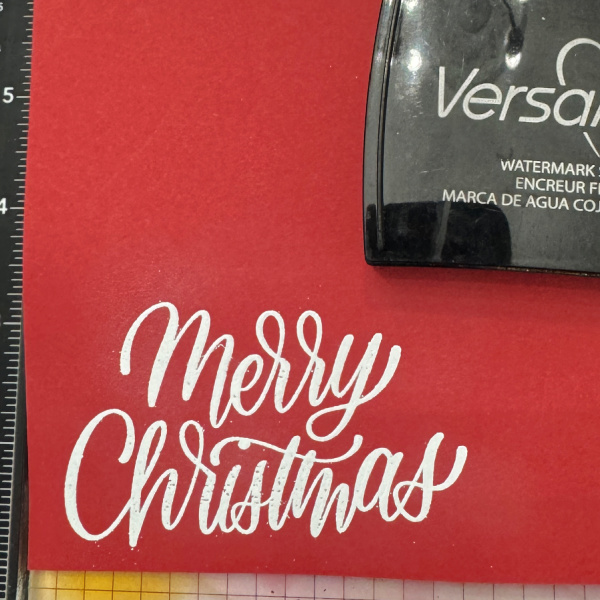
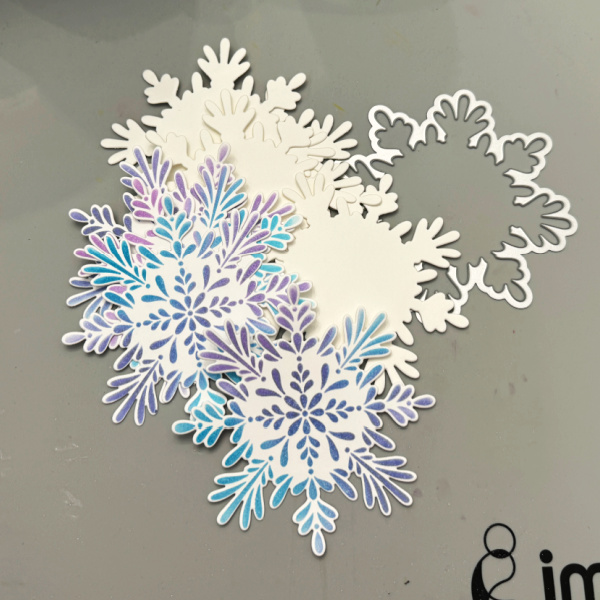
Step 4:
Stamp the greeting in VersaMark ink and emboss with white powder. Die cut it out with coordinating die and assemble the card.

 Supplies:

Imagine Products:
VersaFine Clair – Bali Blue, Grass Green and Strawberry
VersaMark

Other Products:
Neenah Classic Crest Solar White 120lb – CutCardStock
Neenah Classic Crest Solar White 80lb – CutcardStock
Poppy Cardstock – PaperTrey Ink
White Embossing Powder – Hero Arts
Merry Christmas Stamp – Kristina Werner C9
Merry Christmas Die – Kristina Werner C9
Misti Stamping Tool – My Sweet Petunia
Grip Mat – Waffle Flower crafts

Let’s Make Elegant Holiday Cards

By Ceil Pritchett

Hello Crafty Friends. Today, I am sharing how to add dimension to your card using diecuts and VersaFine Clair Inks.

Skill Level: Beginner to Intermediate
Time: 30 to 45 Minutes

Directions:

Step 1:
Gather your supplies. You will need several colors of ink, a stencil, a background cover plate, and die cuts for your stenciled image. You will also need VersaMark ink and some clear embossing powder.

Step 2:
Using a grip mat or another sticky mat, lay your panel on the mat and cover with the stencil. Use several colors of ink to color the snowflake. Repeat this process 3 times.

Step 3:
Using the coordinating die, cut out all of the snowflakes you colored along with 6 others out of a heavyweight cardstock. Add the ones cut out of the heavyweight cardstock to the colored ones. This will give you dimension for the snowflakes and will still go through the mail without extra postage.

Step 4:
Stamp the sentiment in purple ink and emboss it with clear powder. For my sample I decided to go with embossing it with silver powder on purple cardstock.

Create a background by using a cover plate die.

Assemble your card.

I created a second card with the left-over pieces.

Craft Supplies:

Imagine products:
VersaFine Clair – Bali Blue, Warm Breeze, Lilac Bloom and Very Peri
VersaMark
On Point Glue

Other products:
Neenah Classic Crest Solar White 120lb – CutCardStock
Neenah Classic Crest Solar White 80lb – CutCardStock
Stardream Silver Metallic 105lb – CutCardStock
Radiating Snowflake Stencil – PinkFresh Studio
Radiating Snowflake Die – PinkFresh Studio
Holiday Greeting Sentiments – PinkFresh Studio
Cover plate die – PinkFresh Studio
Merry Die –  Kristina Werner C9

Make a Gorgeous Milk Carton Treat Box

By Ceil Pritchett

Hello crafty friends!
Today I am sharing how to create this milk carton treat box

Skill Level: Beginner
Time: 30 minutes

Directions:

Gather your supplies. You will need a treat box die (I am using a tailored Expressions) a stencil and three colors of ink (I am using VersaFine Clair new colors) White cardstock cut to 6 x 8.5

Step 1:
Cut out two pieces of the die using white card stock. Place one of the pieces down on a stick mat to hold it in place. Place the stencil over it and ink the bottom third of the die with the darkest ink color.

Step 2:
Remove the stencil and ink the next third using the medium color of ink and the last third with the lightest color of ink. Repeat this process for the next piece.

Step 3:
Assemble the carton and embellish. I used some embellishments from my stash.

Products Used:

Imagine products:
VersaFine Clair – Avocado, Grass Green and VersaFine Clair Spruce
On Point Glue

Other products:
Neenah Classic Crest Solar White 80lb Cardstock – CutCardStock
Milk carton die – Taylored Expressions
Stencil – Ink On 3
Embellishments

Double Stencil Technique Halloween Card

By Ceil Pritchett

Hello crafty friends!
It’s Ceal, here. Today I am sharing a fun technique using stencils. It’s called Double Stenciling or Double Trouble fitting for Halloween, right?

Skill Level: Beginner
Time: 30 Minutes

Directions:

Gather your supplies. You will need two stencils, a Halloween stamp set and a word die cut. You will also need two or three inks. I used one of the newest VersaFine Clair colors along with two of the original ones. A sticky mat, tape or something to hold your stencil in place would be useful as well.

Step 1:
Lay your panel on a sicky mat of tape it down to hold it in place. Lay your first stencil on top and ink it up with VersaFine Clair Monarch.
(As you can see, I don’t usually clean my stencils)

Step 2:
Remove the first stencil and replace it with the second stencil. Ink it up with VersaFine Clair Verdant.

Step 3:
Remove the second stencil and go over the entire panel with VersaFine Clair Lilac Bloom one of our gorgeous new colors.

Afterwards cut the panel down to 5 x 3 3/4

This background reminds me of that old wallpaper you would see in a haunted house.

Step 4:
Stamp, color and fussy cut out the image and word die.

Finish the card by adding the panel to an A2 sized card base and adding the elements placed where you would like them.

Products Used:

 Imagine:
VersaFine Clair: Verdant, Monarch, Lilac Bloom
Memento Markers: Cantaloupe, Grape Jelly, Tuxedo Black ,Gray Flannel and Tangelo
On Point Glue

Other Supplies:
Neenah Classic Crest Solar White 120lb CS – CutCardStock
Neenah Classic Crest Solar White 80lb – CutCardStock
Jack of All Faces Stamp Set – The Rabbit Hole Designs
Boo Word Die – Lil Inker
Stencils – A Colorful Life Designs
Misti 2.0 – My Sweet Petunia
Grip Mat – Waffle Flower

Watercoloring with Memento Inks

By Ceil Pritchett

Hello crafty friends!
It’s Ceal, here. Today I’m sharing a fun card using this humorous stamp and water coloring it with Memento Inks.

Skill Level: Beginner
Time: 30 minutes

Directions:
Gather your supplies. You will need a outline stamp, I used one by Unity Stamp Co. You will need several colors of dye inks. The inks must be a dye ink like Memento to react with water. You will also need a pigment ink VersaFine Clair to stamp the image so it will not react with the water. The last thig you will need is a water brush or paintbrush.

Step 1:
Stamp the image using VersaFine Clair Nocturne ink

Step 2:
Using a Water brush, color in your image. I used Peanut Brittle and Cantaloupe Memento ink for the kitty

Step 3:
Using a water brush finish coloring your image. I used Teal Zeal to color the coffee cup.

Step 4:
Using a stitched die, cut out the panel and stamp the sentiment under the image. To finish the card, I used a piece of patterned paper as a mat and adhered the panel to it and then t the base.

Supplies:

Imagine:
Memento Inks: Teal Zeal, Peanut Brittle, Cantaloupe and Rich Cocoa

Other Supplies:
Neenah Classic Crest Solar White 120Lb
Neenah Classic Crest Solar White 80lb
Patterned Paper from Lawn Fawn
MISTI Stamp Platform – My Sweet Petunia
Pissy Kitty Stamp Set – Unity Stamp Co
Stitched Rectangle Die – My Favorite Things

Design a Sunflower Postage Card

By Ceil Pritchett

Hello crafty friends!
It’s Ceal, here. Today I am sharing a card using a postage die and stencil. I love using stencils in my card making because I love using inks.

Skill Level: Beginner
Time: 30 minutes

Directions: Gather your supplies. You will need several colors of ink, I used Memento inks. I used a layering stencil by The Ton and a postage stamp set also by The Ton

Step 1/Layer 1
Color in the layers with different colors of ink. The first layer is Dandelion, and I have added photos of the color for each layer.

Step2/Layer 2

Step 3/Layer 3

Step 4/Layer 4

Step 5/Layer 5 using Rich Cocoa

Step 6/Layer 5 using Bamboo Leaves

Step 7:
Added sentiment and postage stamps. Adhere to card base.

Supplies Used:

Imagine Crafts:

Memento Inks
– Dandelion
– Cantaloupe
– Summer Sky
– Peanut Brittle
– Rich Cocoa
– Bamboo Leaves

Other Supplies:
– Neenah Classic Crest Solar White 120lb
– Neenah Classic Crest Solar White 80lb
– Postage Die – The Ton
– Sunflower Postage – The Ton
– Not A Bill stamp set – The Ton