By Kathi Rerek
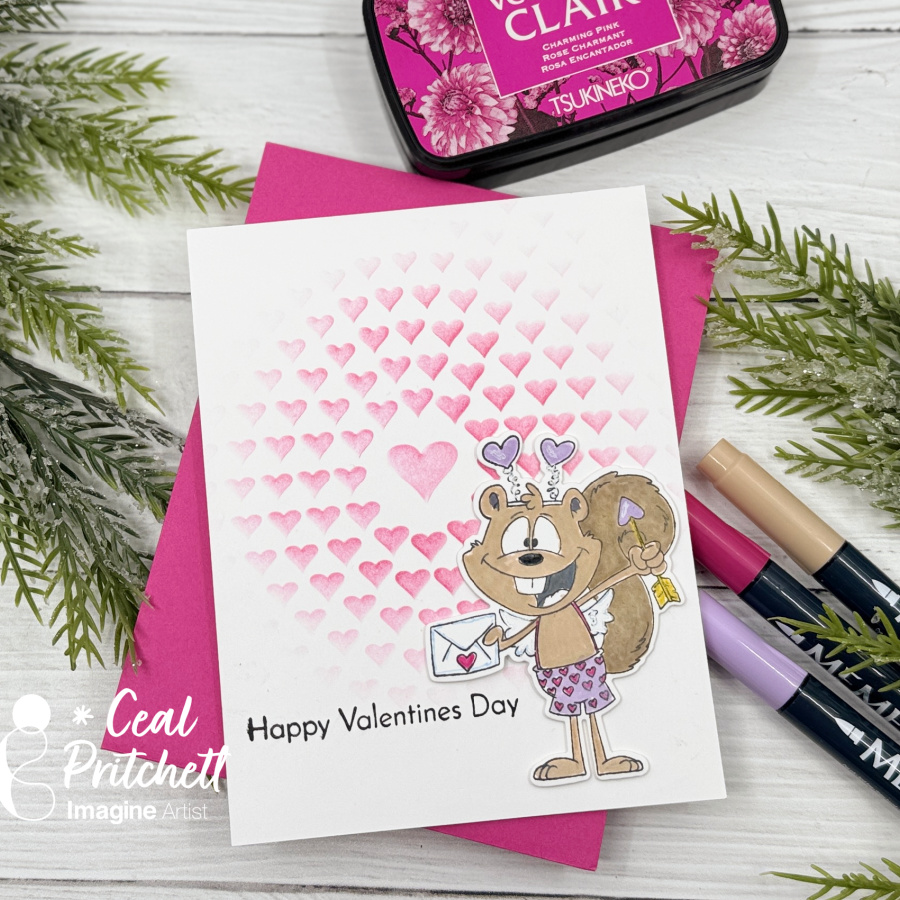
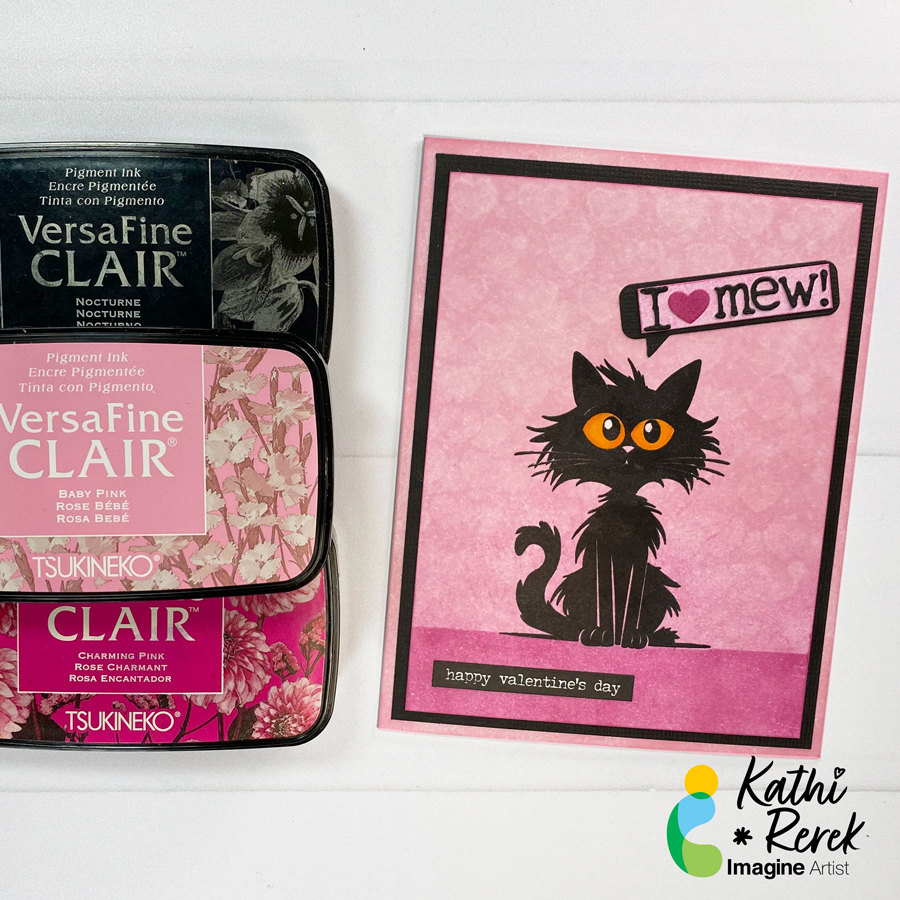
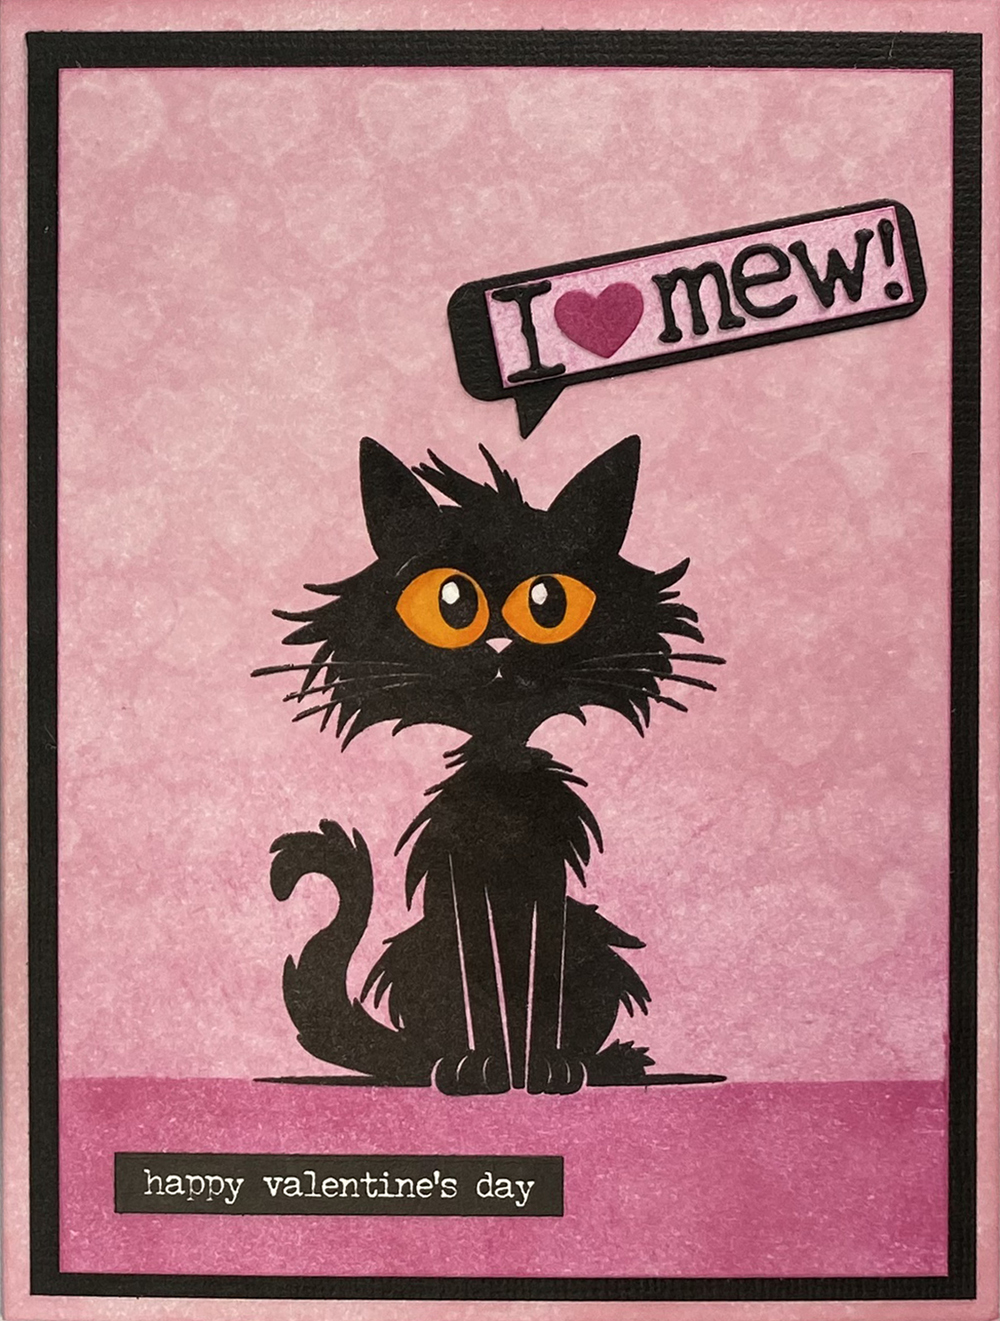
Here’s a punny Valentine’s Day card that showcases the blending of the new Baby Pink VersaFine Clair Ink with the Charming Pink VersaFine Clair Ink. I also used Purell to create a fun ghosting technique!
Skill Level: Beginner
Time: 45 minutes
Instructions:
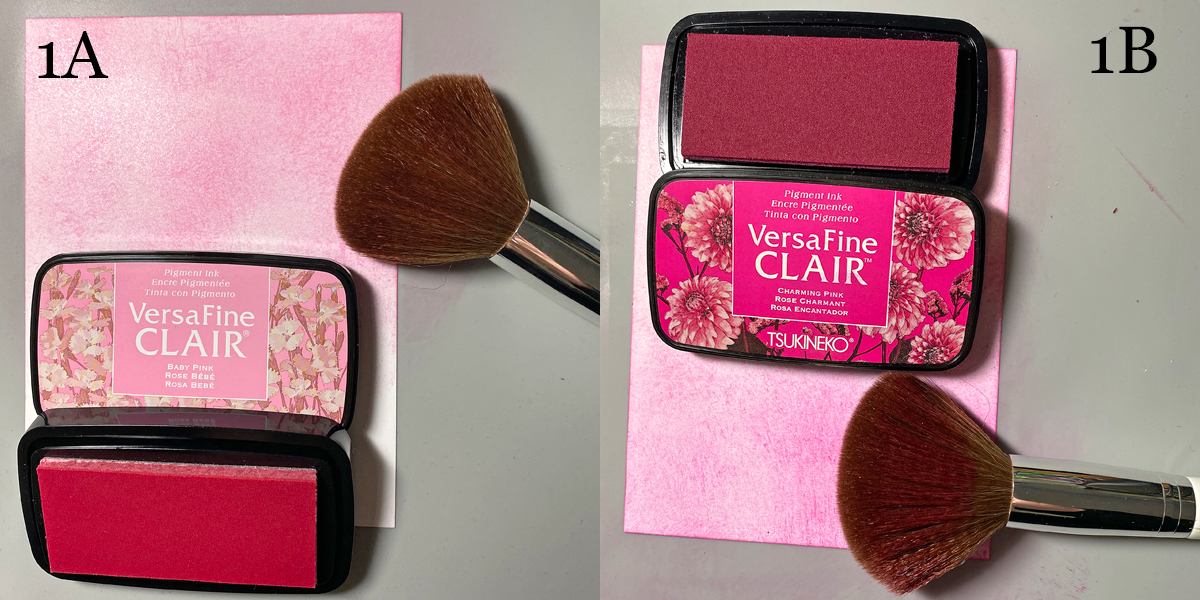
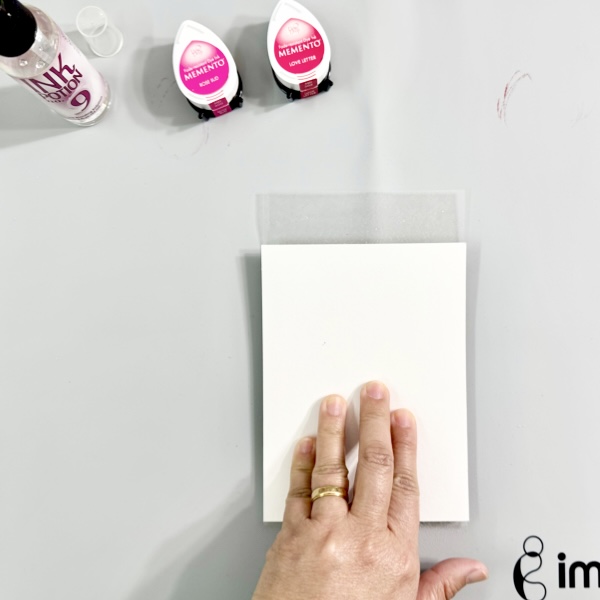
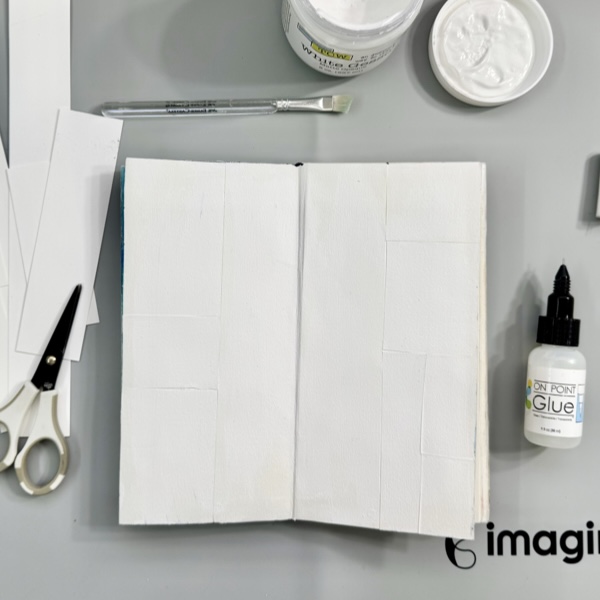
Steps 1A and B:
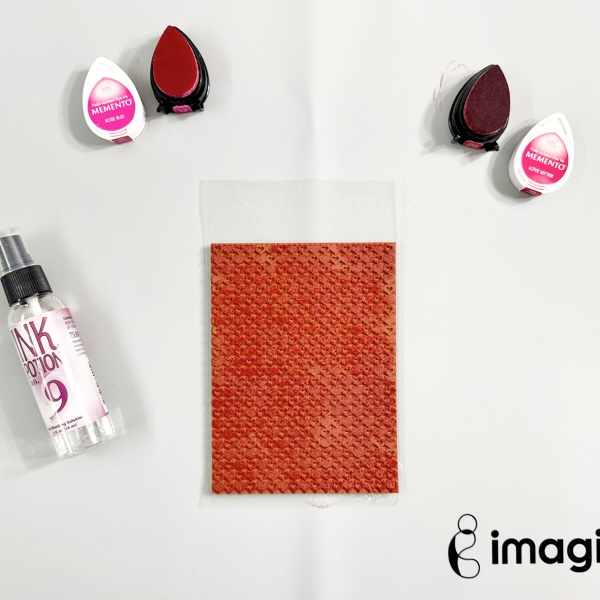
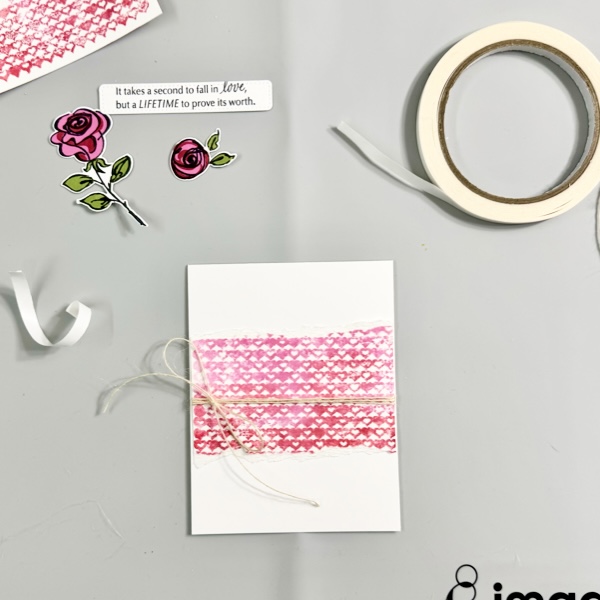
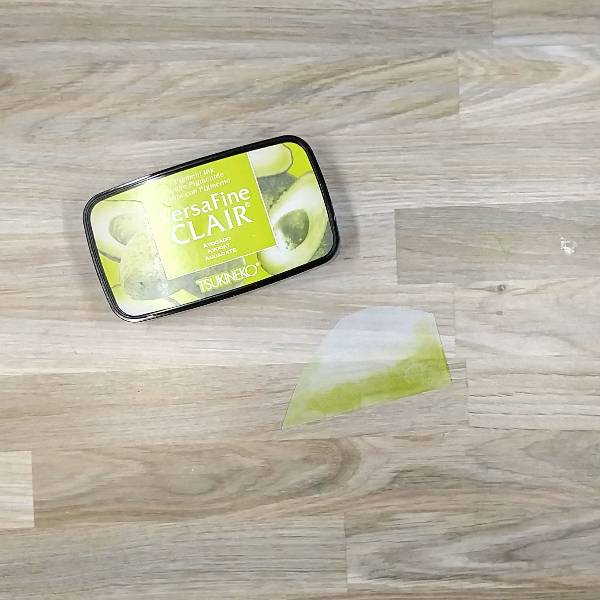
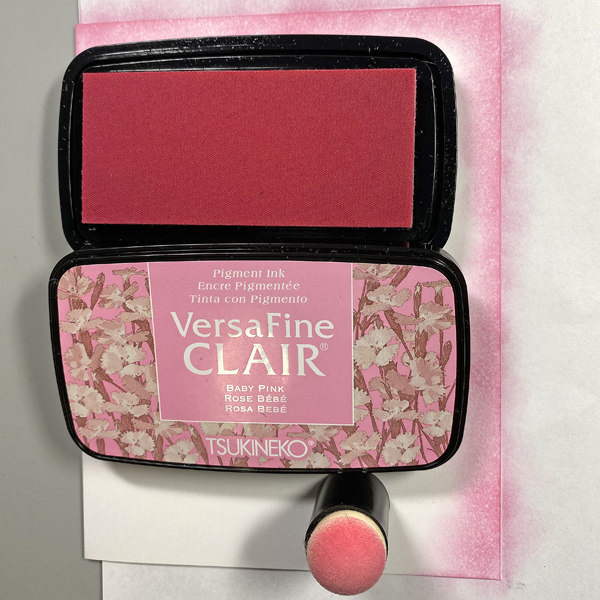
Use a make-up brush to apply Baby Pink VersaFine Clair Ink to a piece of white cardstock. Start at the top of the panel and work downwards. The make-up brush creates soft textured look on the cardstock. Continue to brush downwards until the brush doesn’t put ink onto the cardstock (1A)
Use the same make-up brush to apply Charming Pink VersaFine Clair Ink from the base of the cardstock panel, blending as you go. (1B)
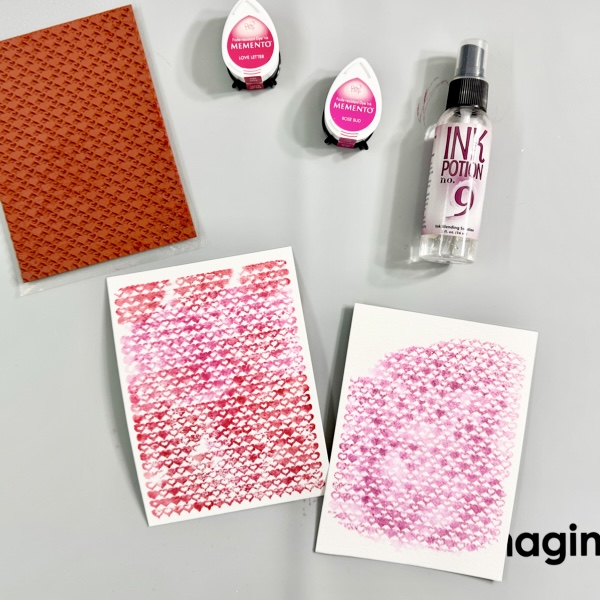
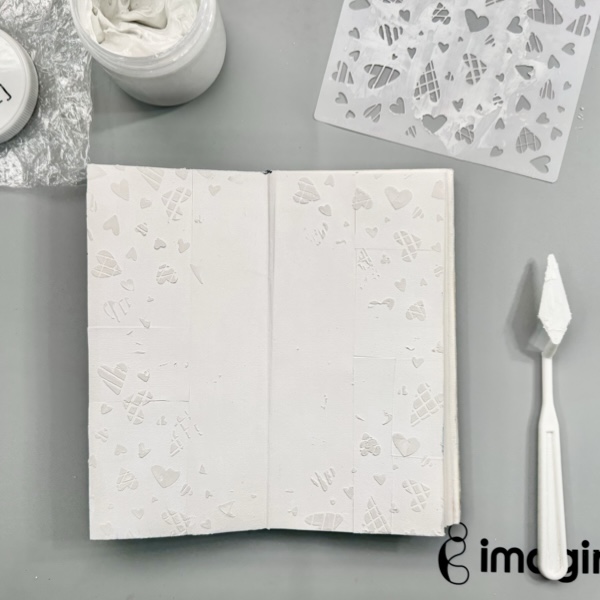
Steps 2A and B:
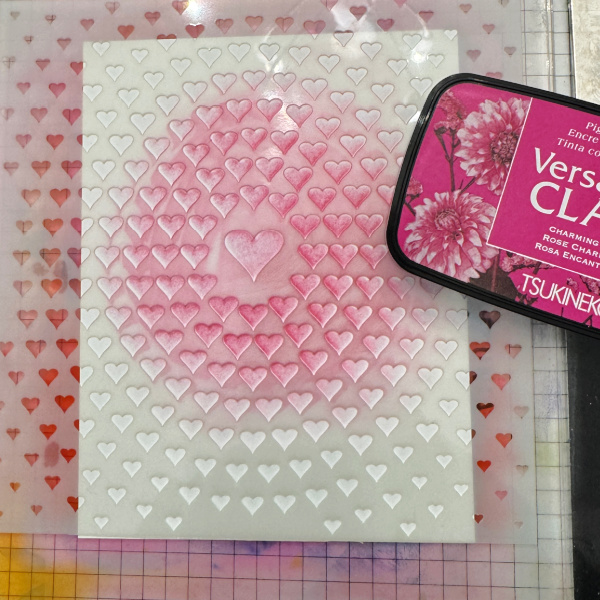
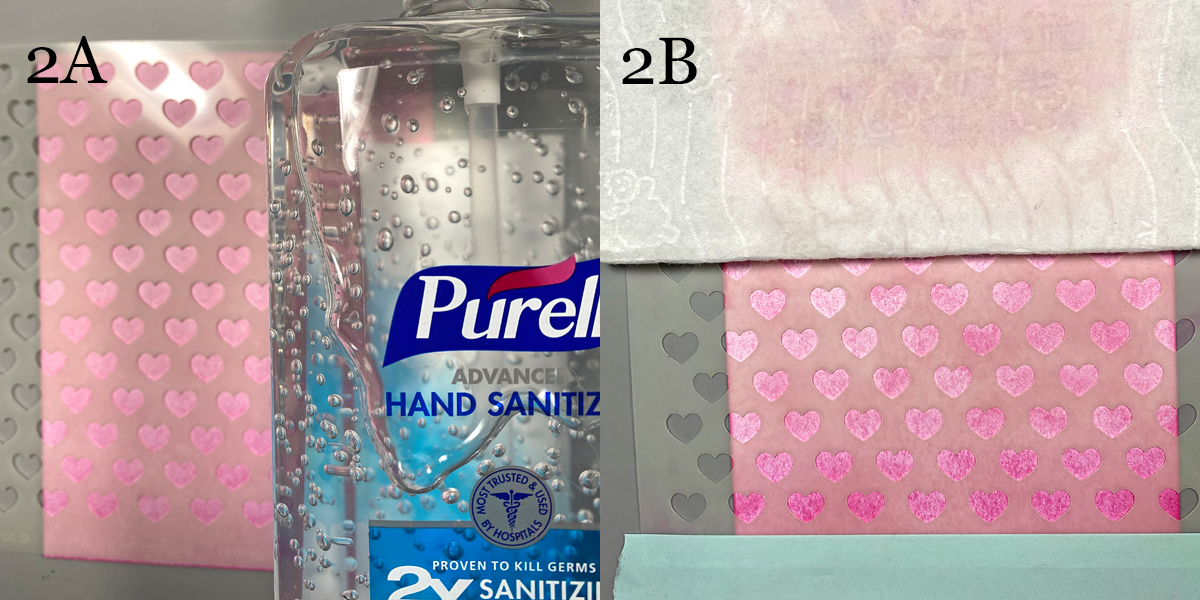
Place the Staggered Hearts stencil over the inked panel. (2A)
Add Purell to a dry baby wipe until it’s saturated then use the wipe to apply the Purell over the stencil onto the cardstock. The Purell will lift the VersaFine Clair Ink, creating ghosted hearts on the background. Heat setting will accentuate the ghosted effect while setting the ink. (2B)
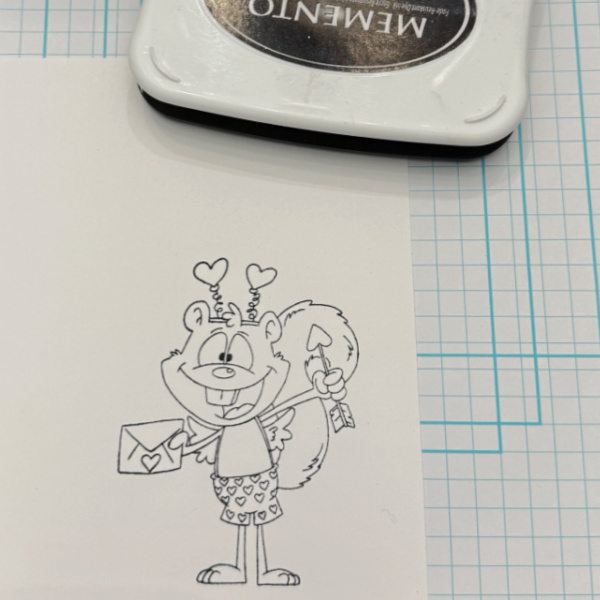
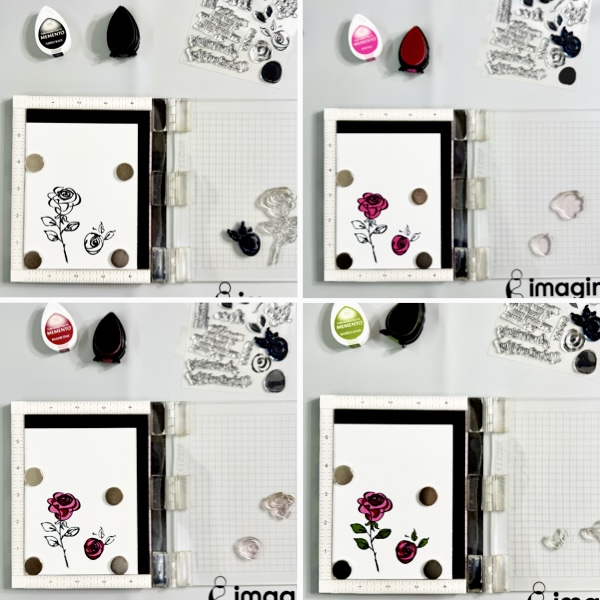
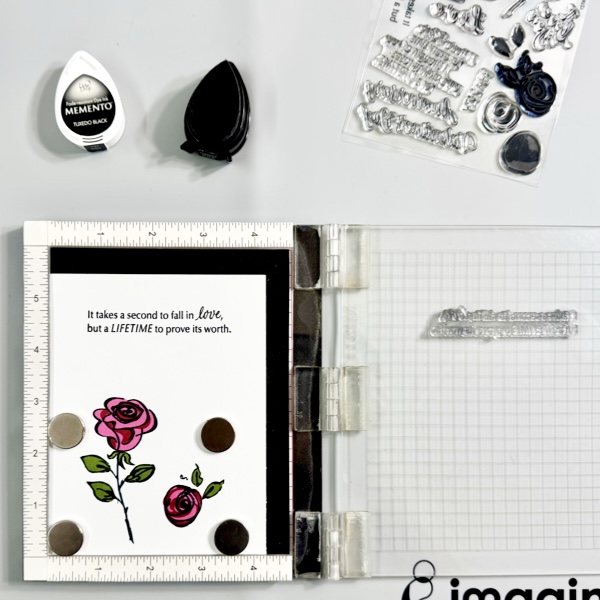
Step 3:
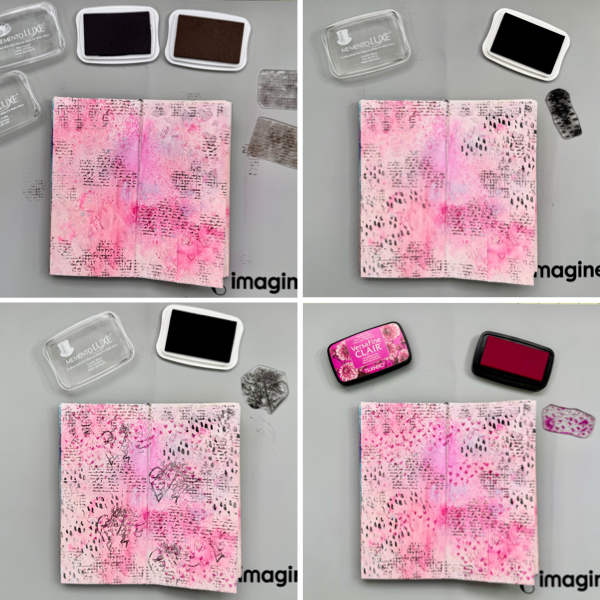
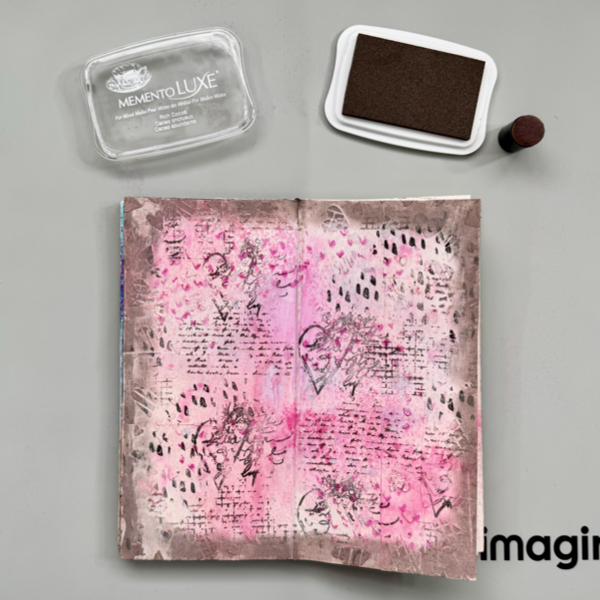
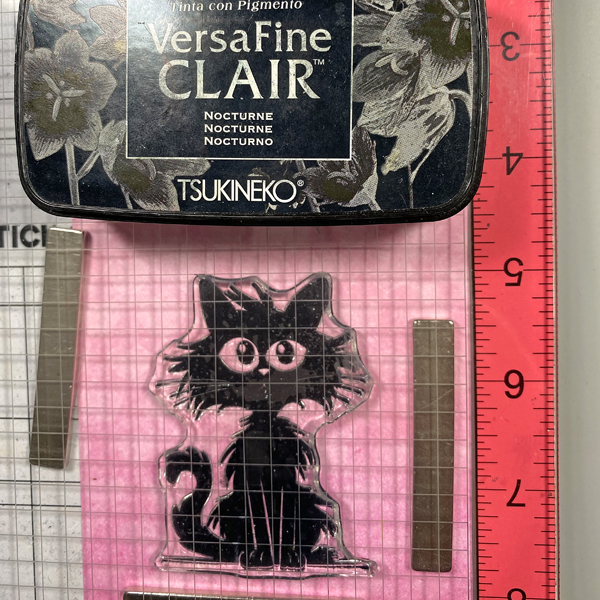
Place the inked cardstock panel onto a stamping platform. Use Nocturne VersaFine Clair Ink to stamp the cat. Re-ink and stamp again if necessary for a crisp image. Remove the image panel and use a paint brush dipped and the ink pad to do any necessary touch ups to the image. Heat set.
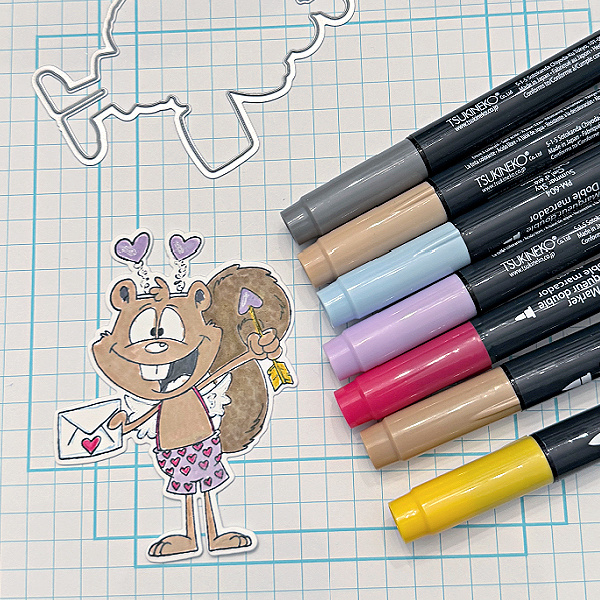
Step 4:
Use Prismacolor markers to color the cat’s eyes, taking care to avoid the black ink and contaminate your markers. Use a white gel pen to add highlights to the cat’s eyes. No photos. Sorry.
Step 5:
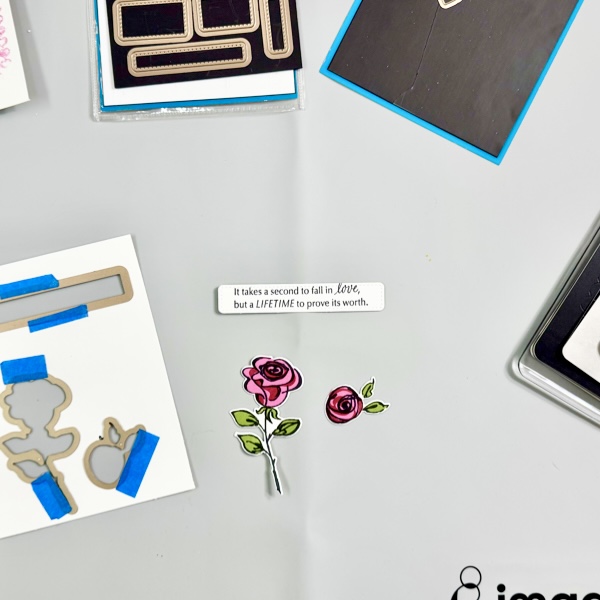
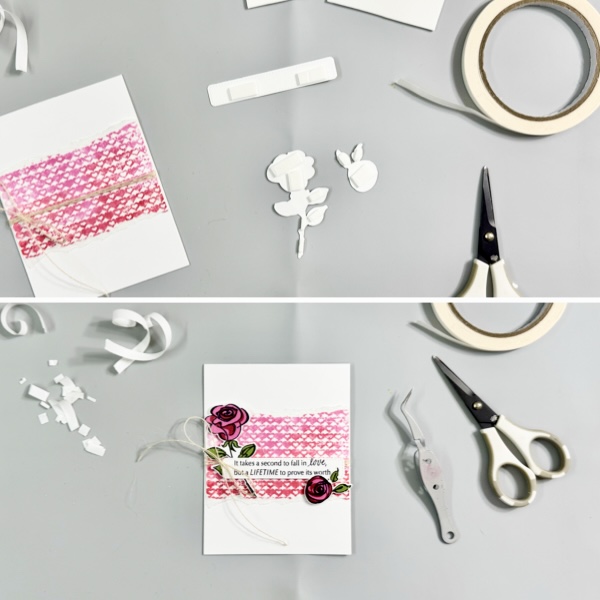
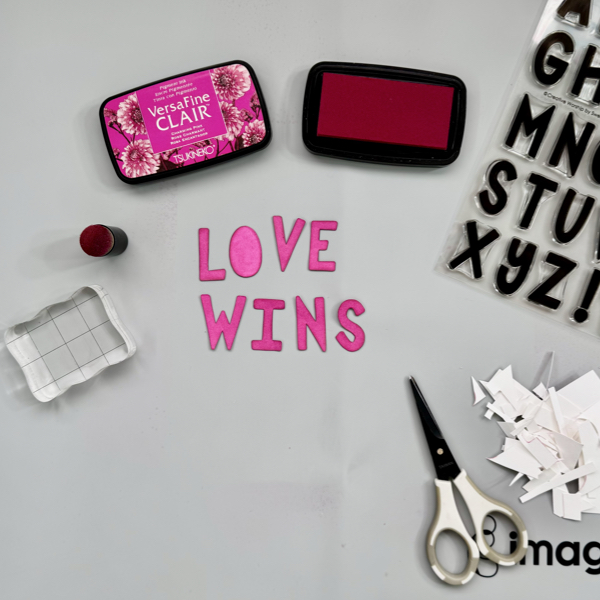
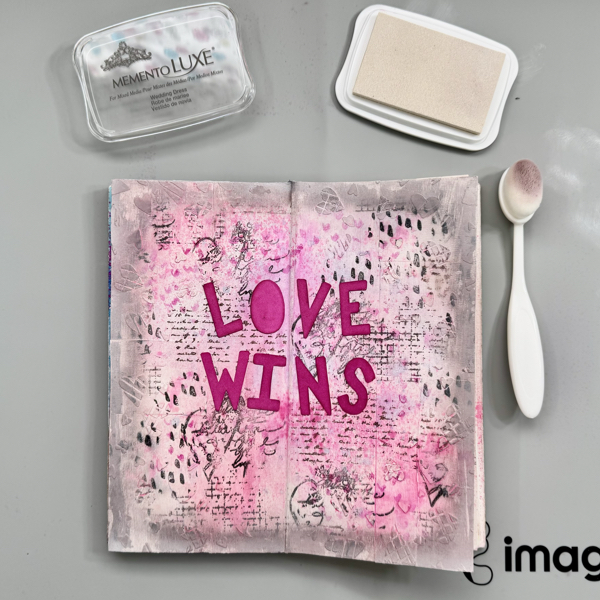
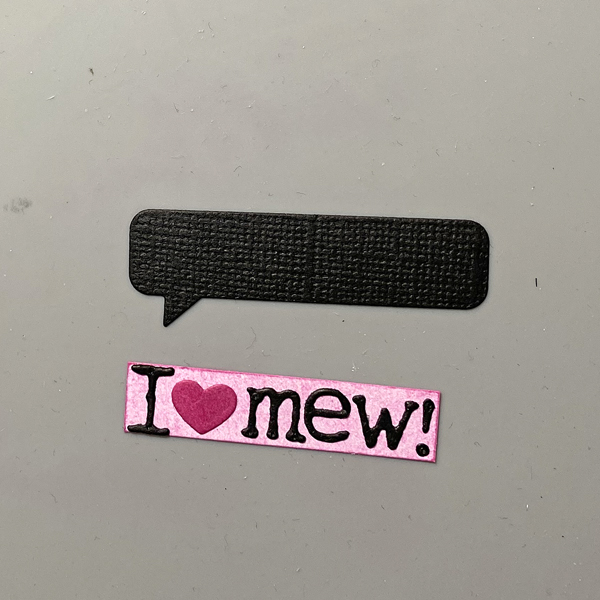
Use alphabet dies and a speech bubble die to cut black cardstock. Use a flag and a heart die to to cut to cut extra inked cardstock from Step 1. Smoosh the heart die-cut onto the Charming Pink VersaFine Clair inkpad. Trim the ends off of the flag die-cut and edge with Charming Pink VersaFine Clair Ink. Adhere the letter die-cuts and the heart to the pink strip, then adhere to the black speech bubble die-cut.
Step 6:
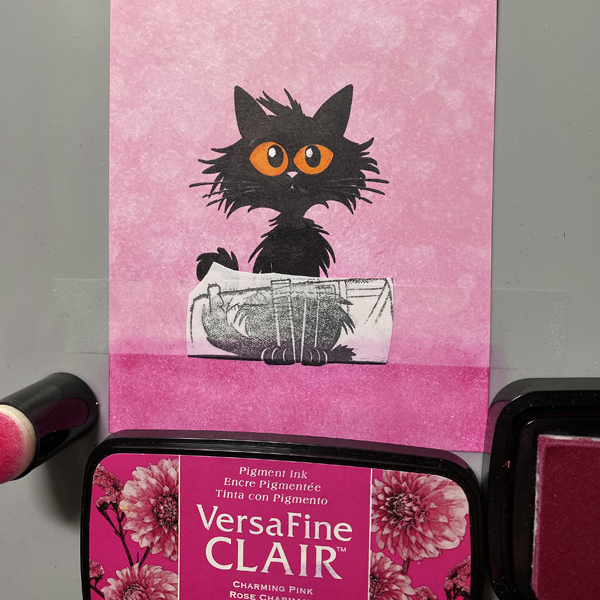
Use Nocturne VersaFine Clair Ink to stamp the cat onto the scrap of repositionable sticker paper. Fussy-cut the sticker paper along the bottom and place it over its counterpart as a mask. Place a strip of repositionable Scotch Tape across the image panel. Use a Sponge Dauber to apply Charming Pink VersaFine Clair Ink over the tape and the masked cat paws to the bottom of the image panel.
Remove the tape and the mask over the cat. Use Use a Sponge Dauber to edge the image panel with Charming Pink VersaFine Clair Ink.
Step 7:
Use a Sponge Dauber to apply Baby Pink VersaFine Clair Ink to the outside .5” perimeter of an A2 card. Heat set.

Step 8:
Cut a panel of black cardstock to 4” x 5.25”. Use Tear It! Tape to mat the image panel with the black cardstock, adhere the matted image panel to the card, and adhere the speech bubble die-cut as shown. Use the sentiment sticker to finish the card.
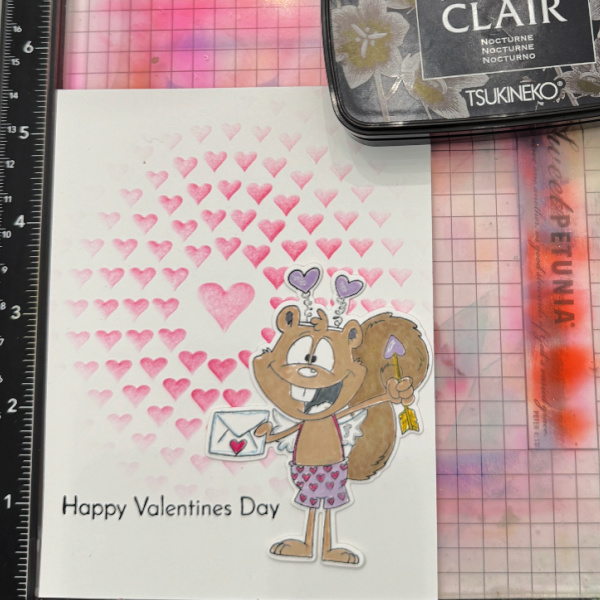
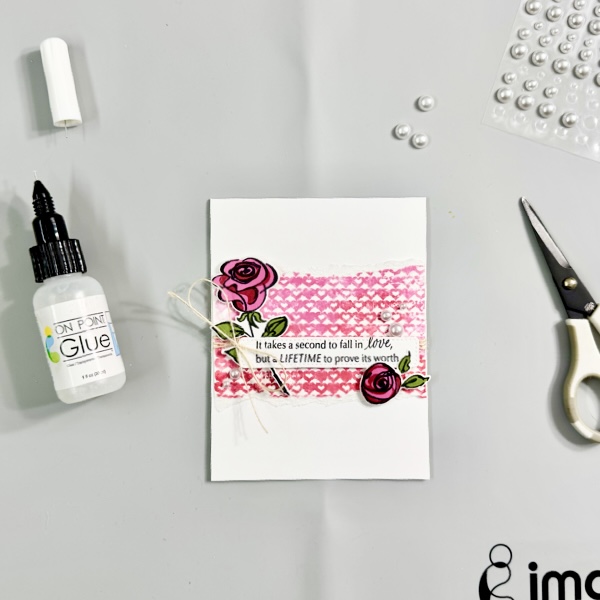
Finished Card
Imagine Crafts Supplies:
Other Supplies:
- Solar White Classic Crest Cardstock by Neenah Papers
- Raven Textured Cardstock by Bazzill Basics
- What’s Meow Clear Stamp Set by Funky Fossil Designs
- Staggered Hearts Stencil by My Favorite Things
- Speech Bubble Die-namics Die Set by My Favorite Things
- Upper and Lower Case Thinlits Die Sets by Tim Holtz for Sizzix
- Occasions Small Talk Idea-ology Stickers by Tim Holtz for Advantus
- Flag Dies: Source Unknown
- Make-up Brushes
- Dried Out Baby Wipes
- Purell
- Spanish Orange and Yellow Orange Prismacolor Markers
- Repositionable Sticker Paper by Avery
- Repositionable Scotch Tape by 3M
- Low-Tack Tape
- Magnetic Glass Craft Mat by Glassboard Studio
- Misti Stamping Platform by My Sweet Petunia
- Big Shot by Sizzix