Trick or Treat… Let’s Made a Halloween Card

By Anna Escalada York

I’ve been really enjoying Halloween cards lately and it was so fun to use a bunch of sprays to make this one.

Skill: Intermediate
Time: 1.5 hours

Directions:

Step 1:
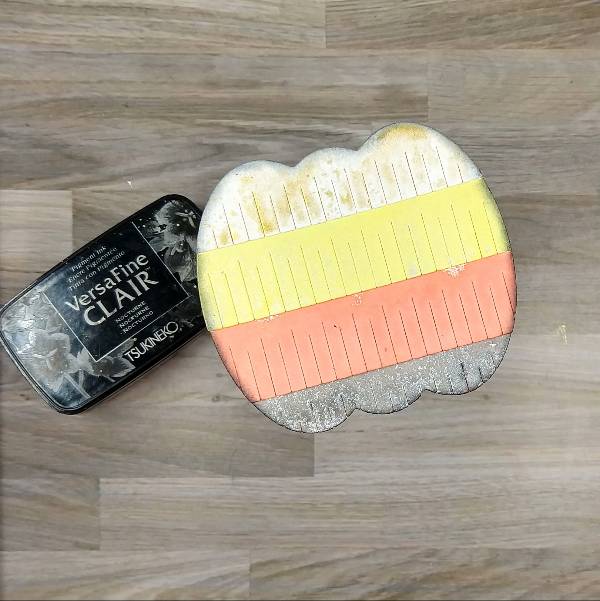
Die cut all of the pieces for the die cut pumpkin out of watercolor paper and then spray the two bottom pieces with Rich Cocoa Fireworks! Craft Spray (bottom-most layer) and Tangelo! Craft Spray (second-largest layer) and let dry.

Step 2:
Spray the other three die cut pieces: Dandelion Fireworks! Craft Spray on the middle die cut, Gold Sheer Shimmer Craft Spray on the upper part of the pumpkin’s body, and Bamboo Leaves Fireworks! Craft Spray for the pumpkin stem. Allow all the layers to dry.
Step 3:
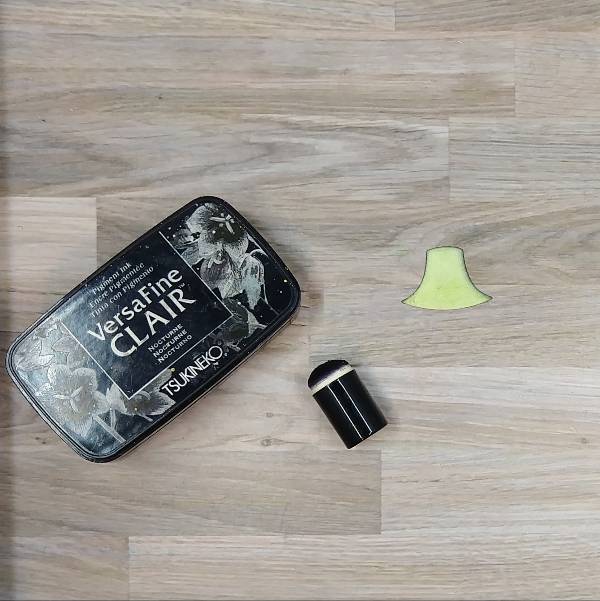
Glue the layers of the pumpkin together and then ink blend the edges of the pumpkin with Nocturne VersaFine Clair ink and a sponge dauber.
Step 4:
Ink blend the pumpkin stem die cut with Nocturne VersaFine Clair ink and a sponge dauber.

Step 5:
Spray the whole pumpkin die cut with more Gold Sheer Shimmer Craft Spray and set aside to dry.

Step 6:
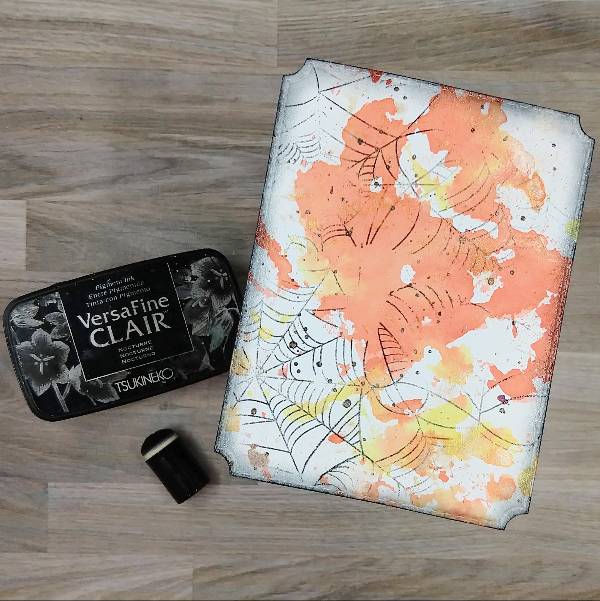
Spray the Dandelion and Tangelo Fireworks! Craft Spray onto a piece of acetate packaging and use it to watercolor smoosh a panel of watercolor paper. After the spray dries, die cut it with an A2-sized die cut.
Step 7:
Splatter Rich Cocoa Fireworks! Craft Spray onto the background panel with the stick from the bottle’s spray nozzle. Then use a Nocturne VersaFine Clair ink to partially stamp the panel as well as ink blend the edges. Heat emboss the cobwebs and ink blended edges with clear embossing powder

Step 8:
Press the Nocturne VersaFine Clair ink pad onto a small piece of watercolor paper to color it black.

Step 9:
Die cut the now black piece of watercolor paper to create the sentiment and spray it with Gold Sheer Shimmer Craft Spray.

Step 10:
Die cut a piece of vellum with the sentiment’s shadow and glue both layers together.

Step 11:
Assemble the card. Glue the pumpkin’s stem and the rest of the pumpkin together and glue it approximately in the center of the panel. Glue the sentiment on the right side of the pumpkin. Then add orange and yellow sequins onto the card. To finish the card, glue the whole card panel onto an orange A2-sized card base.

Art Supplies

Imagine

Fireworks! Craft Sprays- Bamboo Leaves, Dandelion, Rich Cocoa and Tangelo
Sheer Shimmer Craft Spray – Gold
VersaFine Clair ink – Nocturne
Sponge Dauber

Other

Pink and Main – die set – Notched Corners
Pretty Pink Posh – die set – Fringe Pumpkin
Simon Says Stamp – die cut – Trick or Treat 2
Simon Says Stamp – sequin mix – Autumn Leaves (retired)
Tailored Expressions – stamp – Spiderweb Cling & Clear Combo
A2-sized orange card base
Clear Embossing Powder
Watercolor paper
Die cutting machine Scissors
Glue
Stamping on Fabric: Muslin Bags with Ink and Stencils

By Helen Gullett

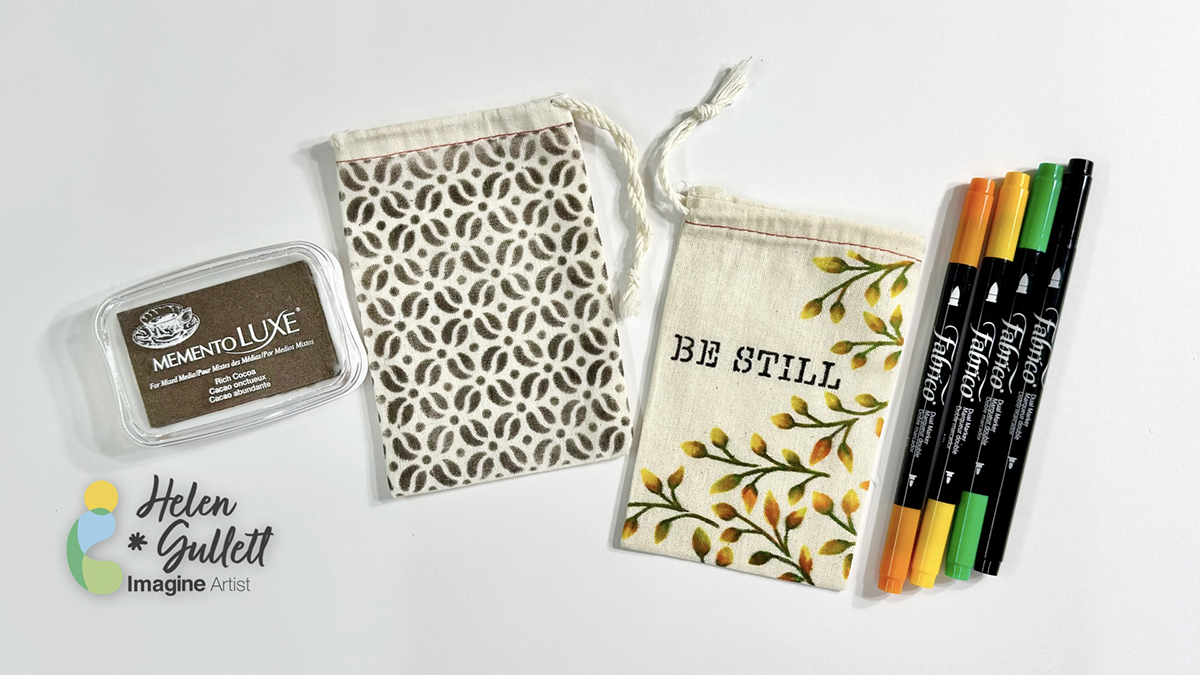
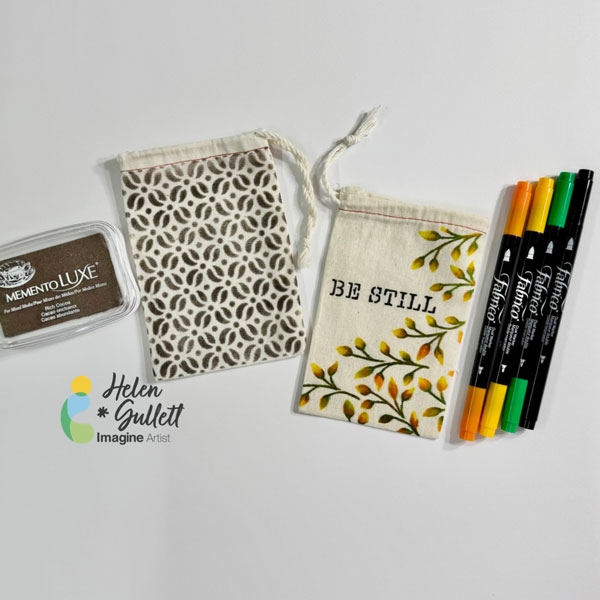
Hello crafty friends! Today’s projects are about how you can personalize any muslin bags or canvas bags by adding patterns, words, or anything you can think of with Fabrico Markers, Memento Luxe ink pads, and stencils. It will be fun projects to make for any occasion gift ideas or even for yourself to use. So, let’s make some together!

Skill: Easy
Time: 15-20 minutes

Direction:

Step 1
If your muslin or canvas bag has some wrinkles or folded lines on it, you can iron it before stenciling on it. I ironed my mini muslin bags that I used on these projects today.
Cut out a piece of a thick cardboard or cardstock as an insert mat to put inside the bag to prevent the ink from bleeding through the other side of the bag.
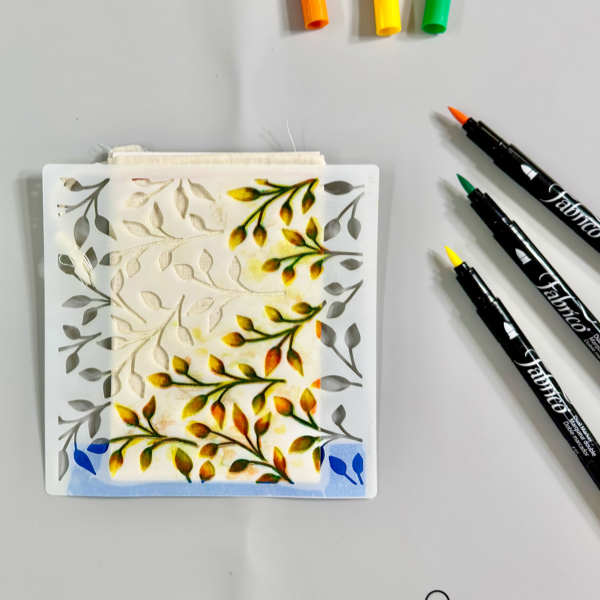
Tape the stencil on the bag with masking tape or washi tape.
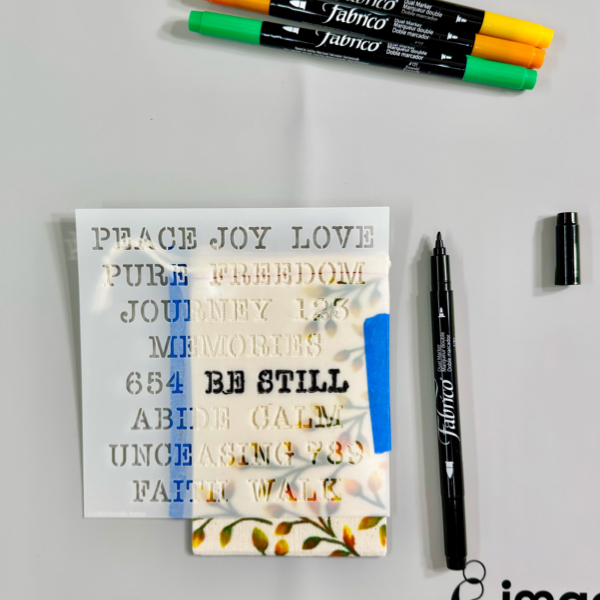
Use Fabrico Markers to color through the leafy stencil. To do the ink blending, start with dark color first, then medium color, then lighter color after to blend the color together.
The ink from the bag will transfer to the marker, but do not worry because you can clean the other ink color from the marker tip by scribbling it off on a piece of paper.

Remove the stencil from the bag.

Step 2
Repeat the same step to add more pattern or word to the bag.
On this one, I decided to add the word Be Still on the bag using stencil and Fabrico Marker.
Remove the stencil and set aside for the ink to dry, or iron the bag to dry the inks permanently and quickly.
I love how versatile these Fabrico Markers are when it comes to coloring solid images. The colors blend well together.
The second technique to personalize a muslin bag you can try is by adding ink directly to the bag with ink pads, sponge daubers, and stencil.

Step 3
Add the insert mat inside the mini muslin bag.
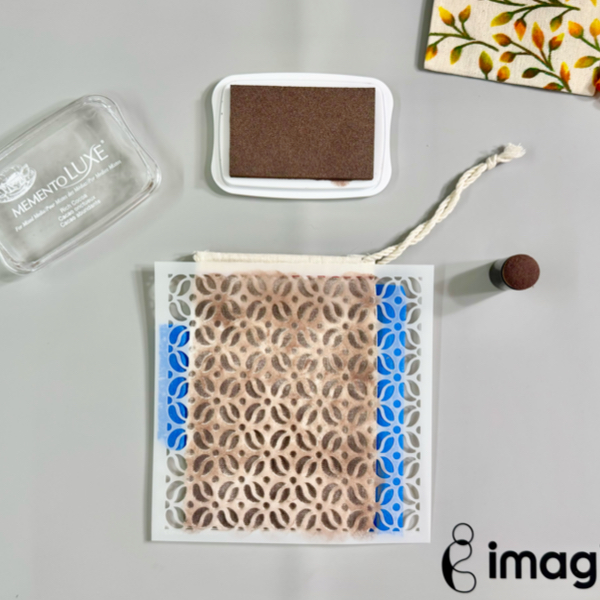
Tape the stencil on the mini muslin bag with masking tape or washi tape.
Using a sponge dauber,  pick up the ink from the Memento Luxe Rich Cocoa ink pad by tapping on the ink pad a couple times.
Dab the ink on the sponge dauber on the stencil firmly through the stencil to make sure the ink transfers to the bag.
Repeat the steps until the bag is covered with the pattern.

Step 4
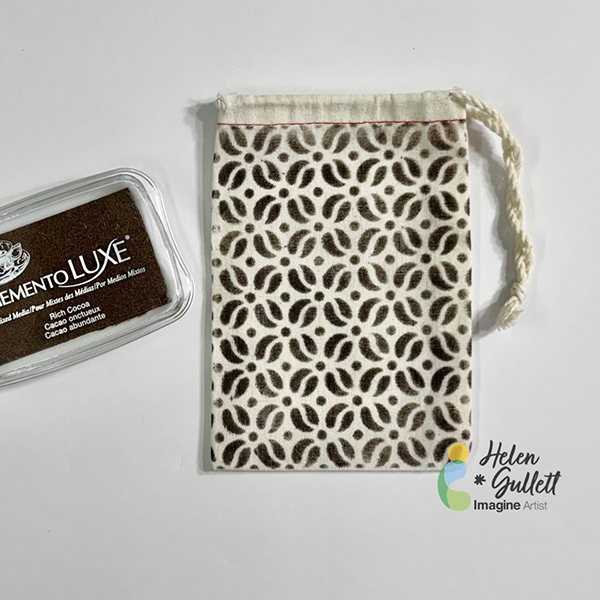
Remove the stencil from the bag.
Iron the bag to dry the ink permanently on the bag.

I love how they look after removing the stencils off the bags. I personally like both techniques, how about you? Which technique do you prefer better to do to personalize your own bags?

Hopefully you also will have fun personalizing your own bags by trying one of both techniques. Thank you for stopping by our blog today. Have a wonderful day!

Craft Supplies

Imagine Crafts:

Others:

Make a Fall Floral Coffee Cup Card

By Helen Gullett

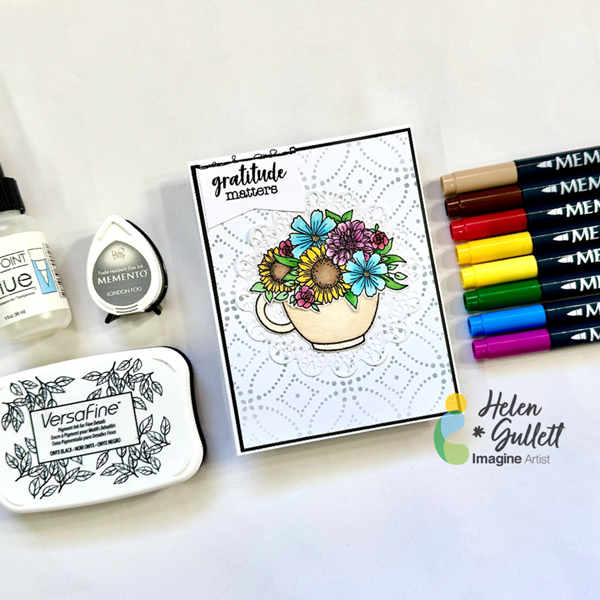
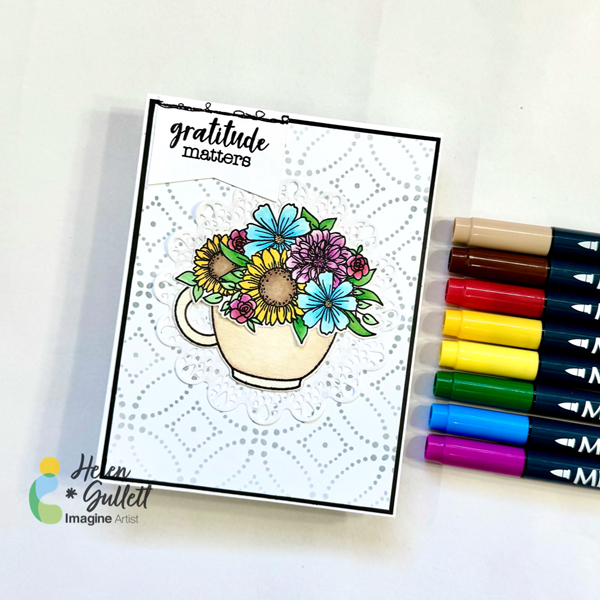
Hello crafty friends! Today, we are going to do some watercoloring with Memento markers, stenciling with Memento ink, and stamping with VersaFine ink to make this Fall floral coffee mug card. Let’s gather your supplies, grab a cup of coffee, and get crafting together!

Skill: Intermediate
Time: 15-20 minutes

Direction:

Step 1

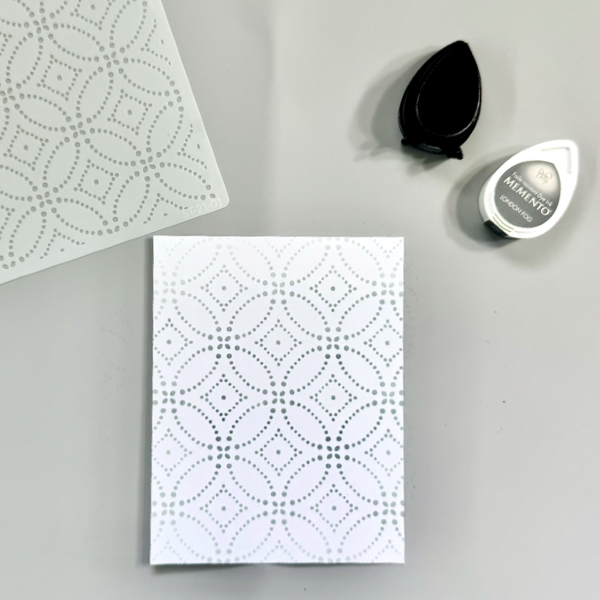
Cut out a piece white cardstock into 4″ x 5 1/4″

Put the stencil on top of the cardstock and secure it with some washi tape or removable tape.

Use a blending brush to add the Memento London Fog ink to the cardstock.

Remove the stencil and set aside for the ink to dry.

Step 2

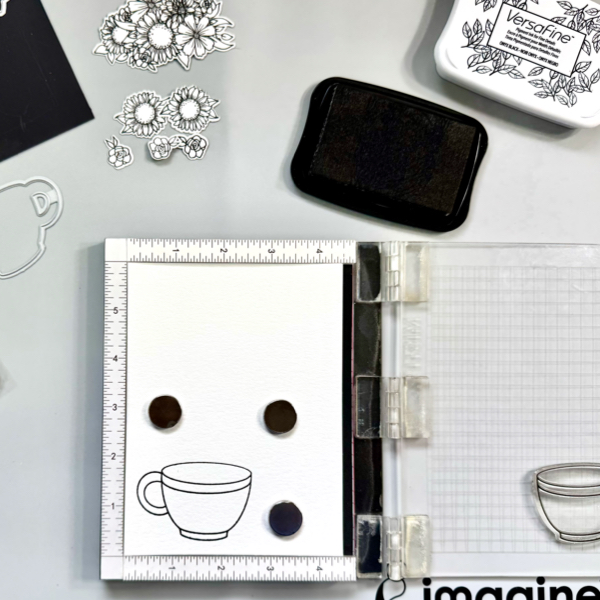
On a piece of watercolor cardstock, stamp all the floral and cup images with the VersaFine Onyx Black ink.

Cut them with their matching die set or you can simply fussy cut them with scissors.

Step 3

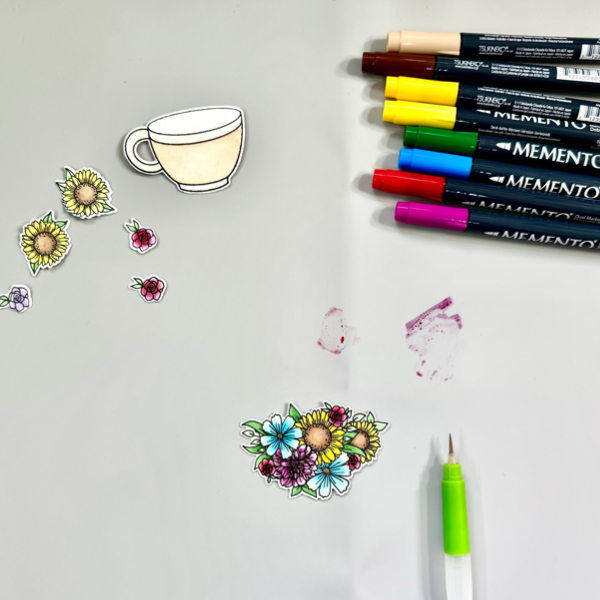
There are two ways of watercoloring. The first option is you can do wet on wet technique by lightly wet the area where you want to add the watercolor paint, and then pick up the ink with a water brush and color on the wet watercolor paper. And the second option is called wet on dry technique where you add the watercolor paint directly on the dry watercolor paper. Both ways work well with these Memento Markers.

On this project, I used the wet on wet technique. First, scribble each color of the Memento Marker on the craft mat. Wet the stamped image, pick up the ink with a wet water brush, and then add the color to the image. Dry the watercolored image with a craft heat gun.

Step 4

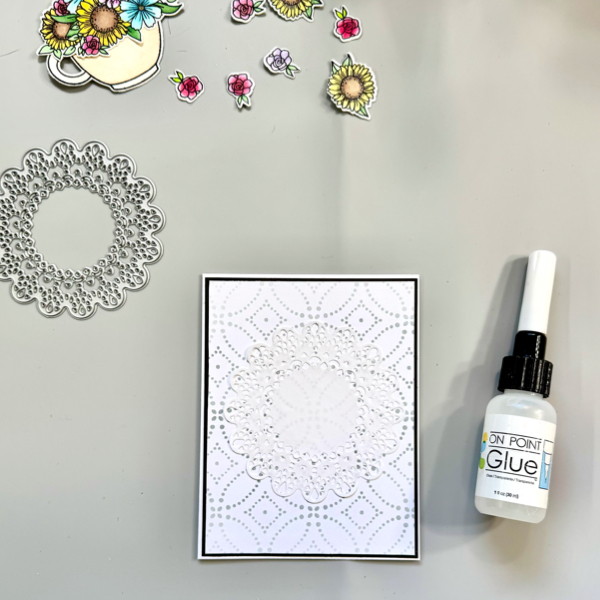
Cut out a piece of copy paper with the doily die to make paper doily. Add it to the stenciled panel with On Point Glue.

Cut a piece of black cardstock into 4 1/8″ x 5 3/8″ mat, add the stenciled panel to it with On Point Glue.

Add the whole background panel to the card base with On Point Glue.

Put together the watercolored coffee mug and flower bouquet cluster with On Point Glue.

Step 5

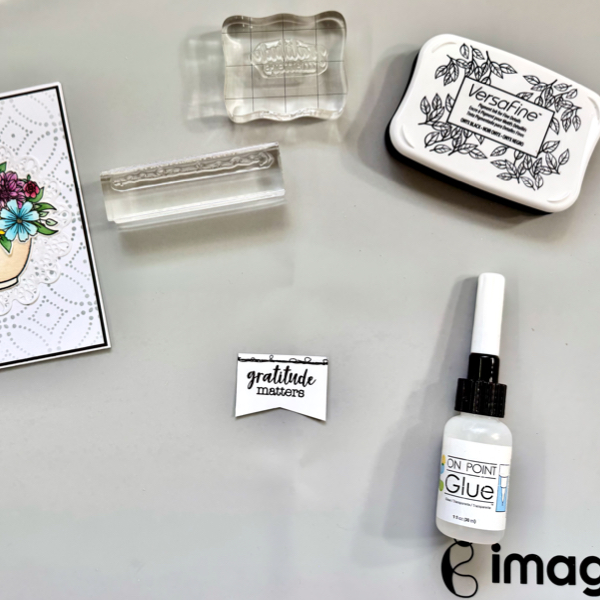
Stamp the sentiment and faux stitch pattern on a piece of white cardstock with VersaFine Onyx Black, and then trim it into a sentiment banner.

Add the floral coffee mug in the middle of the card, on top of the doily with On Point Glue.

Add the sentiment banner on the left top of the card with On Point Glue.

Memento Markers are not only for coloring, but also watercoloring. I had fun making this card with a watercoloring technique using these markers. And I hope this Fall Floral Coffee mug card can perk you up!

Thank you for stopping by our blog today. Have a wonderful day!

Craft Supplies

Imagine Crafts:

Others:

Fall Birthday Wishes with VersaFine Clair

By Ceal Pritchett

Hello everyone,
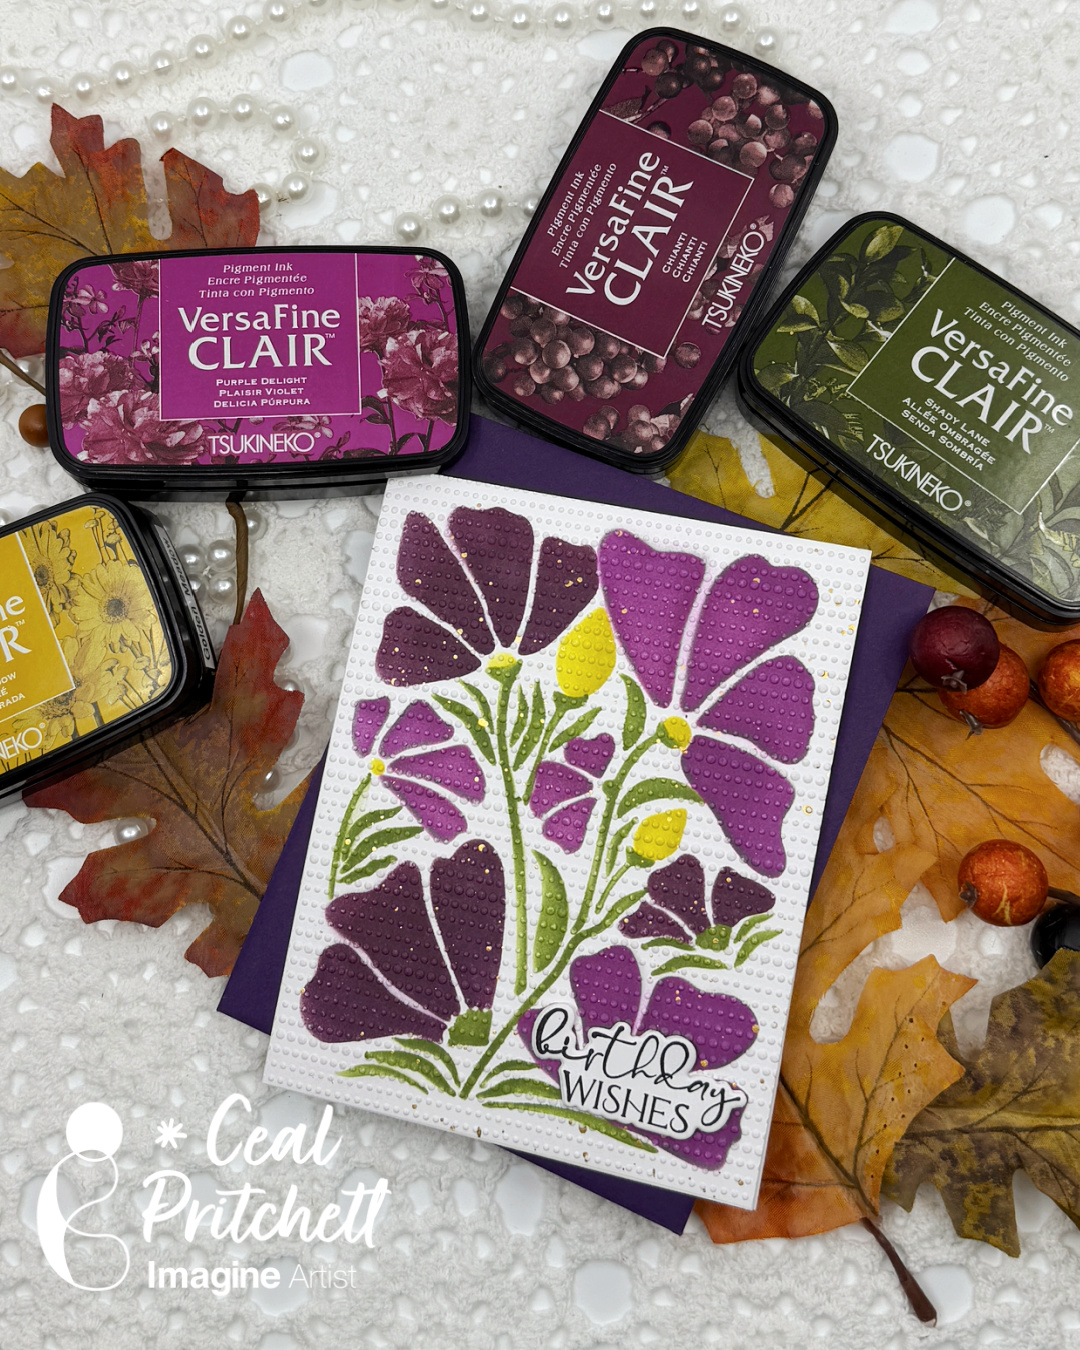
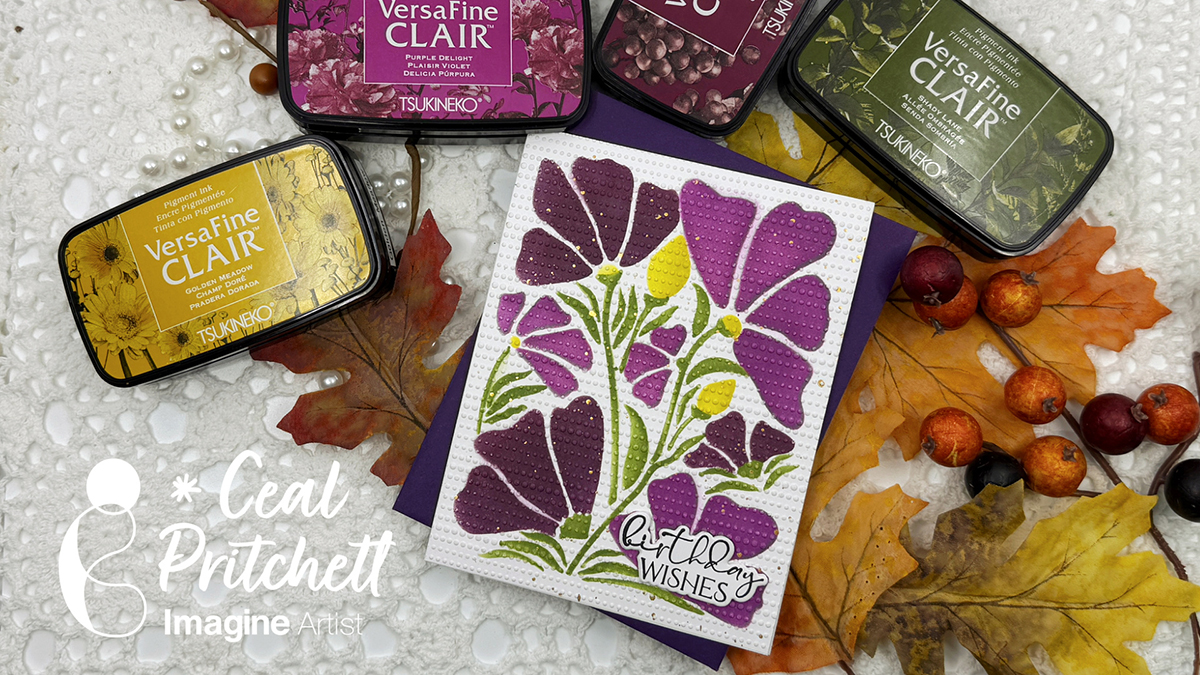
It’s Ceal, here. I am so ready for fall to be here and today I am sharing a fall birthday card with you.

Skill: Beginner to Intermediate
Time: 30 to 45 minutes

Directions:

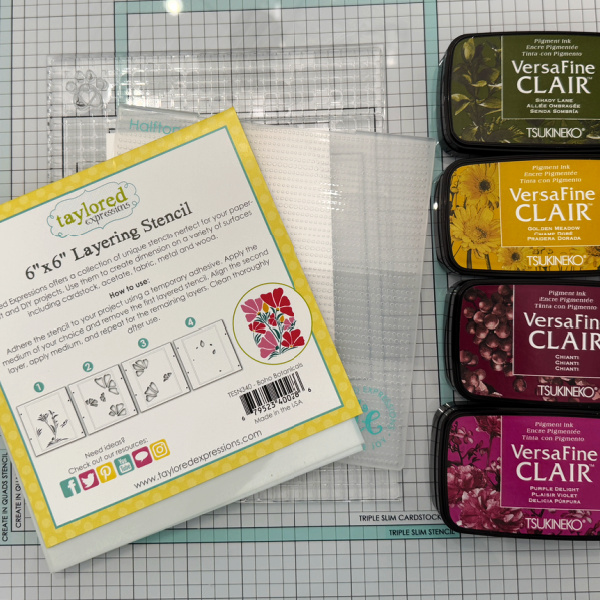
Gather your supplies. For this card you will need a stencil of choice, several colors of ink, and embossing folder and sentiment stamp.

Step 1:
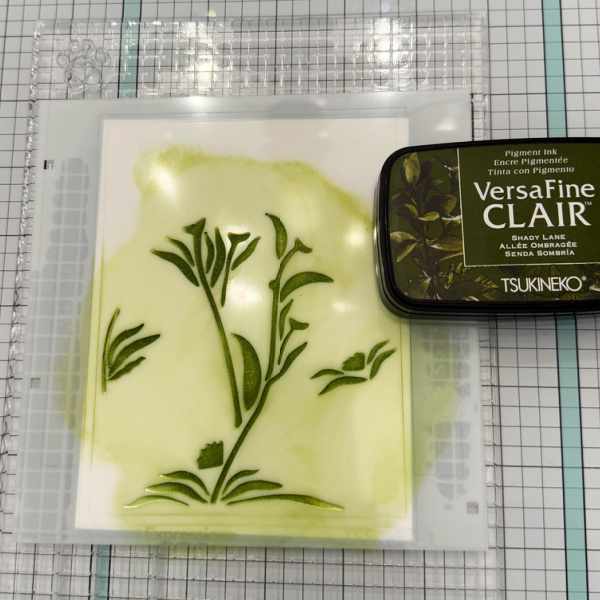
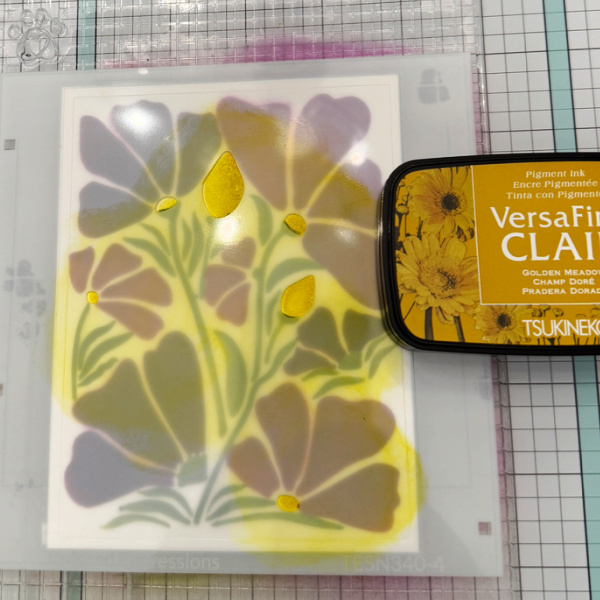
The stencil set I used has four different layers. The first stencil in step one is to use Shady Lane to color the stems.

Step 2:
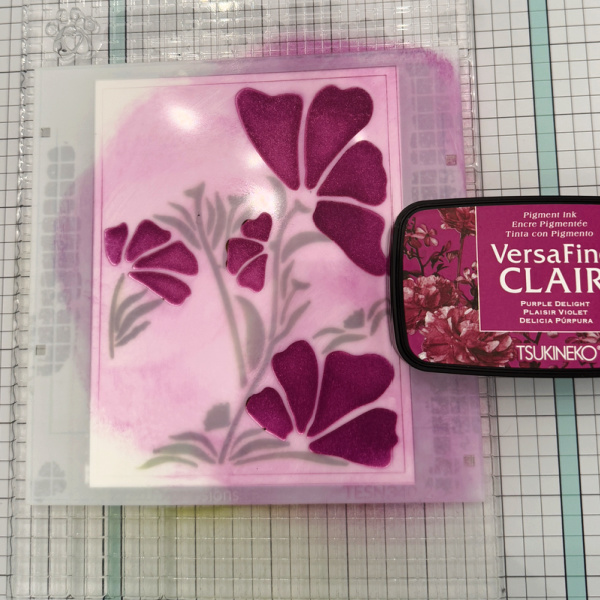
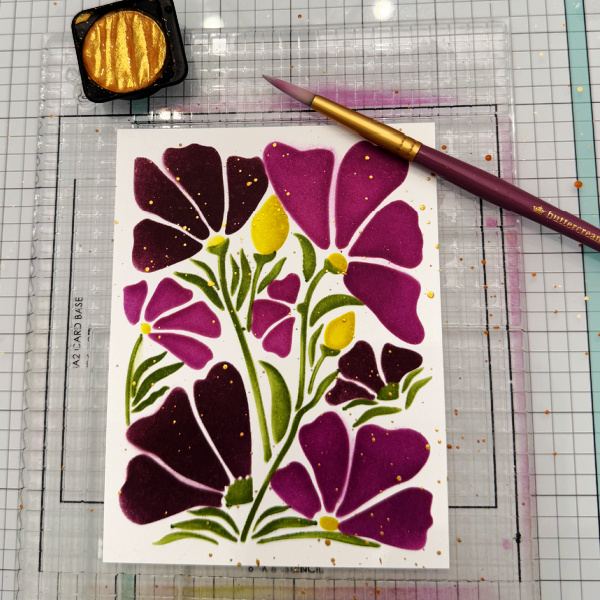
Using layer 2 of the stencil set and Purple Delight, color the flowers.

Step 3:
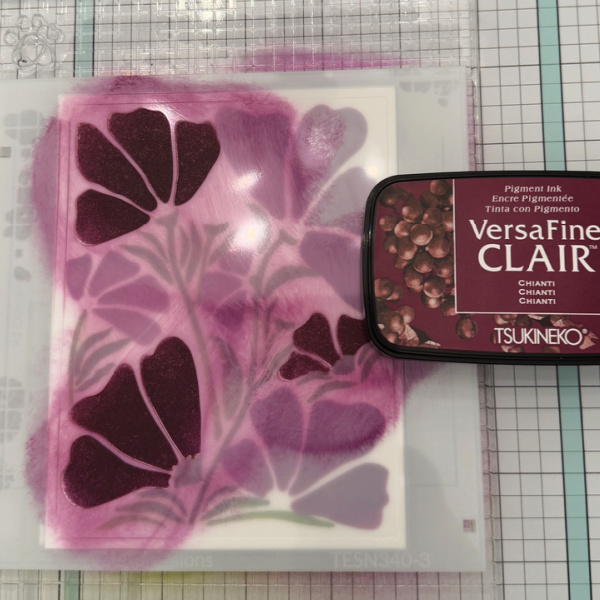
Using the third layer of the stencil and Chianti, color the flowers.

Step 4:
Using the fourth layer of the stencil and Golden Meadow, color in the flower centers and buds.

Step 5:
Add gold splatter using a watercolor paint, I used Fine Tec metallic.

Step 6:
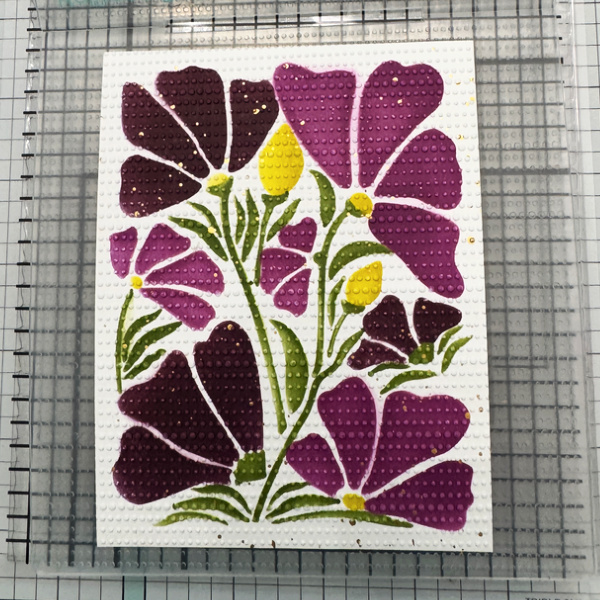
Run the finished panel through the machine using an embossing folder. Add finished panel to the card base.

Step 7:
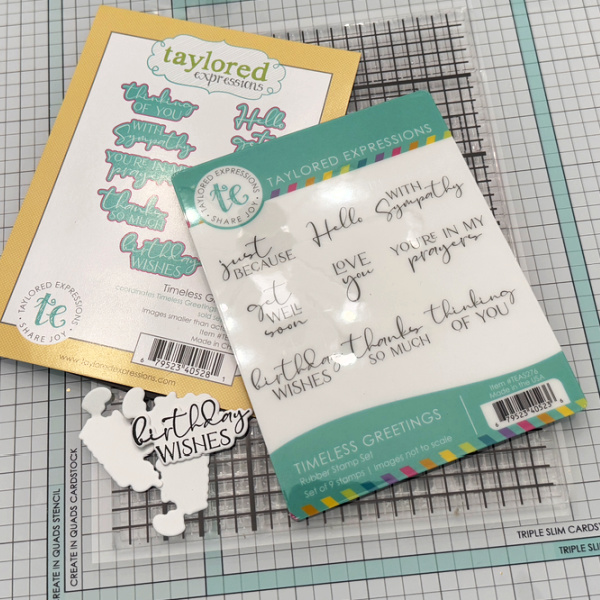
Finish card by adding a sentiment

Supplies:

Imagine Supplies
VersaFine Clair
– Nocturne
– Shady Lane
– Golden Meadow
-Purple Delight
– Chianti
On Point Glue
Other Supplies
Boho Botanicals Layering Stencil – Taylored Expressions
Halftone Dots Stencil – Taylored Expressions
Timeless Greetings Stamp/dies – Taylored Expressions
Grip Mat – Simon Says Stamp
Blending Brushes – Simon Says Stamp

Let’s Give your Clipboard a Makeover

By Anna Escalada York

– I had an old clipboard that I wanted to decorate and was able to make it work with some of my Imagine Craft supplies.

Skill: Intermediate
Time: 2.0 hours (includes drying time)

Directions:

Step 1:
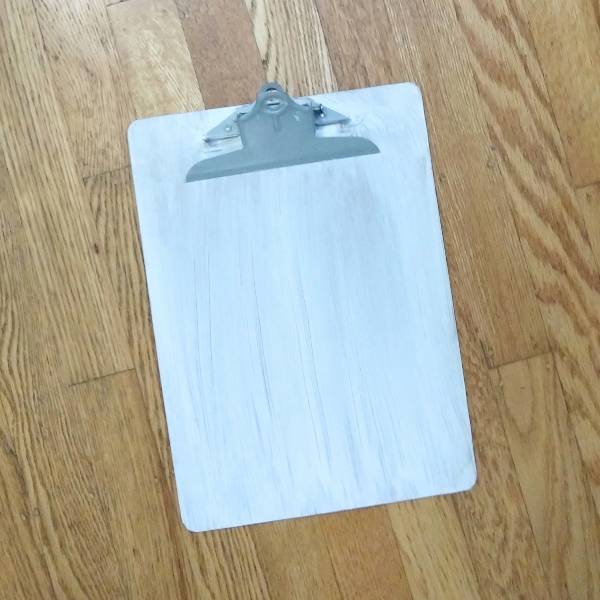
Paint a thin layer of thin layer of white gesso onto an old clipboard and set aside to dry. (I used some old spools of washi tape to hold open the metal clip so that it wouldn’t get stuck in the drying gesso.)

Step 2:
Spray Pear Tart Fireworks! Craft Spray through a detailed heart stencil on the lower left corner of the clipboard. Emboss with clear embossing powder to set the spray.

Here is a closeup of Step 2:

Step 3:
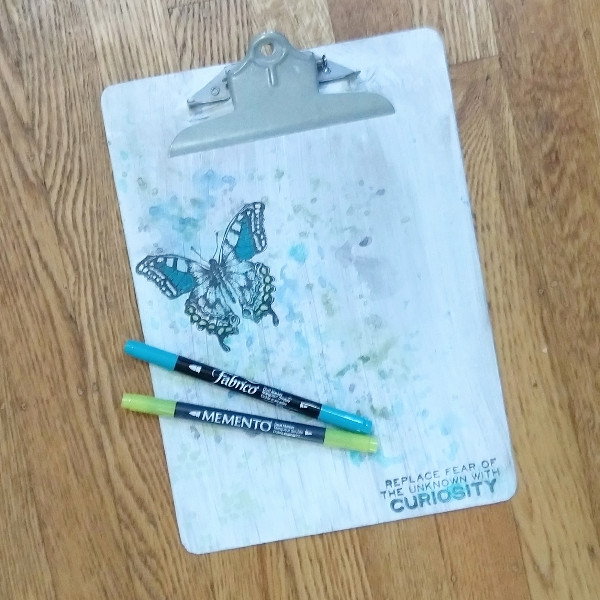
Stamp a large butterfly in the upper left part of the clipboard base and a sentiment (or maybe in this case affirmation) in the lower right corner with Nocturne VersaFine Clair ink and then heat emboss both with clear embossing powder.

Step 4:
Watercolor smoosh the clipboard with a variety of blue, green and black watercolor in layers.

  • Starting out with Turquoise Gem VersaMagic Chalk Ink, press the ink pad onto a scrap piece of acetate packaging and spray with water. Then press the acetate over the butterfly to create a light blue area around the butterfly. Press the remaining color from the acetate in a diagonal line across the clipboard from the upper left corner to the lower right corner into the stamped sentiment.
  • Repeat the process with Hint of Pesto VersaMagic Chalk Ink.
  • Then draw on the acetate with Danube Blue Memento Dual Marker and spray with water; this time focus most of this darker color around the butterfly and splatter the clipboard with the remainder of the dark blue watercolor.
  • Finally, draw on the acetate with Tuxedo Black Memento Dual Marker and spray with water. Use the black watercolor to splatter the butterfly (and to cover up any blemishes left behind when stamping).

Let everything dry.

Step 5:
Color in parts of the butterfly image with Tropical Lagoon Fabrico Dual Marker (center of the upper wings) and Pear Tart Memento Dual Marker (small circles on the edge of the lower wings). Color in the word curiosity in the sentiment with more of the Tropical Lagoon Fabrico Dual Marker. Heat emboss with clear embossing powder.

Step 6:
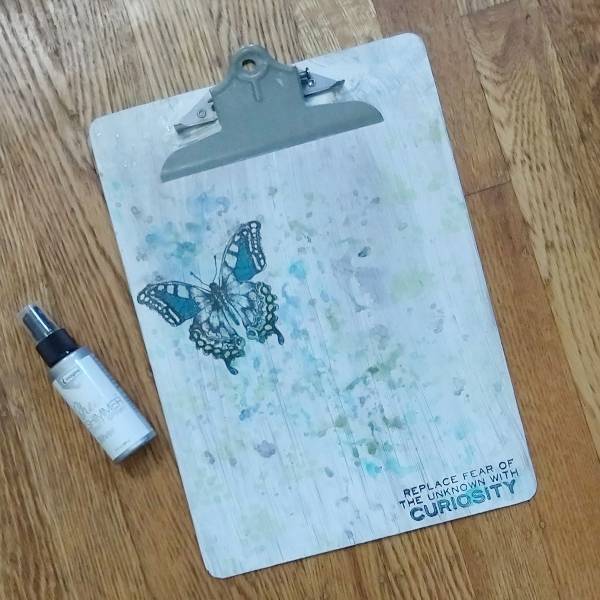
Spray Silver Sheer Shimmer Craft Spray onto the acetate and watercolor smoosh it onto the clipboard. Splatter any remaining spray on the acetate onto the clipboard. If larger individual splatters are desired, unscrew the top and use the tube/straw from the spray bottle to dab large blobs of Silver Sheer Shimmer Craft Spray onto the clipboard and finish the project.

Art Supplies

Imagine
• Fabrico Dual Marker – Tropical Lagoon
• Fireworks! Craft Spray – Pear Tart
• Memento Dual Markers – Danube Blue, Pear Tart and Tuxedo Black
• Sheer Shimmer Craft Spray – Silver
• VersaFine Clair ink – Nocturne
• VersaMagic Chalk ink – Hint of Pesto and Turquoise Gem

Other
• Golden – Gesso Semi-Opaque Acrylic Primer
• Stampers Anonymous and Tim Holtz – stamp set – Perspective CMS213 Clear Embossing Powder
• Foam paint brush (for the gesso) Thin paint brush (for splattering) Small detail stencil in my stash

Sweet Birdie Holiday Card

By Ceal Pritchett

– Hello Crafty friends!
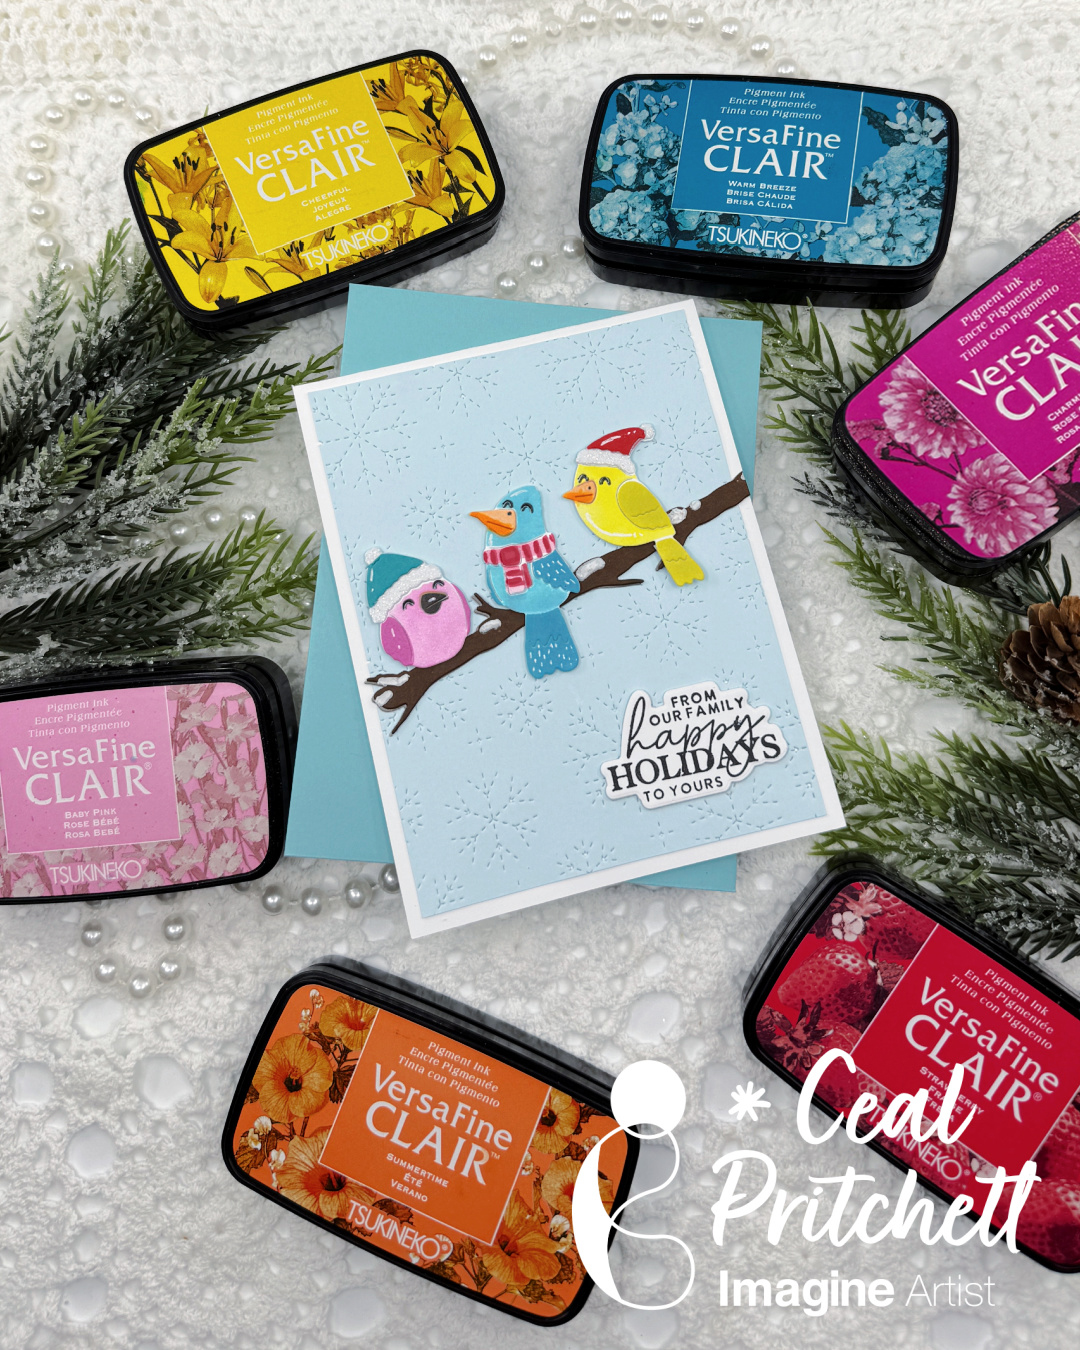
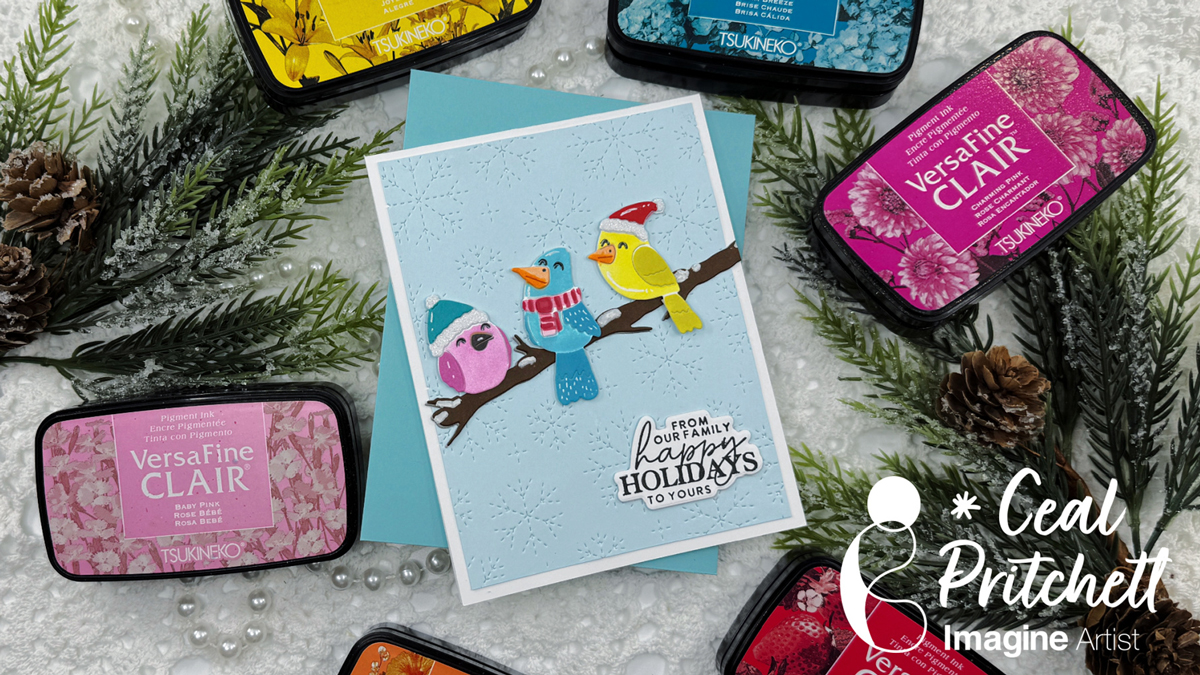
It’s Ceal, here. Today I am sharing how to make this sweet birdie holiday card using some VersaFine Clair inks.

Skill: Beginner to Intermediate
Time: 45 minutes

Directions:

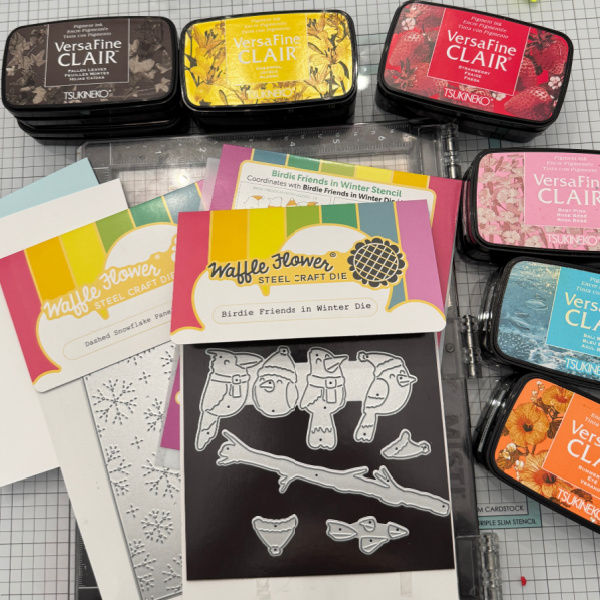
Gather your supplies. You will need several colors of ink, the Birdie Friends in Winter die and stencil or any other die/stencil combo you’d like to use. A holiday sentiment set, a snowflake

cover die or any other background you’d like to use. You will also need either a Sticky Mat or Grip Mat and some paste.

Step1:
I didn’t show all of them in the picture, but the first step is to cut all the birds out of white cardstock.

Step 2:
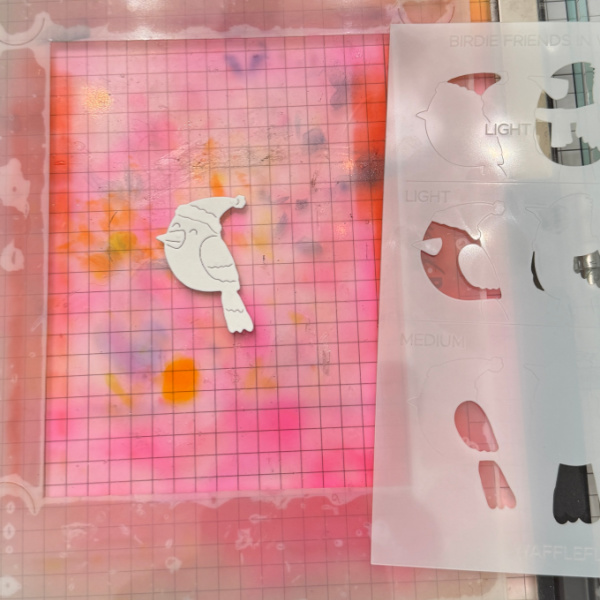
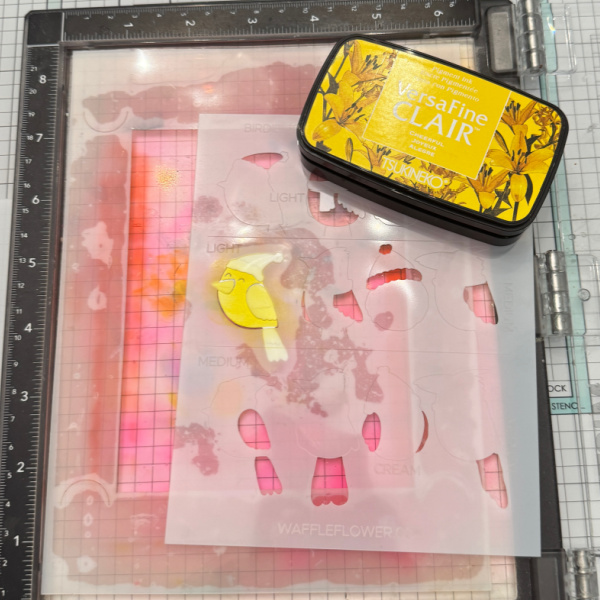
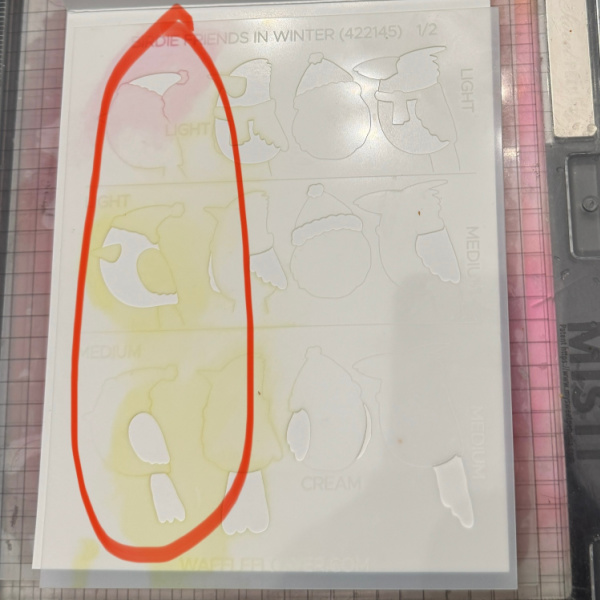
Using the coordinating stencil add color to each bird as you please. For the pink bird I used Baby Pink and Charming Pink. The blue bird uses Warm Breeze, Bali Blue and Strawberry. The yellow bird uses Cheerful and Golden Meadow. I have a picture with the steps circled so you can see the need for different shades of color.

No Step just showing stencil steps

Step 3:
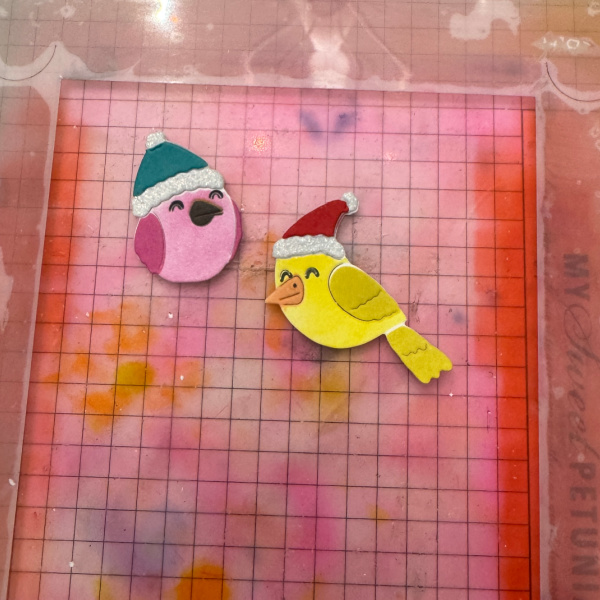
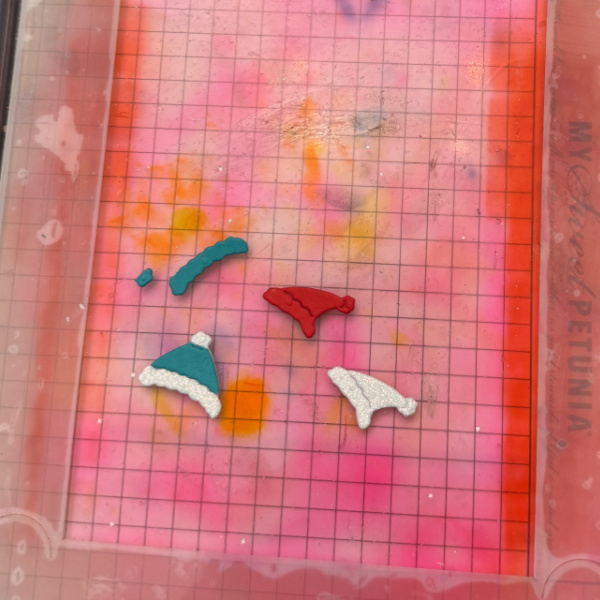
Cut hats out of glitter cardstock and colored cardstock. Cut apart and add to glitter cardstock as shown in picture. Glue onto the birdie.
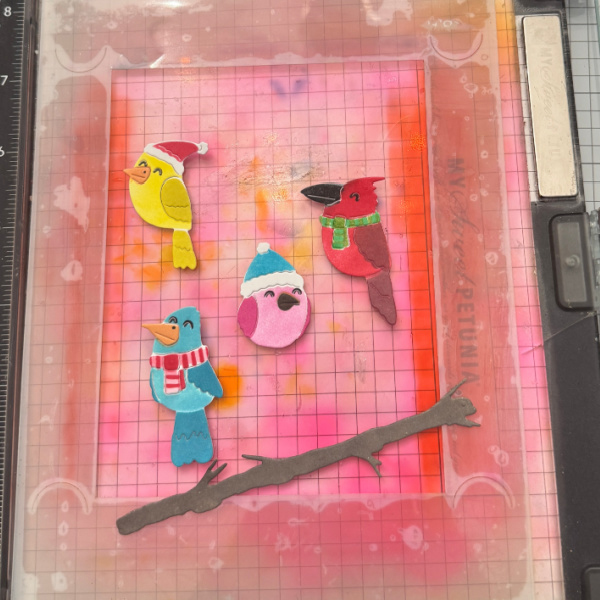
No step just showing completed birds

Step 4:
Cut the branch out of a dark brown cardstock.

Step 5:
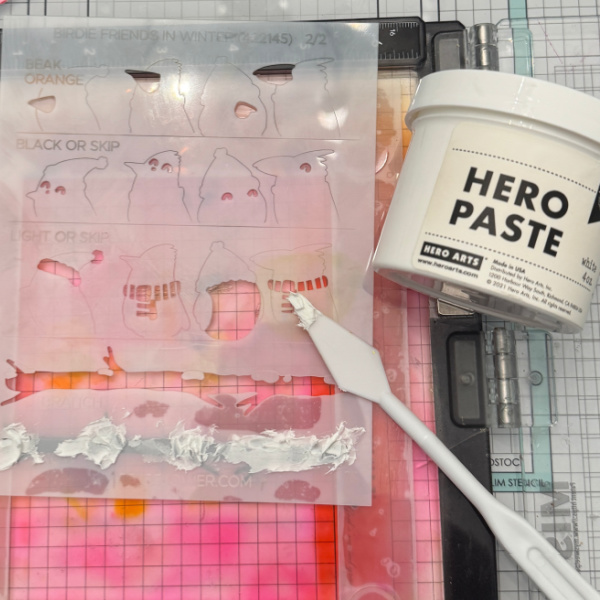
Place branch under stencil, lining it up with the etched portion. Add a white paste using a palette knife.

Step 6:
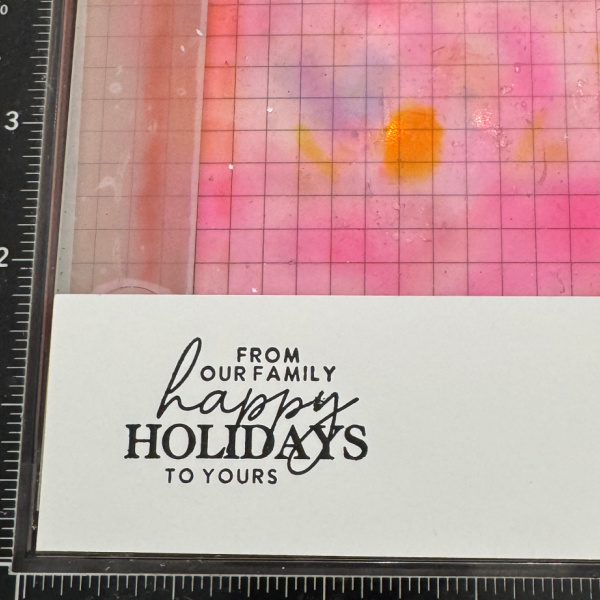
To finish the card, stamp and cut out the sentiment to add to the front.

Supplies:

Imagine Products:
• VersaFine Clair Inks:
Charming Pink, Baby Pink, Warm Breeze, Bali Blue, Strawberry, Cheerful, Golden Meadow, Summertime and Nocturne

• On Point Glue
Other Products:
• Little Birdie stencil/de set – Waffle Flower Crafts
• Family Sentiments Stamp set – Waffle Flower Crafts
• Dashed Snowflake Panel die – Waffle Flower Crafts
• Misti Stamp tool – My Sweet Petunia
• Grip Mat – Waffle Flower Crafts