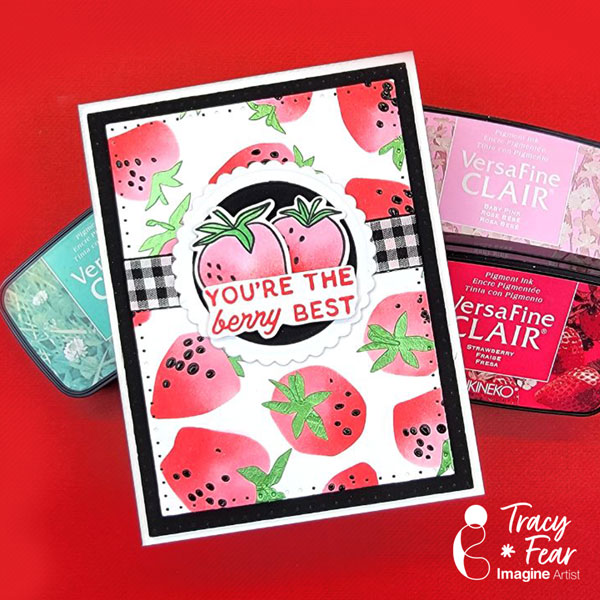
Other Products Used Simon Hurley Very Berry Stencil Set Berry Best Stamp and Coordinating Dies Stellar paste in Black Widow Lunar Paste in Later Gator PVA Adhesive Ink blending brushes
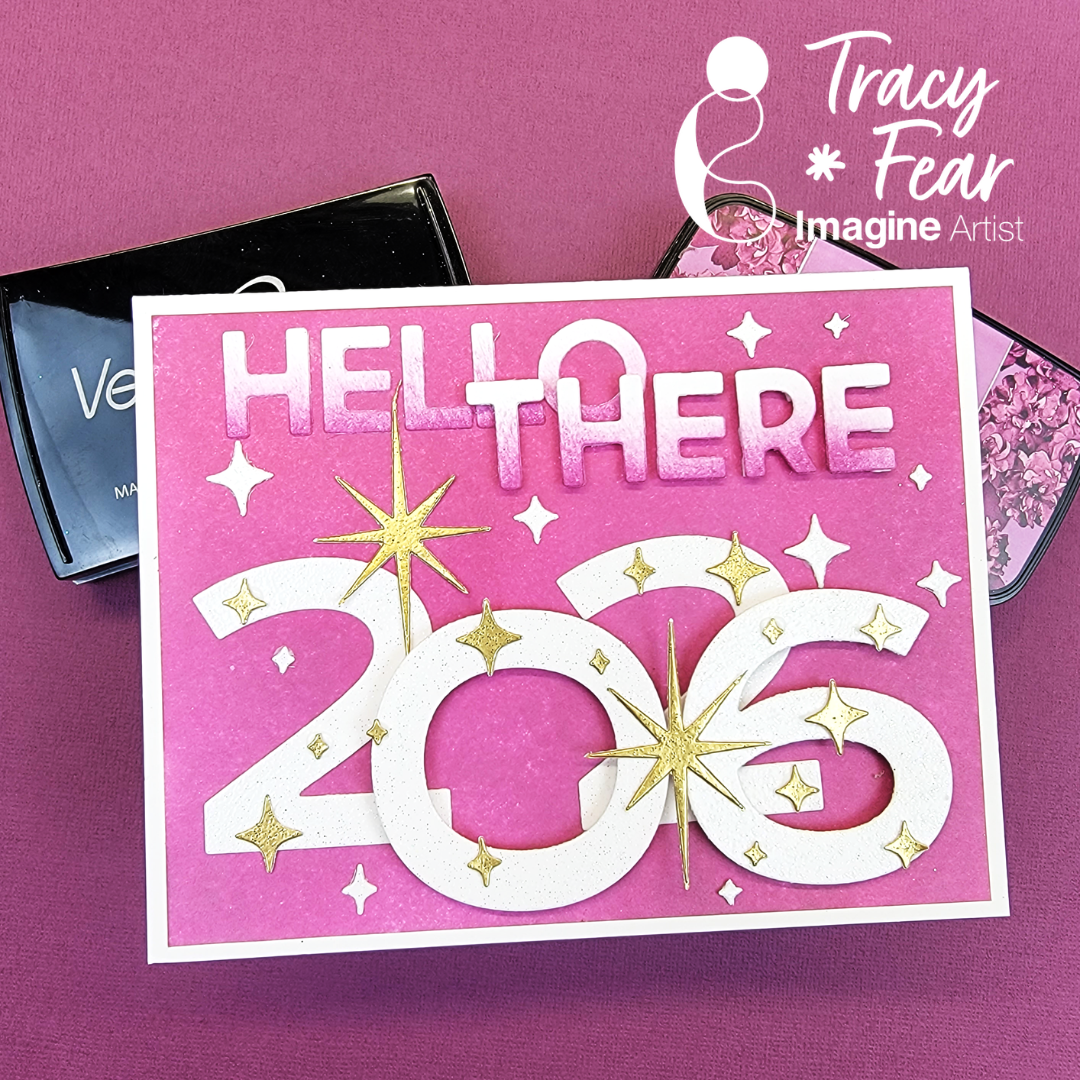
• Brutus Monroe Embossing powders in Gilded Metallic and Fairy Dust •Embossing Powder •Multiple Sizzix dies from several sets • PVA Adhesive • Foam Tape
ALTERNATIVE PRODUCTS THAT CAN BE USED TO RECREATE SOMETHING SIMILAR
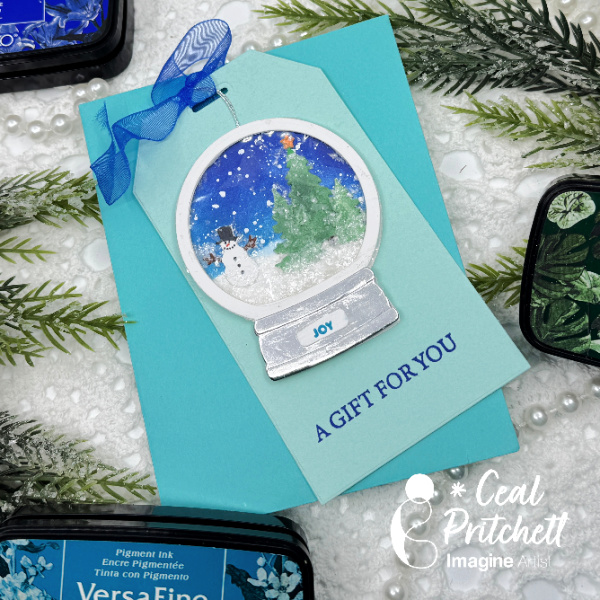
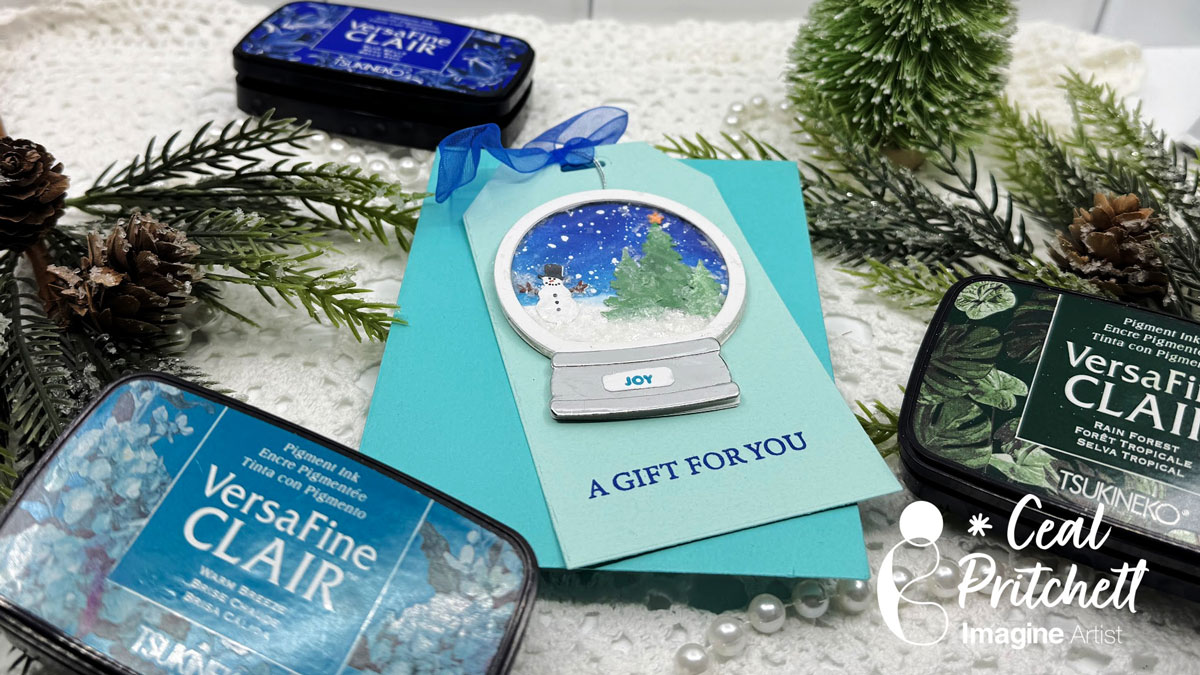
Hello Crafty Friends, It’s Ceal, here. Today I am sharing how to make this Gift Tag with a Shaker Ornament attached. The recipient can also use the Shaker Ornament for a gift tag if they want.
Skill: Intermediate Time: 1 hour
Directions:
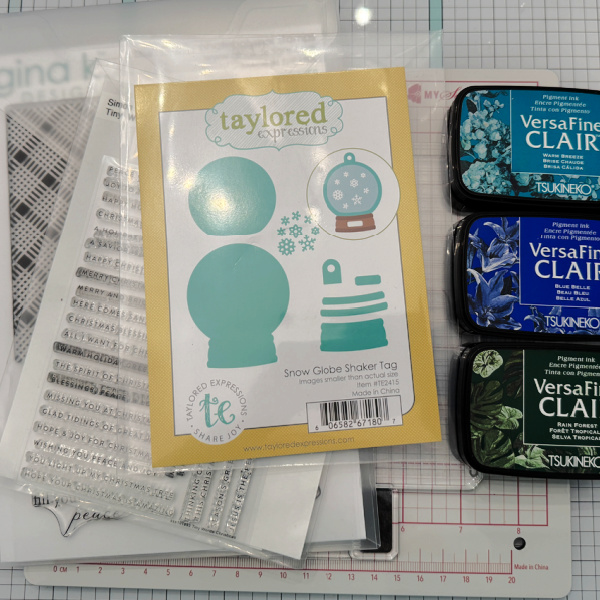
Gather your supplies. For this project you will need a MISTI Lite or other stamping platform, a Grip or Sticky Mat, a shaker element die set (I used a snow globe) a tag die set, and a die cutting machine. I used several colors of VersaFine Clair ink in Rain Forest, Blue Belle and Warm Breeze
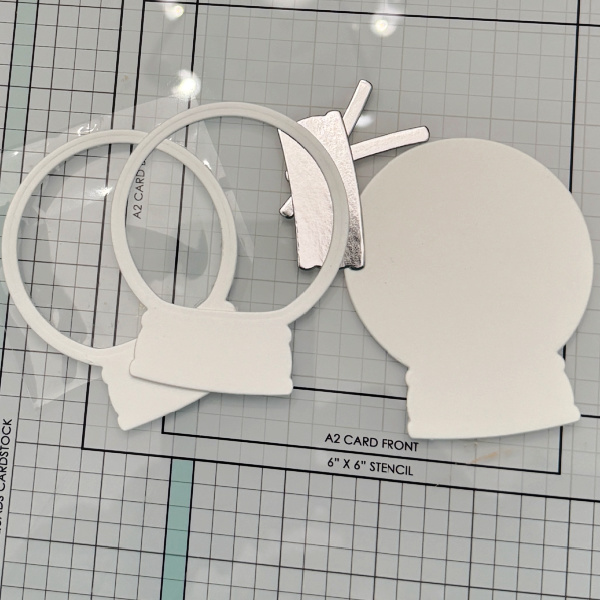
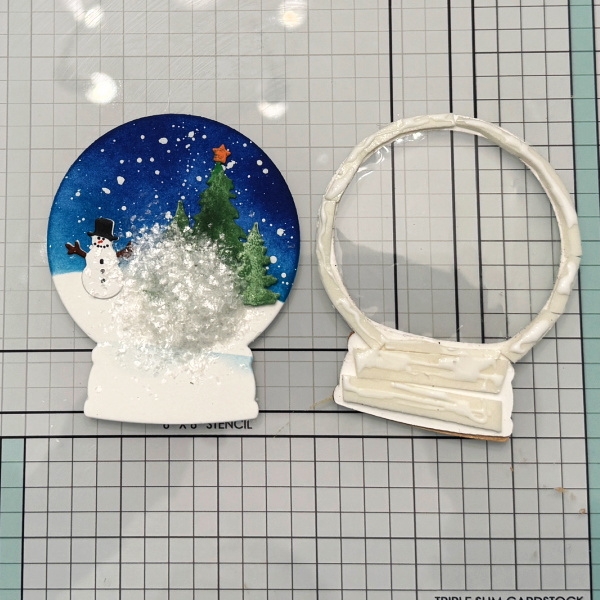
Step 1: Cut out all your die cut pieces. I ended up also using some trees and a snowman from an old Hero Arts set. You will need 2 frames and two bases of the snow globe
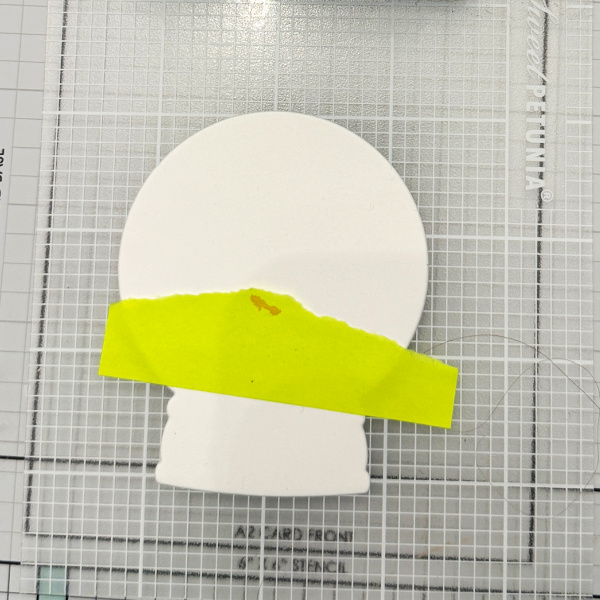
Step 2: Mask off the bottom portion of the snow globe for the snow.
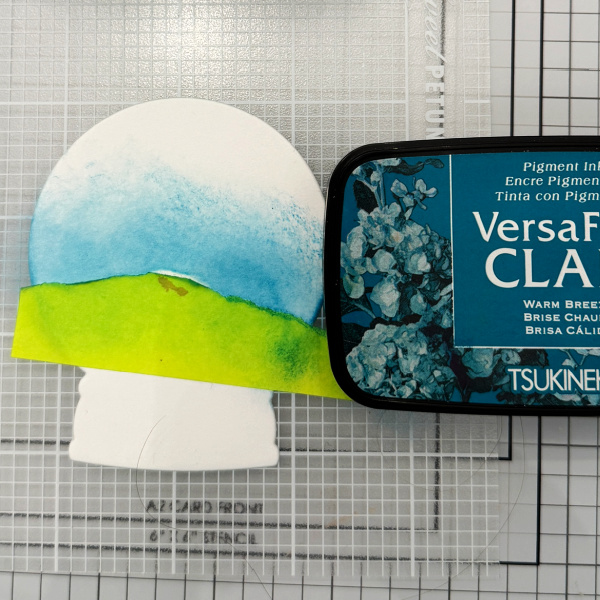
Step 3: Using Warm Breeze, ink the bottom portion above the mask.
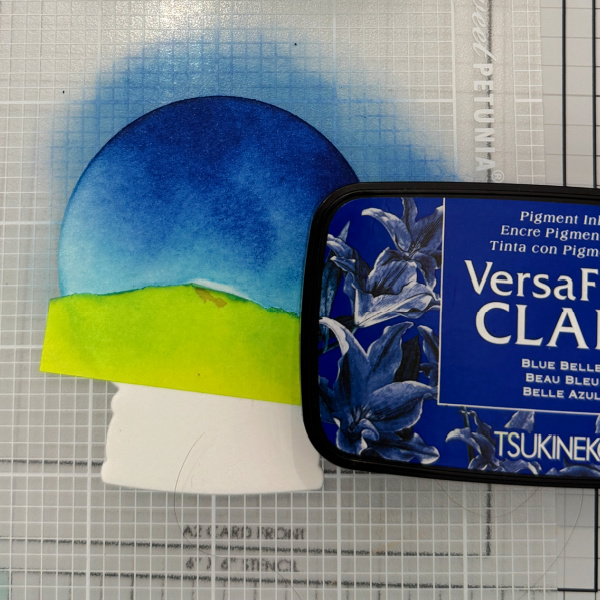
Step 4: Using Blue Belle, ink the top portion of the snow globe.
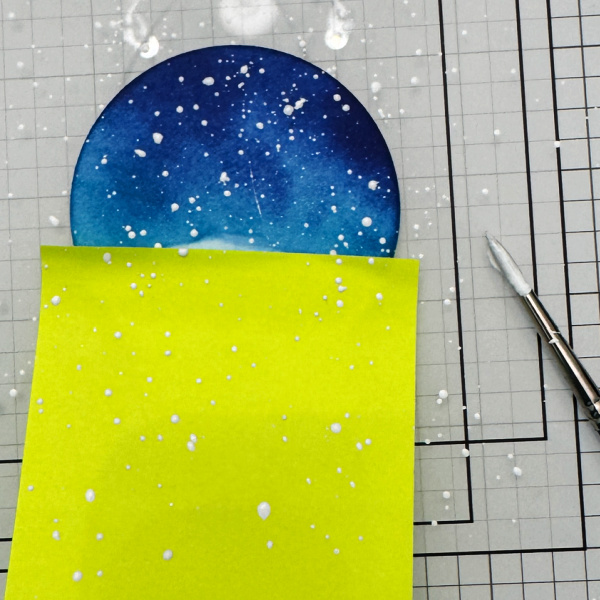
Step 5: Cover the bottom portion of the snow globe and splatter the top portion with watered down white acrylic paint for the snow.
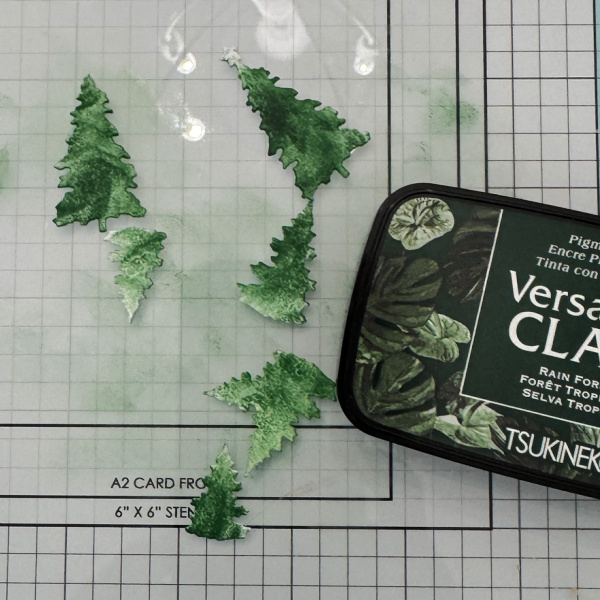
Step 6: Ink the trees using Rain Forest ink and color the hat, arms, face, and button of the snowman with a marker.
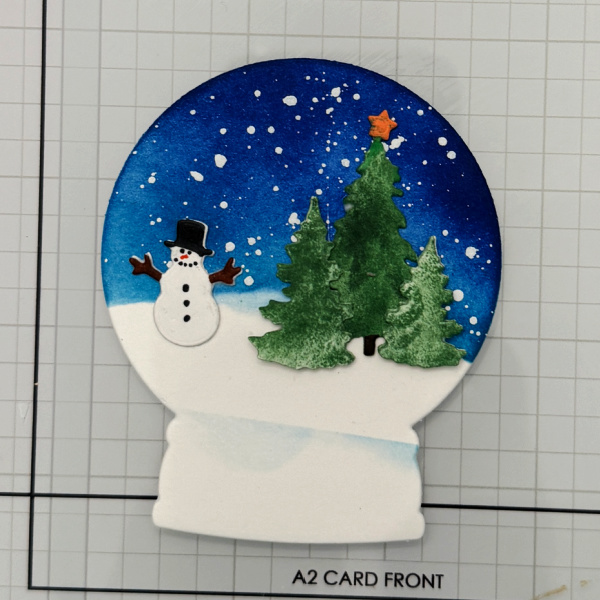
Step 7: Add all the elements, trees and snowman to the base.
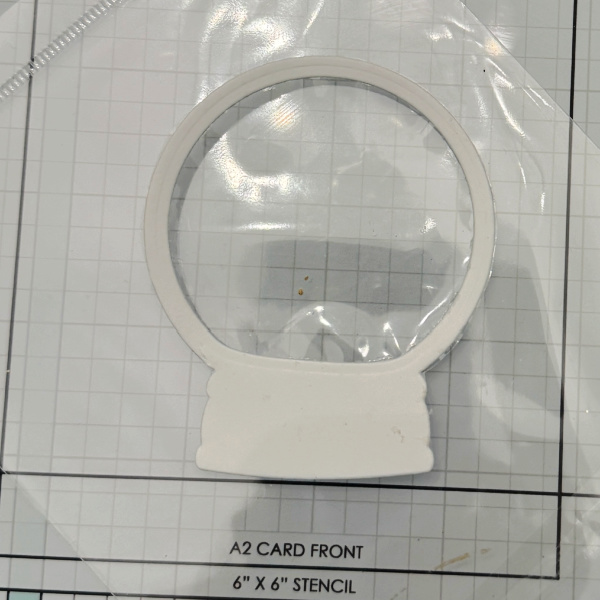
Step 8: Recycle and add some packaging to one of the globes to create the shaker.
Step 9: Add some glitter or sequins to the front of the snow globe and add foam tape to the back of the snow globe frame.
Tip- always add liquid glue on the foam tape so it gives a minute to move it if needed. Glue the two together.
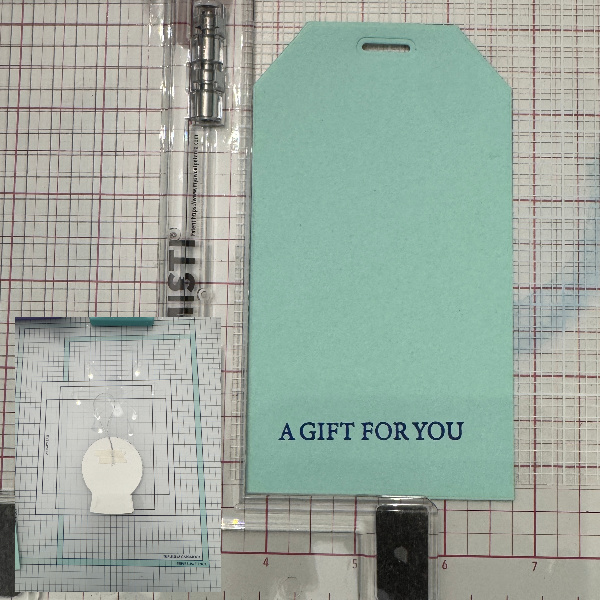
Step 10: Cut out a tag and stamp a greeting on it. Add a string to the snow globe and then place another backer over it for a clean look.
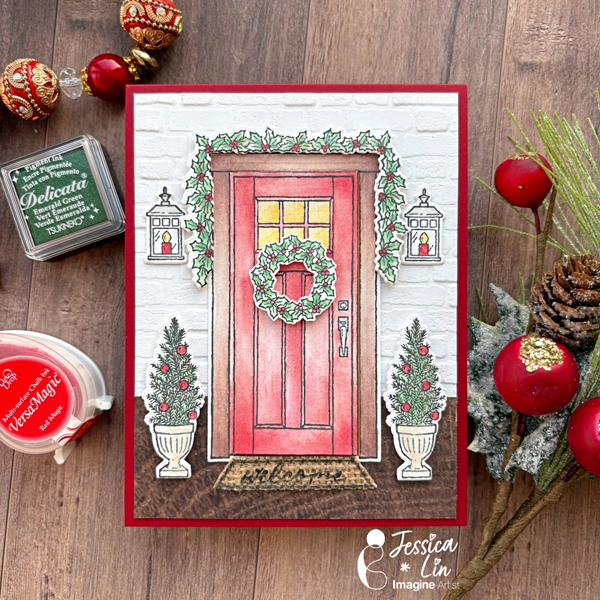
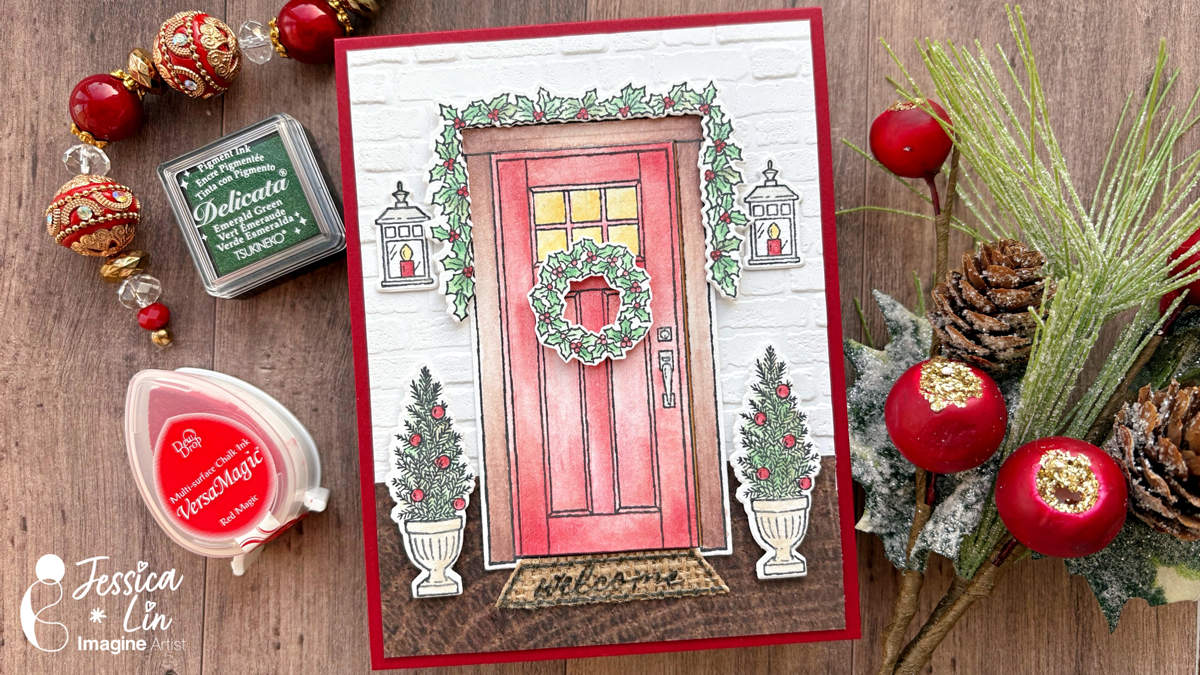
Hi everyone! It’s Jessica here and I am so excited to share today’s project with you. Christmas is my favorite holiday of the year and I love making Christmas cards. I decided to build a doorway scene today using Stampin’ Up’s At Home with You stamps and dies. After die cutting, the door actually opens, making this a special and interactive Christmas card.
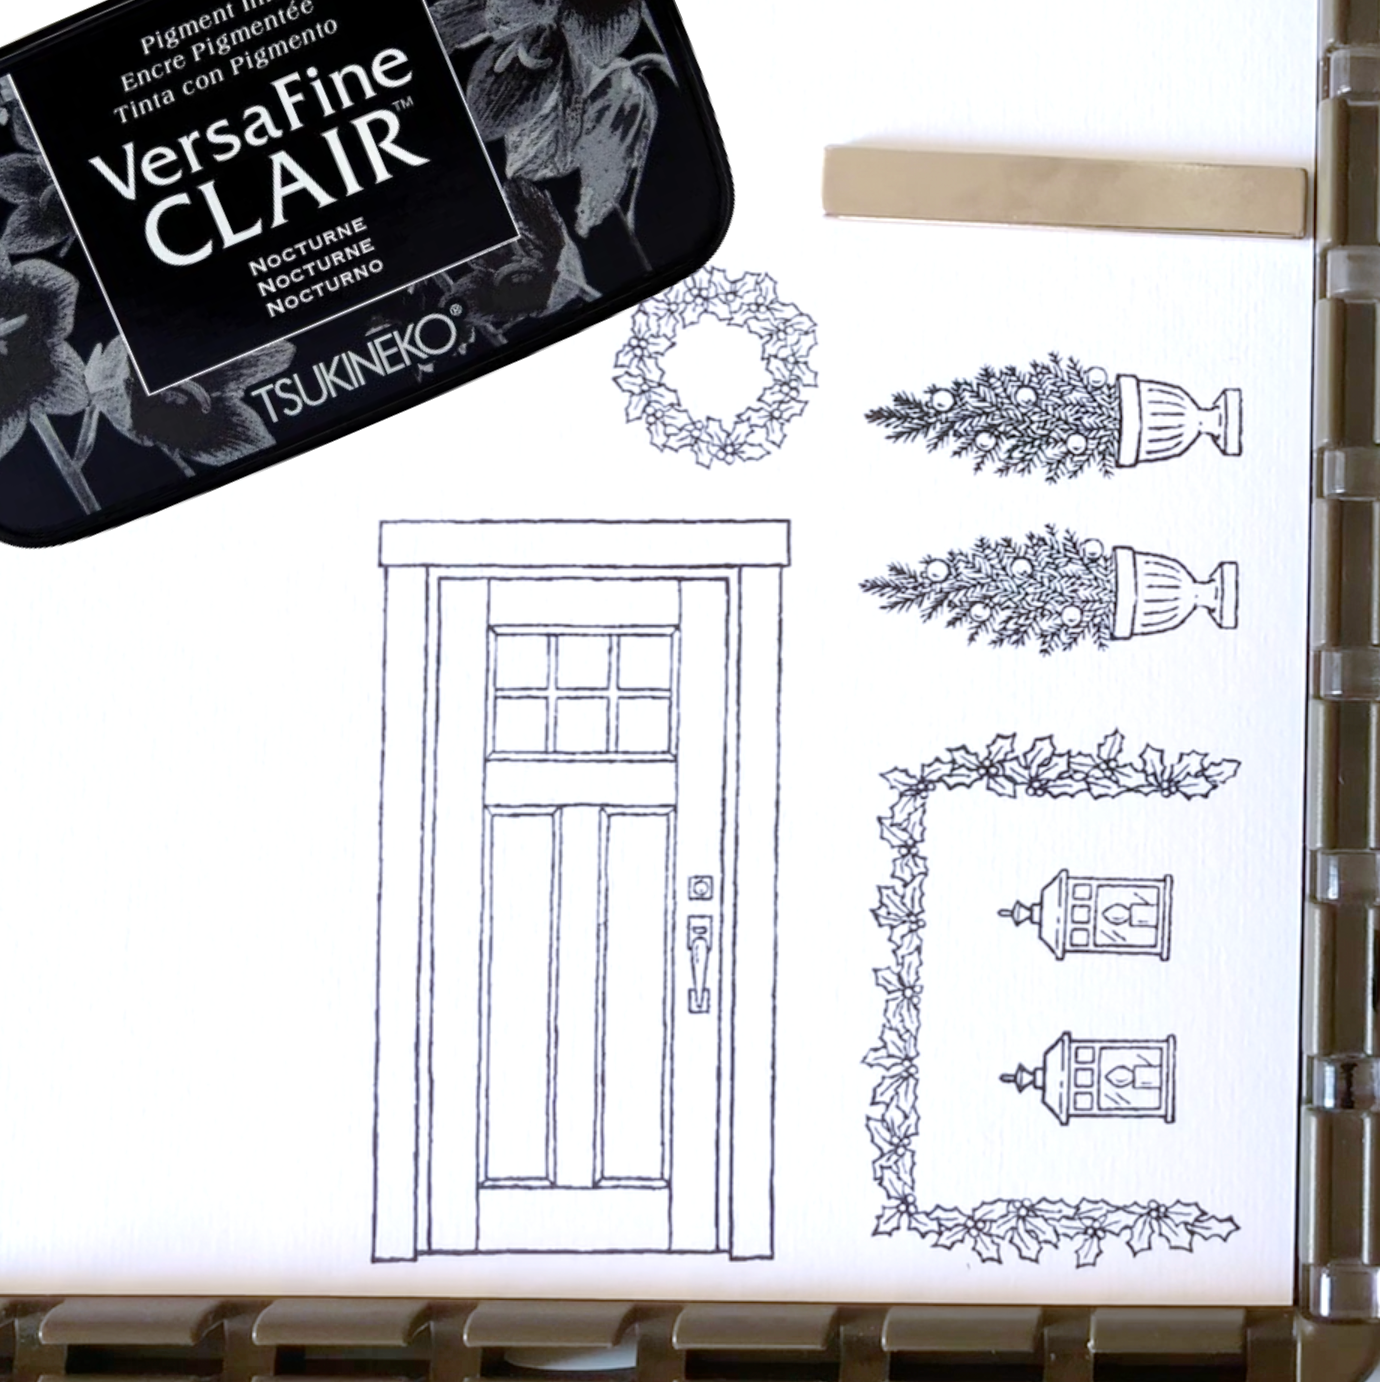
Step 1: The stamp set I am using today is At Home with You from Stampin’ Up. It features a door and various elements that are great for building specific scenes for different occasions such as Christamas, Thanksgiving, or birthdays. I stamped several images with VersaFine Clair Nocturne ink. It’s a pigment-based ink that is waterproof and great for being the outlines of watercolored images.
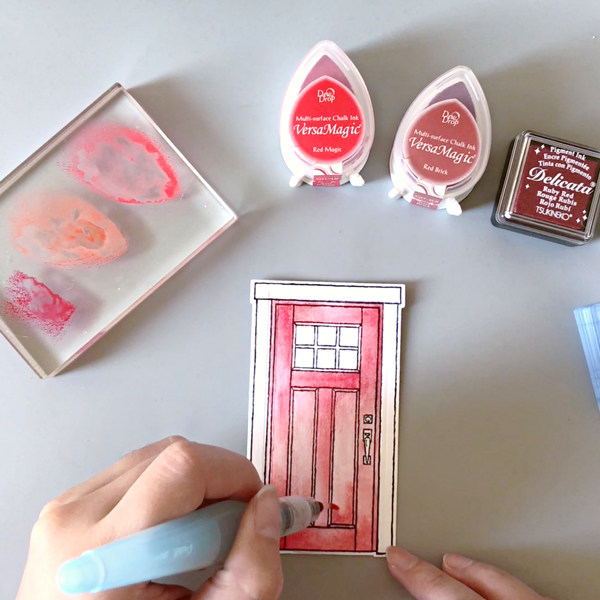
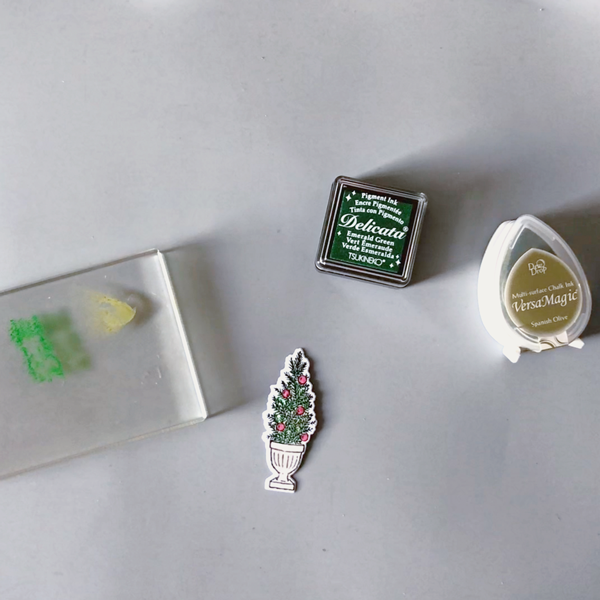
Step 2: After die cutting the stamped images with coordinating dies, it’s time to watercolor. I decided to use VersaMagic Red Magic, Red Brick, and Delicata Ruby Red for the door. I pressed some ink onto an acrylic block and watercolored with a waterbrush.
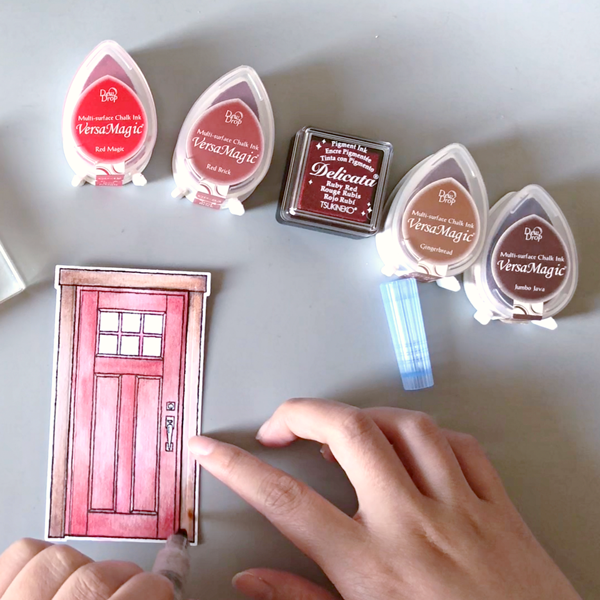
Step 3: For the door frame, I watercolored with VersaMagic Gingerbread and Jumbo Java.
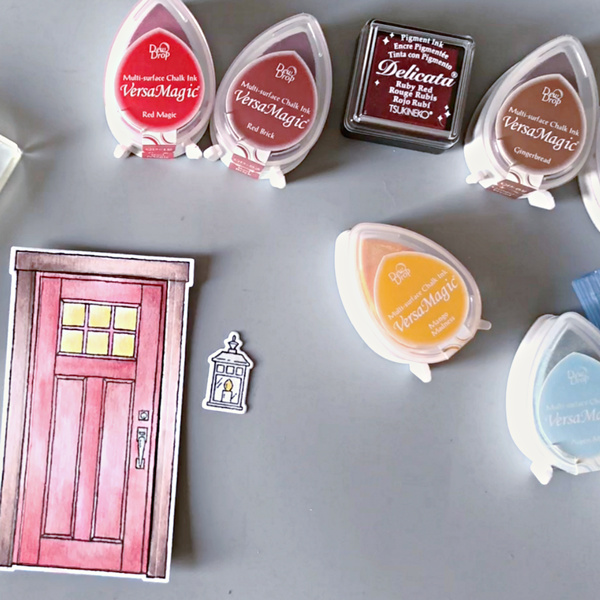
Step 4: Then I added VersaMagic Mango Madness to the window and the candle. Don’t forget to color the door knob, too! I used VersaMagic Niagara Mist with a hint of Aspen Mist. The candle shade is colored with the same colors as the door knob.
Step 5: Finally, for the plants and wreaths, I watercolored with VersaMagic Hint of Pesto, Delicata Emerald Green and Ruby Red. Delicata ink pads are shimmery and add the perfect touch of Christmas spirit to these images. I wish you could see the shimmer in person!
Lastly, I colored the planter with VersaMagic Wheat ink pad.
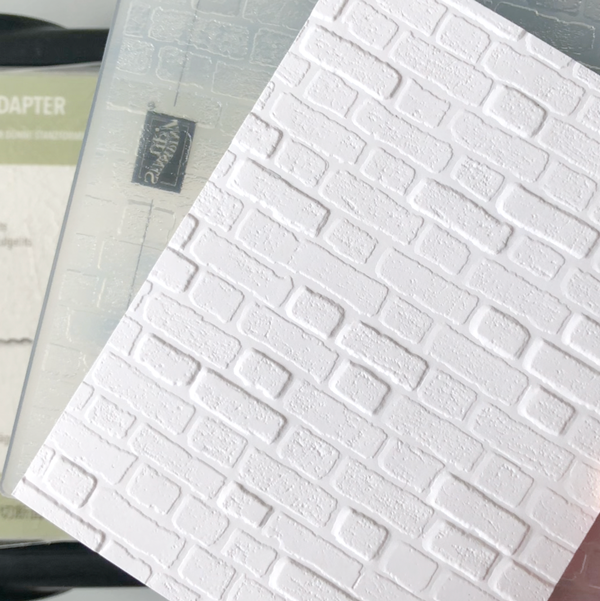
Step 6: Since we are building a front door scene, I embossed the background cardstock with Stampin’ Up’s Brick & Mortar embossing folder. I love the realistic brick textures of this embossing folder; it’s one of my all-time favorites.
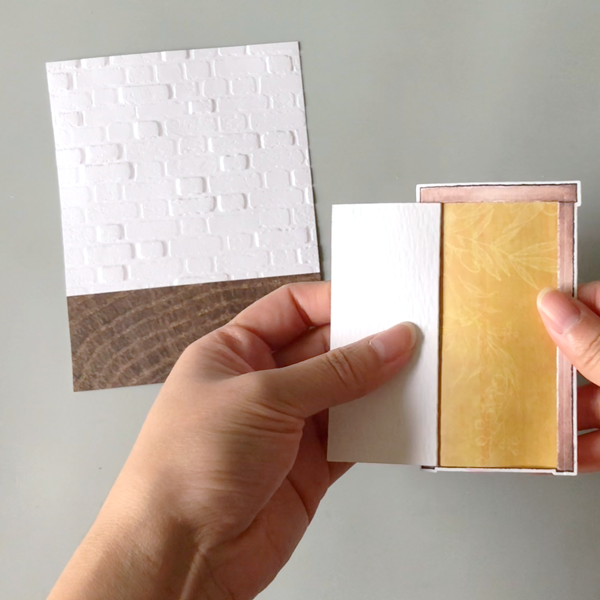
Step 7: Then I added a piece of 4’’ x 1 ½’’ wood patterned paper as the foreground. I also added yellow patterned paper to the inside of the door; this door die actually cuts around the door frame so that the door can open! Isn’t it a fun, little mechanism?
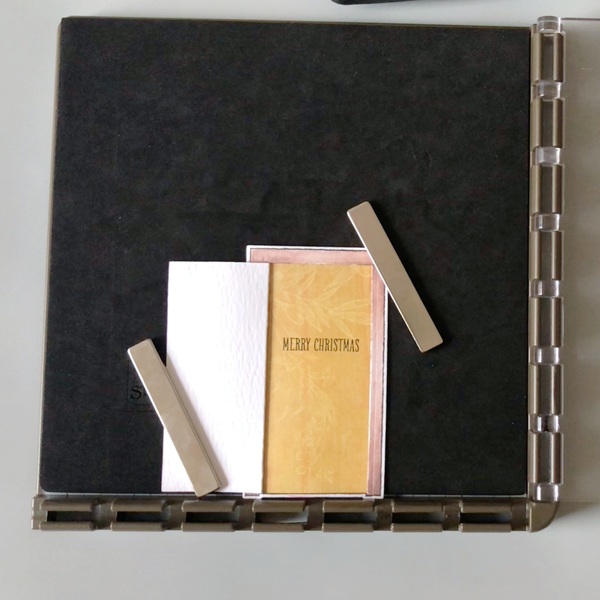
Step 8: You can then add a Christmas greeting that will be revealed when you open the door. I decided to keep it simple and stamped a “Merry Christmas” sentiment with VersaMagic Nocturne ink pad.
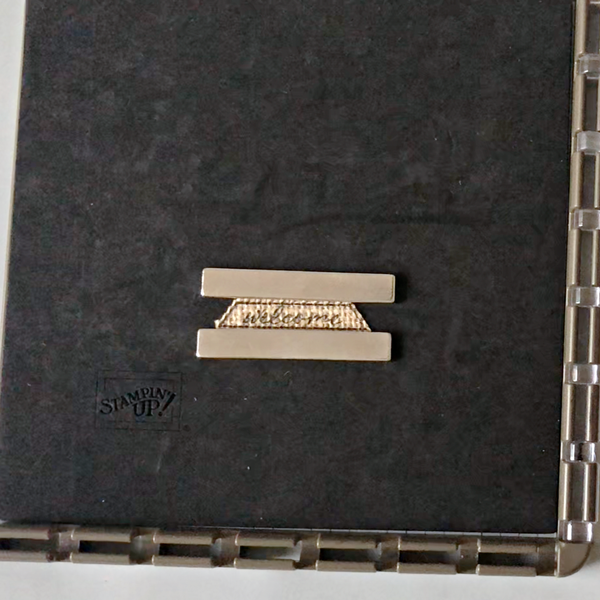
Step 9: The At Home with You stamp set also comes with a door mat image. I stamped it several times on burlap paper with VersaMagic Nocturne ink pad.
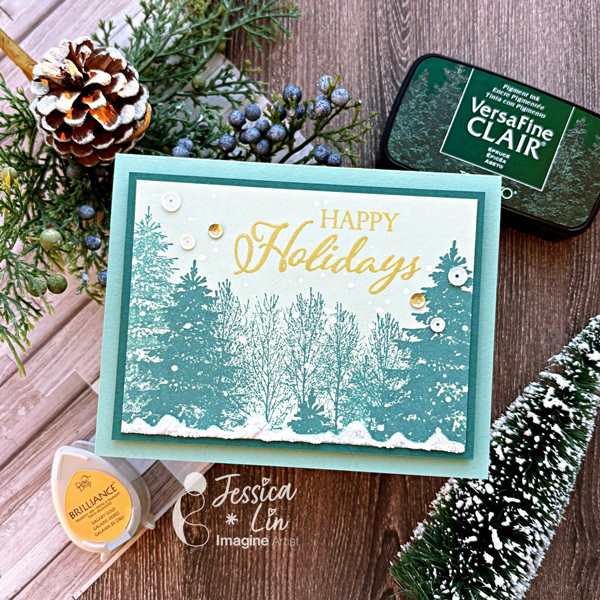
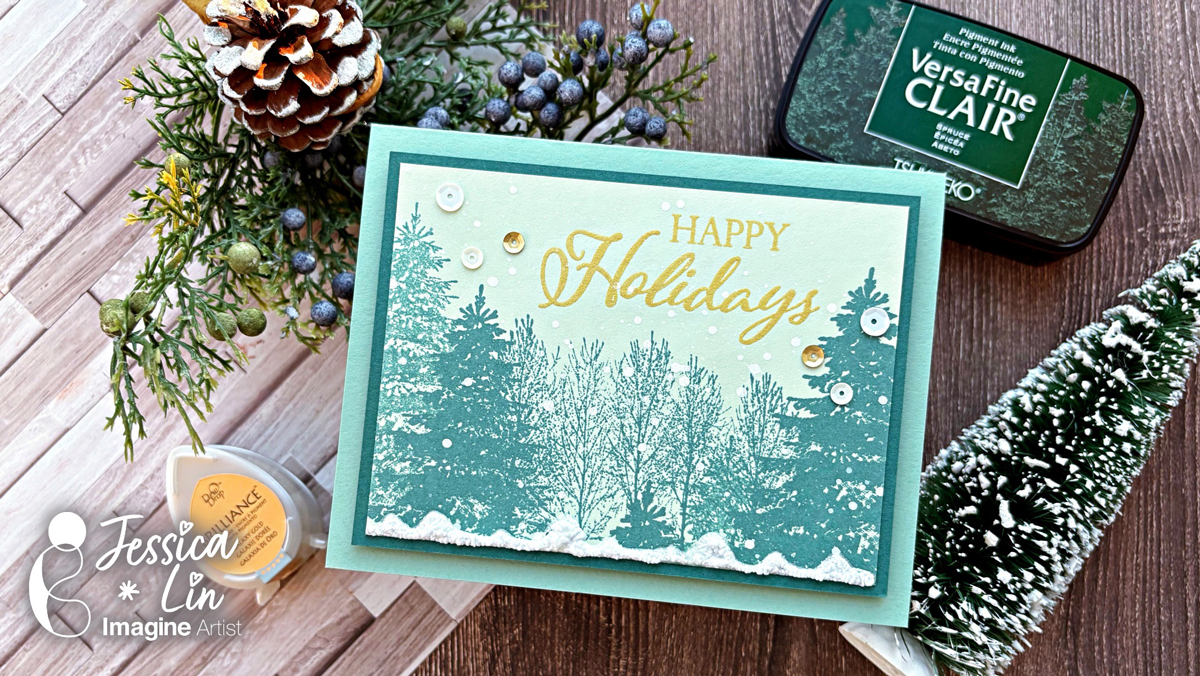
Hi everyone! It’s Jessica here. Today I have a beginner-friendly project to share with you. If you are just starting out and don’t have many ink pads, this tutorial is for you. I will be sharing some stamping techniques to help you create shades of color with just one ink pad. So let’s get started!
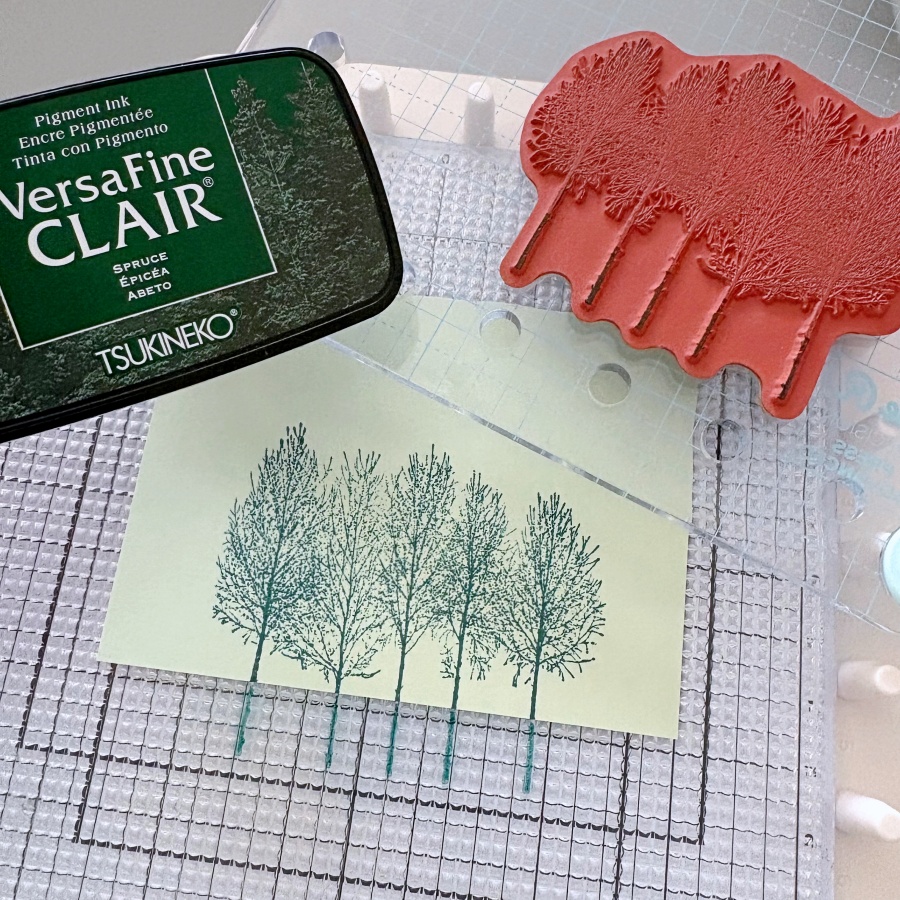
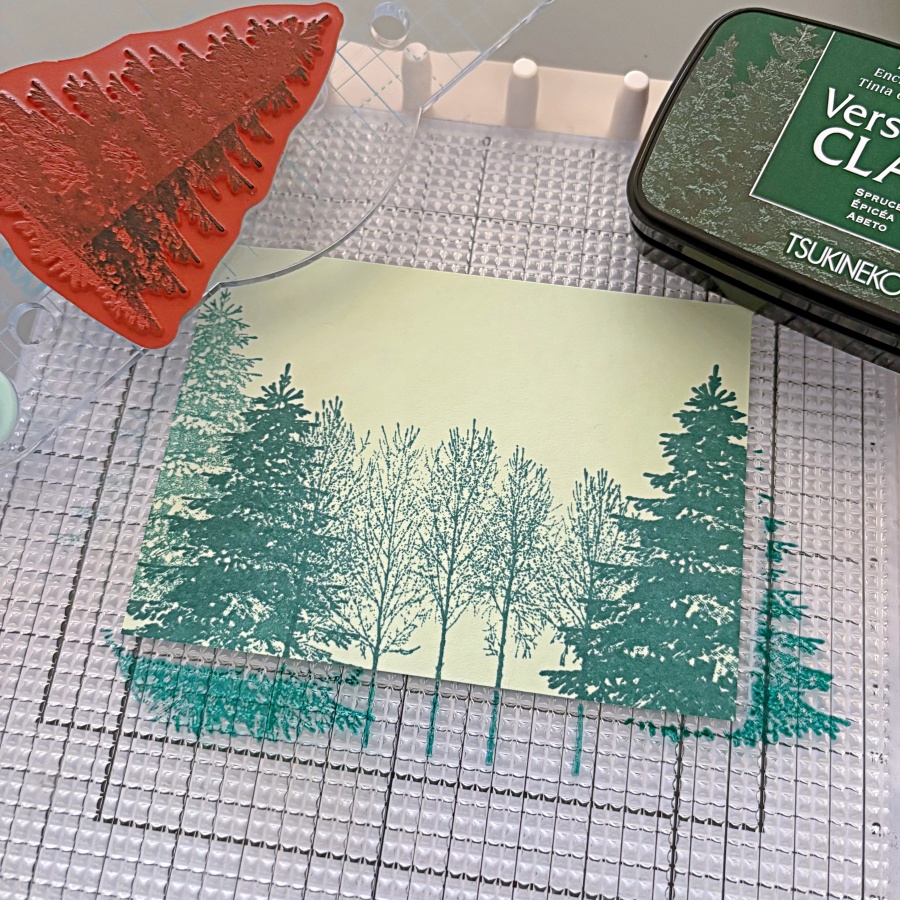
Step 1: The ink pad I will be using today is VersaFine Clair Spruce. It is perfect for stamping the pine tree images from Stampin’ Up’s Winter Woods set. I stamped the image in the center on a piece of 3 ½’’ x 4 ¾’’ Soft Seafoam cardstock.
Step 2: Then I stamped a different pine tree image on the left and right at various heights. You might notice that some of the pine trees appear darker; that is because I stamped the image twice. By using a stamp positioning tool, you can restamp an image at the same spot. In this case, it creates a darker shade of color even though you are using the same color ink pad. On the very left, there is a pine tree that looks lighter in color. To achieve this effect, you can stamp lightly on a piece of scrap paper first. Then, using the leftover ink, stamp on the cardstock to create a lighter shade.
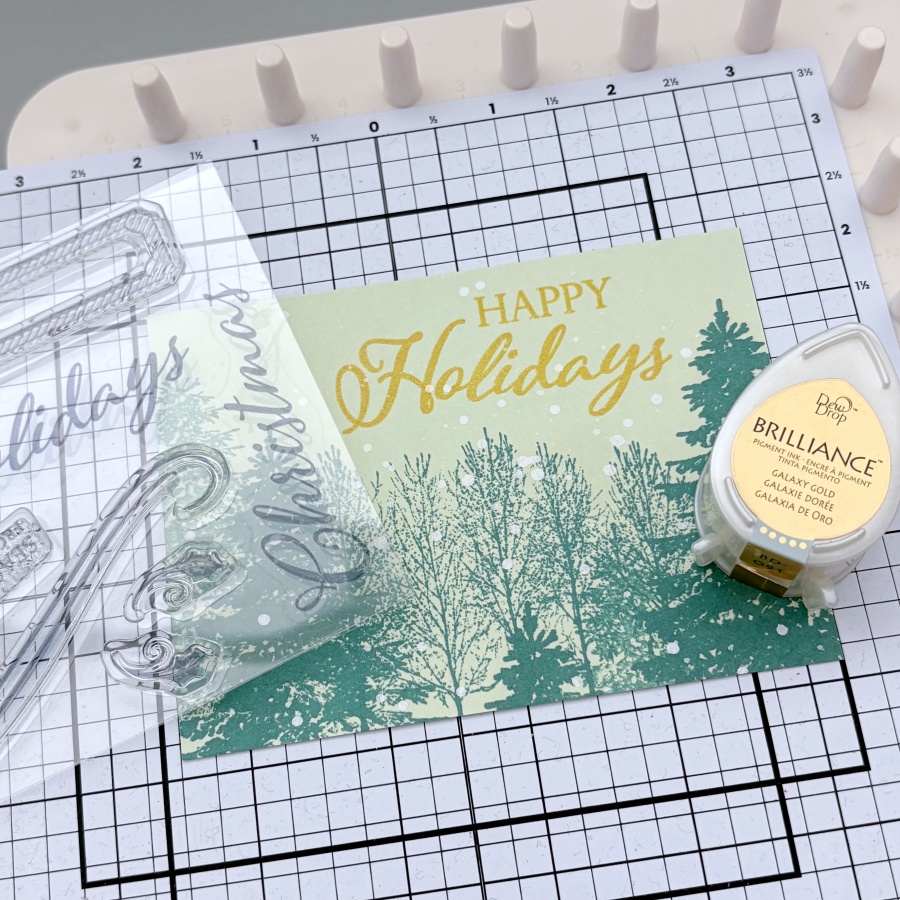
Step 3: I then sprinkled some diluted white acrylic paint for a snowing effect. Once the acrylic paint is dried, you can stamp the sentiment. I decided to use Stampin’ Up’s Merry Christmas to All stamp set and stamped it with Brilliance Galaxy Gold ink pad.
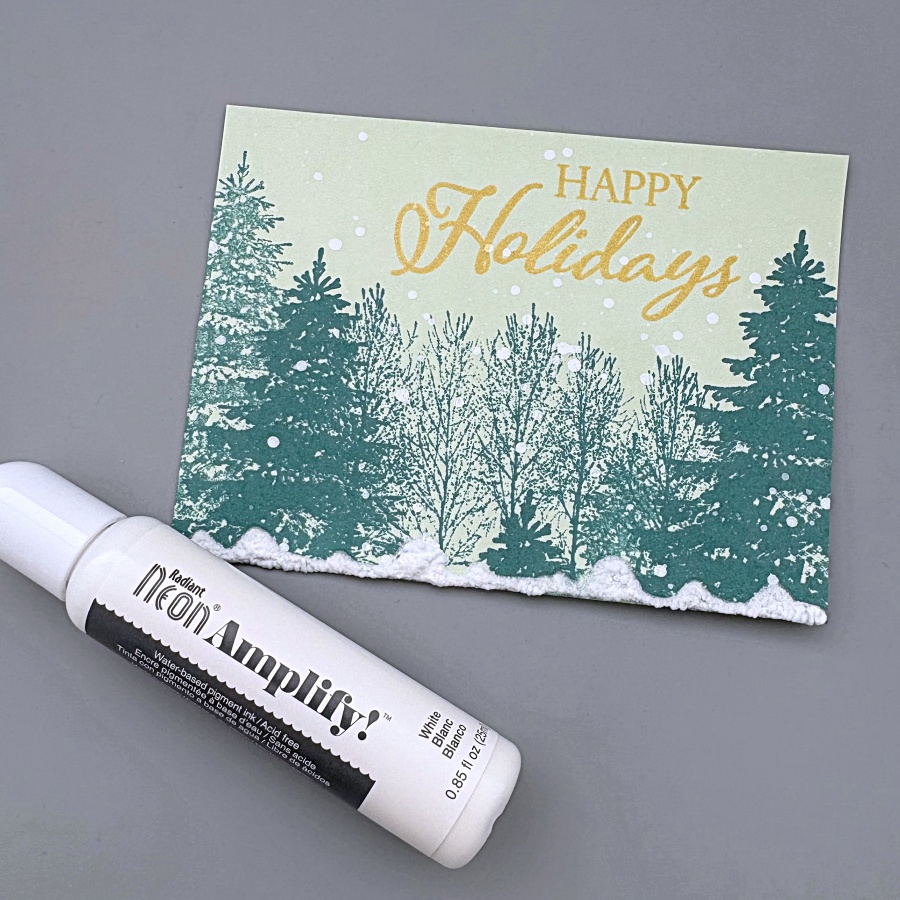
Step 4: For an even more dramatic snow effect, you could add white Neon Amplify to the bottom edge of the cardstock. I drew a wavy pattern that mimics the looks of piles of snow. You don’t have to wait for the puff paint to dry, you can heat set it with a heat gun immediately and the paint will puff up!
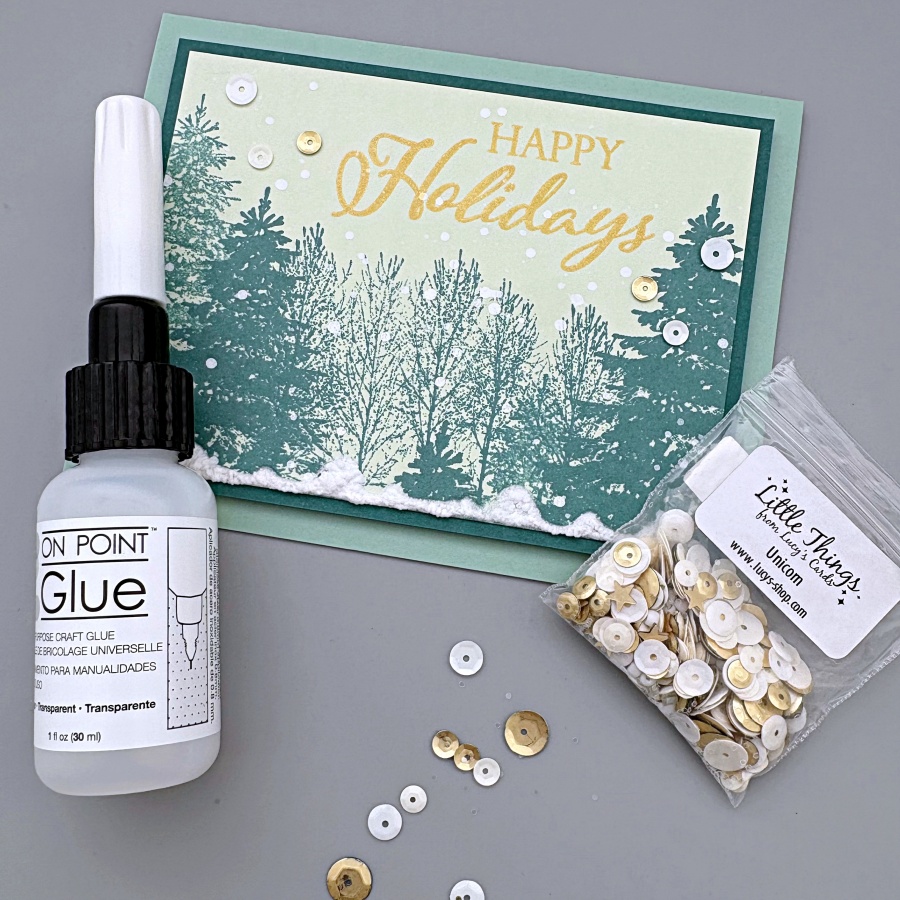
Step 5: Then I adhered the stamped panel to a piece of Shaded Spruce cardstock that measures 3 ¾’’ x 5’’. After that, mount the cardfront to an A2 Mint Macaron cardbase. For some finishing touches, I adhered some white and gold sequins with On-Point Glue, and this holiday card is complete!
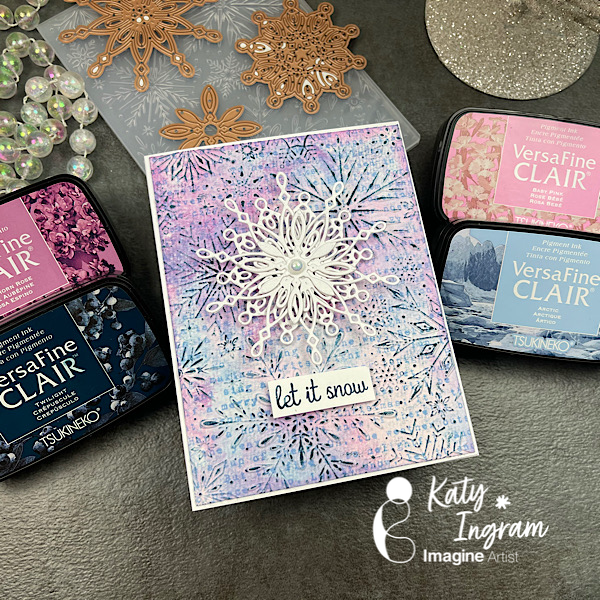
Hello Friends! Katy here with another holiday video using VersaFine Clair inks to create a beautiful mixed media looking snowflake card. Video has all the details. Thanks for watching.