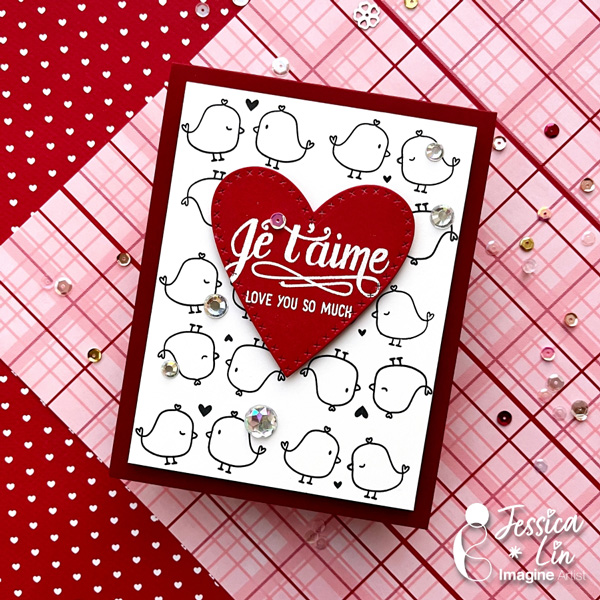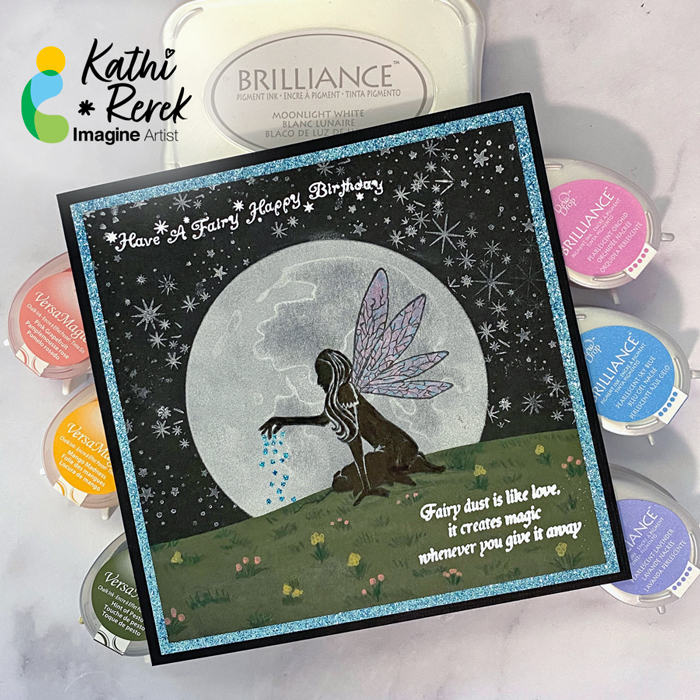
By Kathi Rerek
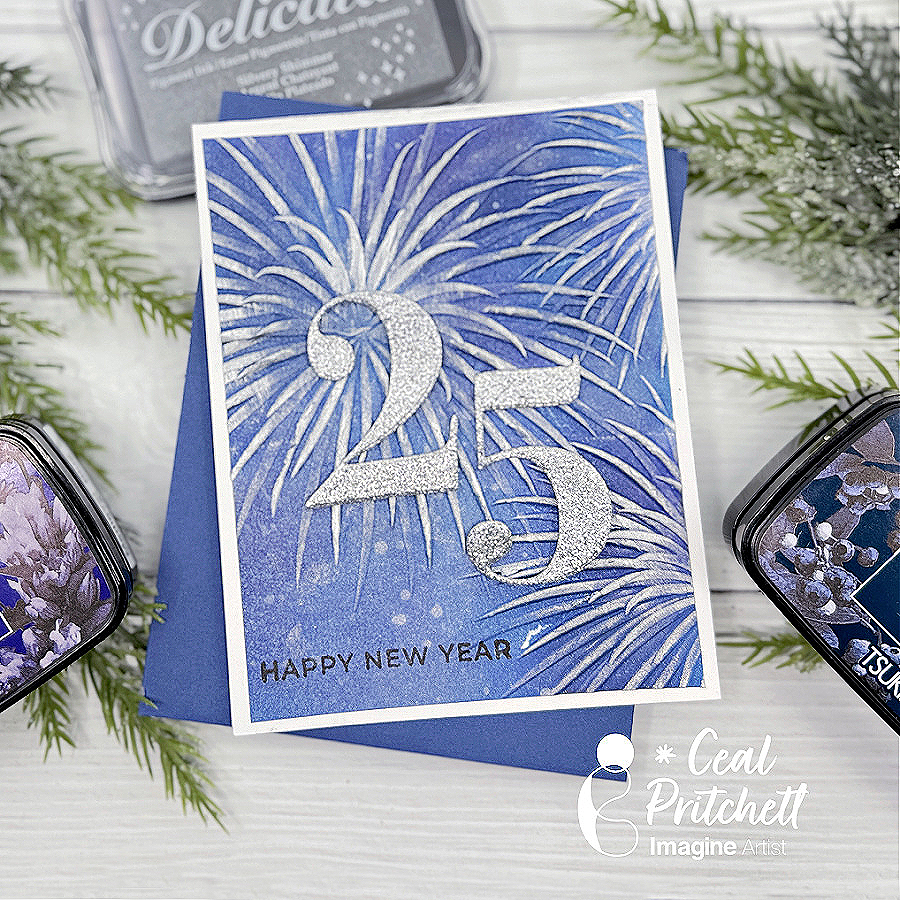
I recently saw a video where the owner of Lavinia Stamps created a card using Brilliance Moonlight White and a silhouette stamp to create a magical scene. I decided to bring it to the next level by creating a scene using Brilliance and VersaMagic inks.
Skill Level: Beginner to Intermediate
Time: 1 hour
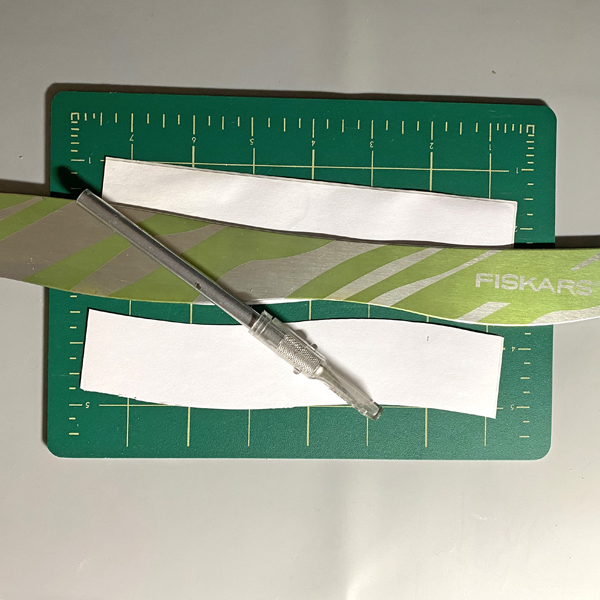
Step 1:
Place a piece of repositionable label paper onto a craft mat. Use a craft knife and a curvy ruler to cut the piece of label paper. Both pieces will be used as masks.
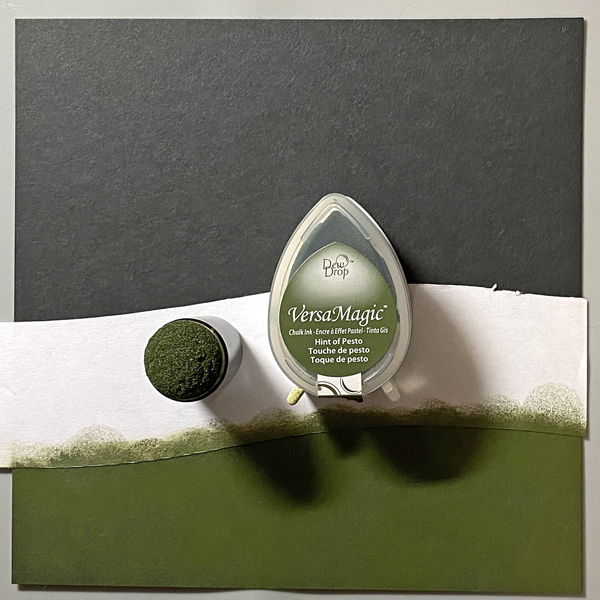
Step 2:
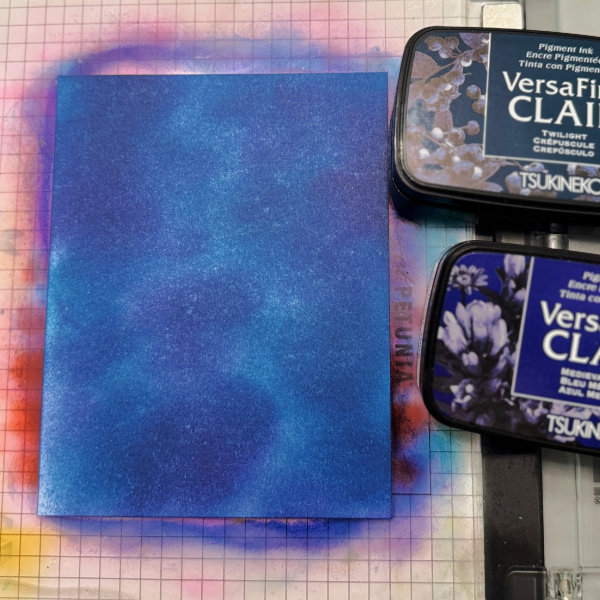
Cut a piece of Black Mixed Media paper to 5.25” square. Adhere one of the two masks horizontally across the square.
Use a Sponge Dauber to apply Hint of Pesto VersaMagic Ink below the mask. Remove the mask and retain. Heat set.
VersaMagic Inks are wonderful on dark backgrounds.
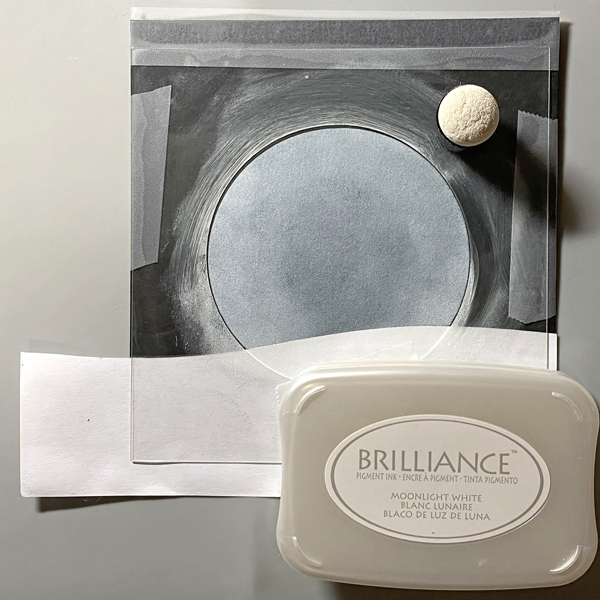
Step 3:
Adhere the second repositionable masks over the sponged green background.
Use repositionable tape to secure the largest circle-in-a-square stencil from the Circle Mask and Stencil Set to the image panel.
Use a Sponge Dauber to generously apply Moonlight White Brilliance ink to the circular center of the stencil.
Remove the stencil and heat set.
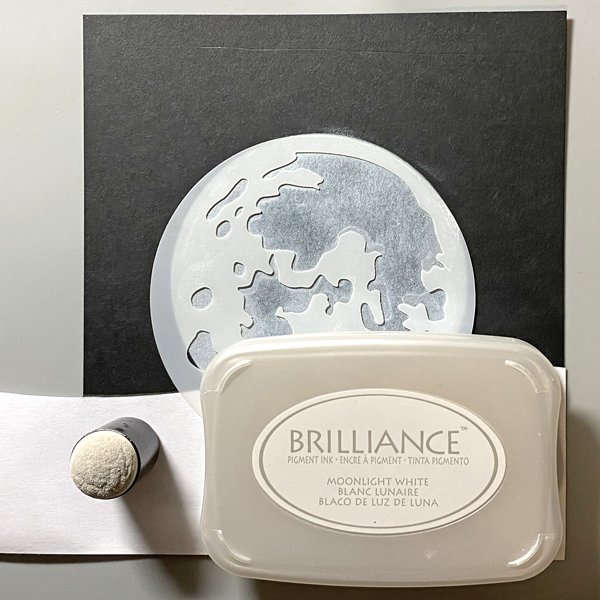
Step 4:
Keeping the repositonable mask in place, position the moon face stencil from the Moon Layering Mask Set.
Sponge Moonlight White Brilliance Ink over the stencil. Use a slight scrubbing motion to remove some of the ink from the moon craters.
Remove the stencil and the mask. Heat set.
Step 5:
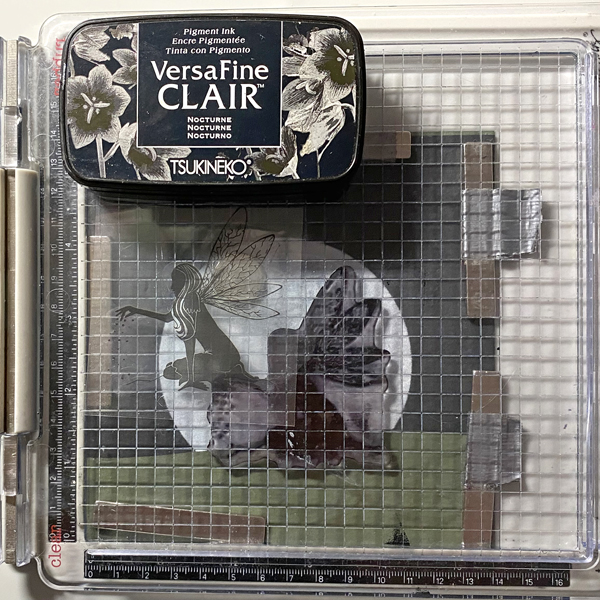
Secure the image panel onto the stamping platform. Position the Fairy Dust fairy so that she’s sitting on the green area of the image panel.
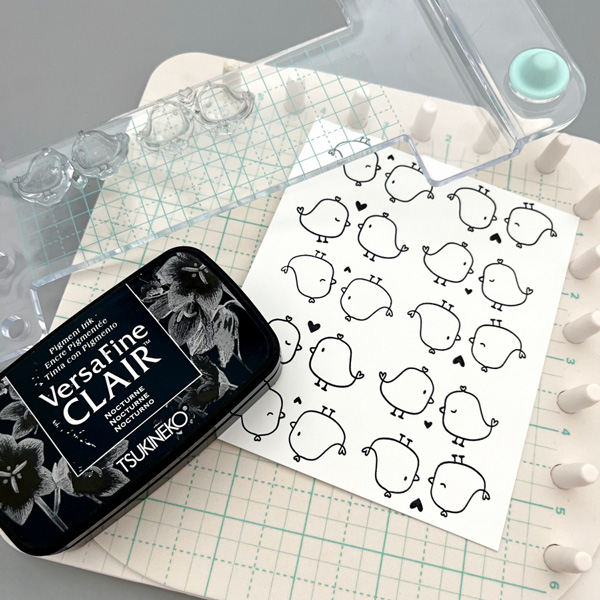
Ink the stamp with Nocturne VersaFine Clair ink and stamp. Re-ink the stamp and stamp until you have a good impression.
Remove the stamp. Heat set the image panel.
Step 6:
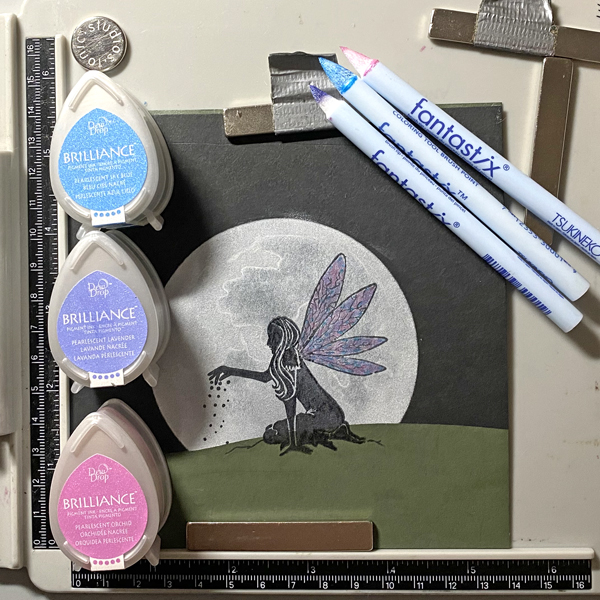
Use Fantastix to apply Pearlescent Orchid, Lavender, and Sky Blue Brilliance Inks to the fairy’s wings.
Heat set.
Trim image panel to 5” square.
Step 7:
(Not Photographed)
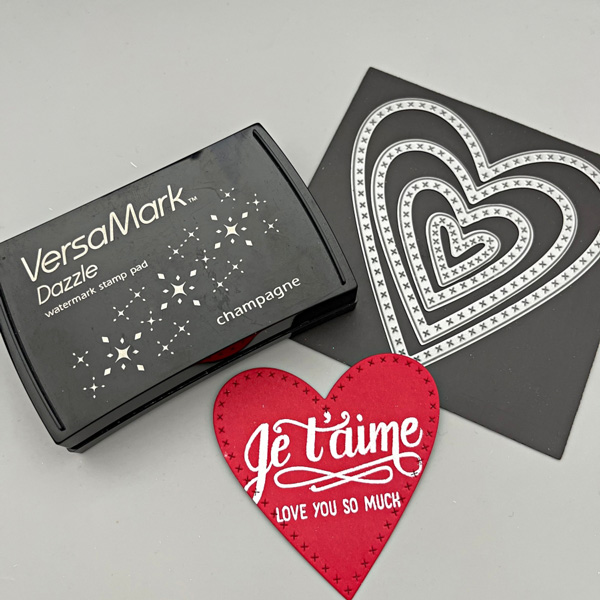
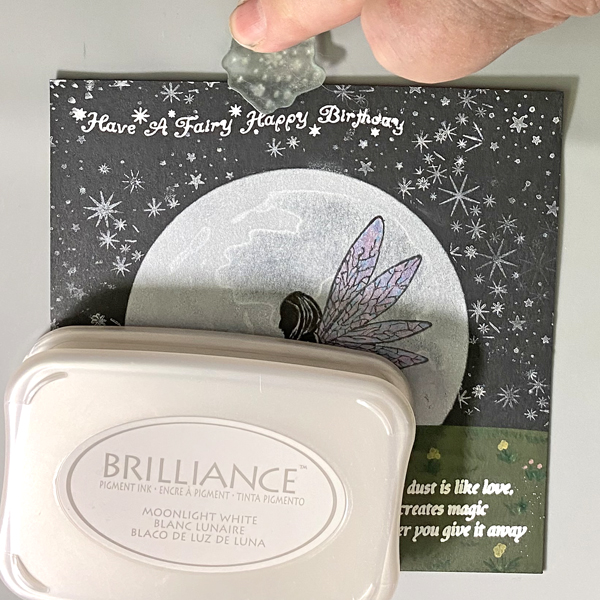
Position the Birthday sentiment stamp facedown at the top left of the image panel. Position the Fairy Dust sentiment stamp facedown at the bottle right of the image panel. Ink both stamps with Frost Dazzle VersaMark ink. Sprinkle white detail embossing powder onto the sentiments then dump off the excess. Heat set.
Step 8:
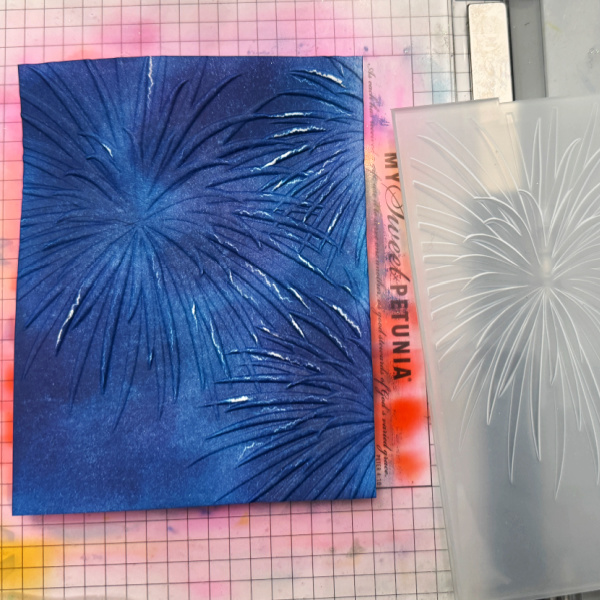
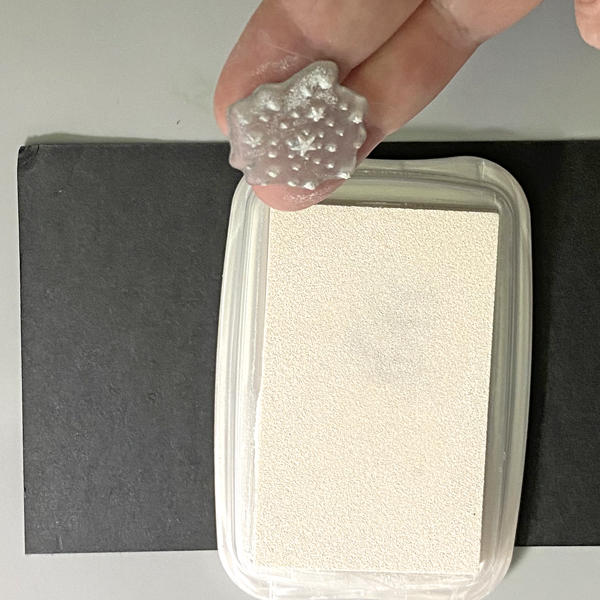
Press two fingers onto the back of the polymer Stars stamp, ink the stamp with Moonlight White Brilliance Ink pad, and stamp. Randomly stamp the stars and the bursts around the moon.
Since the polymer stamp will stick to your fingers you will have more control of stamping. Your image might not be perfect, but that’s okay!
Step 9:
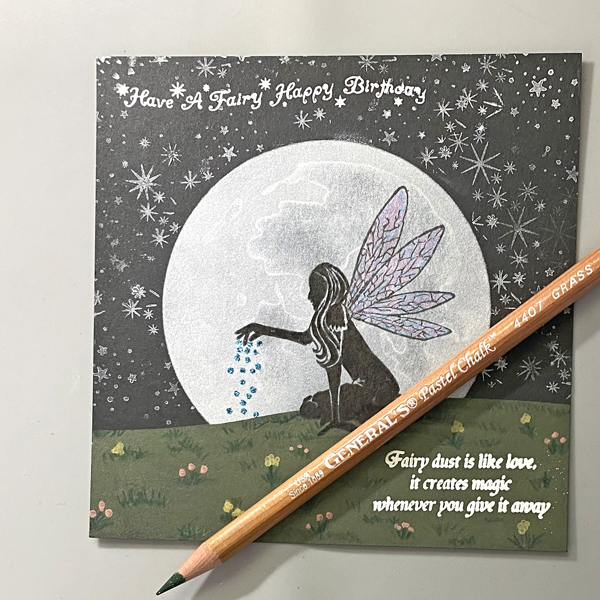
Use chalk pencils to add grass and flower stems to the green area of the image panel.
Step 10:
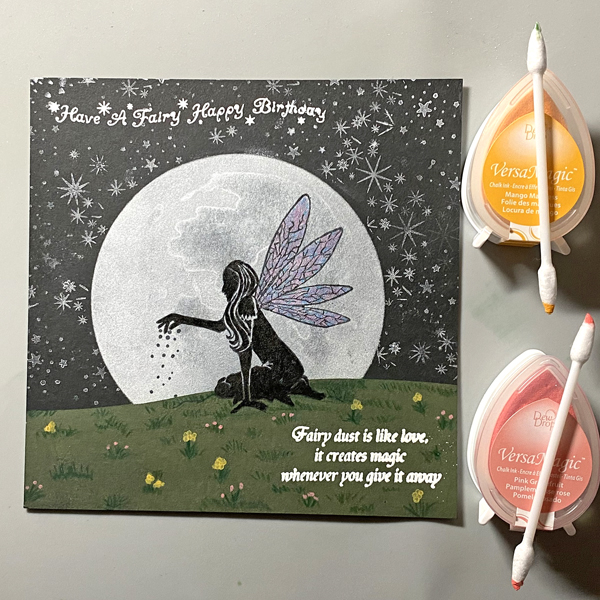
Use Fantastix or pointy cosmetic swabs to apply dots of Mango Madness and Pink Grapefruit VersaMagic ink to some of the tufts of grass/flower stems. Heat set.
Step 11
(not photograhed)
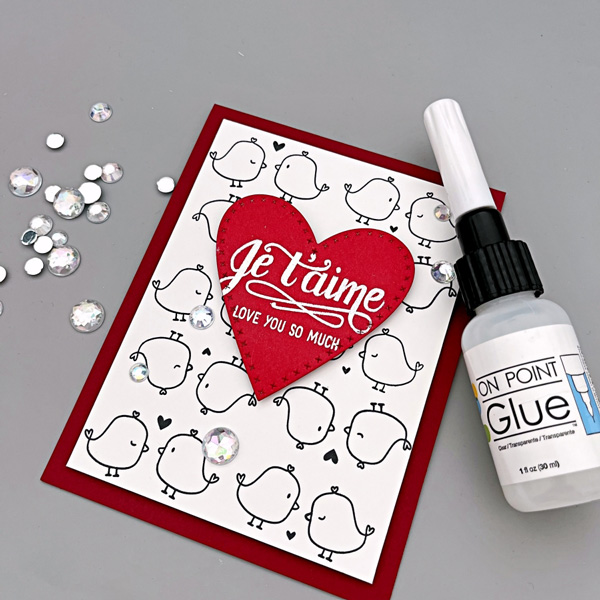
Apply tiny dots of On Point Glue over the “fairy dust” on the image. Shake some glitter onto the wet glue, Let sit then dump off the excess. Apologies for the lack of a photo.

Step 12:
Cut a piece of Raven cardstock to 5.5” x 11”, score at 5.5”, and fold to form a 5.5” square cad.
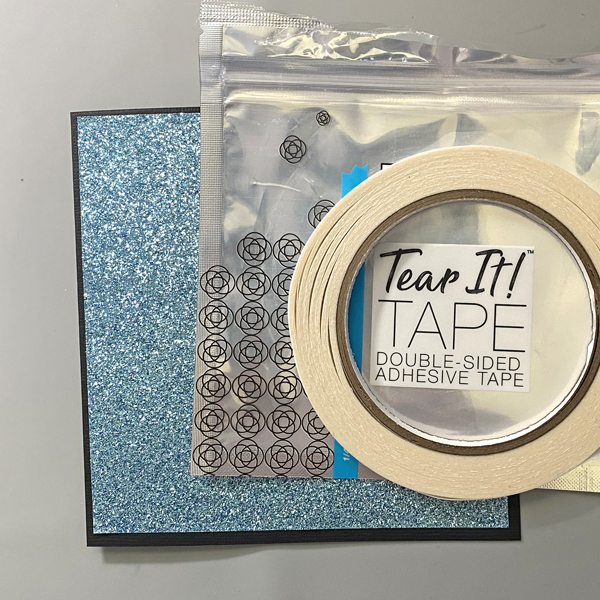
Cut a piece of the blue glitter paper to 5.25” square.
Use Tear-It Tape to adhere the glitter paper to the front of the card. The tape is perfect for this application as the back of the glitter paper is slick. Use Tear-It ! Tape to adhere the image panel to the blue glitter paper.
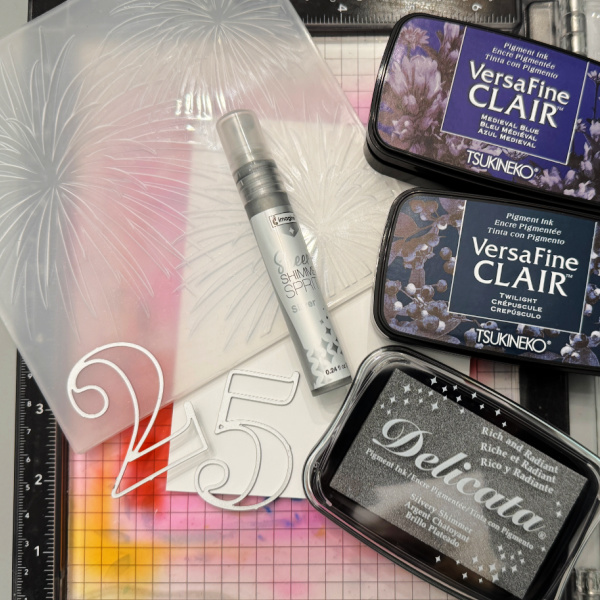
Art Supplies:
Imagine:
- Brilliance Ink – Moonlight White
- Brilliance Ink Dewdrop Ink – Pearlescent Purple, Pearlescent Orchid, Pearlescent Sky Blue and Pearlescent Lavender
- VersaFine Clair Ink – Nocturne
- VersaMagic Ink Dewdrop Ink – Hint of Pesto, Mango Madness, Pink Grapefruit and Frost Dazzle
- MBoss – Detail White
- Brush Tip Fantastix
- Ink Sweepers
- Sponge Daubers
- Tear It! Tape
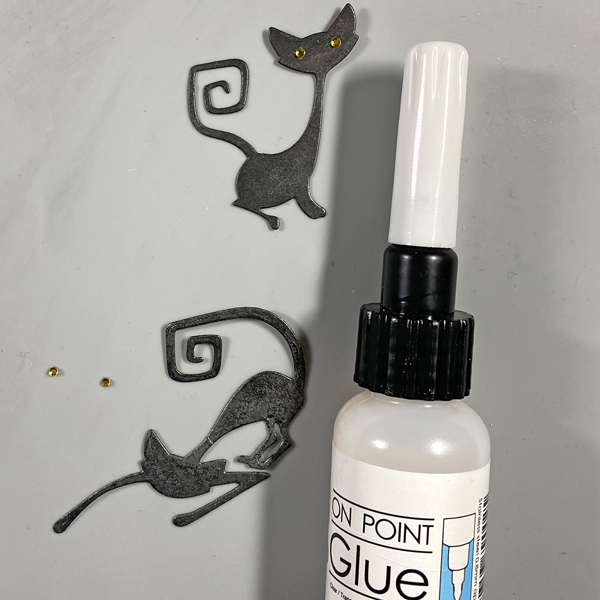
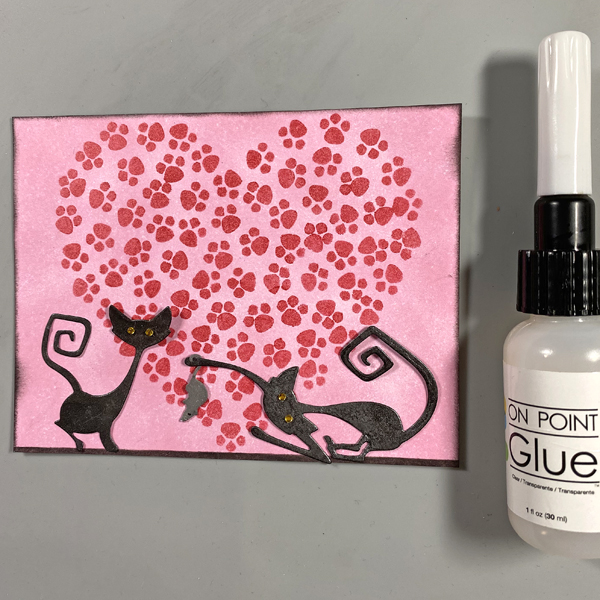
- On Point Glue
- Craft Mat
Other Supplies:
- 140 lb. Black Mixed Media Cardstock by Strathmore
- Raven Black Cardstock by Bazzill Basics
- Circle Stencil and Mask Set by Lavinia Stamps
- Fairy Dust Clear Polymer Stamp by Lavinia Stamps
- Fairy Happy Birthday Clear Polymer Stamp by Lavinia Stamps
- Fairy Dust Sentiment Clear Polymer Stamp by Lavinia Stamps
- Mini Burst Clear Polymer Stamp Set by Lavinia Stamps
- Mini Star Clear Polymer Stamp Set by Lavinia Stamps
- Moon Layering Masks by Tim Holtz for Stampers Anonymous
- Blue Hawaii Ultra Fine Glitter by Art Institute
- Grass Green and Green Bice Chalk Pencils by General’s
- Pointy Tip Cosmetic Swabs
- Repositionable Label Paper by Avery
- Repositionable Scotch Tape by 3M
- Curvy Metal Ruler by Fiskar’s
- Craft Knife by Exacto
- Tonic Stamping Platform
- Heat Gun by EK Success