By Jessica Lin
– Hi everyone! It’s Jessica here. Today I am sharing a simple way to create 3D Christmas trees for your holiday cards. It is beginner friendly with minimal supplies, and I think it’s perfect to mass produce as well.
Skill: Beginner
Time: 30 min
Directions:
Step 1:
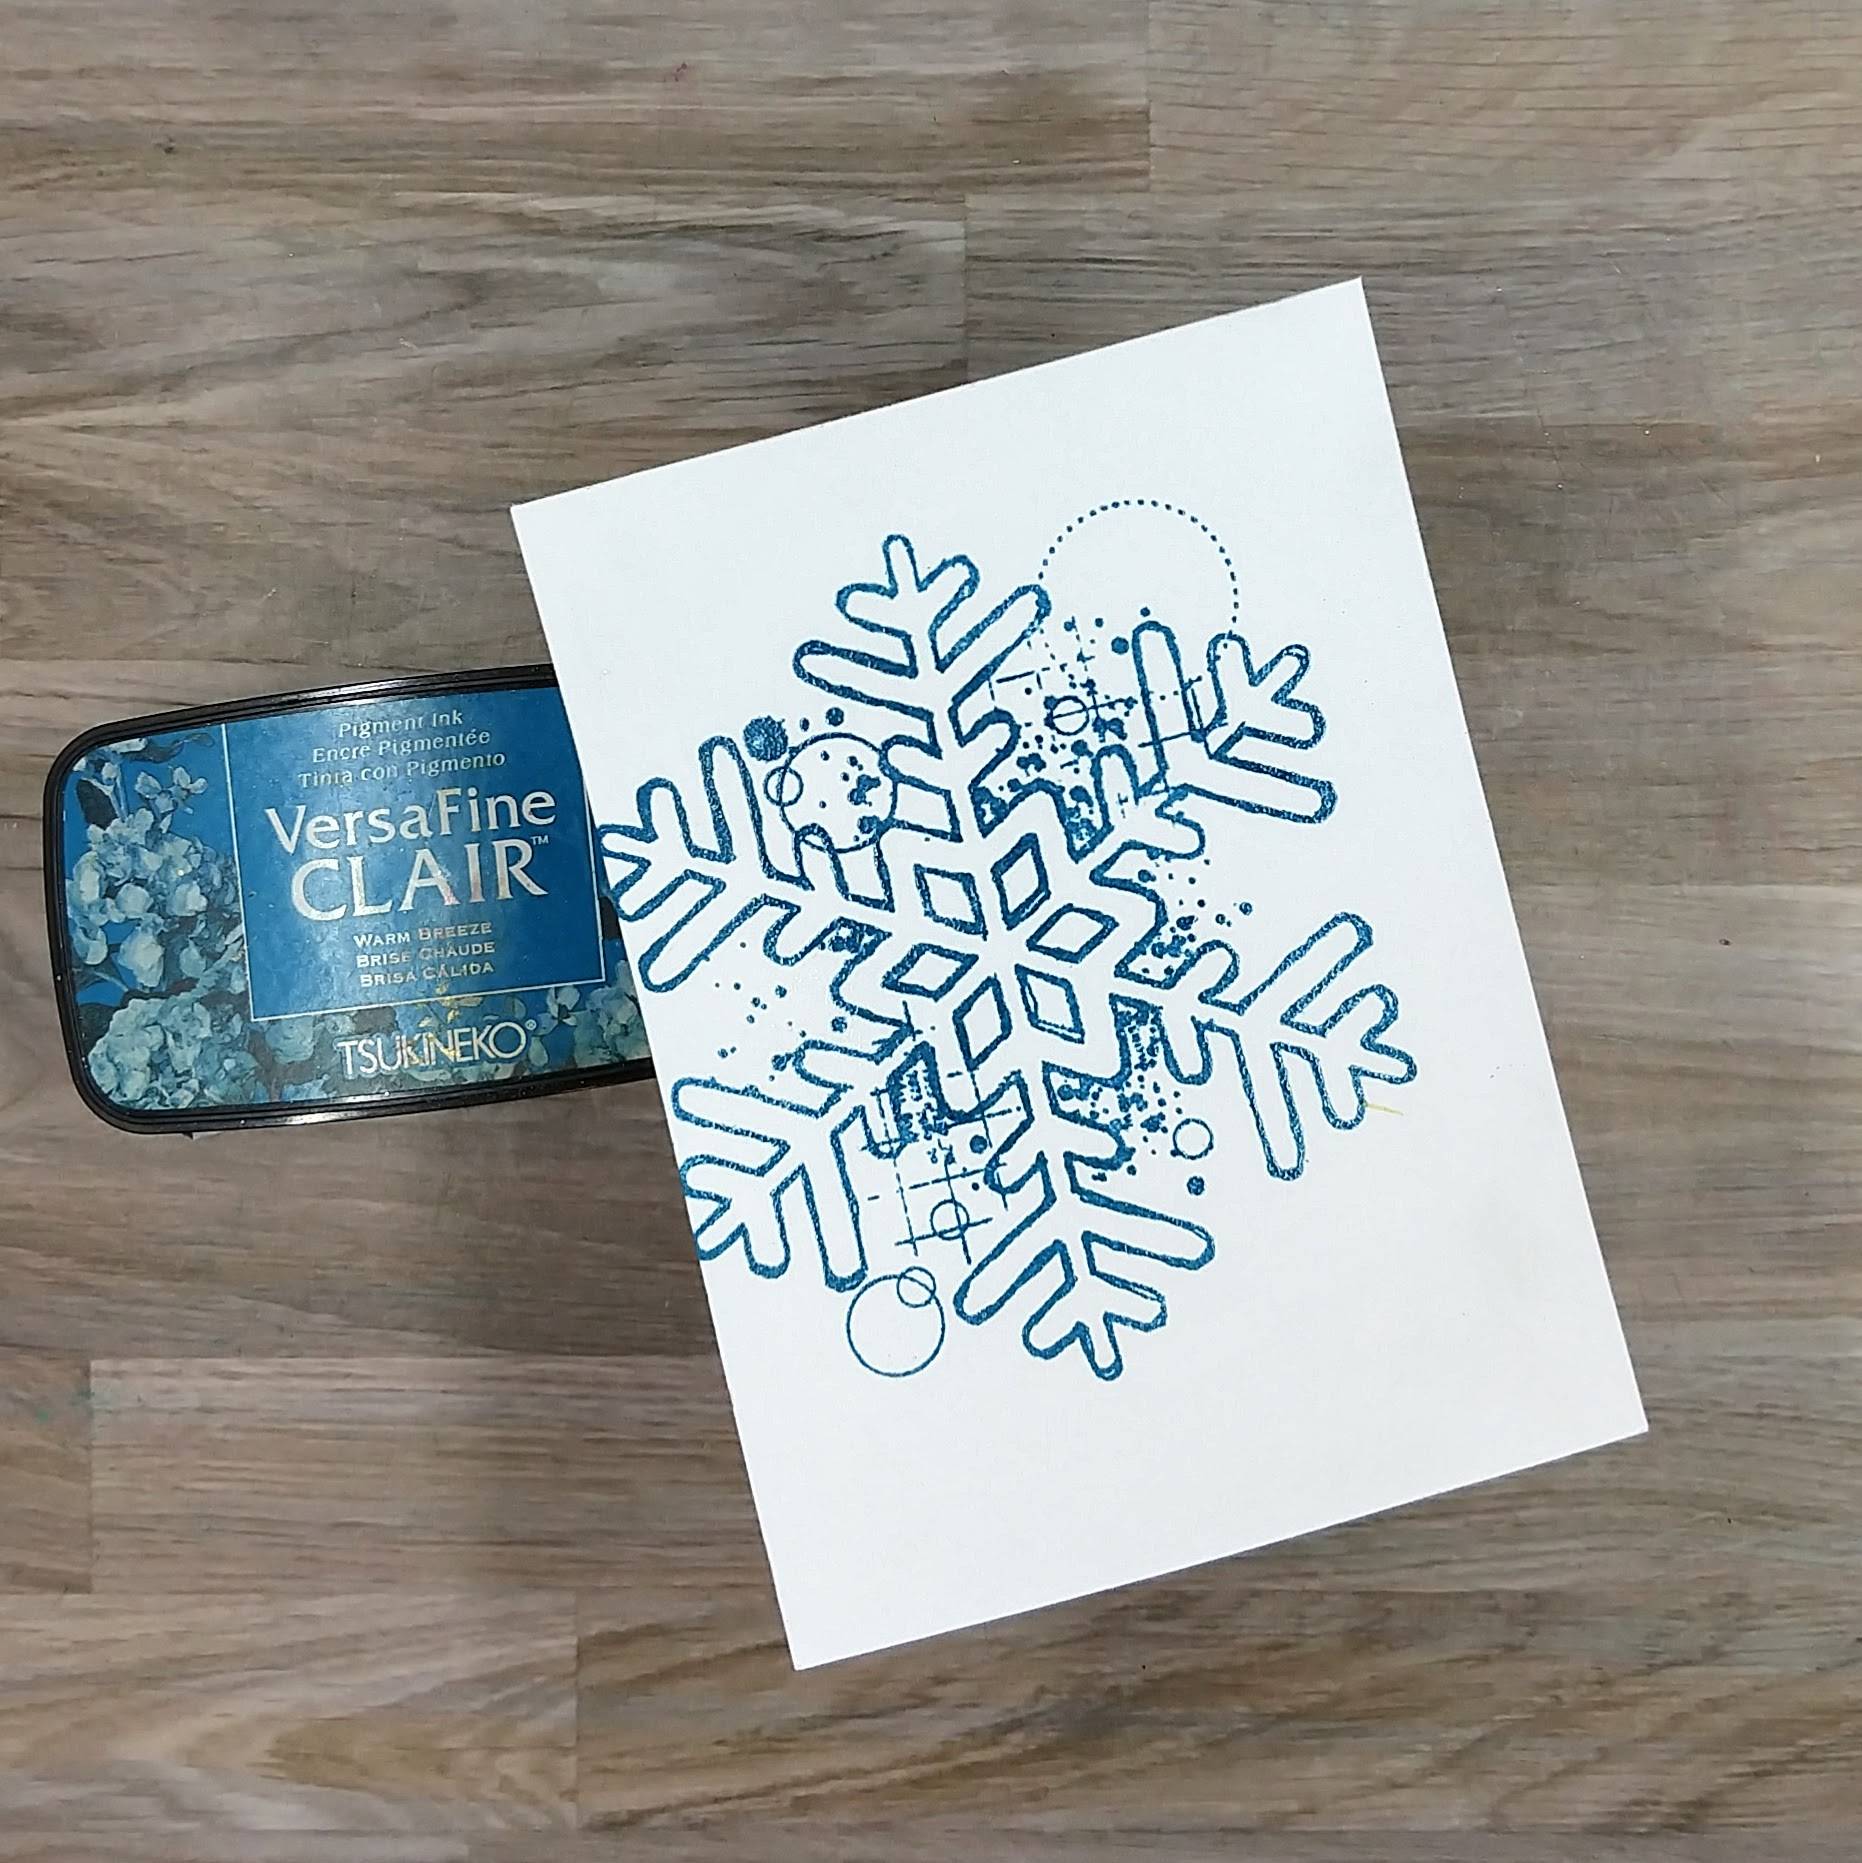
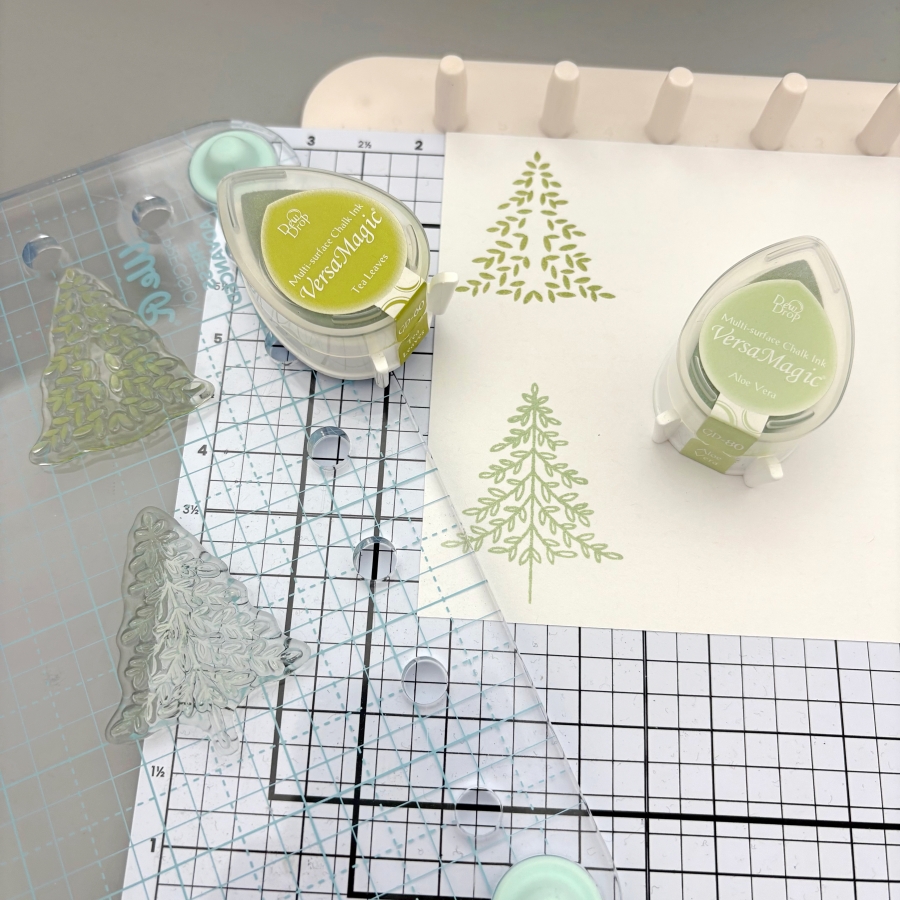
Start by stamping Christmas tree images with VersaMagic Aloe Vera and Tea Leaves ink pads. I used stamps from Stampin’ Up’s Perfectly Plaid set, but any small Christmas tree image would work for today’s technique. For each 3D Christmas tree, you would need three layers. You could stamp each design three times for each layer, or only stamp the top layer for quick mass production of cards.
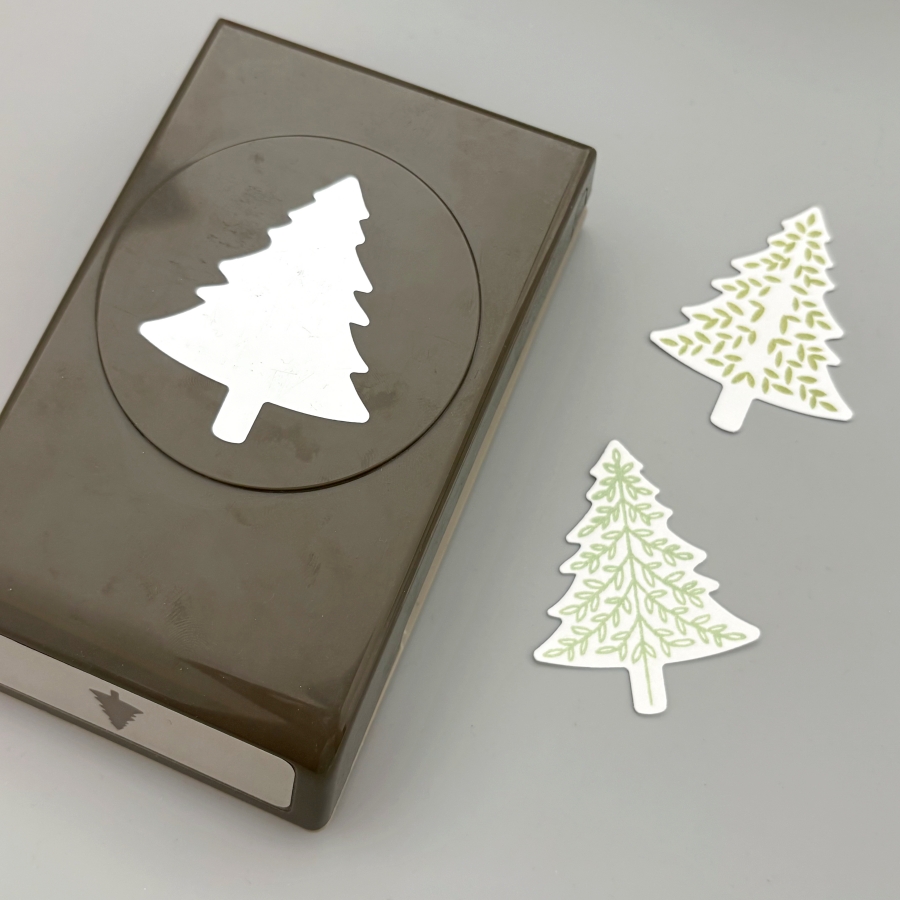
Step 2:
Next, use the matching paper punch to cut out the Christmas trees. If you only stamped the top layer, be sure to punch out 2 additional cutouts with white cardstock for each 3D tree you are building. Since I am making two 3D trees today, I would need 4 more white cutouts.

Step 3:
Score each Christmas tree cutout in the middle. I lined up the top and bottom of the cutout to the score guide to score.

Step 4:
After scoring, fold the stamped Christmas tree cutout in half, and apply On Point Glue to the top of the folded crease. Then adhere it to a blank (or stamped) cutout. Be sure to hold the folded layer in place for about 20 seconds before the glue dries. Repeat this process to adhere the second layer to the third tree cutout.
Step 5:
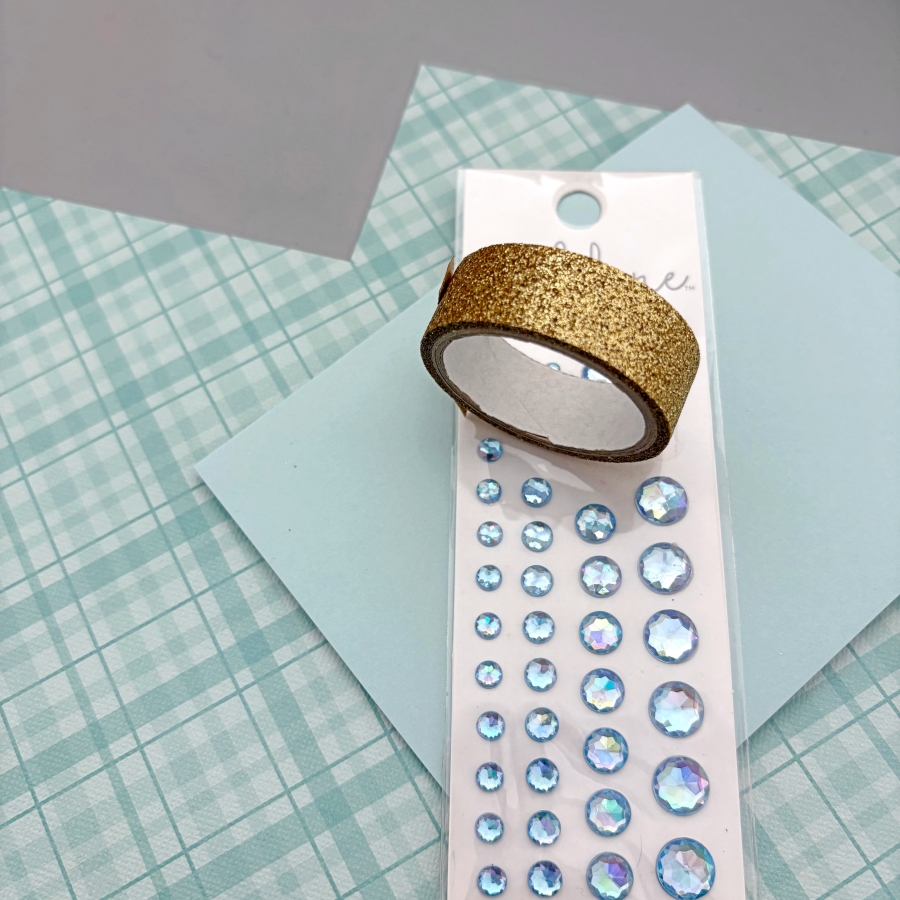
Now that the 3D Christmas trees are made, it is time to prepare the card base. Trim a piece of patterned paper to 4 x 2 ¼ inches and a cut a 4 ¼ inch piece of gold glitter washi tape. Trim one side at an angle to create a banner shape and adhere both pieces to the card base.

Step 6:
Finally, stamp the sentiment using VersaMagic Ocean Depth ink pad. Adhere the 3D Christmas trees using Tear-It! Tape and embellish the card with a few rhinestones.

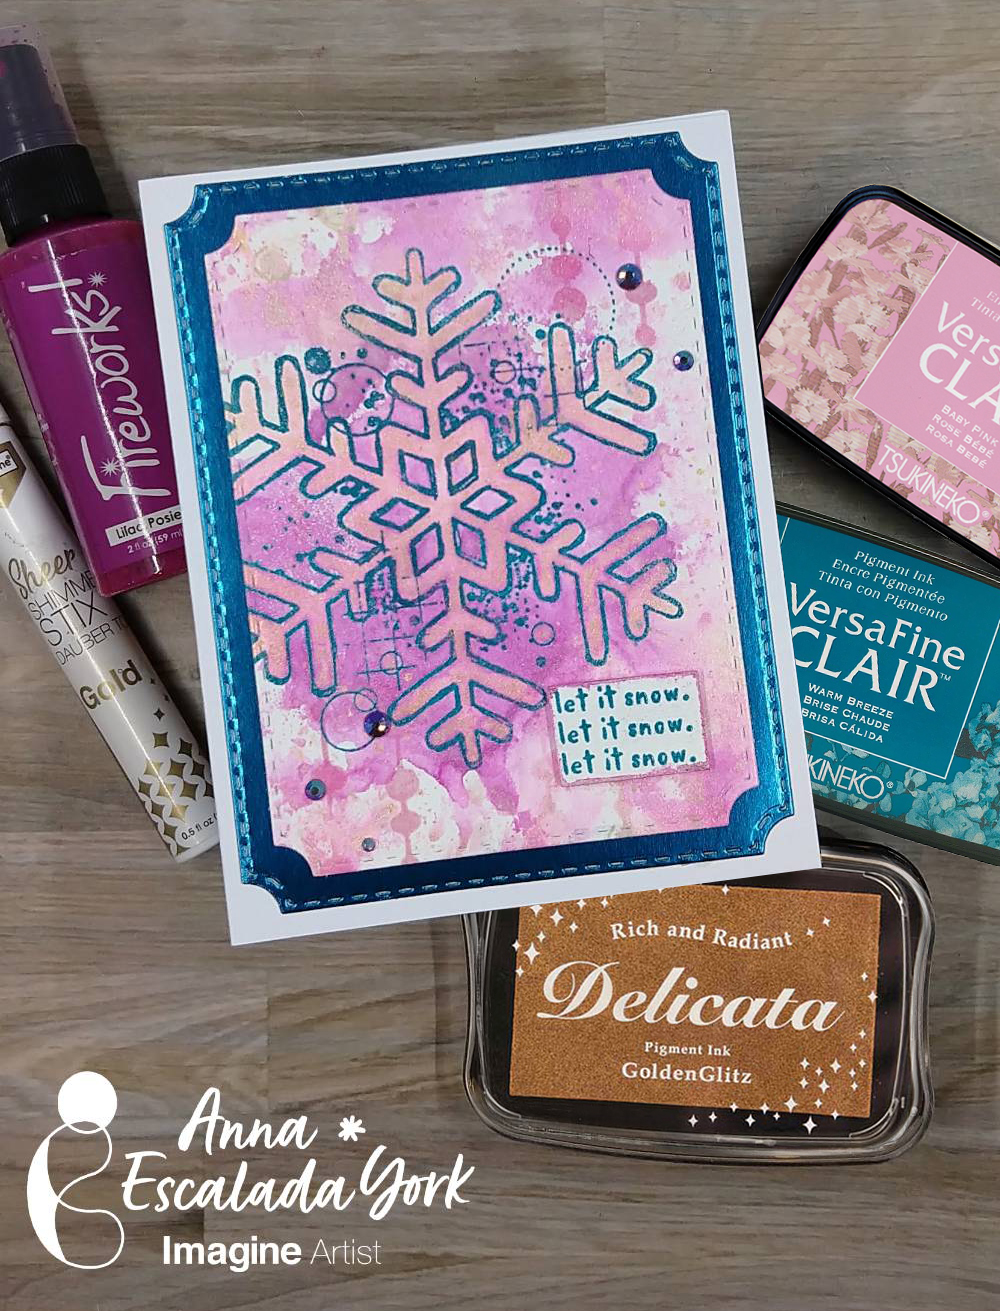
Here is a finished card where I stamped all 3 layers of the 3D Christmas trees. I love how easy it is to create the 3D element, and it is mail-friendly, too! I hope this tutorial inspires you to get a headstart on making Christmas cards for this year. Thank you so much for stopping by, and I’ll see you in my next tutorial!
Imagine Supplies:
- VersaMagic – Tea Leaves, Aloe Vera, Ocean Depth
- On Point Glue
- Tear-It! Tape
- StazOn Cleaner
- Craft Mat
Other Supplies:
- Stampin’ Up! – Stamps – Perfectly Plaid
- Stampin’ Up! – Punch – Pine Tree Punch
- Stampin’ Up! – Paper – Pool Party cardstock
- Plaid Patterned Paper
- Gold Glitter Washi Tape
- Park Lane – Embellishment – Blue Adhesive Backed Rhinestones