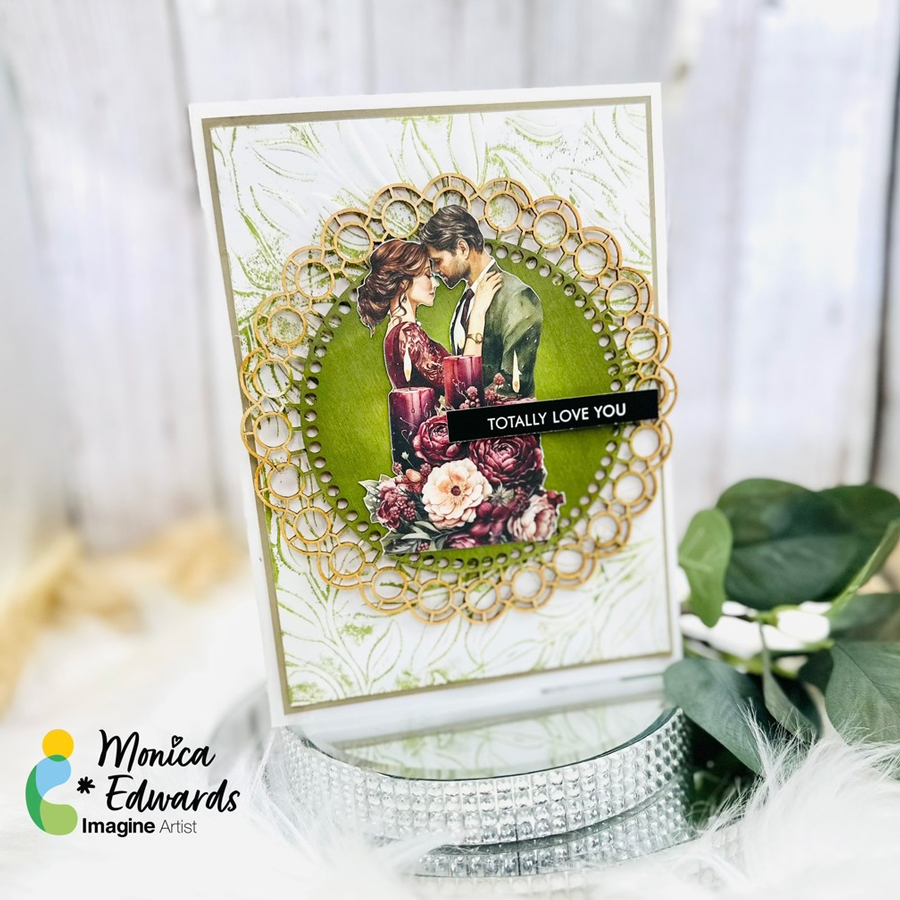
Welcome back to Imagine’s blog. Today, I am going to show everyone how you can get more out of your embossing folders by adding some ink!
Skill Level: Beginner Time: Approximately 30 minutes
Directions:
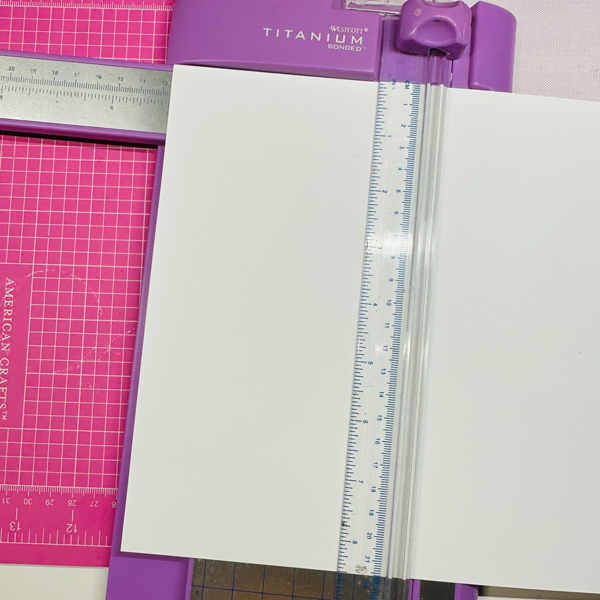
Step 1 Create your card base by taking a piece of white cardstock measuring 10” x 7” and score it down the middle at 5”.
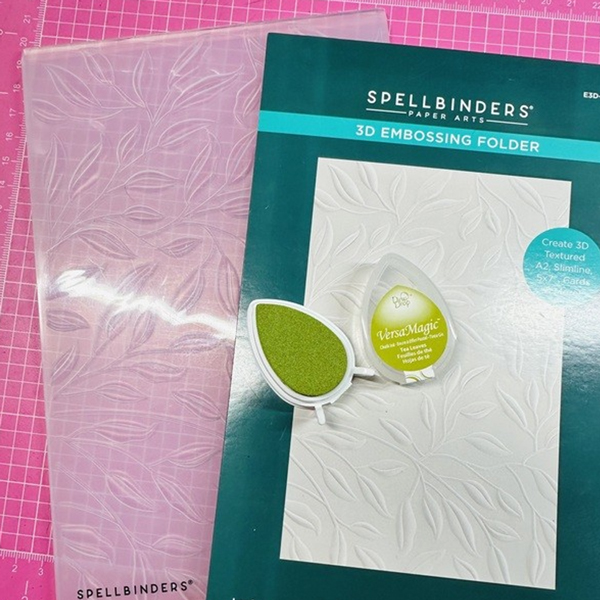
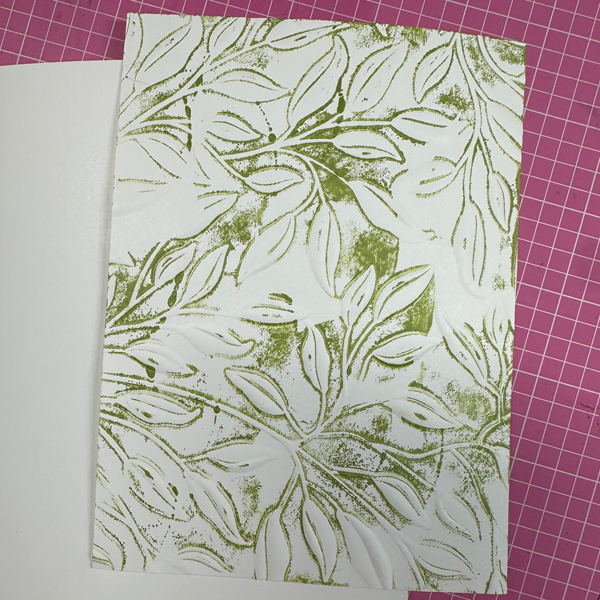
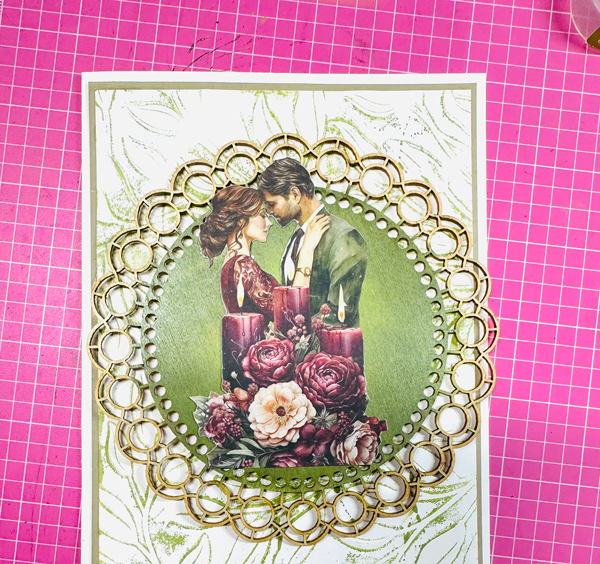
Step 2 To create the colored embossed background, you will need the folder you chose. I am using the Leafy folder with VersaMagic Dew Drop in “Hint of Pesto” and “Tea Leaves”.
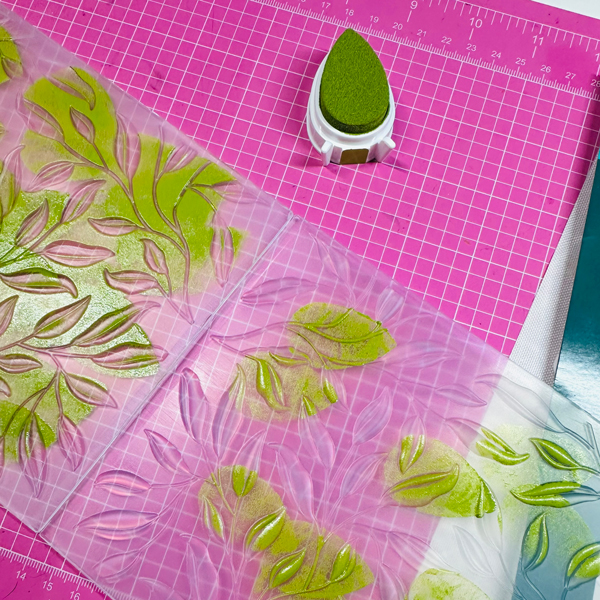
Step 3 Simply take the ink and wipe and/or dab it all over the folder.
Step 4 Once you are done run it through your diecut machine so the ink is pressed onto the paper. The beauty of this is that you can additional colors and simply add more color if you want a darker look.
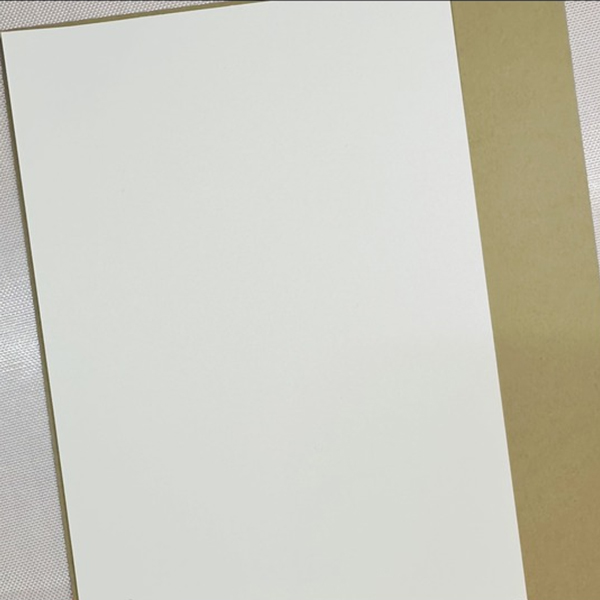
Step 5 You will mat your background onto a piece of cardstock. I chose Putty to go along with the greenery. I am showing the mat before the color for better visibility.
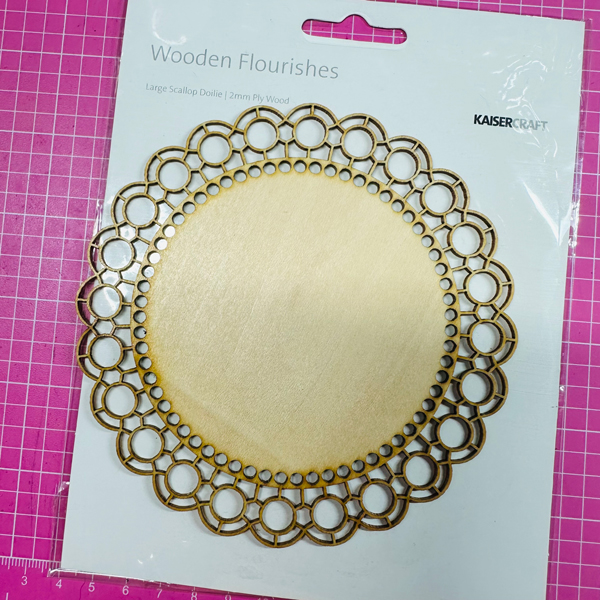
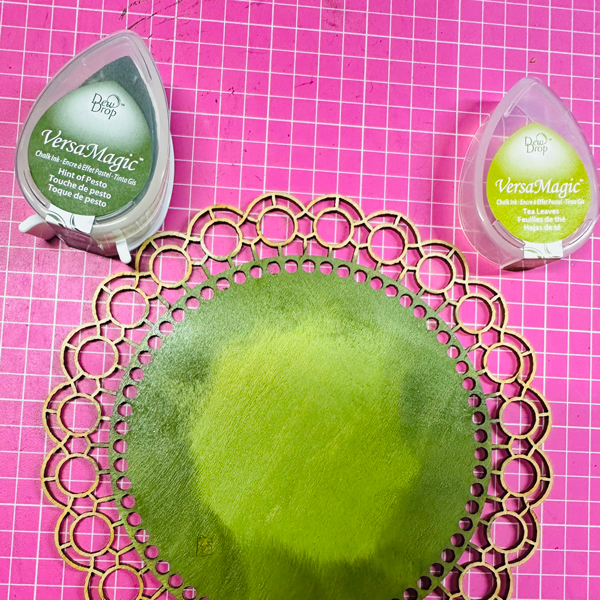
Step 6 Use a Wood Flourish Frame
Step 7 Using your Dew Drop like a dauber simply sponge on some color this will bring out the green background.
Step 8 Add a diecut for the focal point, along with a sentiment to complete the card.
Other Products Kaisercraft : Wooden Flourishes Mintay Papers – Bohemian Wedding Collection – Embellishments Spellbinders: Leafy (Embossing Folder) Paper Roses: So Extra Black 1.0 Sentiments Hammermill : White Cardstock My Colors : Putty Cardstock
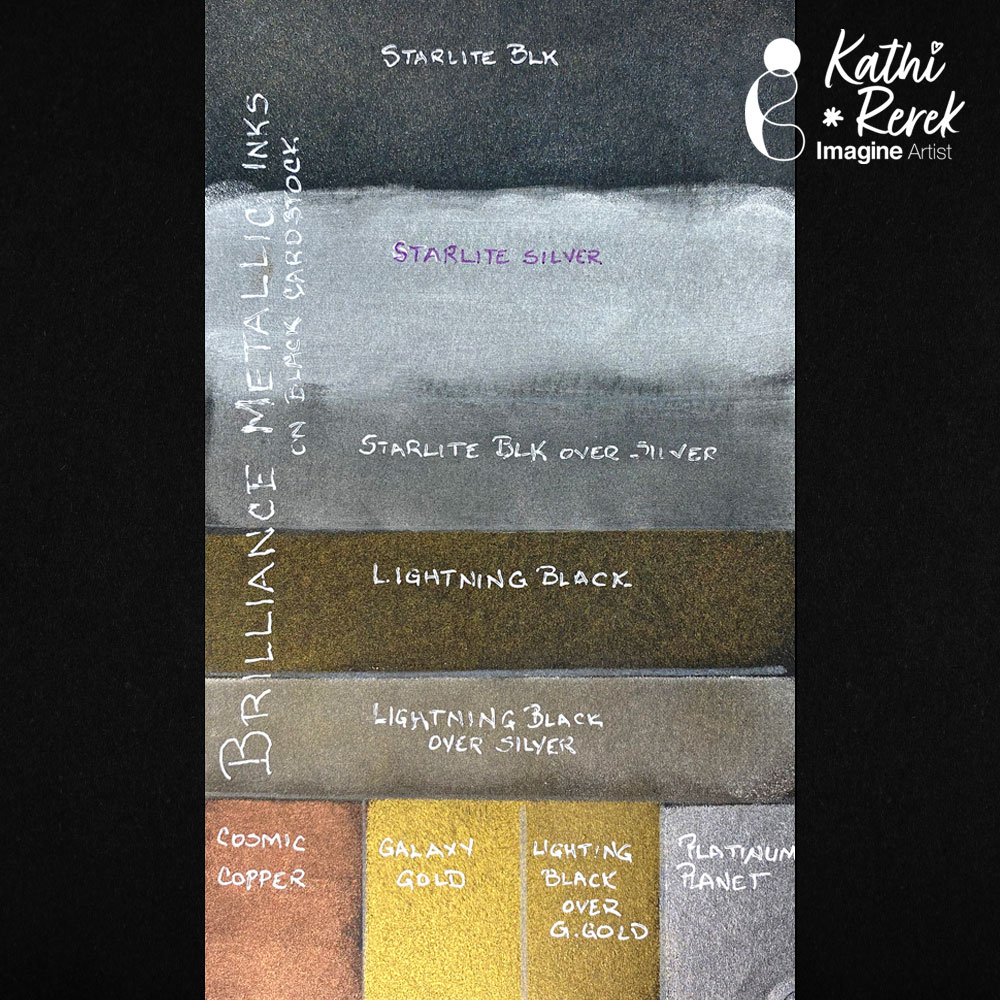
I recently shared a project using rich Brilliance Pigment Inks and a friend asked how they looked on black cardstock. I decided that it was a great idea to swatch them so that I’d have a reference.
Skill Level: Beginner Time: 30 minutes
Instructions:
I had a scrap of black mixed media cardstock leftover from a project. I used a Sponge Dauber or foam applicator to apply the inks singly or in combination onto black cardstock, then labeled them with a white gel pen and/or a purple Sharpie pen when the white didn’t show on the silver. I heat set after each application to avoid contaminating my ink pads.
Notes and Observations about Brilliance Ink:
Re-applying another layer of ink after heat setting intensified the opacity and metallic properties of the ink on black cardstock. I’d imagine building up several layers would continue to enhance the inks.
The bottom right hand corner of the cardstock was smashed. Applying metallic ink over the crush mark emphasized that textural component! Cool!
I applied Starlite Silver and Starlite Black Inks to a Gel Press with a brayer, then pulled a print with black cardstock, which resulted in a lovely silvery mottled metallic finish. Again, a second layer of ink deepened the silver and improved the coverage.
FYI: You can apply Brilliance Metallic inks over white chalk finish acrylic paint and over white gesso, which means you can use it on a variety of surfaces. I have not tried Metallic Brilliance Inks over transparent and/or black gesso or Matte Medium. Those will be experiments for another day.
Lastly, VersaMagic Inks can be applied over the Brilliance Metallic Inks and yield a nice matte finish.
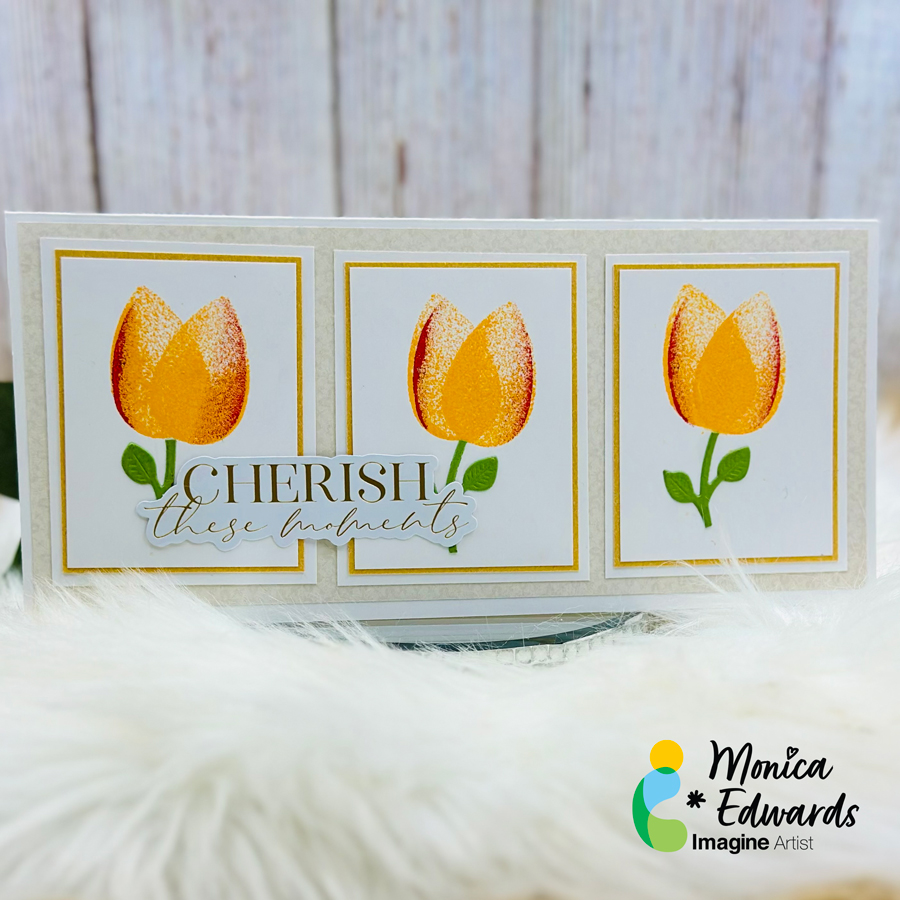
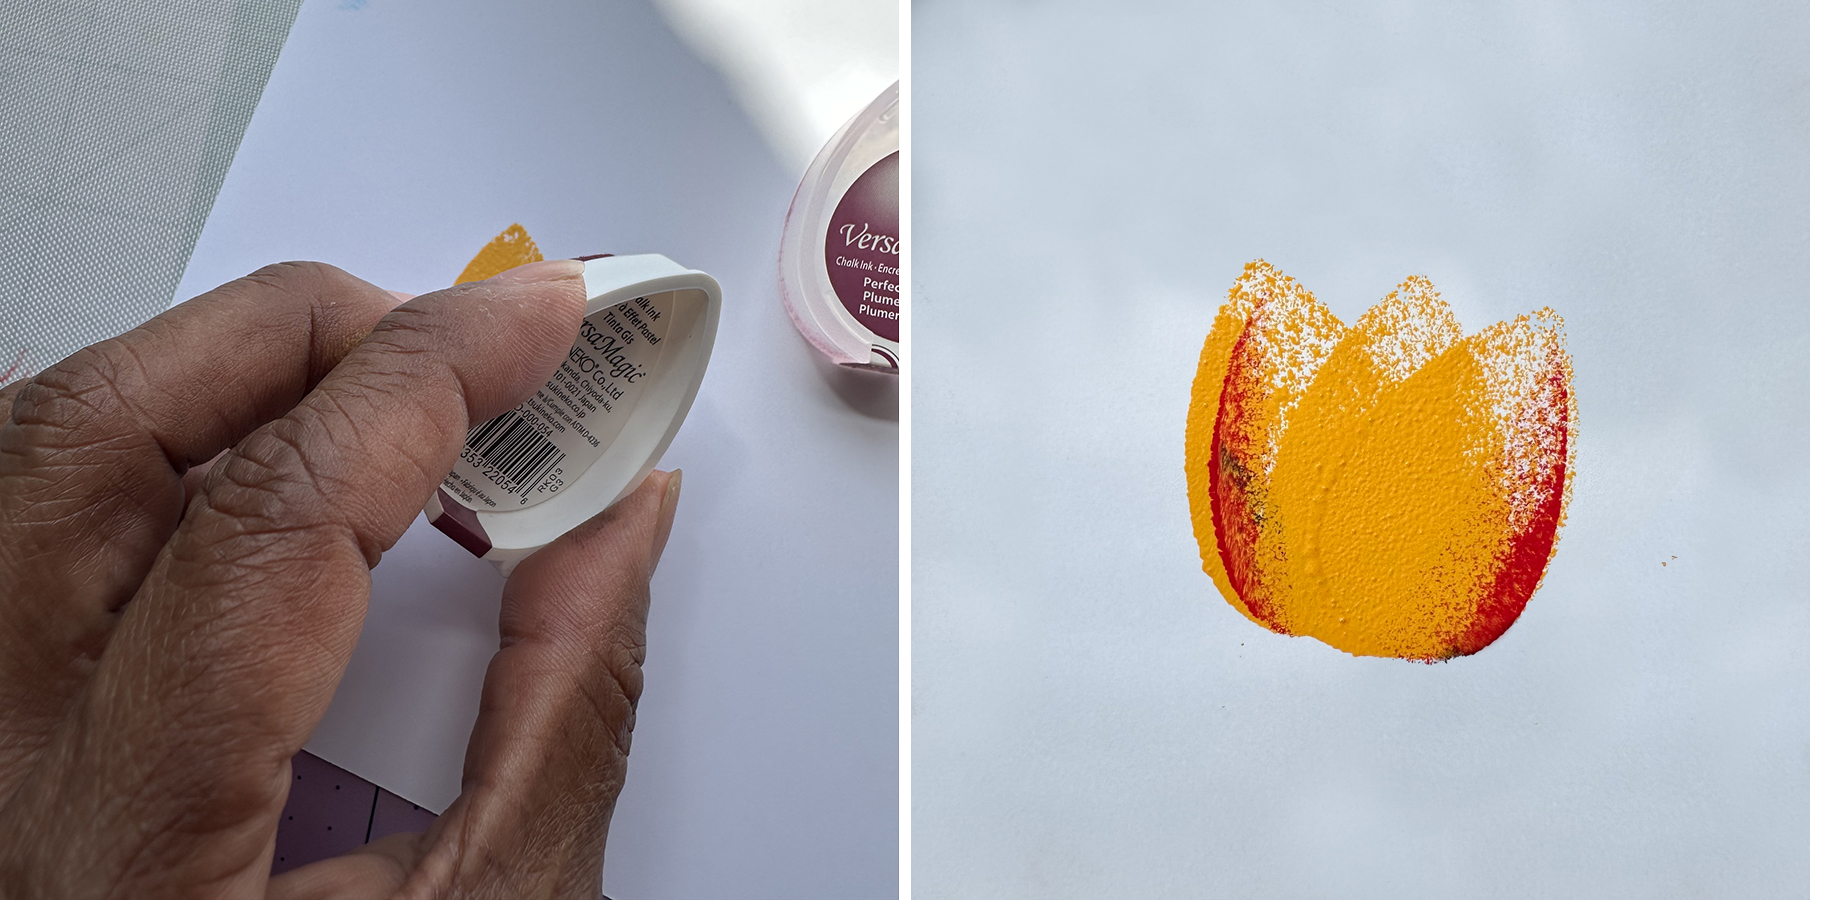
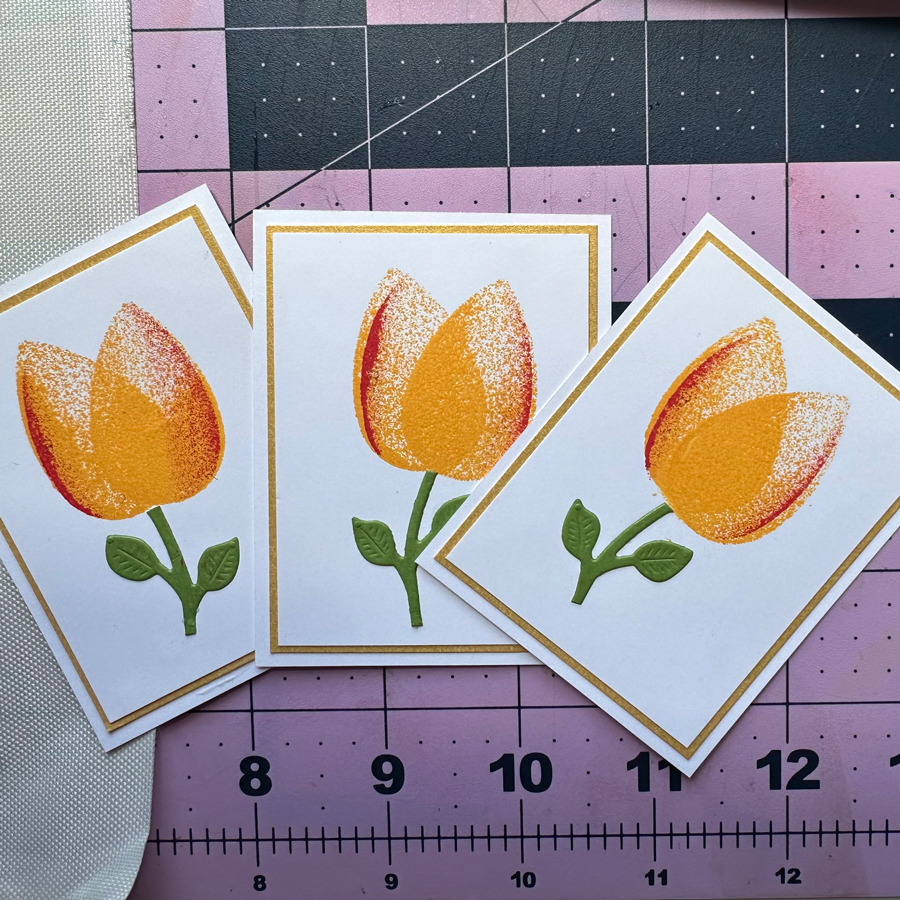
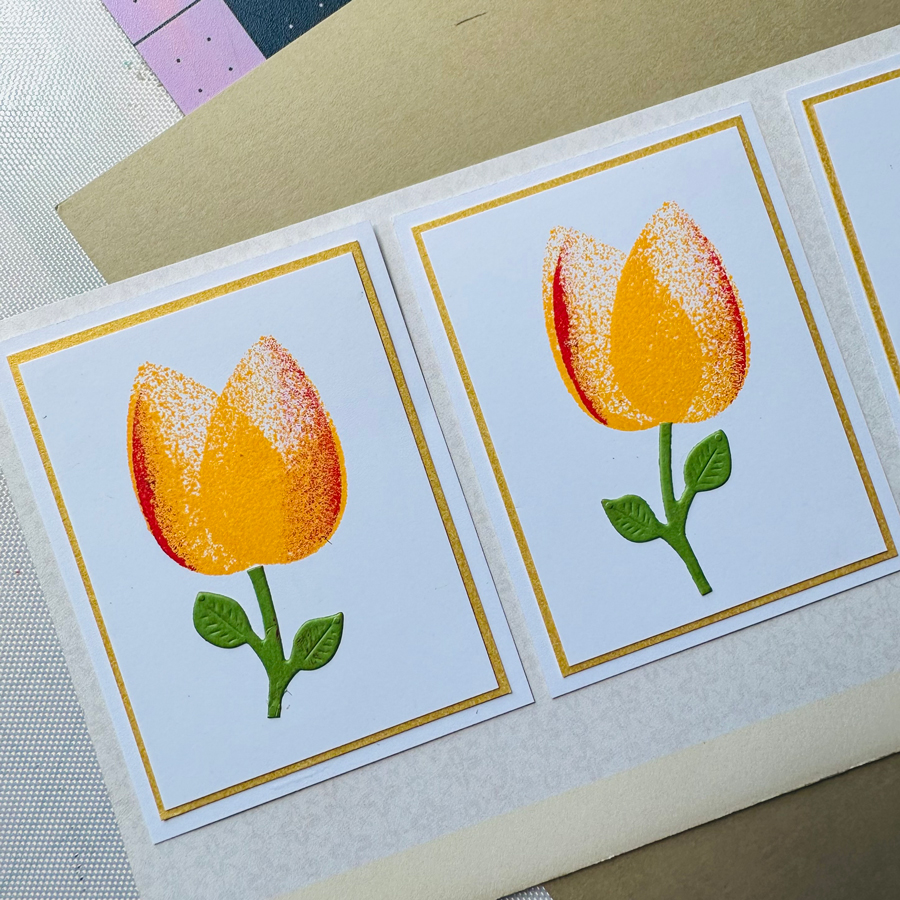
Hello! Today, I’ll show you how to make pretty tulip cards with VersaMagic Dew Drop Inks. I love these line of inks for their soft, chalky finish. The pad shape is also perfect for making tulip petals. You can either make a single card, or you can make a 3-panel slimline card.
Skill Level: Beginner Time: 30 Minutes Approx
Directions:
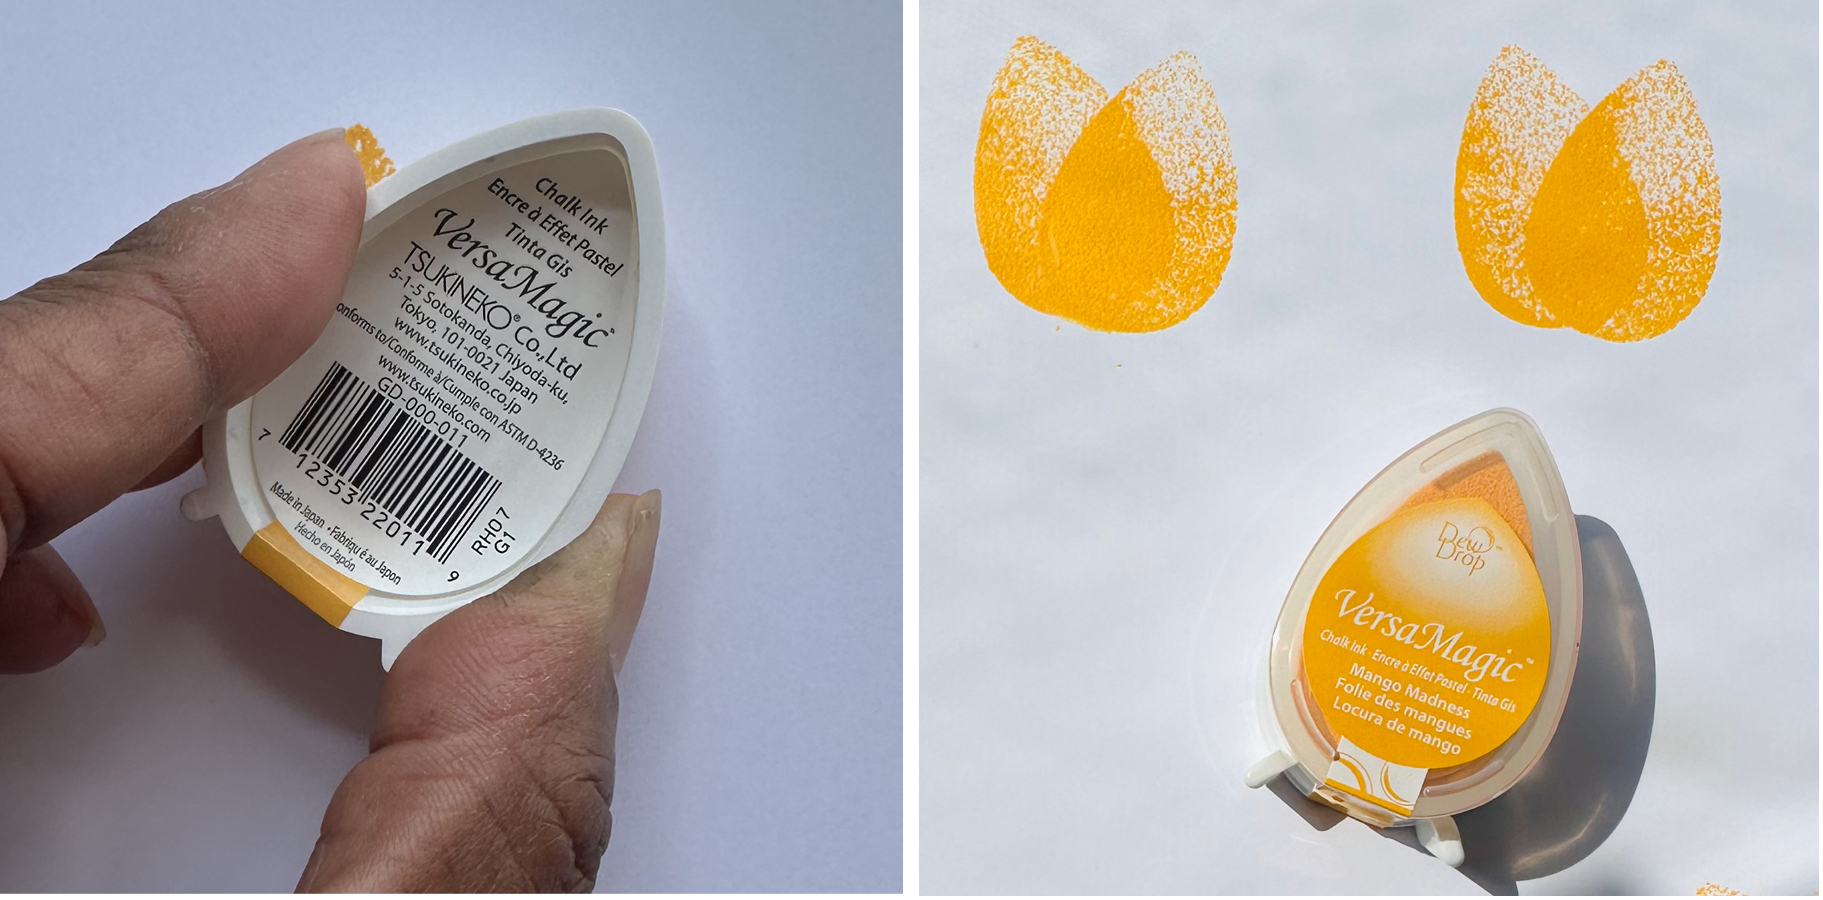
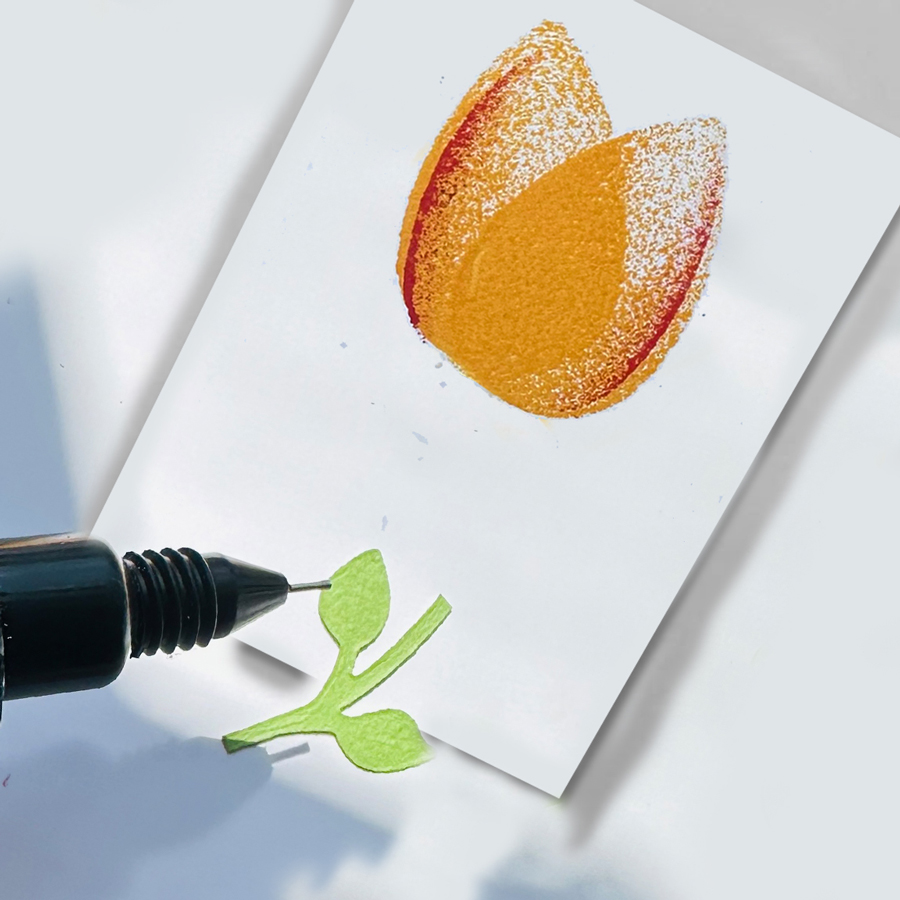
Step 1: Begin stamping 2 to 3 petals with VersaMagic Dew Drop Mango Madness on a 2.5″x3.5″ cardstock panel. Repeat process 2 more times for a total of 3 panels.
Step 2: Now take your VersaMagic Dew Drop Red Magic and angle it so that when you stamp, you will only get ink only on the outer edge of the tulip.
Step 3: Using On Point Glue, add flower stems to your inked tulip. You can find flower stems at any craft store or you can make your own.
Step 4: To add more dimension to your card, you can add extra layers using different color cardstock. Adhere with Tear It! Tape.
Step 5: For the slimcard, cut a piece of 4″x9″ cardstock. Glue all layers together with Tear It! Tape.
Step 6: You can add a sentiment to complete your card, using On Point Glue, Thanks for stopping by, I hope you enjoy this tutorial.
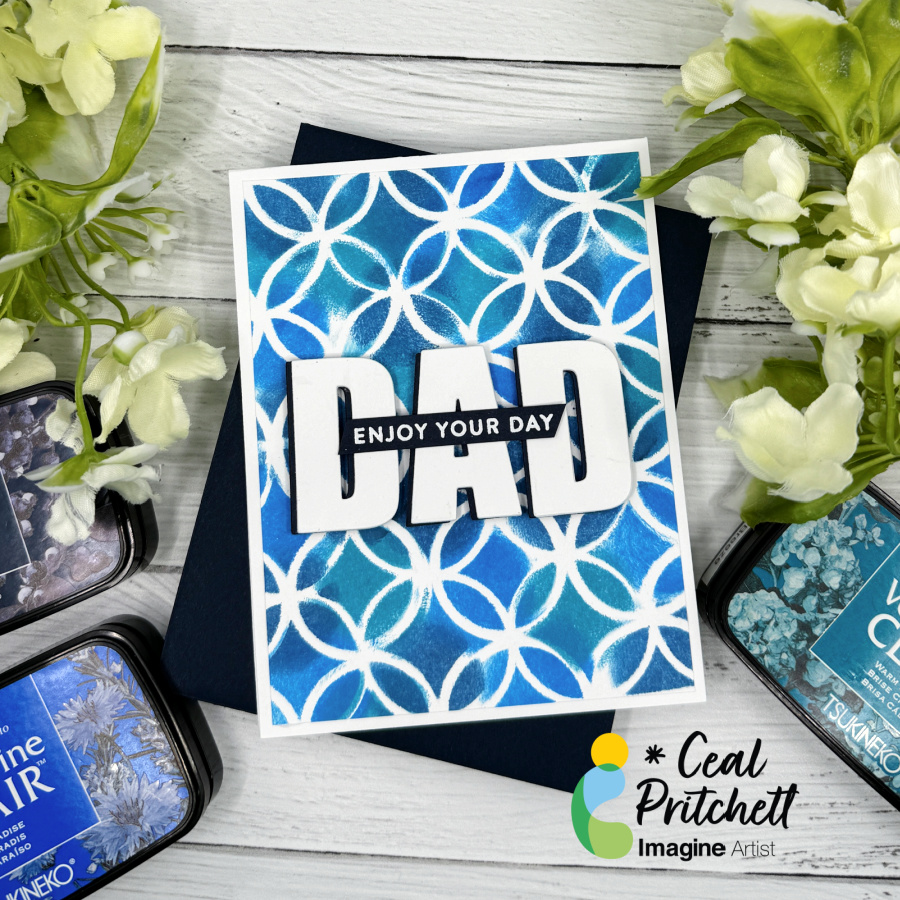
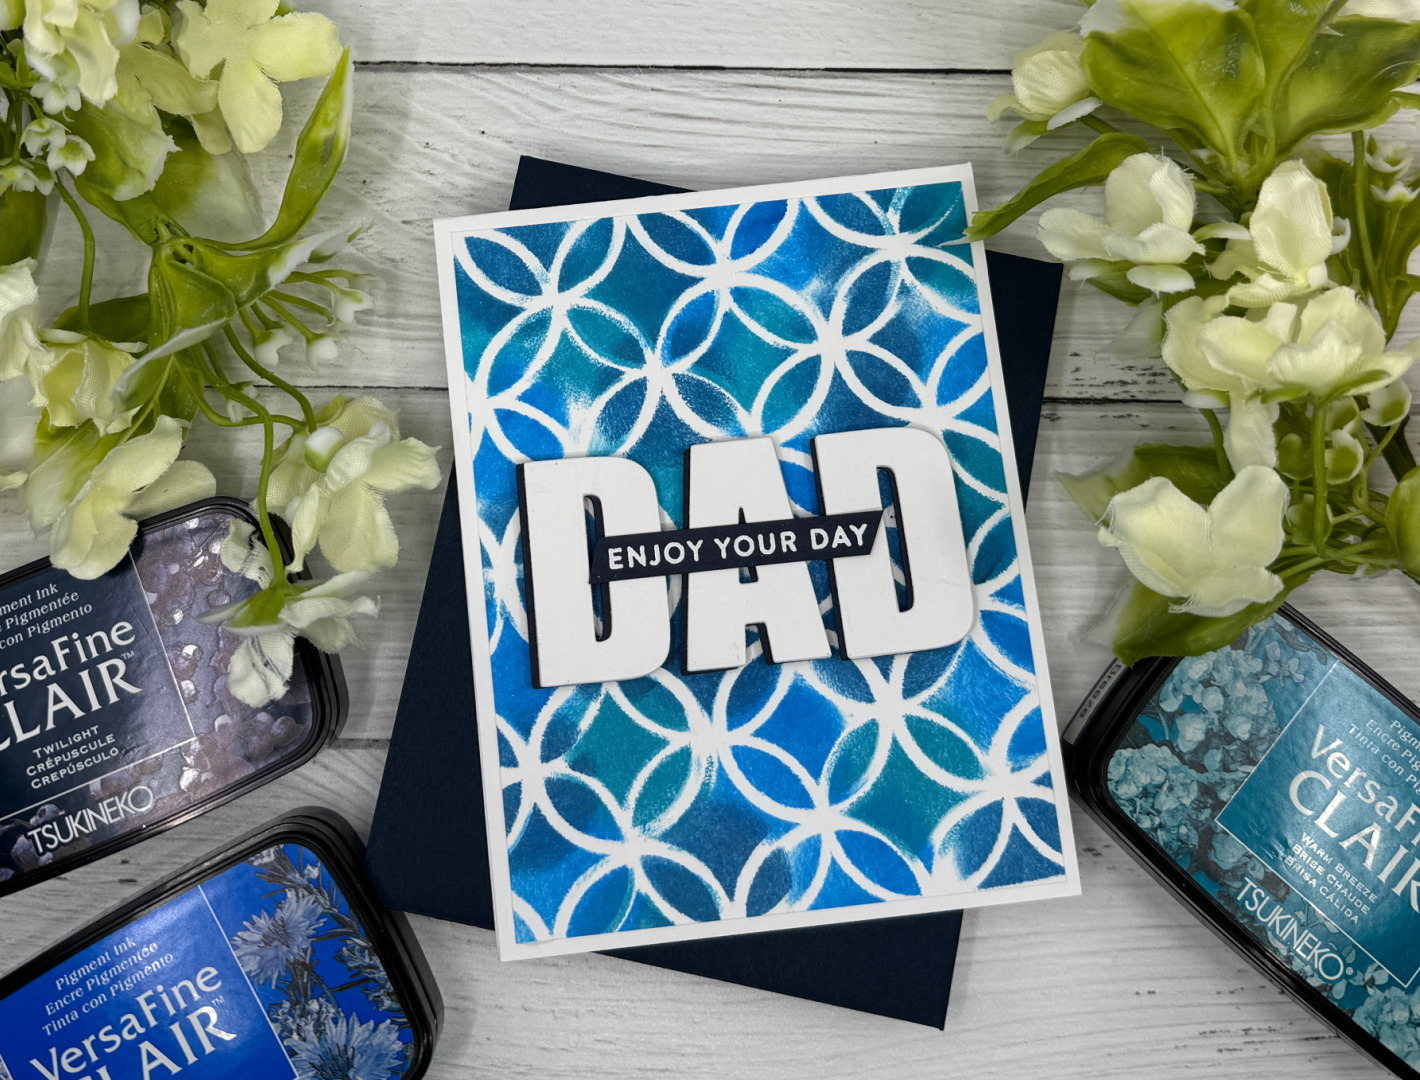
Hello crafty friends, today I am sharing a Father’s Day card using the Bokeh technique.
Skill: Beginner to Intermediate Time: 30 to 45 Minutes
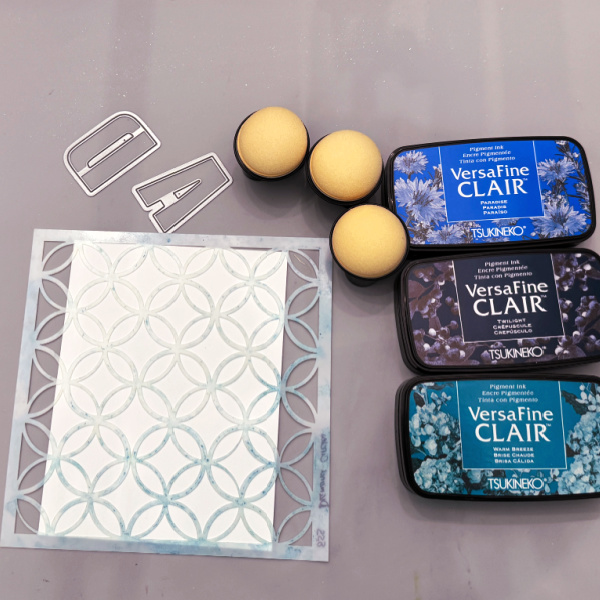
Directions: To create this card, you will need a stencil, at least three different inks that blend well together, round sponge daubers and some Alpha dies.
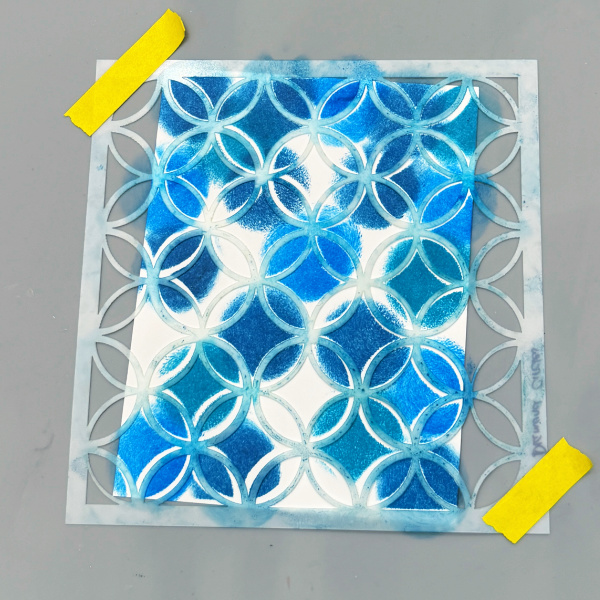
Step 1: Place the stencil over a panel of white cardstock, then ink up the sponge daubers with each color randomly placing dots of color through the stencil to cover the panel.
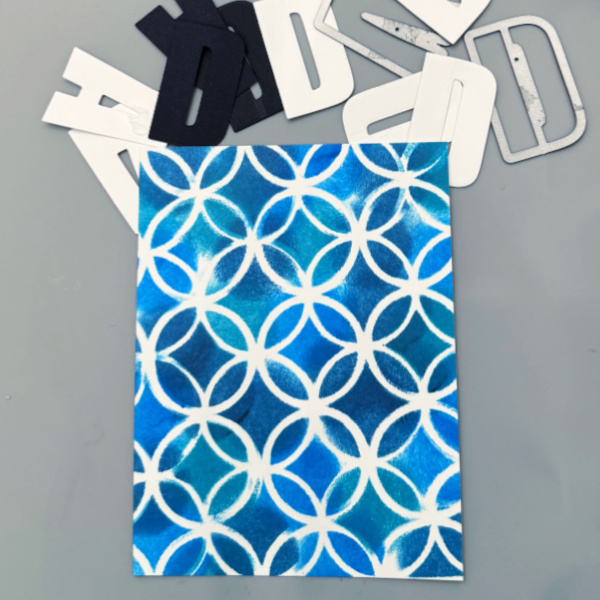
Step 2: Cut the letters of dad out of dark blue cardstock once and out of white cardstock twice so it will have dimension.
Step 3: Layer the letters over one another off-setting the dark blue on the bottom.
Step 4: Stamp “Enjoy Your Day” with VersaMark ink and emboss with white MBoss embossing powder.
Other Supplies: • Neenah Classic Crest Solar White 120lb • Neenah Classic Crest Solar White 80lb • Midnight Cardstock – Concord & 9th • Stencil – Simon Says Stamp • Celebrate Stamp Set – Hero Arts • Large Alpha Dies – Altenew
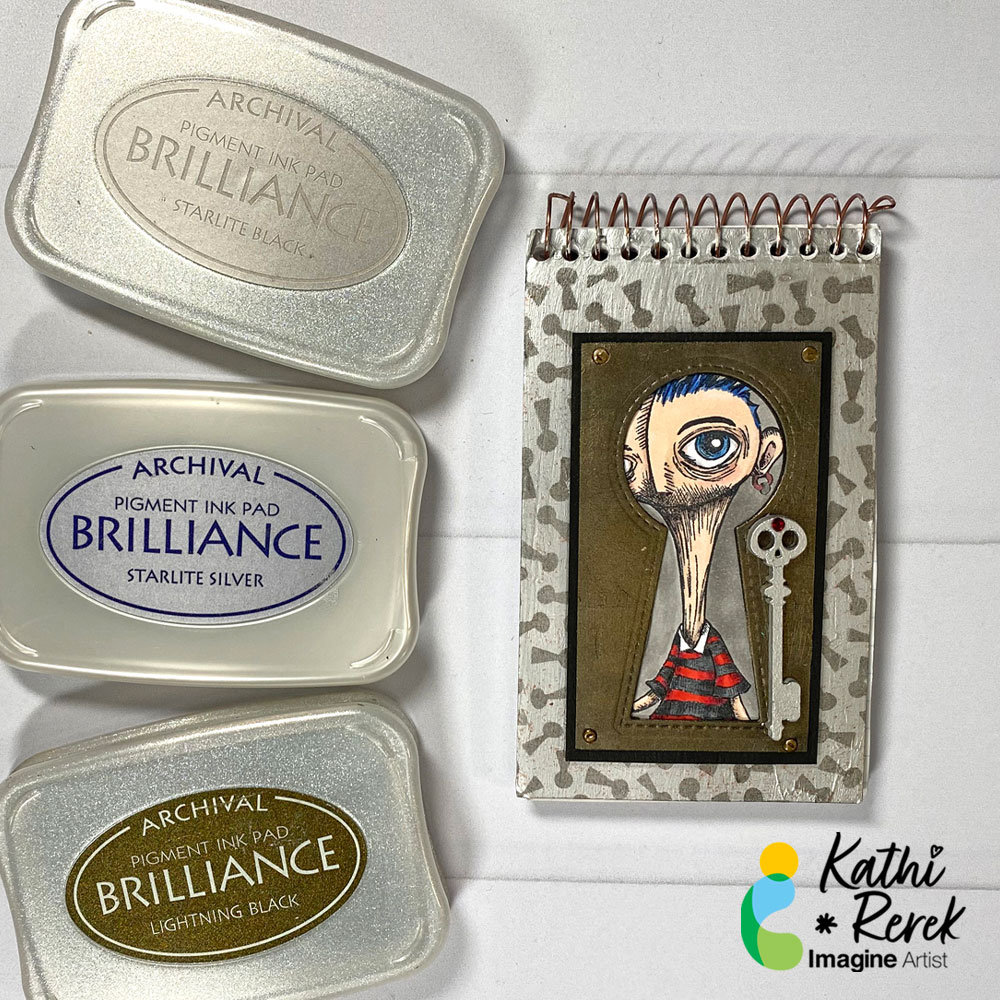
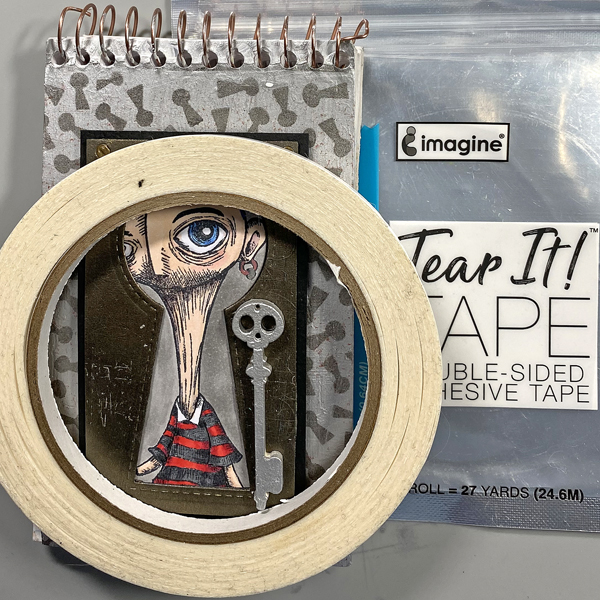
Intro: Do you have passwords that continually need to be updated AND have problems remembering them? Do you write those letter-number-symbols somewhere, then end up with an overwritten mess?
Get an inexpensive memo book and use your inks, stamps, stencils, and dies to decorate it!
Skill Level: Intermediate Time: 1.5 hours
Instructions:
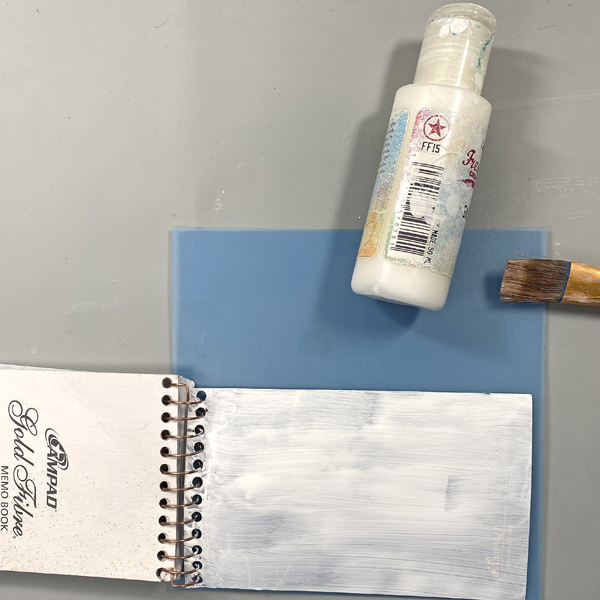
Step 1: Use a paintbrush and Snowflake Fresco Finish Chalk Acrylic Paint to paint the front and back covers of the memo pad. You don’t have to be neat as brush strokes will only add texture to the project. You might need a second coat to cover the print on the back cover. Let dry, though this paint dries really quickly!
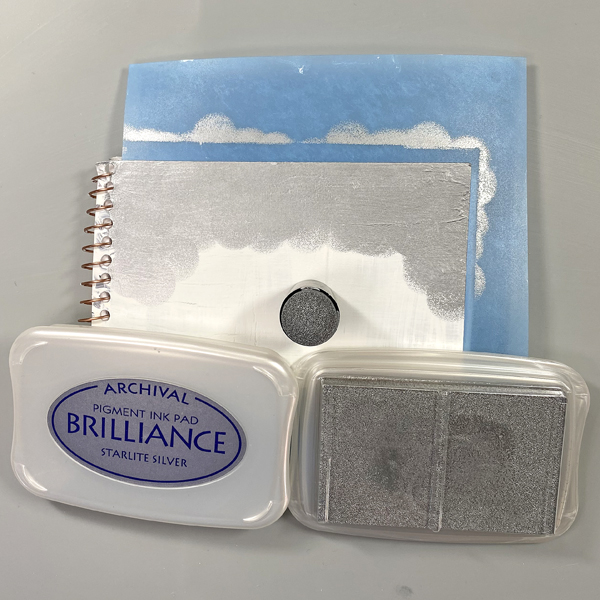
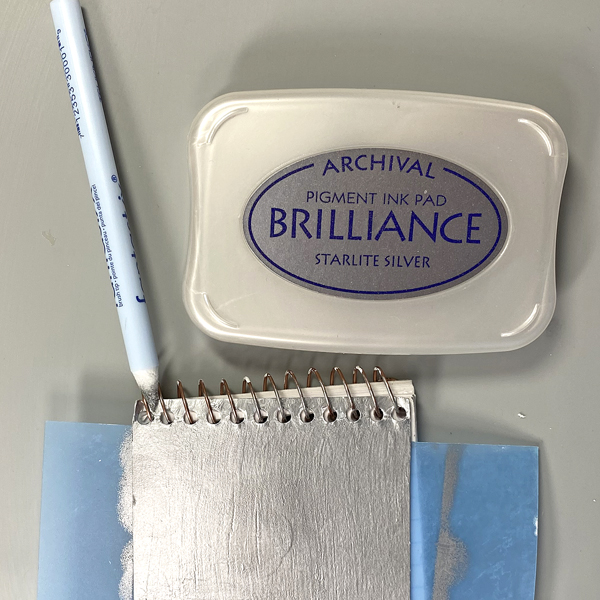
Step 2: Use a Sponge Dauber to apply a Starlite Silver Brilliance ink to both the covers. Heat set.
Step 3: Use a Fantastix to apply Starlite Silver Brilliance ink around the binding rings of the pad.
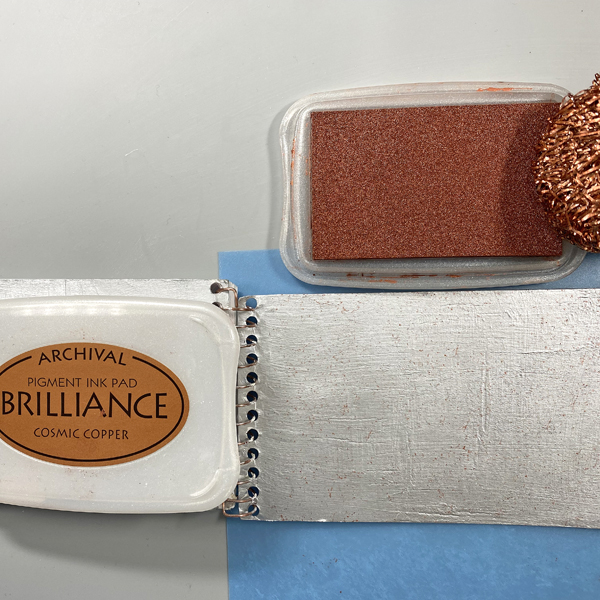
Step 4: Use copper or steel wool pads to pounce Cosmic Copper Brilliance Ink spots and marks to both covers the pad. Heat set.
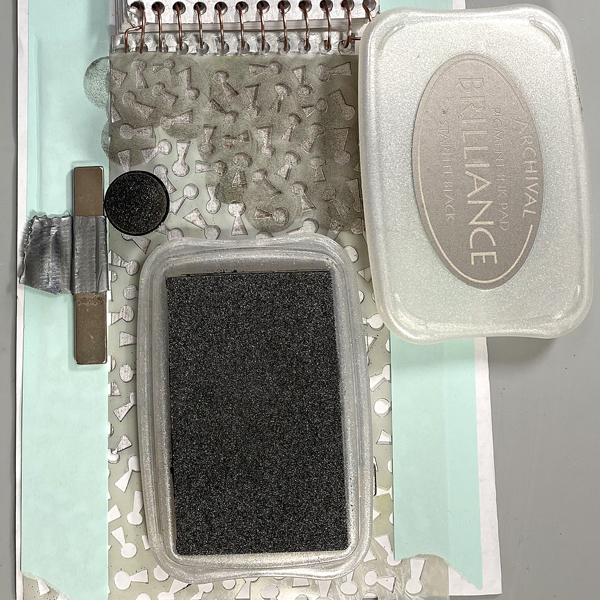
Step 5: Place a magnet sheet under a piece of paper and set the pad’s front cover onto the paper. Place the Keyhole stencil over the notebook. Secure with magnets and/or low-tack tape. Use a Sponge Dauber to apply Starlite Black Brilliance Ink over the stencil onto the pad’s cover. Let sit for a few minutes and repeat the Ink stenciling. Remove the stencil and heat set the pad’s cover.
Step 6: Use a Sponge Dauber to apply Starlite Silver Brilliance Ink to a small piece of black cardstock. Heat Set. Use the Keyhole Cutting Die to cut the inked cardstock. Sorry that there’s no photo.
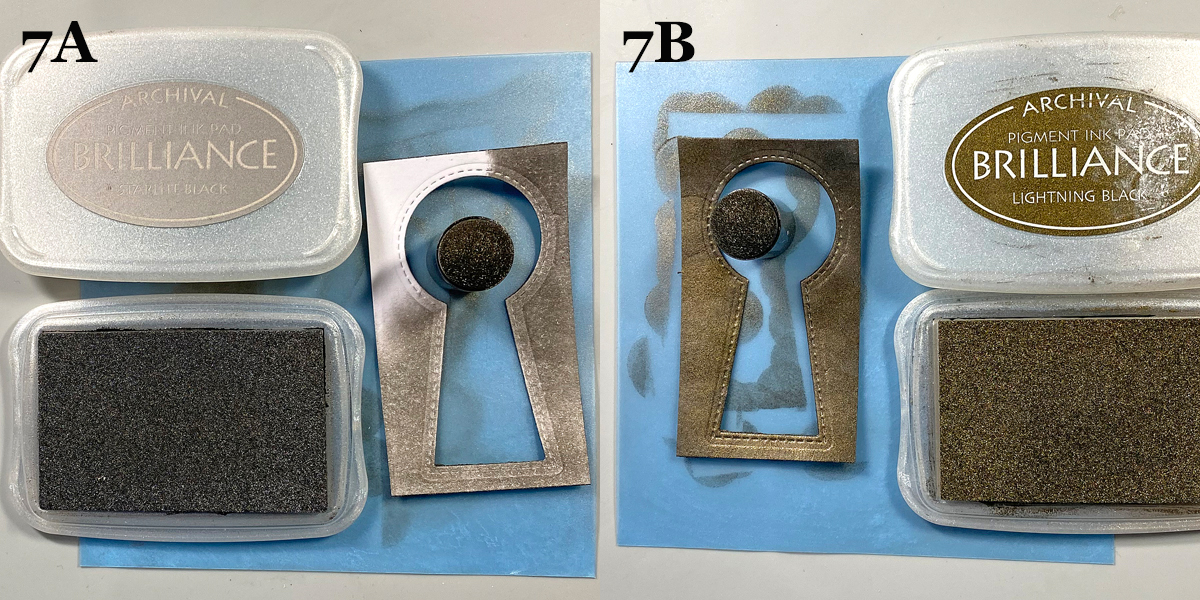
Steps 7A and 7B: Use Starlite Black Brilliance Ink (7A) to add depth to the silver keyhole. Repeat with Lightning Black Brilliance Ink (7B).
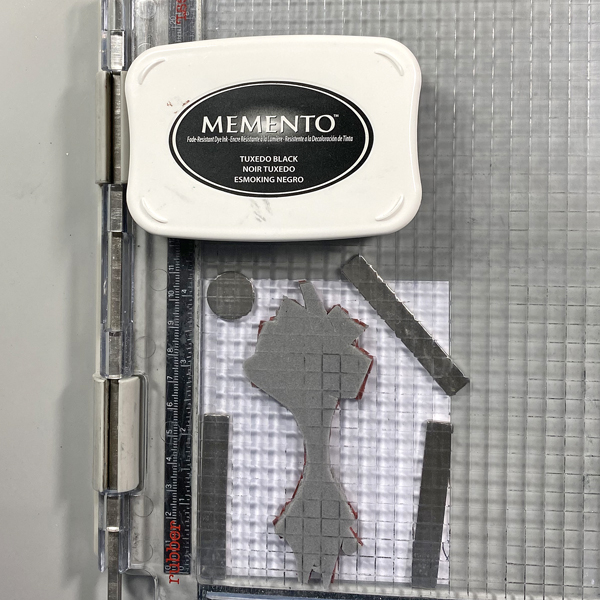
Step 8: Use Tuxedo Black Memento Ink to stamp the Big Head/Big Eye image from the Humanoids Stamp Unmounted Rubber Stamp Set onto white cardstock.
Step 9: Color the image panel with Copic markers. Sorry that there’s no photo!
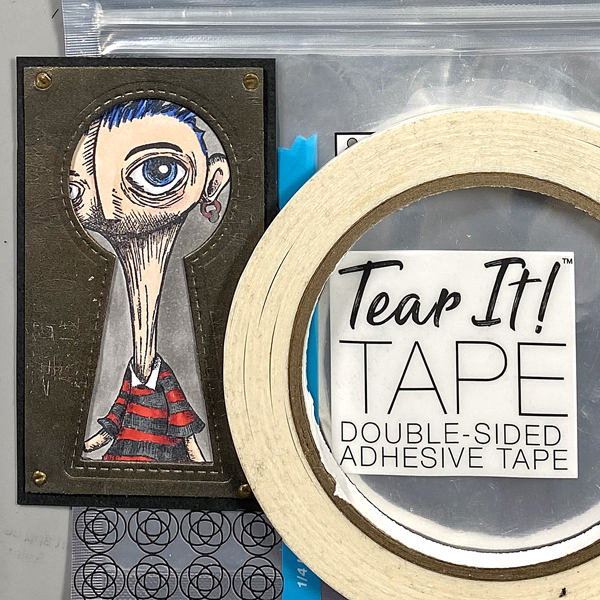
Step 10: Use Tear It! Tape to adhere the colored image panel behind the opening in the keyhole. Add tiny screw-top brads to the each corner, then mat the keyhole rectangular image panel with black cardstock, cut slightly larger than the keyhole panel.
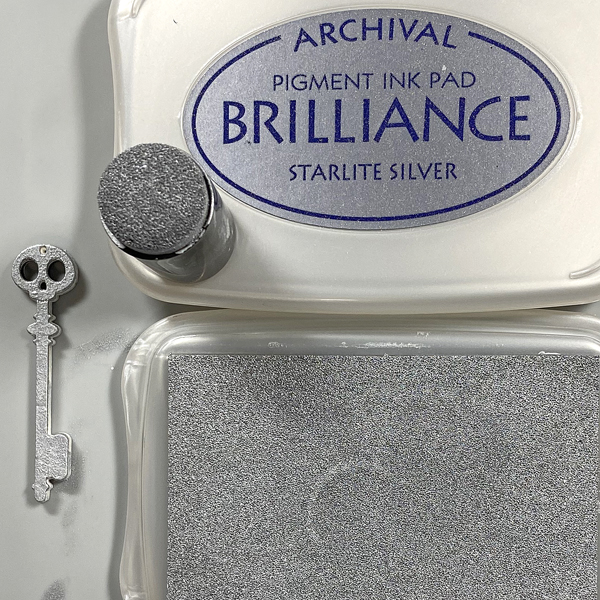
Step 11: Use Snowflake Fresco Finish Chalk Acrylic Paint to paint the Skull Skeleton masonite key. Let dry, then use a Sponge Dauber to apply Starlite Silver Brilliance Ink to the key. Heat set.
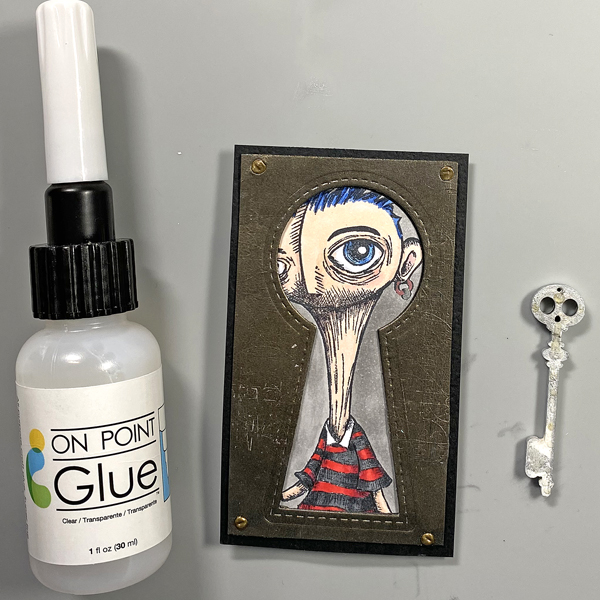
Step 12: Use On Point Glue to adhere the key to the front of the keyhole image panel.
Step 13: Use Tear-It! Tape to adhere the keyhole image panel to the front of the Password memo pad.
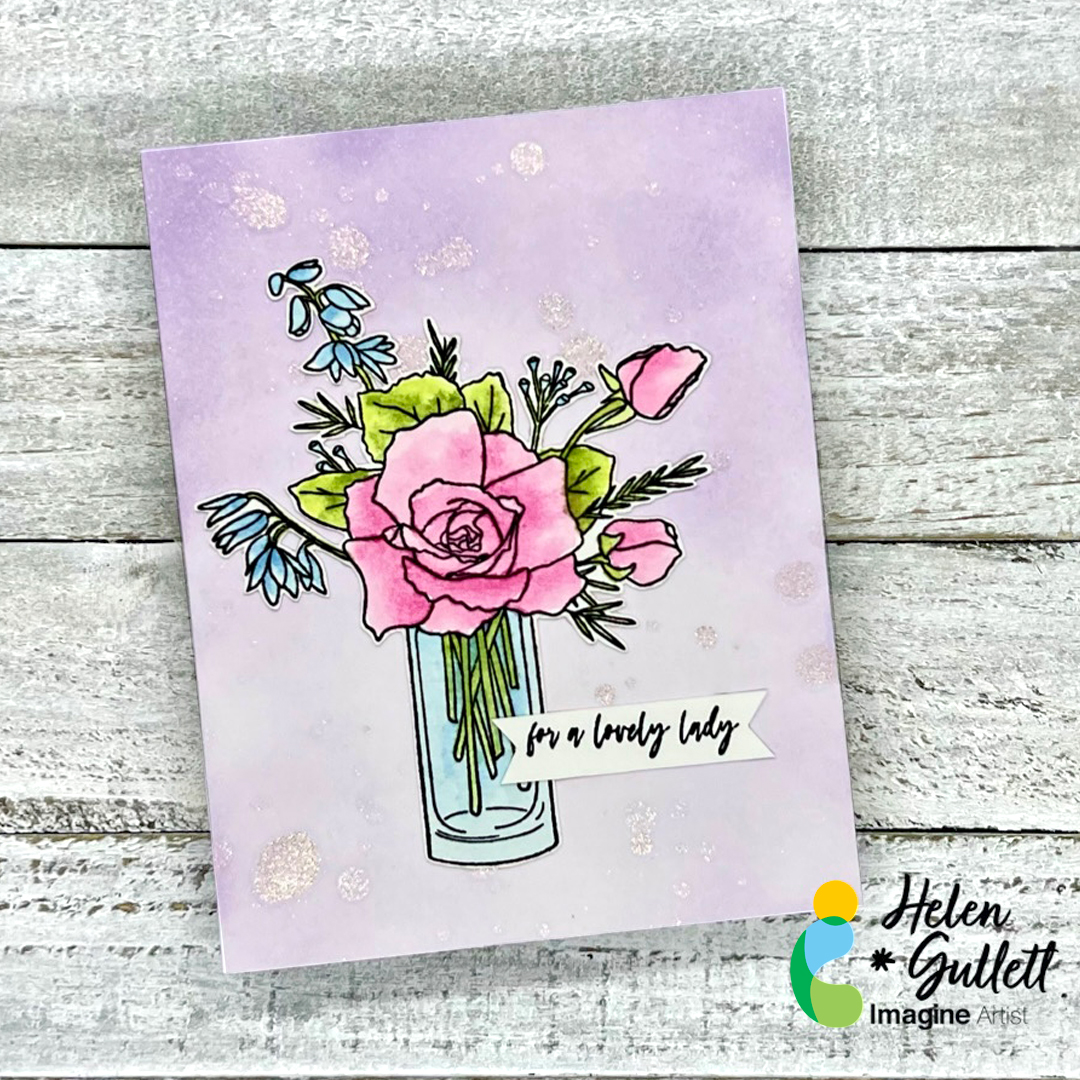
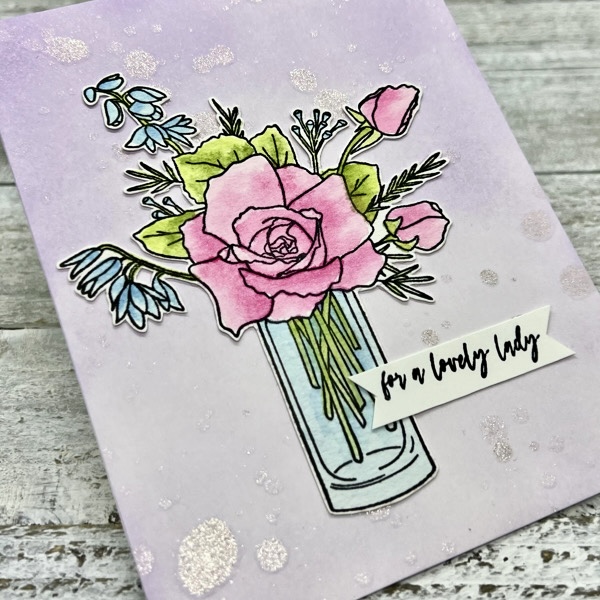
Hello crafty friends! Mother’s Day is coming up soon. Sending out a handmade card is a way to show your love to a lovely mother figure in your life. Today, I would like to share with you how to make this Mother’s Day CAS card using Imagine Crafts products and stamps.
Skill: Beginner Time: 15-20 minutes
Direction:
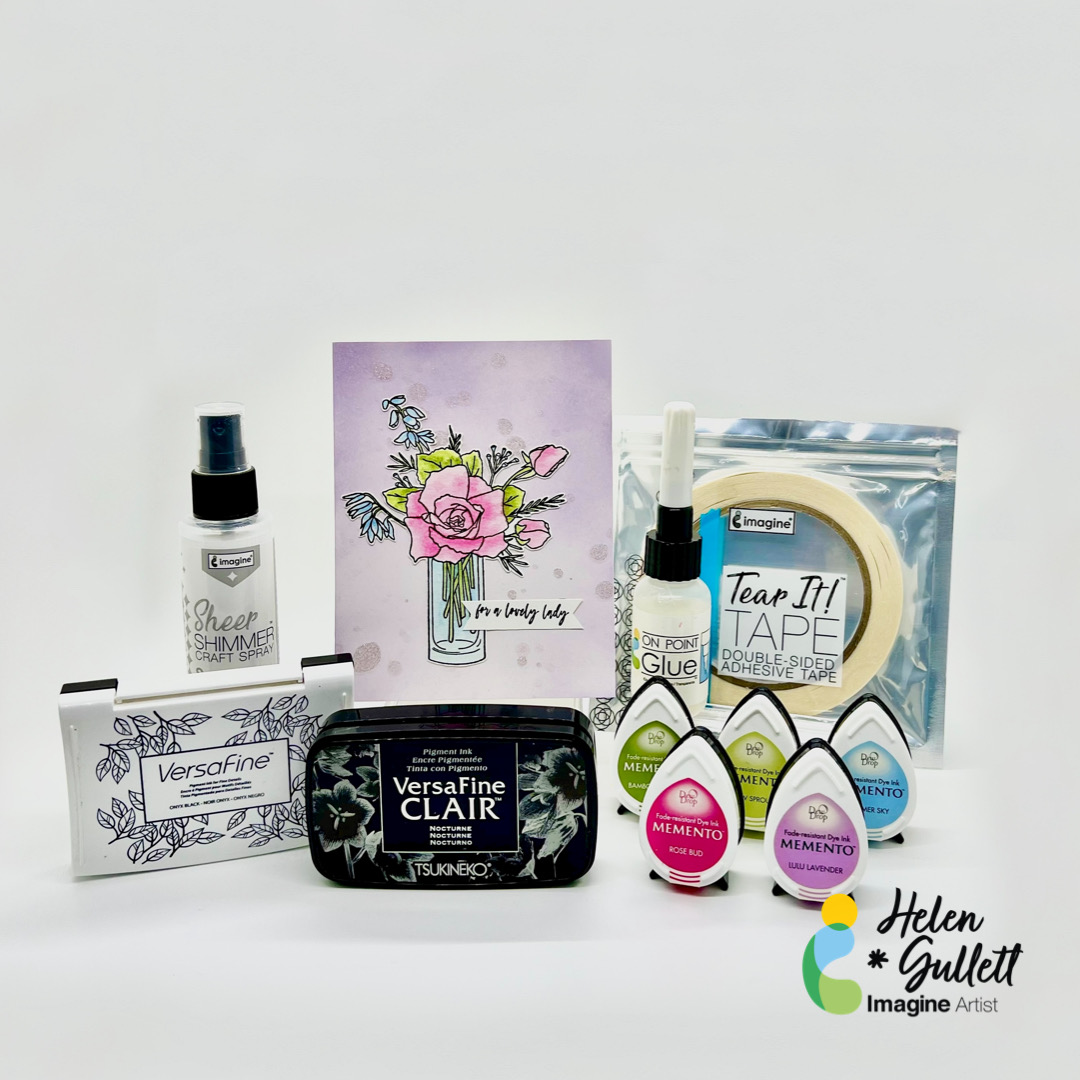
Step 1 Cut a piece of watercolor paper into 6 inch x 5 inch size. This size fits on my stamping tool. Then, stamp the image on the watercolor paper with Versafine Onyx Black ink pad.
Step 2 Dab some of the Memento DewDrop Inks (Rose Bud, Bamboo Leaves, New Sprout, and Summer Sky) on the craft mat.
Add a couple drops of water from the waterbrush on the ink to turn it into watercolor paint. Pick up the ink with the waterbrush and paint the flower and vase.
Dry the painted image with a craft heat gun.
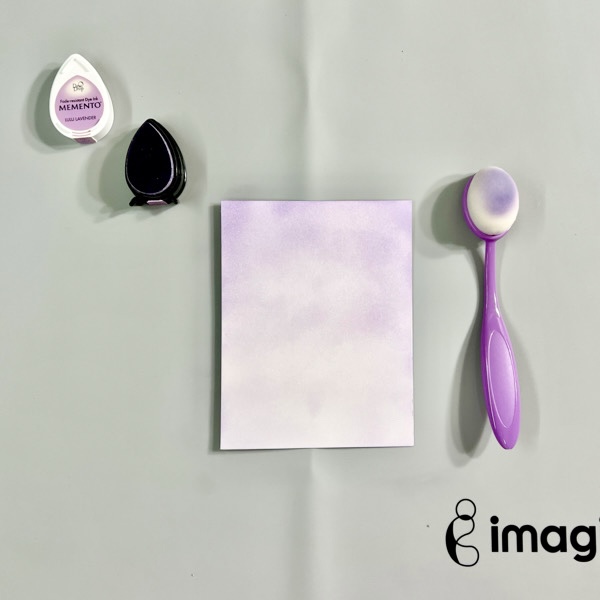
Step 3 On a piece of white cardstock, add some of the Lulu Lavender ink using the blending brush. Build up the color from darker to lighter to create the gradient look on the background.
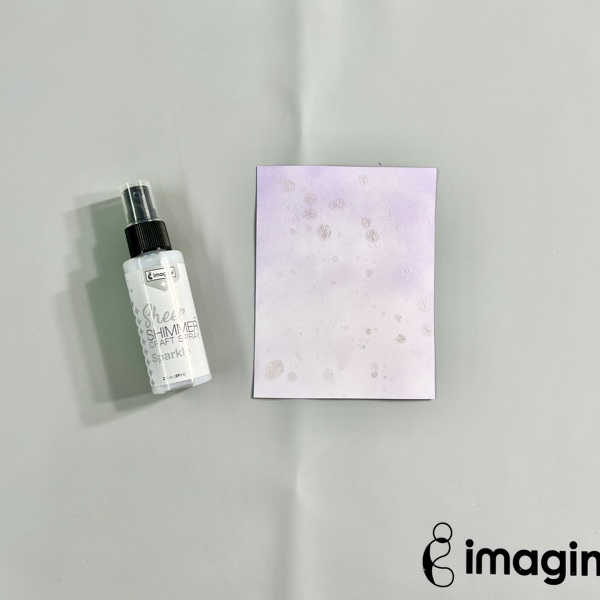
Step 4 Once done with adding color on the cardstock, lightly spray some of the Sparkle Sheer Shimmer Craft Spray. And then use a small flat brush, add some extra splatter on it for more texture.
Using a craft heat gun, dry the background panel.
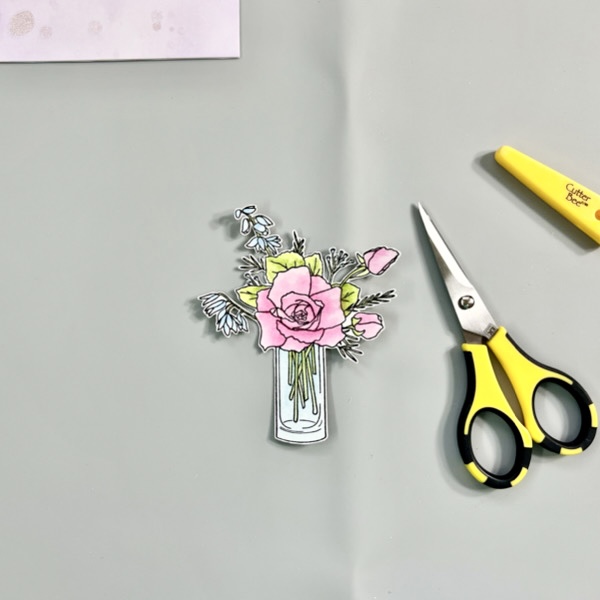
Step 5 Fussy cut the flower with micro-tip scissors. Optional: you can use a die if you use a stamp set that has a matching die set.
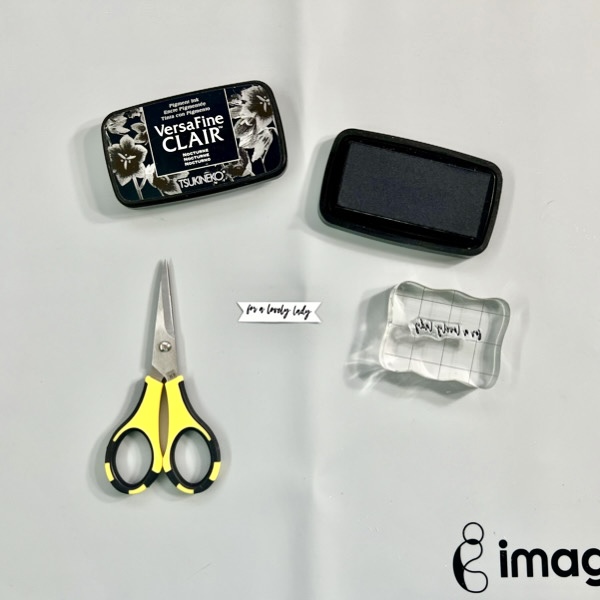
Step 6 Stamp the sentiment on a white cardstock using the VersaFine Clair Nocturne, dry the ink with a craft heat gun, and then cut it into a sentiment banner with scissors or paper cutter.
Step 7 Add the background panel on an A2 card base using the Tear It! Tape. Add the flower and sentiment to the card using the On Point Glue.
That’s my project for today. Hopefully, you’ll like this project and give it a try. Thanks so much for stopping by our blog today. Have a wonderful day!