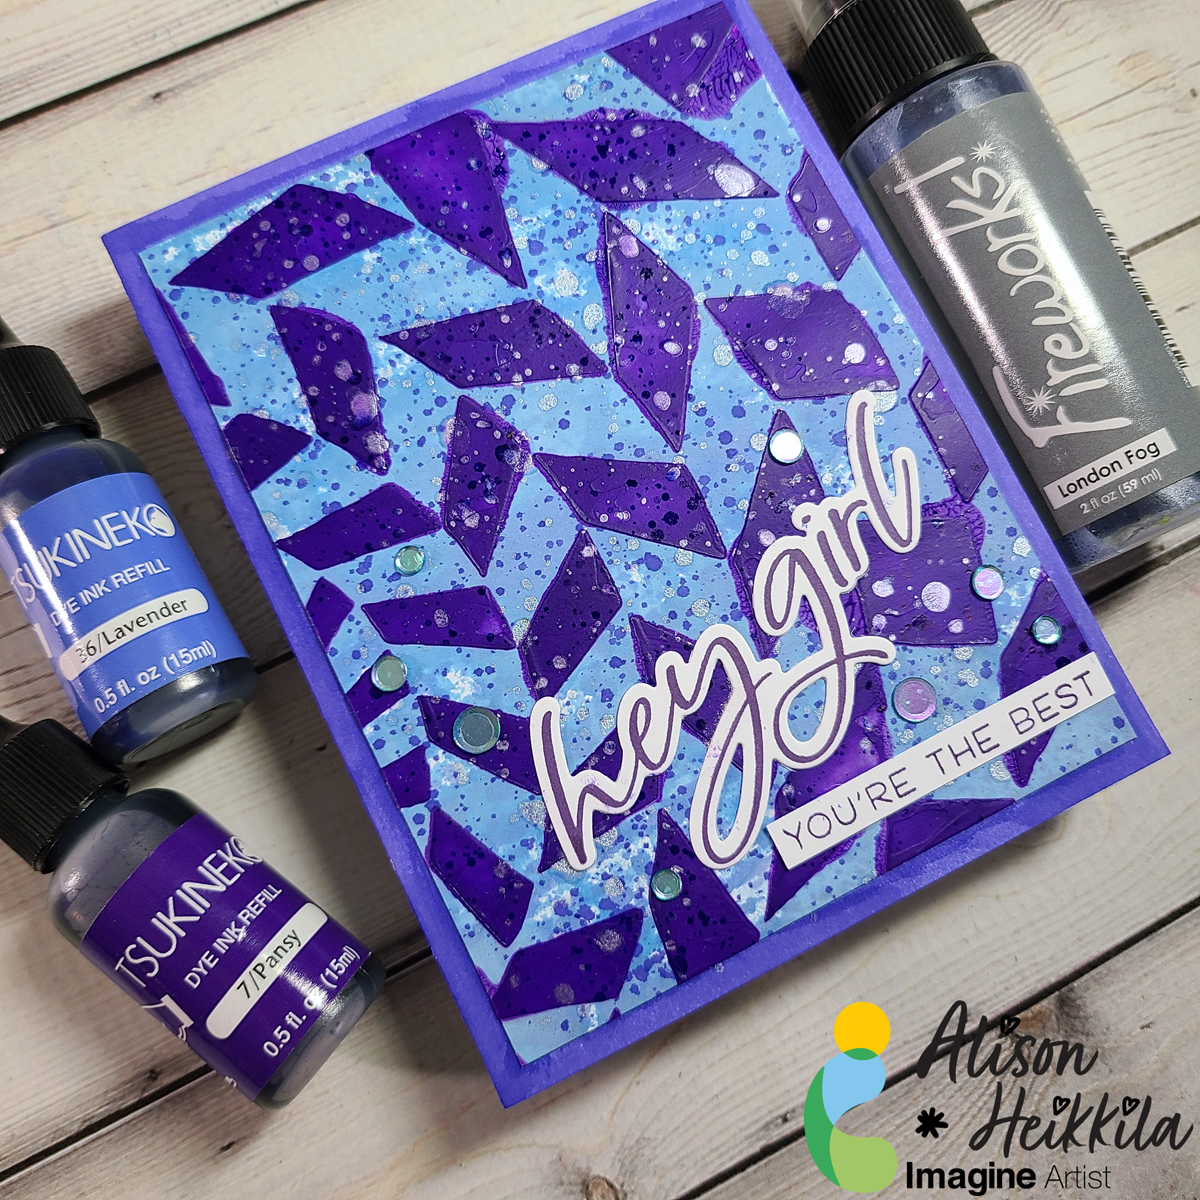
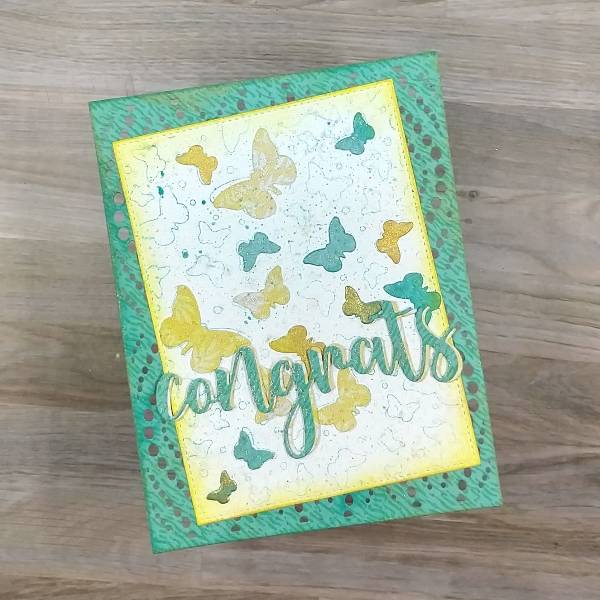
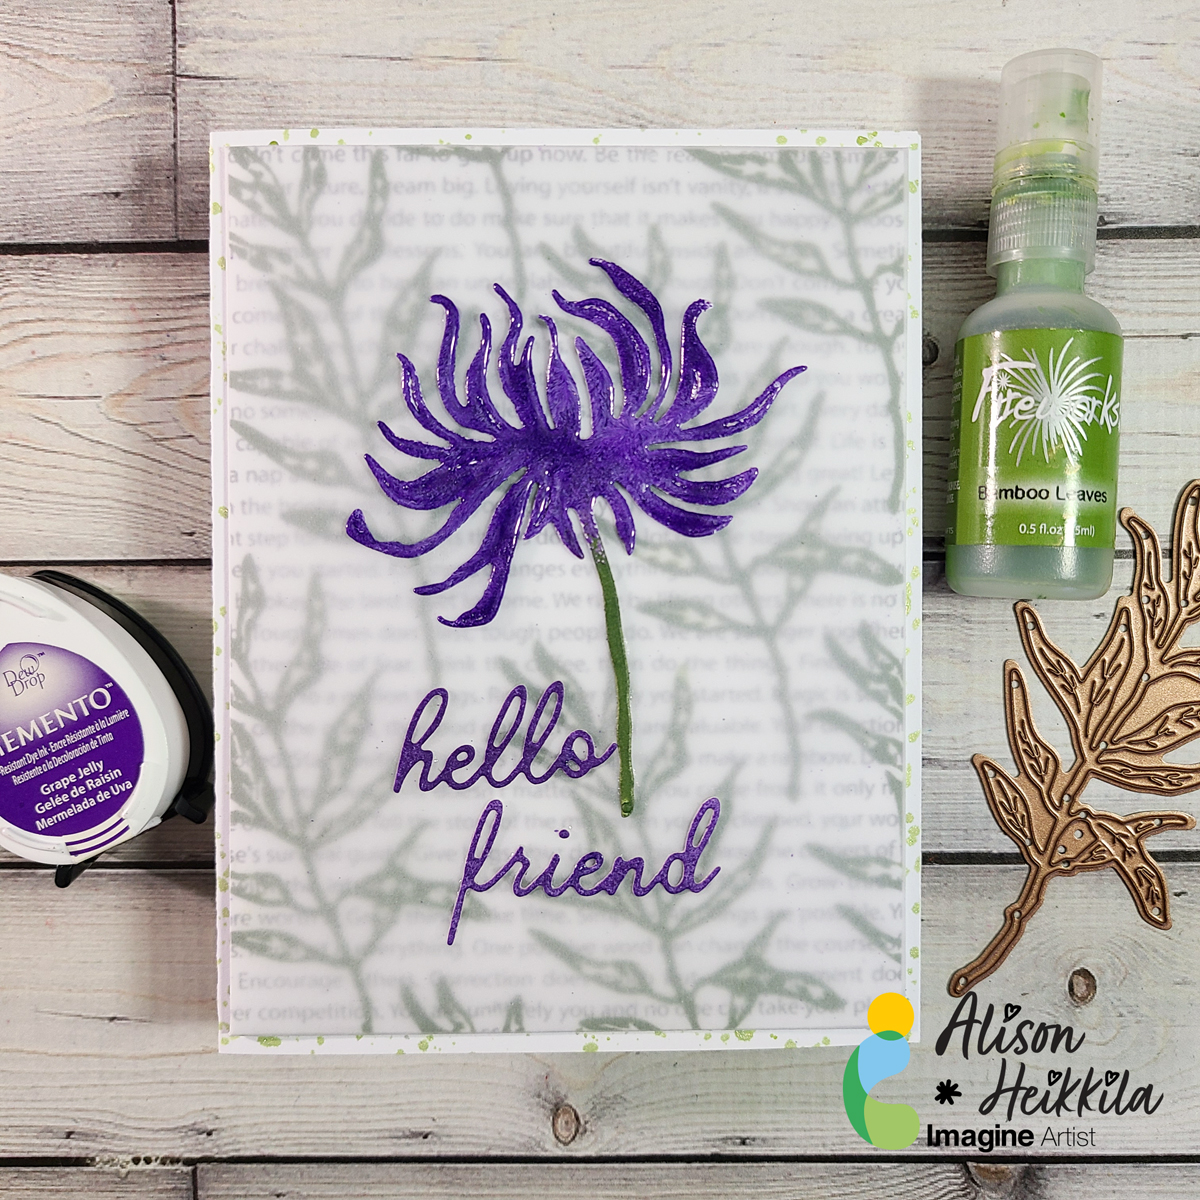
Hello! I’m Alison Heikkila. Today, I’m going to show you some fun ways to use Imagine/Tsukineko’s dye-based reinkers. They can be used for so much more than just reinking your dry pads. My card is pretty graphic and bold, but by changing the colors and the stencil used, you can get a completely different look.
*Some affiliate links are used in this post. That means that if you shop through these links, I may receive a small compensation, at no cost to you. For more information, please see my Affiliates page, where I also have some coupon codes.
Skill Level: Intermediate Time to Complete: 20-30 minutes, plus drying time
– In today’s post, I will share a way to stretch your crafty supplies like using a die to stamp and to use ink to change the color of some patterned paper.
Skill Level: Intermediate Time: 1.5 hours
Directions:
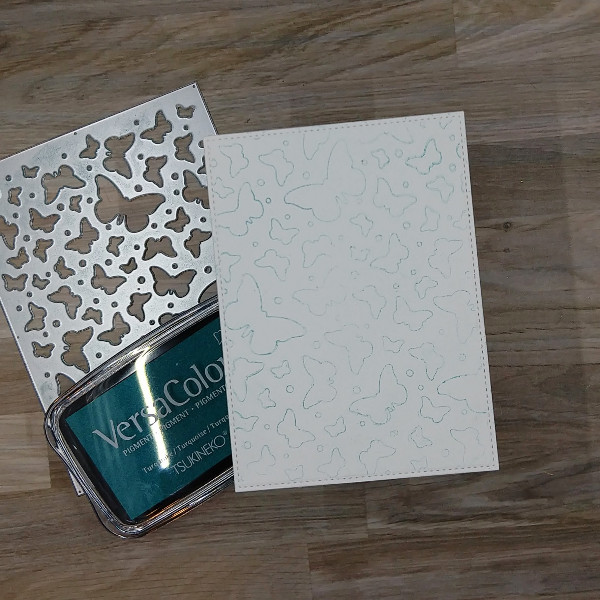
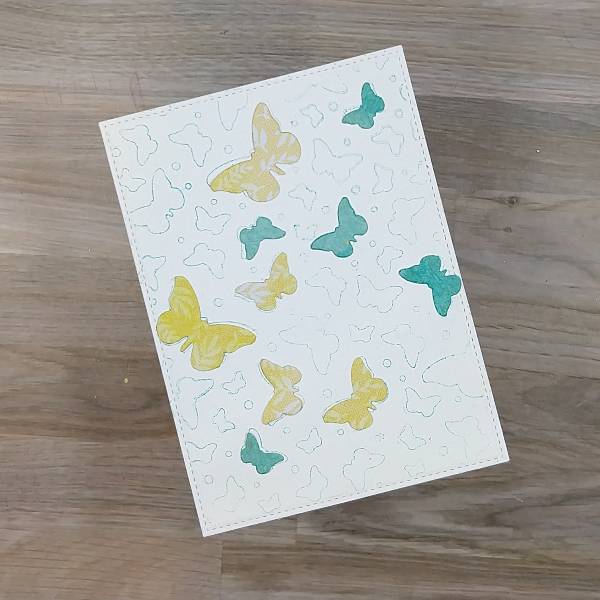
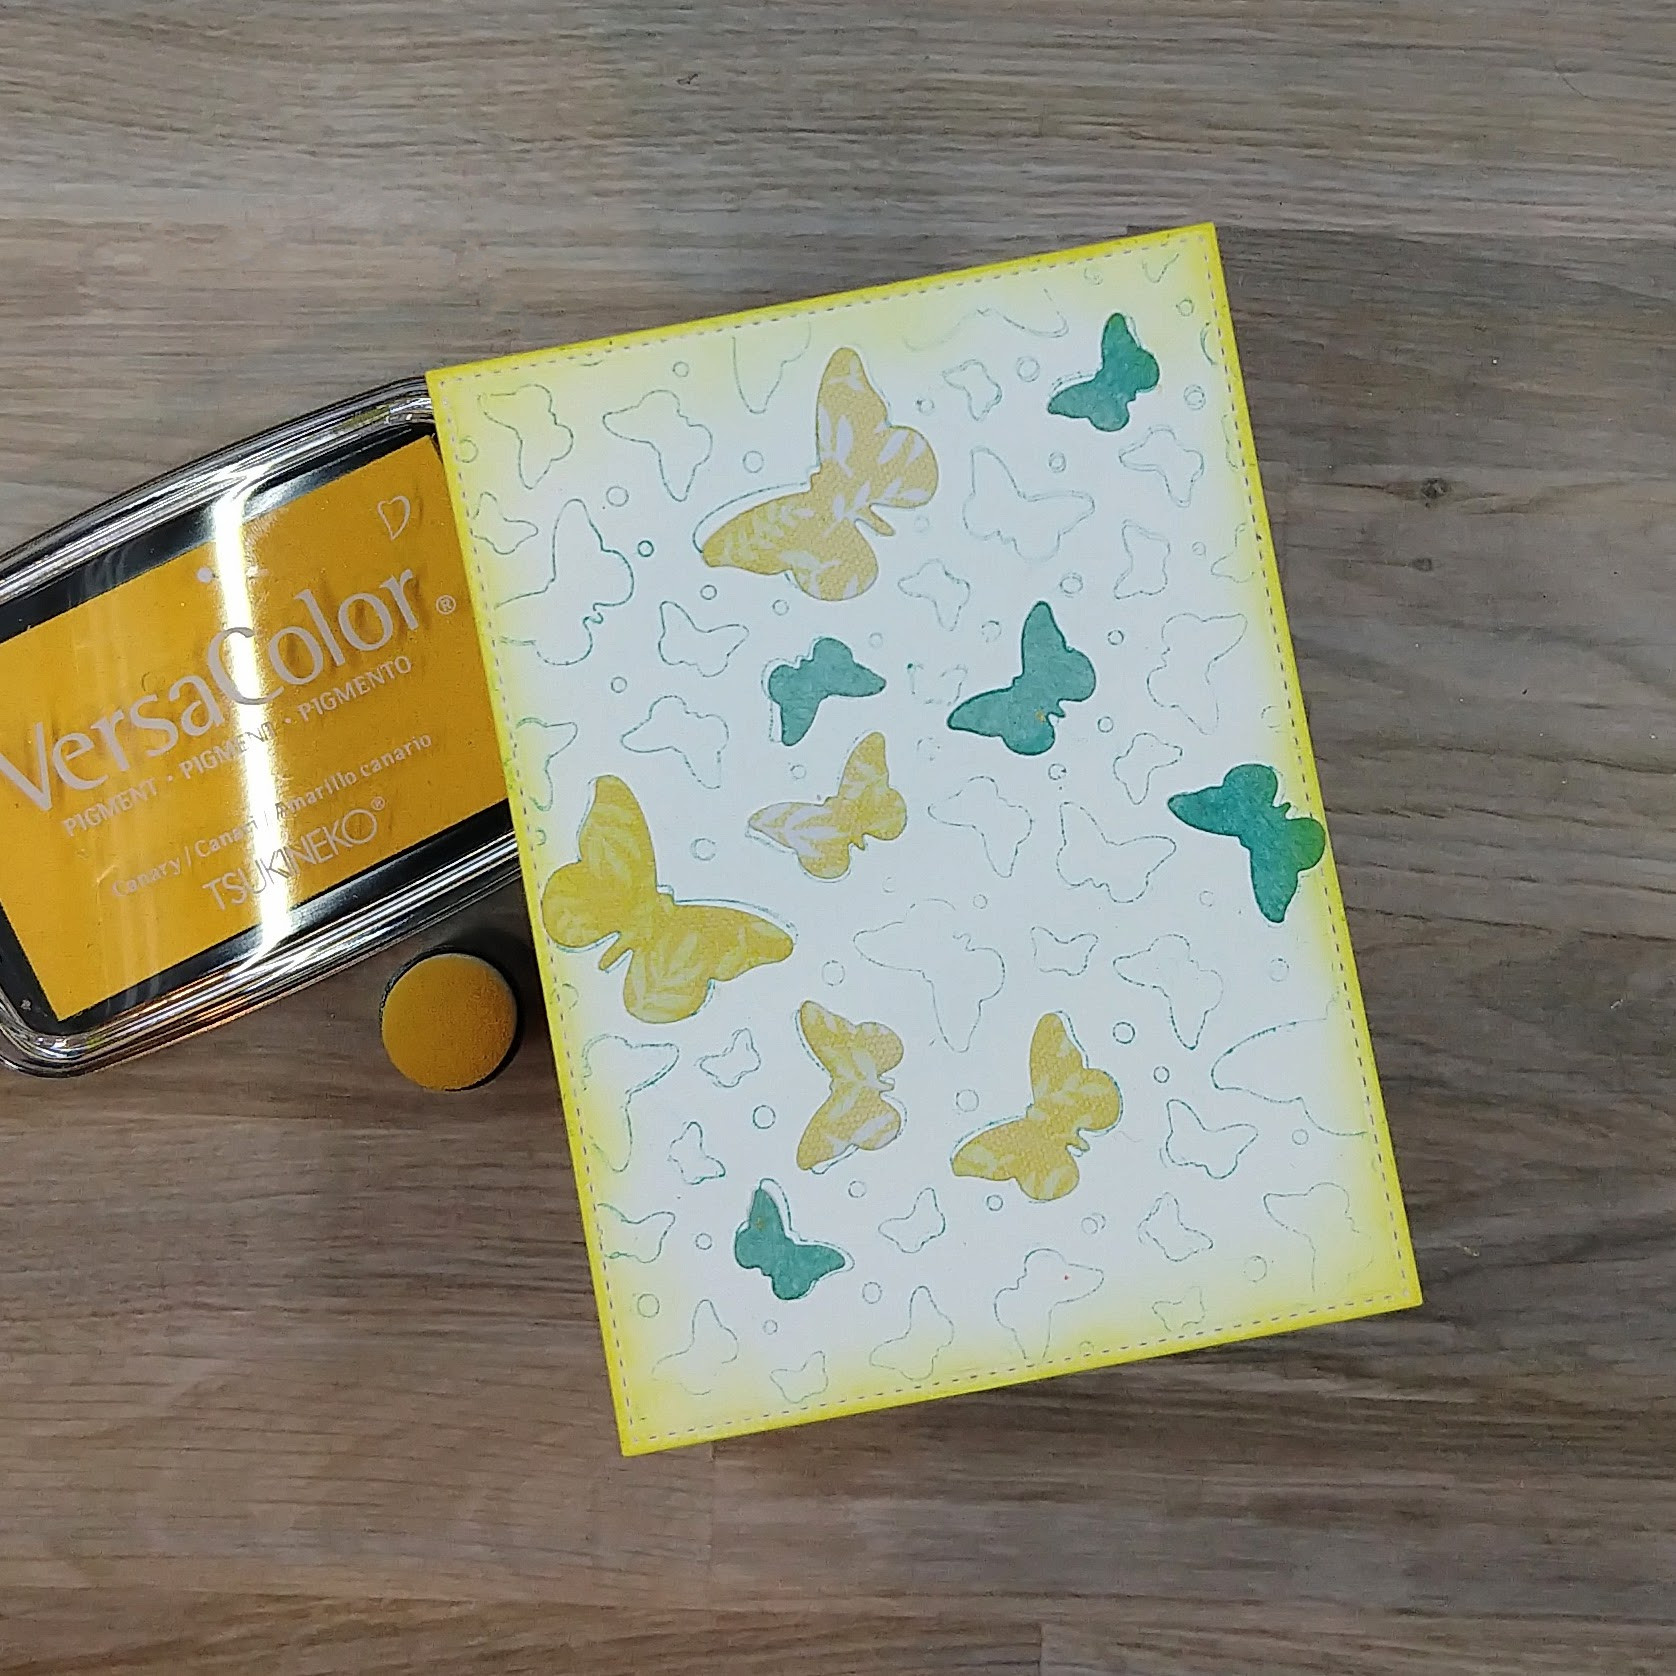
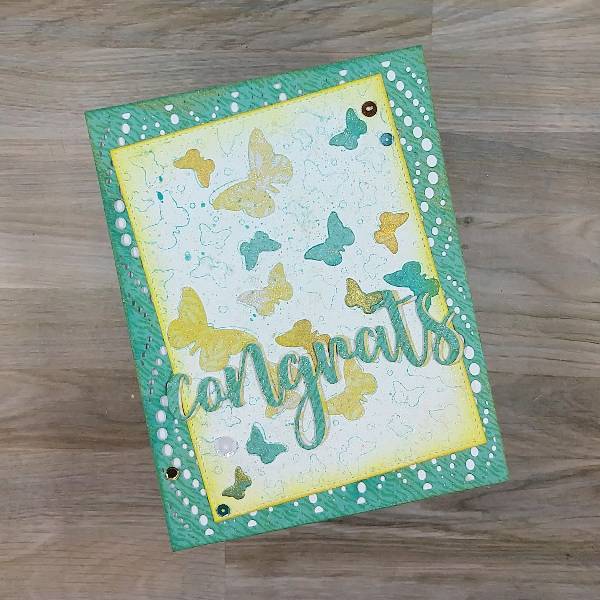
Step 1: Use a die as a stamp by pressing a Turquoise VersaColor ink pad into the raised edges of a background butterfly die. Then press a piece of previously die cut piece of watercolor paper into the die and lift the panel. You will have the outlines of the butterflies stamped on your panel.
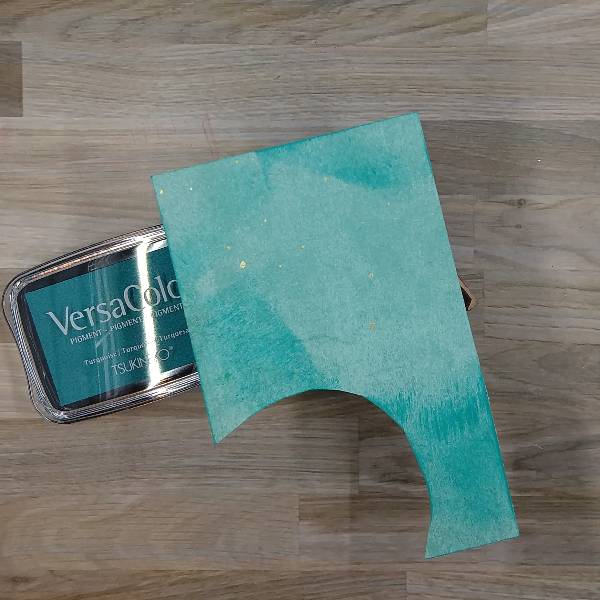
Step 2: Run the Turquoise VersaColor ink pad across some blue paper to enhance the blue color of the paper.
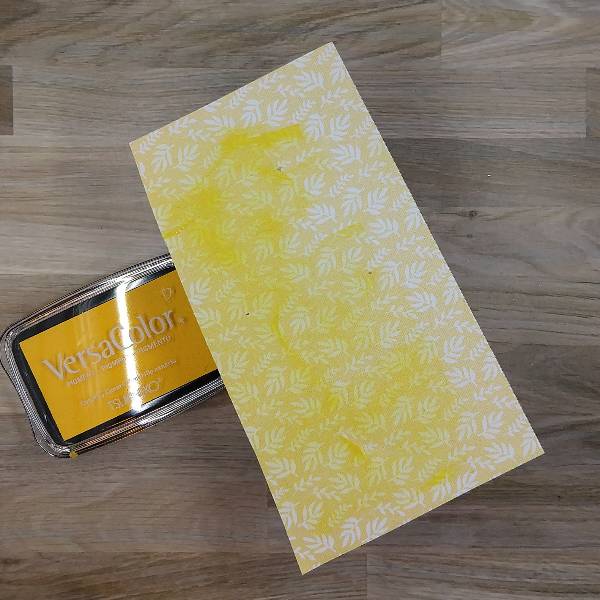
Step 3: Rub the Canary VersaColor ink pad across some yellow patterned paper to enhance the color of the patterned paper.
Steps 4 and 5: Die cut the yellow and blue patterned paper with the butterfly die. Glue some of the die cut butterfly pieces onto the stamped watercolor panel, making sure that the butterflies don’t line up totally with the stamped butterflies.
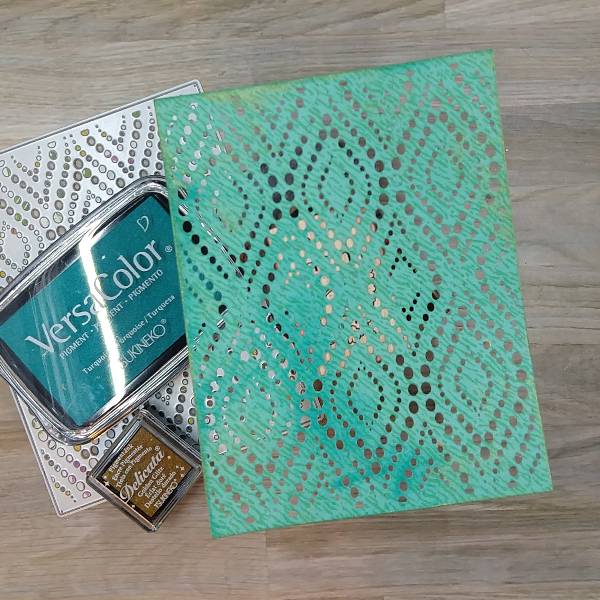
Step 6 and 7: Die cut another piece of blue patterned paper using another background die. Run the Turquoise VersaColor ink pad and the Golden Glitz Delicata ink pad over the blue patterned paper to add some more colorful interest onto the panel.
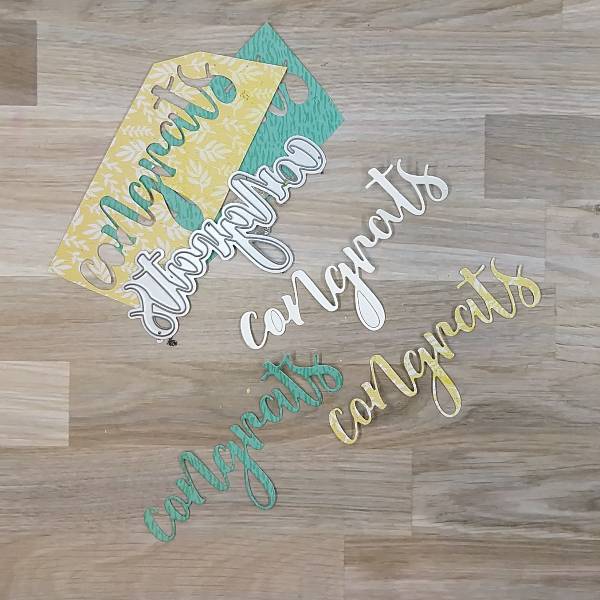
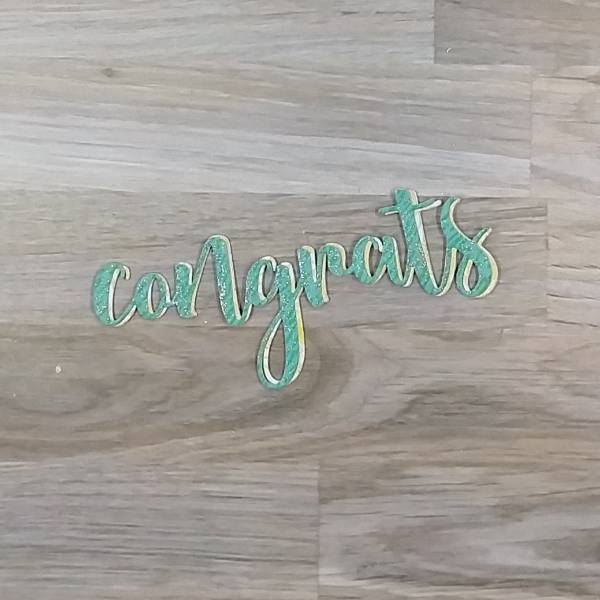
Step 8: Using a congrats die cut to die cut three layers– a scrap piece of cardstock as well as the yellow and blue patterned paper.
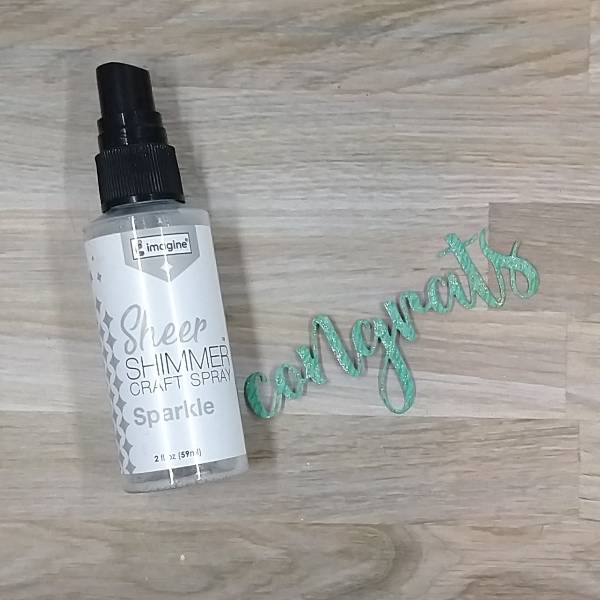
Step 9: Spray the blue patterned paper with Sparkle Sheer Shimmer Craft Spray and let dry.
Step 10: Glue all three layers of the die cut sentiment together, with the blue layer on the top, and the yellow layer in the middle. Don’t line up the blue layer exactly on top of the yellow layer so that you can see both. Set aside.
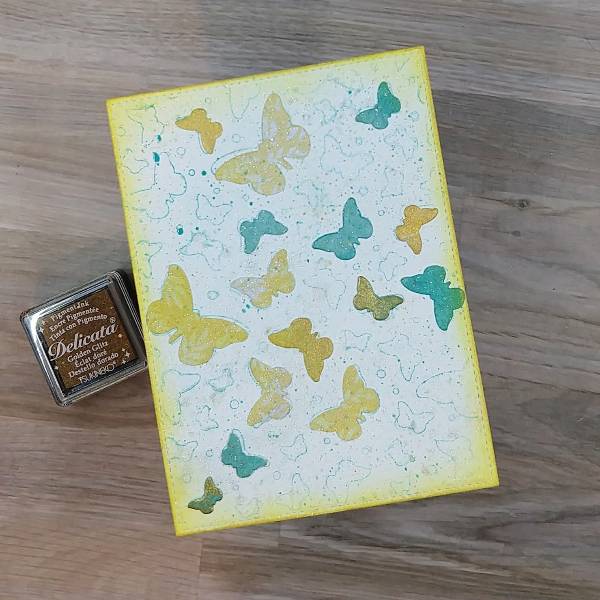
Step 11: Ink blend around the edges of the stamped layer with more of the Canary VersaColor ink with an ink dauber. Not pictured: Spray the panel with more of the Sheer Shimmer Craft Spray. Mix some more of the Sheer Shimmer Craft Spray with more Turquoise VersaColor ink and spatter it across the panel.
Step 12: Press some of the remaining yellow and blue patterned paper die cut butterflies into the Golden Glitz Delicata ink pad. Glue those butterflies into the stamped panel.
Step 13: Glue the stamped panel onto the die cut background panel at an angle. Then Glue the sentiment parallel to the base of the die cut background panel.
Step 14: Glue blue, white and gold sequins onto the card panel. Glue the whole panel onto an A2-sized white card base.
Other • DCWV – Patterned Paper – Electric Jungle patterned paper • Hero Arts-Die-Butterfly Confetti fancy die • Honey Bee Stamps – Die – Congrats Honey Cuts die set • Honey Bee Stamps – Sequins – Aztec Empire mix (retired) • Kat Scrappiness – Die – Peacock Backdrop die • Yellow and blue cardstock in my stash • Scissors • Glue
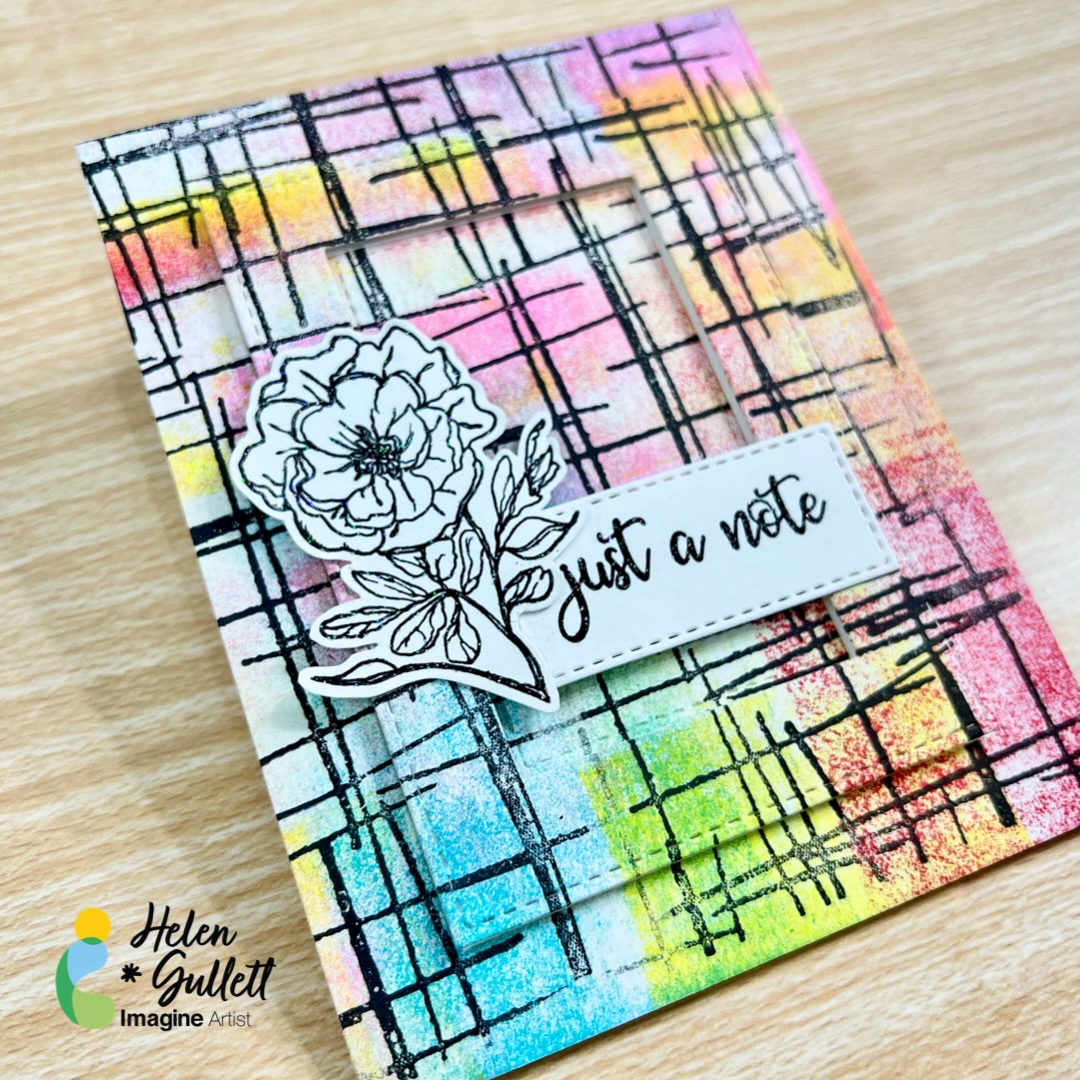
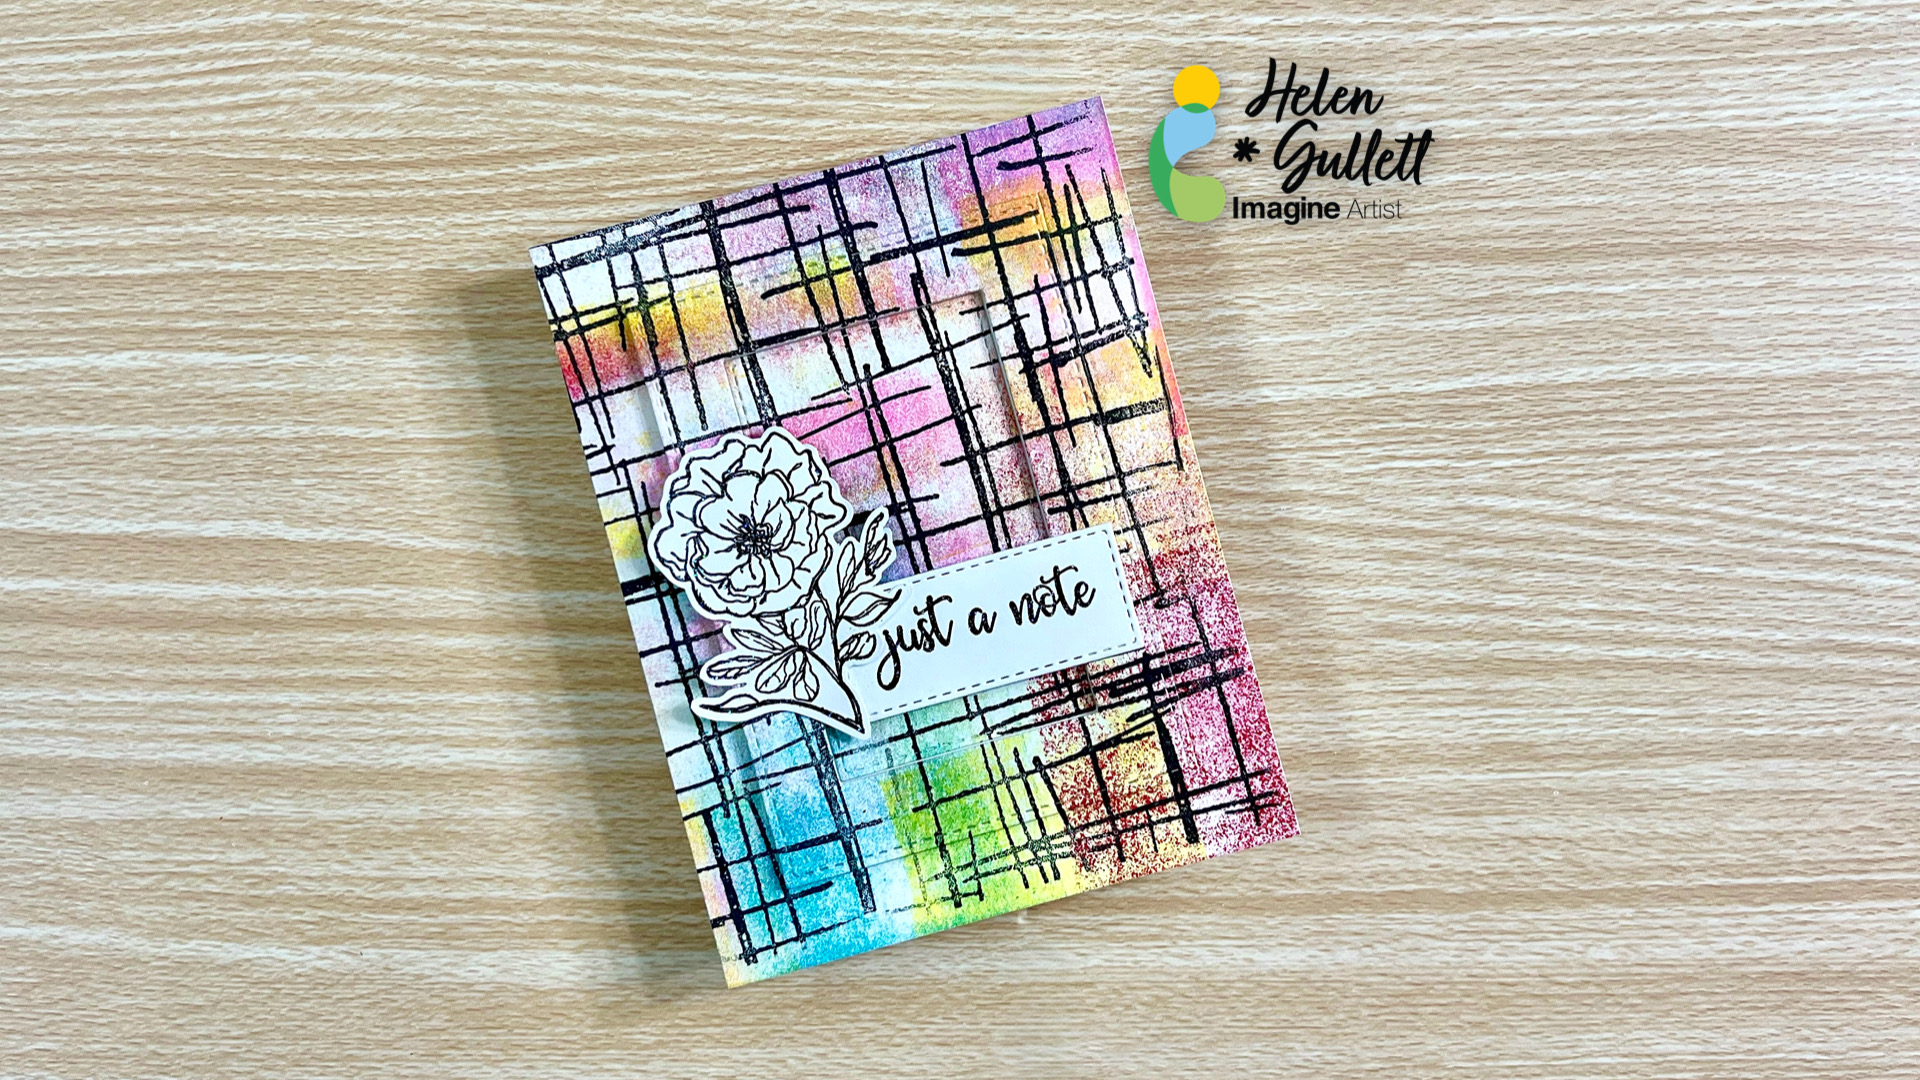
Hello hello hello crafty friends! Today, I have this Funky Card to share with you. Creating that funky background is super fun and easy. I totally had fun with some of the VersaColor ink pads!
Skill: Intermediate Time: 30 minutes
Direction:
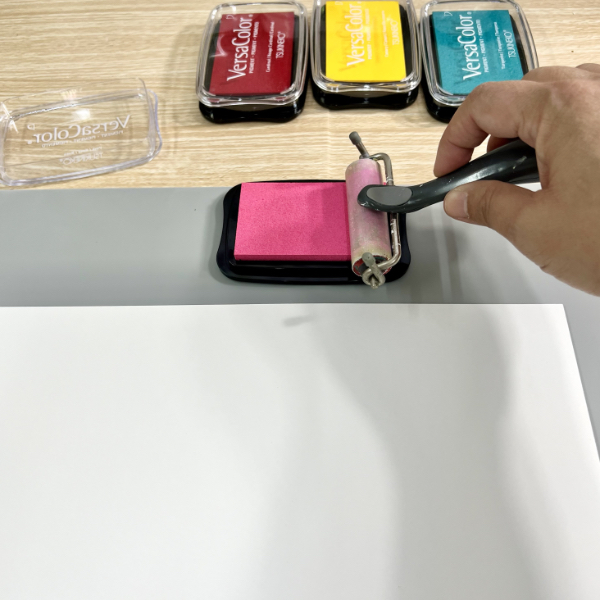
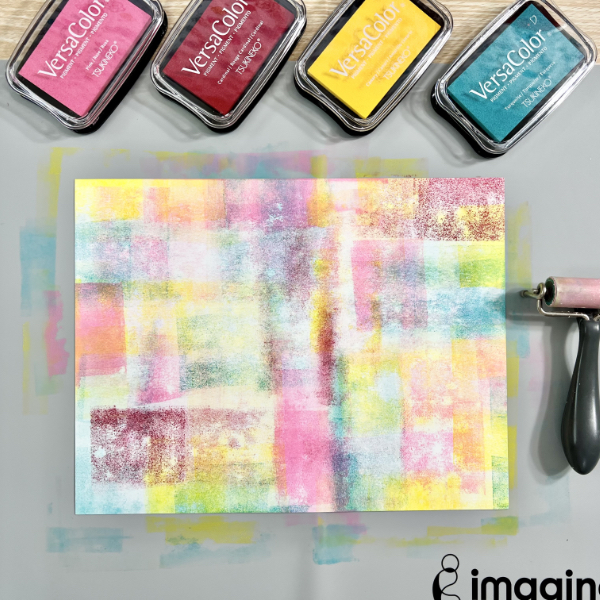
Step 1 We will work on a whole piece of 8.5 inch x 11 inch heavyweight white cardstock. Pick 3 or 4 colors you want to use. Make sure the choice of colors won’t muddle when you mix them together.
Roll the mini brayer directly on the VersaColor ink pad several times.
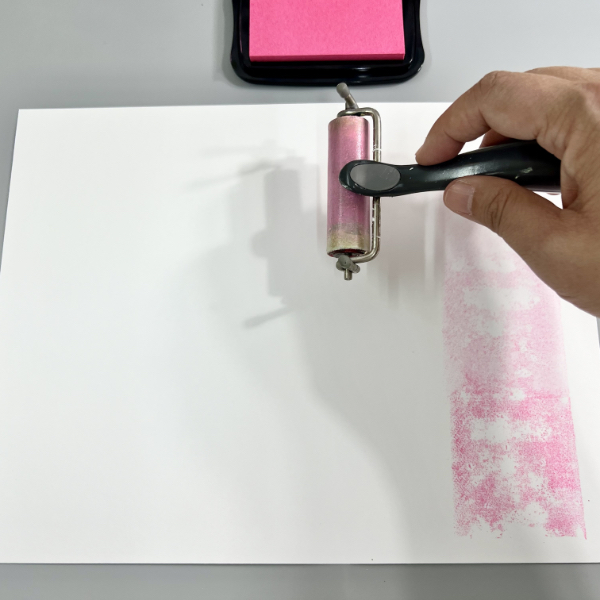
Step 2 Roll the inked mini brayer on the white cardstock in any direction you want vertically and horizontally.
Do the step 1 and step 2 several times for each color you want to use for your background.
Step 3 After several times adding inks on the cardstock with a mini brayer, you can add more layer on top of the first one you did, or you can fill in the space as you want.
Use the Staz-On All-Purpose Stamp Cleaner and paper towel to clean the brayer.
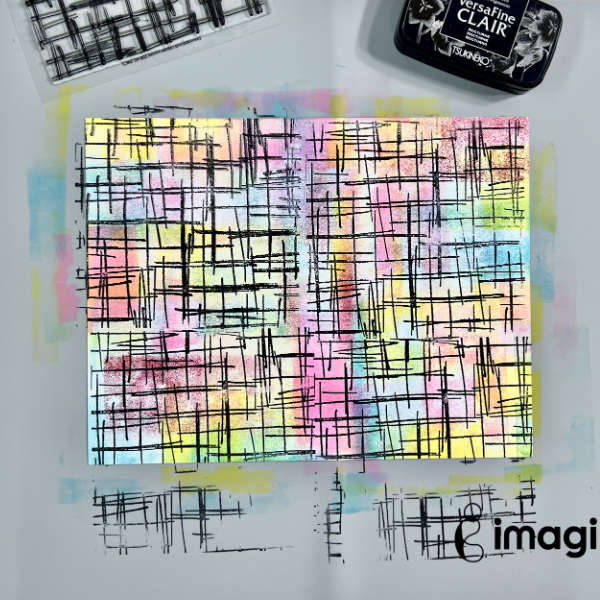
Step 4 Next, pick a funky pattern background stamp to add texture on the inked cardstock. Stamp the background stamp on it with VersaFine Clair Nocturne Ink Pad for contrast colors.
Step 5 Stamp it several times until you fill the whole cardstock. This will look very funky and messy but don’t worry you’ll find it will be fun to use it on project later.
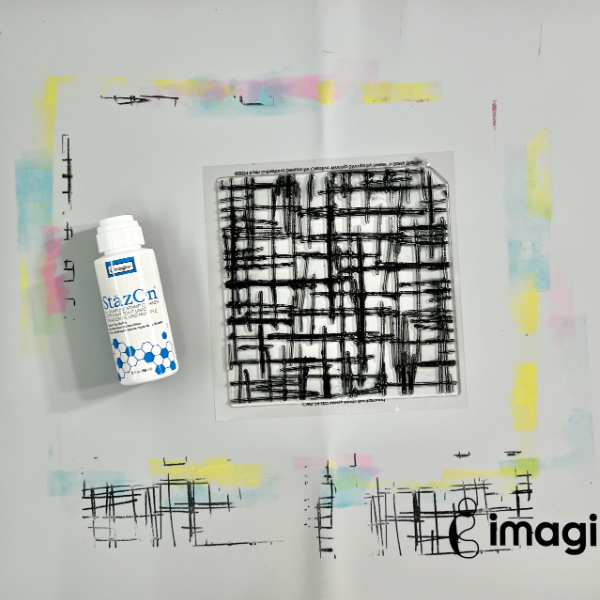
Step 6 After adding ink colors with mini brayer and stamping, the craft mat will look like in the picture above. Don’t panic! The inks will clean right off the mat with that amazing Staz-On All-Purpose Stamp Cleaner. Simply dab some of the cleaner on the mat and use paper towel to clean all the inks off. Repeat as needed.
Use the stamp cleaner also to clean ink off the background stamp, too.
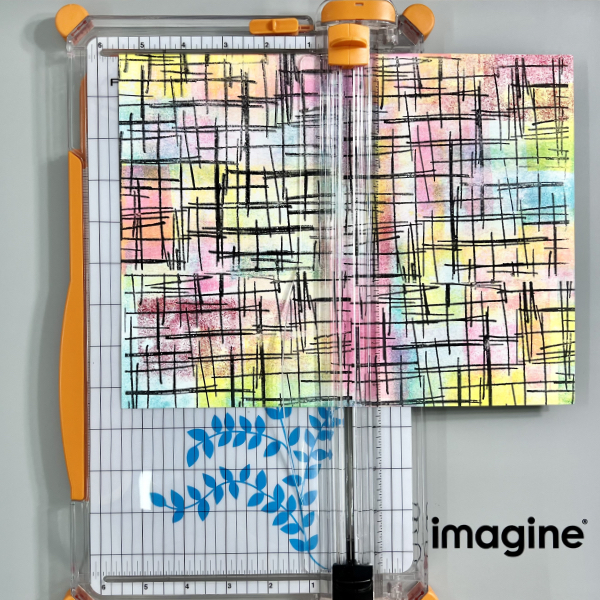
Step 7 Next step, use the paper trimmer to trim cardstock into 4 – 4 ¼ inch x 5 ½ inch background panels.
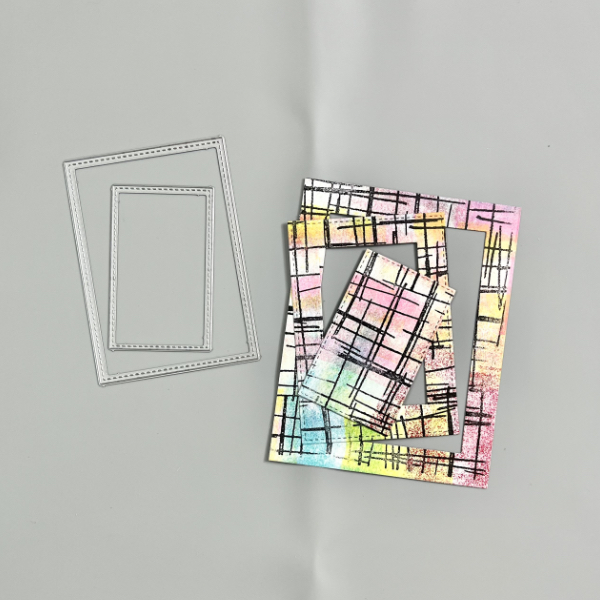
Step 8 Cut one of the background panels using 2 sizes of rectangle dies.
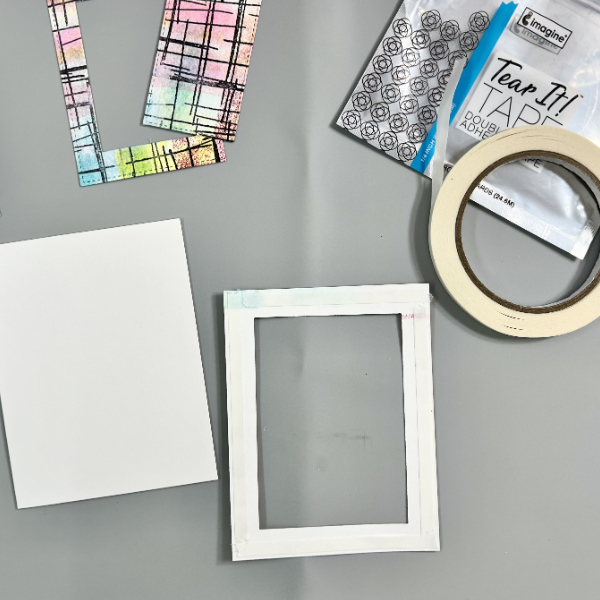
Step 9 Add some of the Tear It! Tape on the back of the largest frame. Peel off the backing and add the frame to an A4 card base (4 ¼ inch x 5 ½ inch card).
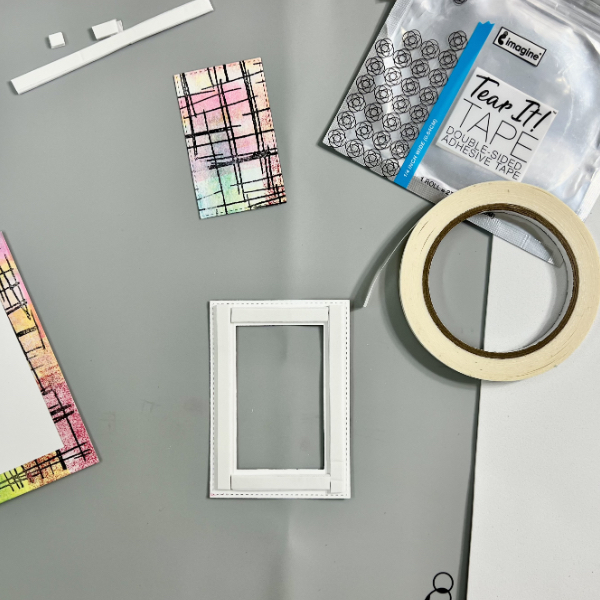
Step 10 Add some of the Tear It! Tape on thin fun foam to create some thin strips of 3D foam tape.
Add the foam tape on the second frame (the middle cut out), and add it to the card. Make sure the pattern matching with the first one on the card.
Final step for the background, add the last piece of the cut out in the middle of the card just with the Tear It! Tape.
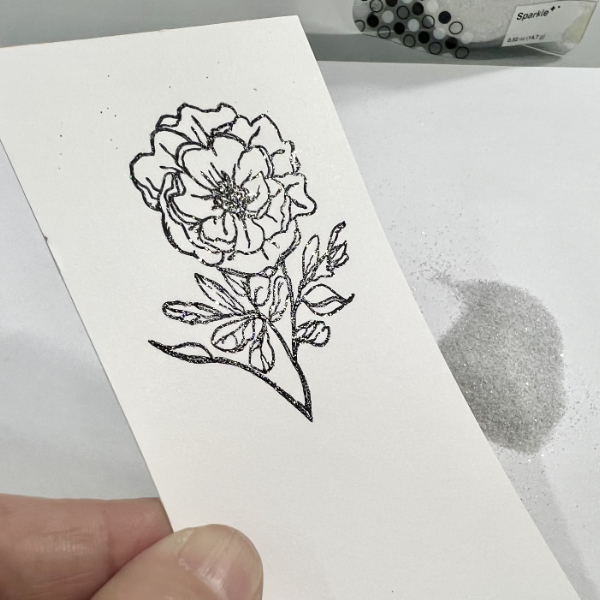
Step 11 Stamp the flower on a piece of white cardstock with VersaFine Clair Nocturne Ink Pad using stamping tool or acrylic block.
Step 12 Add some of the Sparkle Mboss Embossing Powder directly on the stamped image and heat it up with a craft heat gun. After embossing it, fussy cut the flower with micro-tip scissors (or use the matching die set if available for your stamp).
Repeat step 11 and step 12 for the sentiment. And then cut the sentiment with a label die (or you can just trim it with paper trimmer).
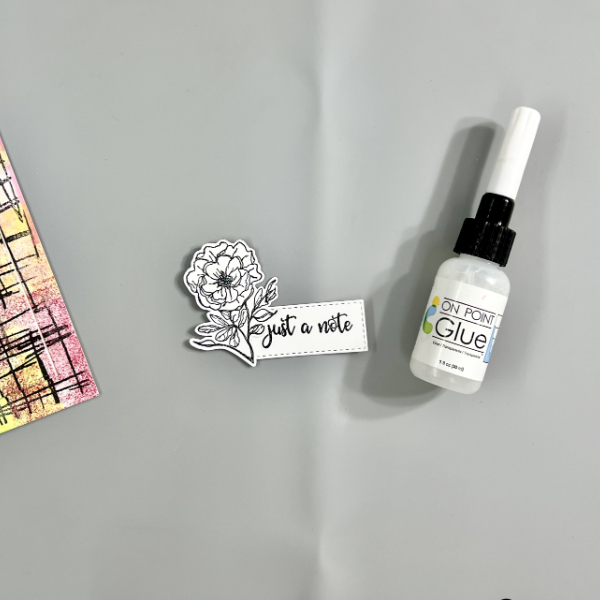
Step 13 Put together the flower and sentiment label with On Point Glue. Put a couple acrylic blocks on them and let the glue to dry.
After that, add them to the card with some of the fun foam in the middle and secure the edge on the raised frame with On Point Glue.
Here’s the finish card with some funky patterns and dimensions. Isn’t it fun? I hope you will give it a try and have fun creating your own funky background card.
Thank you so much for stopping by our blog today. Have a wonderful day!
When it comes to coloring with alcohol markers, the ink you use to stamp your images becomes very important. Choosing the right ink will ensure that the image lines stay sharp without bleeding into each other. My personal choice is the Memento Tuxedo Black ink pad. A light beige color like Desert Sand could be a great choice as well for no-line coloring.
Skill: Intermediate Time: 1 hour
Step 1: Stamp some floral and leaves images with Memento Tuxedo Black ink. I love the Happiness Abounds set from Stampin’ Up; the roses are so elegant and the perfect sizes to create a floral wreath. Then color the images with your choice of alcohol markers. I used Stampin Blends in Pale Papaya, Soft Seafoam, and Old Olive.
Step 2: Die cut the colored images with Blossoming Happiness dies and arrange them in a circle. Then adhere them to the card base. I used Tear-It Tape to adhere the leaves in the background, and used Stampin’ Dimensionals to create layers and depth for the flowers.
Step 3: For the sentiment, I chose a simple circle to tie in this elegant design. The fonts for these stamps are just so pretty! I always grab VersaFine Clair Nocturne to stamp my sentiments; the lines are so crisp and dark, and they’ll never look splotchy! Don’t use them with alcohol markers though, the pigment ink will react with alcohol inks.
Coloring takes time, but it’s such a relaxing experience… I hope you enjoyed this project as much as I do.
Let’s experiment with Imagine’s fabulous Walnut Ink Sprays!
Skill Level: Intermediate Time: 1 hour
Step 1: Using a stamping platform, ink the Grunge Flower stamp with Nocturne VersaFine Clair ink and stamp. Re-ink and stamp again if necessary to attain a good. Impression. Stamp a second time onto repositionable sticker paper. Fussy-cut the sticker paper version to be used as a mask later.
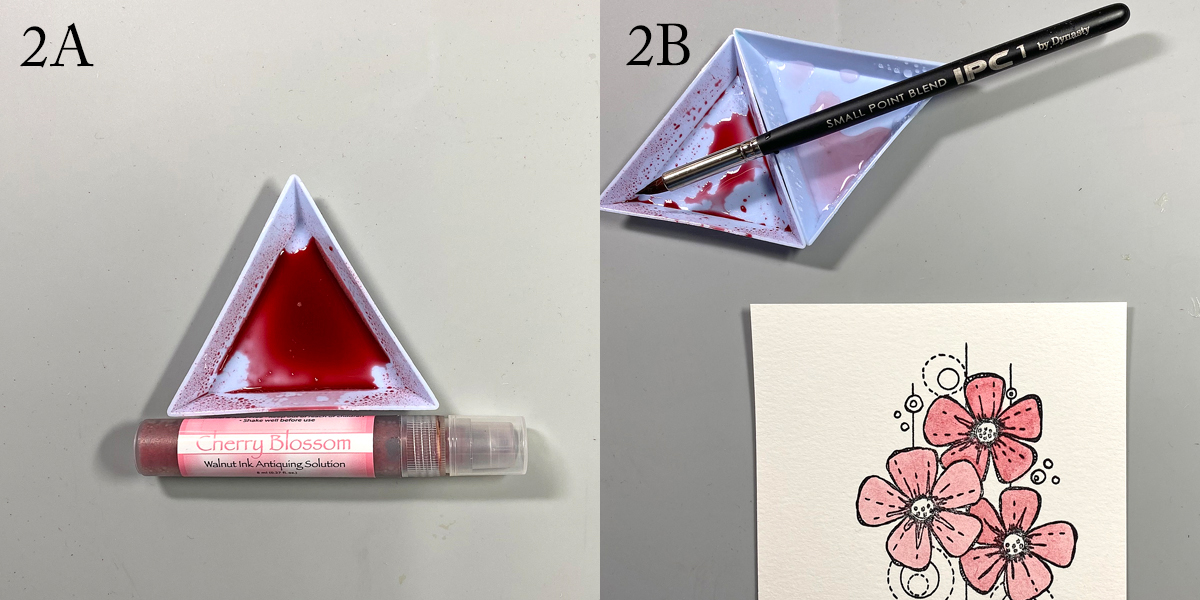
Steps 2A and 2B : Spray Cherry Blossom Walnut Ink into a small container (2A). Add water into a second container. Use a paint brush to watercolor the flowers’ petals, varying the intensity of the color by diluting the ink with water (2B). When done, wash and dry the containers.
Steps 3A and 3B: Spray Lilac Walnut Ink and water into small containers (3A). Use a paint brush to watercolor the flowers centers, varying the intensity of the color by diluting the ink with water (3B). When done, wash and dry the containers
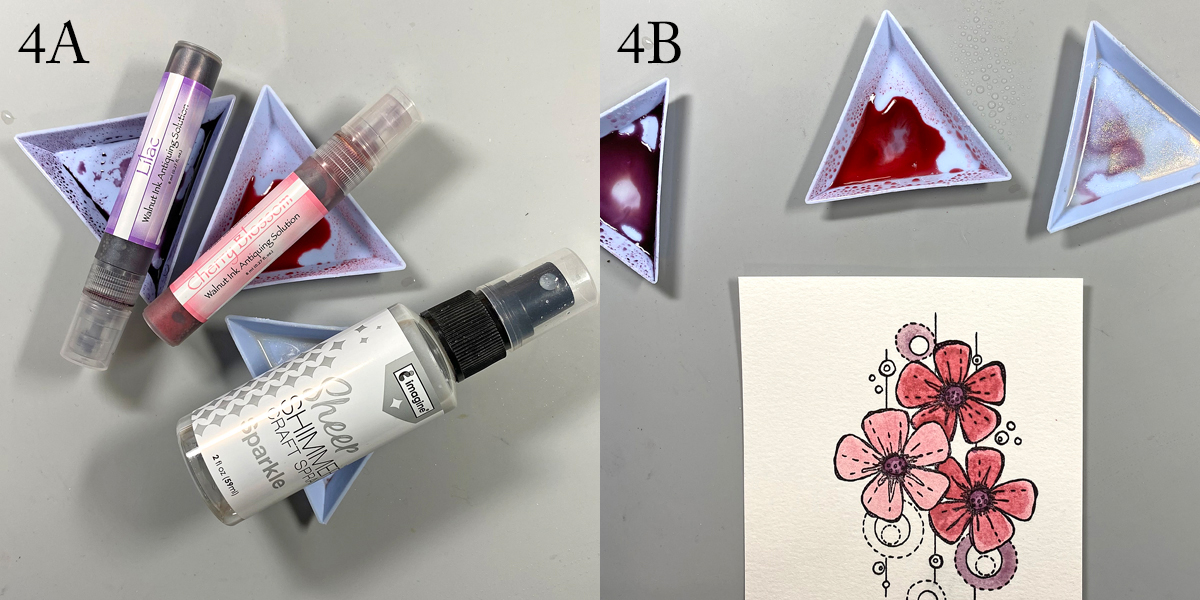
Steps 4A and 4B: Spray Cherry Blossom and Lilac Walnut Inks into separate containers. Spray a small amount of Sparkle Sheer Shimmer Craft Spray into both containers and into a third container (4A). Use paint brushes to paint the circular elements of the stamped image with sparkly Walnut inks (4B).
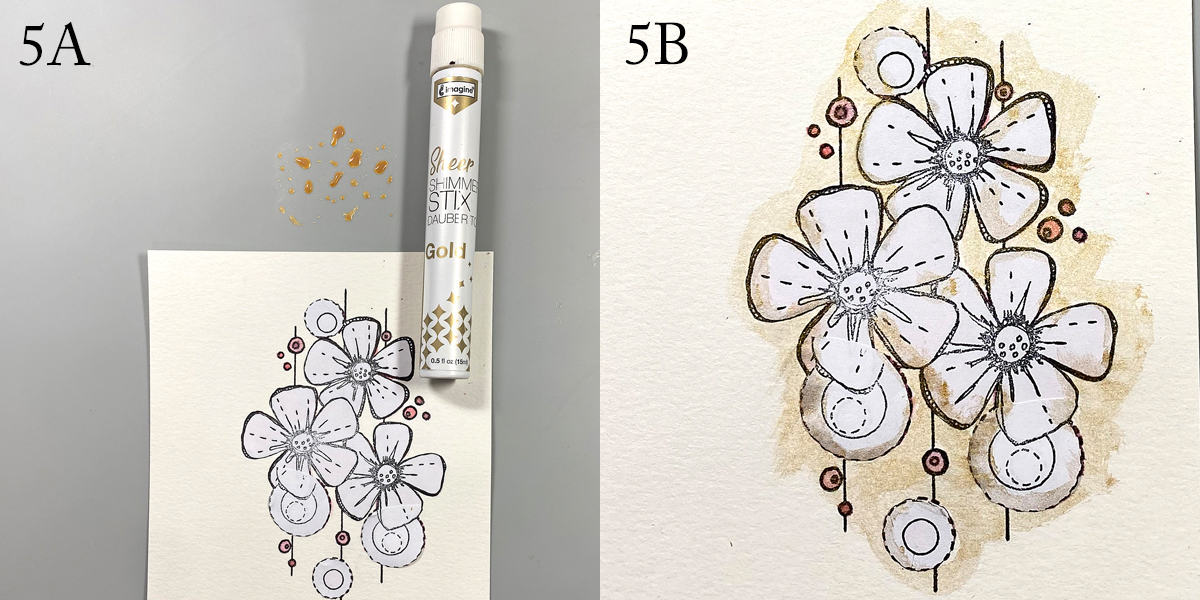
Steps 5A and 5B: Adhere the repositionable sticker masks from Step 1 atop the stamped and painted images. Smoosh Gold Sheer Shimmer Stix onto the craft mat (5A). Use a brush to apply over the masked images. Also use the applicator top to apply the shimmery gold ink directly to the image panel. Wipe the excess away with a paper towel (5B).
Steps 6A and 6B: Repeat Steps 4A and 4B to add more shimmery walnut ink to the containers (6A). Load a paint brush with the ink then tap the paint brush to splatter the image panel (6B). Repeat with the second color. I wanted more splatter, so I loaded a clean toothbrush with ink and splattered the panel even more. (No photo). Remove the masks and heat set the panel.
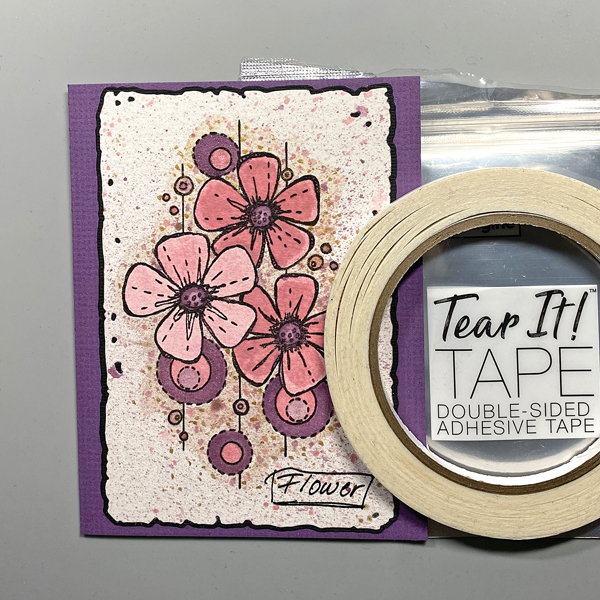
Step 7: Use the smaller die from the Frayed Frames Die Set 26 to cut the image panel. Use the larger die from the same set to cut black cardstock. Use Tear-It! Tape to mat the image panel die-cut with the black die-cut. (Sorry! No photo).
Step 8: Place the matted image panel into a stamping platform. Position the “Flower” Sentiment from the Grunge Flowers Stamp Set 2 facedown on the bottom right of the image panel. Press the platform’s lid onto the back of the stamp and lift. Ink the stamp with Nocturne VersaFine Clair Ink and stamp. Re-ink and stamp again if necessary to attain a good impression.
Step 9: Remove the impute panel from the platform and place onto paper. Sprinkle Clear MBoss powder onto the stamped sentiment. Dump the excess back into the container. Heat set the sentiment.
Step 10: Create an A2 card from purple cardstock. Use Tear-It! Tape to adhere the image panel to the card.
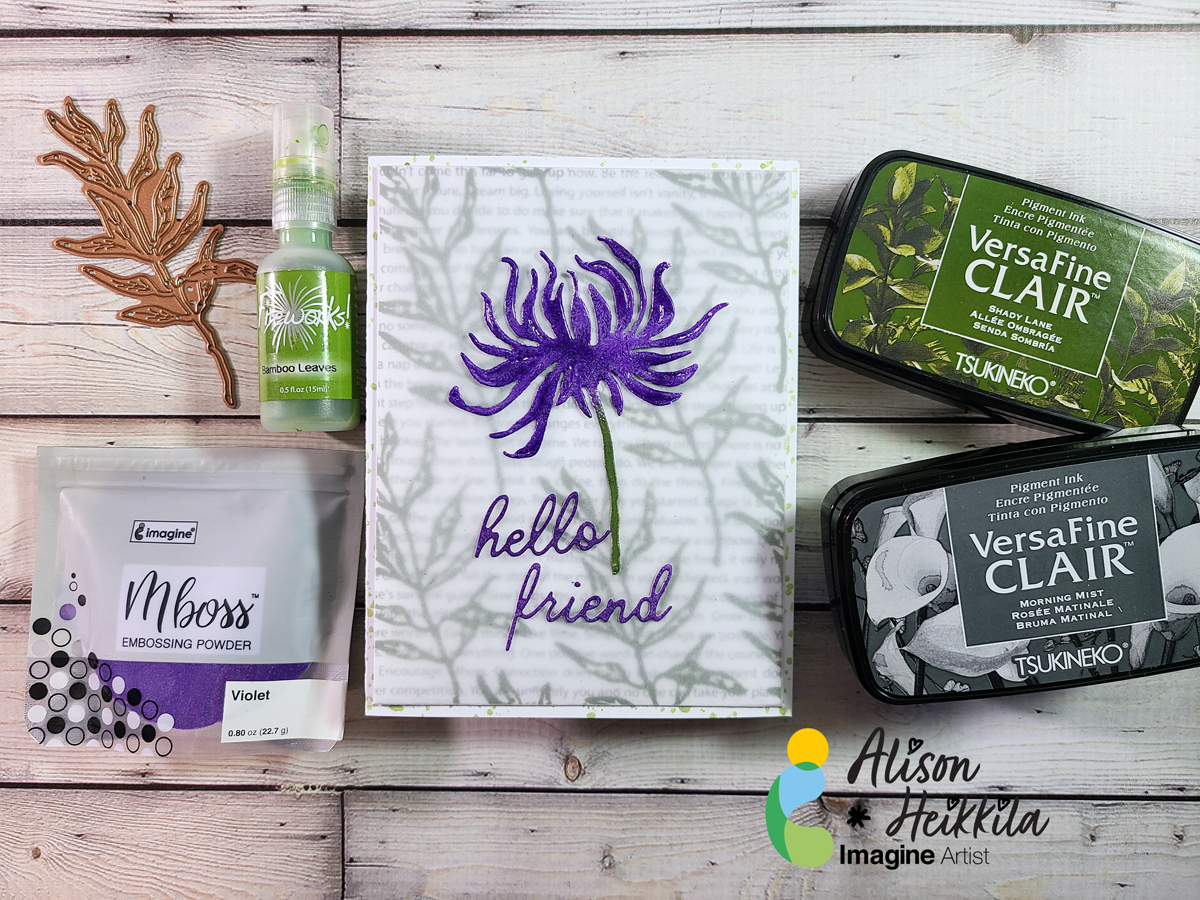
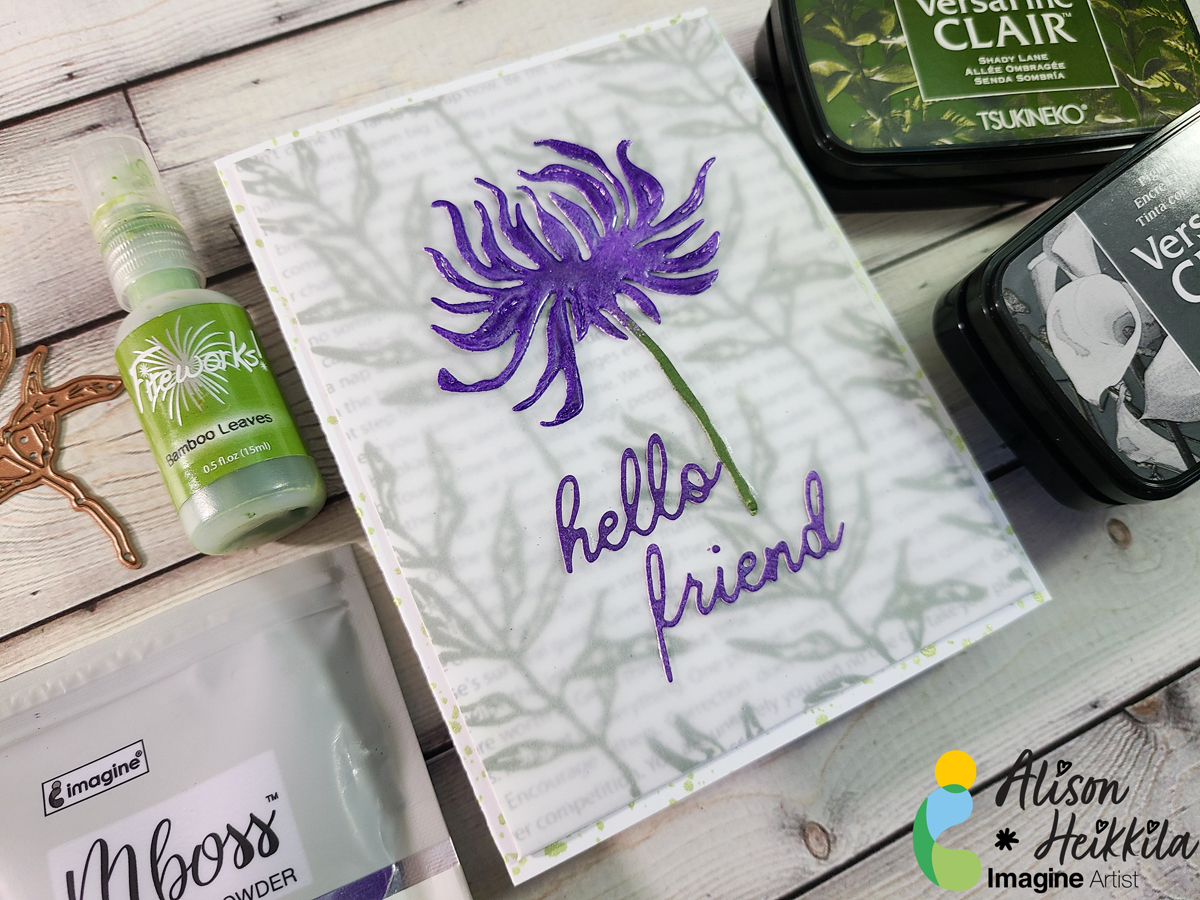
Hello! This is Alison Heikkila. My second video for Imagine this month once again focus on dies and how to use them creatively with inks. We’re making a pretty floral encouragement card, and I hope it gives you some ideas on how to use your dies and inks together.
*Some affiliate links are used in this post. That means that if you shop through these links, I may receive a small compensation, at no cost to you.
Skill Level: Intermediate Time to Complete: 20-30 minutes
I hope this inspires you to make stamps out of your dies. And don’t forget to try double-dipping into embossing powder! The effect is so pretty. Thanks so much for stopping by. Have an inspiring day!