White Wash Technique Using Delicata Reinkers

By Jessica Lin

– Have you ever tried coloring on colored cardstock? The white washing technique is great for
creating a blank canvas for your coloring, making the colors pop against navy, kraft, or even black cardstock.

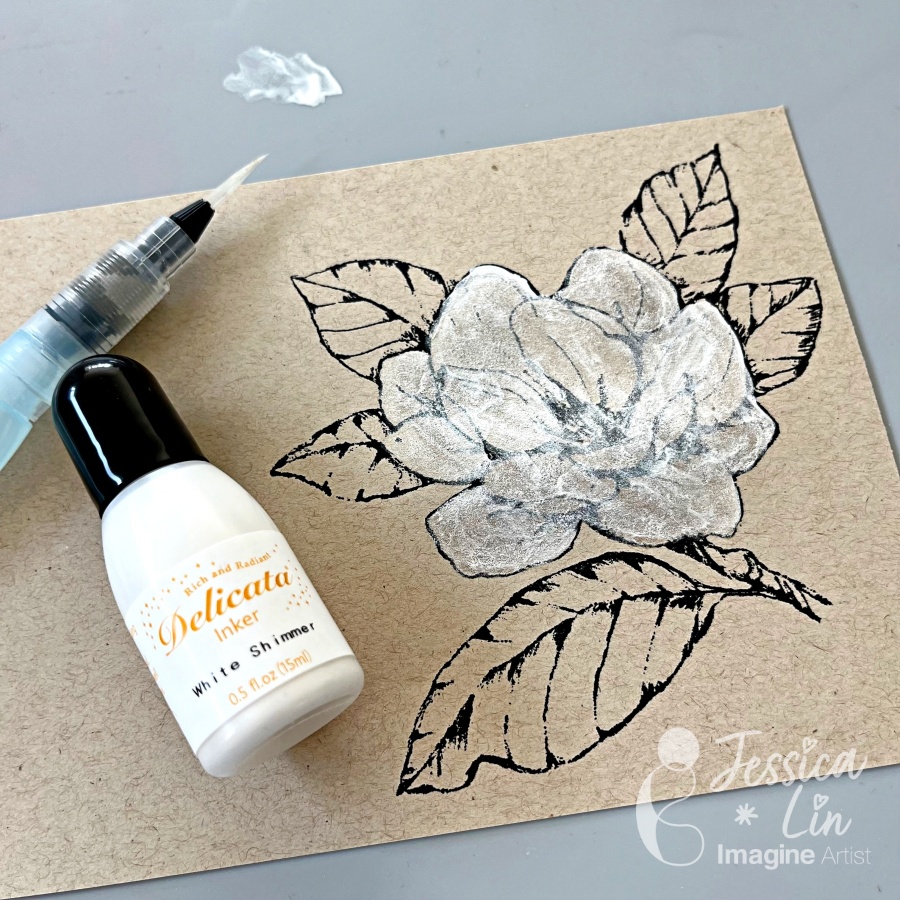
There are many white reinkers to choose from for this technique. I picked Delicata White Shimmer reinker and was surprised with how luscious the pearl shimmer looks!

Skill Level: Intermediate
Time: 45 minutes

Directions:

Step 1:
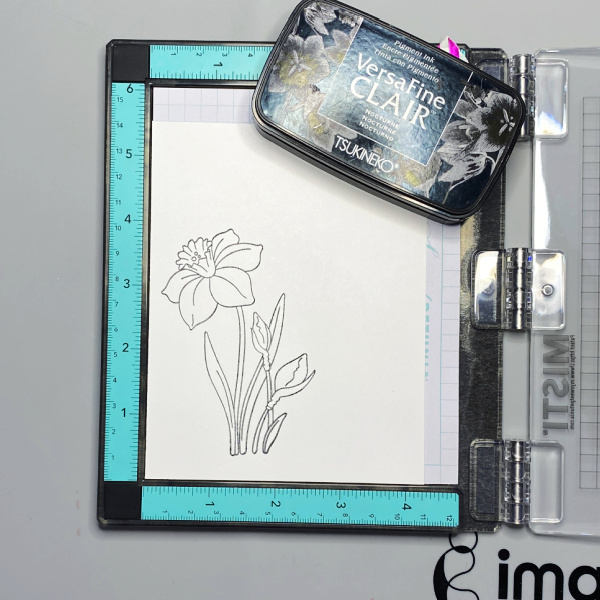
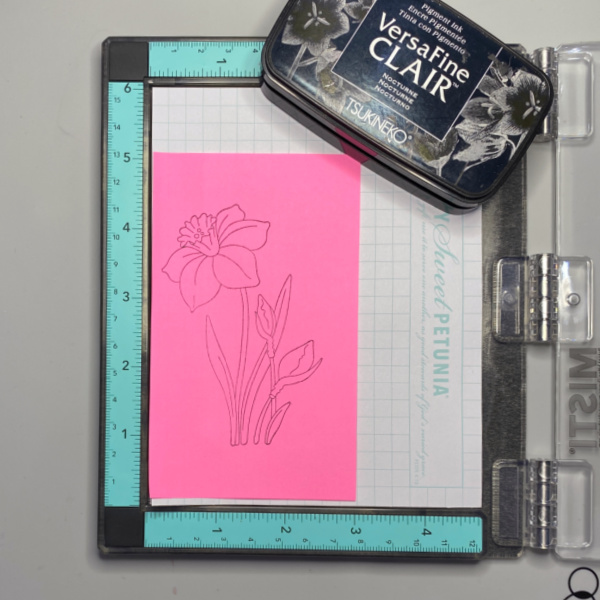
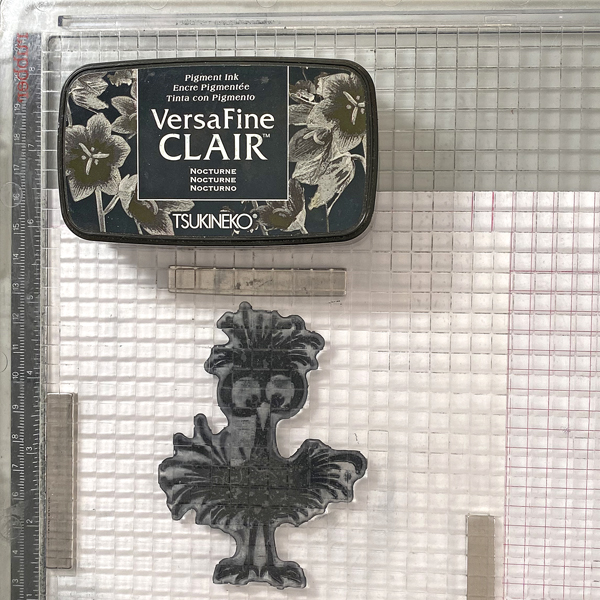
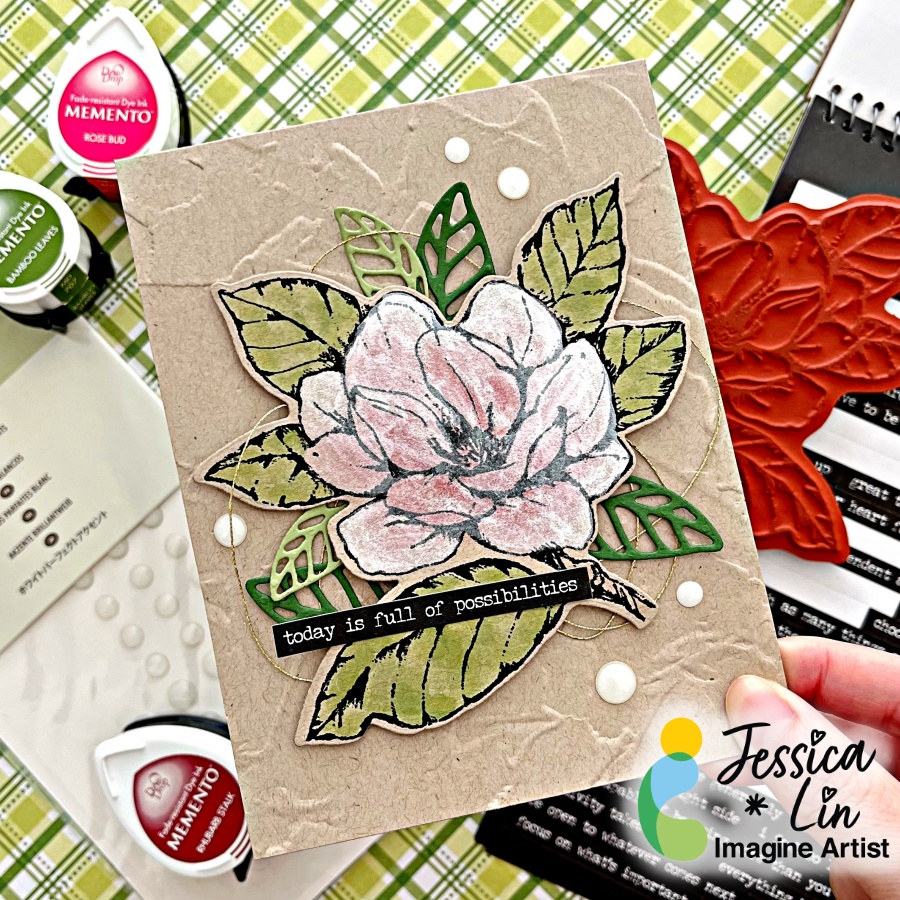
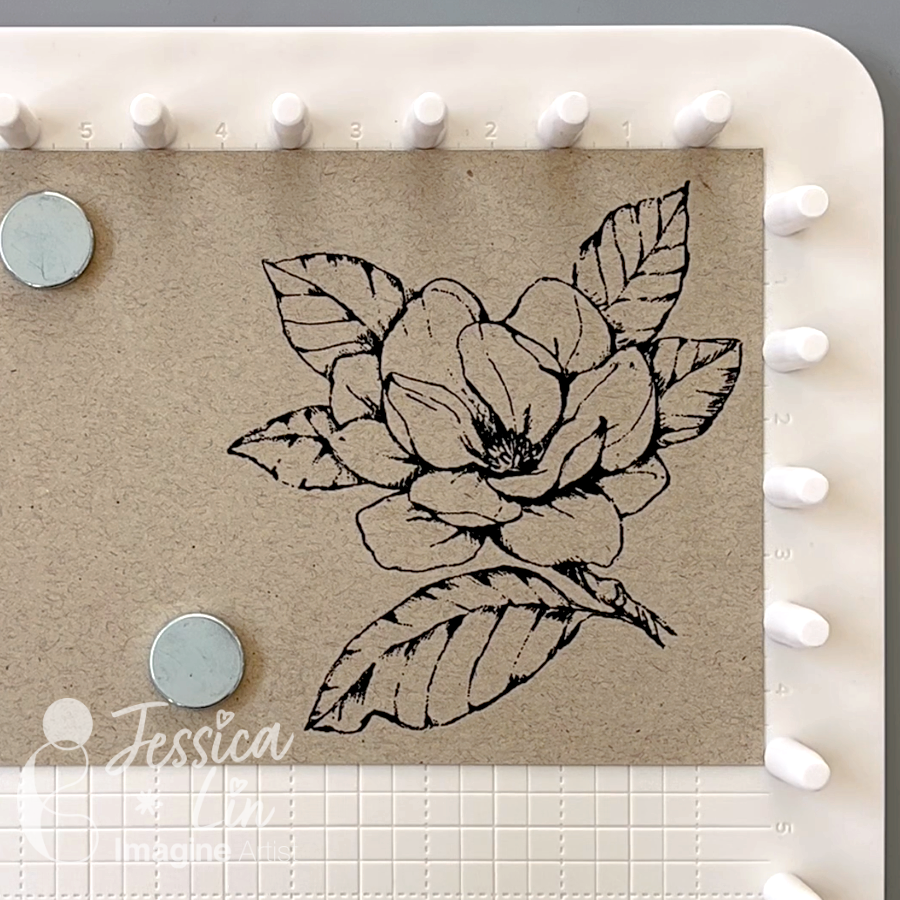
The white wash technique works well with large stamps containing big, open areas. I chose this floral image from Stampin’ Up!’s Good Morning Magnolia set and stamped it with VersaFine Clair Nocturne ink. You may use any waterproof black ink pad in your stash, but the VersaFine Clair Nocturne has been my go-to. Look at how crisp the lines are!

Step 2:
Using a waterbrush, color the center flower with Delicata White Shimmer ink from the reinker. I used the Craft Mat as my watercolor palette. Repeat this step a few times until you achieve a good coverage. Don’t worry if the black lines are covered by the white pigment ink; we will restamp the image at the end. 

Step 3:
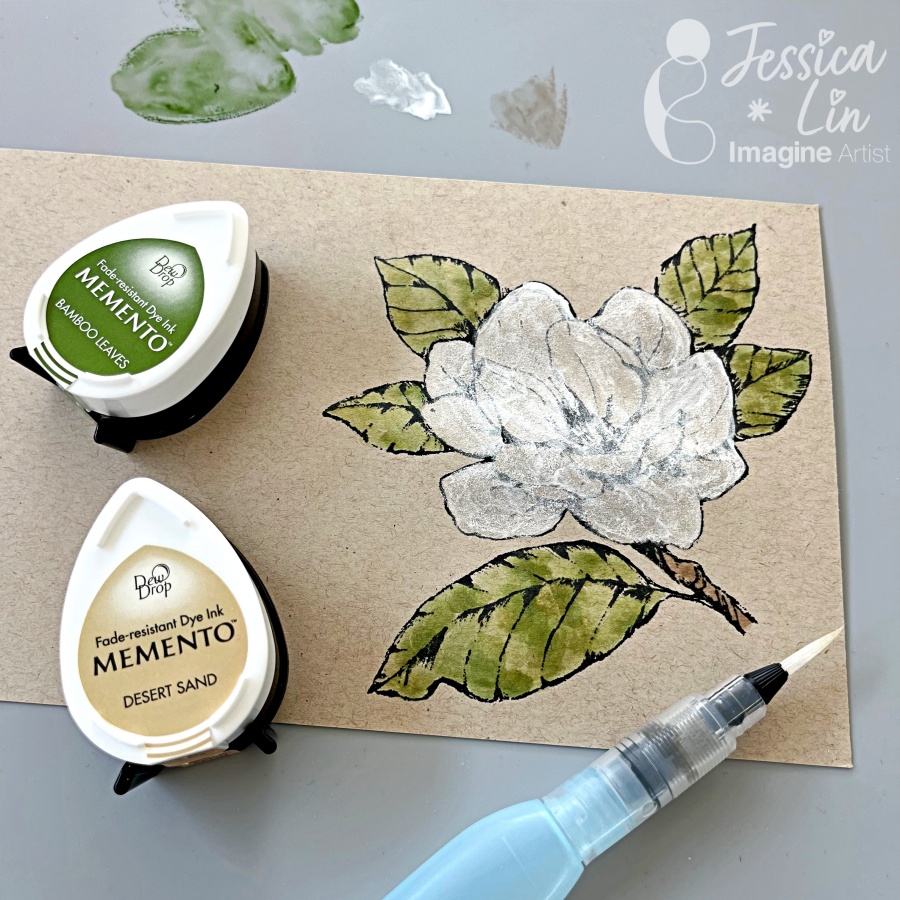
Color the leaves with Memento ink pads in Bamboo Leaves and the branch with Desert Sand.

Step 4:
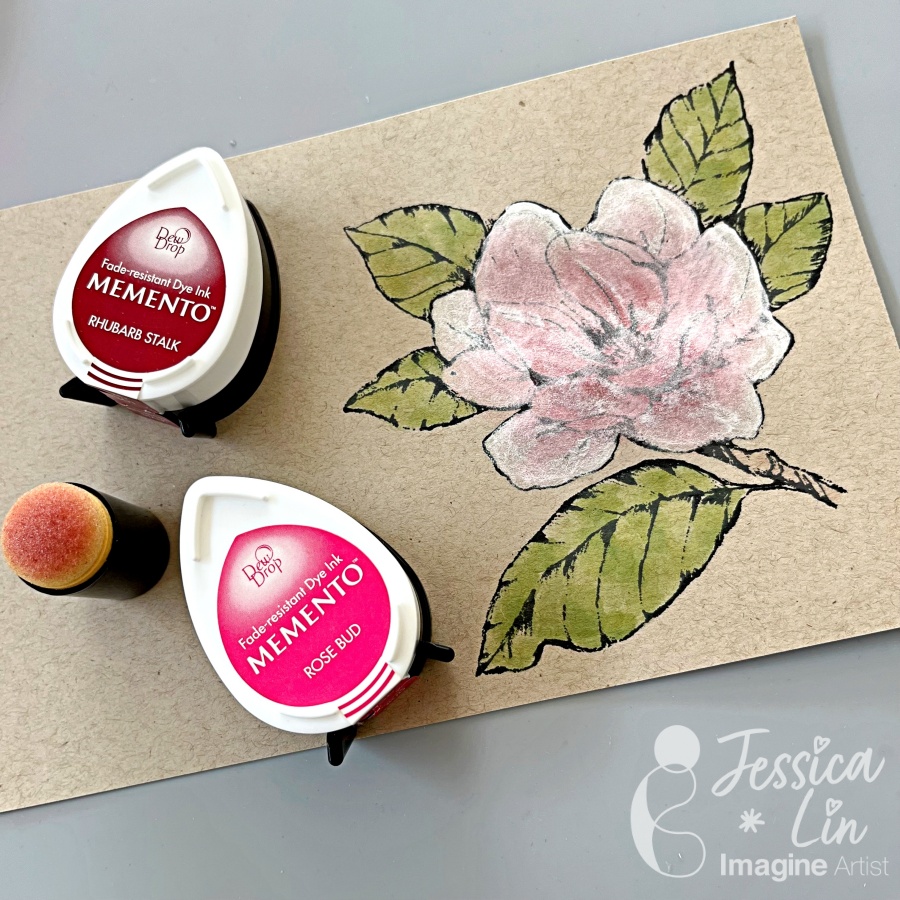
Use a sponge dauber to quickly apply color to the flower image. I dabbed on Memento Rose Bud and used Memento Rhubarb Stalk scarcely to create some shadows.

Step 5:
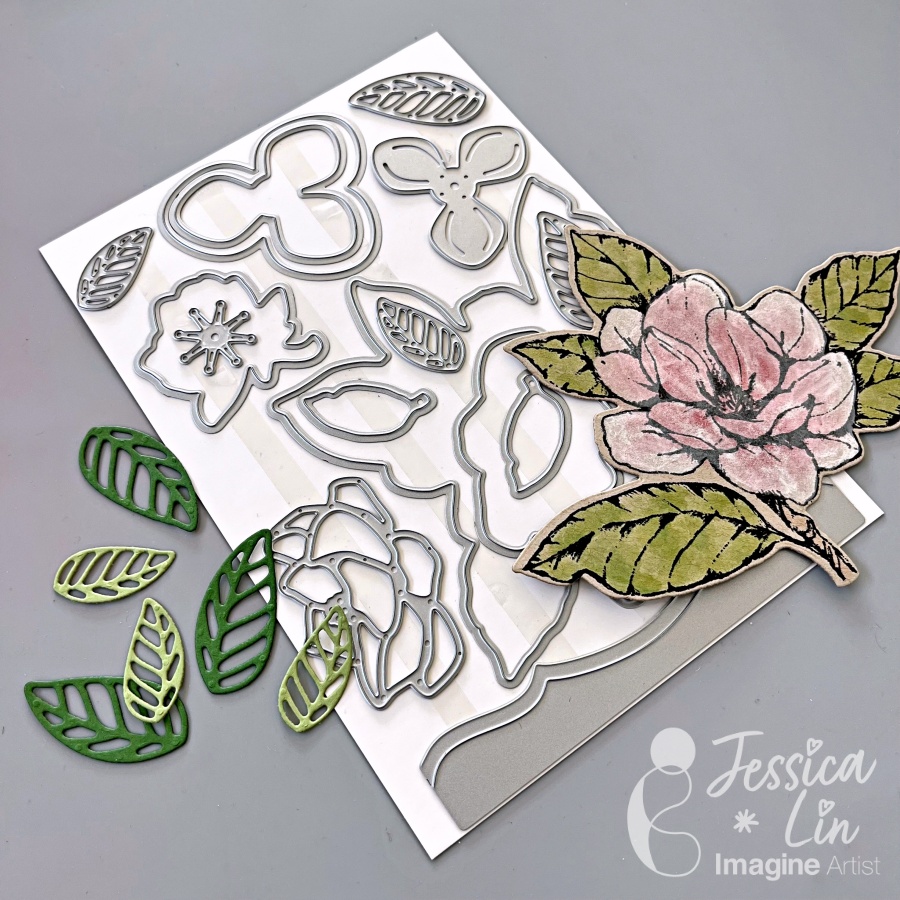
Restamp the floral image with VersaFine Clair Nocturne ink once again to darken the outline. Die cut the floral image and some leaves using the Magnolia Memories dies from Stampin’ Up!. 

Step 6:
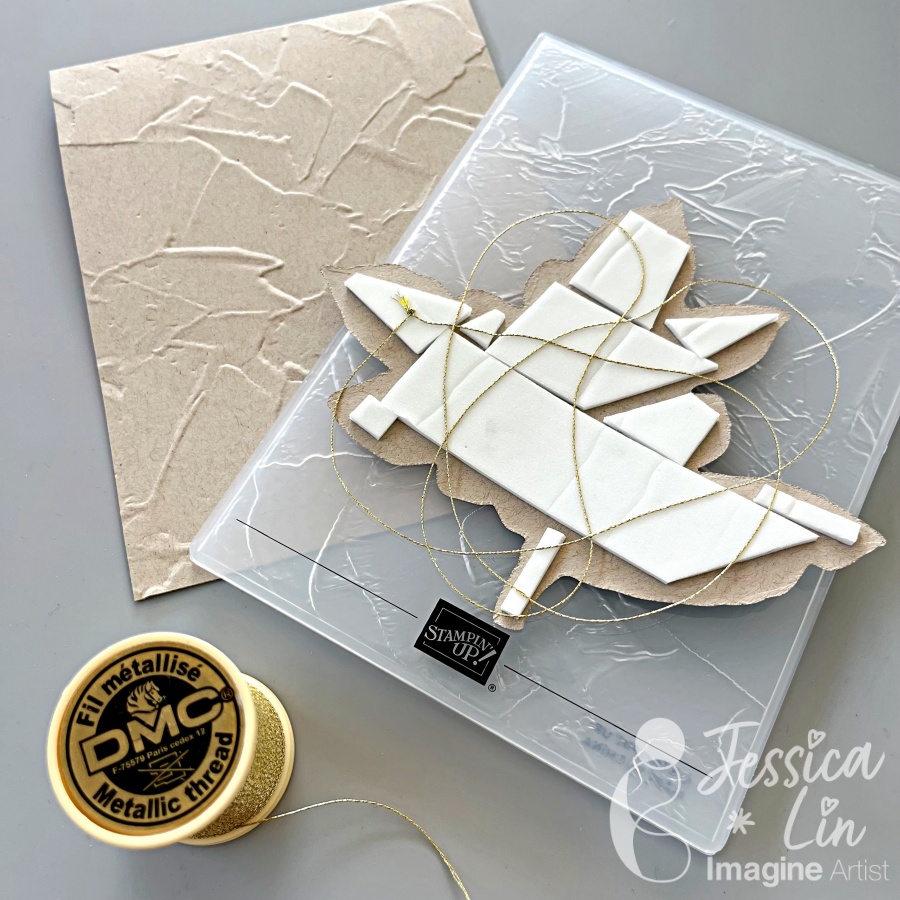
Emboss the front of your A2 card with Painted Textures embossing folder to create a textured background. Mount the floral piece with foam tape to add even more dimension. I also decided to add some gold thread as a finishing touch.

Step 7:
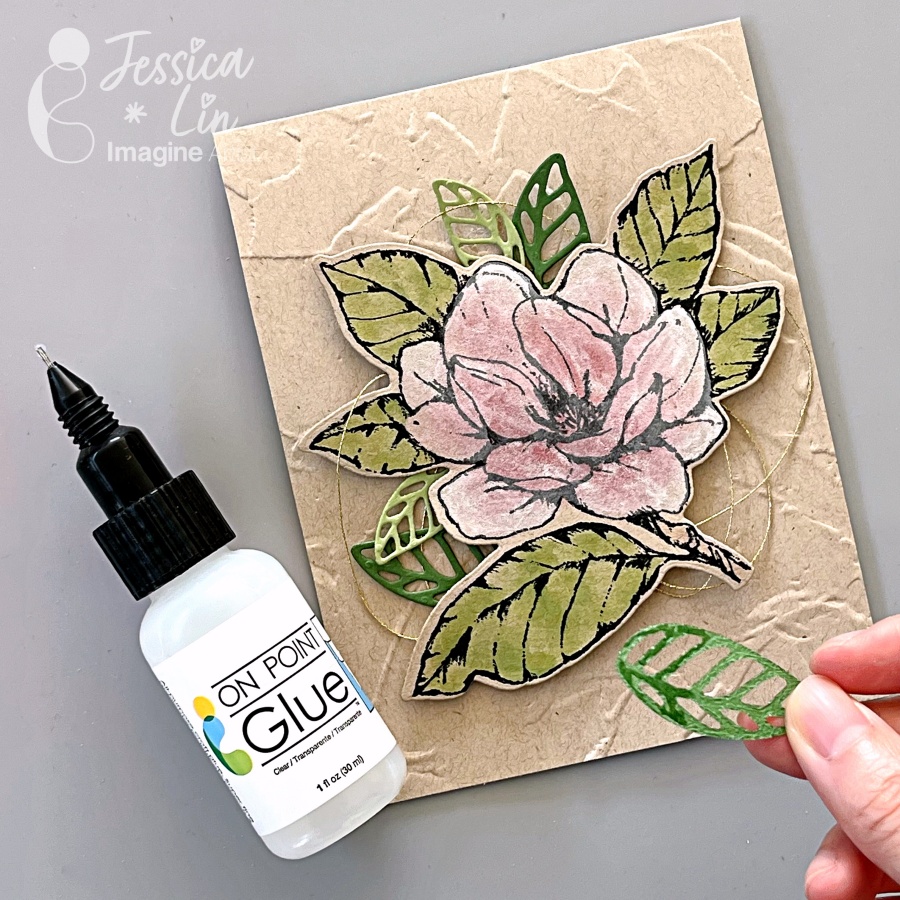
Apply On-Point Glue partially on the bottom of the leaves die cuts, and tuck them behind the center floral image. Press down and hold for 30 seconds to create a tight bond.

Step 8:
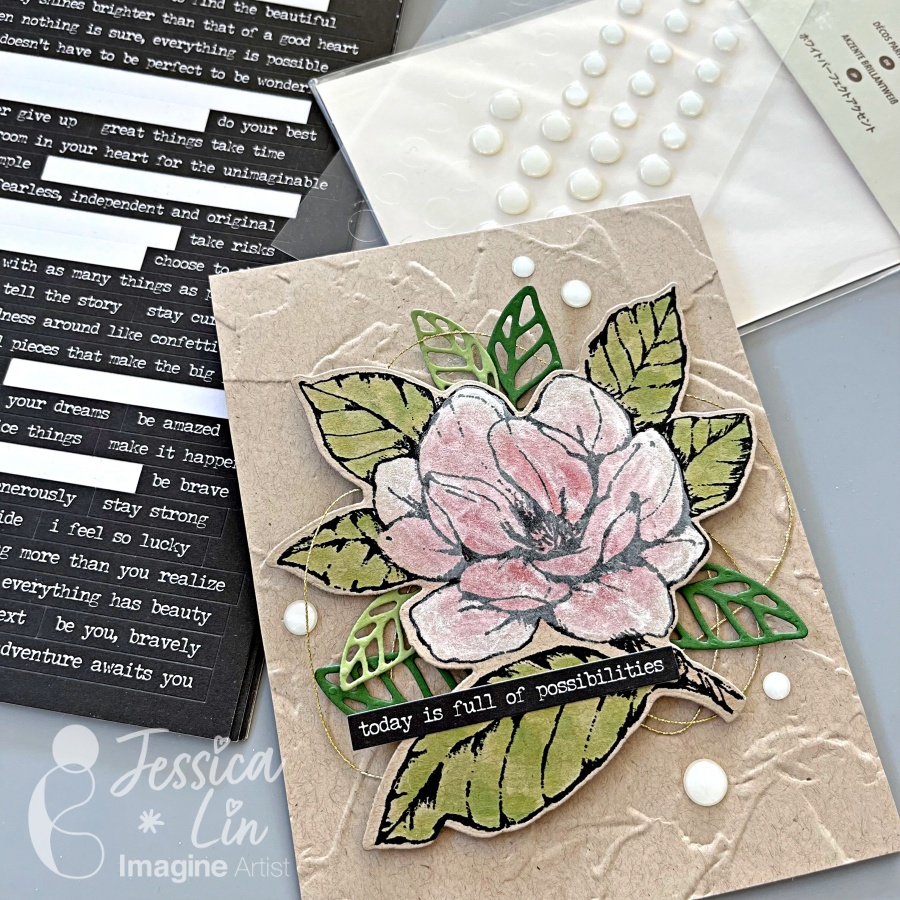
Embellish the card with some white enamel dots and sentiment strip stickers and that’s the finished card!

I hope you enjoy this creation and give the whitewashing technique a try. It’s so simple to paint with the Delicata White Shimmer reinker, and I just love the pearly shine.

Imagine Supplies:

Other Supplies:

https://www.stampinup.com/products/water-painters?demoid=2164794

  • Gold thread
  • Foam Tape
  • Embellishment

Open Call For Designers

Become Part Of Our 2024 Design Team

Each year, Imagine selects talented artists for the Artist in Residence program. Our artists create exceptional projects with video tutorials posted on our YT channel and blog. Our team embodies a variety of different styles, from cards to dynamic 3D mixed media pieces.

For more details and to apply – https://forms.gle/SpVnvBeigiLPwz1M8

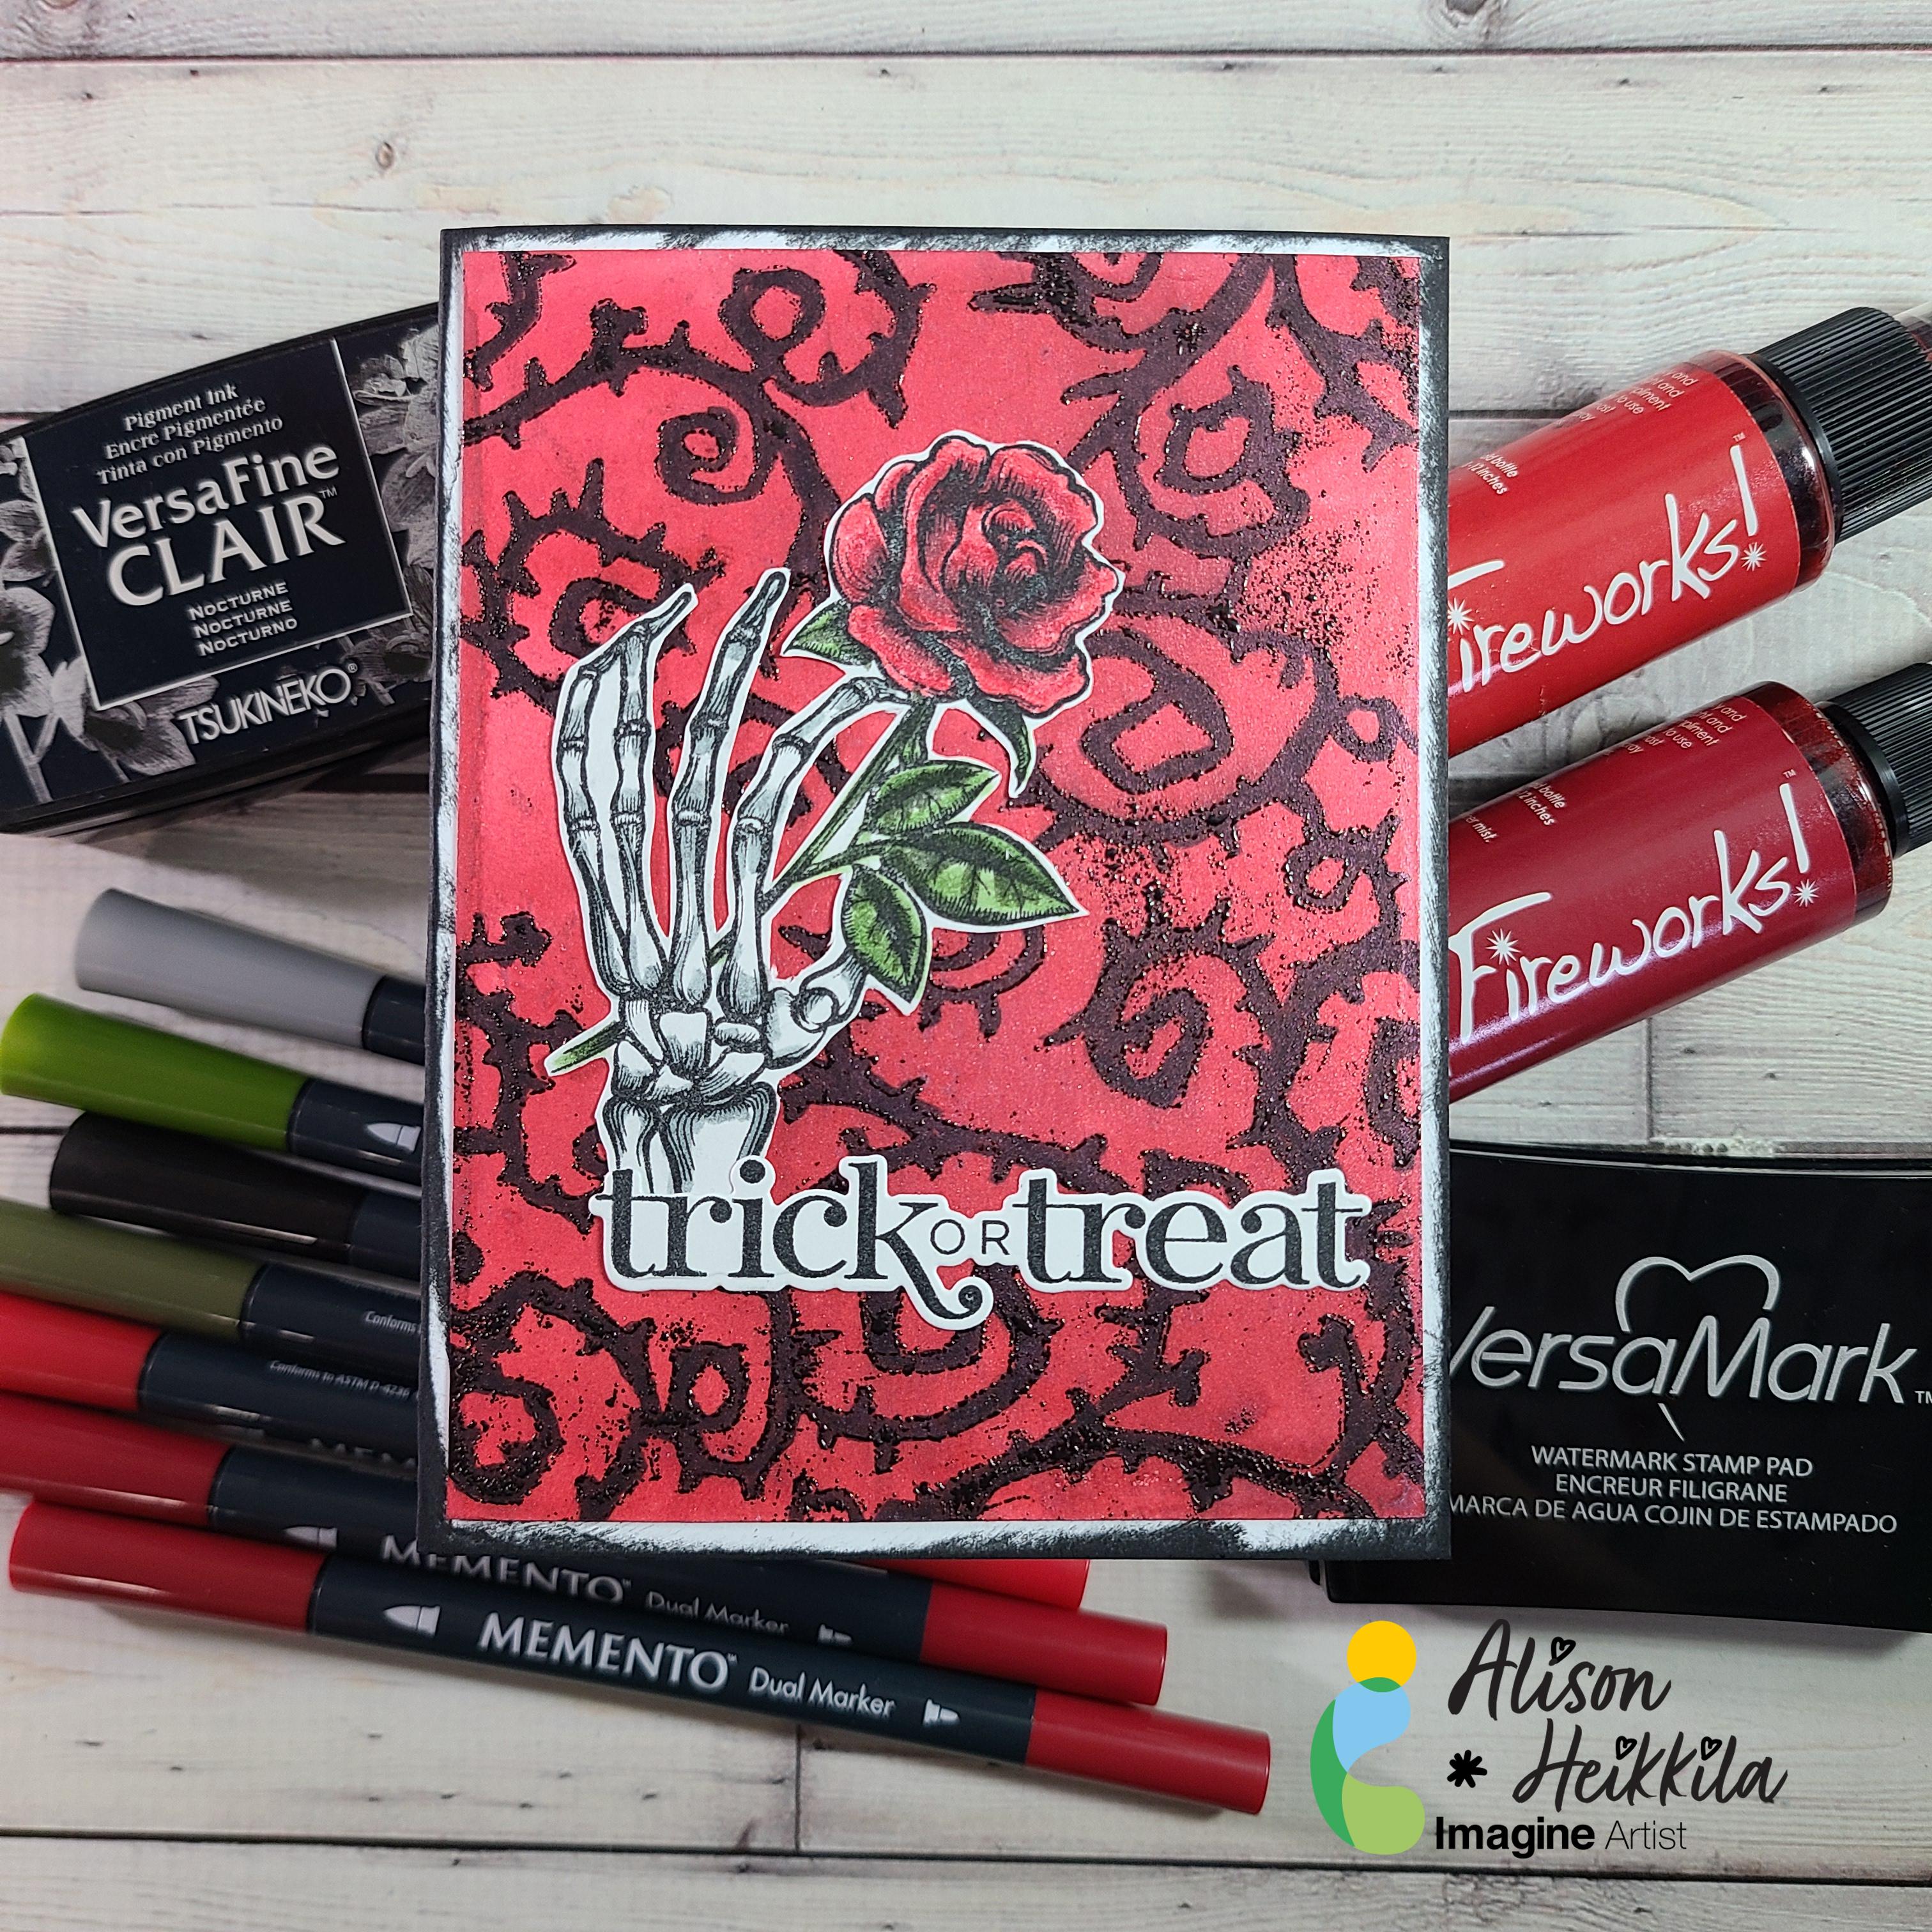
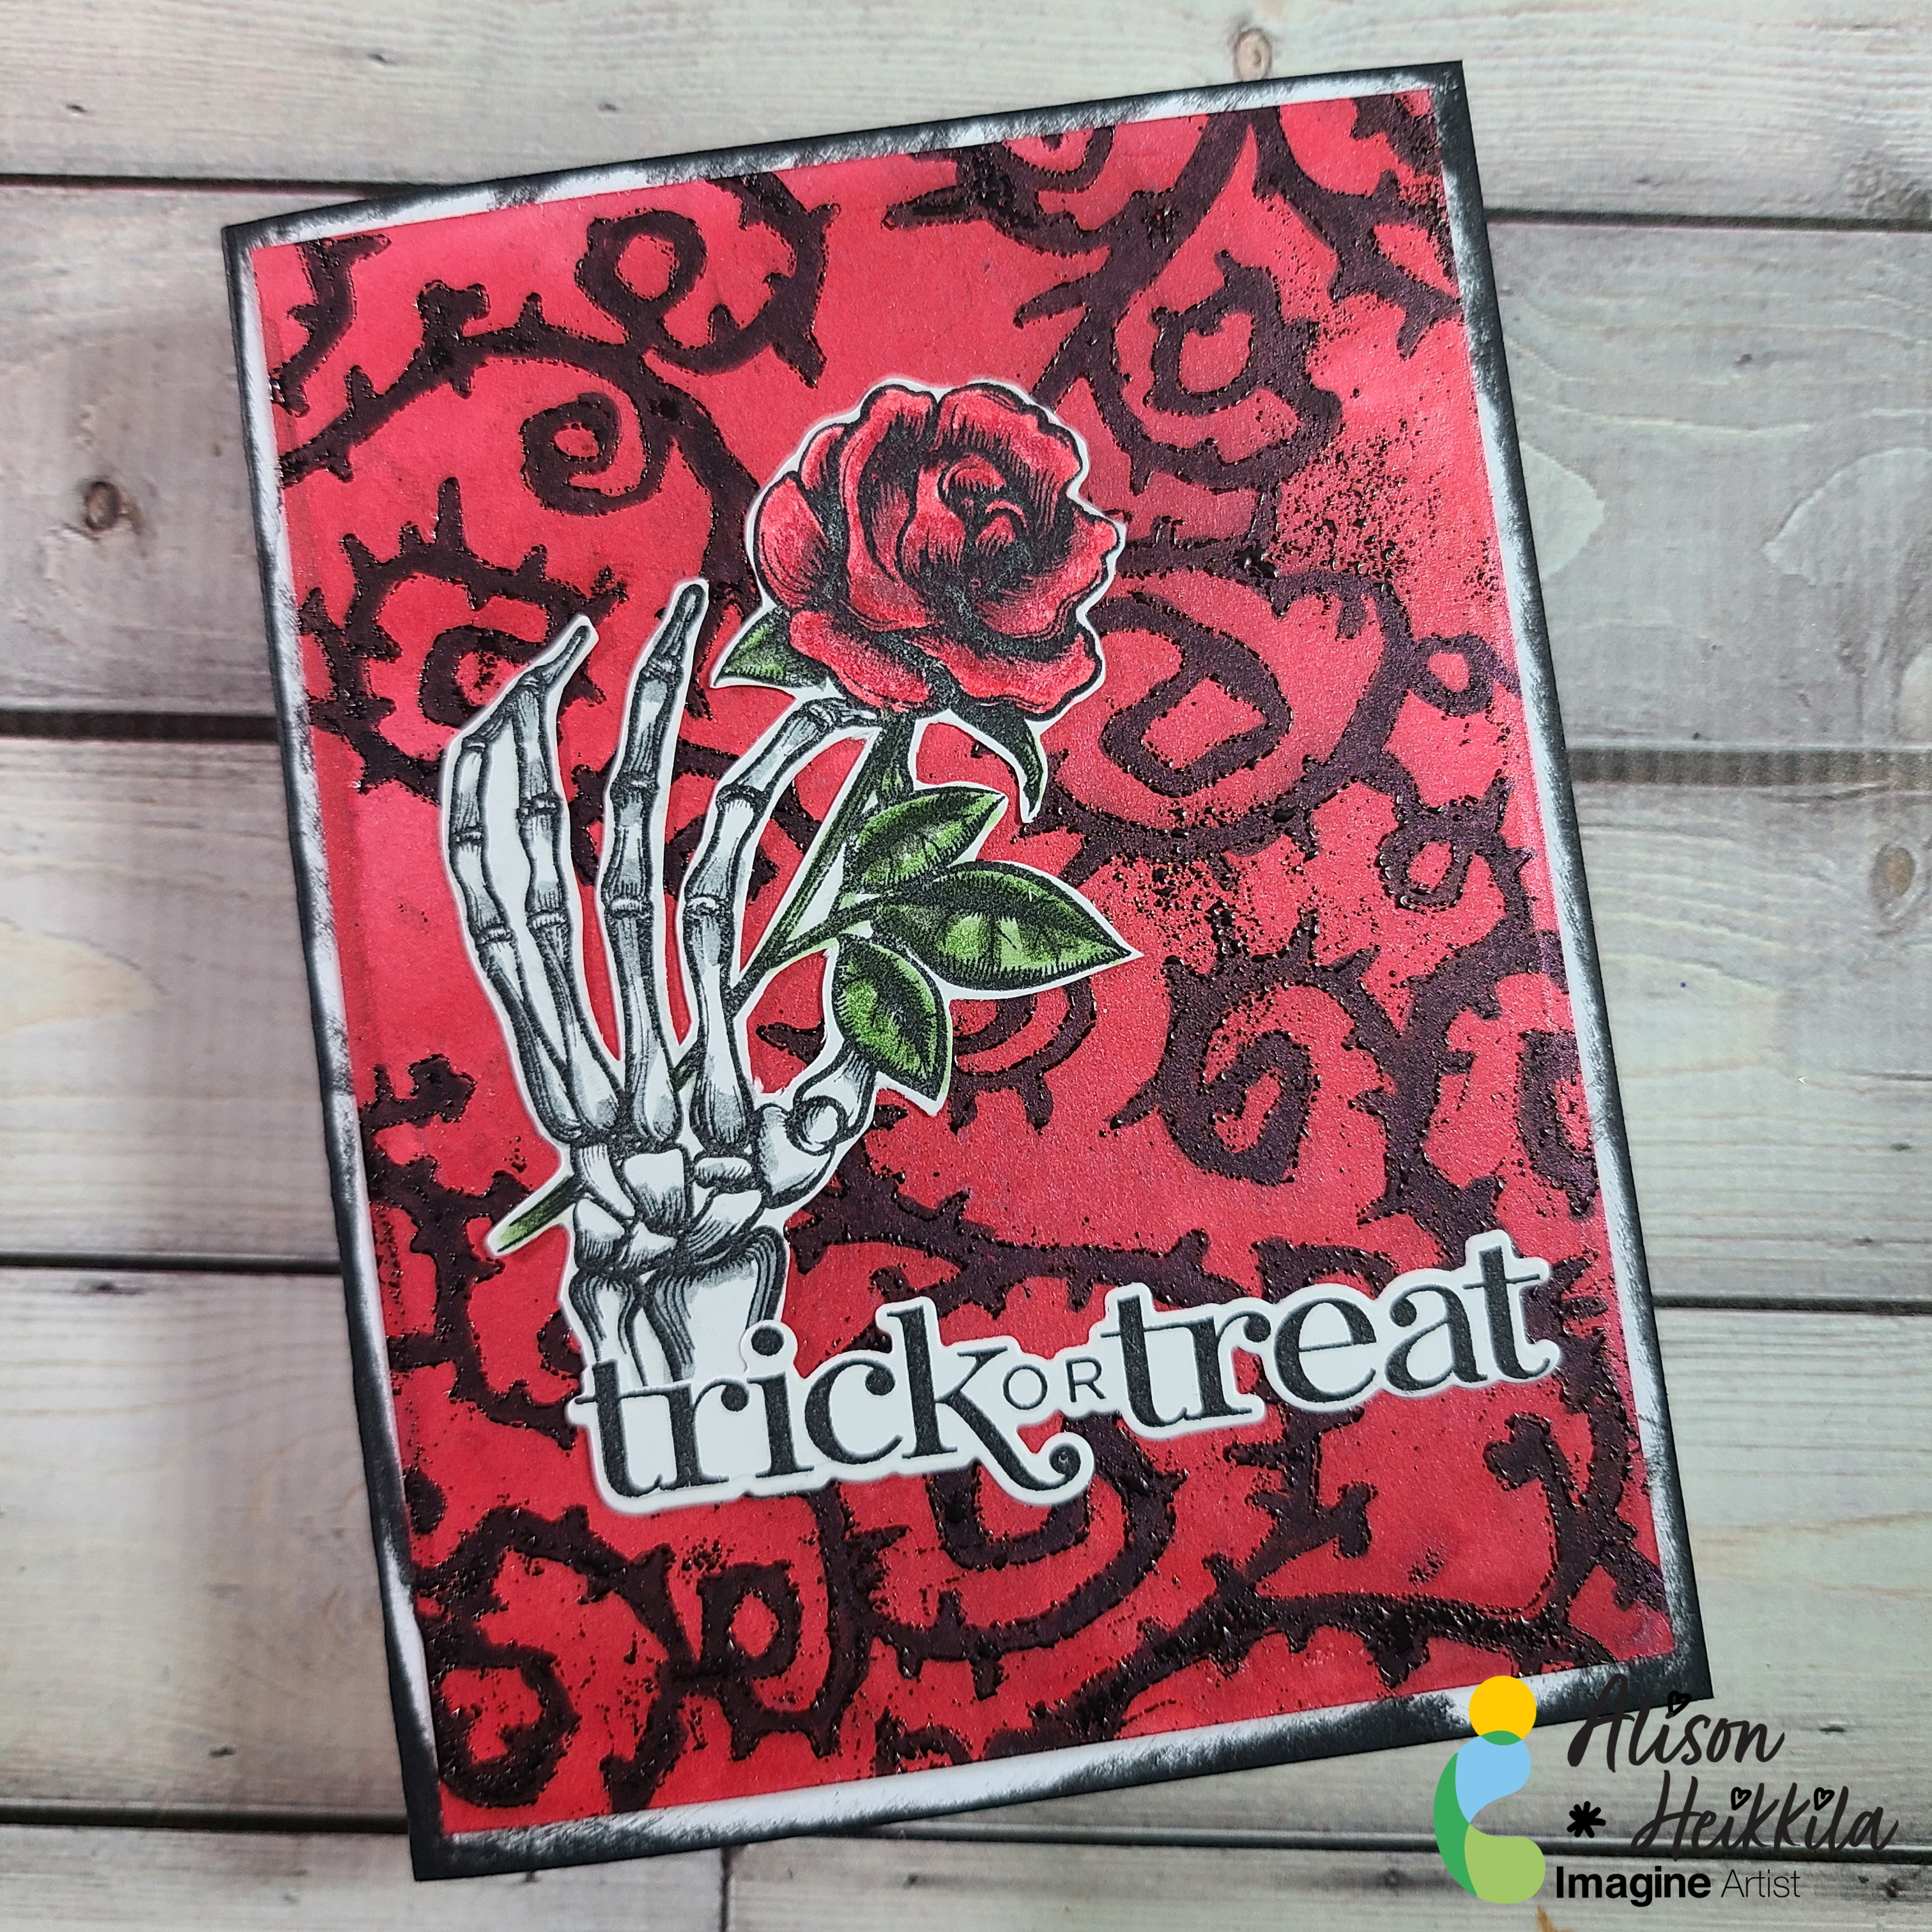
Thorny Rose – Trick or Treat Card

By Alison Heikkila

~Greetings! Alison Heikkila here. Today I have my latest video for Imagine, and I am making it part of my Halloween series. I broke out the Fireworks! Shimmery Craft Spray again (I love that stuff!) and I experimented with a technique idea I had. Did it work? You’ll have to watch the video to find out!

*Some affiliate links are used in this post. That means that if you shop through these links, I may receive a small compensation, at no cost to you. For more information, please see my Affiliates page, where I also have some coupon codes.

Skill Level: Intermediate
Time to Complete: 30-40 minutes

Supplies:
Imagine:
Fireworks! Shimmery Craft Spray in Rhubarb Stalk and Lady Bug
VersaFine Clair Ink in Nocturne
VersaMark Ink
Memento Markers in Rhubarb Stalk, Love Letter, Lady Bug, Olive Grove, Bamboo Leaves, London Fog, and Tuxedo Black
Black Embossing Powder

Other:
A Colorful Life Designs: Thorny Vines stencil– Use code AlFan10 to save 10%
Erin Lee Creative: Stay Weird Stamp Set (no longer available)
Ellen Hutson: Hocus Pocus Stamp & Die Combo
Strathmore: Smooth Bristol Cardstock
Bearly Arts Glue
White cardstock

I hope you enjoyed this! Thanks so much for stopping by. Have a spooktacular day!

Easy Ombre Techniques with Kaleidacolor and VersaMagic

By LV Handcrafted

Hello friends! This is Linh (or LV Handcrafted on all the socials). Today I have a new video up on the Imagine Crafts YouTube channel showing how to create easy ombre papers to die cut from. The easiest way is Kaleidacolor ink pads!  Just swipe and you’re done!  Just as simple though is to swipe VersaMagic ink across your cardstock. I like using a small blending brush to create a smooth transition from one color to the next.  Whichever method you prefer, the results are stunning!

Skill: Beginner

Time: 10 minutes

Video Tutorial:

Supplies Used

Imagine:

• Kaleidacolor – Caribbean Sea

• VersaMagic Dew Drops

Other Products Used

  • Spellbinders Tag Die
  • Spellbinders Autumn Wonders Die set

Pawsome Card with VersaColor and Memento Inks

By Kathi Rerek

Cats rule the internet and my heart. Here’s a quick card created with inks, stencils, and white paper.

Skill Level: Beginner to Intermediate

Time: 1.5 hours

Directions:

Step 1.

Roll a 4” Brayer onto a Pink VersaColor inkpad, then apply the ink onto a 5” x 7” Gel Press. Place a 5” x 7” panel of Bristol Paper onto the Gel Press, press the back of the paper to pull the print. Heat set the ink.

Step 2:

Position the quote on the Life with Cats stencil along the bottom of the inked paper panel. Use tape to secure the stencil to the back of the panel.

Use a Sponge Dauber to apply London Fog Memento Ink over the stencil onto the inked panel. Remove the stencil.

Step 3:

Position the Pawsome Hearts stencil to the center of the inked panel. Use tape to secure the stencil to the back of the panel.

Use a Sponge Dauber to apply Pink VersaColor Ink over the stencil onto the inked panel.

Remove the stencil and heat set the inked panel.

Step 4:

Use the Sponge Dauber to edge the stenciled panel with Pink VersaColor Ink. Heat set.

Step 5:

Use a stamping platform and Nocturne VersaFine Clair Ink to stamp two cats from the Cat Capers Clear Stamp Set onto a panel of Bristol Paper. Heat set.

Step 6:

Fussy-cut both cats.

Step 7:

Smoosh London Fog Memento Ink onto a craft mat. Mist with water. Use a fine paintbrush to color the cats’ fur. Clean the ink off of the craft mat and the paint brush.

Repeat the above steps with Rose Bud Memento Ink to color the cheeks, nose, and ears. Bamboo Leaves Memento Ink for their eyes and the fish body, and Bahama Blue Memento Ink for the bird and the fish head and tail.

Step 8:

Position the corner flourish of the stencil on the upper right corner of the background panel. Secure with tape on the reverse.

Use a Sponge Dauber to apply London Fog Memento Ink over the stencil onto the panel.

Remove the stencil. Clean and dry it thoroughly.

Flip the stencil, position the corner flourish of the stencil on the upper left of the background panel. Secure with tape on the reverse.

Use a Sponge Dauber to apply London Fog Memento Ink over the stencil onto the panel.

Remove the stencil. Use a Sponge Dauber to edge the panel with London Fog Memento ink.

Step 9:

Use On Point Glue to secure the cats to the background panel as shown.

Step 10:

Create a 7” x 5” card from white cardstock. Apply London Fog Memento Ink around the edges of the white cardstock.

Step 11:

Use Tear It! Tape to adhere the panel to the inked card.

Craft Supplies:

Imagine Crafts :

Other Supplies:

  • Bristol Paper by Strathmore
  • Solar White Classic Crest Cardstock by Neenah Papers
  • Cat Capers Clear Stamp Set by Funky Fossil Designs
  • Pawsome Hearts Stencil by Funky Fossil Designs
  • Life Is Better With Cats Stencil by Stamperia
  • PS190 Stencil by ScrapCozy for PaperArtsy
  • Stamping Platform
  • Heat Gun by EK Success

Let’s Make a Flowers and Butterflies 3D Embossed Happy Birthday Card

By Martha Lucia Gomez –

Hello crafty friends! Today, I have a different way to use your VersaMagic Ink Pads. You only need a embossing folder and different colors of ink to create a colored background.  

Skill: Intermediate
Time: 60 minutes

Directions:

Select an embossing folder of your preference. If you use a 3D Embossing Folder, you will note a bigger difference in the background.

Step 1:

Select the colors of VersaMagic Ink that you want to use. In today’s card, I am using Purple Hydrangea, Red Magic, Mango, Ocean Depth and Turquoise Green.  Also select the embossing folder that you wanted to use.

Step 2:

Place the piece of cardstock behind your embossing folder before applying the ink to the embossing folder. With this you will see clearer how the colors will look on your background. Apply the ink directly with the ink pad over one of the sides of your folder. Remember that it has an embossing side and a debossing side. In my sample, I used the debossing side.

Insert the piece of cardstock inside of your embossing folder and pass it through the die cut machine before the ink dries.

Step 3:

To enhance the details that were not covered by the ink, you can use the Sheer Shimmer Stix Dauber. Just softly press the dauber directly over the details where you want to add the shimmer look. I used the Frost color to keep it neutral.

Step 4:

Now is the time to add the sentiment. I didn’t want to cover the colorful background, so I went for a large die cut sentiment. First, I inked a piece of white smooth cardstock with one of the colors used in the background. In my model it is the Turquoise Green. I applied it directly with the ink pad and let the paper dry naturally before the die cut the sentiment.

To add more contrast, I also die cut a tiny complement of the sentiment in a coordinated card stock. I pasted it directly over the large die cut sentiment using the OnPoint Glue.

Step 5:

Resize your layer and paste it directly over the card base using Tear it Tape. Paste the large sentiment over the colored background using crafty foam tape to add more dimension to the card.

Thanks for stopping by and remember, you don’t need to create complicated projects. Just use the best inks and let your creativity shine!

Art Supplies:

Imagine:

Other:

  • 3D Embossing Folder
  • Die Cut Machine
  • White and colored cardstick  
  • Crafty Foam Tape