Hello friends! This is Linh (or LV Handcrafted on all the socials). Today I have a new video up on the Imagine Crafts YouTube channel showing how to create easy ombre papers to die cut from. The easiest way is Kaleidacolor ink pads! Just swipe and you’re done! Just as simple though is to swipe VersaMagic ink across your cardstock. I like using a small blending brush to create a smooth transition from one color to the next. Whichever method you prefer, the results are stunning!
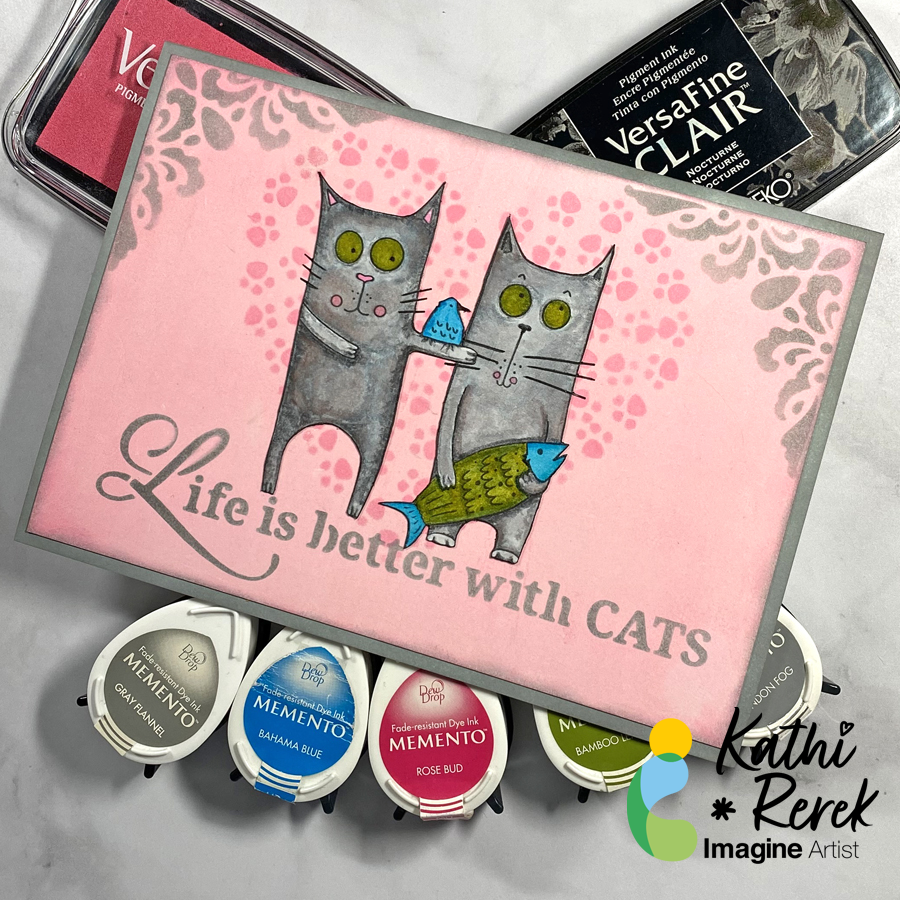
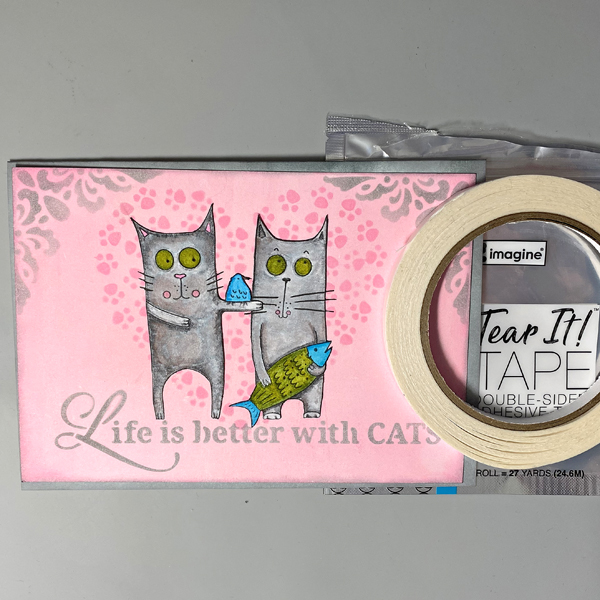
Cats rule the internet and my heart. Here’s a quick card created with inks, stencils, and white paper.
Skill Level: Beginner to Intermediate
Time: 1.5 hours
Directions:
Step 1.
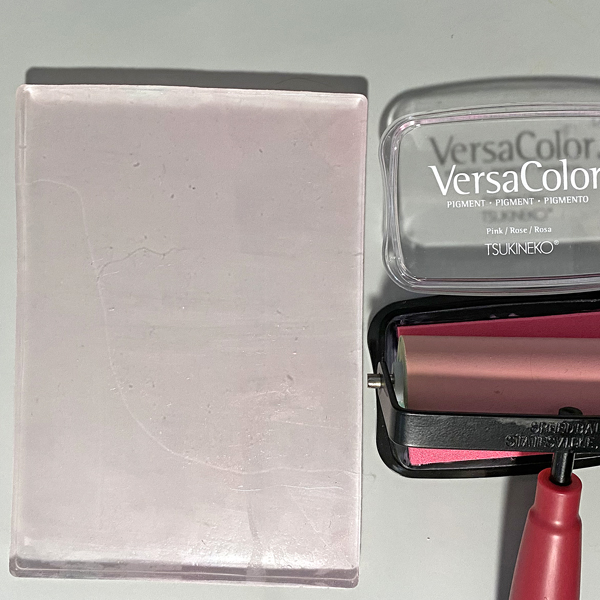
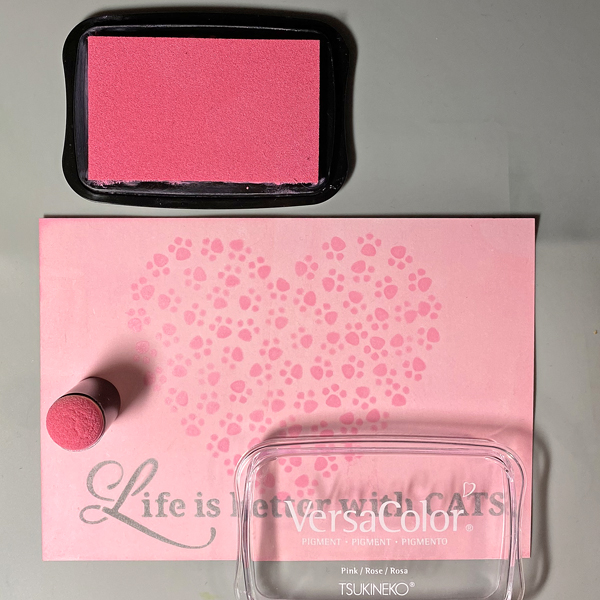
Roll a 4” Brayer onto a Pink VersaColor inkpad, then apply the ink onto a 5” x 7” Gel Press. Place a 5” x 7” panel of Bristol Paper onto the Gel Press, press the back of the paper to pull the print. Heat set the ink.
Step 2:
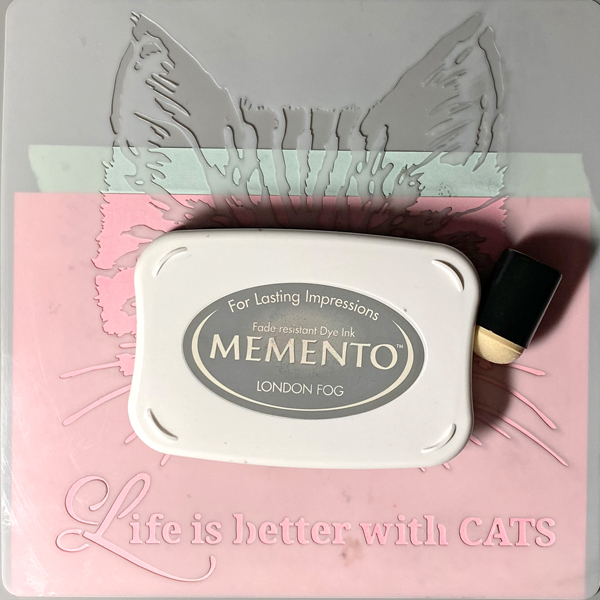
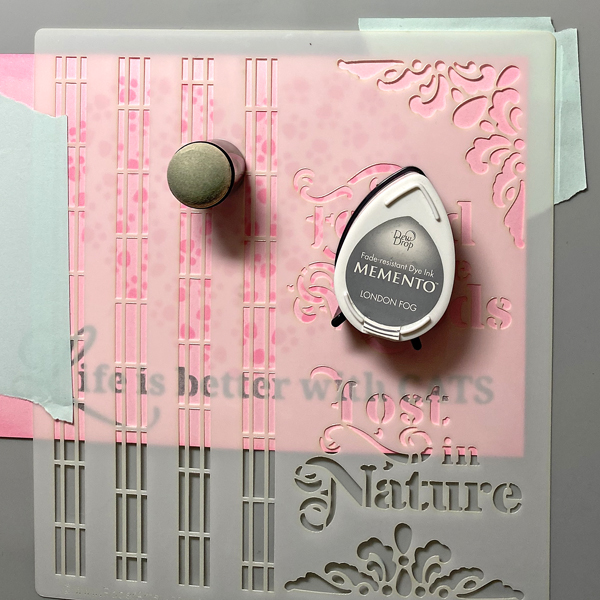
Position the quote on the Life with Cats stencil along the bottom of the inked paper panel. Use tape to secure the stencil to the back of the panel.
Use a Sponge Dauber to apply London Fog Memento Ink over the stencil onto the inked panel. Remove the stencil.
Step 3:
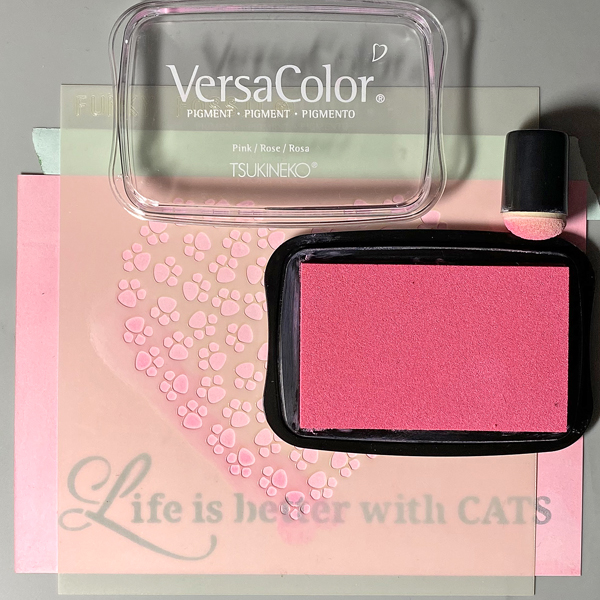
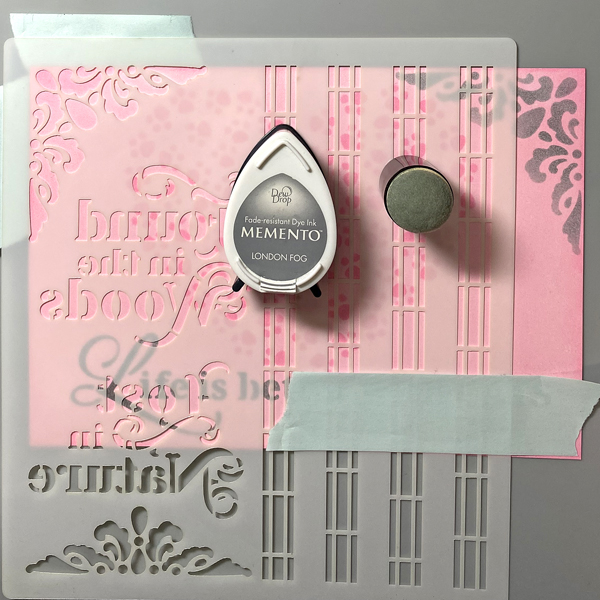
Position the Pawsome Hearts stencil to the center of the inked panel. Use tape to secure the stencil to the back of the panel.
Use a Sponge Dauber to apply Pink VersaColor Ink over the stencil onto the inked panel.
Remove the stencil and heat set the inked panel.
Step 4:
Use the Sponge Dauber to edge the stenciled panel with Pink VersaColor Ink. Heat set.
Step 5:
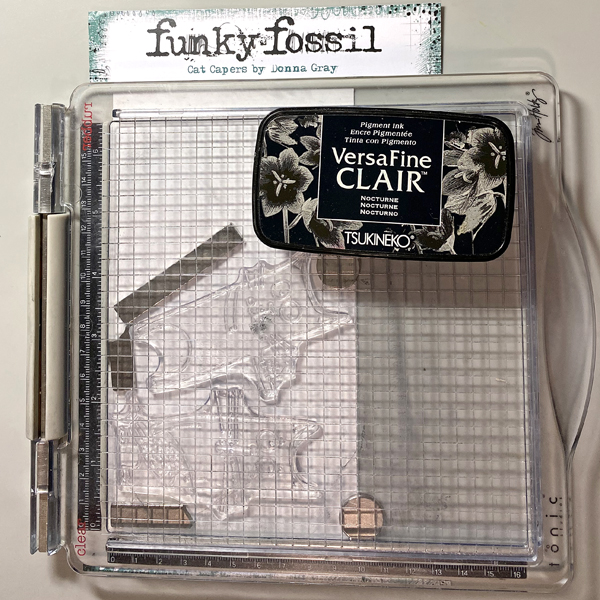
Use a stamping platform and Nocturne VersaFine Clair Ink to stamp two cats from the Cat Capers Clear Stamp Set onto a panel of Bristol Paper. Heat set.
Step 6:
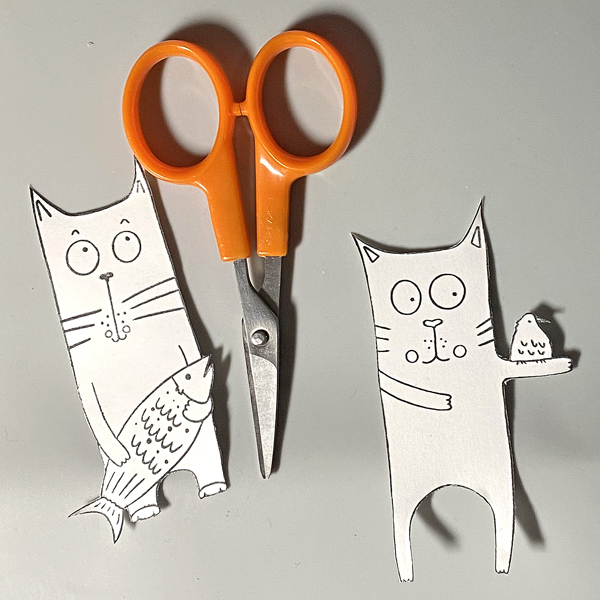
Fussy-cut both cats.
Step 7:
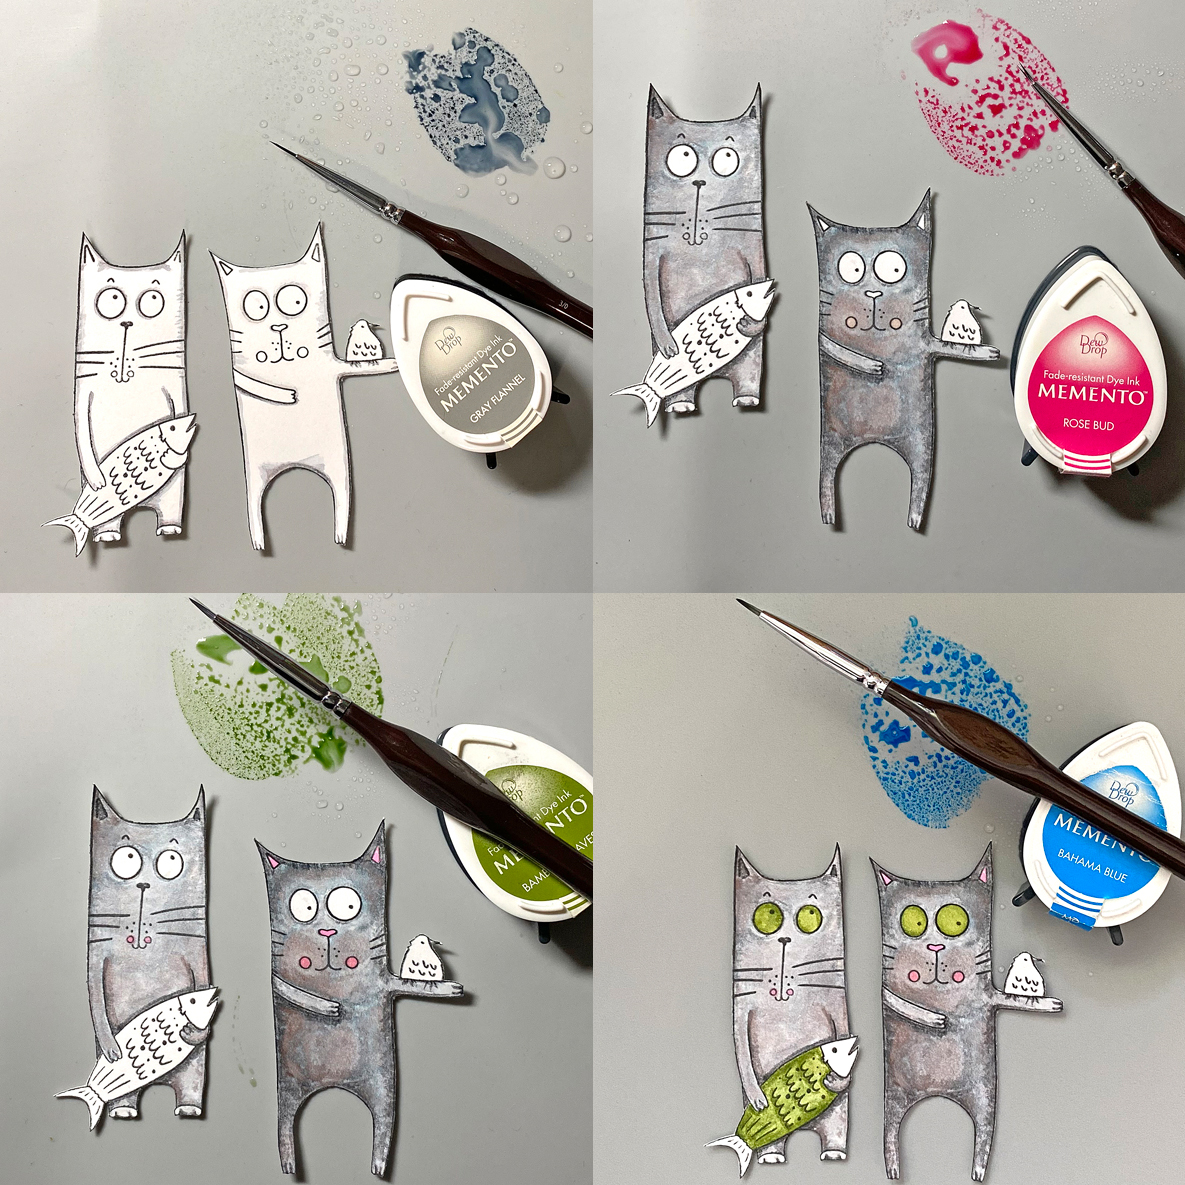
Smoosh London Fog Memento Ink onto a craft mat. Mist with water. Use a fine paintbrush to color the cats’ fur. Clean the ink off of the craft mat and the paint brush.
Repeat the above steps with Rose Bud Memento Ink to color the cheeks, nose, and ears. Bamboo Leaves Memento Ink for their eyes and the fish body, and Bahama Blue Memento Ink for the bird and the fish head and tail.
Step 8:
Position the corner flourish of the stencil on the upper right corner of the background panel. Secure with tape on the reverse.
Use a Sponge Dauber to apply London Fog Memento Ink over the stencil onto the panel.
Remove the stencil. Clean and dry it thoroughly.
Flip the stencil, position the corner flourish of the stencil on the upper left of the background panel. Secure with tape on the reverse.
Use a Sponge Dauber to apply London Fog Memento Ink over the stencil onto the panel.
Remove the stencil. Use a Sponge Dauber to edge the panel with London Fog Memento ink.
Step 9:
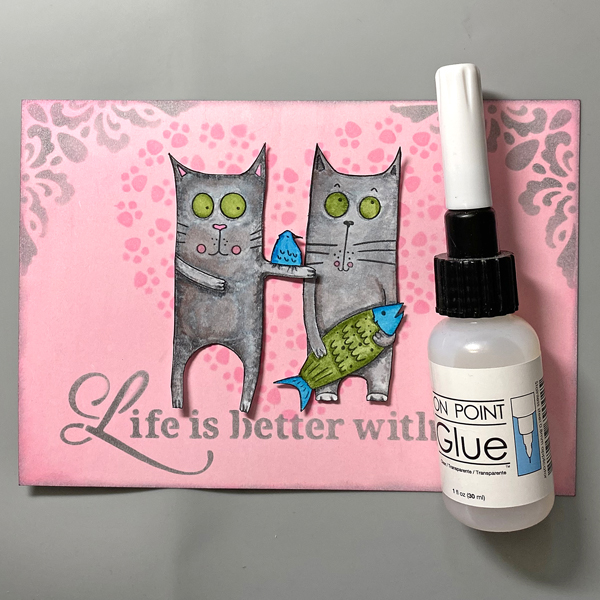
Use On Point Glue to secure the cats to the background panel as shown.
Step 10:
Create a 7” x 5” card from white cardstock. Apply London Fog Memento Ink around the edges of the white cardstock.
Step 11:
Use Tear It! Tape to adhere the panel to the inked card.
Hello crafty friends! Today, I have a different way to use your VersaMagic Ink Pads. You only need a embossing folder and different colors of ink to create a colored background.
Skill: Intermediate Time: 60 minutes
Directions:
Select an embossing folder of your preference. If you use a 3D Embossing Folder, you will note a bigger difference in the background.
Step 1:
Select the colors of VersaMagic Ink that you want to use. In today’s card, I am using Purple Hydrangea, Red Magic, Mango, Ocean Depth and Turquoise Green. Also select the embossing folder that you wanted to use.
Step 2:
Place the piece of cardstock behind your embossing folder before applying the ink to the embossing folder. With this you will see clearer how the colors will look on your background. Apply the ink directly with the ink pad over one of the sides of your folder. Remember that it has an embossing side and a debossing side. In my sample, I used the debossing side.
Insert the piece of cardstock inside of your embossing folder and pass it through the die cut machine before the ink dries.
Step 3:
To enhance the details that were not covered by the ink, you can use the Sheer Shimmer Stix Dauber. Just softly press the dauber directly over the details where you want to add the shimmer look. I used the Frost color to keep it neutral.
Step 4:
Now is the time to add the sentiment. I didn’t want to cover the colorful background, so I went for a large die cut sentiment. First, I inked a piece of white smooth cardstock with one of the colors used in the background. In my model it is the Turquoise Green. I applied it directly with the ink pad and let the paper dry naturally before the die cut the sentiment.
To add more contrast, I also die cut a tiny complement of the sentiment in a coordinated card stock. I pasted it directly over the large die cut sentiment using the OnPoint Glue.
Step 5:
Resize your layer and paste it directly over the card base using Tear it Tape. Paste the large sentiment over the colored background using crafty foam tape to add more dimension to the card.
Thanks for stopping by and remember, you don’t need to create complicated projects. Just use the best inks and let your creativity shine!
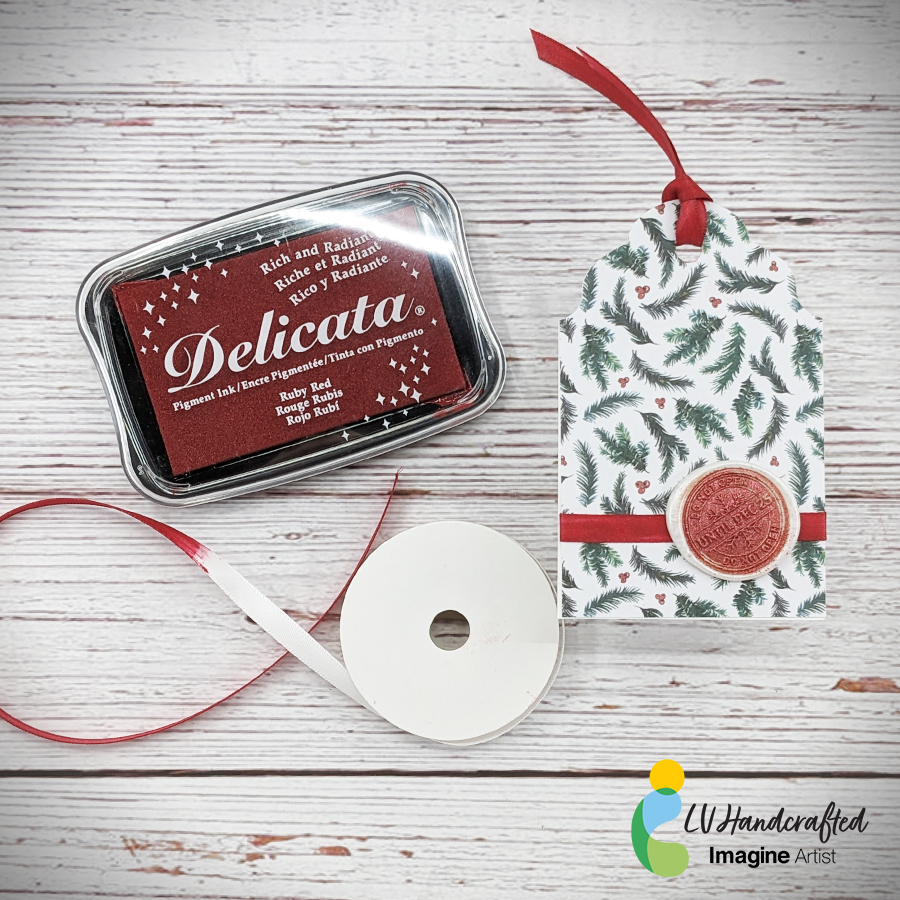
Hello friends! This is Linh (or LV Handcrafted on all the socials). In today’s video I’m showing how to customize your ribbon to match your project perfectly! You can turn white ribbon to any color you need using your ink pads. Why buy different colors of ribbon when all you need is white!
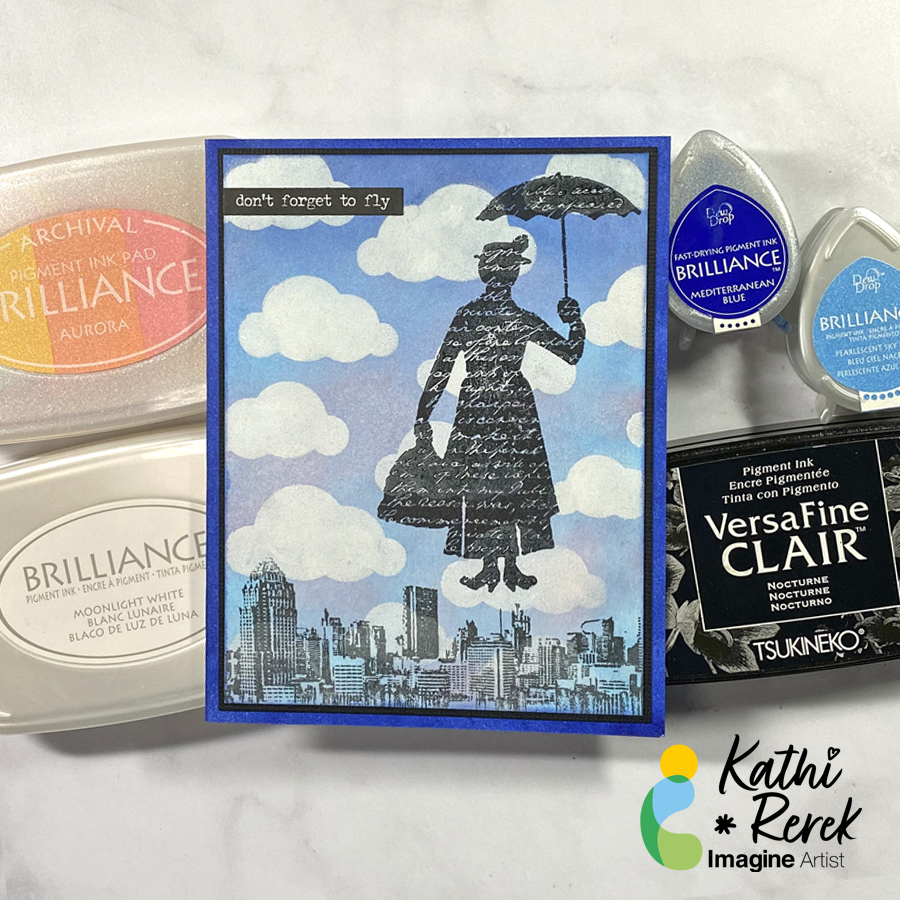
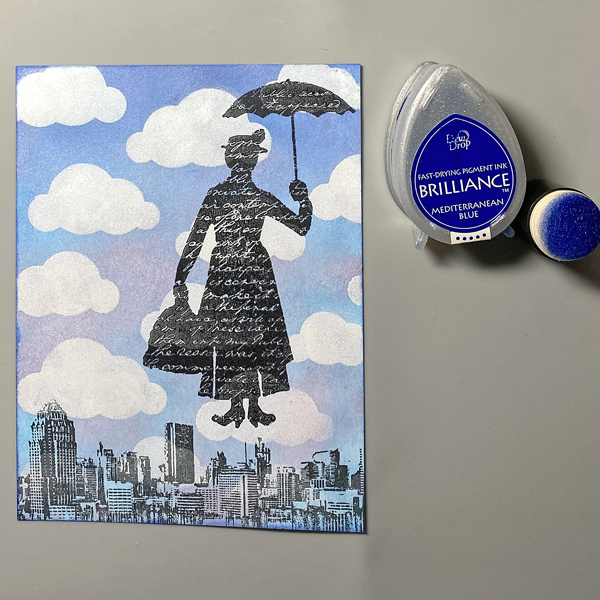
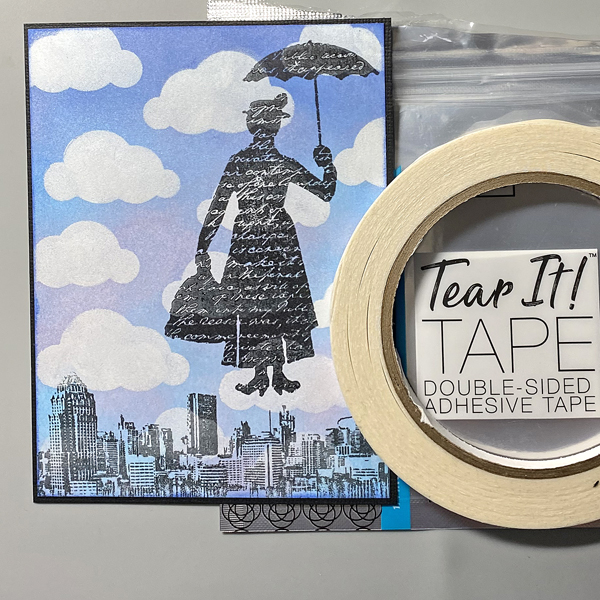
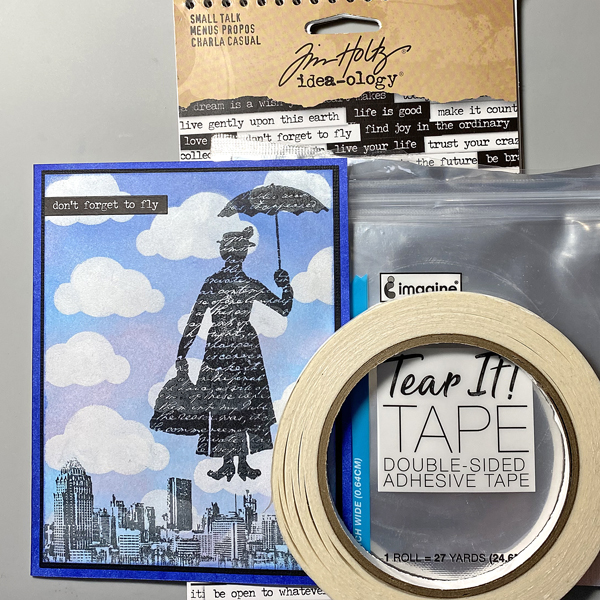
Intro: Brilliance inks blend beautifully and the pearlescent ones create a beautiful shimmer that enhances magical scenes like this one.
Skill Level: Beginner to Intermediate
Time: 1 hour
Directions:
Step 1.
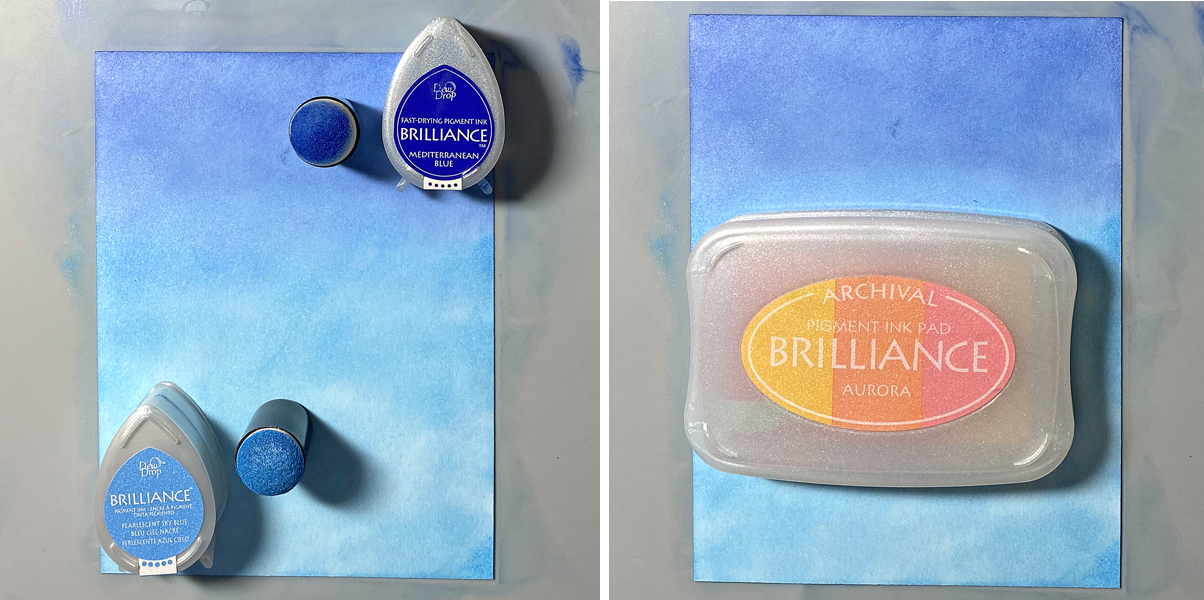
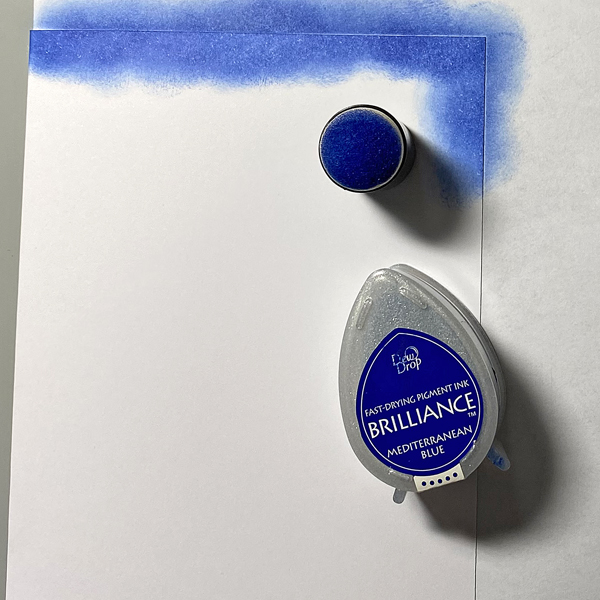
Use a Sponge Dauber to apply Mediterranean Blue Brilliance ink horizontally across the top of a 4” x 5.25” panel of white cardstock. Use a Sponge Dauber to apply Pearlescent Sky Blue Brilliance ink below the darker blue. Use both daubers to create a blended shimmery sky.
Use a Sponge Dauber to apply the Pearlescent Coral Brilliance ink from the Aurora 3-Color Brilliance Ink Pad. Sorry that there’s no photo!
Step 2:
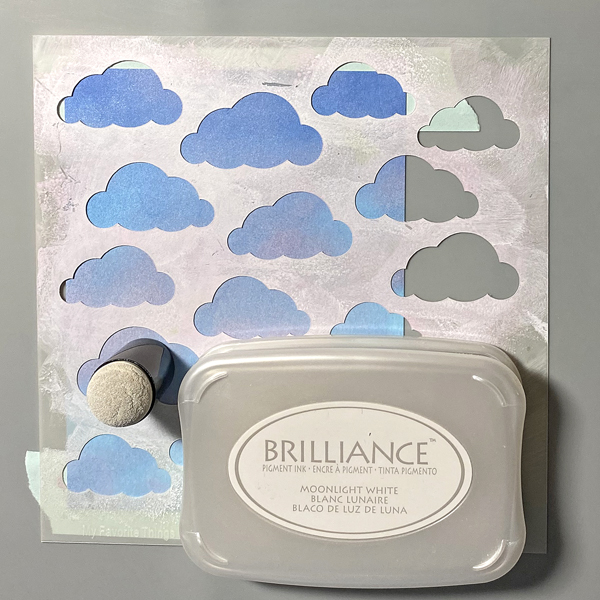
Tape the image panel to the back of the Clouds Stencil.
Using a Sponge Dauber, apply Moonlight White Brilliance ink over the stencil onto the image panel.
Remove the stencil and heat set the ink.
Step 3:
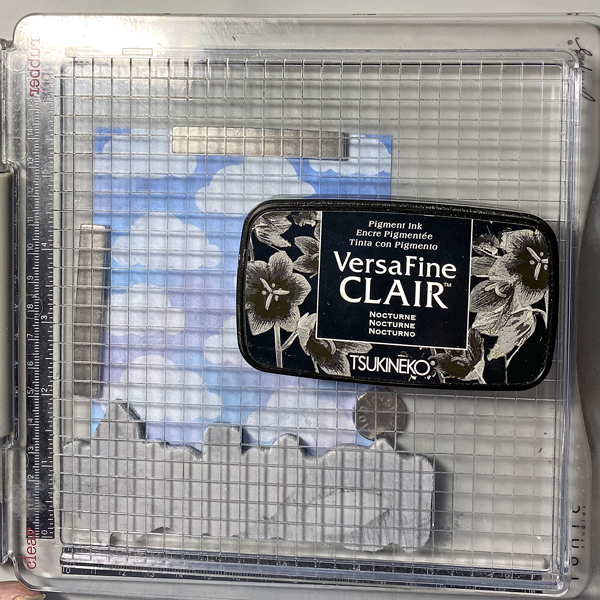
Use magnets to secure the ink-sponged panel approximately .5” from the right edge and 1” from the bottom of the stamping platform.
Position the Cityscape Reflections Stamp facedown along the bottom of the stamping platform.
Ink the stamp with Nocturne VersaFine Clair Ink and stamp. Re-ink and stamp again if needed. Remove the stamp and heat set the panel.
Step 4:
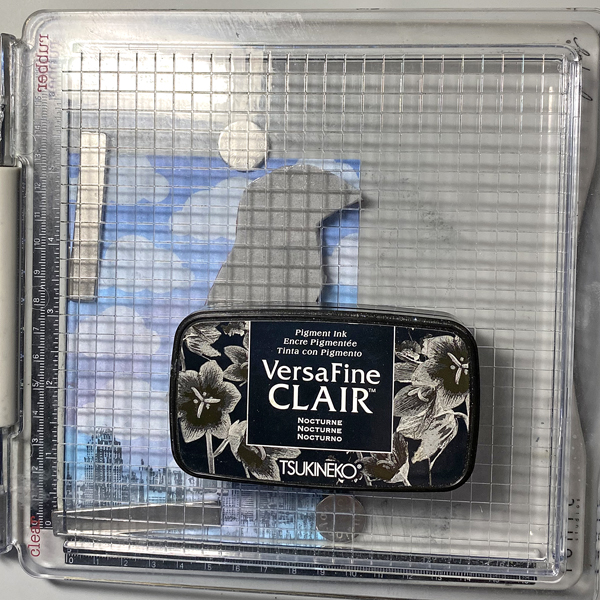
Move the image panel so that it’s flush the right and bottom edges of the stamping platform. Secure with magnets.
Position the Silhouette Lady with Umbrella Stamp facedown along the right edge above the cityscape.
Ink the stamp with Nocturne VersaFine Clair Ink and stamp. Re-ink and stamp again if needed. Remove the stamp and heat set the panel.
Step 5:
Trim the image panel to 3 7/8” x 5 1/8”.
Use a Sponge Dauber and Mediterranean Blue Brilliance Ink to edge the image panel.
Step 6:
Cut a piece of Raven cardstock to 4” x 5.25”.
Use Tear It! Tape to adhere the image panel to the black cardstock.
Step 7:
Create an A2 Card from White cardstock.
Use a Sponge Dauber to apply Mediterranean Blue Brilliance Ink to the outer .5” of the folded card. Heat set.
Step 8:
Use Tear It! Tape to adhere the image panel to the card.
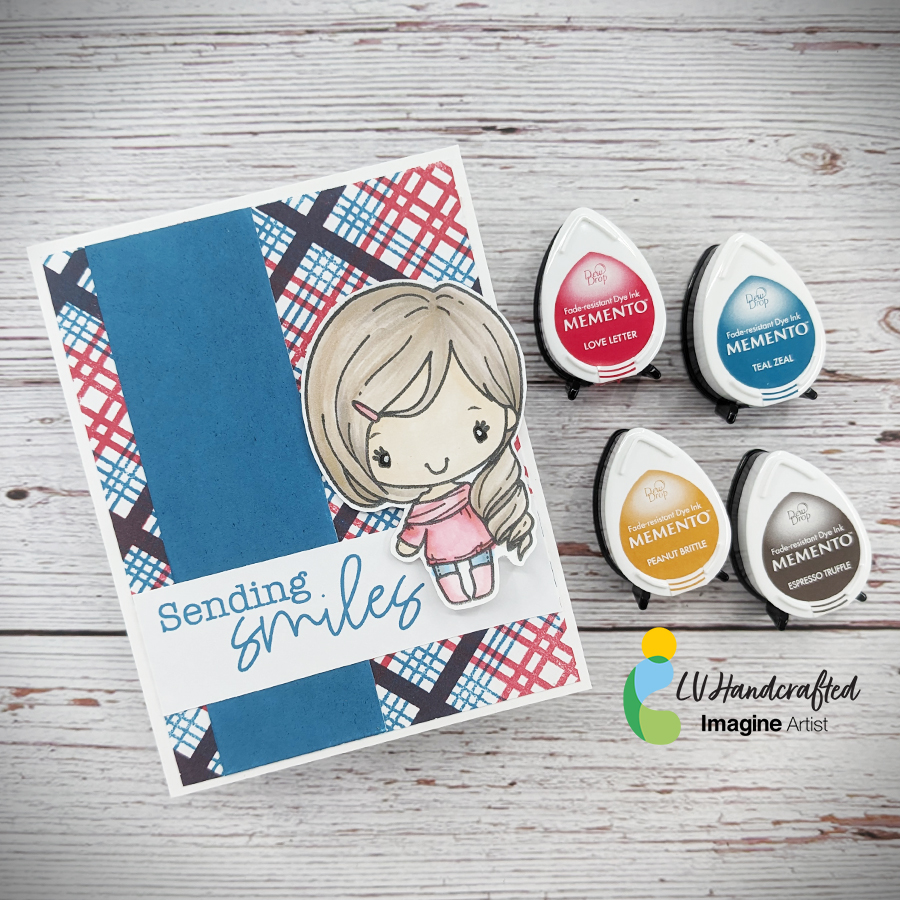
– Hello friends! This is Linh (or LV Handcrafted on all the socials). In today’s video I’m showing how to use your Memento Dew Drop inks to create a perfectly coordinated card. First, I created a background using Love Letter and Teal Zeal to create a plaid. I made a custom ink color by over-stamping multiple times with both colors! I used Teal Zeal to create a coordinating solid color cardstock by just swiping it across white cardstock. Finally, I smooshed Love Letter and Teal Zeal and used a waterbrush pen to color in my stamped image. For the skin, I used Peanut Brittle and for the hair I used Espresso Truffle.