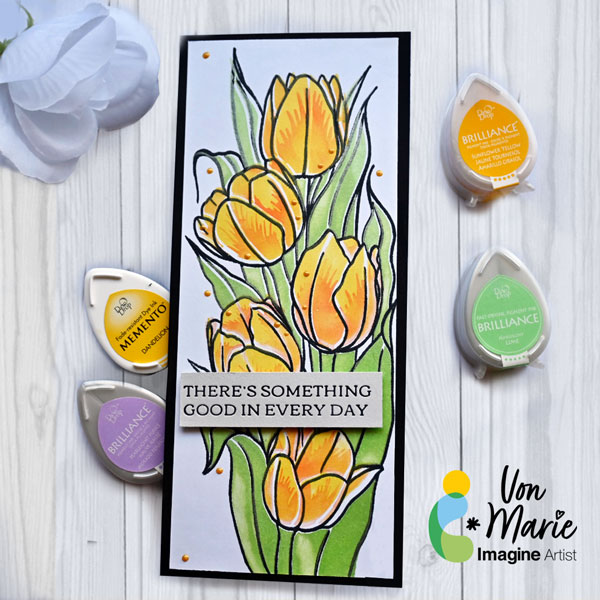
Hello everyone. Von Marie here with my latest video using some Beautiful inks to help with my project for a Spring Tulips Slimline Card. These Brilliance Dew Drops and VersaFine Clair inks are really nice and fun to use. I love the coverage they gave me for these Tulips and Leaves. I had so much fun making this card. Full Details are on my video.
Skill: Intermediate Time: 45 Mins
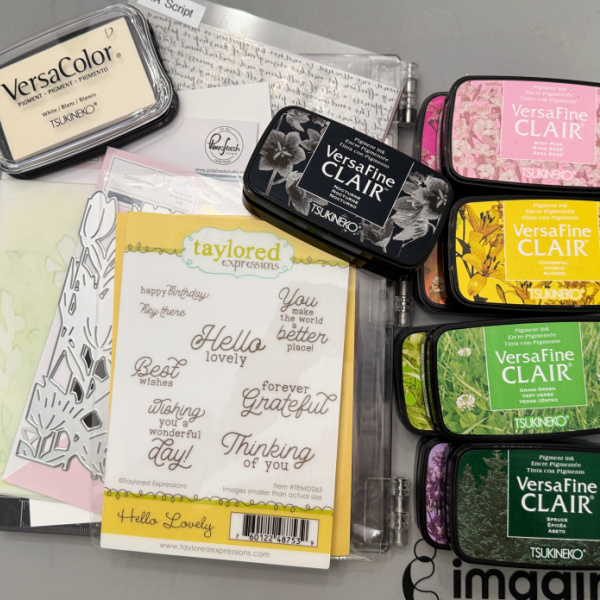
Craft Supplies
White Cardstock Paper 110 lb. Black Cardstock Paper 110 lb. Slimline Card Base 8 x 31/2 Glass Board and magnets Die-cutting Machine Betterpress Machine Glue Foam Tape
Other Products Used: Unity Stamps Co.Slimline Layering Tulips W/Coordinating Stencil Pinkfresh Studio Betterpress Favorite Things Sentiment Plates ALTERNATIVE PRODUCTS THAT CAN BE USED TO RECREATE SOMETHING SIMILAR Any inks, stencil, or flower stamp You can watch how to create this Spring Card Here
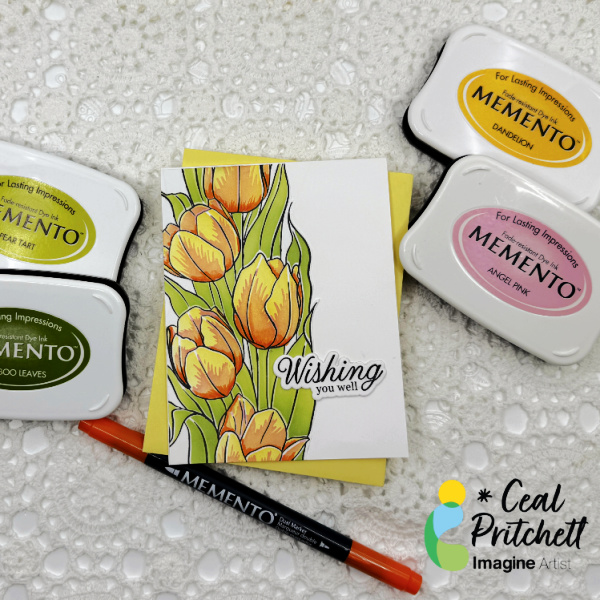
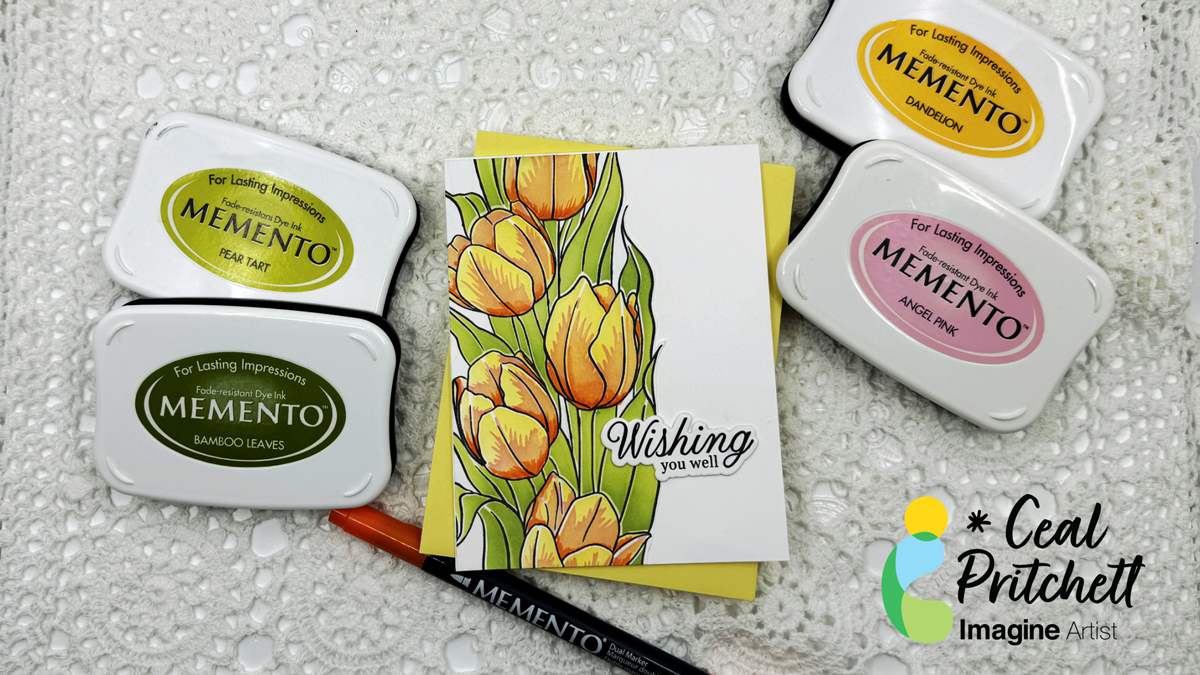
Hello everyone! It’s Ceal, here. Today I am sharing a spring get well card (you could make yours for any occasion) using a stamp and stencil combo. Stencils make it so easy to color.
Skill: Beginner to Intermediate Time: 30 Mins
Directions:
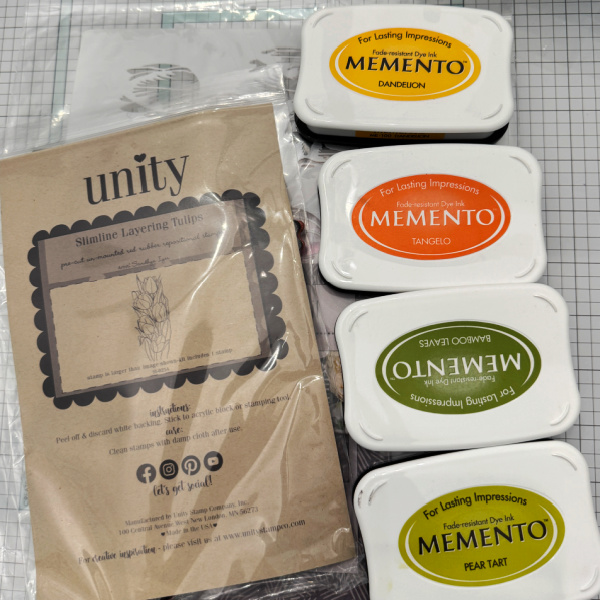
Gather your supplies. You will need a stamp/stencil combo, several colors of ink and a marker for details. In the photo I have an orange ink but I actually used a pink.
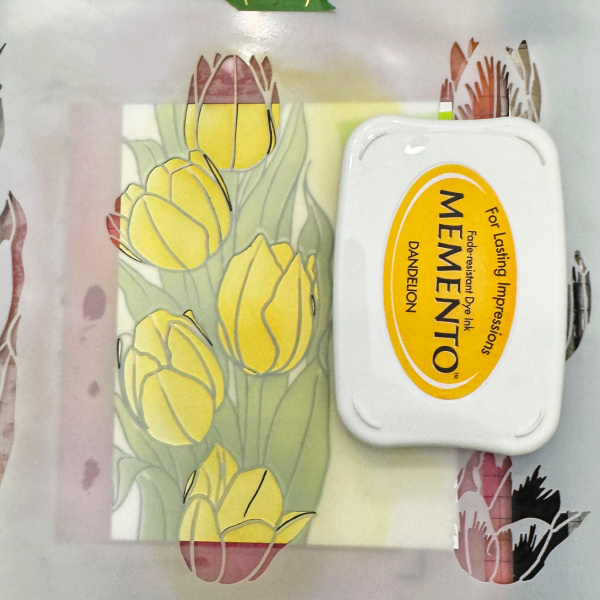
Step 1: Using a black ink stamp the floral image. I used Memento Tuxedo Black.
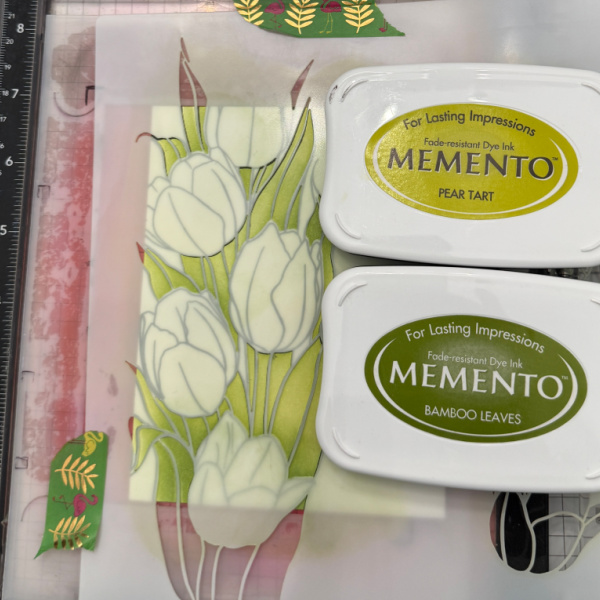
Step 2: Using the leaves portion of the stencil and two colors of green, color the leaves. I used Memento Pear Tart and Bamboo Leaves
Step 3: Using the floral portion of the stencil, color the flowers yellow. I used Memento Dandelion.
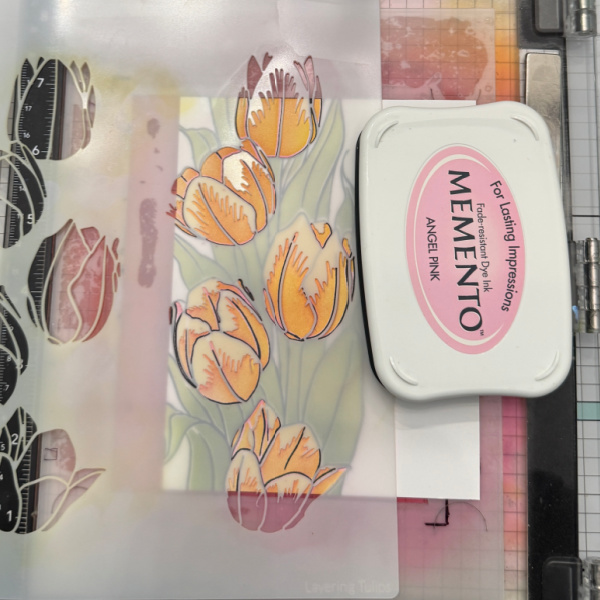
Step 4: Using the detailed portion of the stencil color the area pink (which turns into a pretty peach) I used Memento Angel Pink.
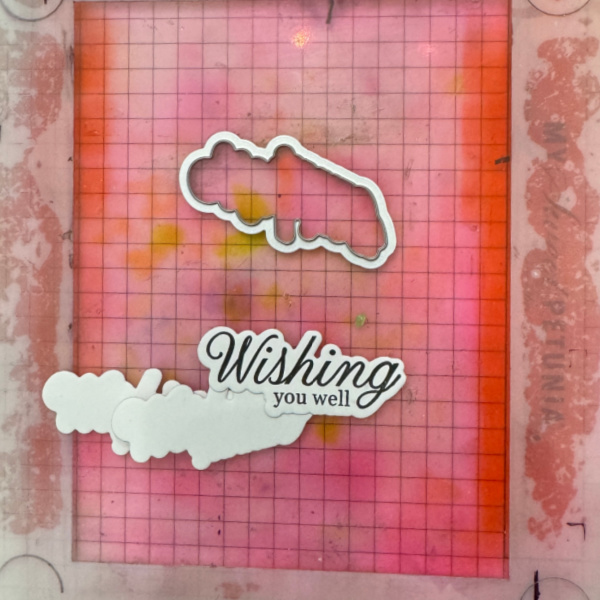
Step 5: Stamp and cut out the greeting and cut a couple extra pieces for dimension. Adhere the panel with the flowers to the card base and then adhere the greeting anywhere you’d like on the card front.
Hello crafty friends! It’s Ceal, here. Today I will show you how to create a Mother’s Day card with you that uses several layers of stenciling, some stamping and then die cut out. This card can also be used for other occasions because the “Happy Mother’s Day” greeting is on the inside.
Skill Level: Intermediate to Advanced Time: 45 mins to an hour
Directions:
Gather your supplies. You will need cardstock, a layering stencil (Pinkfresh Studio used here) Coordinating Dies, several colors of ink (listed below) and a sentiment stamp set (Taylored Expressions used here).
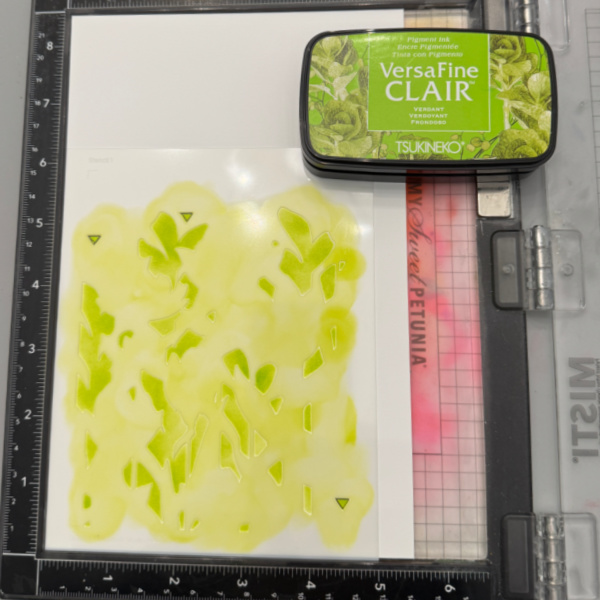
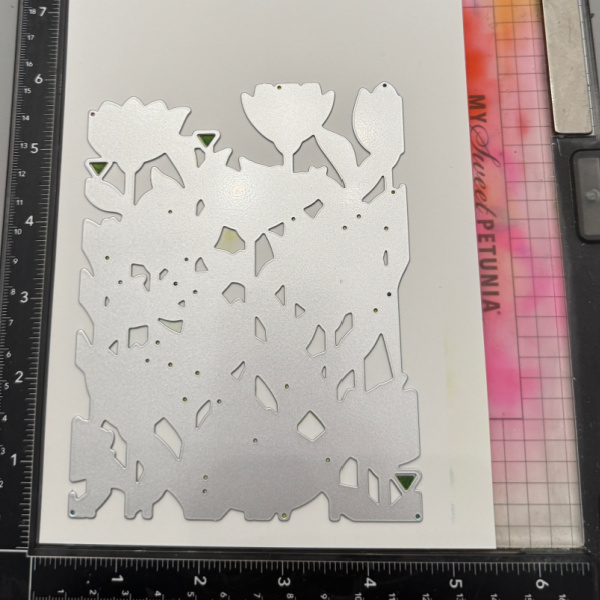
Step 1: Lay stencil one over a piece of cardstock cut to 5.5 x 8.5 and blend VersaFine Clair Verdant ink over it. Remove and clean stencil.
A little tip for you, I place mine in the corner of the Misti so I will be placing all of them in the same place. This set also has alignment guides which are triangles, be sure to add ink to them.
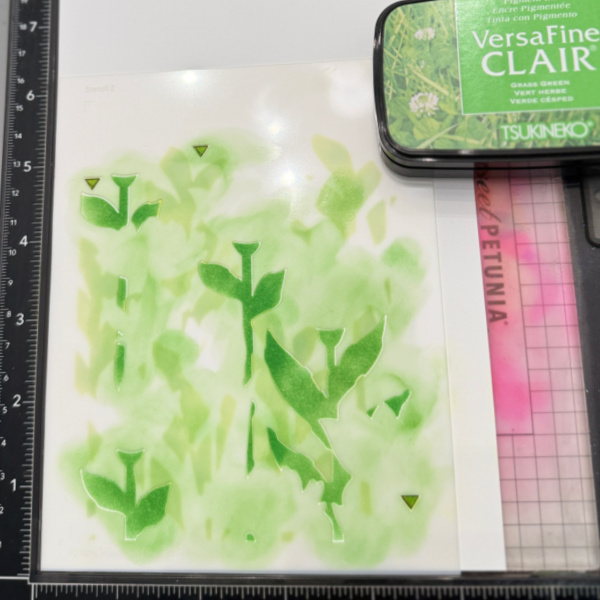
Step 2: Lay stencil 2 over the cardstock, lining up the triangle placement guides and blend VersaFine Clair Grass Green over it. Remover stencil and clean it.
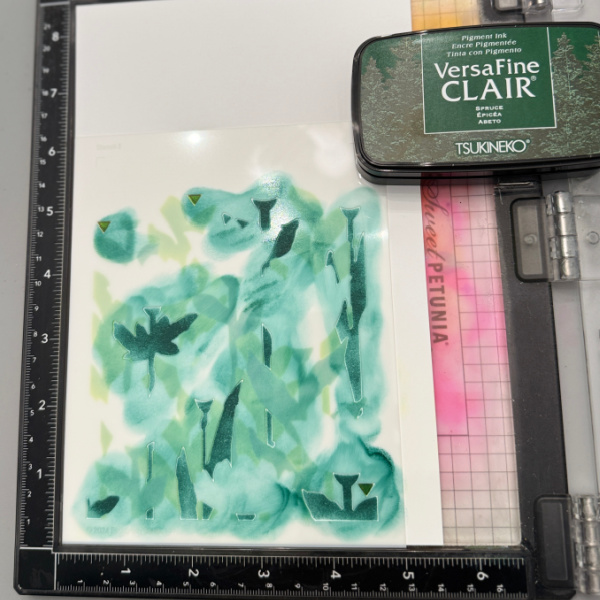
Step 3: Lay stencil 3 over the cardstock, lining up the triangles and blend VersaFine Clair Spruce over it. Remove stencil and clean it.
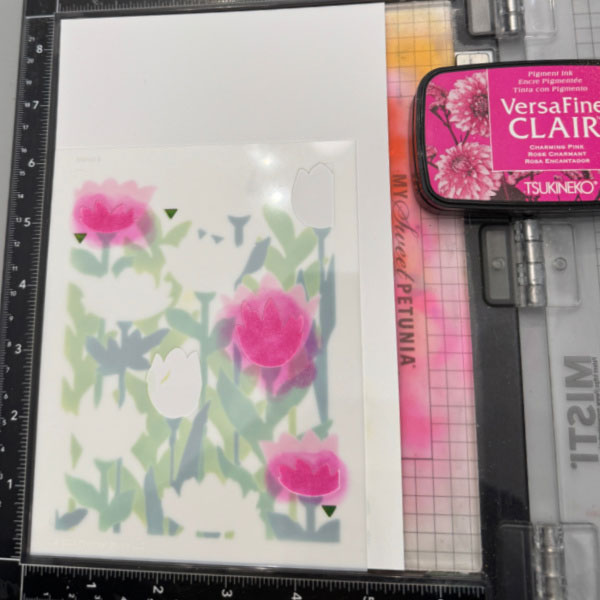
Step 4: This step starts the flowers. Lay stencil 4 over the cardstock and blend VersaFine Clair Baby Pink over the open flowers. This photo shows the triangles that are used to align the stencils. Remove stencil and clean it.
Step 5: Lay stencil 5 over the cardstock, lining up the triangles and blend VersaFine Clair Charming pink over open spaces on the pink flowers and VersaFine Clair Lilac Bloom over the other open spaces. Remove and clean the stencil.
**I forgot to take a photo of the Lilac Bloom, but you can see it below.
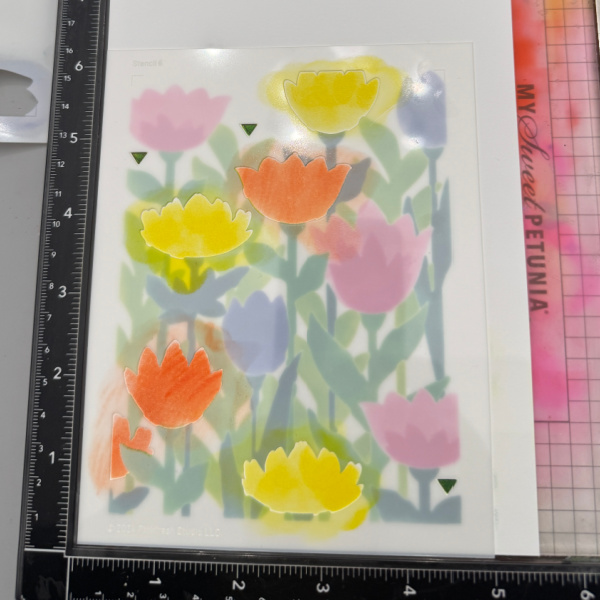
Step 6: Lay Stencil 6 over the cardstock and blend VersaFine Clair Cheerful and VersaFine Clair Summertime inks over the open flowers. Remove and clean the stencil.
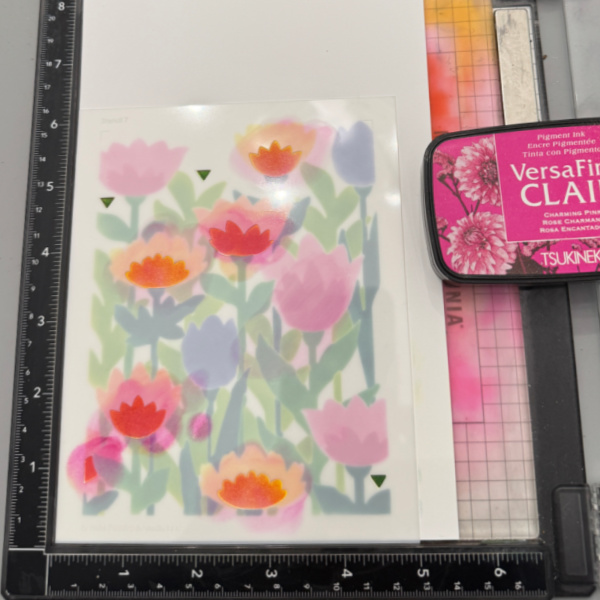
Step 7: Lay stencil 7 over the cardstock and blend VersaFine Clair Charming Pink in the open spaces. Remove and clean the stencil.
This photo is showing the alignment triangles I have been referring to. For the next step you will need to know where they are.
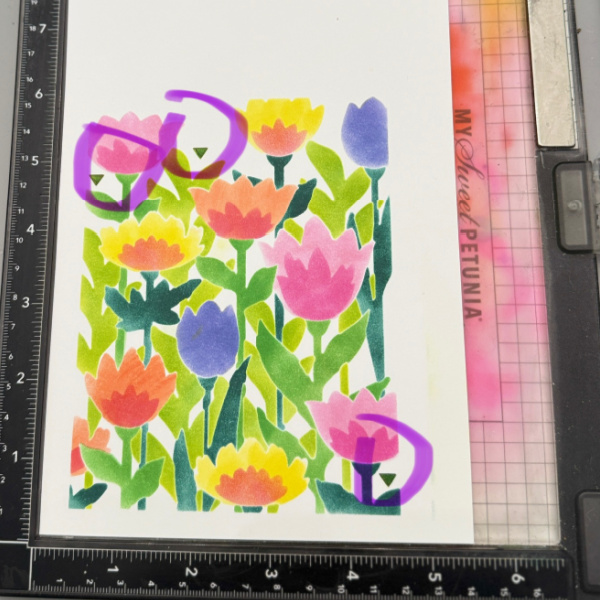
Step 8: Lay the coordinating die over the flowers lining up the triangles as pictured above. Tape it down so it doesn’t move and run it through the die cutting machine. This also adds the texture to the flowers.
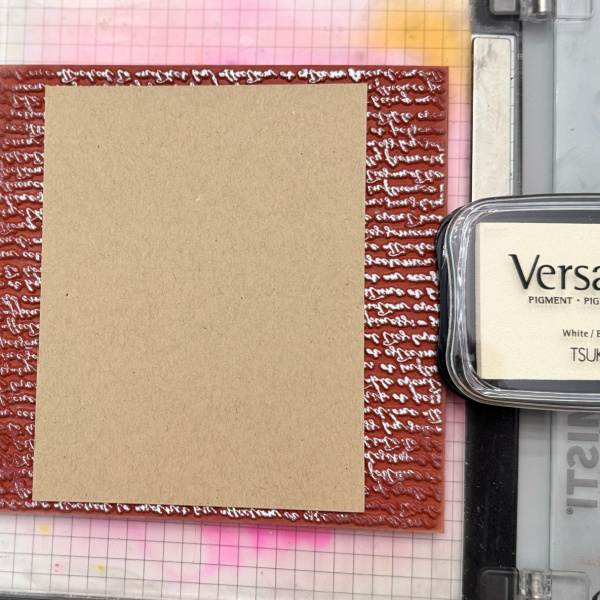
Step 9: Cut a piece of kraft cardstock to A2 size 4.25 x 5.5. Ink up a script stamp with VersaColor White and lay the kraft panel over the ink and rub across with your hand.
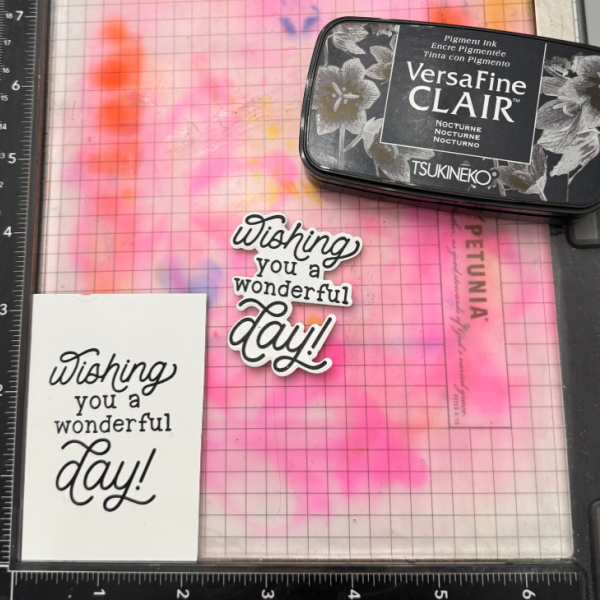
Step 10: Stamp the sentiment and cut it out multiple times for dimension. Adhere the kraft panel to an A2 white card base. Add the floral panel and then the sentiment. Also stamp a sentiment on the inside.
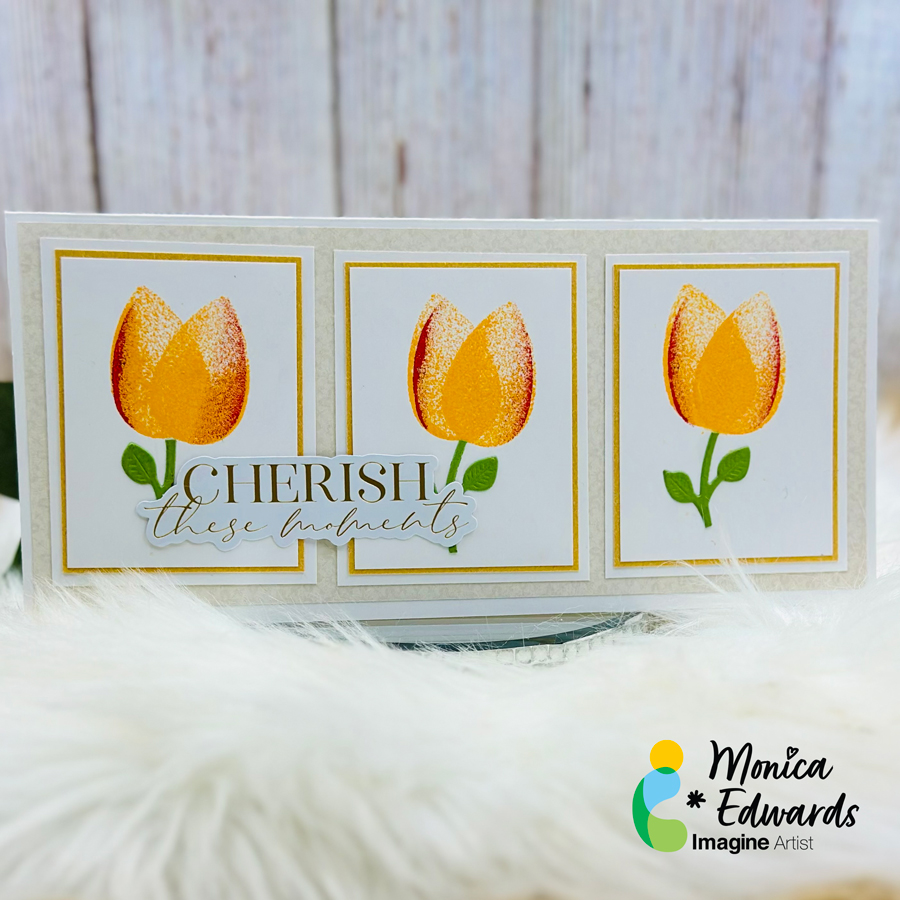
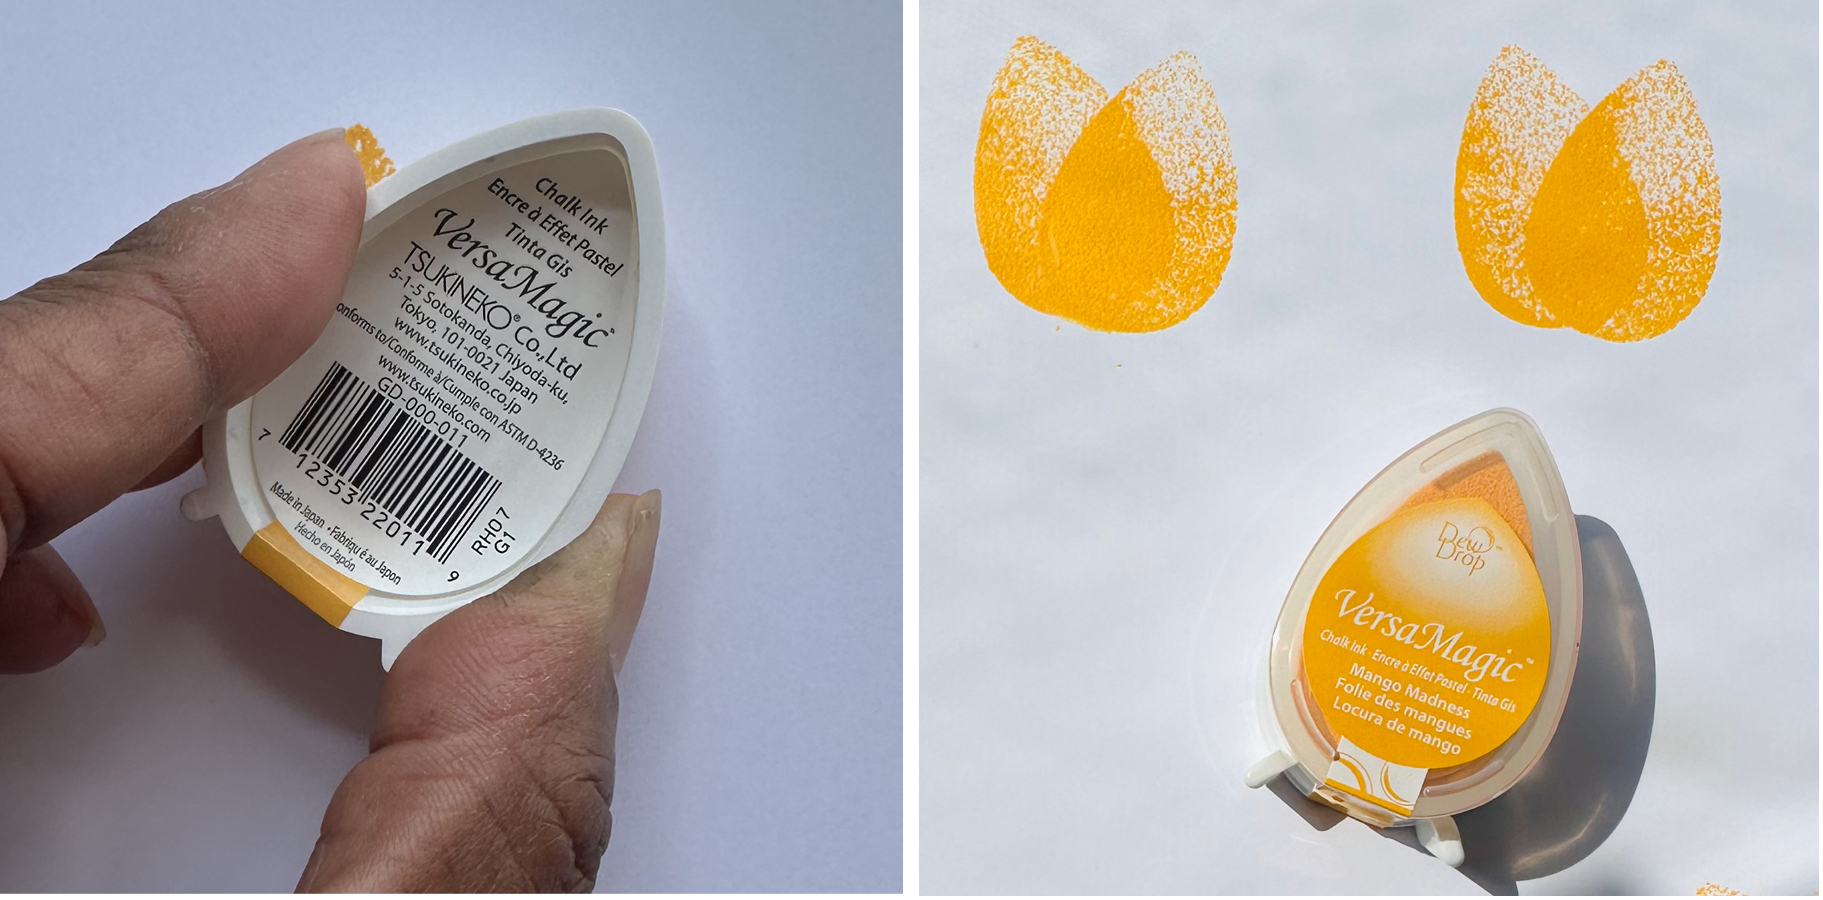
Hello! Today, I’ll show you how to make pretty tulip cards with VersaMagic Dew Drop Inks. I love these line of inks for their soft, chalky finish. The pad shape is also perfect for making tulip petals. You can either make a single card, or you can make a 3-panel slimline card.
Skill Level: Beginner Time: 30 Minutes Approx
Directions:
Step 1: Begin stamping 2 to 3 petals with VersaMagic Dew Drop Mango Madness on a 2.5″x3.5″ cardstock panel. Repeat process 2 more times for a total of 3 panels.
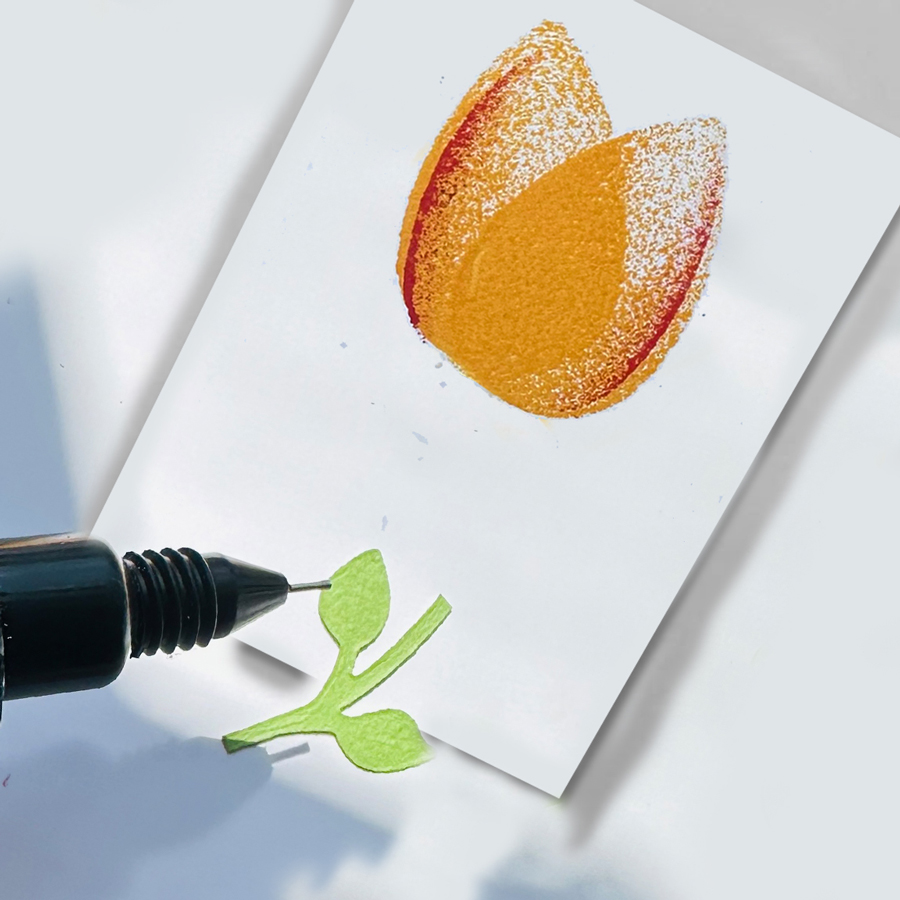
Step 2: Now take your VersaMagic Dew Drop Red Magic and angle it so that when you stamp, you will only get ink only on the outer edge of the tulip.
Step 3: Using On Point Glue, add flower stems to your inked tulip. You can find flower stems at any craft store or you can make your own.
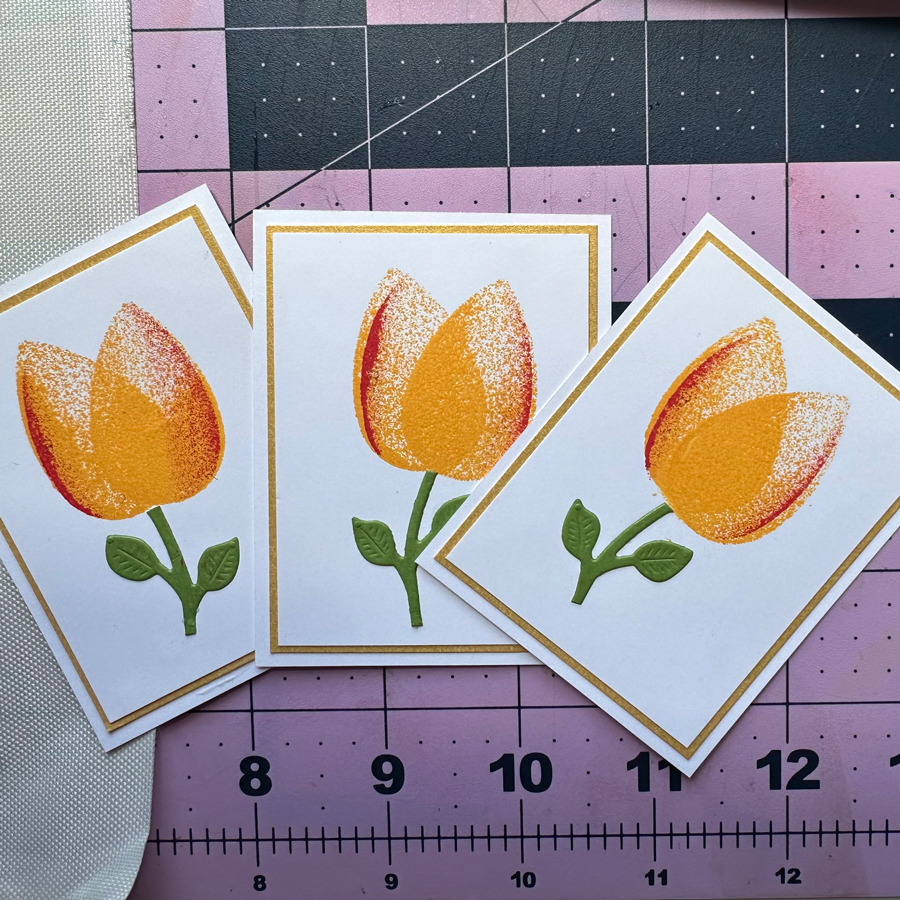
Step 4: To add more dimension to your card, you can add extra layers using different color cardstock. Adhere with Tear It! Tape.
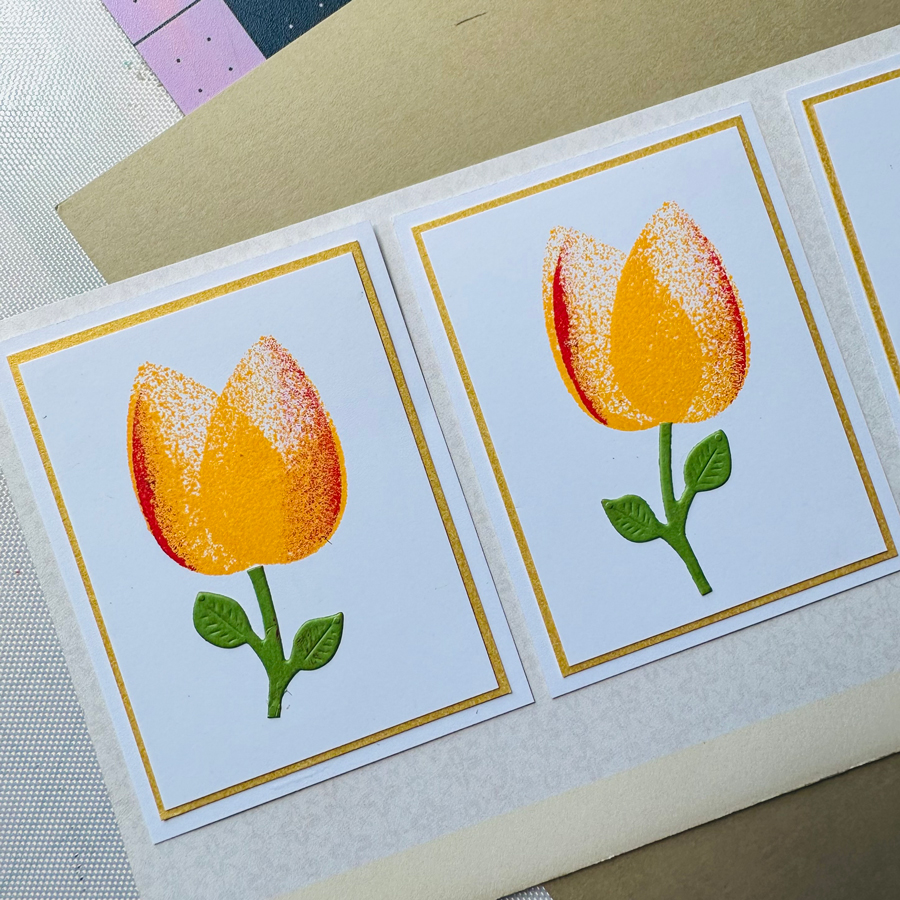
Step 5: For the slimcard, cut a piece of 4″x9″ cardstock. Glue all layers together with Tear It! Tape.
Step 6: You can add a sentiment to complete your card, using On Point Glue, Thanks for stopping by, I hope you enjoy this tutorial.