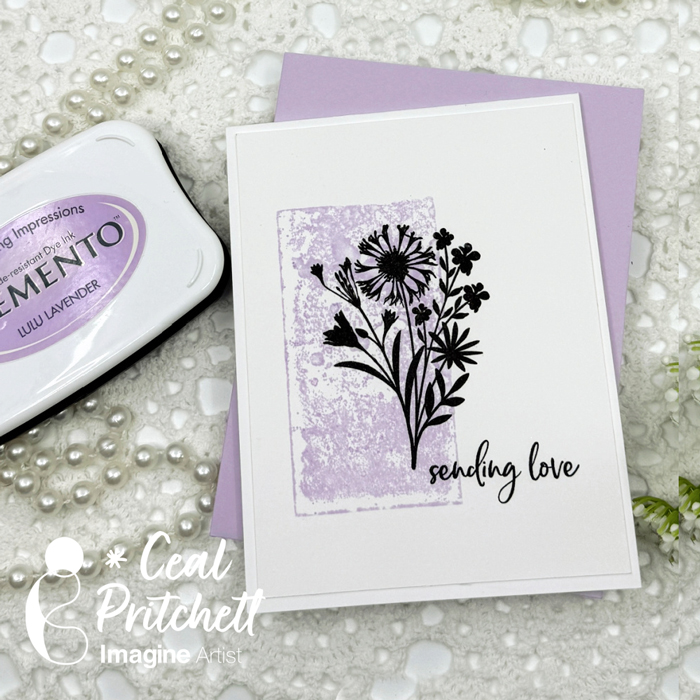
Hey there crafty friends! Hi, it’s Ceal! Today I’m sharing a simple ink technique to create a beautiful card.
Skill Level: Beginner Time: 30 minutes
Directions:
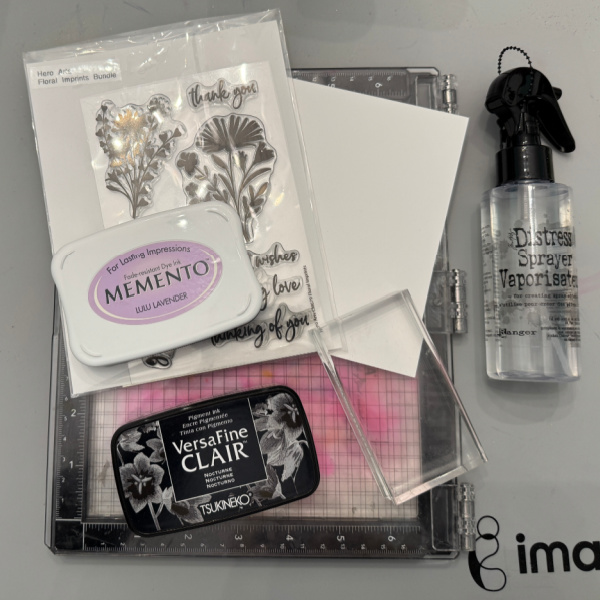
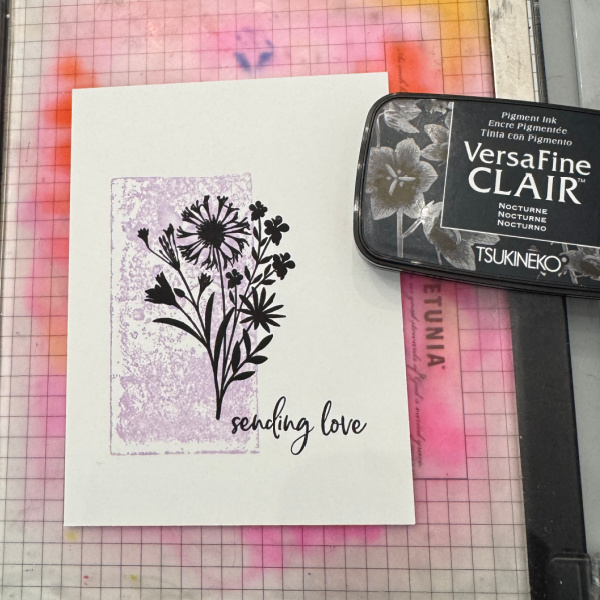
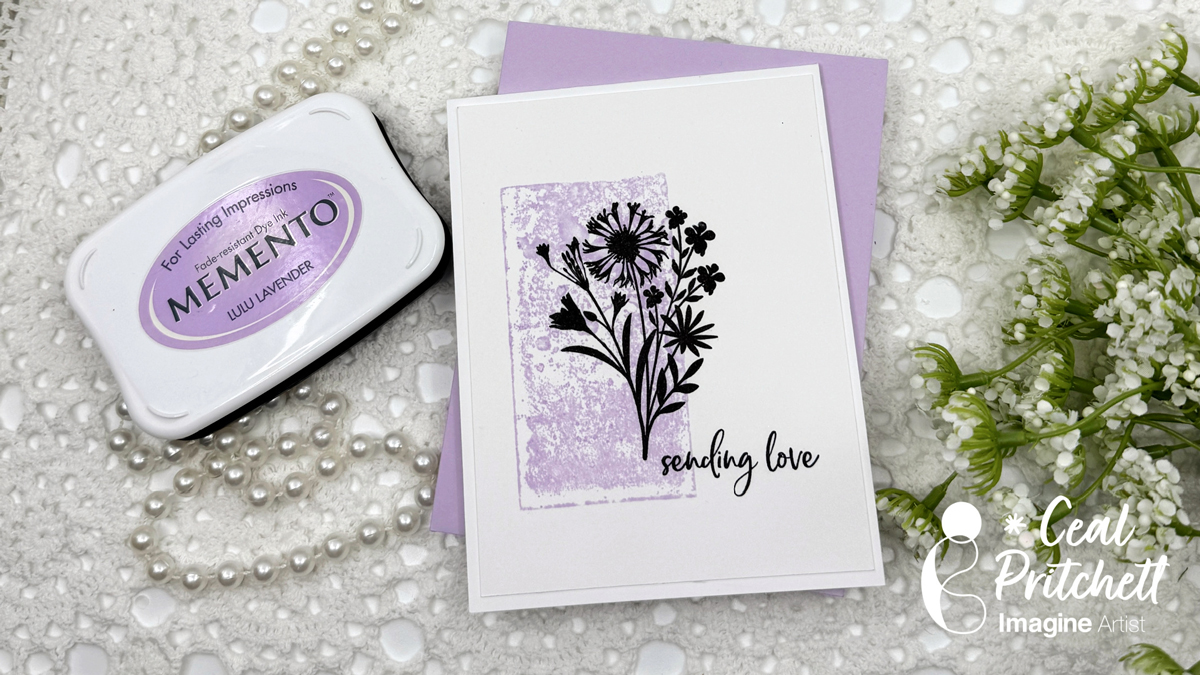
Gather your supplies. You will need an acrylic block of any size, silhouette stamp (could be any stamp but Silhouettes look best with the technique), any color of ink pad that is water based, VersaFine Nocturne ink pad and a water spritzer bottle.
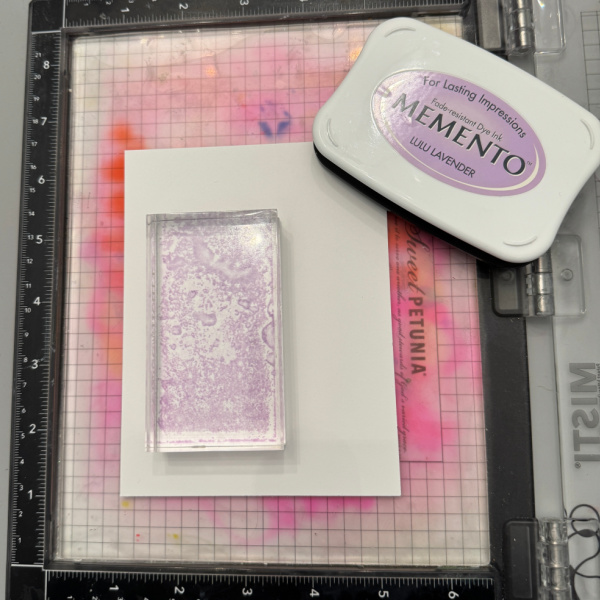
Step 1 : Ink up the block with water-based ink and spritz with water.
Step 2: Place inked block down on a water friendly panel of paper. The paper I used is Tim Holtz’ white Heavystock.
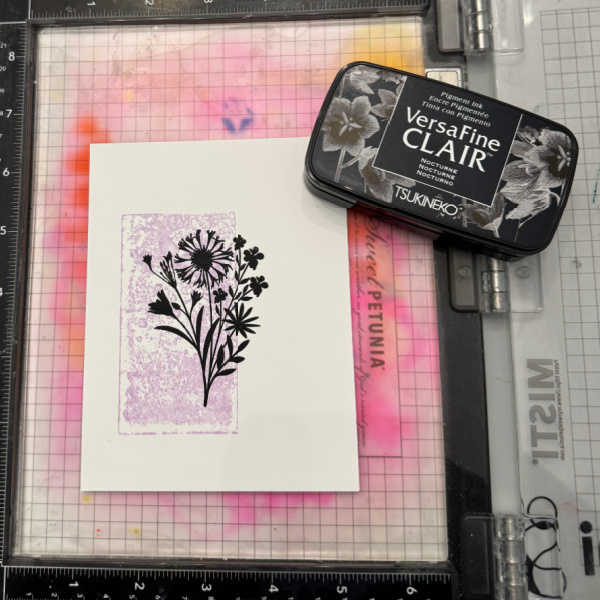
Step 3: Ink up the silhouette stamp with a black ink that gives good coverage like VersaFine Clair Nocturne and stamp image partially over the background.
Step 4: Ink up the sentiment with VersaFine Clair Nocturne and stamp to the left of the image underneath it.
Other Products Neenah Classic Crest Solar White – Simon Says Stamp White Heavystock – Tim Holtz/Ranger Floral Imprints Stamp set – Hero Arts Acrylic Block
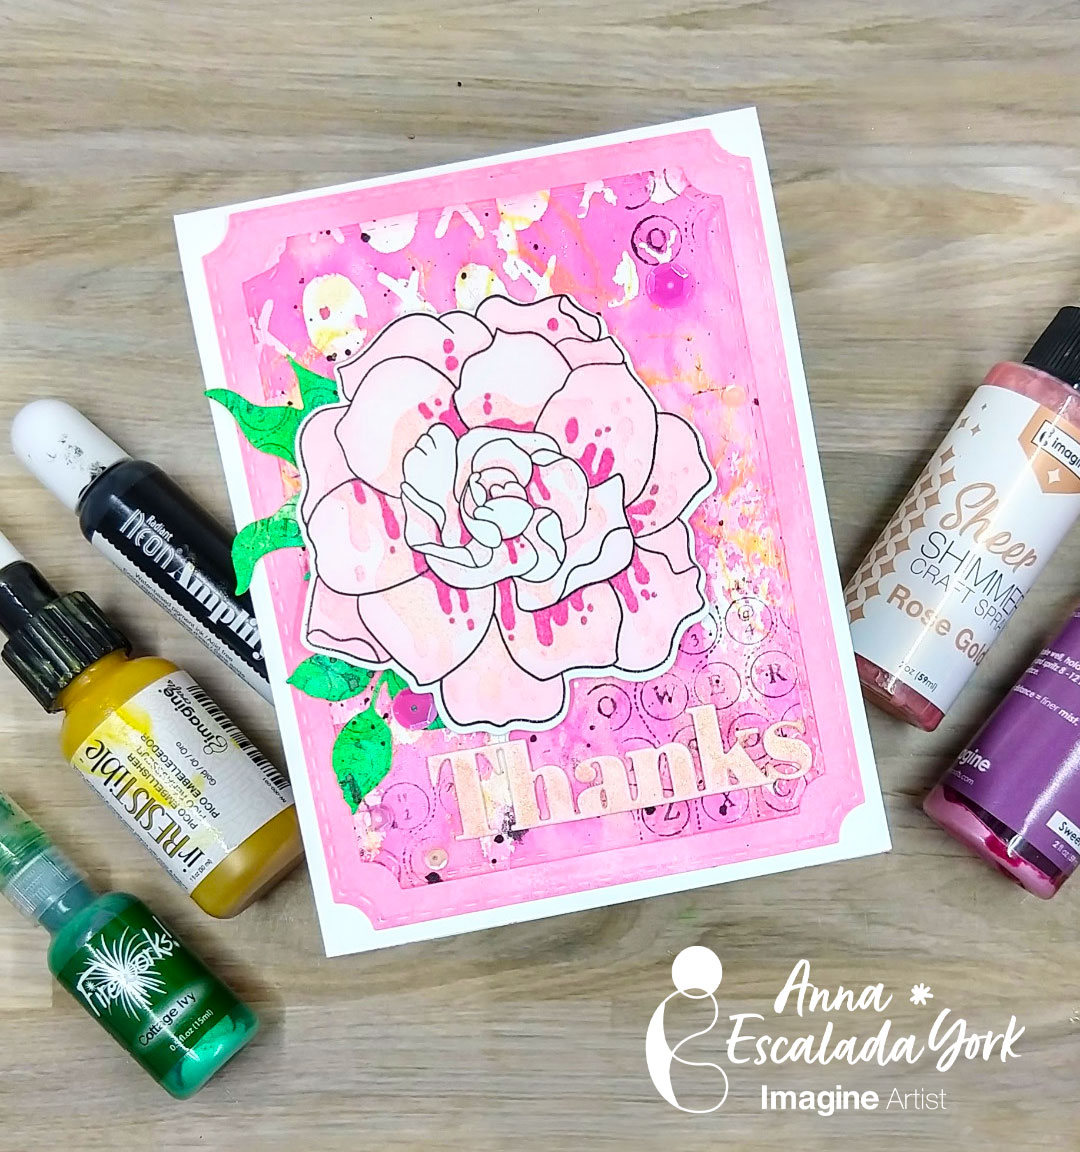
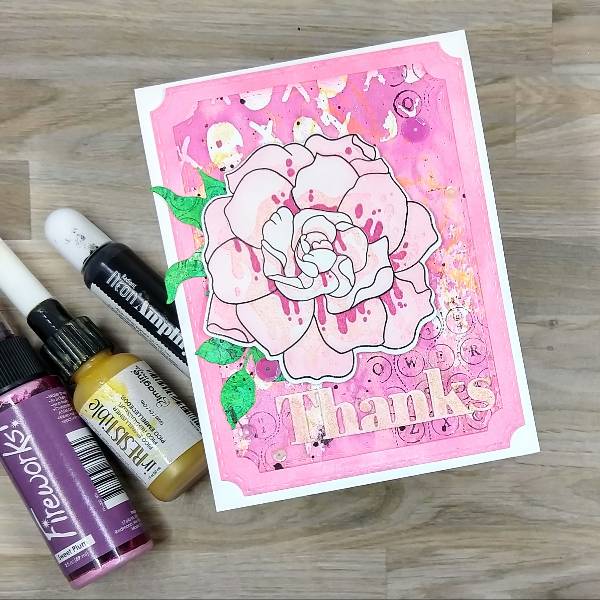
I used to be intimidated by the idea of multimedia cards, but all they are cards that have different types of products. This card features stamping, watercoloring with sprays and Amplify! Ink, and embossing.
Skill: Intermediate Time: 2 hours
Directions:
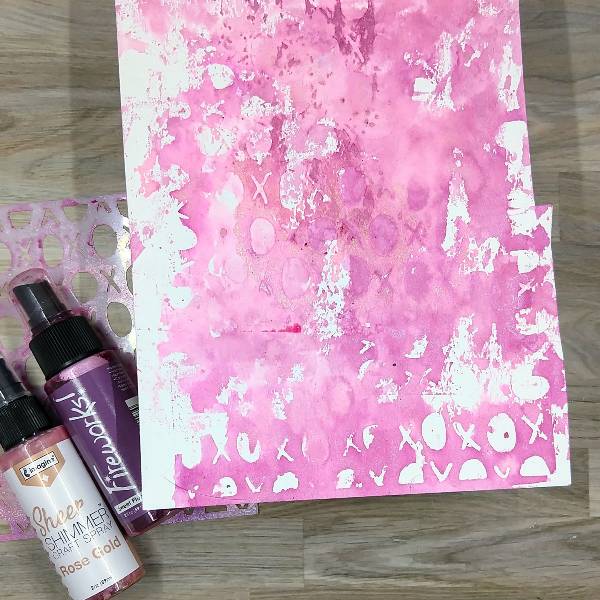
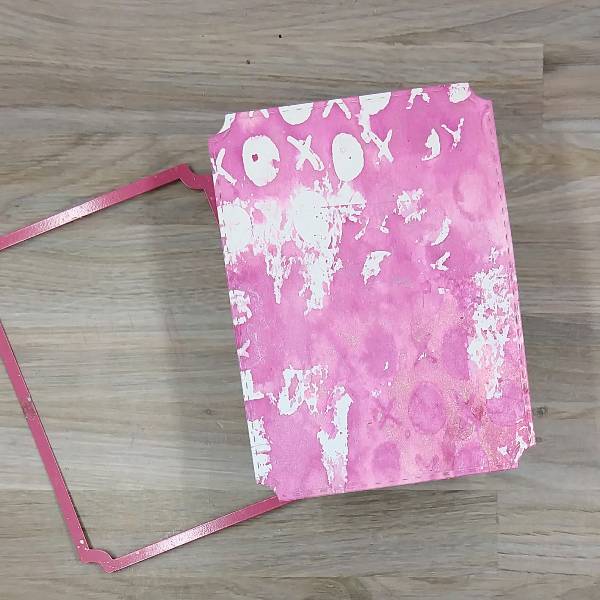
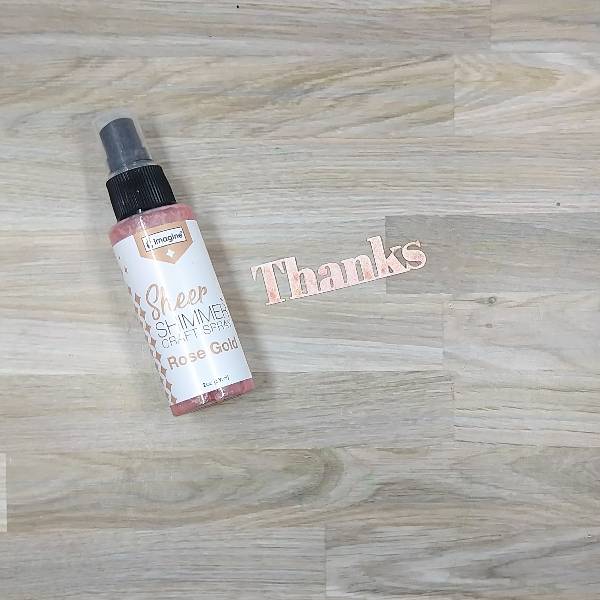
Step 1: Spray Sweet Plum Fireworks! Shimmery Craft Spray onto a 6” x 6” stencil and then flip the stencil over and gently press the stencil onto a piece of watercolor paper. Repeated this process with and Rose Gold Sheer Shimmer Craft Spray, partially overlapping part of the stencil on the watercolor paper. Repeat the process a few times, overlapping the stencil a few times and then set the panel aside to dry.
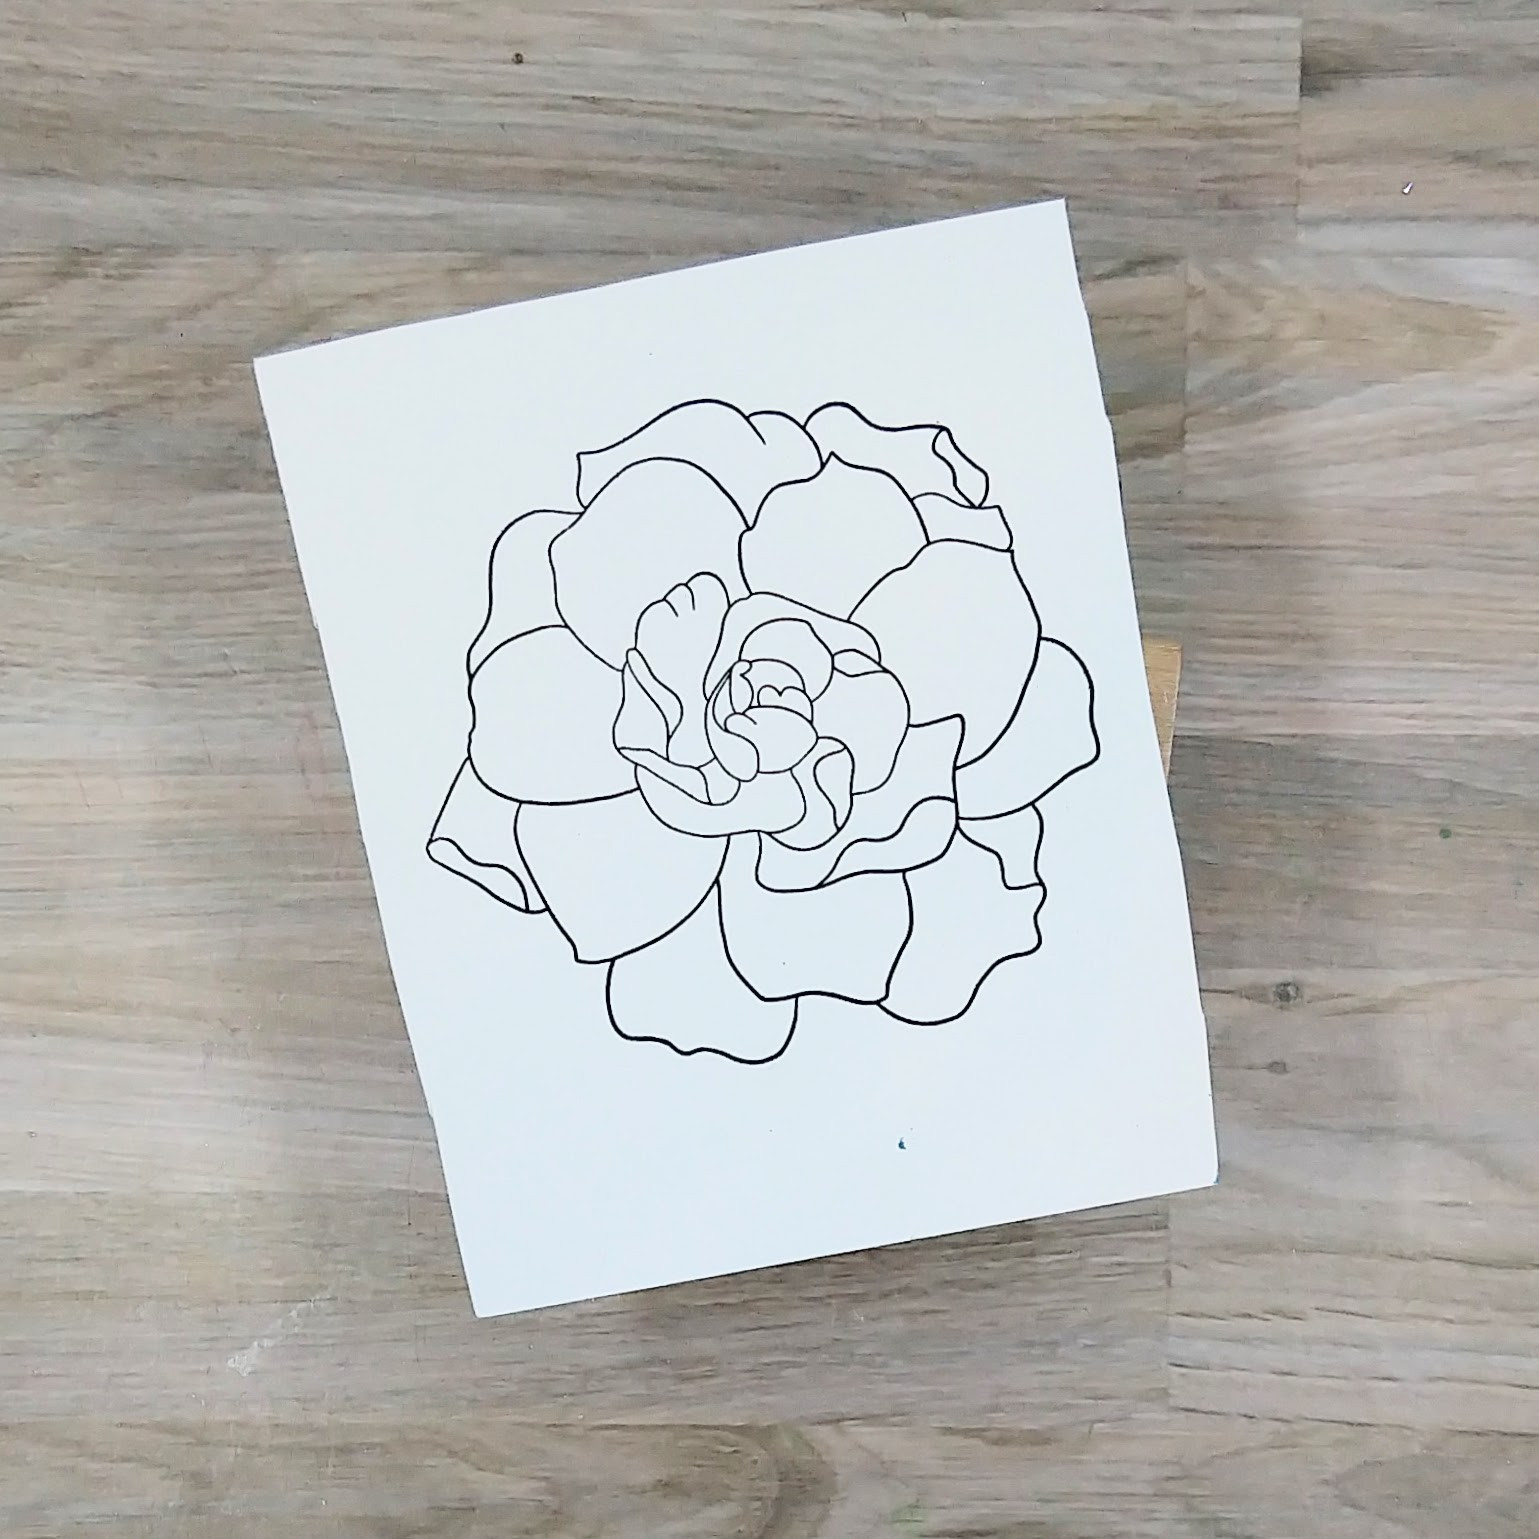
Step 2: The next three steps use a layered floral stamp set. Stamp the outline of the flower with Nocturne VersaFine Clair ink onto another scrap of watercolor paper and then heat emboss with clear ink.
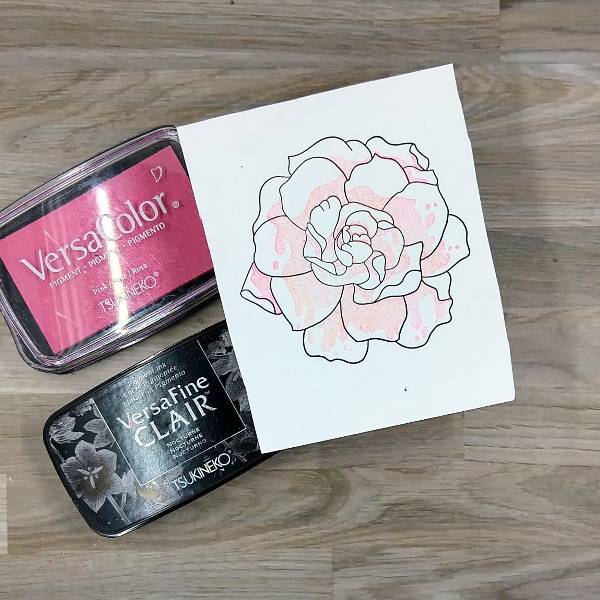
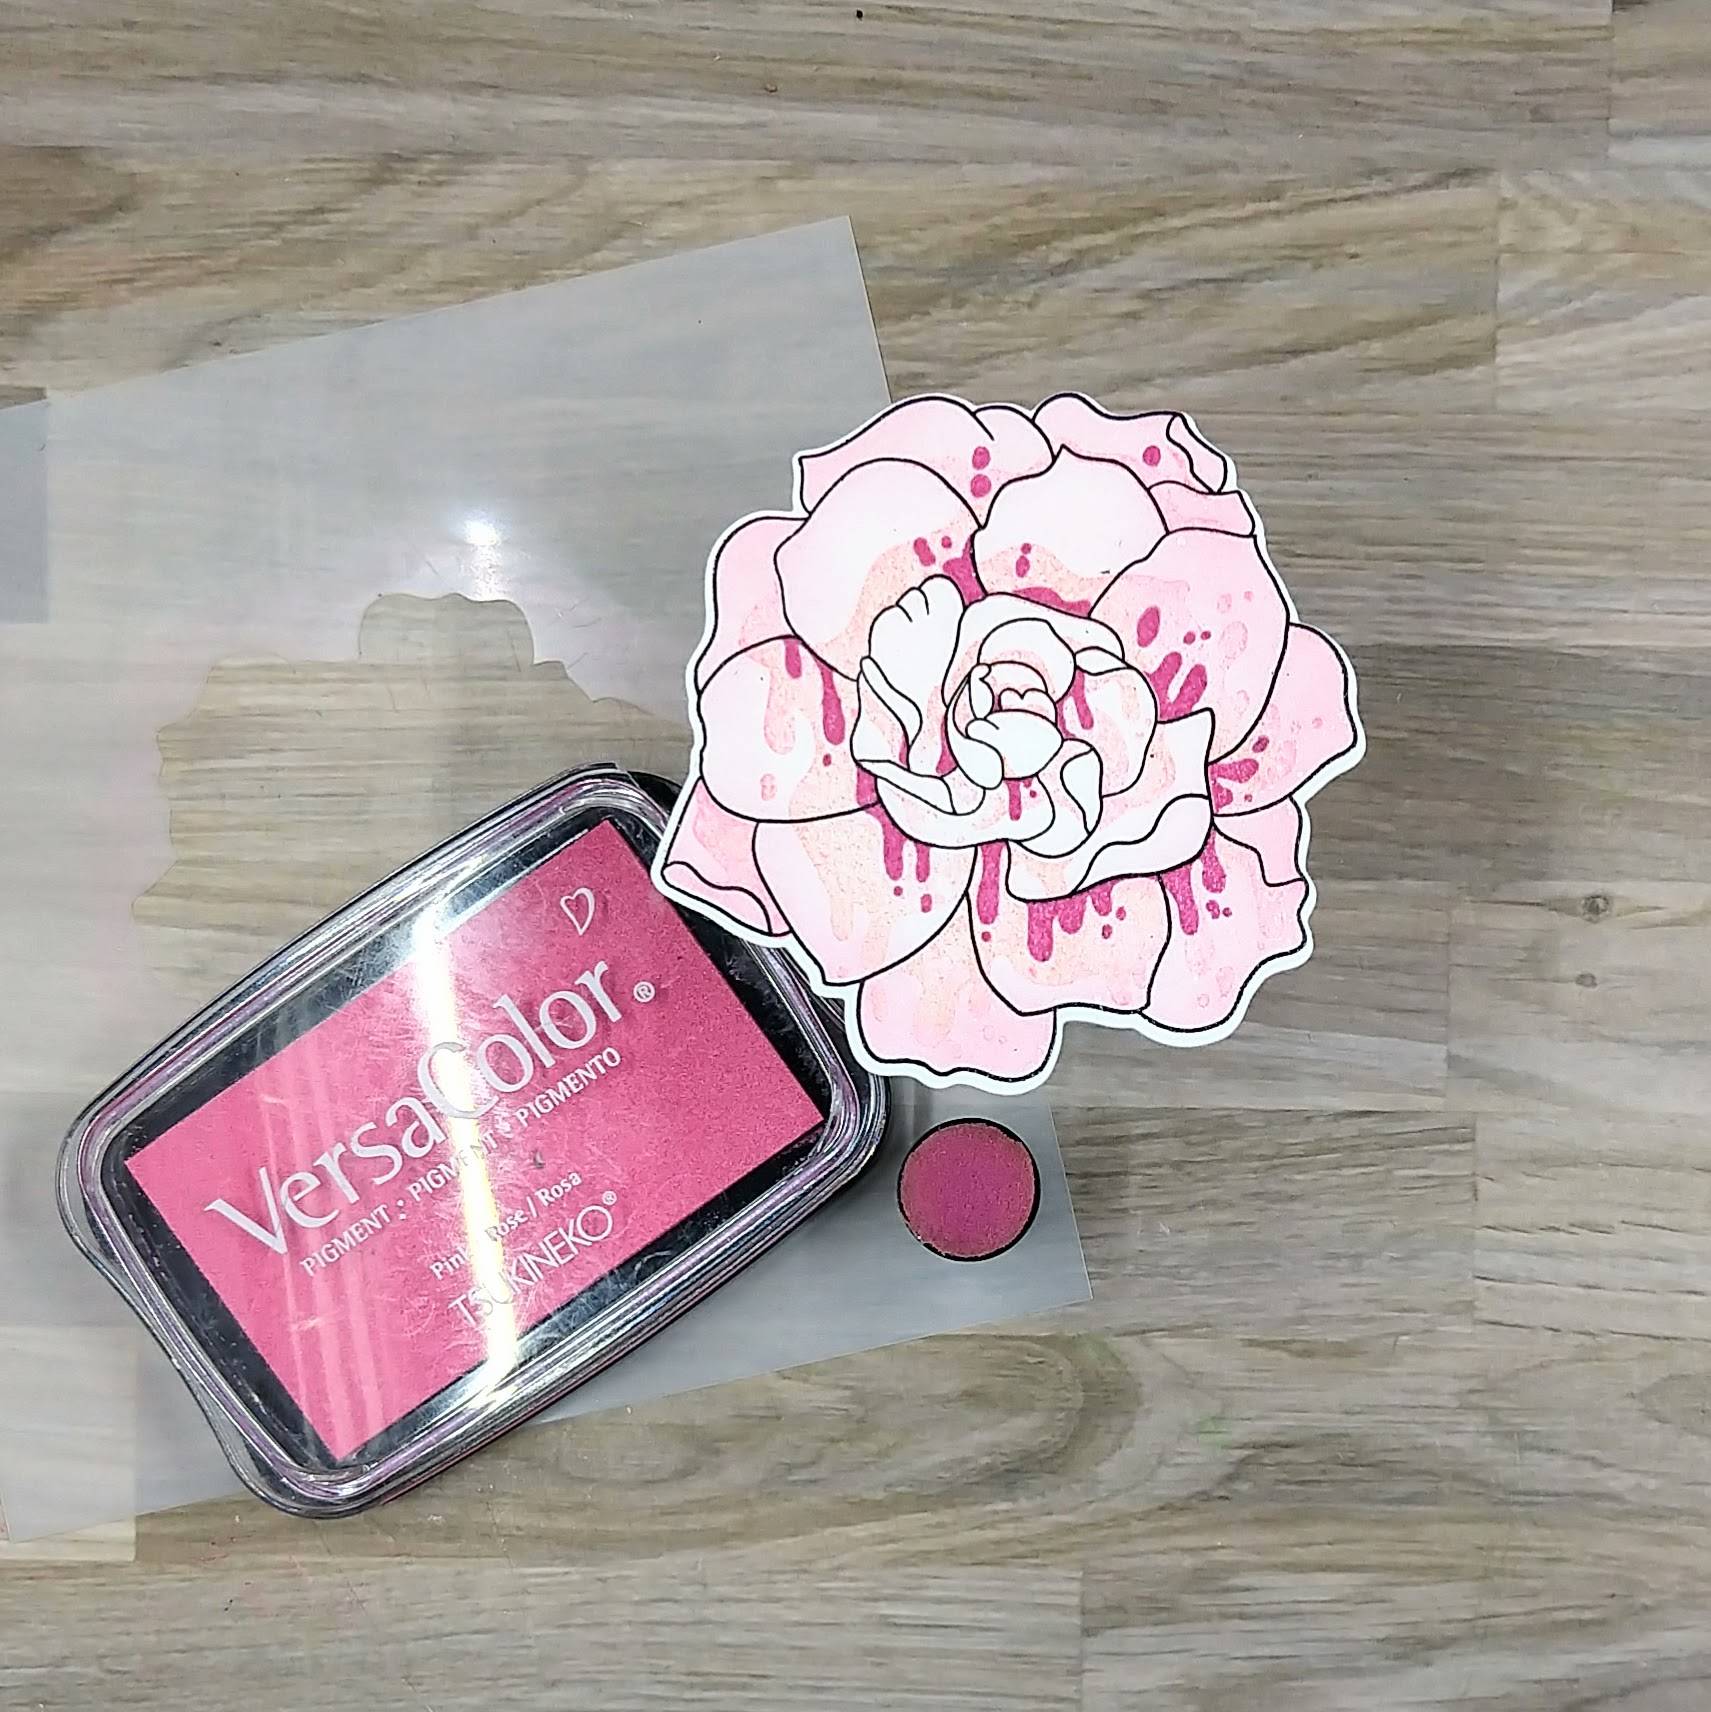
Step 3: Stamp the second layer of the floral layer stamp set with Pink VersaColor ink onto the flower.
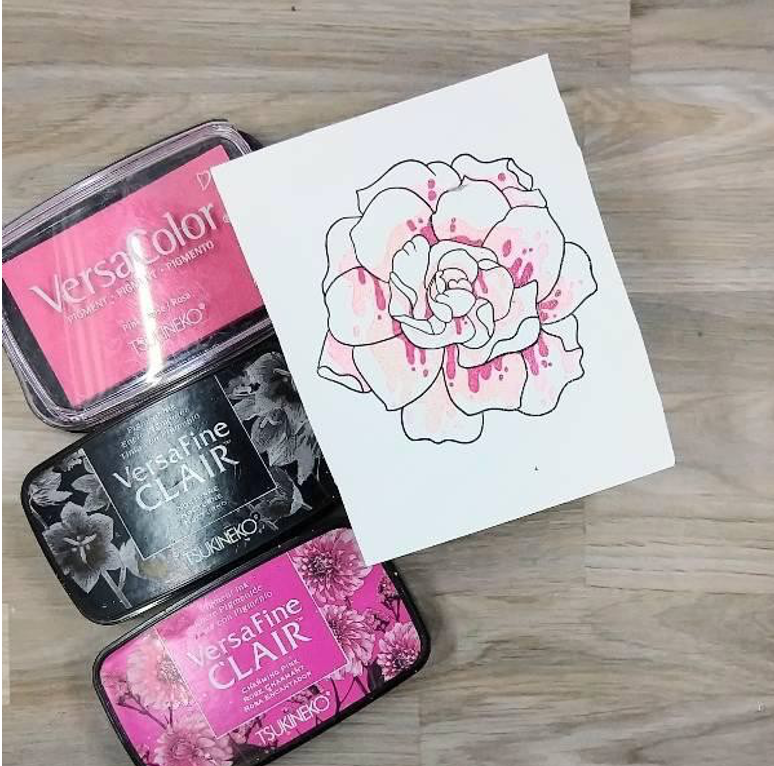
Step 4: Stamp the third layer of the floral layered stamp set with Charming Pink VersaFine Clair ink. Then heat emboss with more clear embossing powder.
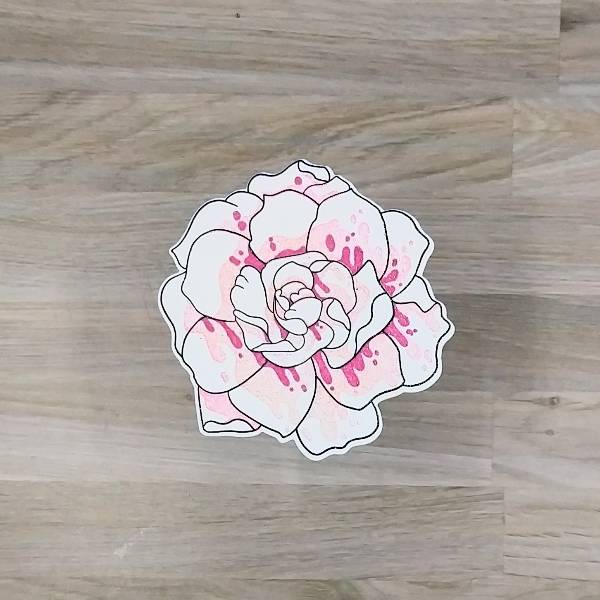
Step 5: Die cut the flower with the corresponding die.
Step 6: Use a sponge dauber to ink blend more Pink VersaColor ink onto the flower using a matching stencil–using more ink and pressure on the outer petals, and less ink and less pressure on the inner petals.
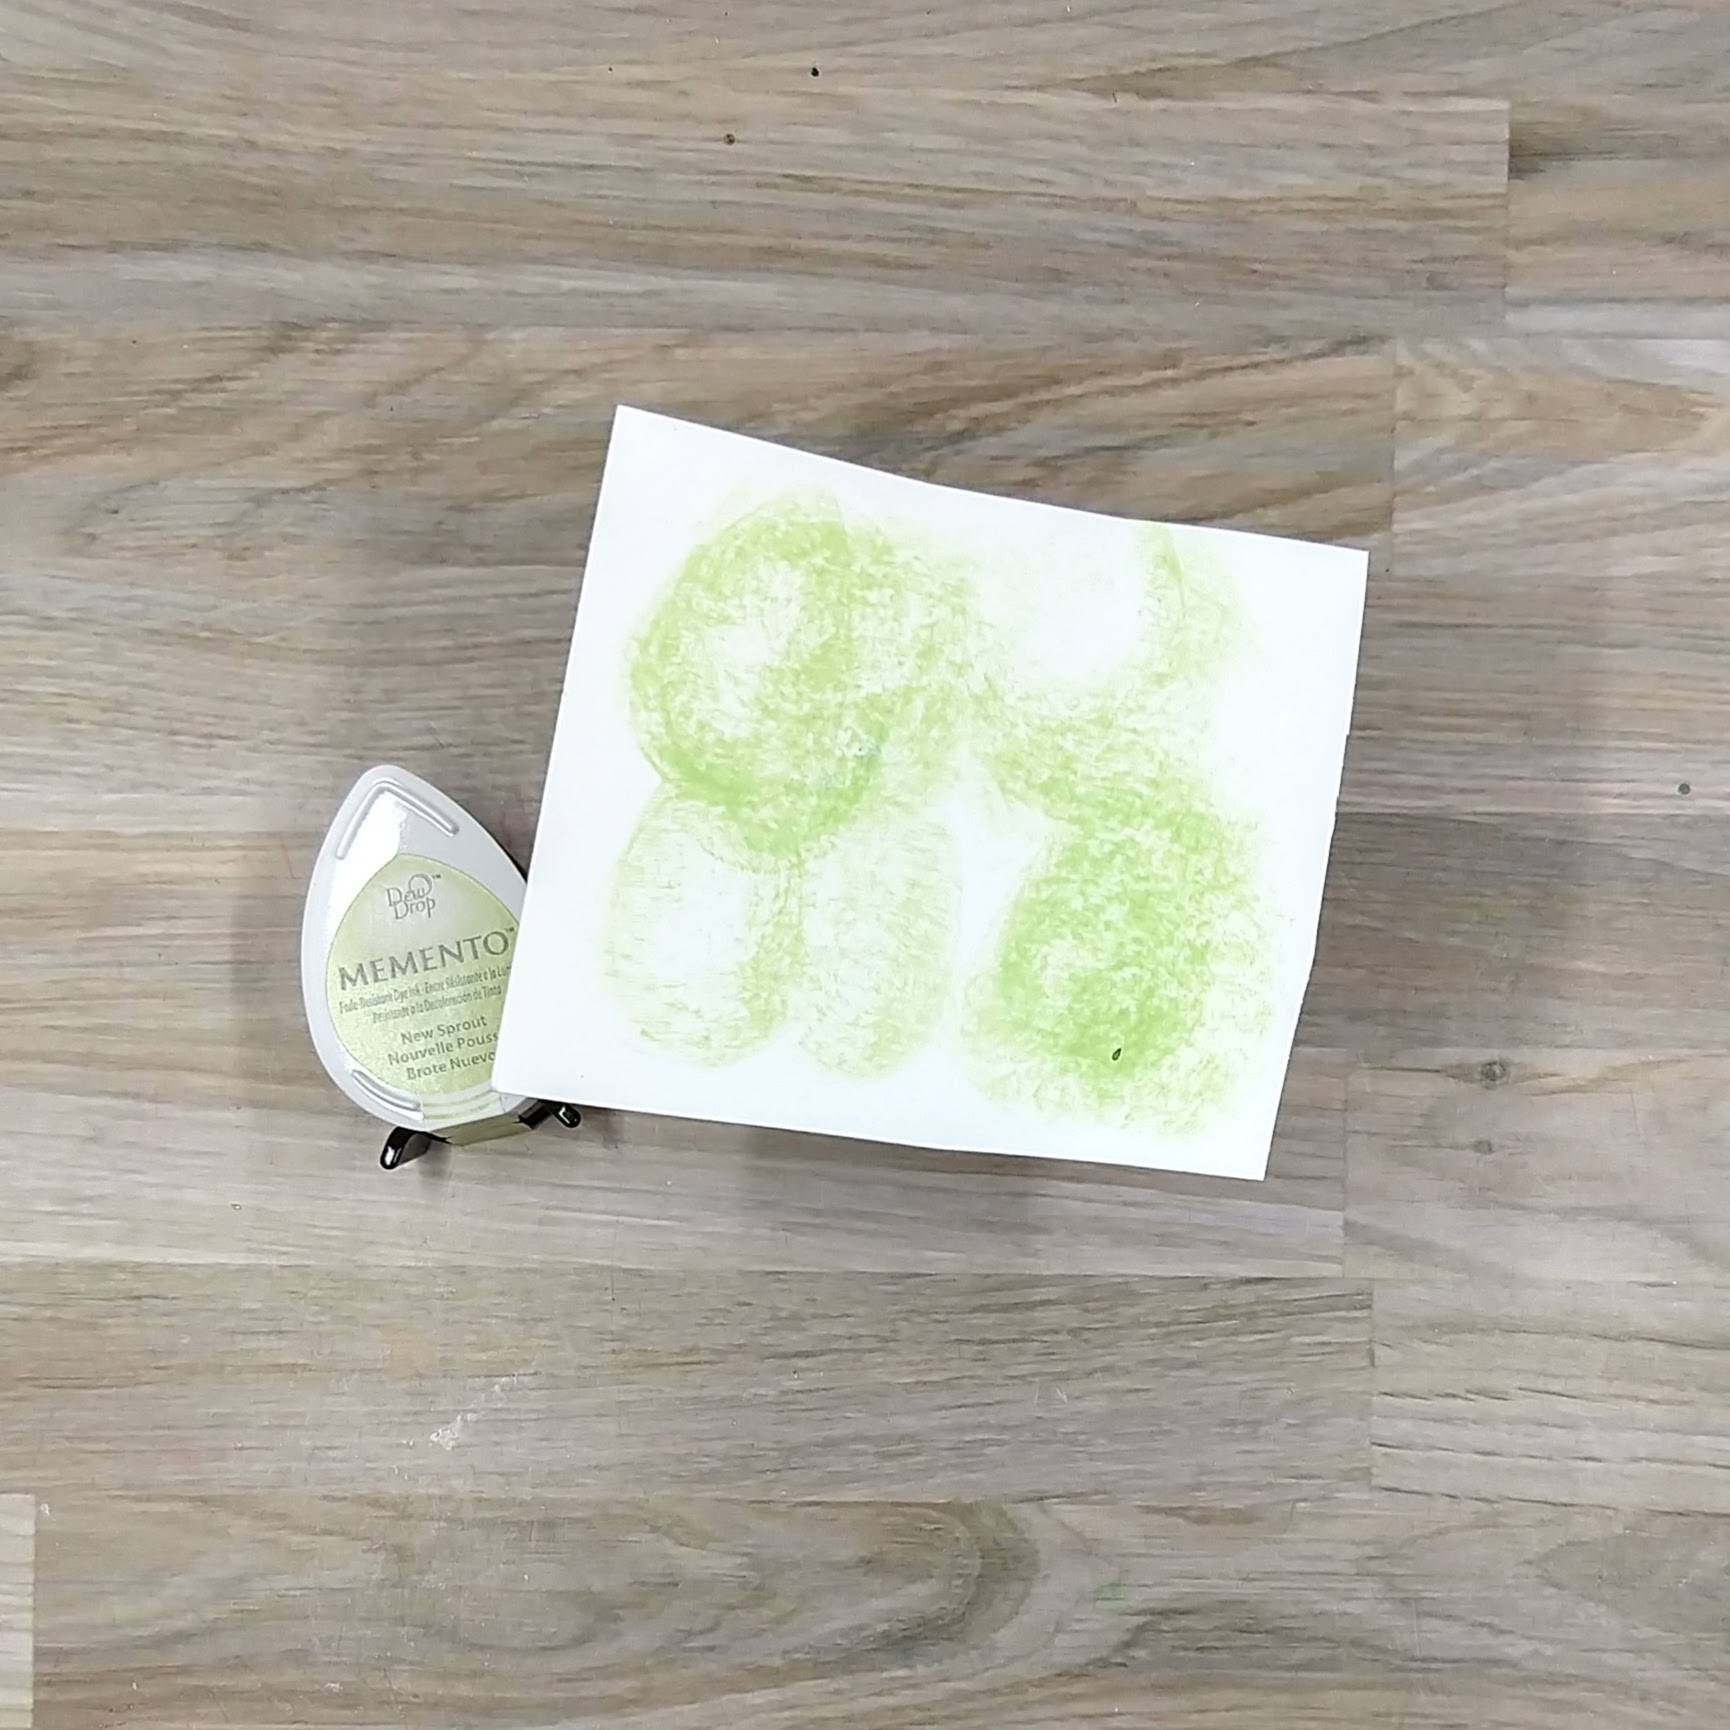
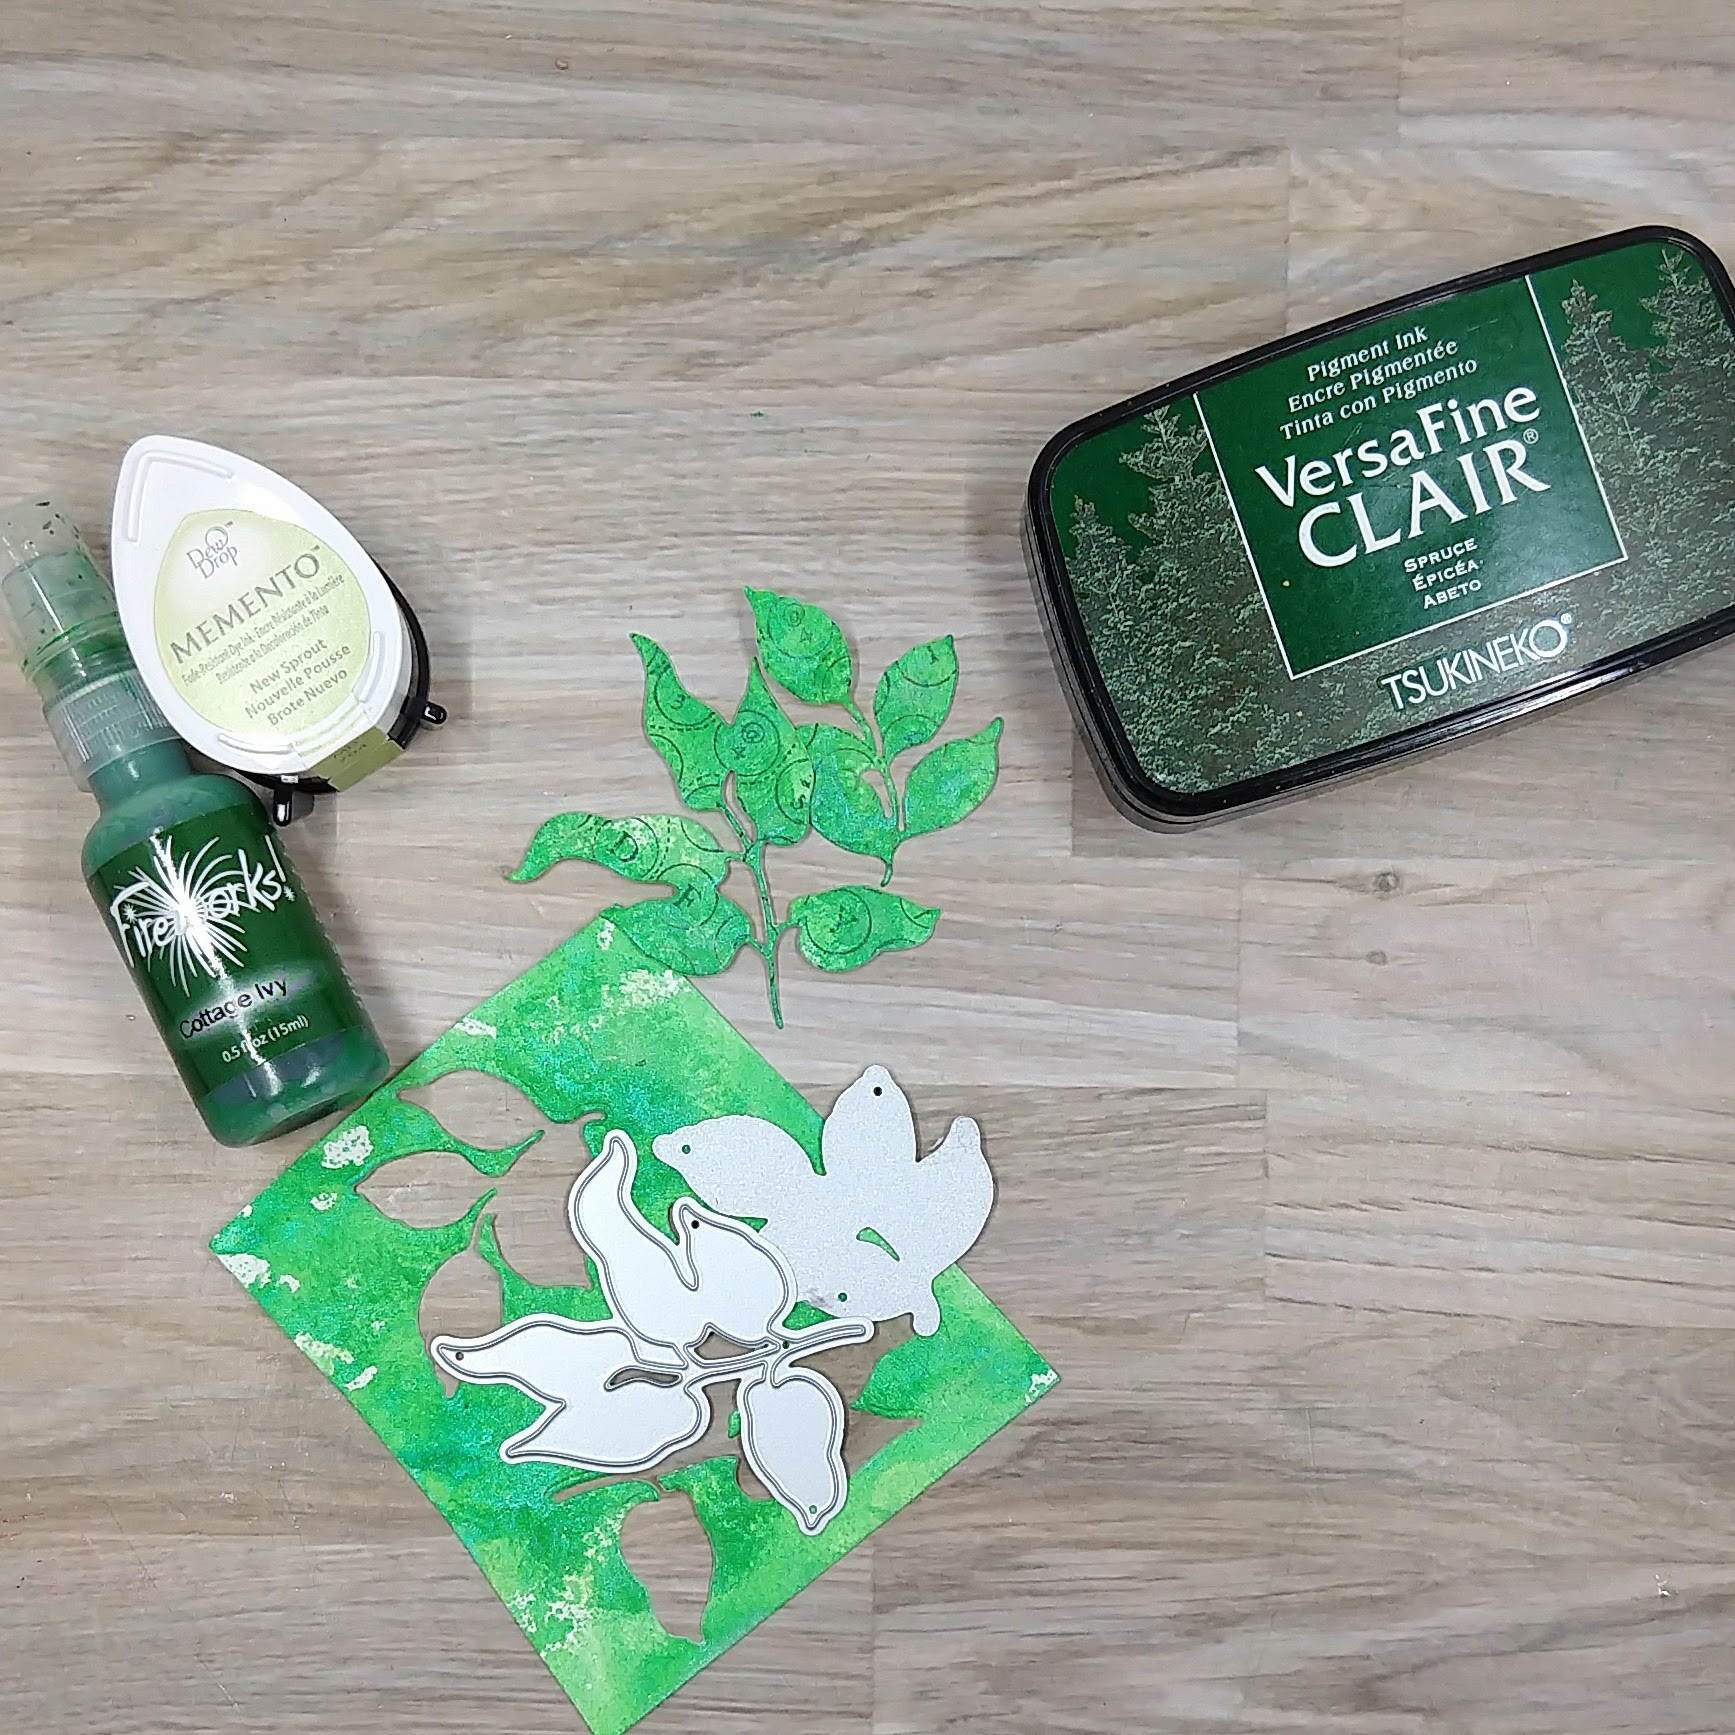
Step 7: Press New Sprout Memento Dye Ink onto a scrap of watercolor paper to start to add green textured color onto the watercolor paper.
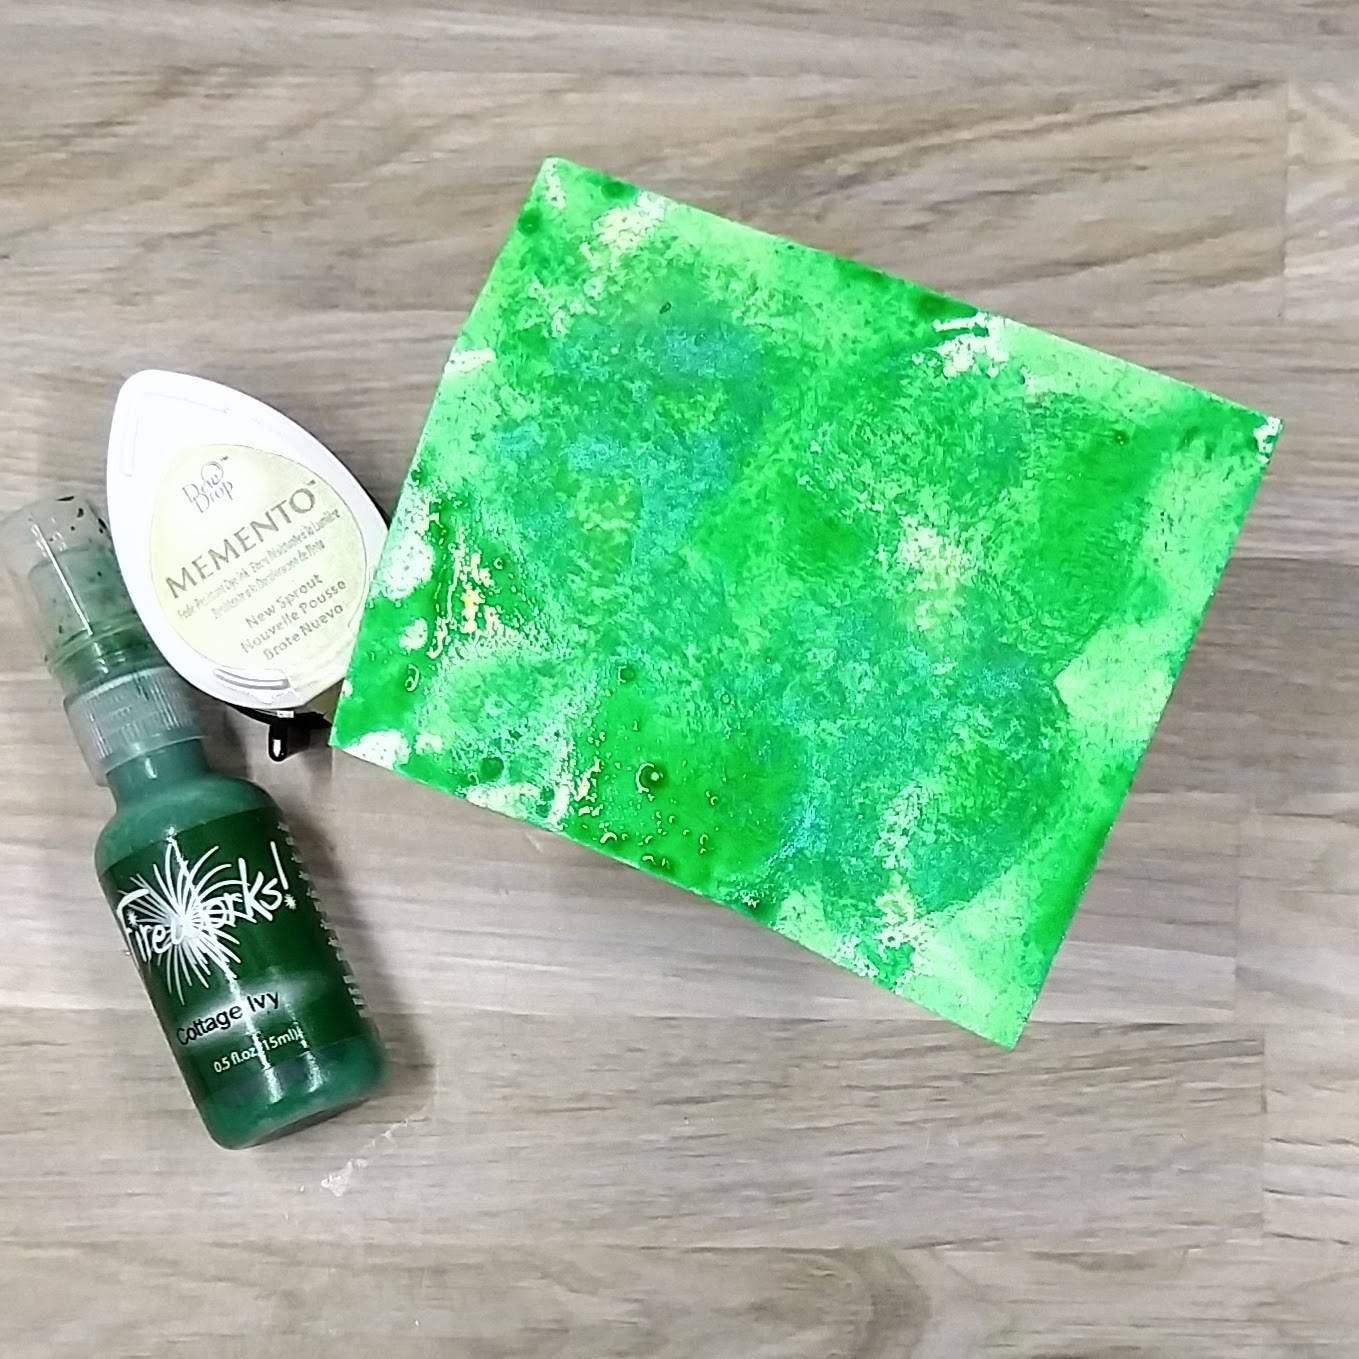
Step 8: Spray Cottage Ivy Fireworks! Shimmery Craft Spray onto the same scrap of watercolor paper. Allow to dry.
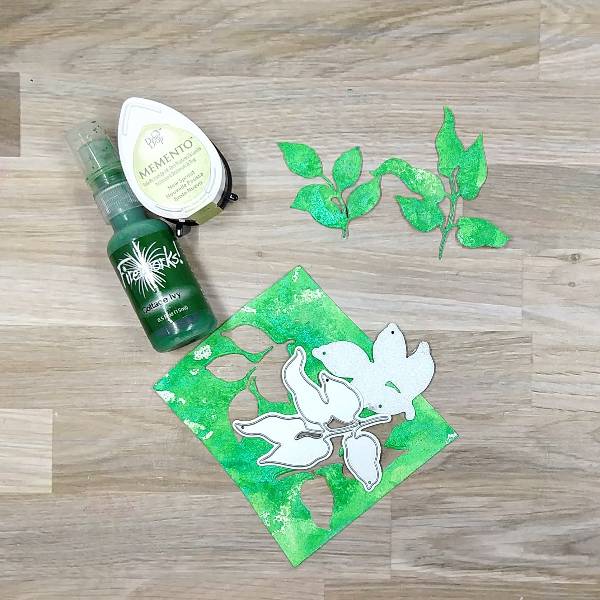
Step 9: Die cut leaves out of the green watercolor paper using two leaf cluster dies.
Step 10: Stamp Spruce VersaFine Clair Ink onto a woodblock typewriter key stamp and press the die cut leaves onto the stamp. Set the leaves aside to let the ink dry.
Step 11: Die cut the inked watercolor paper from step 1 with the second-largest die in a nesting A2-sized die set.
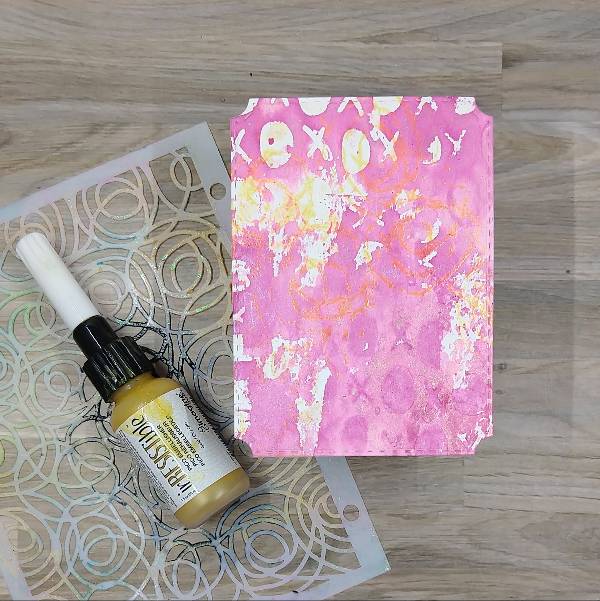
Step 12: For more texture and interest on the panel, use the Gold irRESISTible Pico Embellisher’ fine tip applicator to add the medium directly onto part of the stencil. Then flip over the stencil and press it onto the watercolor panel. (You may want to put a paper towel over the stencil before pressing or you will probably get some on your hands.)
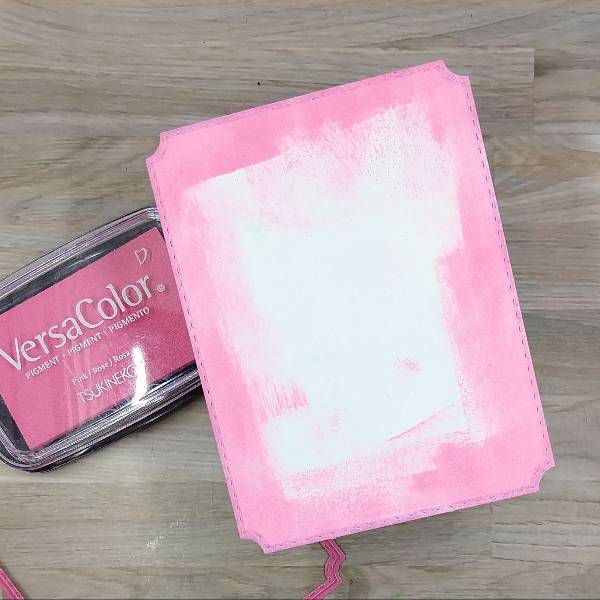
Step 13: Run more Pink VersaColor ink along the edges of another piece of watercolor paper to make the edges pink. Then die cut the panel with the largest die from the nesting A2-sized die set from step 11.
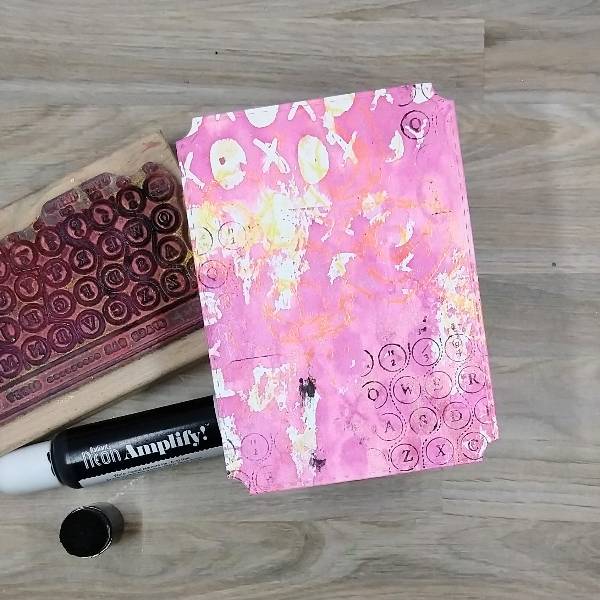
Step 14: Add a small drop of Black Radiant Neon Amplify! onto another sponge dauber and press the dauber onto the same woodblock typewriter stamp and partially stamp the smaller panel multiple times.
A couple of smudges were mistakenly stamped onto the panel, which were mostly dealt with by splattering more Black Radiant Neon Amplify! mixed with water onto a piece of acetate and then splattered onto the panel.
Step 15: Die cut another piece of watercolor paper with a sentiment die and then spray the die cut multiple times with Rose Gold Sheer Shimmer Craft Spray.
Step 16: Assemble the card by gluing the leaves and sentiment onto the smaller panel. Attach the flower to the panel with foam tape. Then glue the two panels together and glue them both onto an
A2-sized white card base. Finally, glue sequins around the flower.
• Altenew – foam tape • Altenew – die set – Amazing Things • Altenew – die set – Just Leaves • Altenew – stamp set – Amazing Things • Altenew – stencil set – Amazing Things • American Crafts – stencil – Storyteller Radiate • Catherine Pooler – sequin mix – Sofia • Pink & Main – die set – Notched Corner • Simon Says Stamp – die set – Bold Thanks • Old woodblock • typewriter key stamp • Clear Embossing Powder • Watercolor paper • Die cutting machine • Scissors • Glue
Hello friends, Katy here and in today’s video tutorial, I’m going to show you how to make a quick background using Memento inks and Sheer Shimmer Spray. Todays project is for Mother’s Day, but it can lend itself to Many different sentiments. Listed below are products I used in todays video including some Affiliate links at no additional cost to you. l thank you for using those links and supporting my work.
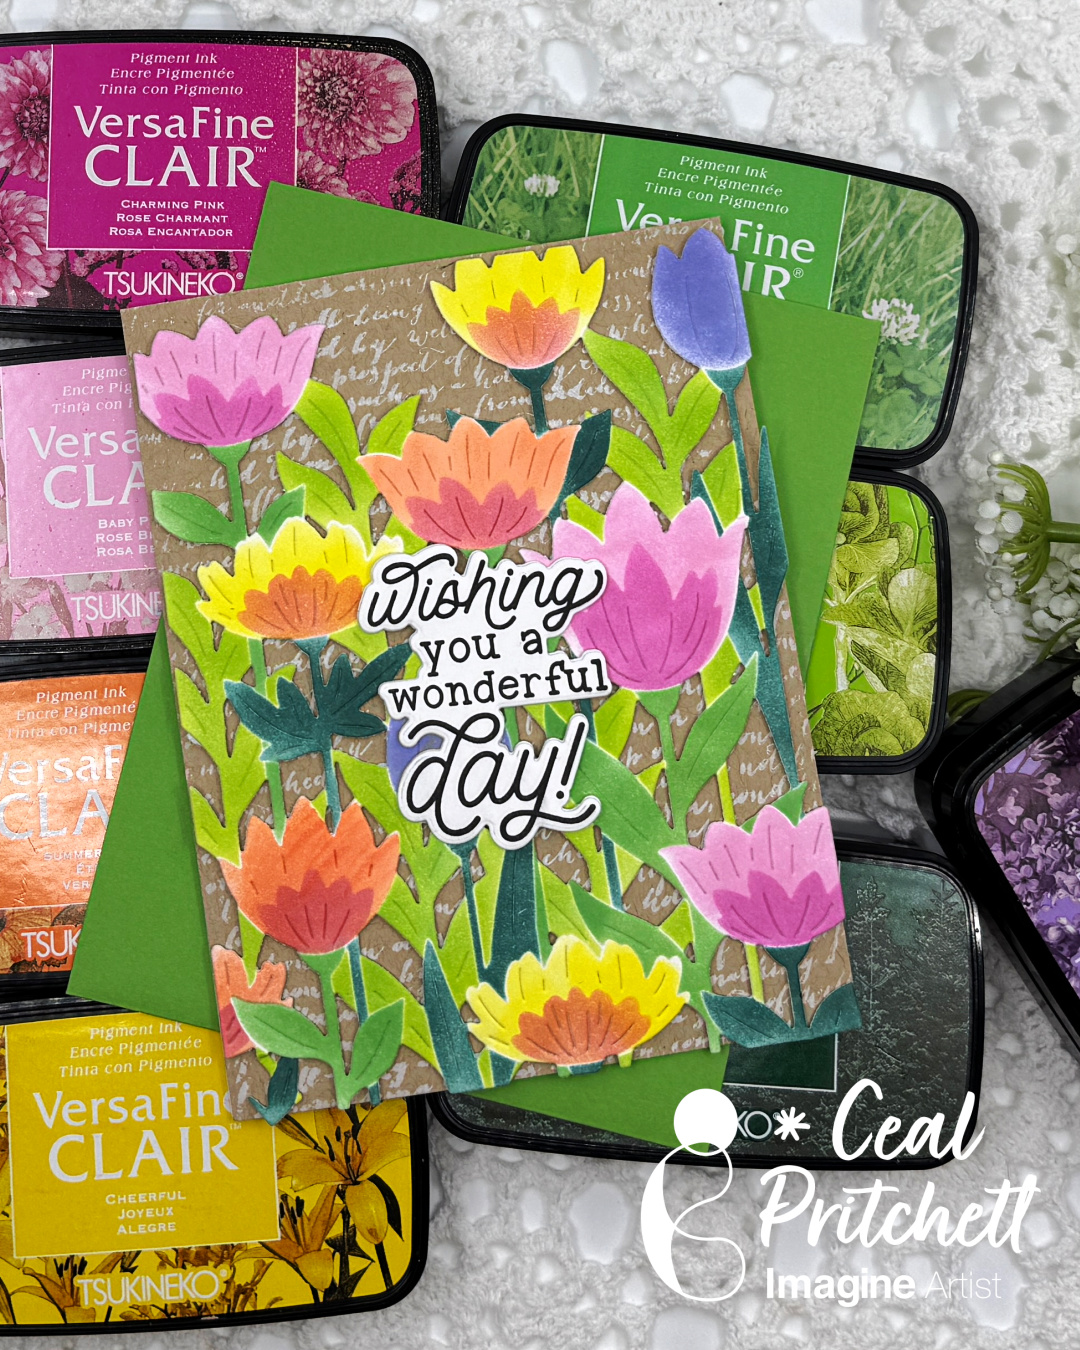
Hello crafty friends! It’s Ceal, here. Today I will show you how to create a Mother’s Day card with you that uses several layers of stenciling, some stamping and then die cut out. This card can also be used for other occasions because the “Happy Mother’s Day” greeting is on the inside.
Skill Level: Intermediate to Advanced Time: 45 mins to an hour
Directions:
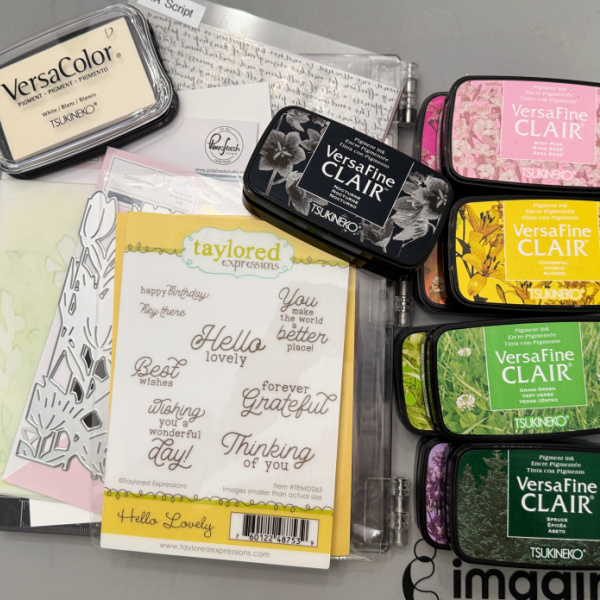
Gather your supplies. You will need cardstock, a layering stencil (Pinkfresh Studio used here) Coordinating Dies, several colors of ink (listed below) and a sentiment stamp set (Taylored Expressions used here).
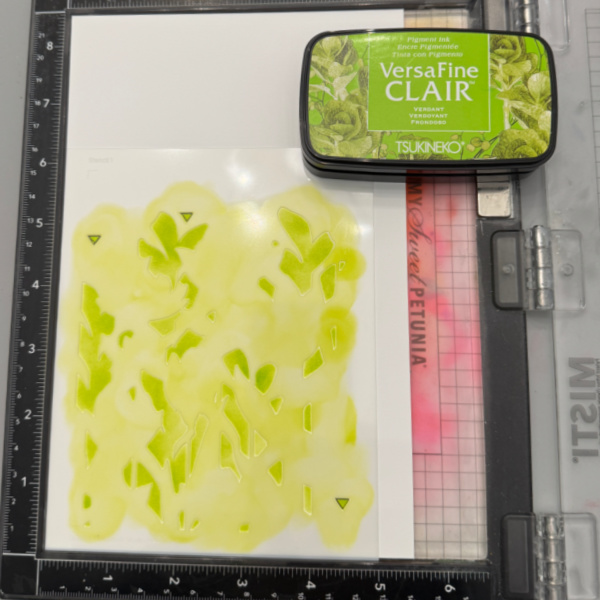
Step 1: Lay stencil one over a piece of cardstock cut to 5.5 x 8.5 and blend VersaFine Clair Verdant ink over it. Remove and clean stencil.
A little tip for you, I place mine in the corner of the Misti so I will be placing all of them in the same place. This set also has alignment guides which are triangles, be sure to add ink to them.
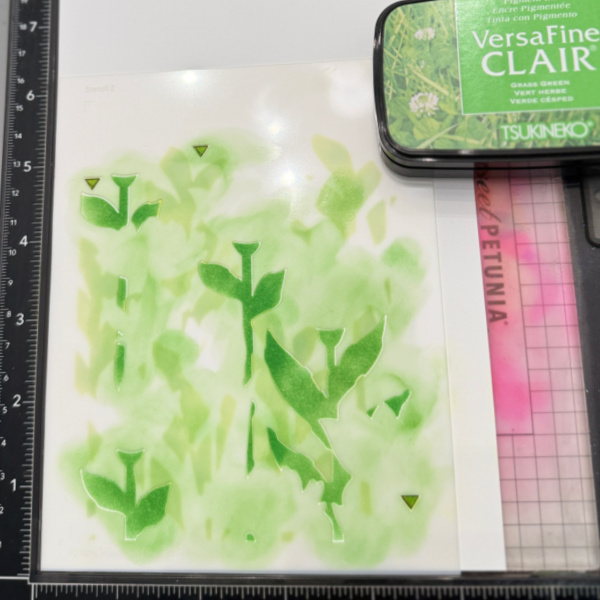
Step 2: Lay stencil 2 over the cardstock, lining up the triangle placement guides and blend VersaFine Clair Grass Green over it. Remover stencil and clean it.
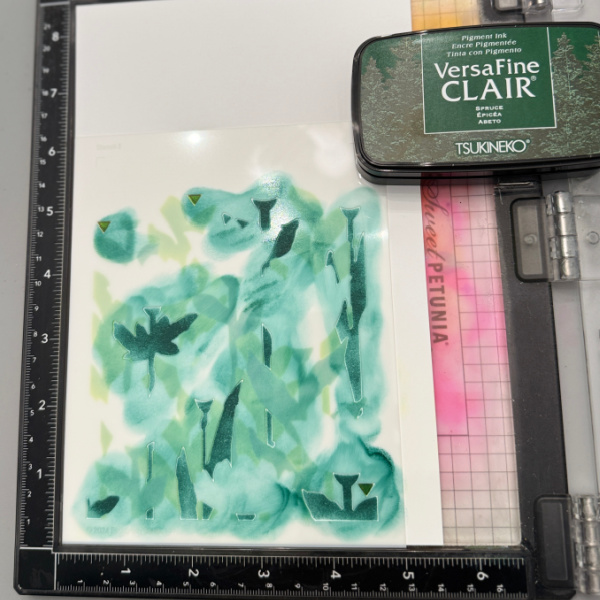
Step 3: Lay stencil 3 over the cardstock, lining up the triangles and blend VersaFine Clair Spruce over it. Remove stencil and clean it.
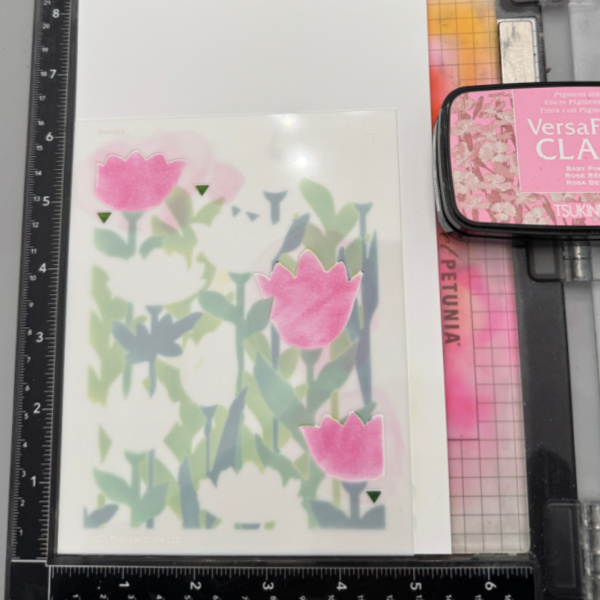
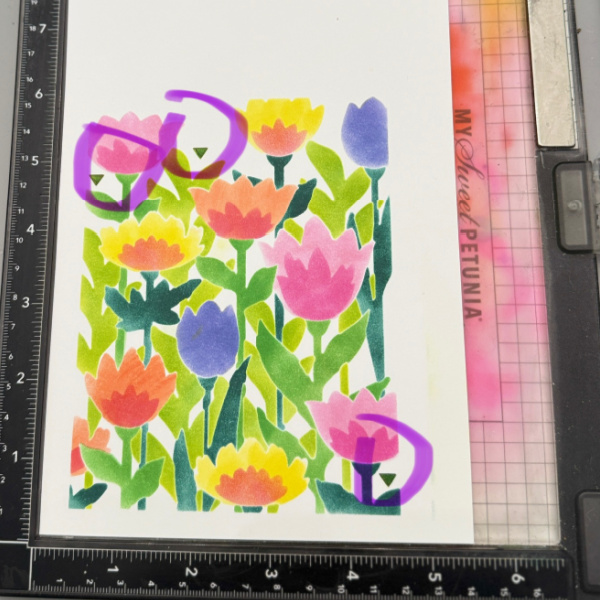
Step 4: This step starts the flowers. Lay stencil 4 over the cardstock and blend VersaFine Clair Baby Pink over the open flowers. This photo shows the triangles that are used to align the stencils. Remove stencil and clean it.
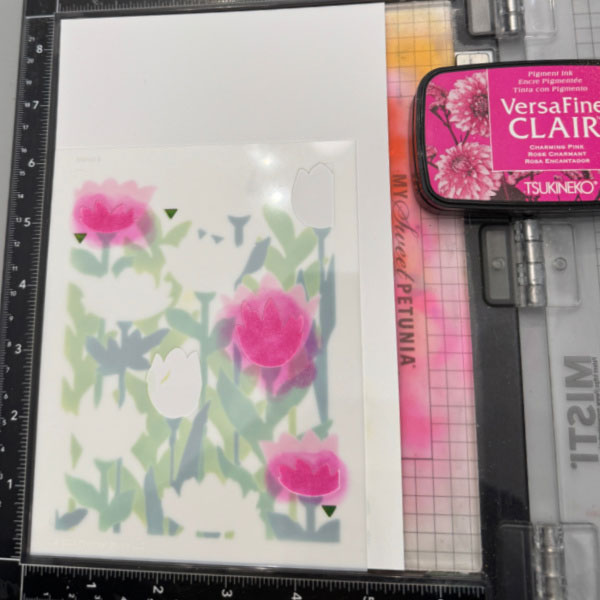
Step 5: Lay stencil 5 over the cardstock, lining up the triangles and blend VersaFine Clair Charming pink over open spaces on the pink flowers and VersaFine Clair Lilac Bloom over the other open spaces. Remove and clean the stencil.
**I forgot to take a photo of the Lilac Bloom, but you can see it below.
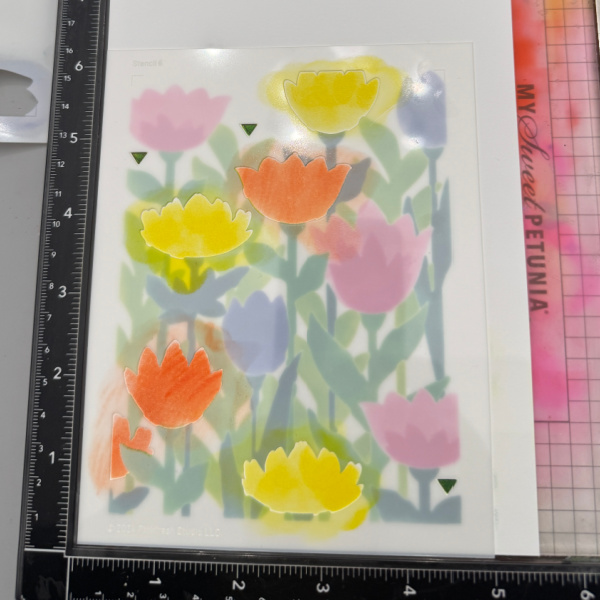
Step 6: Lay Stencil 6 over the cardstock and blend VersaFine Clair Cheerful and VersaFine Clair Summertime inks over the open flowers. Remove and clean the stencil.
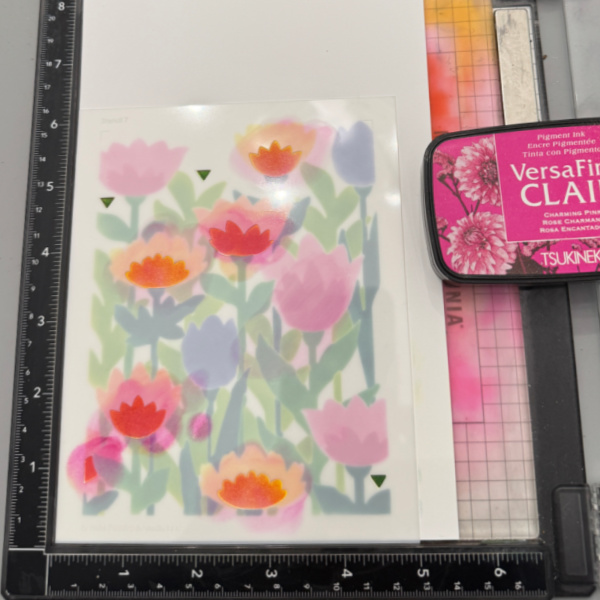
Step 7: Lay stencil 7 over the cardstock and blend VersaFine Clair Charming Pink in the open spaces. Remove and clean the stencil.
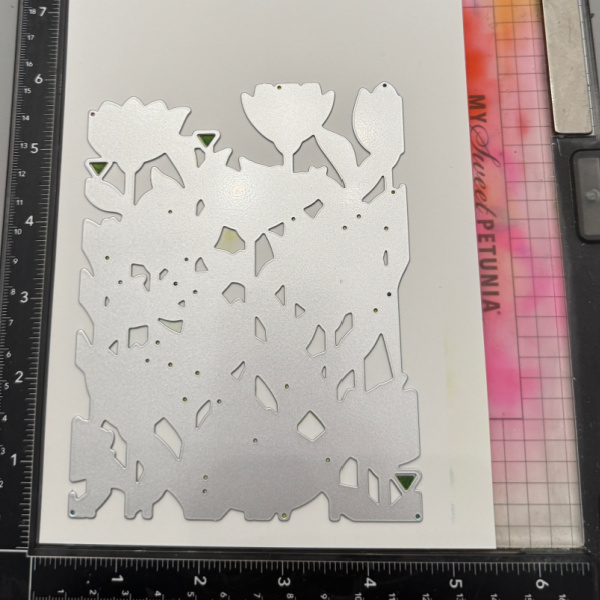
This photo is showing the alignment triangles I have been referring to. For the next step you will need to know where they are.
Step 8: Lay the coordinating die over the flowers lining up the triangles as pictured above. Tape it down so it doesn’t move and run it through the die cutting machine. This also adds the texture to the flowers.
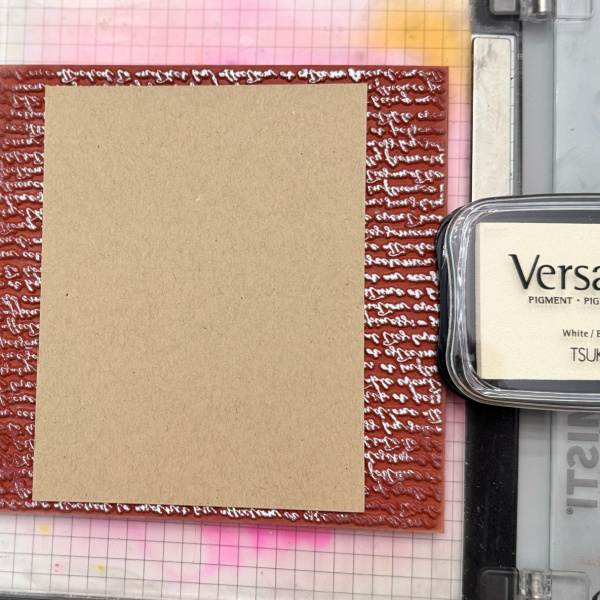
Step 9: Cut a piece of kraft cardstock to A2 size 4.25 x 5.5. Ink up a script stamp with VersaColor White and lay the kraft panel over the ink and rub across with your hand.
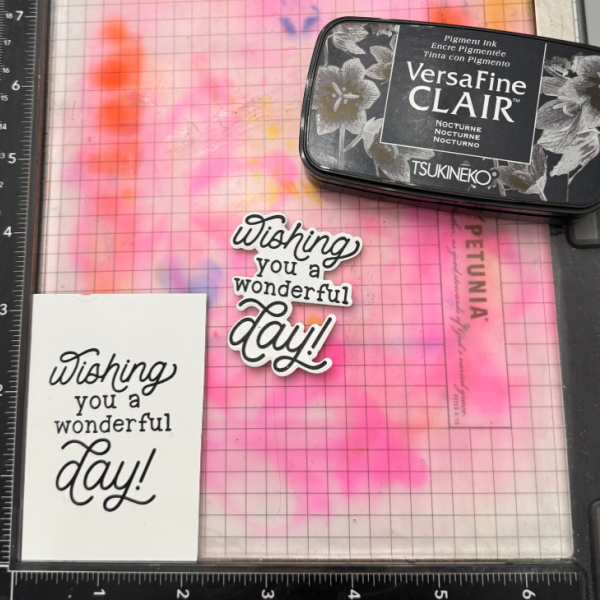
Step 10: Stamp the sentiment and cut it out multiple times for dimension. Adhere the kraft panel to an A2 white card base. Add the floral panel and then the sentiment. Also stamp a sentiment on the inside.
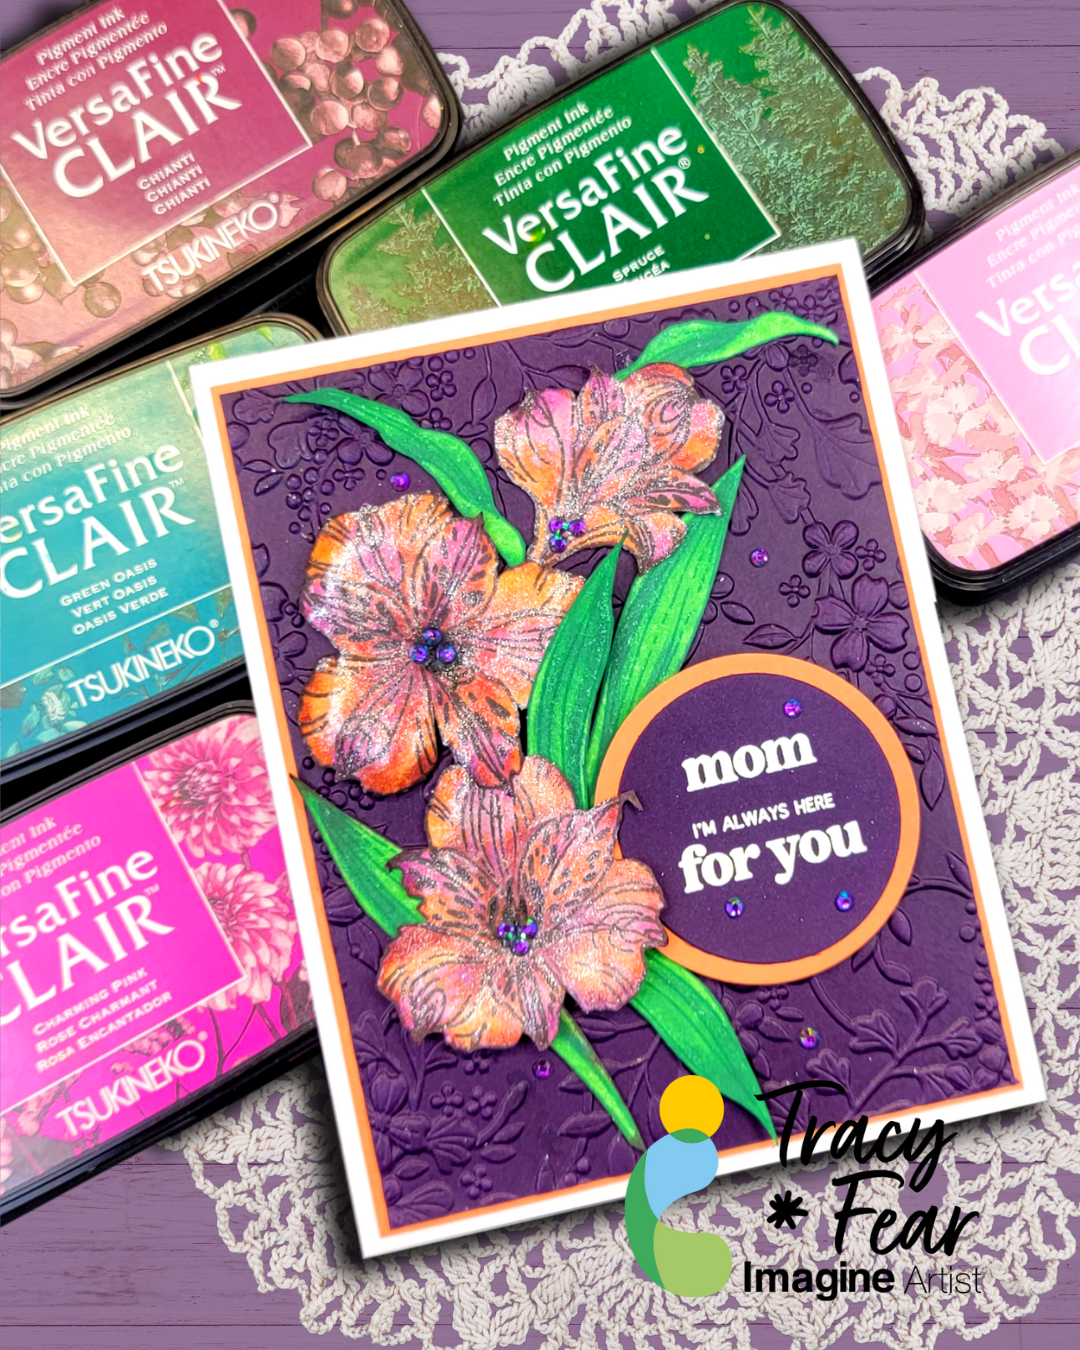
Hello Friends! Tracy here and today I am excited to share this beautiful card for Mother’s Day “painted” with VersaFine Clair Inks!
In today’s video tutorial I am sharing how I use VersaFine Clair inks on watercolor paper with stamping and ink painting showing how to take your ink use to next level then we enhance our flowers with a little bit of shaping!
Other Products Used: Stamps – Simon Hurley Heartfelt Blooms Mini Misti stamping Platform Tim Holtz Watercolor Paper Variety of small brushes Brutus Monroe | Flat Back Crystals – Violet Crystal Black .01 Micron Pen White card stock for card base Eggplant Cardstock embossed with embossing folder from my stash Sizzix Making Tool – Paper Sculpting Kit Brutus Monroe – Alabaster Embossing Powder Nuvo Glitter Gloss Brush
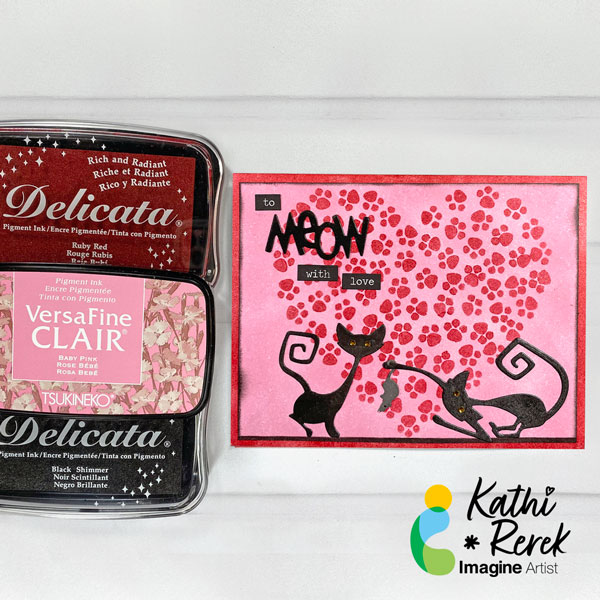
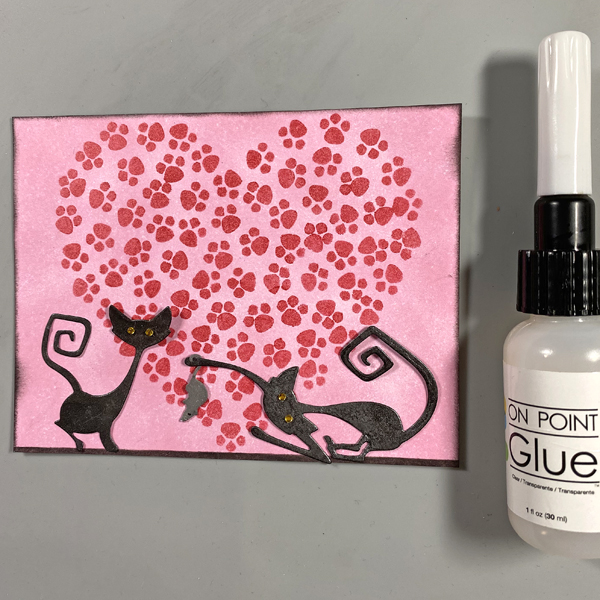
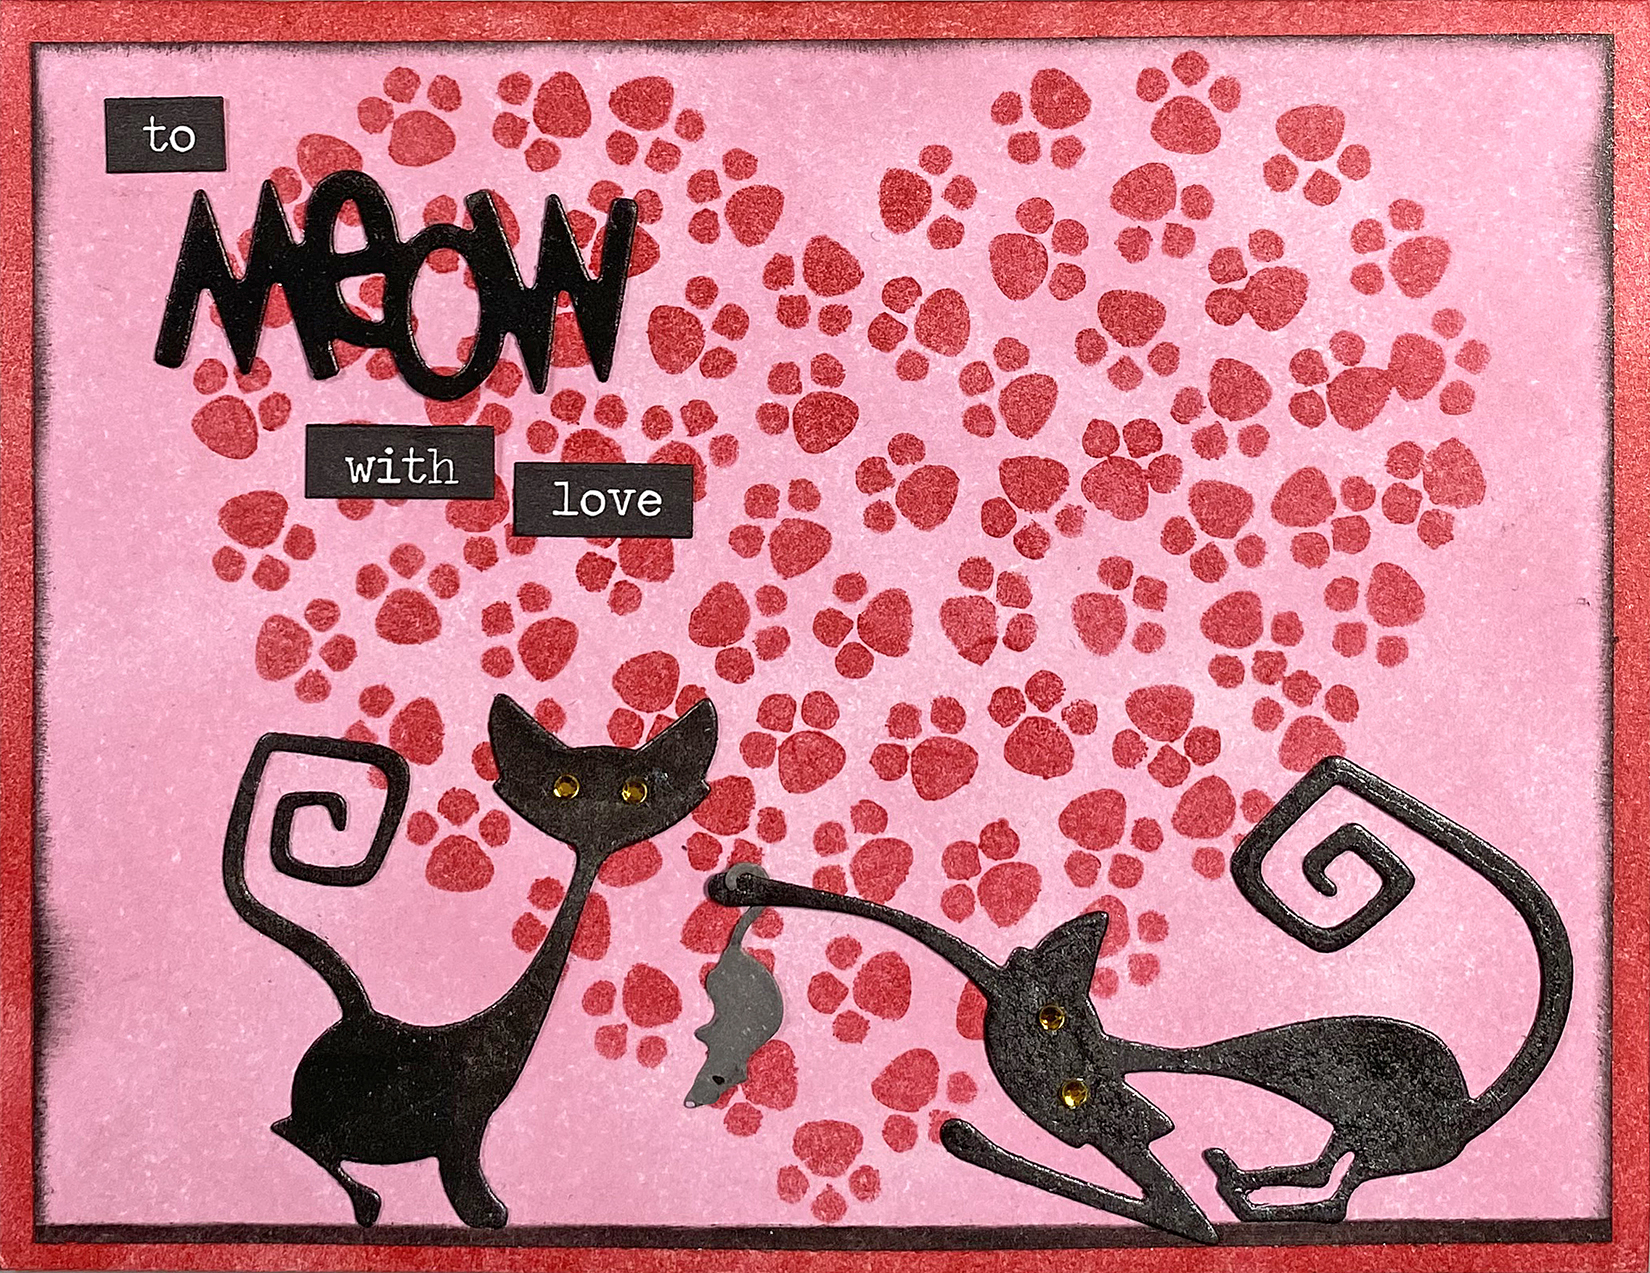
As a certified crazy cat lady, I had to make another another cat-themed Valentine’s Day Card! This one uses Baby Pink VersaFine Clair Ink with a shimmery Delicata die-cuts and a stenciled heart. It was quick, easy, and fun to create.
Skill Level: Beginner Time: 45 minutes
Instructions:
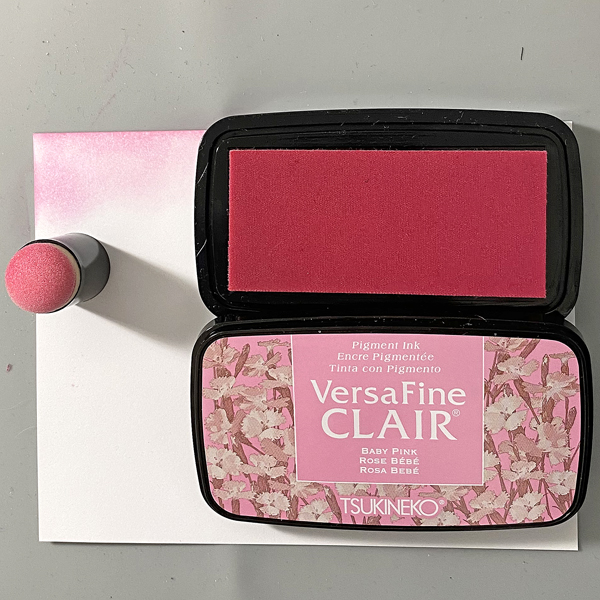
Step 1: Use a Sponge Dauber to apply Baby Pink VersaFine Clair Ink to a 4” x 5.25” piece of white cardstock. Heat set.
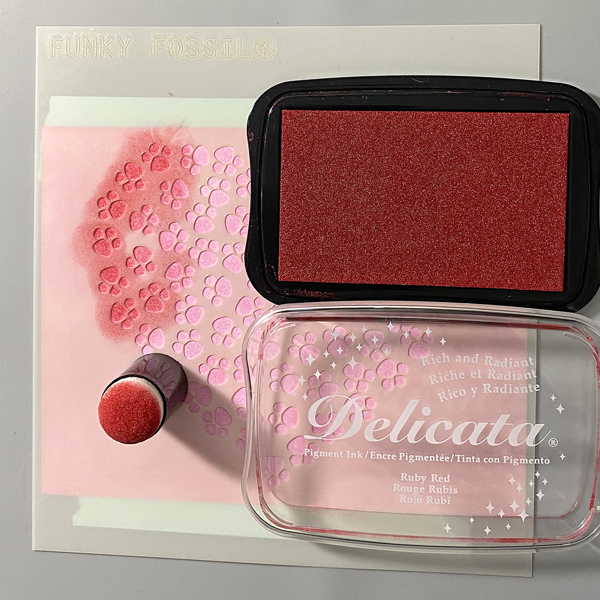
Step 2: Use low-tack tape to secure the inked image panel to the back of the Pawsome Heart Stencil. Use a Sponge Dauber to apply Ruby Red Delicata Ink over the stencil onto the image panel. When done, remove the stencil and heat set the stenciled heart.
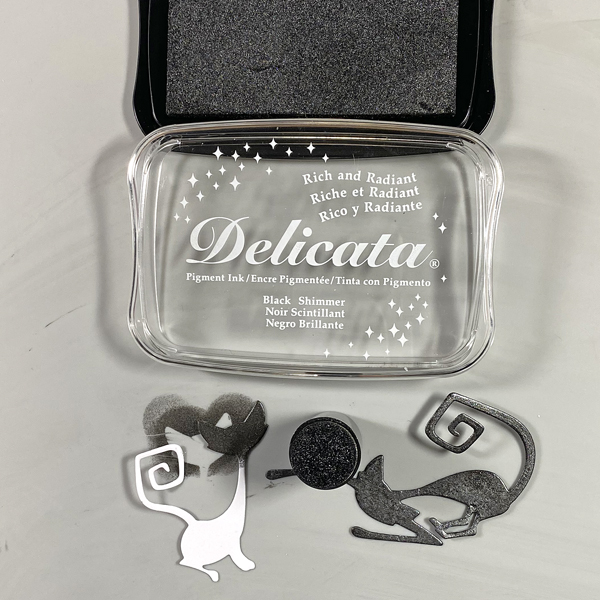
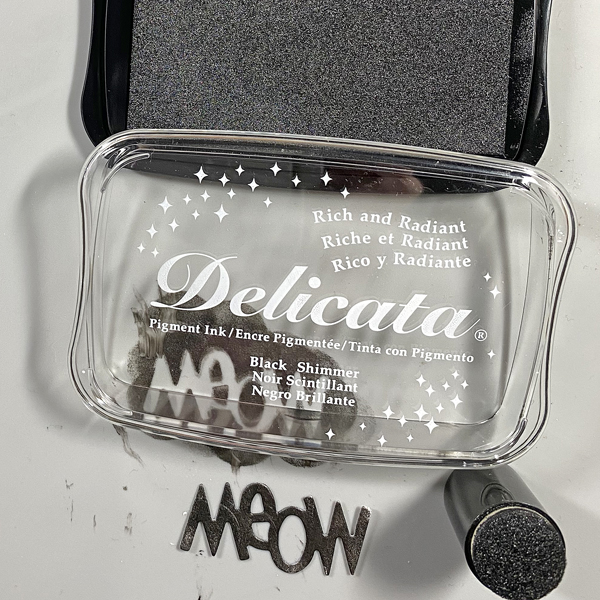
Use a Sponge Dauber and Black Shimmer Delicata Ink to edge the image panel. Sorry that there’s no photo.
Step 3: Use two of the cat dies from the Mischievous Thinlits Die Set to cut white cardstock. Use a Sponge Dauber to apply Black Shimmer Delicata Ink to both sides of each cat die-cut. Heat set.
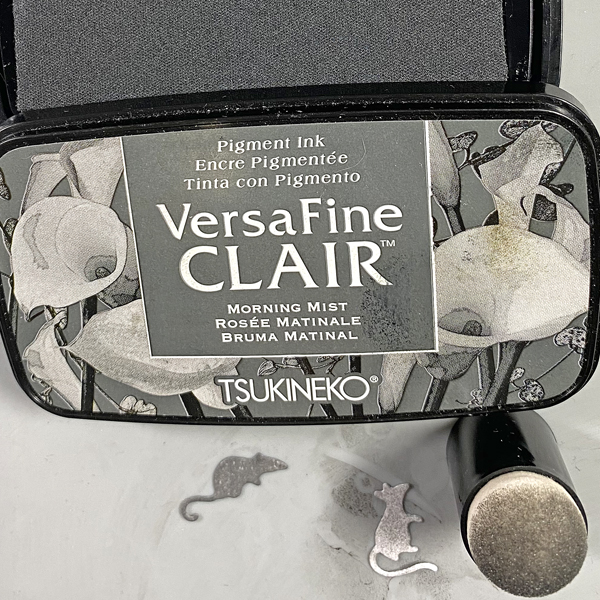
Step 4: Use the Little Mice Die to cut white cardstock. Use a Sponge Dauber to apply Morning Mist VersaFine Clair Ink to the mouse. Heat set. Use a black pen to add an eye to the mouse and a Pink Uni-Posca Paint Pen to color its nose.
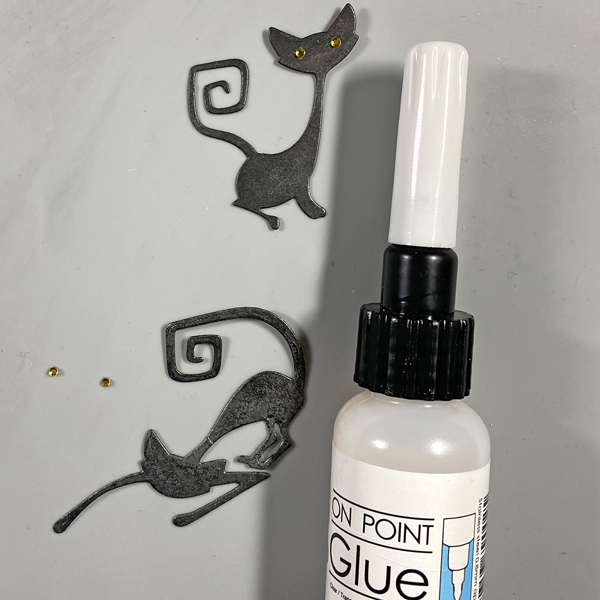
Step 5: Use On Point Glue to add tiny gemstone eyes to the cats.
Step 6: Use On-Point Glue to adhere the mouse to the outstretched paw of one of the cats. Use On Point Glue to adhere both cats to the image panel as shown.
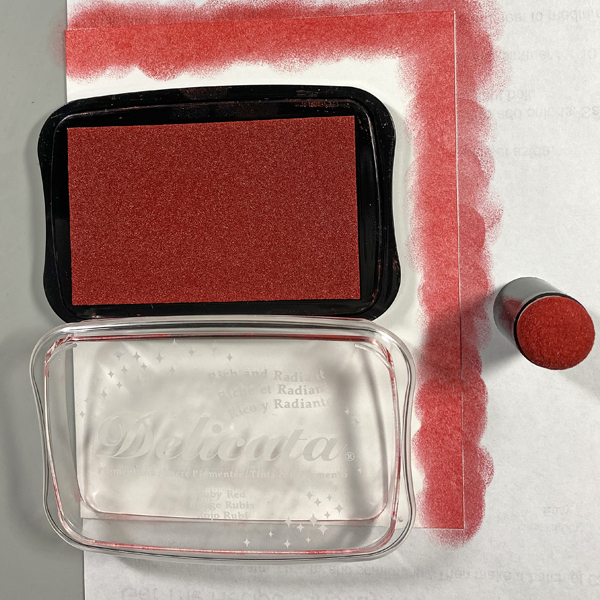
Step 7: Use a Sponge Dauber to apply Ruby Red Delicata Ink to the outside .5” of a white A2 card. Heat set. Repeat application of the Ruby Red Delicata Ink to deepen the color and shimmer. Heat set.
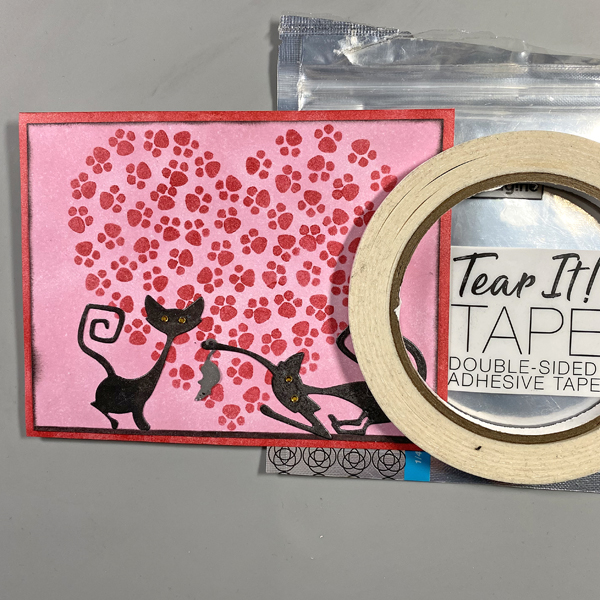
Step 8: Use Tear It! Tape to mat the image panel with the Ruby Red Delicata inked card.
Step 9: Use the “Meow” die to cut white cardstock. Use a Sponge Dauber to apply Black Shimmer Delicata Ink to both sides of the die-cut. Heat set.
Use On-Point Glue to adhere the “Meow” die-cut to the card.
Adhere the “to”, “with”, and “love” Chit Chat Verbiage Stickers to finish the card.