Make a Fun, Quick and Easy Stenciled Retirement Card

By LeeAnn McKinney 

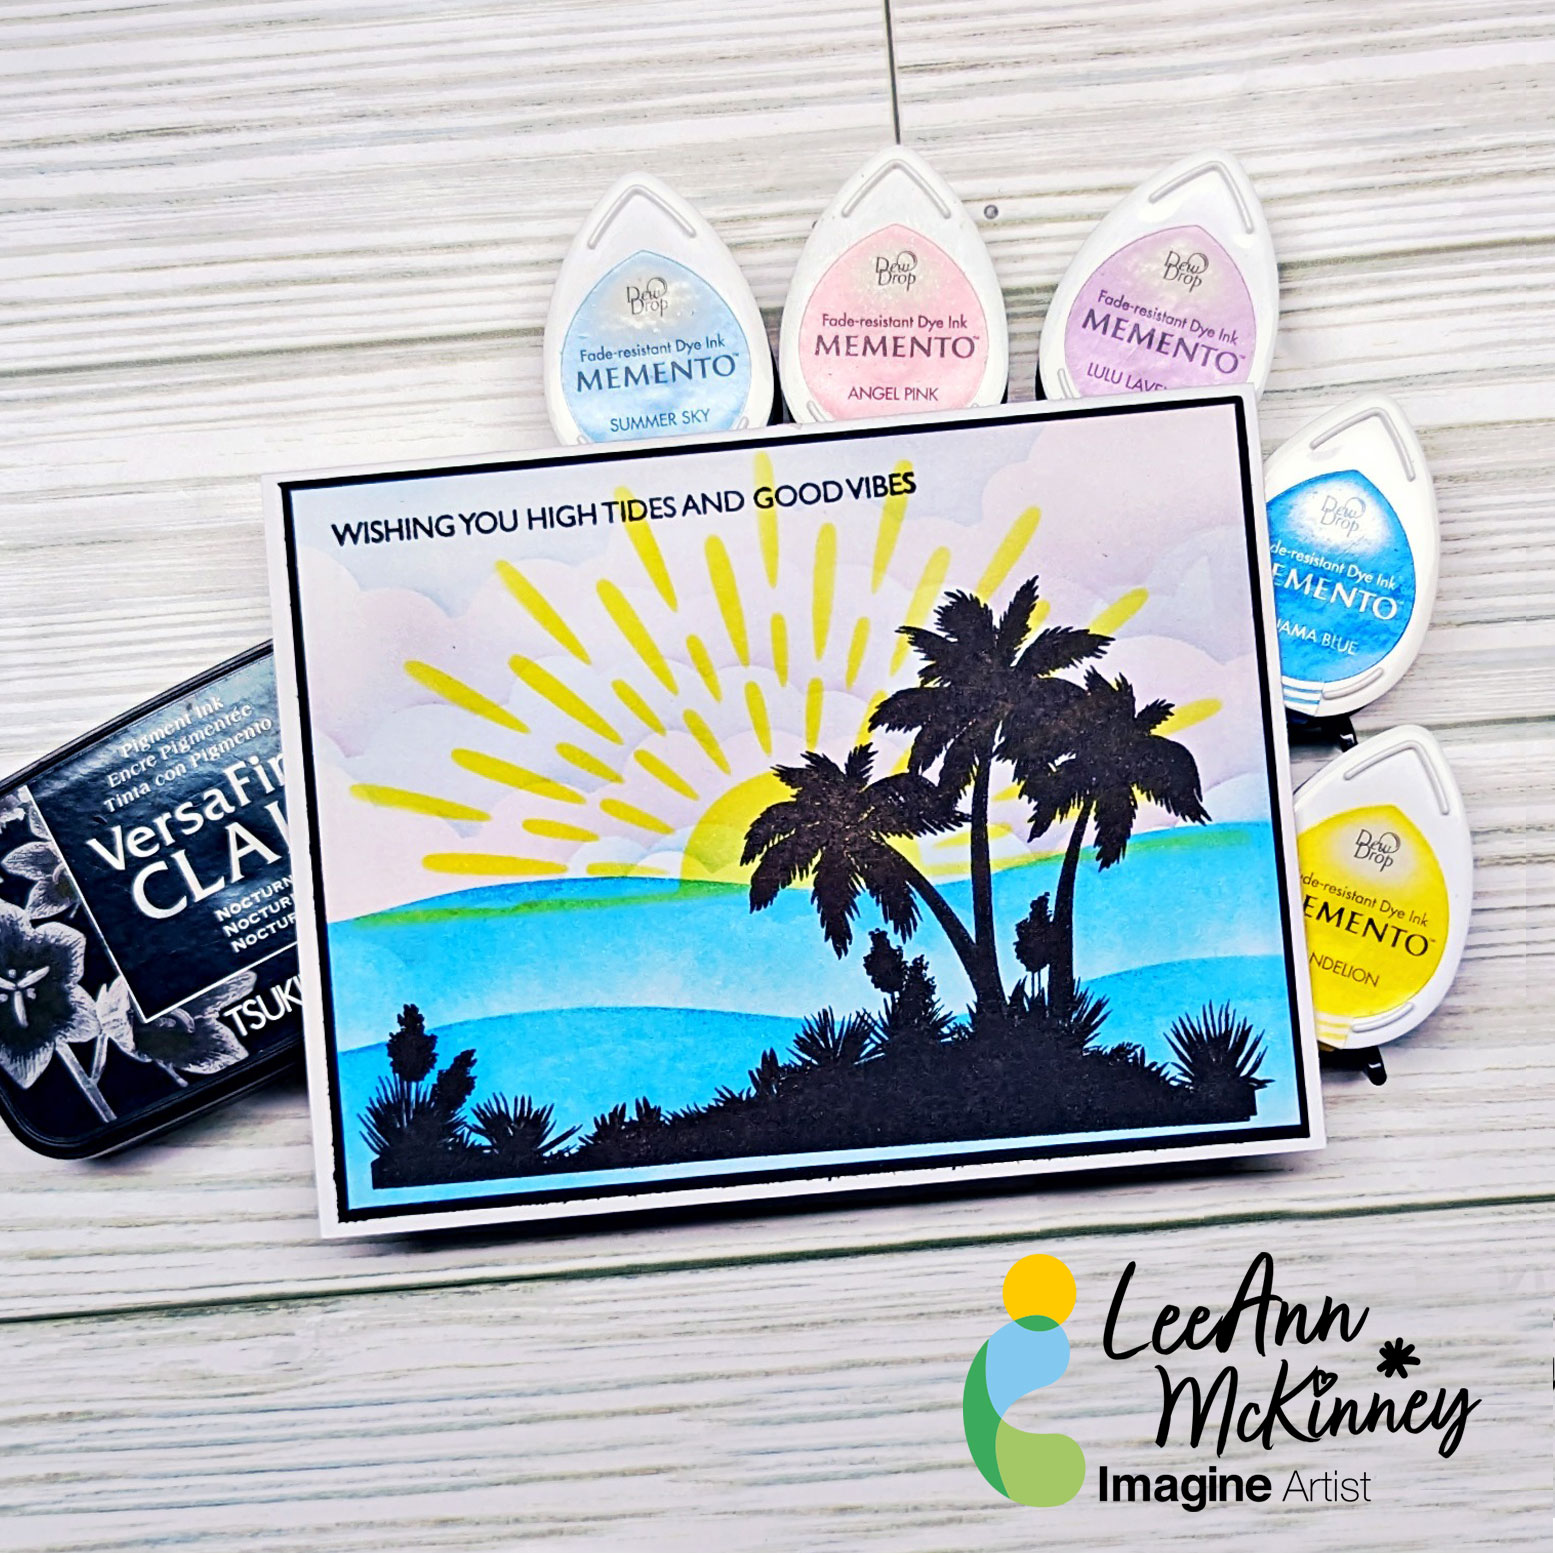
Greetings friends and fellow crafters, LeeAnn here with a fun to make, retirement card using both stencils and stamps. I am finding myself in love with stencils these days, and you will see more coming from me in the upcoming months. 

Skill: Beginner

Time: 20 min

Products Used

Imagine

• Memento: Dandelion, Bahama Blue, Summer Sky, Angel Pink, Lulu Lavender 

• VersaFine Clair Nocturne

• StazOn Stamp Cleaner 

• On Point Glue 

• Tear It! Tape

Other Supplies Used:

Gina K designs: Ocean Silhouettes Stamp Set 

Gina K designs: Sea, Sun and Sky Stencil

Gina K Designs: White Cardstock

Ink Embossing Folder Techniques

By Alison Heikkila 

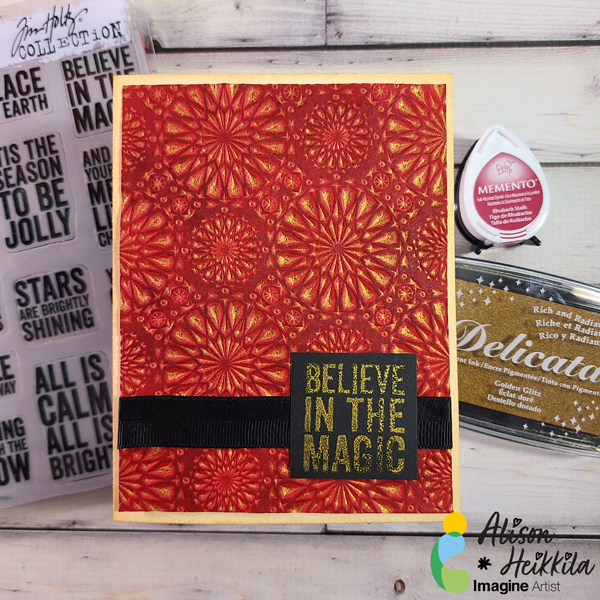
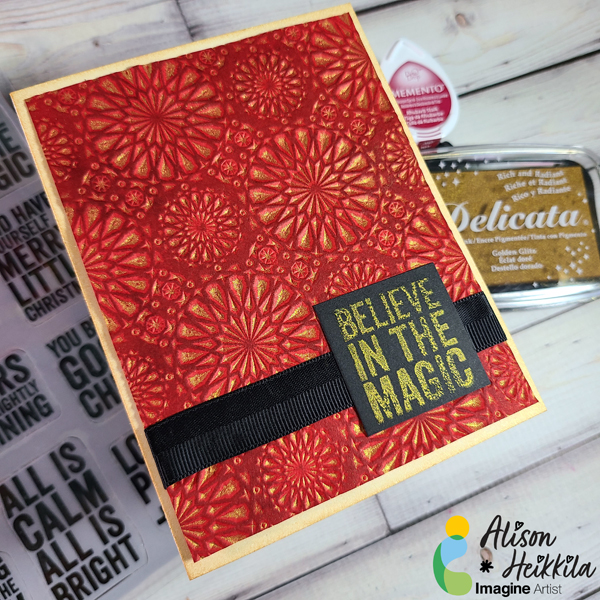
Greetings! It’s Alison Heikkila. I recently watched a video from Jennifer McGuire that was all about inking embossing folders to create beautiful inky and dimensional cards easily. I wanted to give her techniques a try using inks from Imagine. I also decided that this would be a great opportunity to make a Christmas card. You can check out my YouTube video below.

Skill Level: Beginner
Time to Complete: 15 minutes

Art Supplies:
Imagine:
Delicata Ink in Golden Glitz
Memento Ink: Rhubarb Stalk
Other:
Sizzix: Kaleidoscope 3-D Texture Fades
Stampers Anonymous: Bold Tidings Mini
Ranger: Brayer
Black Grosgrain Ribbon, Black & White Cardstock

Jennifer McGuire’s Video

I hope you enjoyed this simple, yet impactful technique. Thanks so much for stopping by. Have an inspiring day!

Learn How to Create a Faux Wood Burning Stamping Technique

By Nancy May –

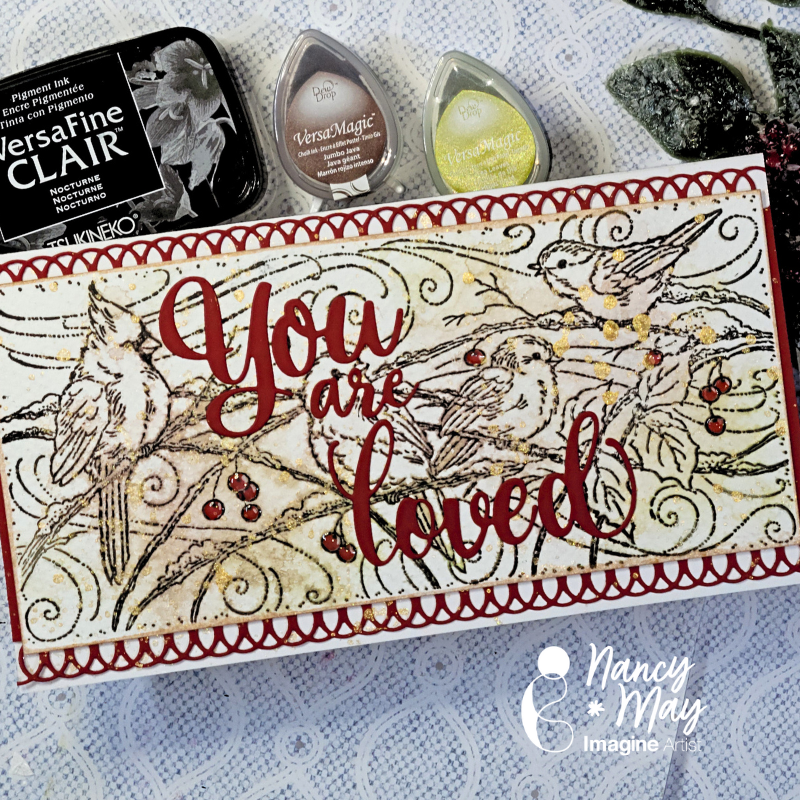
Pyrography is the art of wood burning and it has a very distinctive look. This stamping technique has a very similar look. Be sure to use watercolor card or this technique will likely not work. You will also need a stamping platform, water mister and a water reactive dye ink like VersaMagic, and a non-water reactive pigment ink, like VersaFine Clair.  Let’s get into it. 

~Nancy

Skill: Beginner, Intermediate

Time: undetermined

Art Supplies

Imagine:

● VersaMagic Dew Drop – Jumbo Java

● VersaMagic Dew Drop – Tea Leaves

● VersaFine Clair – Nocturne

Other:

● Stampendous – Snowy Birds Red Rubber Stamp

● Whimsy Stamps – You Are Loved Die set

● Dress My Craft – Rich Red 12×12 Cardstock

● PinkFresh – Slimline Lacy Edgers Dies

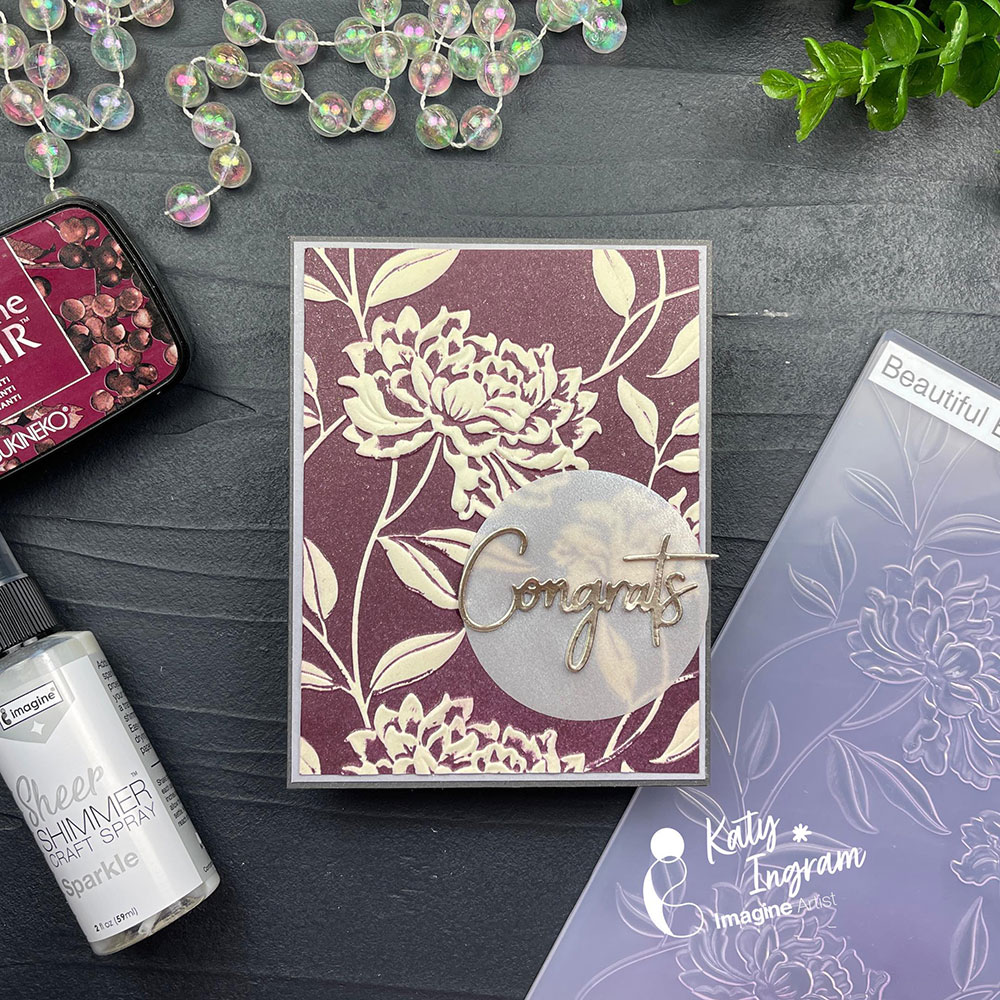
Congratulations Card Using VersaFine Clair Ink With 3D Embossing Folders

By Katy Ingram

Hello Friends! Katy here and today I am sharing a super quick technique using VersaFine Clair.

In todays video tutorial I am sharing how I use VersaFine Clair in the color Chianti and some cream card stock with a 3D Embossing folder to create a quick, but elegant card. In the video I also share cleaning up the embossing folder so you have minimal to no staining. All this in just over 3 minutes! Check it out below.

Katy

Skill: Beginner

Time: 5 minutes

Art Supplies

Imagine Products

VersaFine Clair – Chianti

Sheer Shimmer Spray – Sparkle

Tear It! Tape

Other Products Used

Cream Card Stock (Embossed Panel)

Gina K Designs Card Stock Soft Stone (Layering Panel)

Simon Says Stamp Card Stock Slate (Card Base)

Curious Translucent Pearl Vellum (Circle)

Tim Holtz Metallics-3 (Congrats Die Cut)

Spellbinders 3D Embossing Folder Beautiful Blooms

Spellbinders Congrats (Word Die) Simply Perfect Mix & Match Sentiments Die Set

Inking Techniques to Make Multiple Artist Trading Cards

By LV Handcrafted

Hello friends! This is Linh (or LV Handcrafted on all the socials). In today’s video I’m showing two techniques for creating background panels that you can either cut down or die cut from!  One technique features the ever-so-popular ink “smooshing” and the other features creating monoprinting with a gel plate!  These techniques are fast and easy to make multiples of if you ever need to make the same card en mass. I made a set of 6 Artist Trading Cards (ATC) using one panel for the background and the monoprint for die-cutting.

Skill: Advance

Time: 45 minutes

Supplies Used

Other Products Used

Using Embossing Powder To Make Embossing Skins

By Katy Ingram

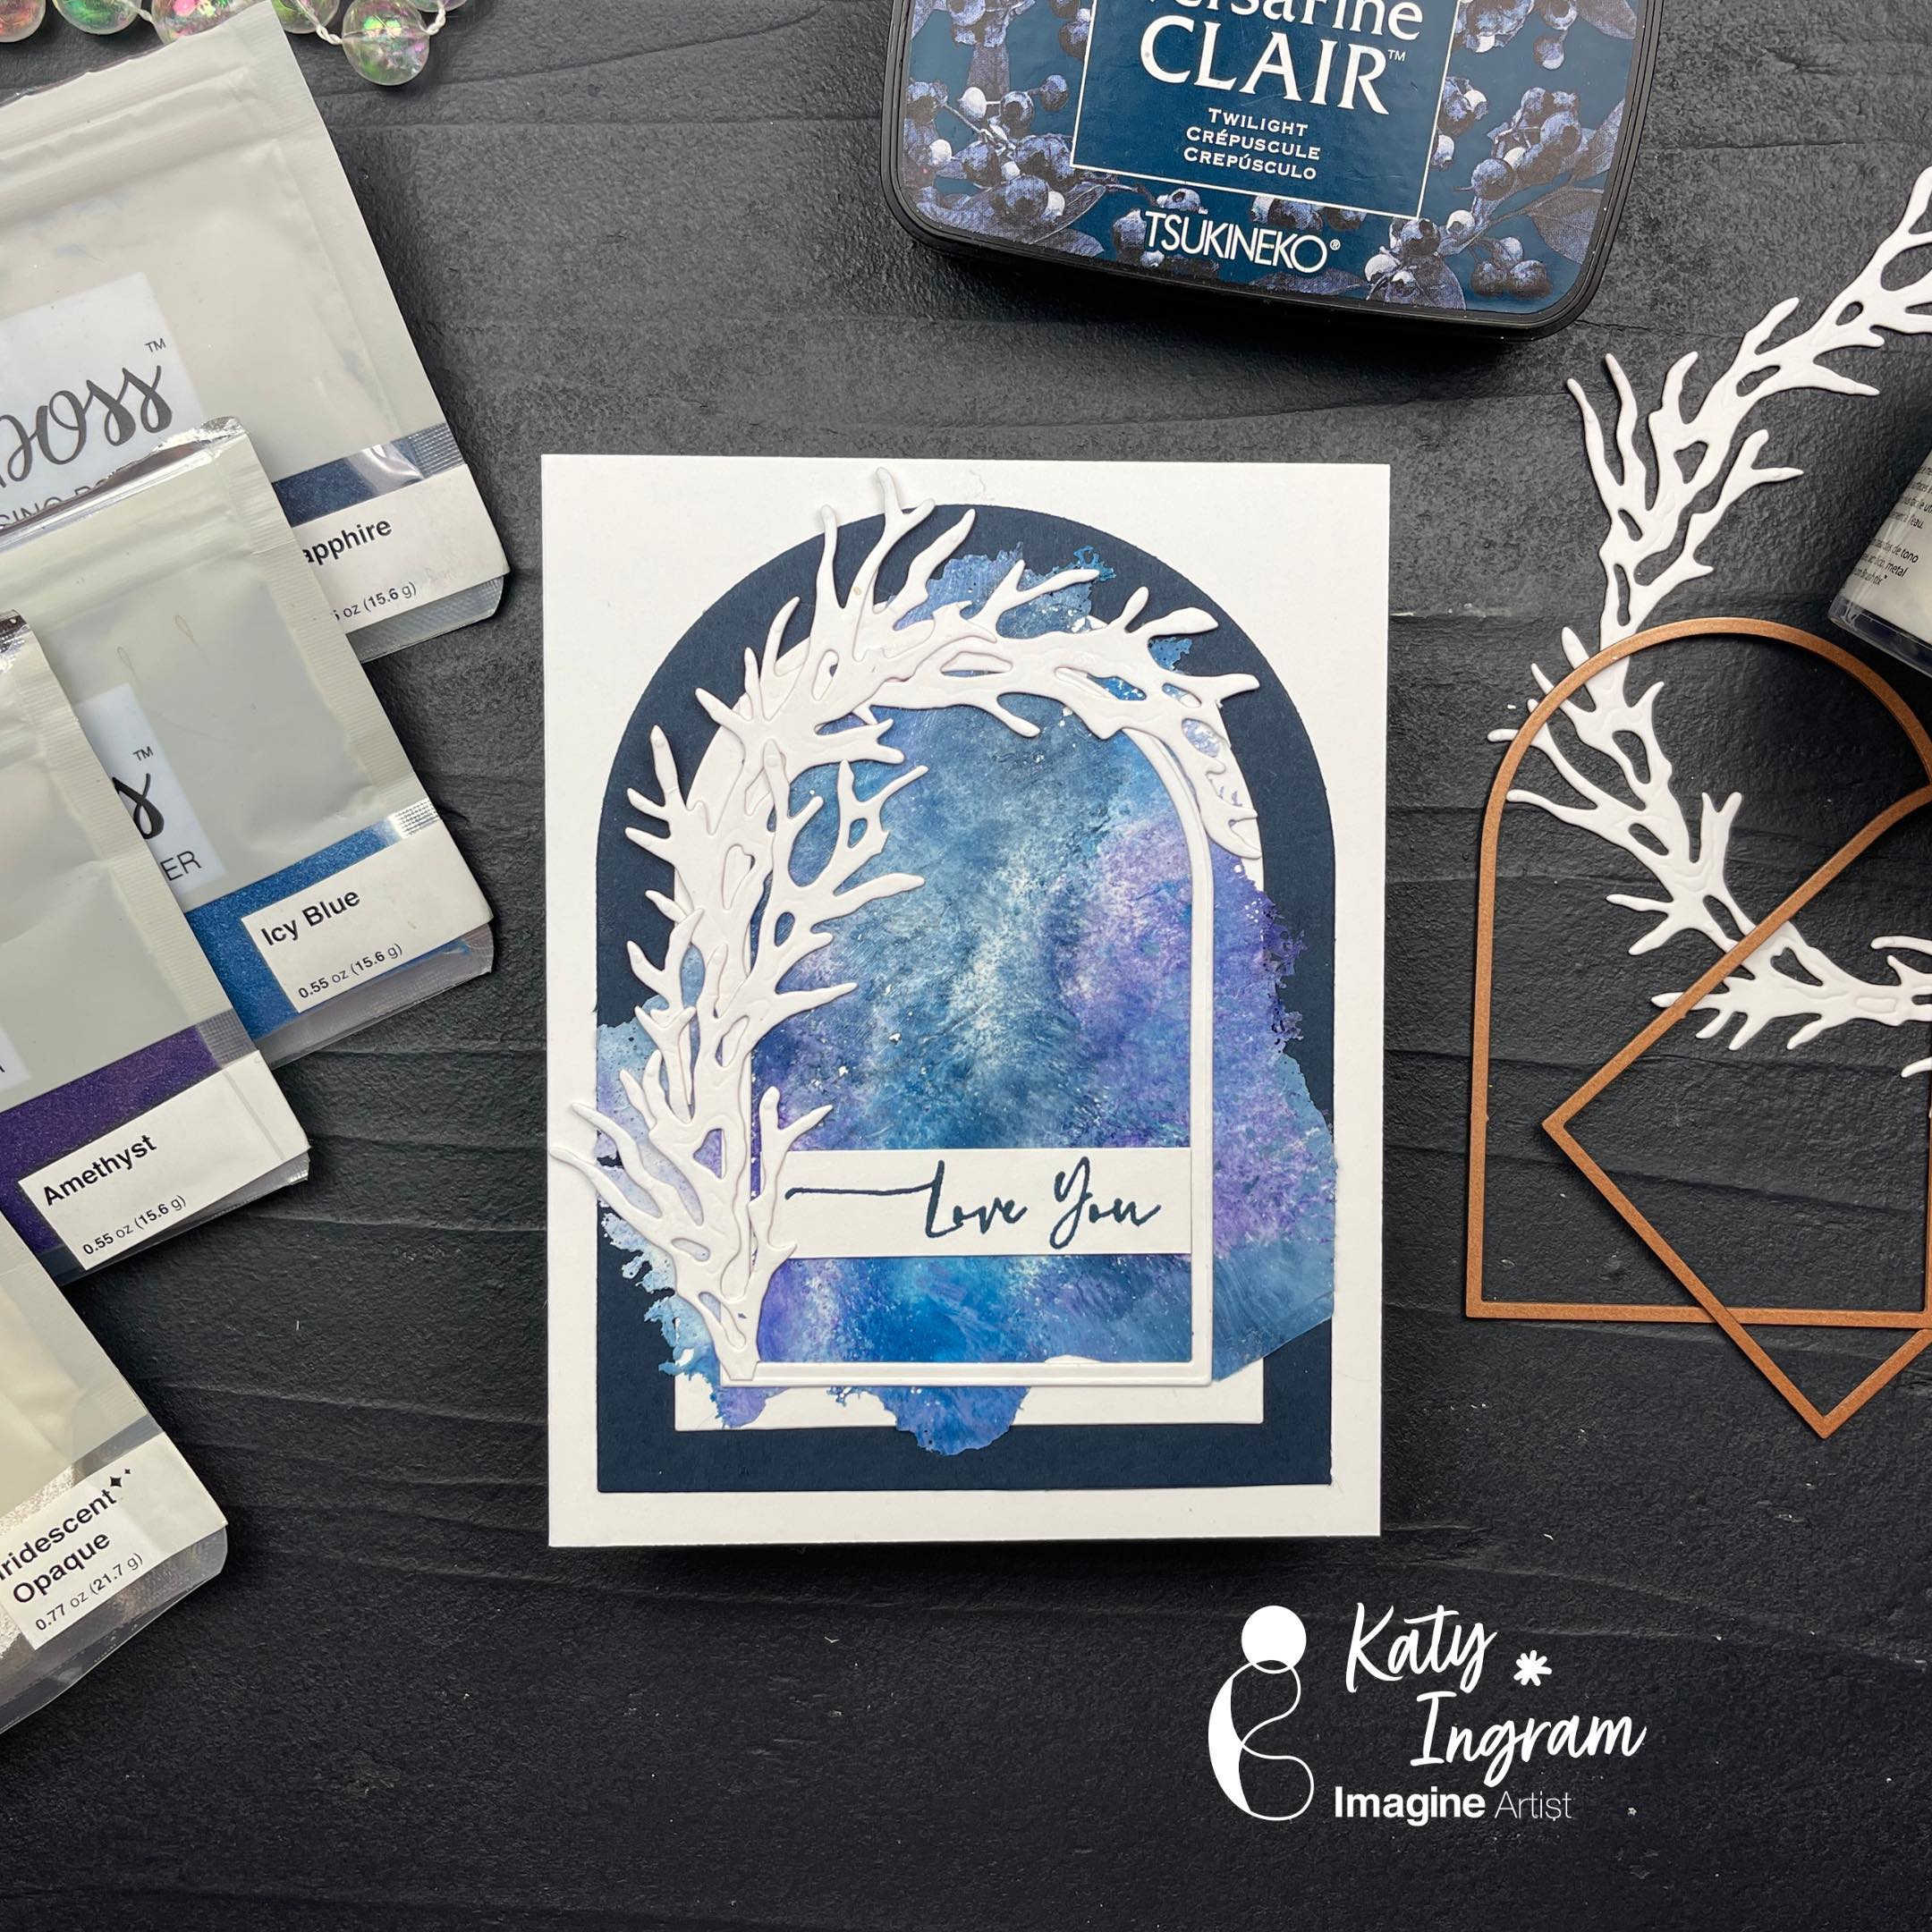
Hello Friends! Katy here and today I have a really fun technique using MBoss Embossing Powders to make paper thin backgrounds, AKA Embossing Skins.

In todays video tutorial I am sharing how I made some backgrounds using embossing powders with an iron, you can also use your heat gun. You will also need some parchment paper/baking paper. This is a quick technique, but so addicting!

The best part, you can use any embossing powder, including the ones that don’t emboss very well any more. This is a great technique to use those particular powders up so they don’t go to waste!

I have lots of tips and things to share in the video, check it out below.

Katy

Skill: Beginner

Time: 5 minutes

Art Supplies

Imagine Products

• MBoss Embossing Powders

  • Iridescent Opaque
  • Amethyst
  • Icy Blue
  • Sapphire

• VersaFine Clair – Twilight

• Creative Medium – Shimmer

• On Point Glue

• Tear It! Tape

Other Products Used

• Accent Opaque 120 lb (white arch layer, arch frame, sentiment strip, wreath/branches and card base)

• Gina K Designs Card Stock In The Navy (blue arch layer)

• Scotch Super 77 Spray Adhesive

• The Greetery Reflections Stamp (Love You)

• Spellbinders-Susan Tierney Cockburn Woodland Wreath & Feathered Friends Die

• Spellbinders Arches Die Set

• 1” Acrylic Paint Brush