Learn How to Use Iridescent Blue Creative Medium to get 3 Different Looks

by Lindsay Adreon

Learn How to Use Iridescent Blue Creative Medium 3 Different Looks

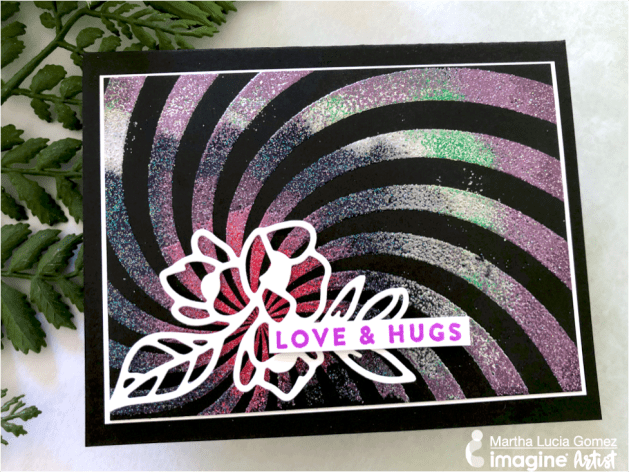
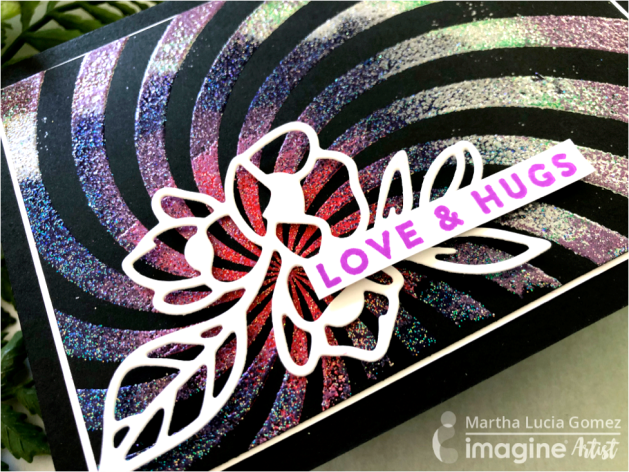
When I first took a peek at the Iridescent Creative Medium I couldn’t quite figure it out. In the jar, it didn’t really have any shine and I couldn’t detect a color shift like other iridescent products. Then, I swatched it and let it dry. I could not stop staring at how beautiful it was! Moving the swatch in the light—I was mesmerized by the medium and how it would shift colors as I moved it around! It also looks different on different colors of cardstock, plus you can add color to it! I’m sharing three different ways to use the Iridescent Creative Medium. I hope you enjoy it as much as I enjoy playing around and experimenting with this fun medium!

Skill: Beginner
Time: 15 minutes + dry time

Directions

Supplies

Imagine
Other
  • The Crafter’s Workshop Stencils – Wallflowers, Distressed Lace
  • Joy Clair Stamps – Spring Stroll Stamp Set
  • Hero Arts Prayers Stamp & Die Set
  • Cardstock – black, white
  • Cardbase

Learn 1 Minute 1 Inkpad EASY Blending with Kaleidacolor

by Jessica Lin

Learn 1 Minute 1 Inkpad EASY Blending with Kaleidacolor

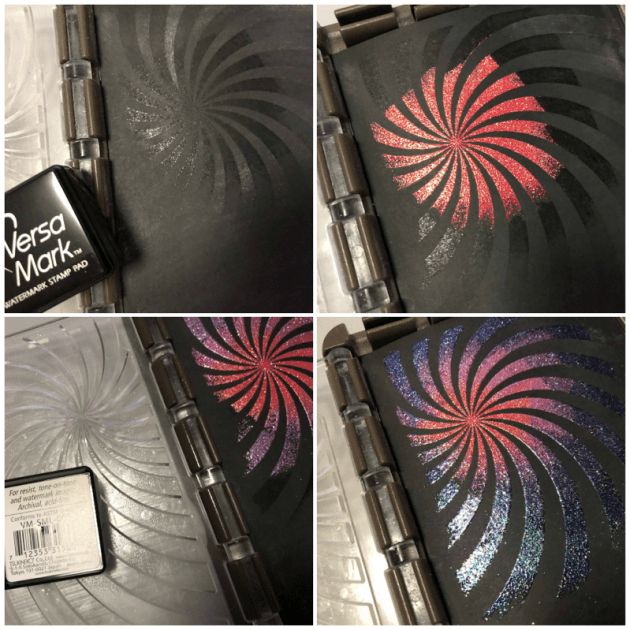
Today I have a super cool technique to share with you – and the best part is, it only takes one minute and an ink pad to create! Talk about minimal supplies crafting. This easy ink blending technique uses Kaleidacolor ink pads, glossy paper, and a brayer. Try it once and you’ll see how quick and easy it is compared to traditional ink blending. If you are a stamping beginner with a small stash of ink pads or a crafter who likes quick and easy cards, this video tutorial is for you.

Skill: Beginner
Time: 1 minute for ink blending, 15 minutes for card assembly

Directions

Supplies

Imagine
Other
  • Stampin’ Up Rooted in Nature Clear-Mount Stamp
  • Glossy Paper
  • Brayer
  • Neenah White Cardstock
  • Stamping Tool or Acrylic Block

See How To Make 2 Different Wedding Invitations

by Elina Stromberg

See How To Make 2 Different Wedding Invitations

The wonderful high season of summer weddings is soon here! Whether you are invited for a wedding reception and would like to attach a handmade card to the wedding gift, or are planning your own wedding crafts, I hope that these easy-to-make card designs will give you ideas for your own wedding themed projects.

My paper crafting hobby started 16 years ago when I decided to create my own wedding invitation cards and wedding reception decorations. In this process, I took my first steps in stamping and heat embossing and was so amazed how easy it was to mass create professional looking projects in just a few simple steps. I could even say that for me those wedding invitations were not just the start of a beautiful marriage but also the beginning for a lifelong love for paper crafting!

Skill: Beginner
Time: 1 hour

Directions for the Wedding Card


Step 1

Stamp the main image on a piece of white cardstock. Choose the stamping ink depending on the type of colors you want to use for coloring the image:
– If you’re using color pencils, any type of ink will work perfectly.
– If you’re using alcohol markers for coloring, choose a water base ink (e.g. Memento) for stamping.
– If you’re using watercolors, choose a pigment stamping ink (e.g. VersaFine, VersaFine Clair, StazOn Pigment).


Step 2

Cut out the image using scissors. A craft knife will help in cutting out smaller details.


Step 3

Decorate the card background with a swirl stamp. Stamp the pattern on a piece of cream color cardstock using clear VersaMark ink. Place the stamped card on a sheet of printing paper and cover the image with Embossing Powder in White. Lift the card; the fine embossing powder will stick to the clear ink. Using the sheet of printing paper pour the powder back to the container.


Step 4

Heat set the powder with a heating tool. When heated the powder will turn glossy and clean white.


Step 5

Stamp the sentiment text using black ink. Trim the card front to the desired size and shape. Mat the card front on darker solid color cardstock. Tip: Attach the card front to the base paper first, and only then cut the underlying layer to size. No exact measuring will be needed!


Step 6

Attach the layered card front to the card base. Trim to size if needed. Glue the main image on the card front. Embossing powders come in various colors, and especially the metallic colors work perfectly on all wedding themed projects. I created a second version of the same card design, but instead of a white swirl I used a silver ornament pattern for the background decoration: A great wedding invitation design looks elegant and beautiful but is quick and easy to make even in greater quantities. Stamping is a simple way to decorate the invitation card, and the choice of patterns and stamping colors can be used to give a hint of the wedding theme or the theme colors you’ve chosen for the reception.

If you master brush script lettering or modern calligraphy you can make the invitations even more personal with hand-written invitation texts. However, a printer and downloaded brush script fonts can make the task easier for you; on these invitation cards, I first printed the text on a heavy white office paper and then continued with decorating the front with stamping.

Directions for Embossed Wedding Invitations


Step 1

Hand-write or print the invitation text on the card front. Cover the text with Post-It notes. Stamp a pattern on the card front using clear VersaMark ink. Remove Post-It notes.


Step 2

Cover the stamped pattern with Embossing Powder in Silver. Pour off excess back in the powder container.


Step 3

If the powder is sticking to the invitation text remove the powder with a clean brush. Heat set the powder with a heating tool.


Step 4

Cut the card front to size, mat on a piece of solid color cardstock and attach to the card base. For the second invitation card, I used the same masking technique, but instead of heat embossing, I decorated the card front with stamped leaf patterns. The invitation text was printed with green color to match the stamped decorations.

Thank you for stopping by the Imagine blog for this wedding crafting tutorial! Please share this post on social or give it a like!

Supplies

Imagine

Other

  • Cardstock – White, Cream, Grey, Green, Burgundy
  • White card bases
  • Heat tool
  • Alcohol markers for coloring
  • Paper trimmer
  • Glue
  • Post-it notes
  • Brush
  • Simon Says Stamp-‘Rose Lattice Background’ stamp
  • Stampin’Up! – ‘Best Birds,’ ‘Falling Flowers’ stamp
  • Wedding couple stamp
  • Ornament stamp

Quick & Easy Wedding Invitation Tutorial using Shimmer and Vellum Cardstock

by Kassy Tousignant

Quick & Easy Wedding Invitation Tutorial using Shimmer and Vellum Cardstock

With minimal supplies, I made an elegant and simple wedding card. If you are looking to make your own wedding invitations, you could make loads of these in a single afternoon. The On Point Glue works beautifully to adhere the vellum without leaving any adhesive marks.

Skill: Intermediate
Time: 20 minutes

Directions

Supplies

Imagine

StazOn Pigment Inkpad – Snowflake
Sheer Shimmer Stix – Sparkle
On Point Glue
IrRESISTible Pico Embellisher – Sparkle

Other

• Silver sequins
• Sizzix – Big shot
• Vellum Cardstock
• Crafter’s Companion – silver mirror cardstock, embossing folder, love die, pearl white cardstock

Learn How to Make a Clear Wedding Invitation

by Lindsay Adreon

2019_April_LA_ClearInvitation_72PPI

Wedding invitation styles are constantly changing and updating and recently on Pinterest I have seen some beautiful CLEAR invitations using acrylic sheets. I wanted to find a DIY to make clear invitations and still have them be very elegant. I used StazOn Pigment Ink and a Marble stamp layering stamp set to get the look I was going for, and it was easier than I thought to create these see-through translucent invitations!

Skill: Advanced
Time: 15 minutes for each

Directions

Supplies

Imagine
Other

See How To Make A Birthday Card With A Dynamic Look

by Elina Stromberg

See How To Make A Birthday Card With A Dynamic Look

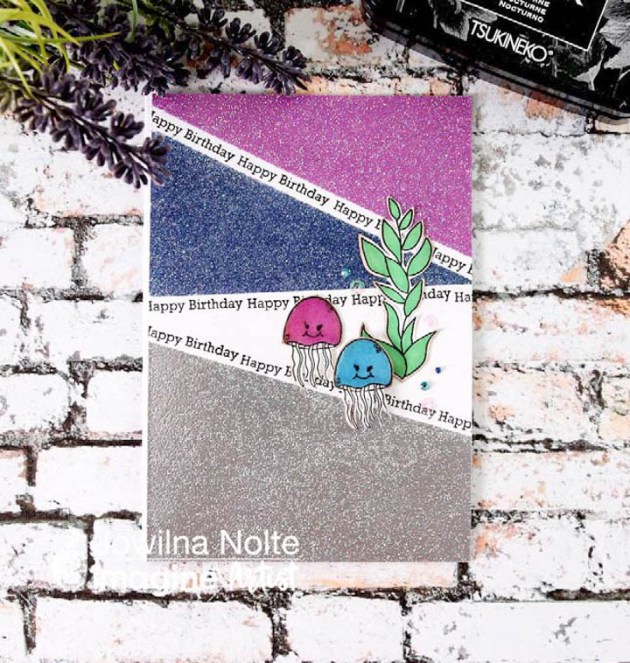
This card project is a playful combination of two very different design elements; a simple white graphical front and a rich bright colorful background. This design idea can be used for various card projects of different sizes and shapes; this background looks as great on a large square card as on a small ATC. For the background use your favorite colors and color combinations and add additional layers with stamps and stencils. The graphical white card front will calm down even the busiest color burst background making the result look elegant and beautiful.

Skill: Beginner
Time: 2 hours + drying time

Direction


Step 1

Trim a panel from white cardstock. The size should be slightly smaller than your card base (approx. 0.25 inch smaller on all edges). Place the panel on your craft mat, backside up. Using a pencil and a ruler trace a border around the edges. Trace a few straight lines across the panel, letting the lines cross. Decide on the placement of the solid front label that will be the base for the stamped sentiment. Mark the label area clearly so that it will be left uncut.

Step 2

Place the front panel on a cutting mat. Using a craft knife and a ruler cut out the areas inside the crossing lines. Leave a thin border on both sides of the lines. Do not cut into the solid label area.


Step 3

Mist a piece of white heavy watercolor paper with water. Use your craft mat as a palette: Remove the nozzle from the Fireworks mist, pour a drop of color on the craft mat and apply color on the paper using a brush. Add drops of another matching color either with a brush or with the nozzle. Mix colors using both water and a brush, let dry before adding more layers of color.

Step 4

When finished with painting splash the paper with clear water. Let water react with the colors for a few seconds and lift off excess by pressing the paper with a paper towel. Let dry completely and trim to size of your white card front.

Step  5

Using one or two ink colors stamp the sentiment text on the card front.

Step 6

Assemble the card by first gluing the white card front on the colorful background and then attaching the entire front panel on the card base.


Extra Tip:

When coloring a card background I often use a paper slightly larger than my finished project. After trimming the panel to the final size I keep the colorful leftover pieces and use them for decorating the inside of the card. This way I’m continuing the same color and/or pattern theme on the inside of the card!

Supplies

Imagine

Other

  • White cardstock
  • White heavy watercolor paper
  • Solid color card base
  • Pencil
  • Ruler
  • Watercolor brush
  • Craft knife
  • Cutting mat
  • Paper trimmer
  • Glue
  • Double-sided tape
  • Ali Edwards – ‘Hello Birthday’ Stamp