by Iris Rodriguez

I enjoy drinking tea. There is something so zen about it. The enjoyment does not have to end after tea time. Keep the tea bags to make art. You can paint and stamp on them, sew into them, and even create sculptural projects, such as these little dresses. These dresses can be used on cards, art projects, place in a shadowbox, which makes for a great home décor for young girl/lady’s bedroom or simply make for yourself.
Skill: Advanced
Time: 30 minutes per dress
Directions

Step 1
Begin by allowing your tea bags to fully dry. I placed my tea bags on a ceramic plate with a paper towel and allowed them to dry for several days. The color of your tea bag will be determined by the type of tea you use. On this project, I started with a light color tea bag because it is Ginger tea.

Step 2
The tea bags are very delicate so a soft touch will be required to take them apart. Remove the tag by pulling it off. Remove the tiny staple with your nails. Rip open the seams. Take out the dried leaves by sloughing it off. Tear off the seams, otherwise, you’ll see it in your art. Do so, by tearing off the edges on the long side of the rectangle.

Step 3
The dresses will be made by using two dress patterns and gluing them at the seam, kind of like how real dresses are made. We will create one big sheet made of individual tea bags. This will be our “fabric”. One side of the tea bags will be rough, that’s where the tea leaves reside. The sheet will have one smooth side, this side is ideal for stamping. Lay the tea bags, rough side up, on a nonstick surface; wax paper or Freezer paper. Please note, in order to get one smooth side, Freezer or wax papers work the best. Brush on Creative medium and adhere the bags together by slightly overlapping them.

Step 4
Make a sheet of tea bags to the desired size. Adhere the second layer of tea bags in the exact location as the first layer. Ensure that your sheet is big enough to make two dress patterns per dress. If you want a thicker dress, add more than two layers of tea bags.

Step 5
Allow the tea bags to dry. Now you will have one single sheet of tea bags. Carefully, separate the sheet from the nonstick paper. Do this slowly, so that you don’t risk ripping the sheet. The bottom side of the sheet will be very smooth, yet you’ll still make out the tiny tea leaves granules, which look awesome. The other side will have a rough texture.

Step 6
Draw out a dress shape, or download a pattern from the internet.

Step 7
Fold the sheet in half. Using tracing paper, trace the dress on the tea bag sheet on the smooth side.

Step 8
Cut out the dress. Spray the dress with the Fireworks! Shimmery Craft Spray in Lady Bug on the smooth side.


Step 9
Stamp images on your dresses using a variety of StazOn inks.

Step 10
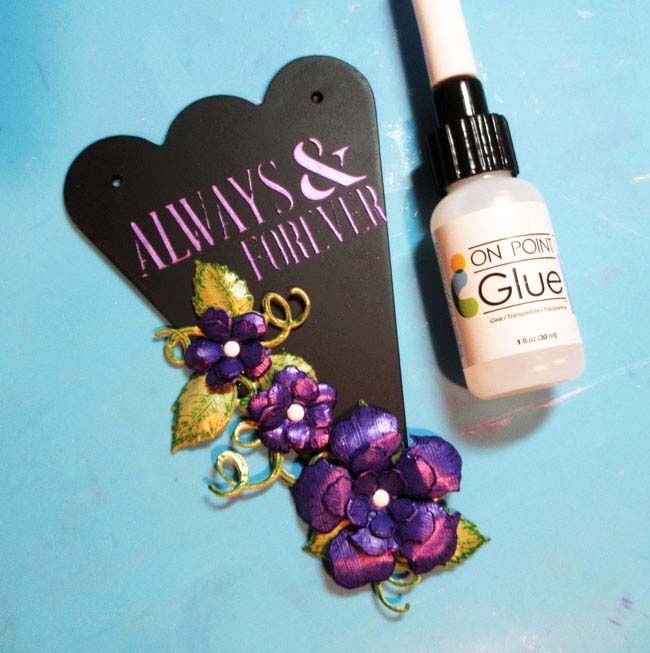
Glue the seams together with the On Point Glue.

Step 11
In order to give the dress dimension, strengthen the paper with Clear Creative Medium. Add saran wrap to inside to give the dress volume and brush on Creative Medium.


Step 12
Create a hanger for the dress. Measure desired hanger size against the dress. Bend the two ends of the wire at about 45 degrees. On one end, bend the wire to 90 degrees, wrap the other end around it, and bend the wire into a hook shape. Hang your dress on the hanger.
Supplies
Imagine
- Craft Mat
- StazOn – Jet Black, Claret, Blue Hawaii, Midnight Blue
- InkBlushers
- On Point Glue
- Fireworks! Shimmery Craft Spray – Lady Bug
- Creative Medium – Clear
Other
- Used teabags
- Rubber Stamps
- Freezer or wax paper
- 16 or 18 gauge aluminum wire
- Plyers
- Scissors