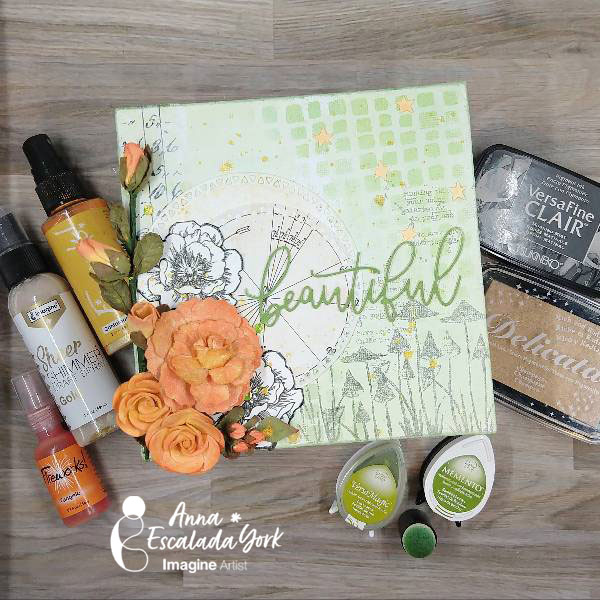
By Anna Escalada York
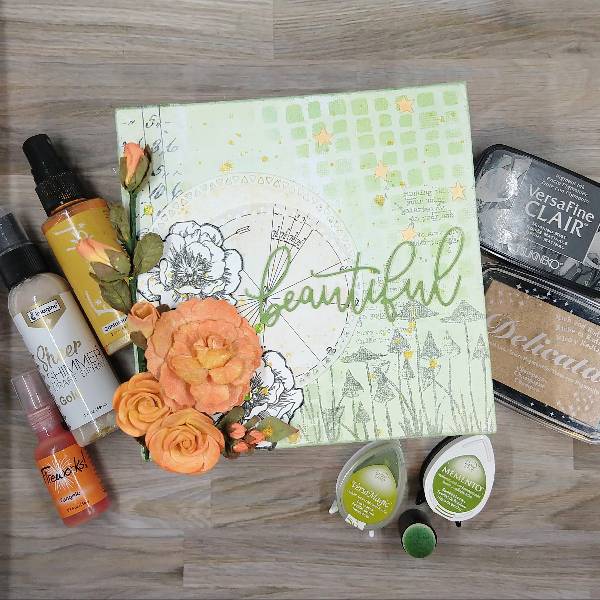
Last month, I made a jar for my younger kid and wanted to focus on my older kid in February. I made this piece for them while they were taking their ACT test! I decided to personalize the panel to feature some things they like–math and numbers, nature, space and mushrooms. This mixed media piece features sprays, ink, collage, stenciling, and cloth flowers. It was a wonderful way to spend an afternoon and I hope it inspires you to consider making something similar.
Skill: Intermediate
Time: 3 hours (plus drying time)
Directions
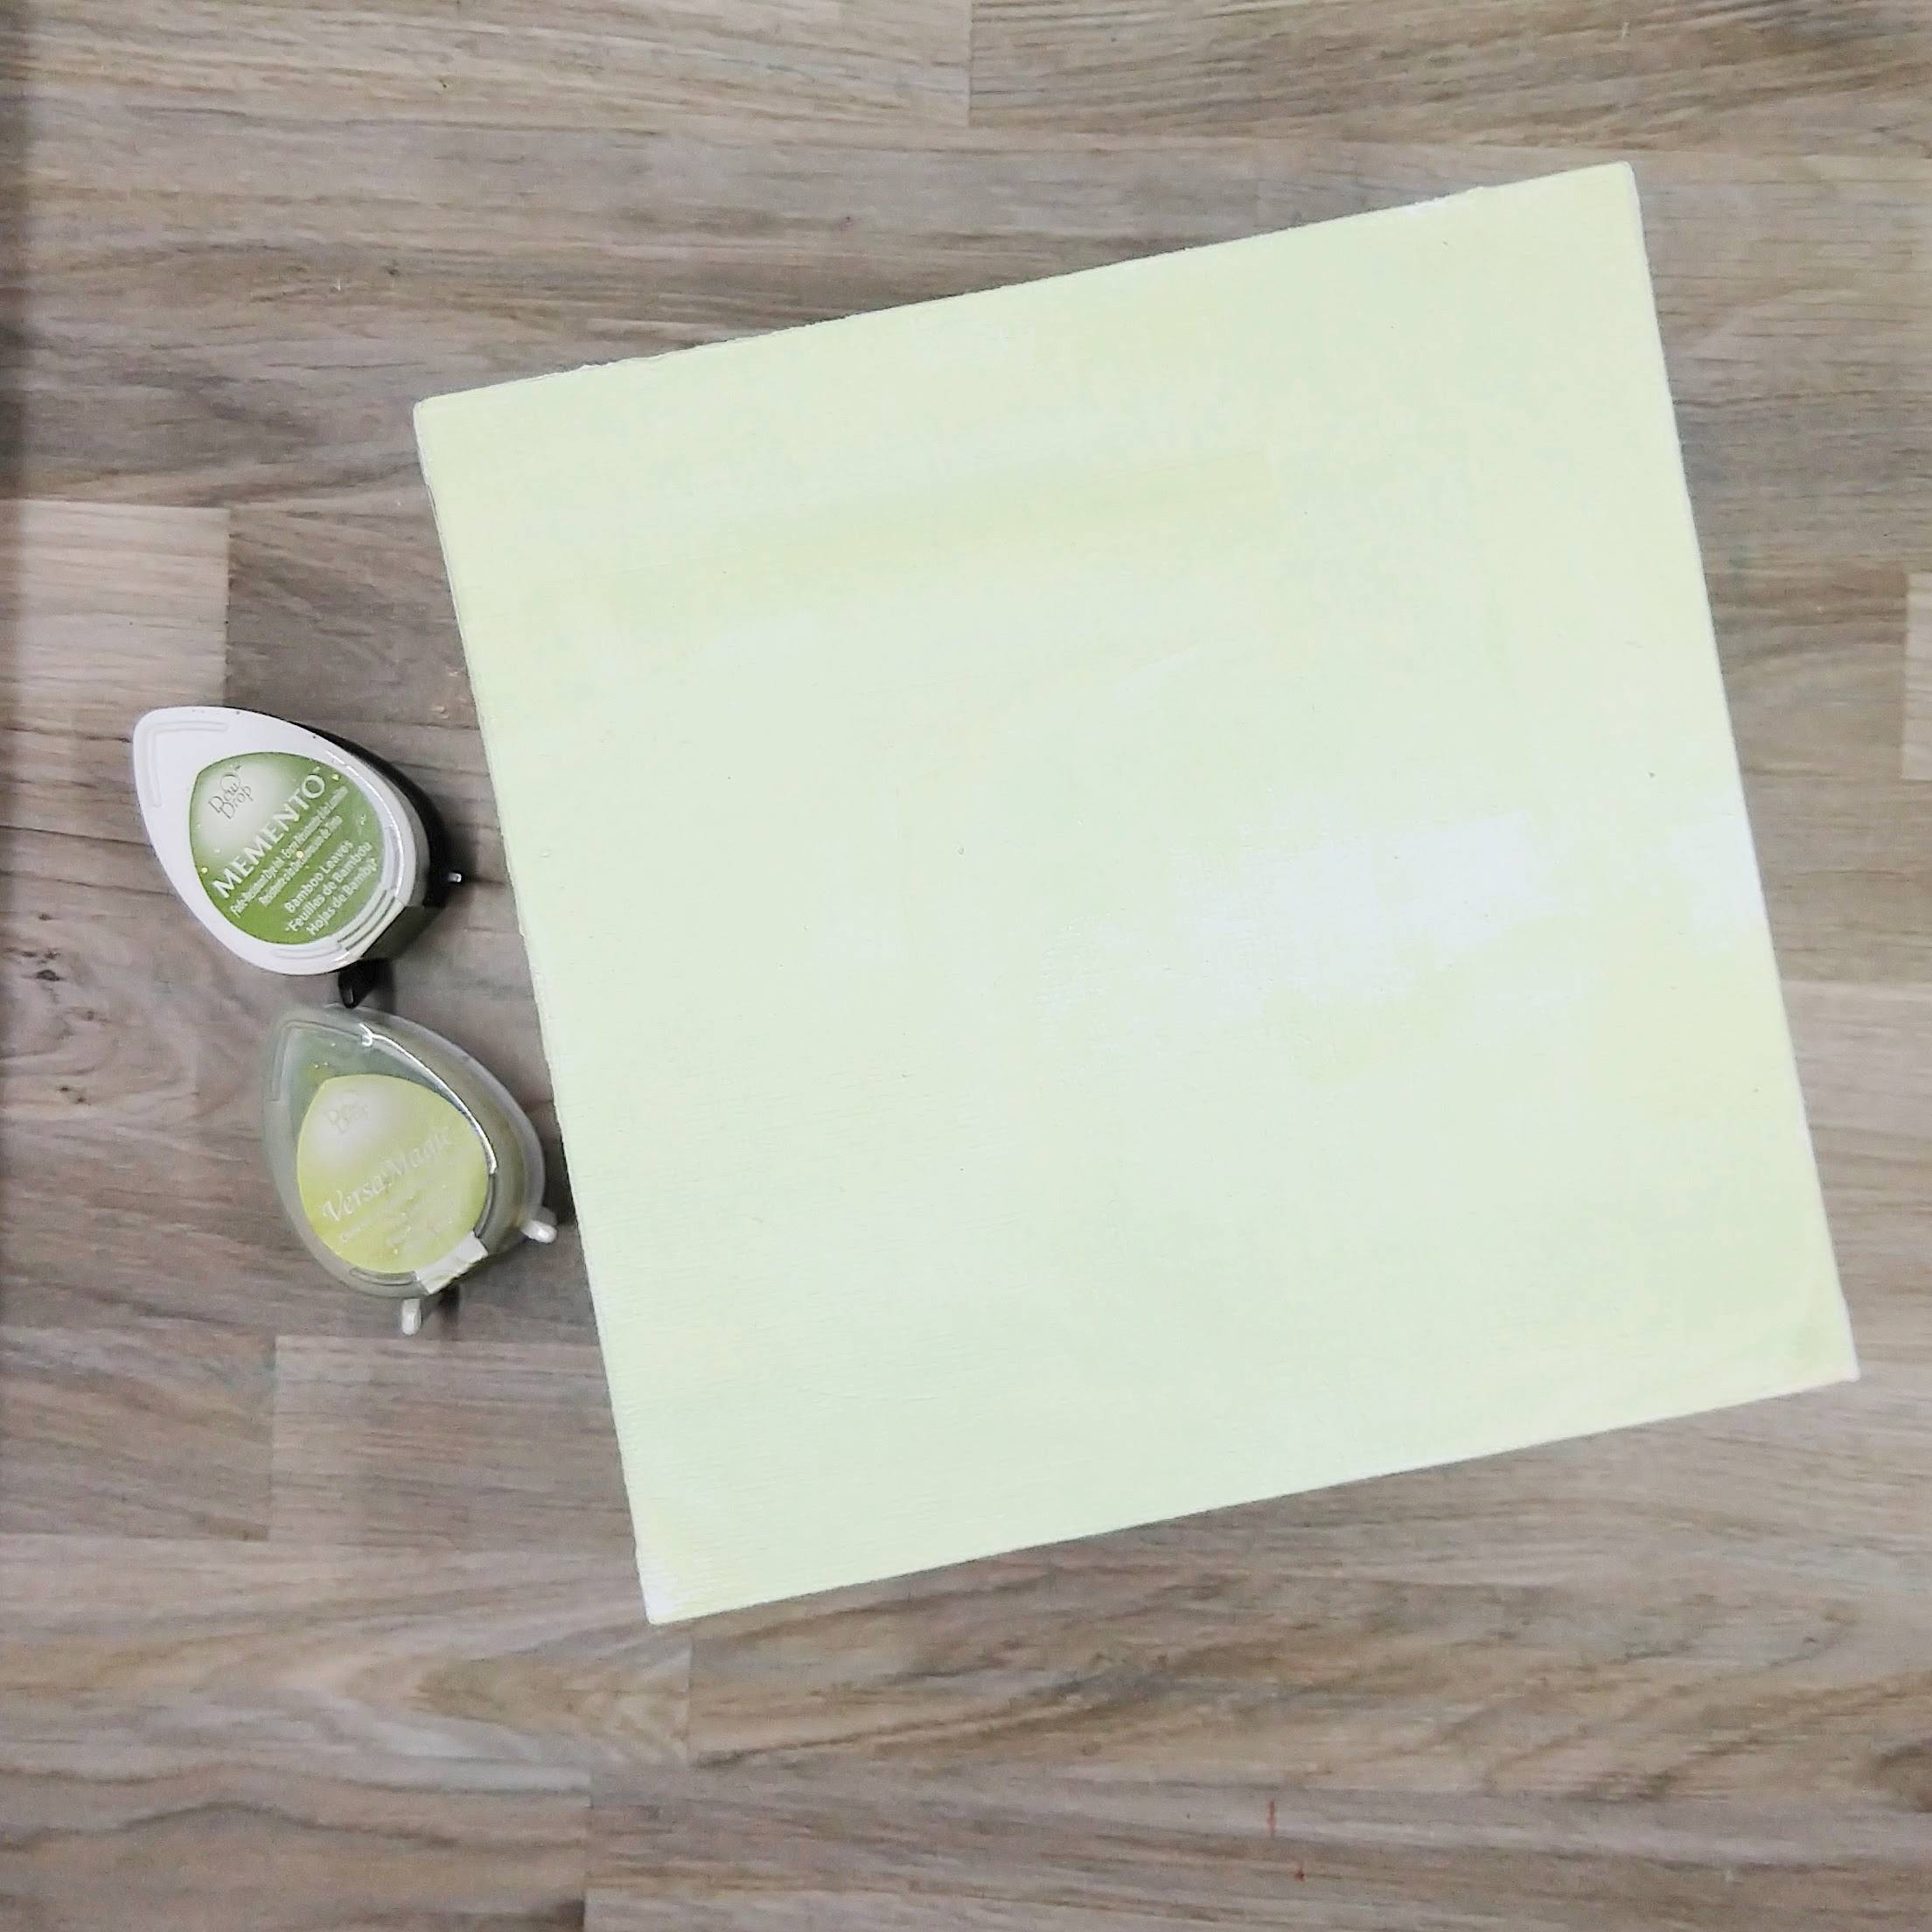
Step 1:
Paint gesso onto a 6×6” canvas panel and let dry. Then mix a small amount of gesso with Tea Leaves VersaMagic chalk ink on a palette (or a piece of plastic packaging) to create a very light green tin. Repeat the process with more gesso and Bamboo Leaves Memento ink to create a slightly darker green tint of gesso. Using a wide paintbrush, brush both the lighter and the darker green gesso across the panel randomly. Allow to dry a second time. (Or if you are feeling impatient, dry with a heat tool.)
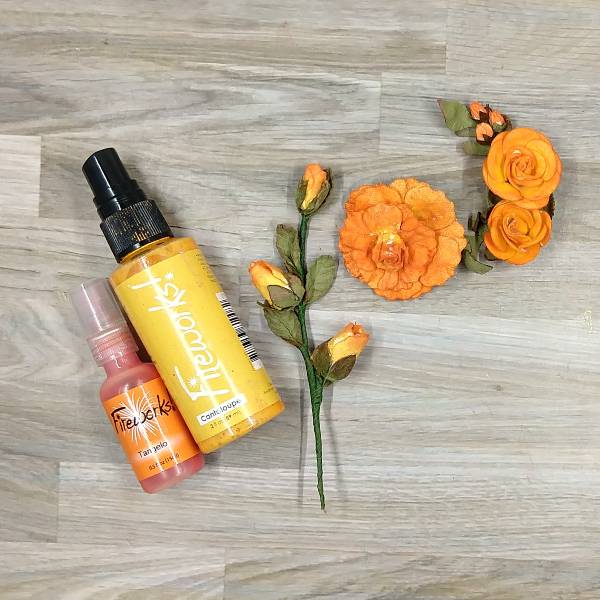
Step 2:
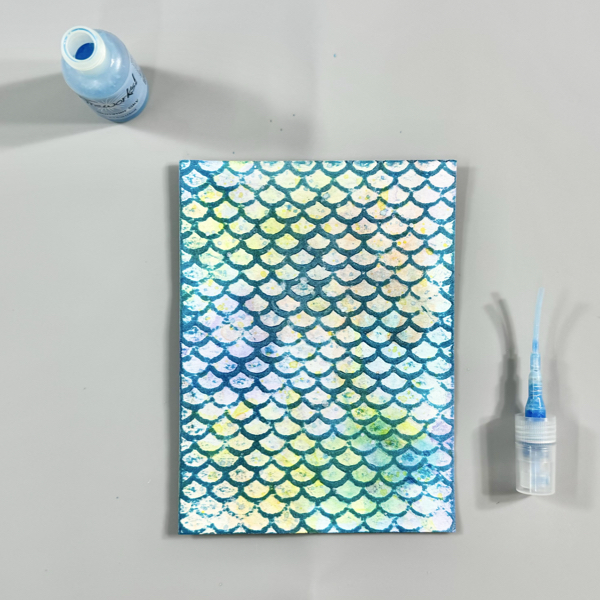
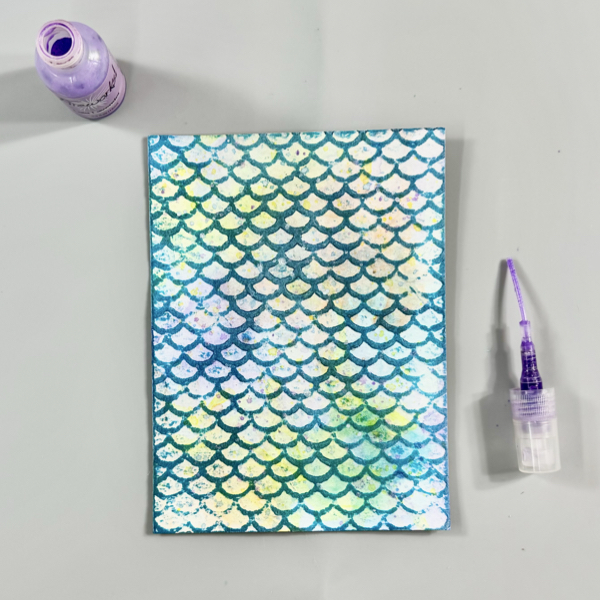
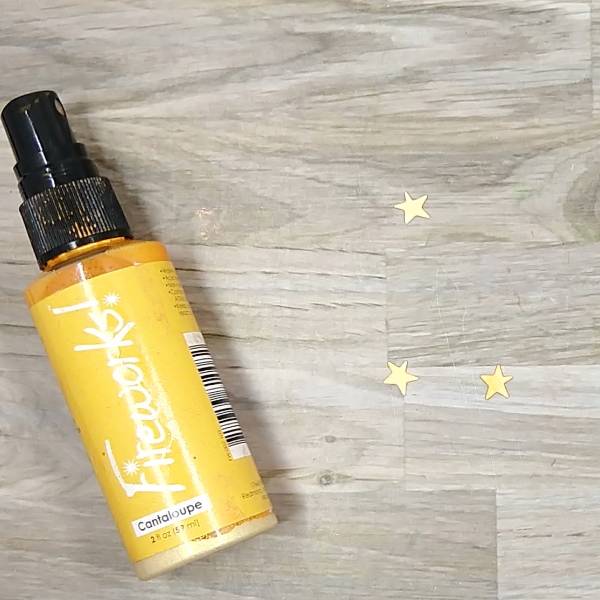
Using a smaller paintbrush, paint the entire surface of each paper flower’s petals with Cantaloupe Fireworks! Shimmery Craft Spray and then paint the edges with Tangelo Fireworks! Shimmery Craft Spray. Allow to dry.
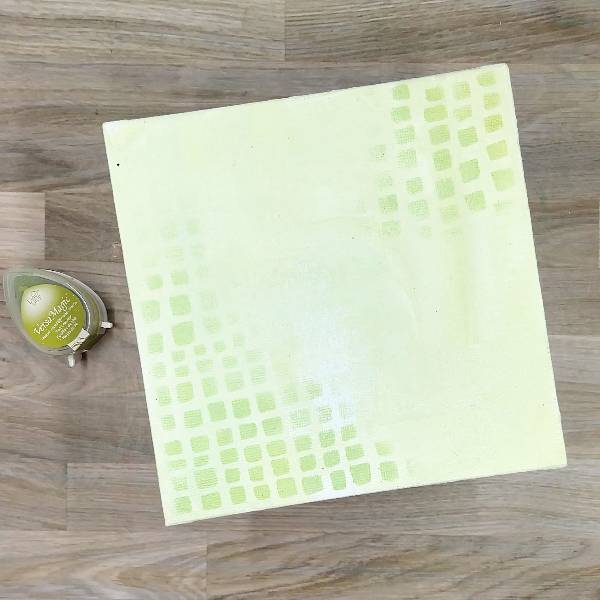
Step 3:
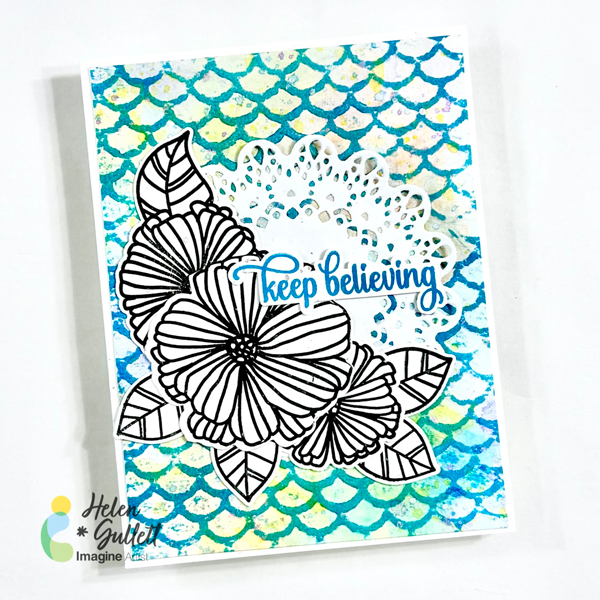
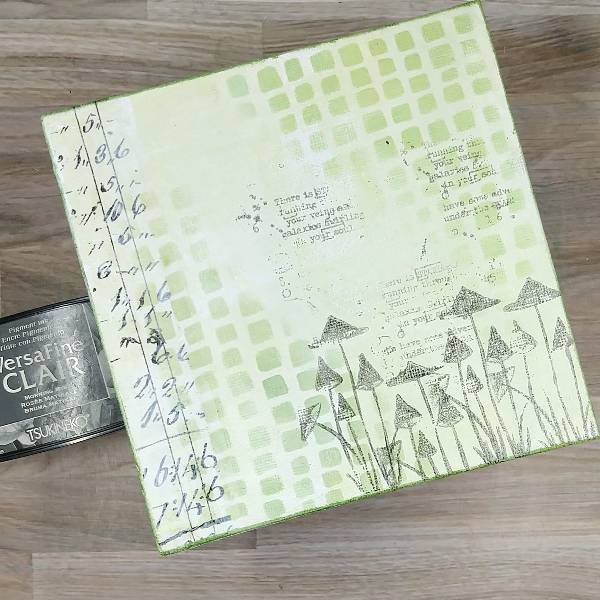
Using a sponge dauber, blend Tea Leaves VersaMagic Chalk Ink through a stencil on the upper right and lower left corners of the panel. Allow to dry.
Step 4:
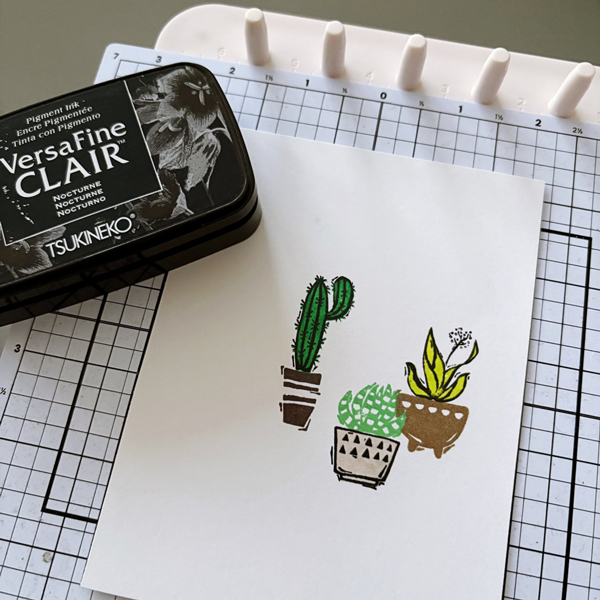
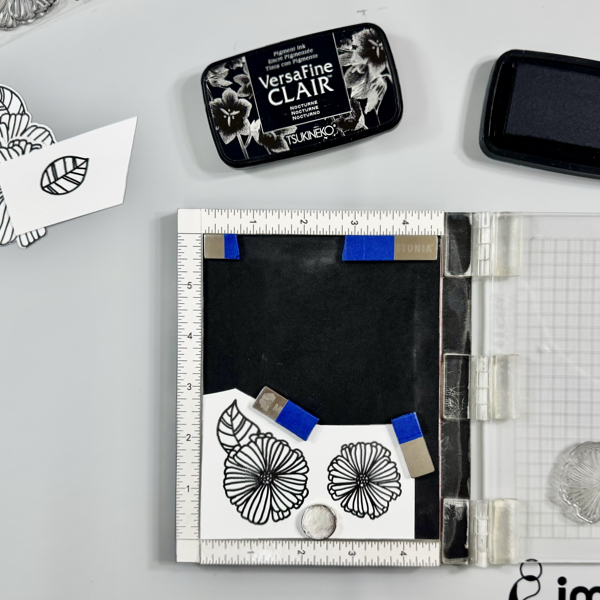
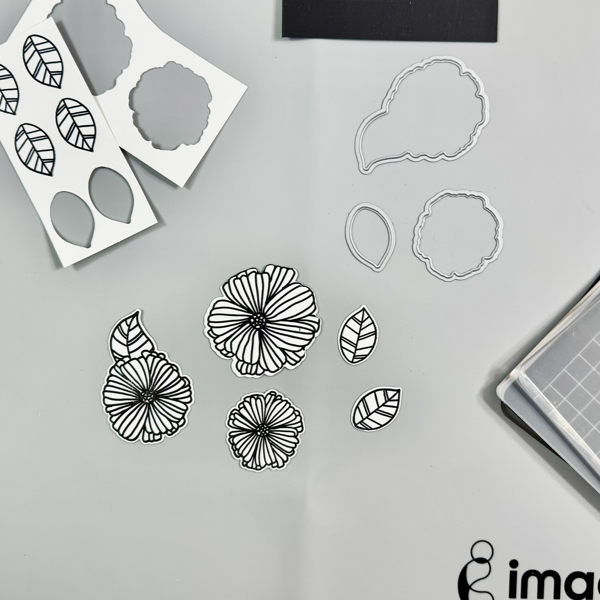
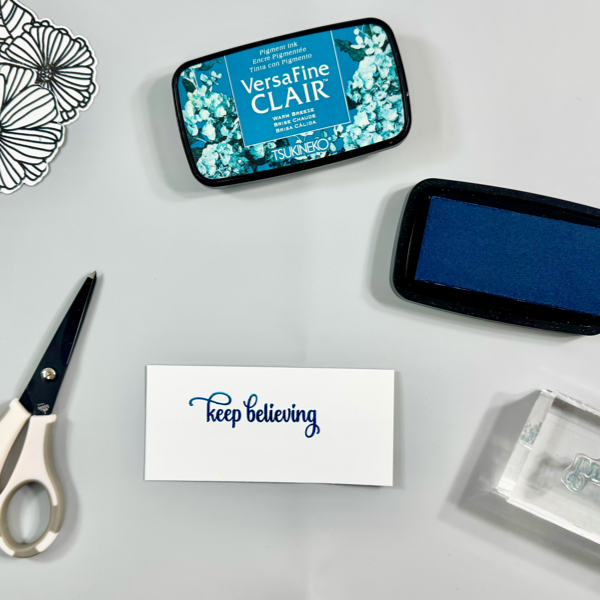
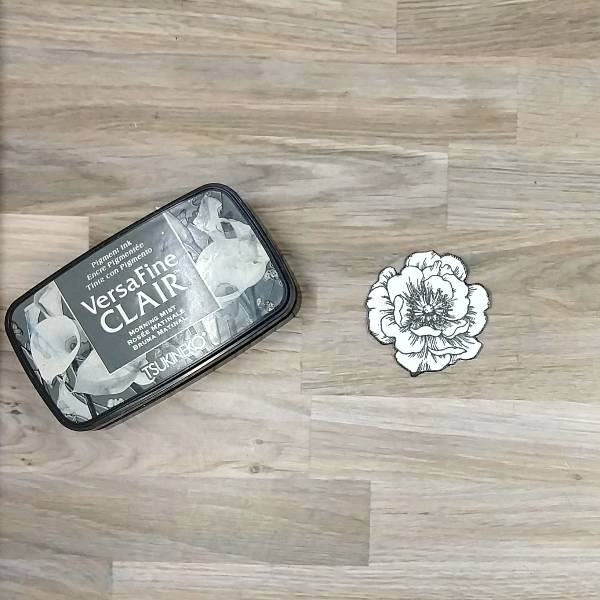
Stamp a mid-sized flower with Morning Mist VersaFine Clair ink. Heat emboss with clear embossing powder. Fussy cut the flower and then press the edges along the edges of the flower with more of the Morning Mist VersaFine Clair ink to disguise any imperfections left behind when fussy cutting and heat emboss a second time with clear embossing powder.
(When I took the picture I had intended to only include one stamped flower. Later, when assembling the panel, I realized I needed another flower and so repeated the process to make two flowers in total.)

Step 5:
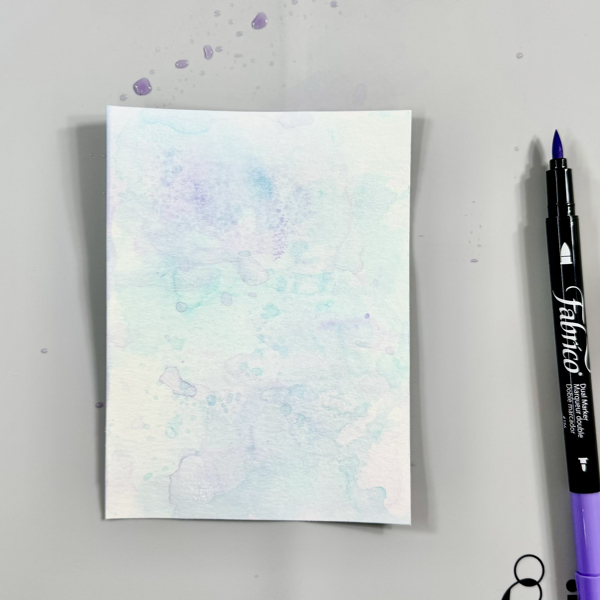
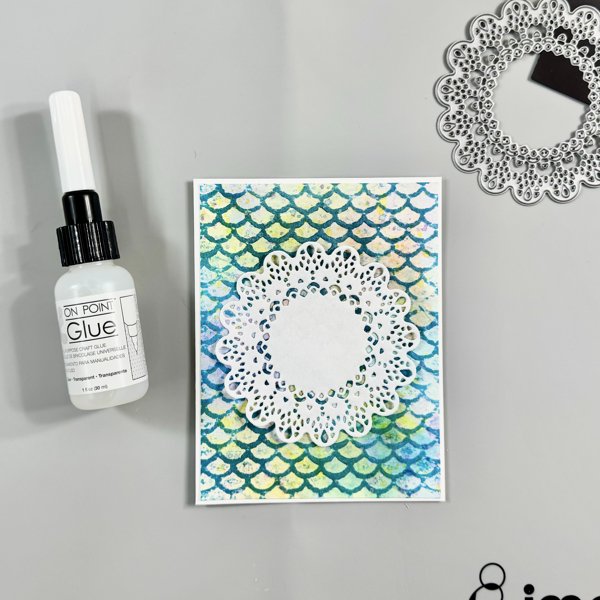
Press the Campagne Delicata ink pad onto watercolor paper. When dry, die cut the watercolor paper with a large circle in a nesting circle die set. Then spray with Gold Sheer Shimmer Craft Spray and allow to dry.
While drying, die cut a piece of collage paper with the next sized down circular die (not pictured).

Step 6:
Return to the canvas panel. Cut out a vertical strip of collage paper and glue it to the left side of the panel. Paint over with leftover gesso on the paint brush (from steps 1 and 3). Add more stenciled texture by blending Bamboo Leaves Memento Ink through the same stencil on the lower left corner of the panel. Then add ink along the edges of the panel by running the Bamboo Leaves Memento Ink pad along the edge.
Step 7:
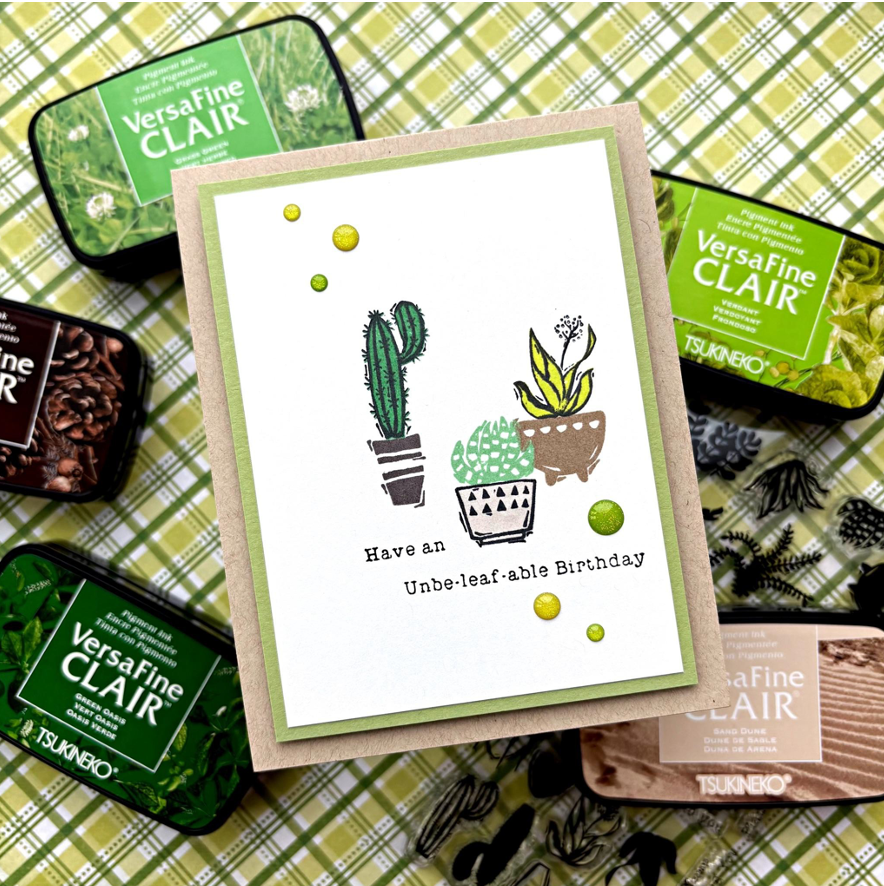
Partially stamp the center of a small stamp multiple times across the upper and mid right side of the panel with Morning Mist VersaFine Clair ink by adding ink to the central part of the stamp (the text) and wiping away the ink from the edges of the stamp and then pressing just the center of the stamp onto the panel. Repeat the process 3 times.
Then stamp a small mushroom stamp multiple times on the lower right side of the panel with more Morning Mist VersaFine Clair ink, sometimes moving the stamp higher and lower on the panel to change the heights of the mushrooms. Allow the ink to dry.
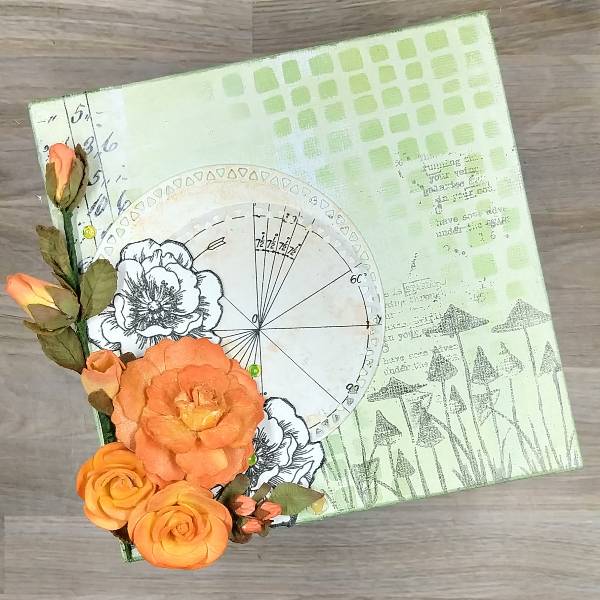
Step 8:
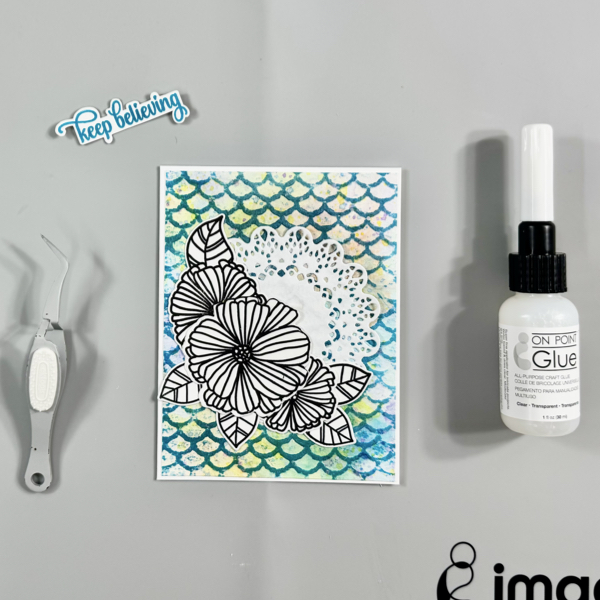
Start to assemble the panel. Glue the die cut watercolor paper circle (step 5) and the collage paper circle together and then glue onto the panel. Then glue the stamped flowers and the 3D paper flowers onto the lower left part of the card. Glue yellow and clear sequins around the flowers.
After I assembled the panel, I realized that it wasn’t done and needed something more.
Step 9:
Die cut a scrap of watercolor paper and use Cantaloupe Fireworks! Craft Spray to paint them yellow with a small paintbrush.
Step 10:
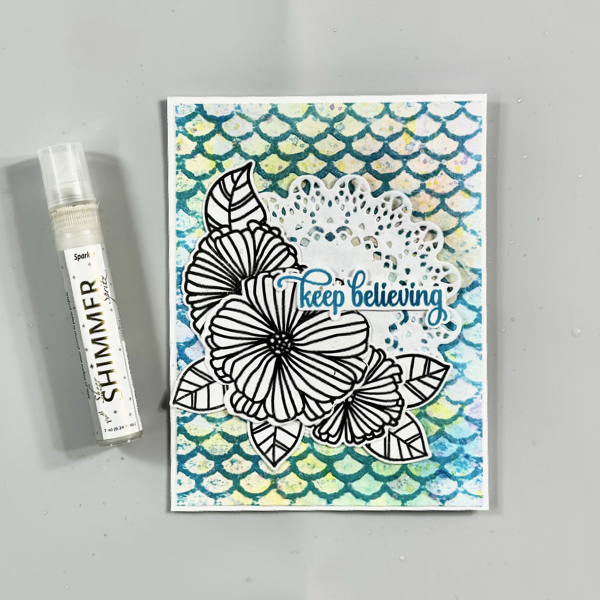
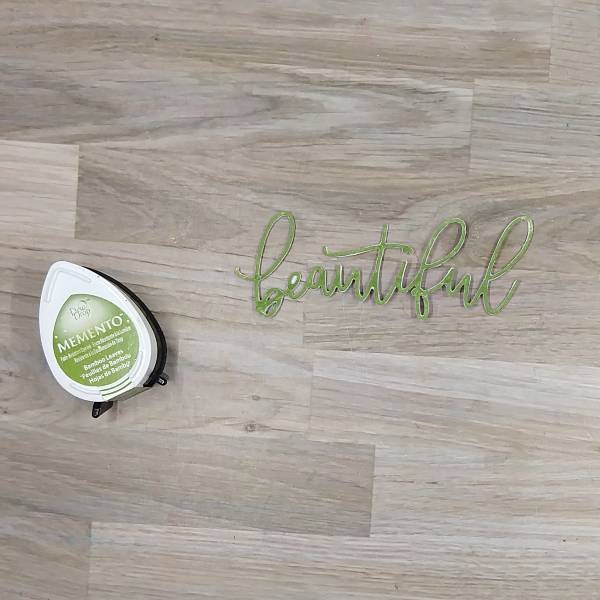
Press Bamboo Leaves Memento Ink onto another scrap of watercolor paper and then die cut the paper with a sentiment. Then use scrap cardstock to die cut two additional layers of the sentiment. Glue all three layers together for dimension.
Step 11:
Splatter the panel with Gold Sheer Shimmer Craft Spray, making sure that gold splatter landed on the petals of the 3D flowers. Glue the beautiful sentiment and the stars onto the panel to finish the card.
Art Supplies
Imagine
• Delicata Ink – Champagne
• Fireworks! Craft Spray – Cantaloupe and Tangelo
• Memento ink – Bamboo Leaves
• Sheer Shimmer Craft Spray – Gold
• VersaFine Clair ink – Morning Mist
• VersaMagic ink – Tea Leaves
• Sponge Daubers
Other
• AALL & Create – stamp – Astroventurer (#912)–used for the sentiment in the background
• Alt Alternatives – 6×6” Economy Cotton Canvas Panel
• Catherine Pooler – sequin mix – Saint Lucia
• Concord & 9th – die set – Botanical die set (beautiful sentiment)
• 49th and Market – Salt (white colored) Paper Flower 8 pack
• Gina Marie Designs – die set – Mosaic Triangle Edge Circle
• Golden – Gesso Semi-Opaque Acrylic Primer
• Lavinia Stamps – stamp – Slender Mushrooms
• Simon Says Stamp – stamp set – Beautiful Flowers
• The Crafter’s Workshop (TCW) – stencil – Square Stones (TCW1087s)
• Tim Holtz and Idea-ology – collage paper – Archives (TH94366)
• Tim Holtz and Sizzix – die set – Creative Cutouts die set (for the stars)
• Clear Embossing Powder
• Heat tool Scissors
• Wide paint brush
• Small paint brush
• Glue
• Watercolor paper