Hello Friends! Katy here with another quick project for you. Today’s card is for Father’s Day, but as always you can use this design for what ever you need!
I decided to do a monochromatic theme. What’s that mean really? Well that simply means consisting of one color or hue. Today’s color or hue is blue. Great for masculine. Todays project also allows us to stretch our supplies by using a holiday background stamp, genius I know. Check out the video below for all the details.
Other Products Used • Affiliate links here https://ldli.co/e/qypqyed at no additional cost to you. Thank you for your support • Simon Says Stamp Poinsettia Background-No Longer Available, see below for other options • Kat Scrappiness Upper and Lower Case Condensed Alphabet dies • Spellbinders Cobalt Hot Foil • Spellbinders Ideal Moments BetterPress Plate • The Greetery Crimped Frames
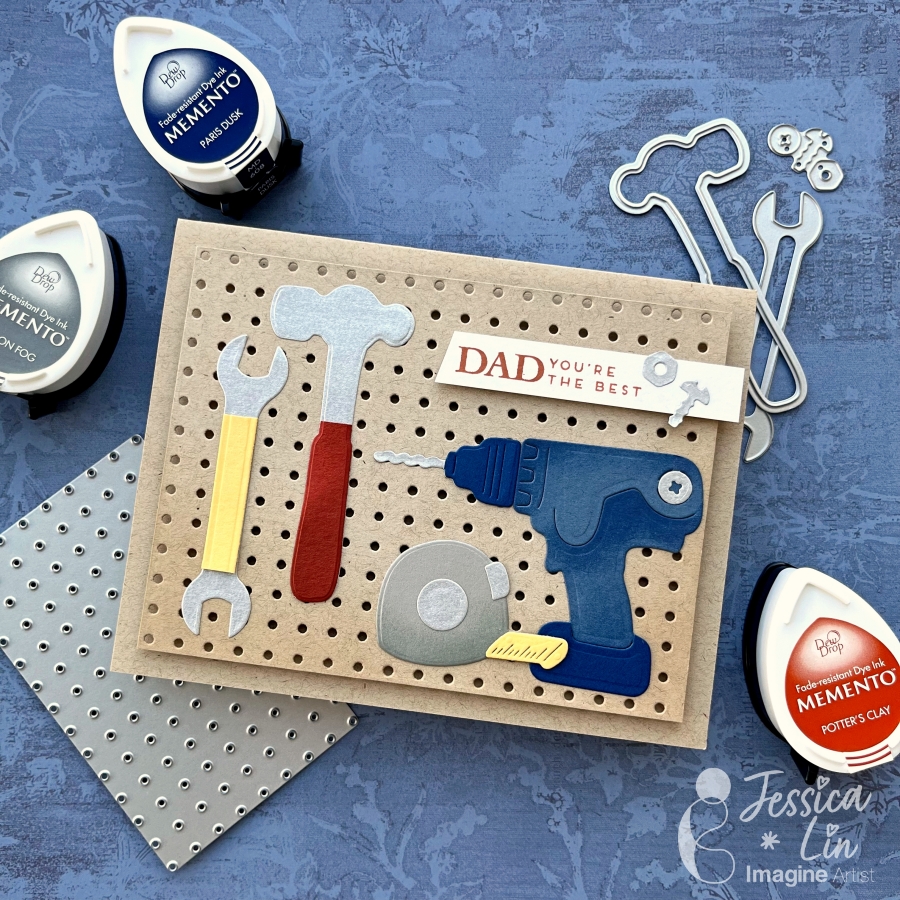
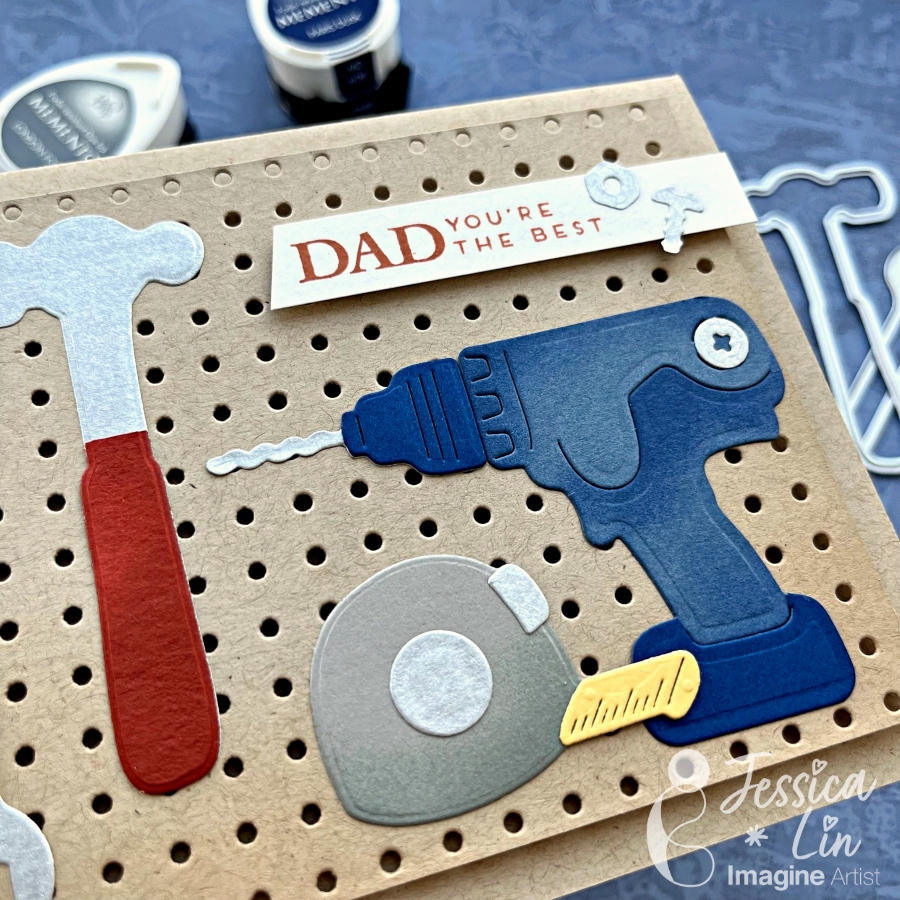
Hi everyone! It’s Jessica here. Today I would like to share a Father’s Day card that showcases different tools to thank my dad for all the home improvement projects he has done in the past year. I also ink blended Memento inks on the die cut pieces to create more depth. If you’d like to learn some tips and tricks on ink blending small paper elements, just keep reading!
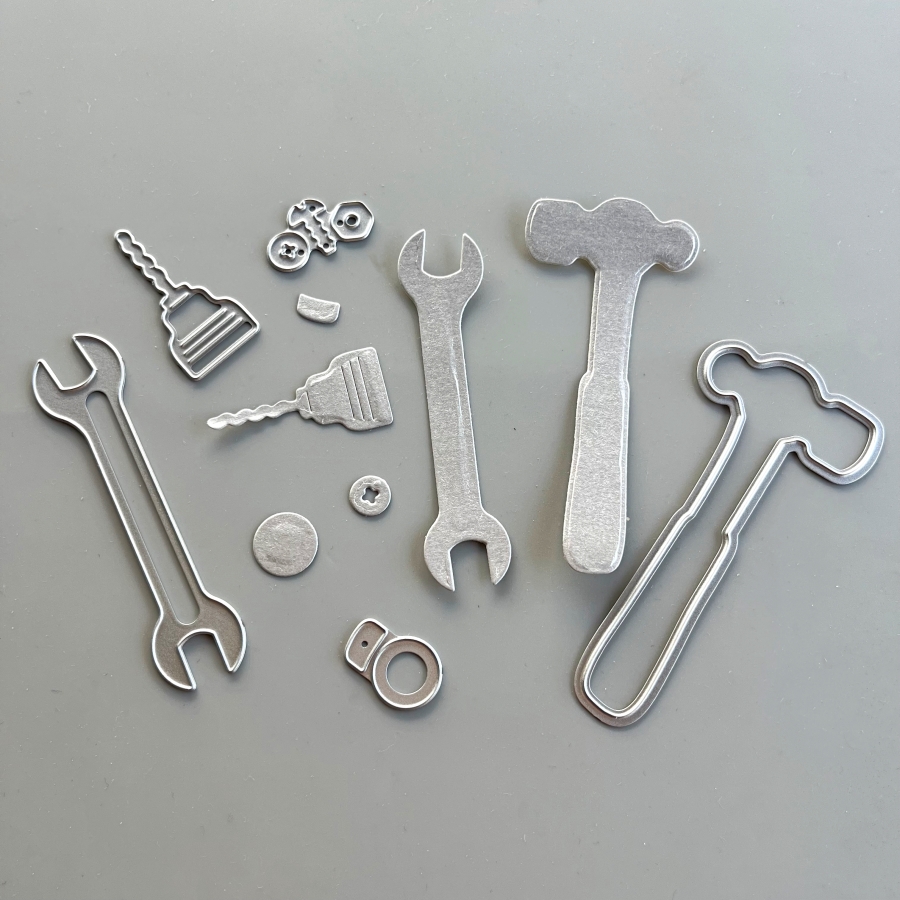
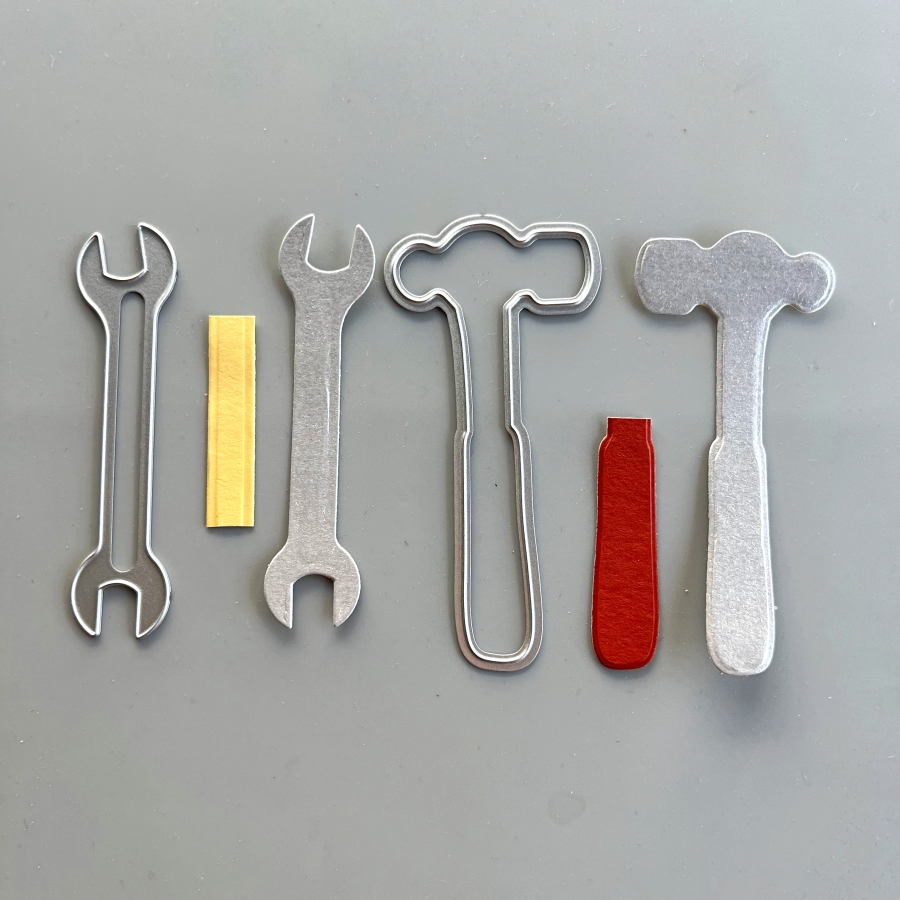
Step 1: First, I die cut several tools from a silver cardstock. I’ve had this paper for a long time since my scrapbooking days, and I am glad to finally use it again. I also adhered Stick It sheets to the back of the silver cardstock before die cutting, so that all of the elements are adhesive backed. This will make adhering to the small tool pieces easier and mess-free.
Step 2: Die cut again with colored cardstock to create the handles on the tools. I used So Saffron cardstock for the wrench and Cajun Craze cardstock for the hammer.
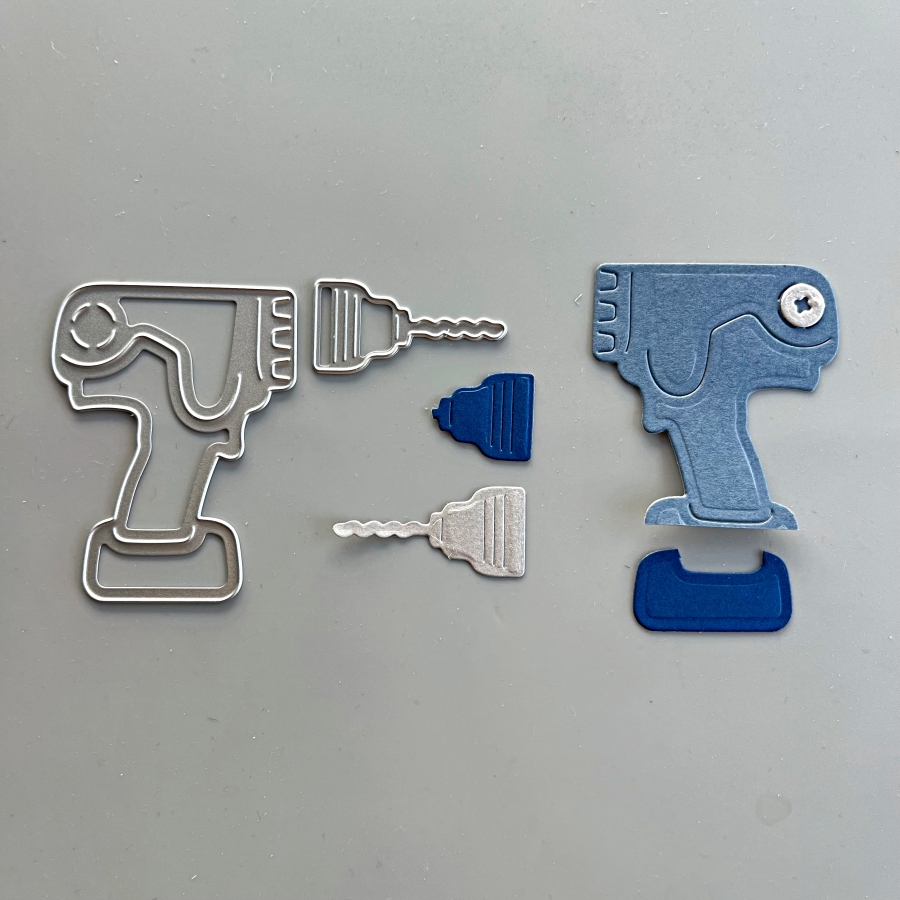
Step 3: For the power drill, I used Misty Moonlight and Blueberry Bushel cardstock. I also die cut a bolt from the silver cardstock to decorate this power drill.
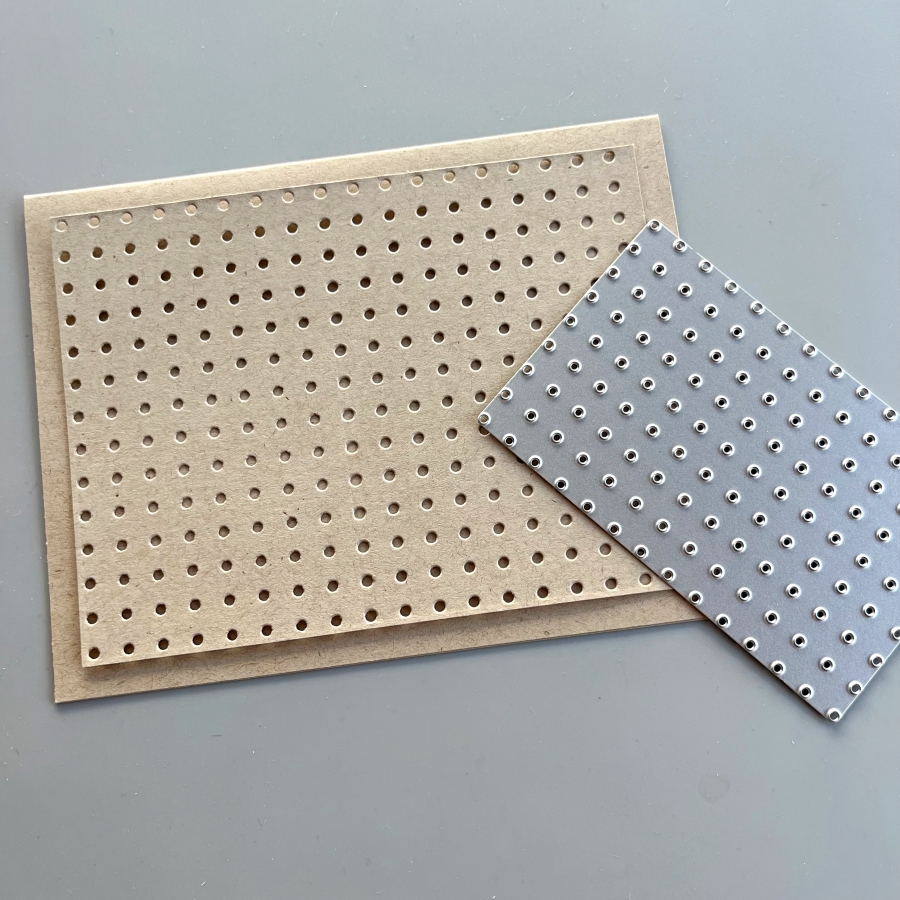
Step 4: One of the things I love about this die set is that it includes this pegboard die. You can extend the size of this die by matching up the holes on the die with a row of die cut holes and die cut again. They will fit like a puzzle and it almost feels like it is “locked” once the fitting is matched up.
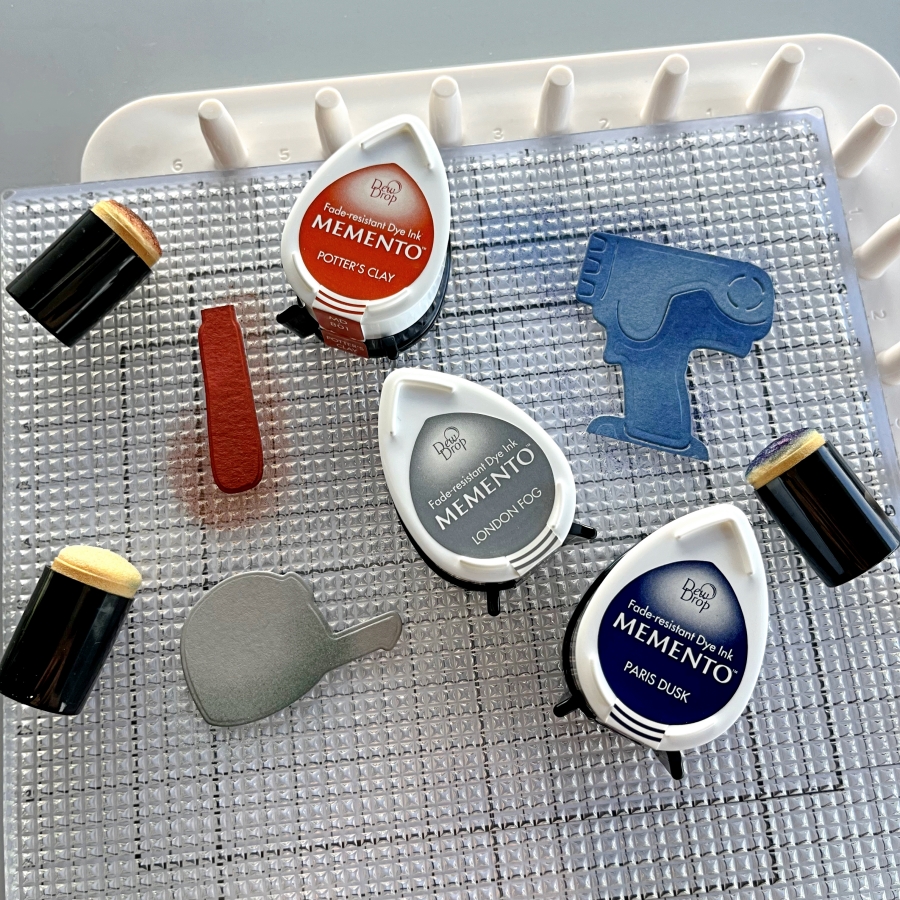
Step 5: I decided to dress up the die cuts further by ink blending the edges with Memento Inks. Since the die cut pieces are small, I opted for the small sponge daubers instead of my regular blending brushes. These small daubers are great for precise ink blending. I also lay the die cuts on Altenew’s Grip Mat, which conveniently secures the paper pieces and ink pads so they don’t shift around when ink blending.
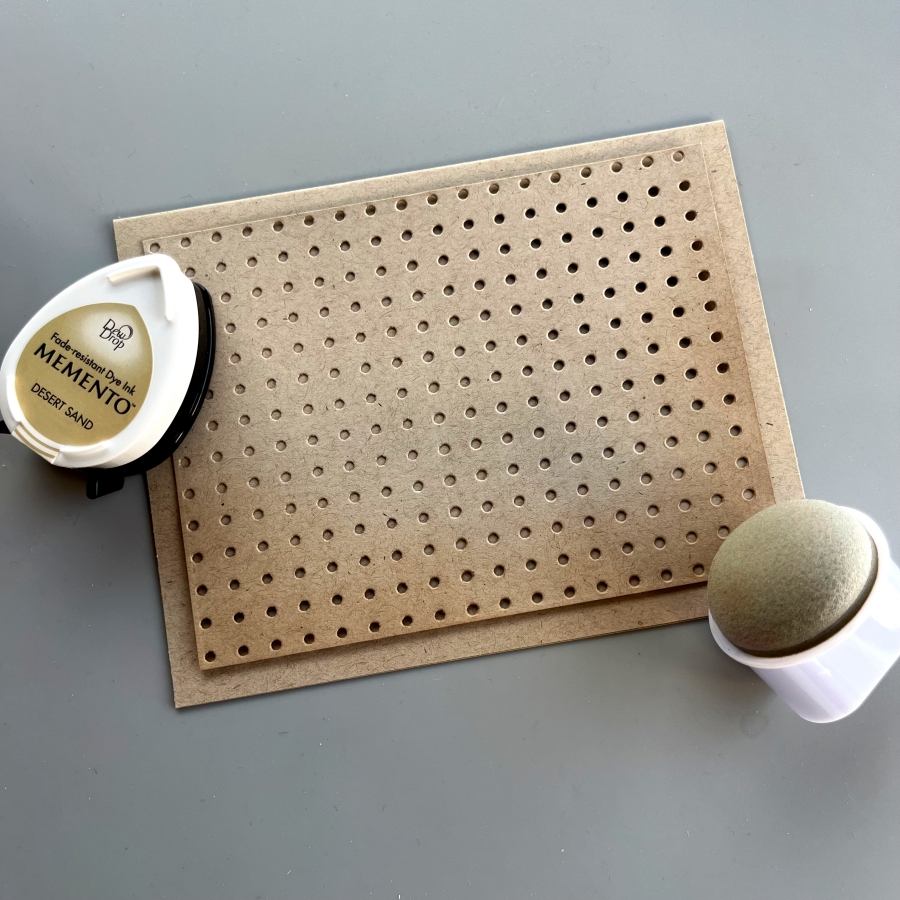
Step 6: The Jumbo Dauber is also a great blending tool. I used Desert Sand Memento Ink to add some shadows to the bottom edges of the pegboard piece.
Step 7: Finally, I adhered the pieces with Tear It Tape and stamped the sentiment from Stampin Up’s Heartfelt Hello set. This card was fun to put together and I hope you enjoyed it.
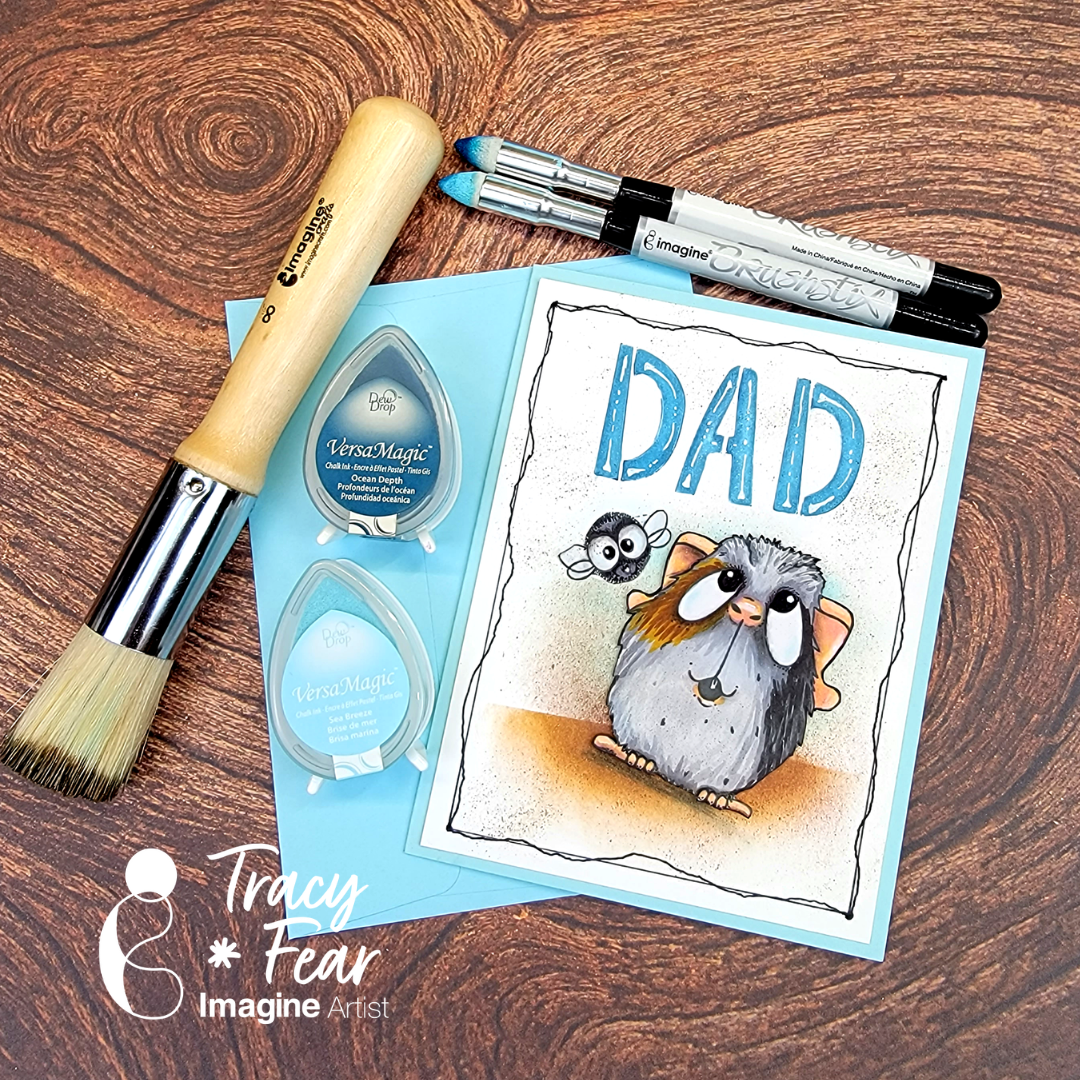
Hello Friends! Tracy here and today I am excited to share this fun and quirky little Father’s Day card created with a family funny bone element!
In today’s video tutorial I am sharing how to get dimensional effects out of your lettering stencils and how to create background noise using our #8 Stippling Brush and our Brushstix along with some of our most popular inks!
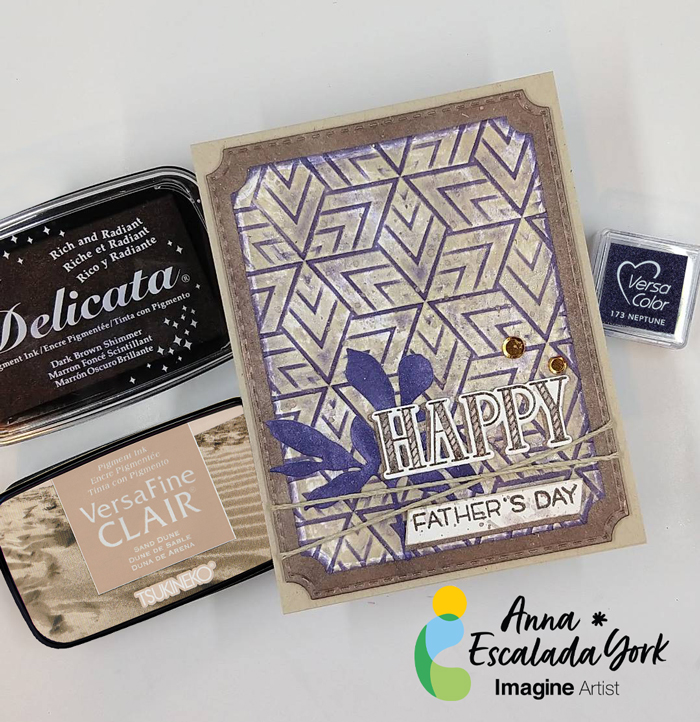
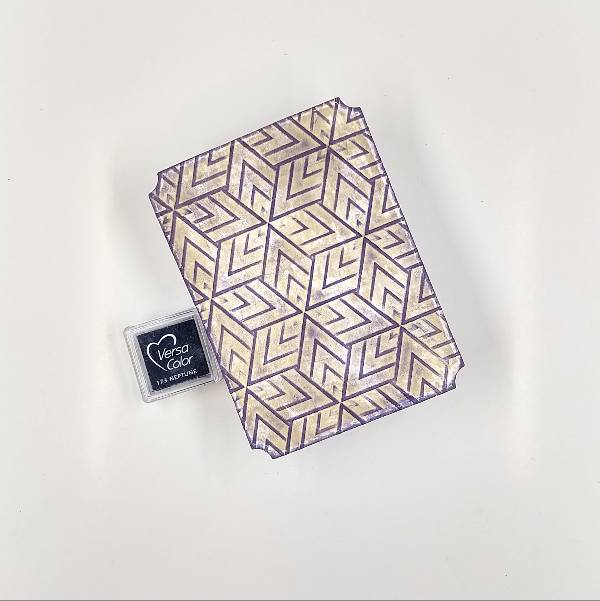
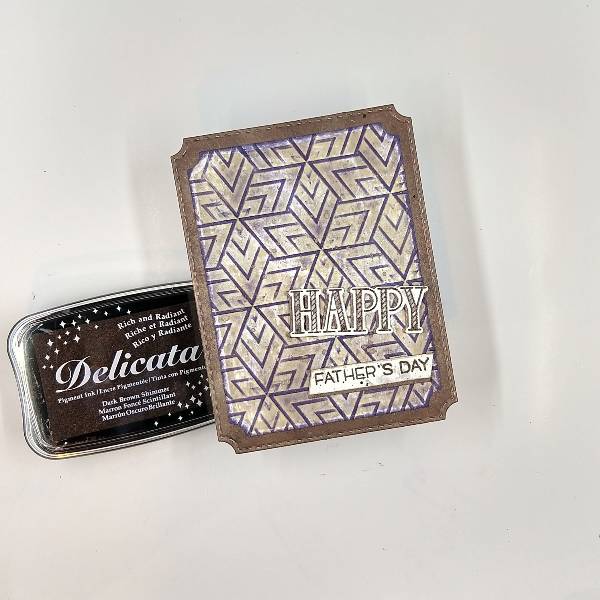
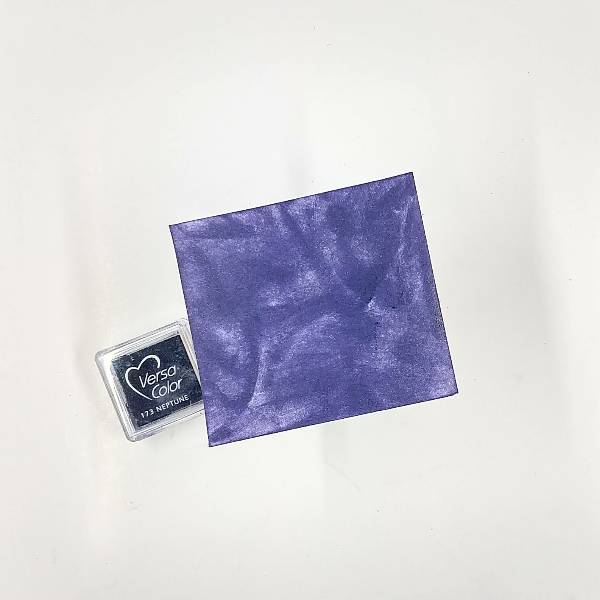
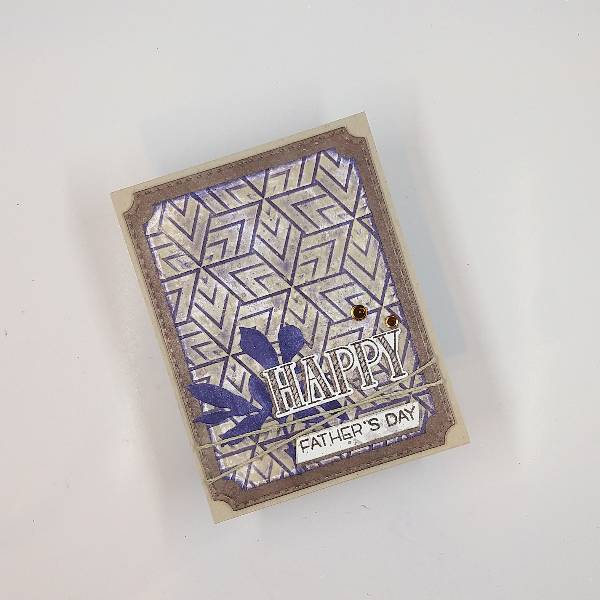
I wanted to make my Father-In-Law’s Father’s Day Card with a variety of browns and a pop of another color. So I picked Neptune VersaColor ink for a pop of color on the monochromatic background.
Skill: Intermediate Time: 1.5 hours
Directions:
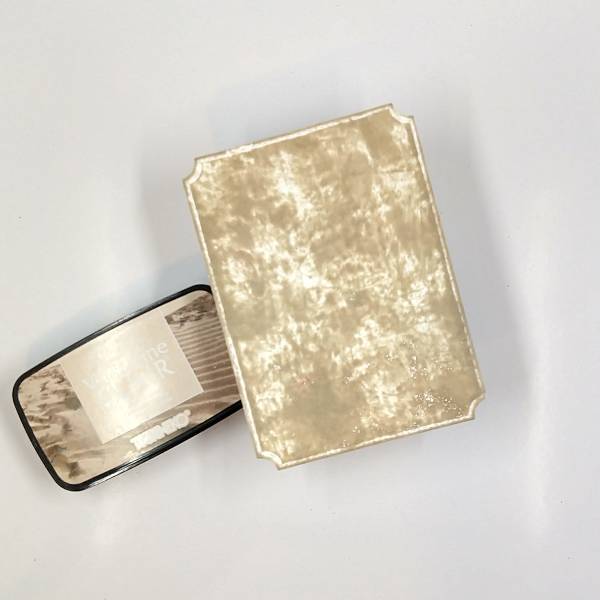
Step 1: Die cut a piece of watercolor paper with the second-largest die in an A2-sized die set. Press a Sand Dune VersaFine Clair Ink onto the watercolor panel.
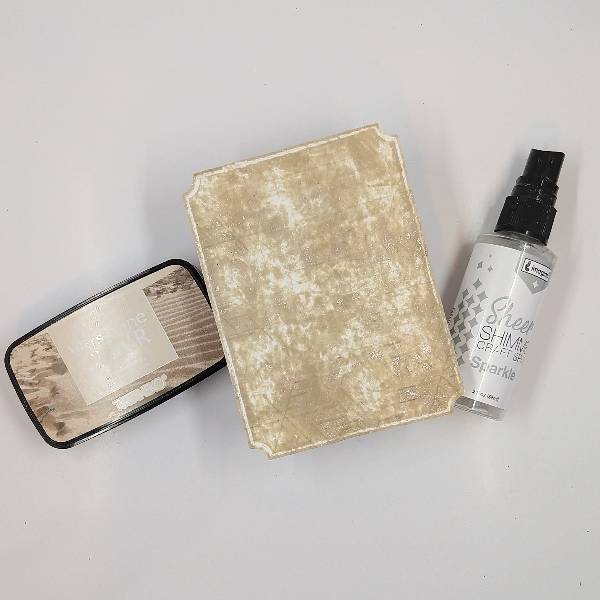
Step 2: Spray Sparkle Sheer Shimmer Craft Spray onto an embossing folder and then emboss the Sand Dune colored panel by running it through a die cutting machine between the two sides of the embossing folder. Allow the panel to dry.
Step 3: Glide a Neptune VersaColor ink across the panel. The raised (embossed) parts of the panel will be colored with the Neptune ink, and the debossed parts of the panel will stay the Sand Dune color. Then run the Neptune VersaColor pad across the edges of the panel to color the border of the panel as well.
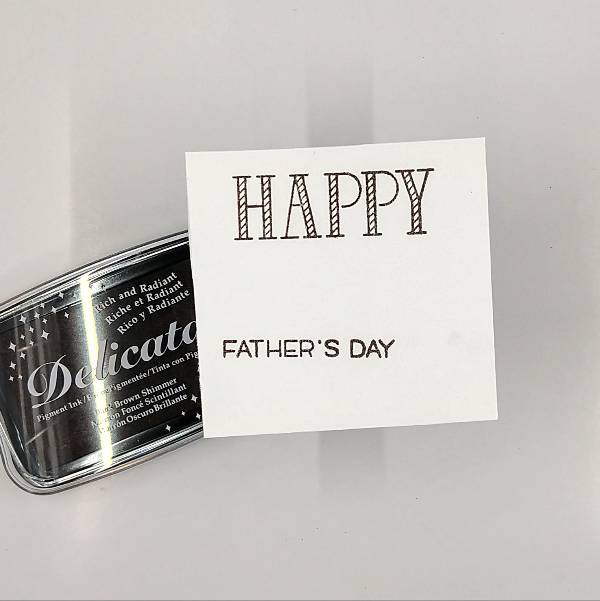
Step 4: Stamp the card’s sentiments (both the larger “happy” and the “Father’s Day” subsentiment) on another piece of watercolor paper with Dark Brown Shimmer Delicata ink and then heat emboss both of them with clear embossing powder. Set this aside as well.
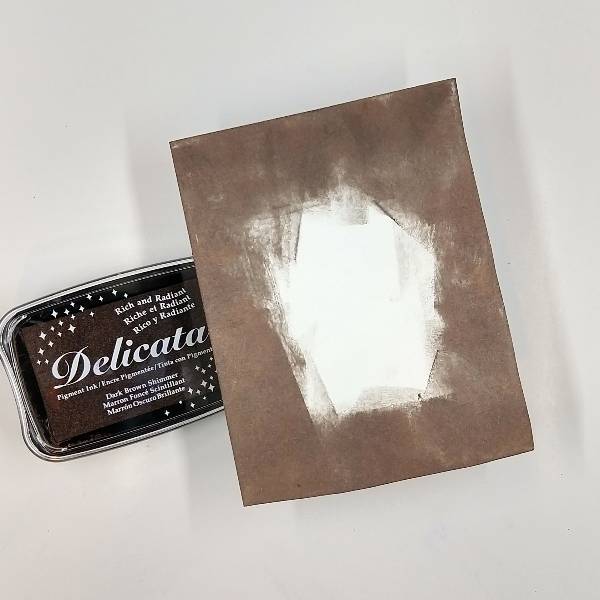
Step 5: Press the Dark Brown Shimmer Delicata Ink Pad onto the edges of a watercolor panel until achieving a thick, dark brown border. This panel will become the matte layer of the card.
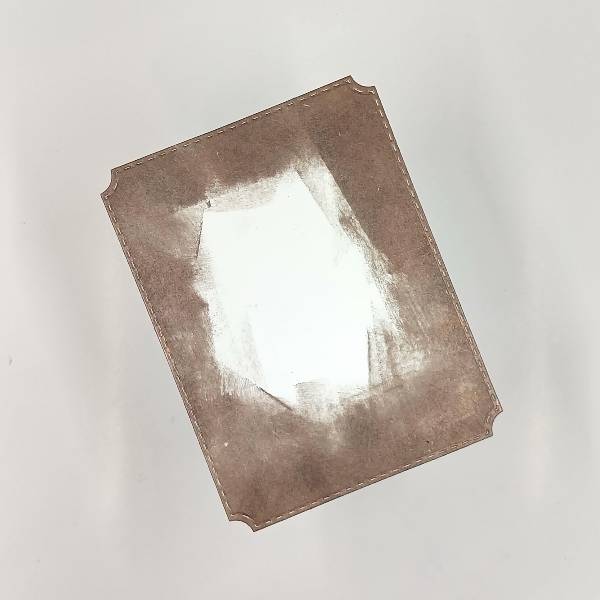
Step 6: Using the largest die from the A2-sized die set, die cut the dark brown panel . Glue the two panels together and set aside.
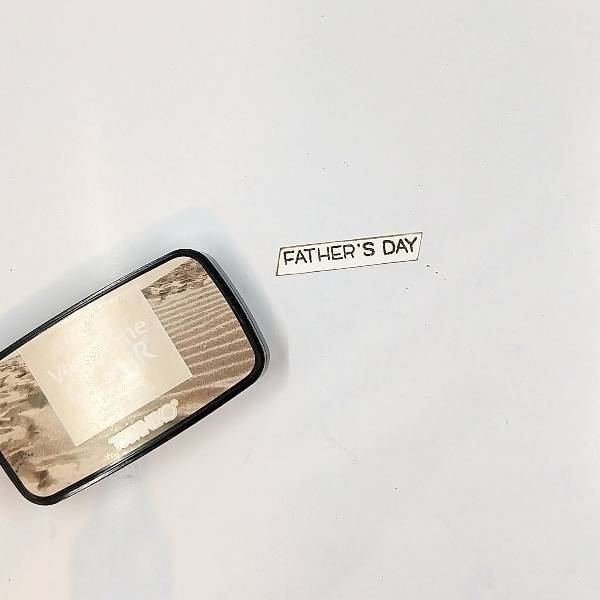
Step 7: Trim the sub-sentiment with a paper trimmer. Press the edges of the sentiment strip into the Sand Dune VersaFine Clair ink pad and set the sentiment strip aside to dry.
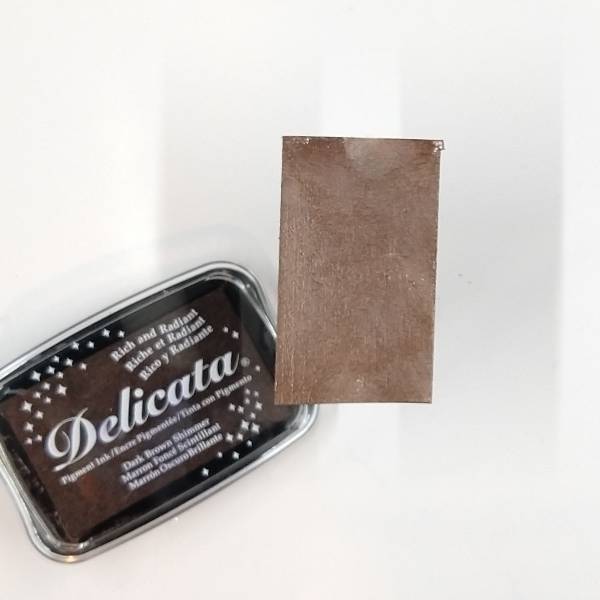
Steps 8 and 9: Press the Dark Brown Shimmer Delicata ink pad onto another small piece of watercolor paper.
Not pictured: Die cut the larger “Happy” sentiment from step 4 with the corresponding die. Then die cut a piece of the Dark Brown Shimmer colored watercolor paper with the same die to create two layers of the die cut.
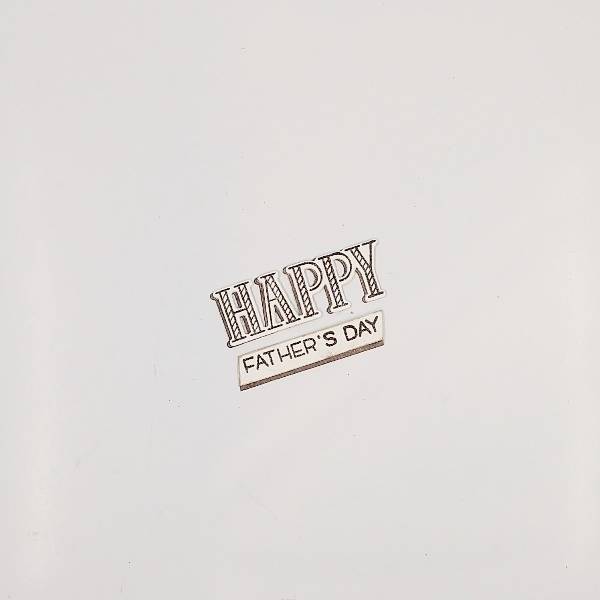
Step 10: Glue the two die cut sentiment layers together, with the dark brown layer peeking out on the left side of the stamped (top) layer. Using some of the remaining dark brown watercolor paper from the last step, cut a thin strip to glue on the bottom of the sub sentiment. Glue the thin brown strip behind the sub sentiment as well as some scrap cardstock to make the sub sentiment three layers deep for strength and dimension. Set them both aside.
Step 11: Press the Dark Brown Shimmer Delicata ink pad onto a piece of acetate packaging and mix with water. Splatter the panels and the sub sentiment with the dark brown splatter. Paint the large “happy” sentiment letters with some of the remaining brown-tinted water. Set it all aside to dry.
Step 12: Press a Neptune VersaColor ink pad onto another small piece of watercolor paper. Set it asde for the ink to dry.
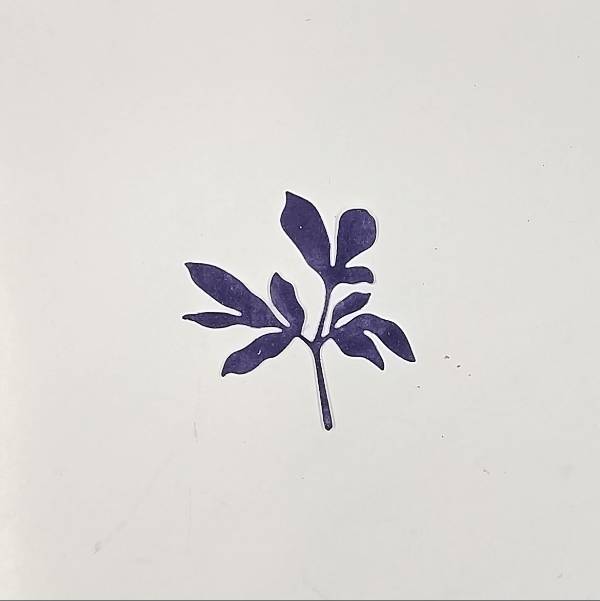
Step 13: Die cut the Neptune-colored watercolor paper with a leaf die.
Step 14: Assemble the card. If desired, add some twine and attach to the back of the card panels with washi tape and then add foam tape on the back so the card base will lay flat when attached to the kraft A2-sized card base. Then glue some brass-colored sequins near the sentiment to finish the card.
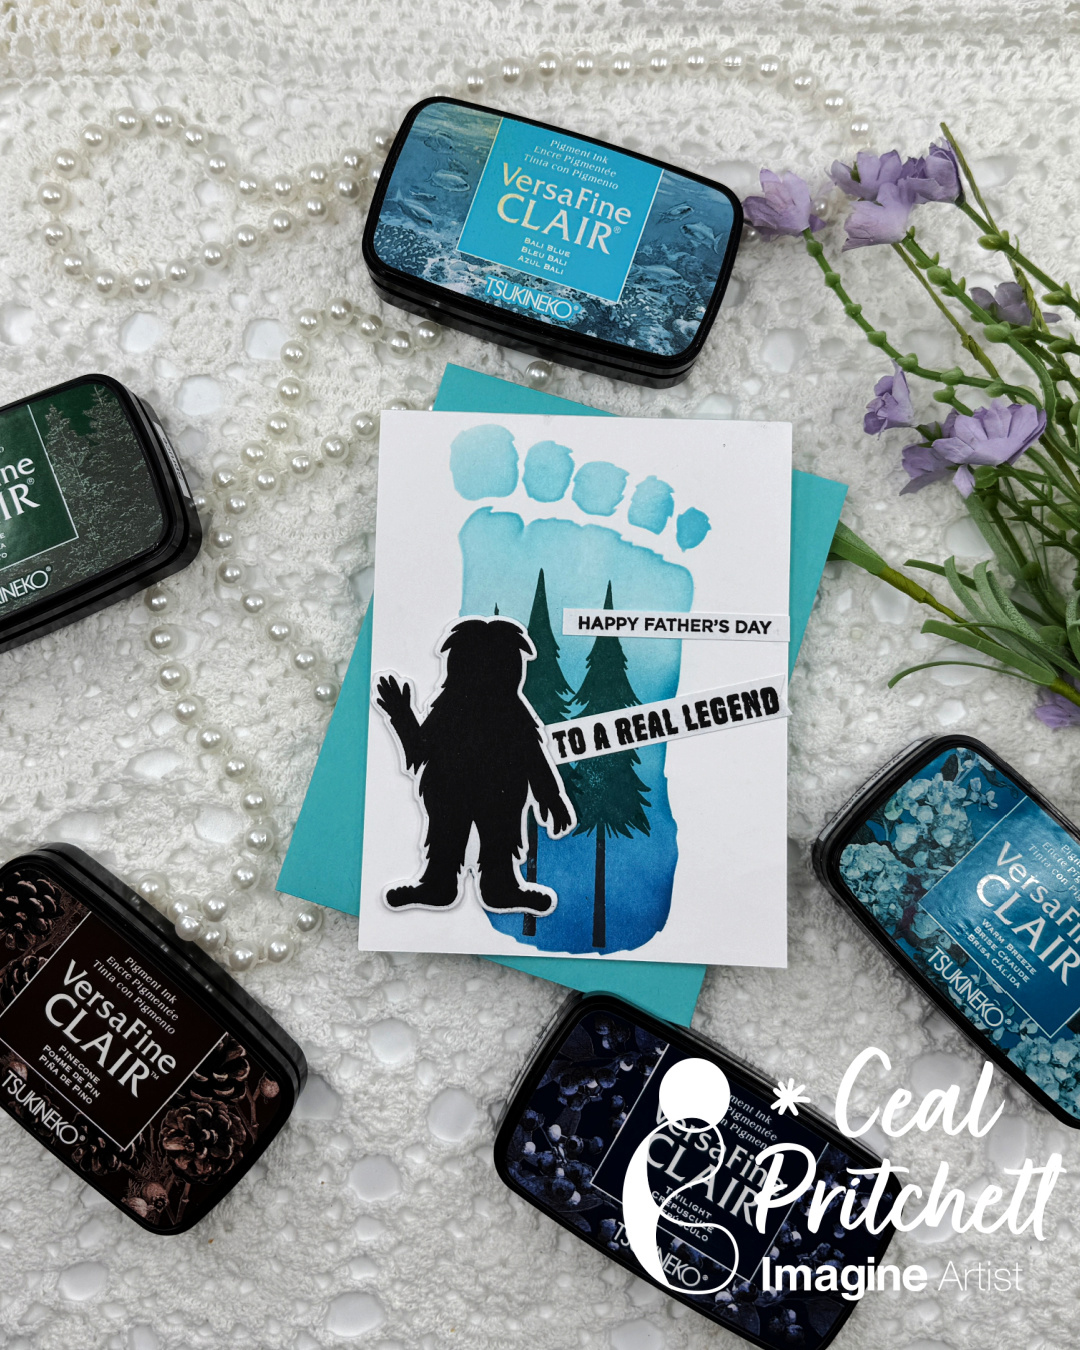
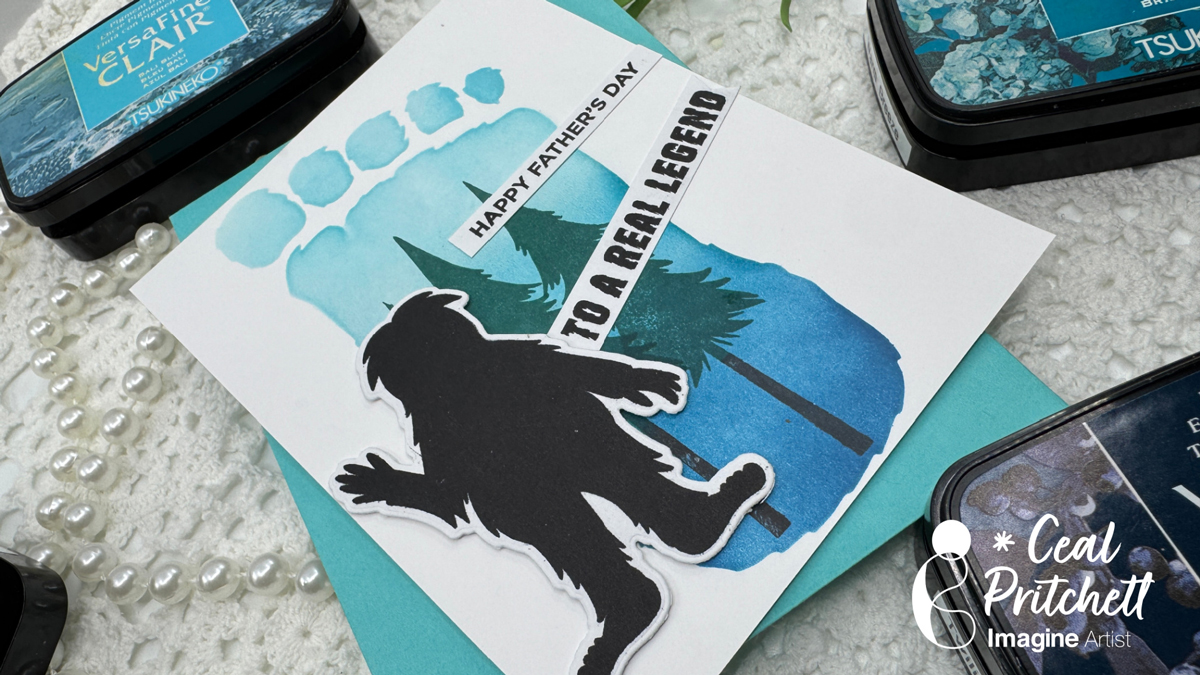
Hello friends! It’s Ceal here. Today I am sharing ho I made this legendary Father’s Day card.
Skill Level: Intermediate Time: 45 minutes
Directions:
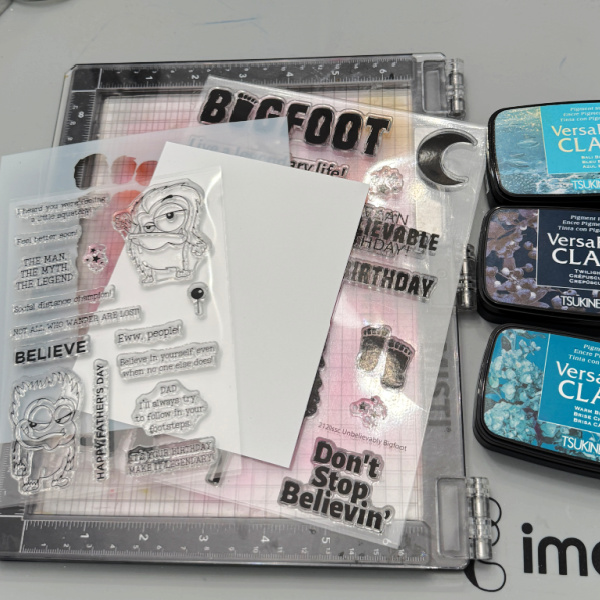
Gather your supplies. You will need a stencil, Father’s Day themed stamp set, stencil, coordinating dies, Misti or other stamp positioner, three colors of blue ink, a green and brown ink.
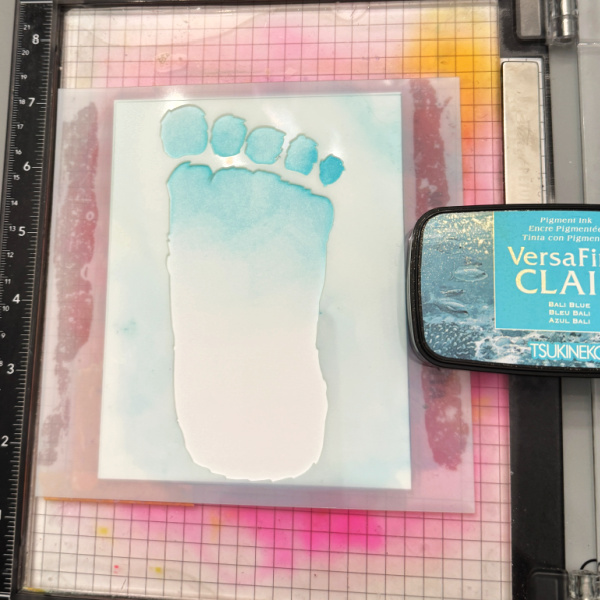
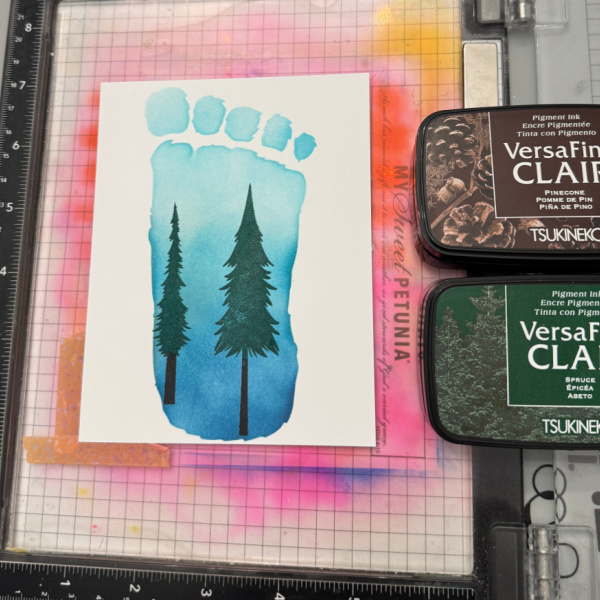
Step 1: Place stencil on grip mat inside the Misti. Blend a light color of blue ink in the top third of the stencil.
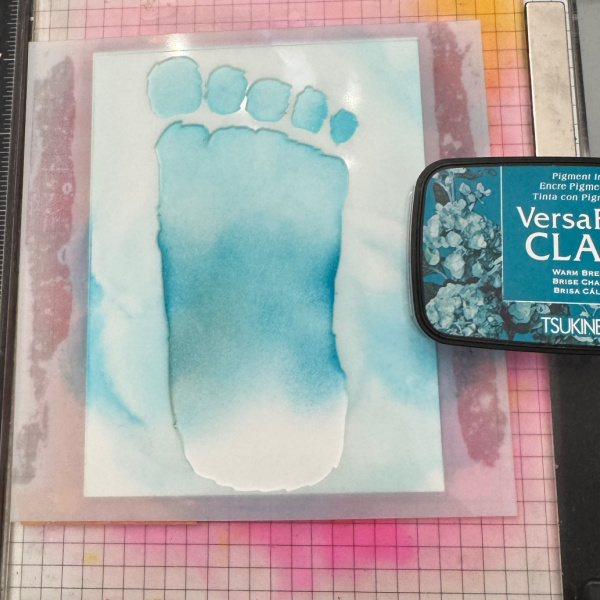
Step 2: Blend a medium color of blue ink in the middle third of the stencil.
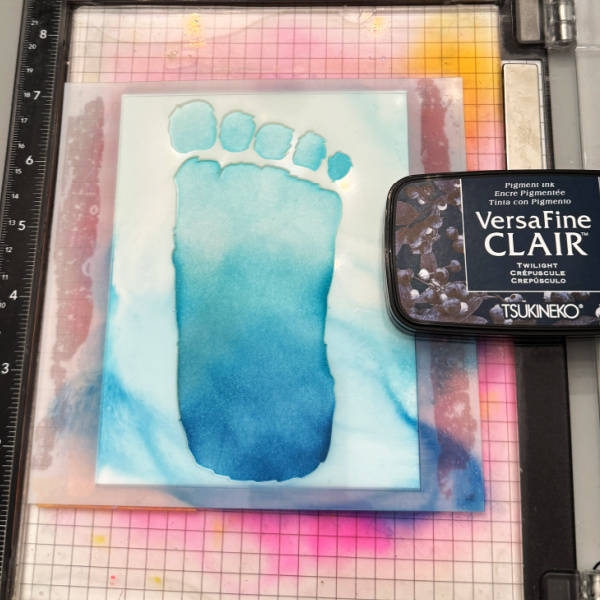
Step 3: Blend a dark color of blue on the bottom third of the stencil.
Step 4: Using green and brown ink, stamp the trees inside the stencil.
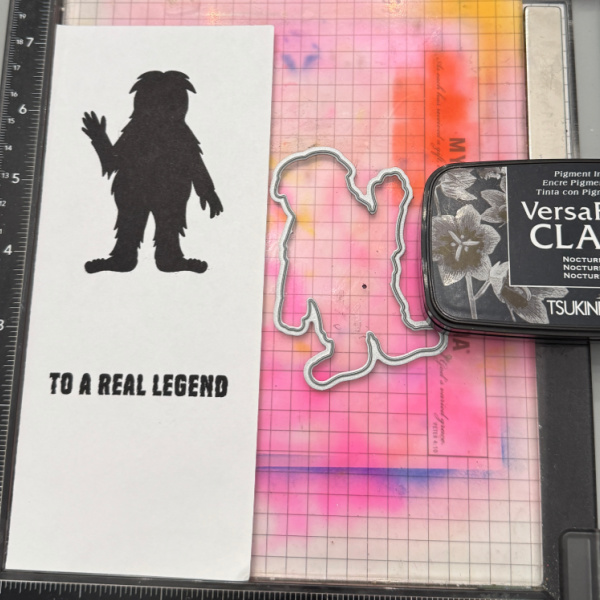
Step 5: Stamp the sasquatch and sentiments in black ink. Cut out the sasquatch with the coordinating die and the sentiments with a trimmer.
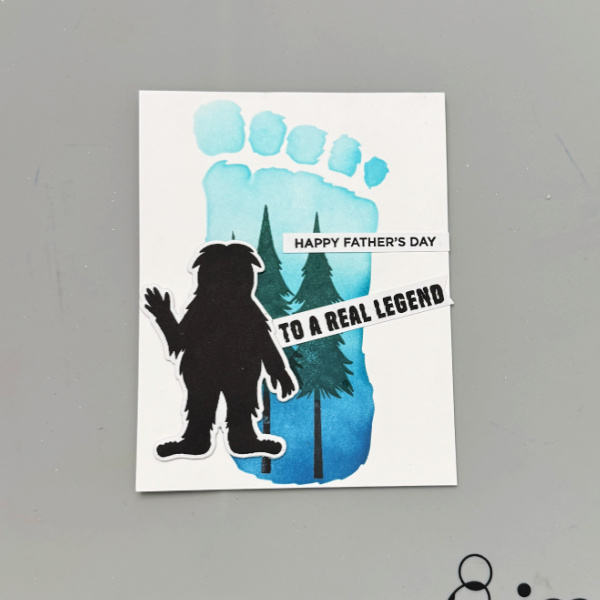
Step 6: Adhere the panel to a card base and pop up the sasquatch using foam tape and then add sentiments.
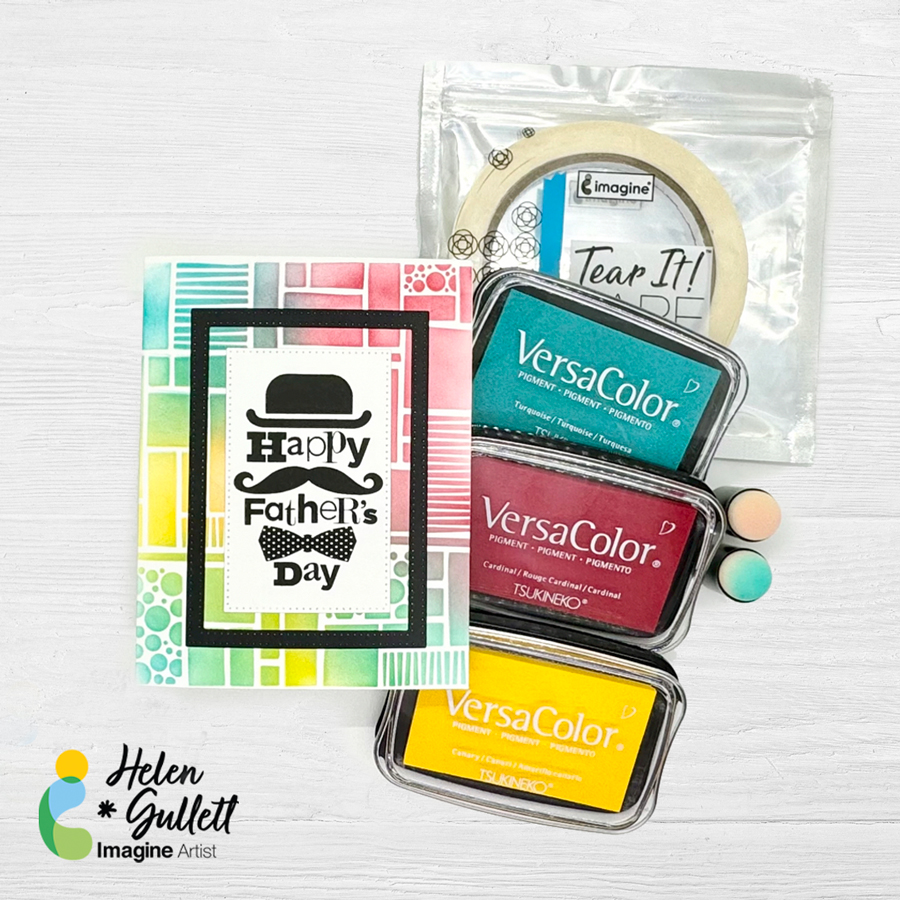
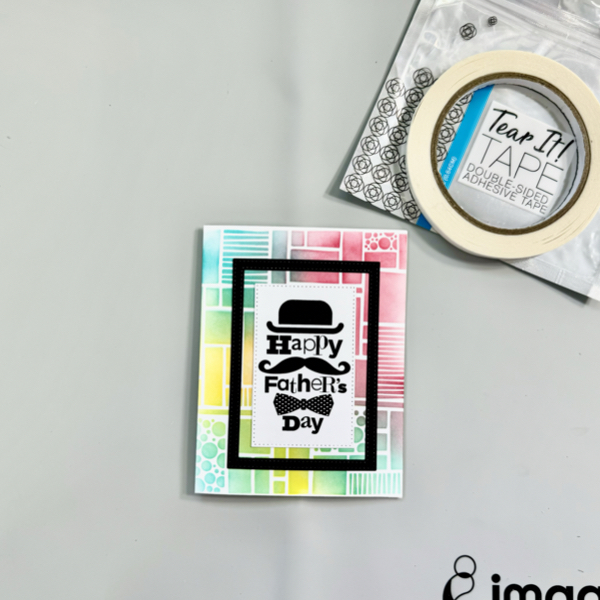
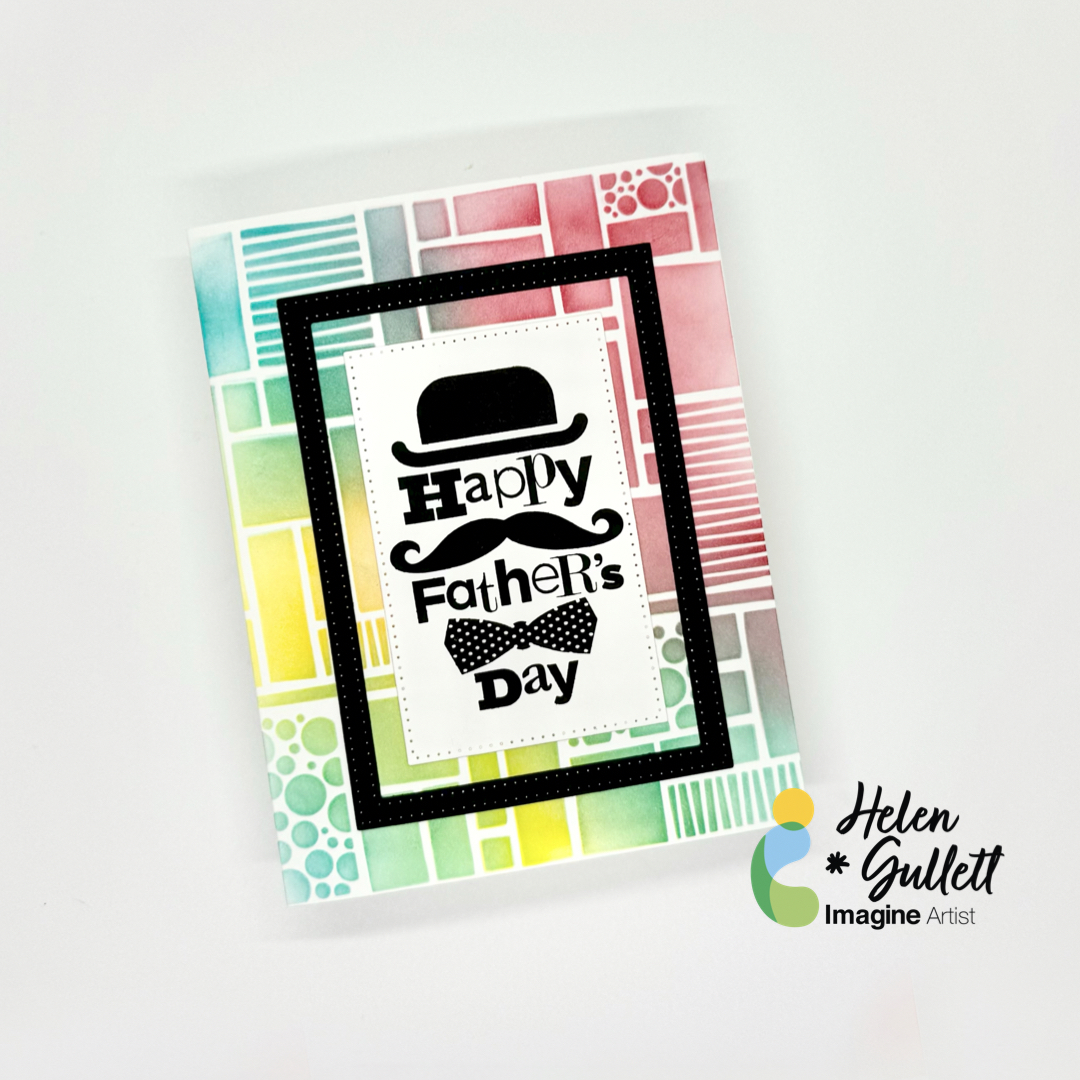
Hello crafty friends! This time, I want to share an idea with you for Father’s Day. This card has a fun colorful stenciled background. It is also not too hard to make.
Skill: Intermediate Time: 30 minutes
Directions:
Step 1
Make an A2 size card out of heavy-weight white cardstock. One piece of 11 inch x 8.5 inch cardstock can make 2 cards.
On the front card, tape the stencil with washi tapes to secure it in place while you add colors with some sponge daubers.
Add the VersaColor ink one by one using a different sponge dauber for each color you use. Make sure the colors you pick can blend well.
When you are done adding colors, remove the stencil, set aside the stenciled card to dry.
Step 2
On a piece of white cardstock, stamp the image with VersaFine Clair Nocturne ink pad using a stamping tool.
Use a craft heat gun to dry the ink quickly.
Step 3
Next step, cut the sentiment with a rectangle die.
I also cut out a piece of black cardstock using 2 different rectangle dies to create a frame. This step is an option, if you want to add more layers to the card.
Step 4
Add the sentiment panel at the center of the stenciled card with Tear It! Tape, and add the black frame to the card with the same adhesive.
Step 5
On the inside card, stamp the sentiment with the VersaFine Clair Nocturne ink pad.
Use a craft heat gun to dry the ink after stamping.
This card looks like it has a couple layers of die cuts but still flat enough to send it out on regular mail without extra cost.
I hope you will give it a try to make this fun colorful card for Father’s Day! Thanks so much for stopping by our blog today. Have a wonderful day!